Home>Devices & Equipment>Turntable>How To Hook Up Ion USB Turntable
Turntable
How To Hook Up Ion USB Turntable
Published: January 18, 2024
Learn how to easily hook up your Ion USB turntable to your computer. Transform your vinyl collection into digital files with this step-by-step guide.
(Many of the links in this article redirect to a specific reviewed product. Your purchase of these products through affiliate links helps to generate commission for AudioLover.com, at no extra cost. Learn more)
Table of Contents
- Introduction
- Step 1: Gather the Required Equipment
- Step 2: Setting Up the Turntable
- Step 3: Connecting the Turntable to Your Computer
- Step 4: Installing the Necessary Software
- Step 5: Configuring Audio Settings
- Step 6: Test the Connection
- Step 7: Playing and Recording with the USB Turntable
- Step 8: Troubleshooting Tips
- Conclusion
Introduction
Welcome to the world of vinyl! Whether you’re a seasoned audiophile or just starting to explore the magic of analog music, a USB turntable can be a fantastic addition to your audio setup. With its ability to convert vinyl records into digital files, you can easily listen to and preserve your favorite albums on your computer or portable devices.
In this article, we will guide you through the process of setting up and hooking up an Ion USB turntable. We will cover everything from gathering the necessary equipment to troubleshooting any potential issues you may encounter along the way. So, grab your vinyl collection and let’s get started!
But first, why choose a USB turntable? Well, traditional turntables require a separate preamp and amplifier to produce sound, making them relatively complex to connect to a computer. USB turntables, on the other hand, have a built-in preamp and can directly connect to your computer via a USB cable. This eliminates the need for additional equipment and simplifies the process of digitizing your records.
Whether you want to transfer your vinyl collection to digital format, share your favorite songs with friends, or simply enjoy seamless playback on modern devices, a USB turntable is a versatile tool that allows you to do it all.
Throughout this article, we will provide step-by-step instructions and valuable tips to ensure a successful setup. So, let’s gather the required equipment and get ready to embark on a journey that seamlessly blends the nostalgia of vinyl with the convenience of digital technology.
Step 1: Gather the Required Equipment
Before getting started, it’s important to gather all the necessary equipment to ensure a smooth setup process. Here’s a list of items you’ll need:
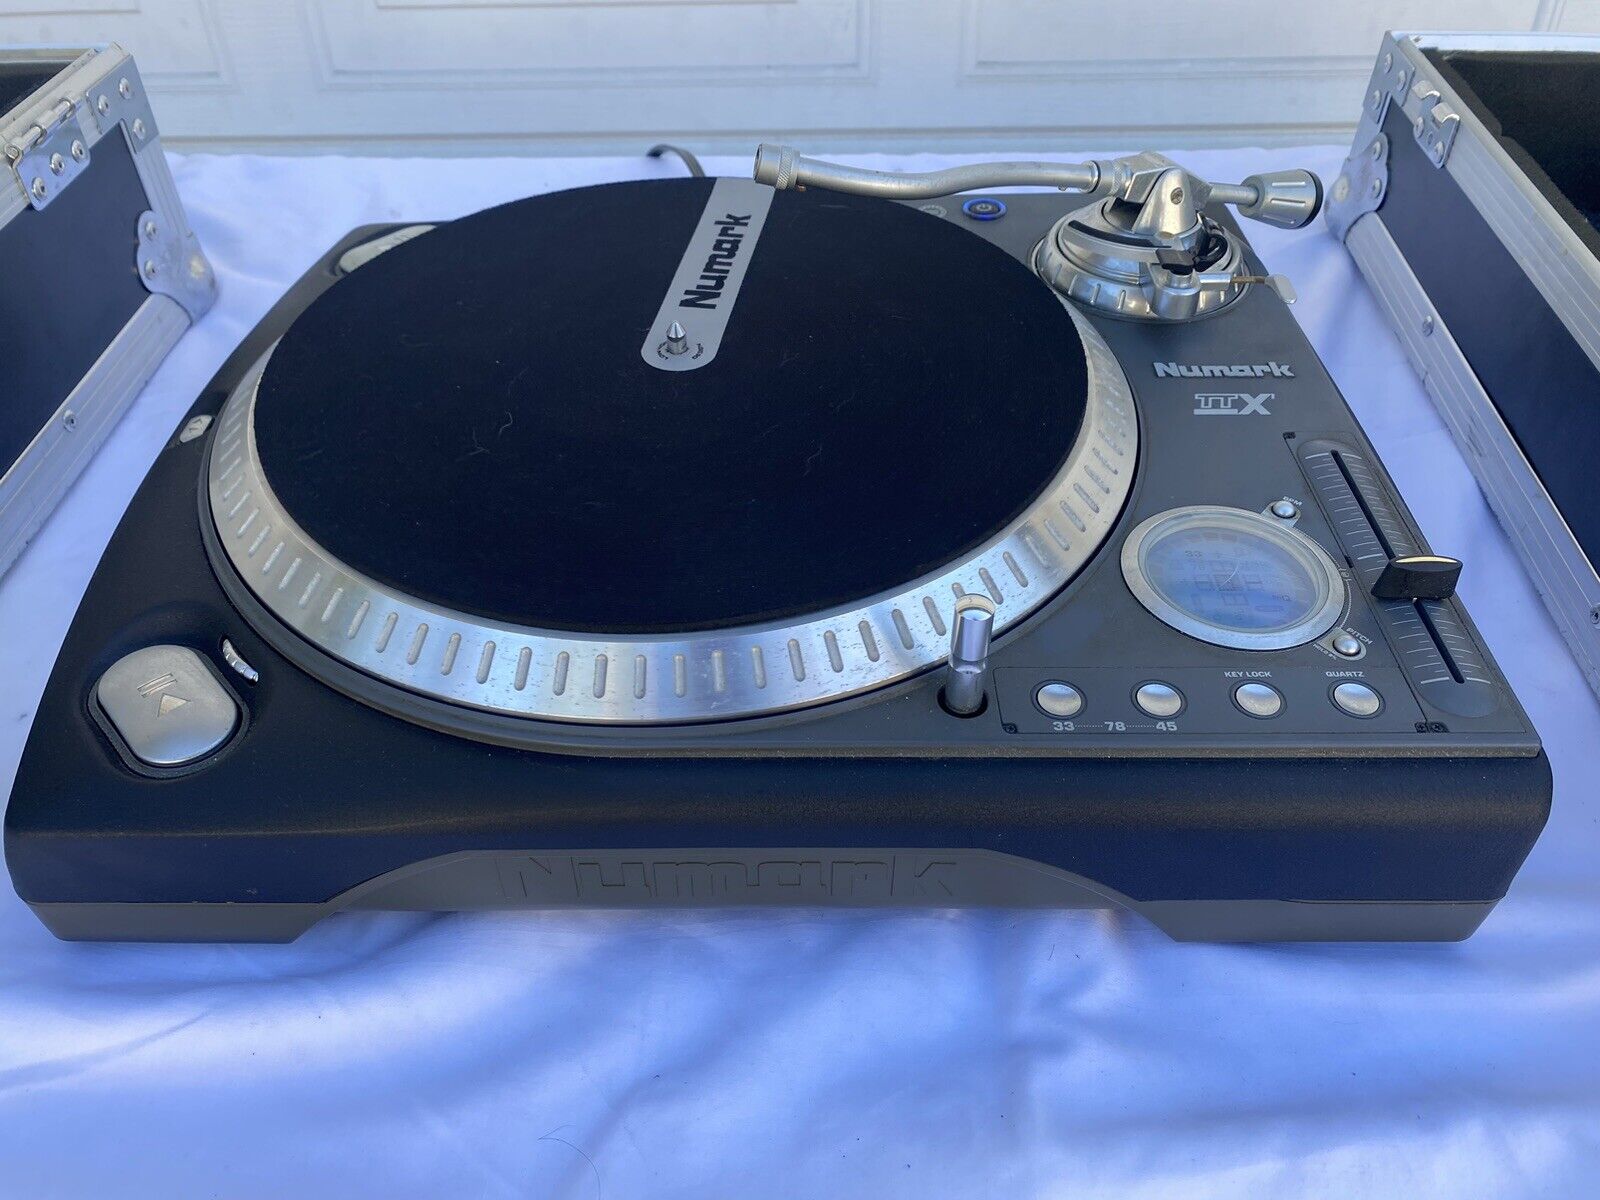
- USB Turntable: The most essential item is, of course, the USB turntable itself. There are various brands and models available in the market, but for this guide, we’ll focus on the Ion USB turntable. Make sure you have this specific model or a similar one.
- Vinyl Records: To test and enjoy your new USB turntable, you’ll need some vinyl records. Dig through your collection or visit a local record store to find some of your favorite albums.
- Computer: You’ll need a computer to connect your USB turntable and transfer the audio files. Ensure that your computer has an available USB port.
- USB Cable: The USB cable is provided with the turntable. It’s the primary means of connecting your turntable to the computer. Make sure the cable is in good condition and properly functioning.
- Software: Some USB turntables come with software for recording and editing audio files. Check the manufacturer’s website or the documentation that came with your turntable to see if any software is included. If not, don’t worry; we’ll cover software options in a later step.
Once you have gathered all these items, you’re ready to move on to the next step. Ensure that everything is in working order and readily accessible. Now that you have your equipment ready, it’s time to start setting up your USB turntable and connecting it to your computer.
Step 2: Setting Up the Turntable
Now that you have all the necessary equipment, it’s time to set up your USB turntable. Follow these steps to prepare your turntable for connection:
- Find a Suitable Location: Choose a stable and flat surface for your turntable. Ensure that it is away from any vibrations or movements that could affect the playback quality.
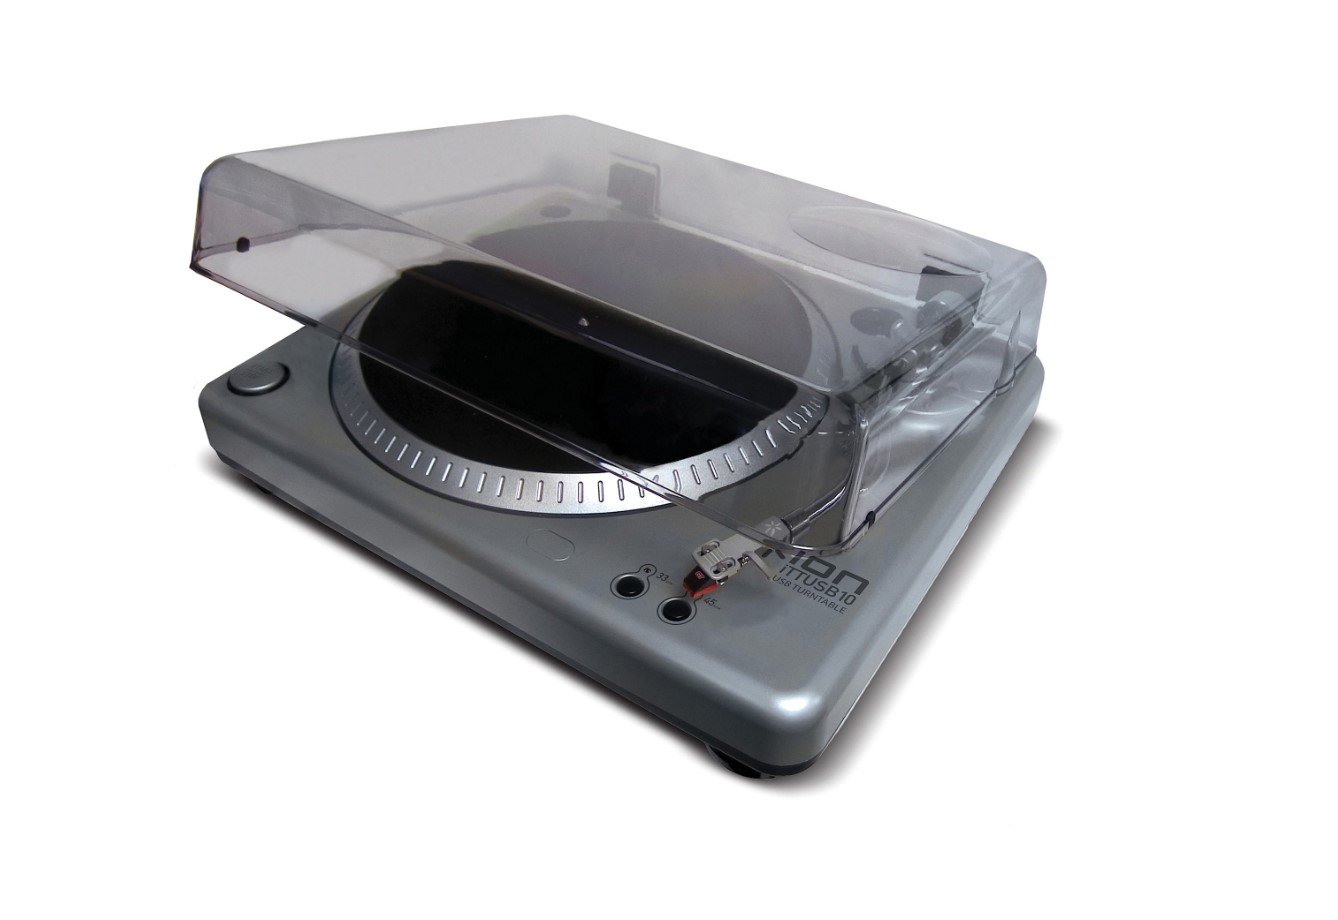
- Remove Packaging and Protective Covers: Carefully remove any packaging materials and protective covers from your turntable. This may include plastic film, styrofoam inserts, or other protective accessories.
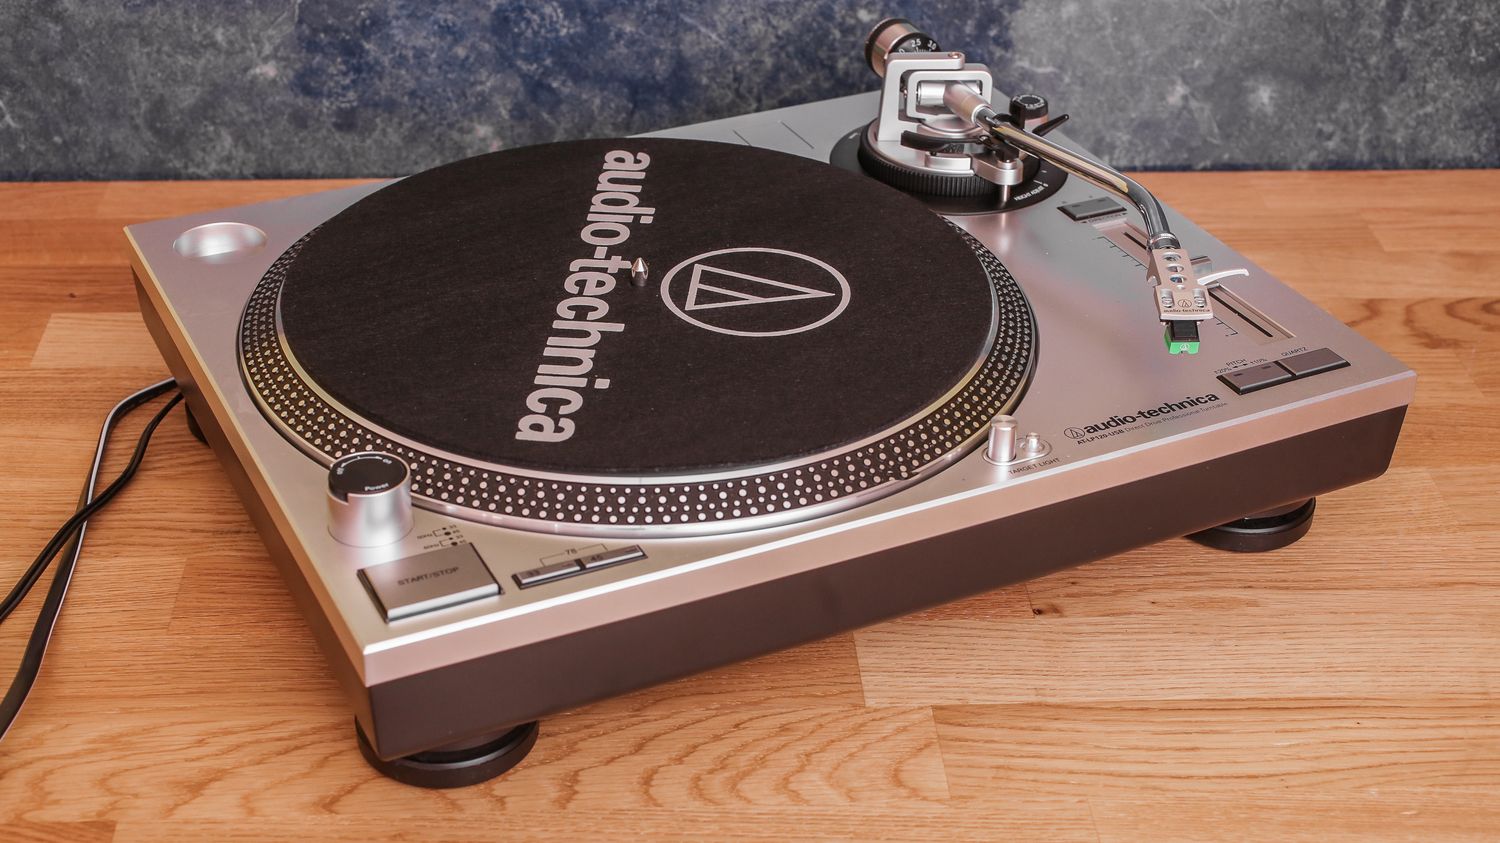
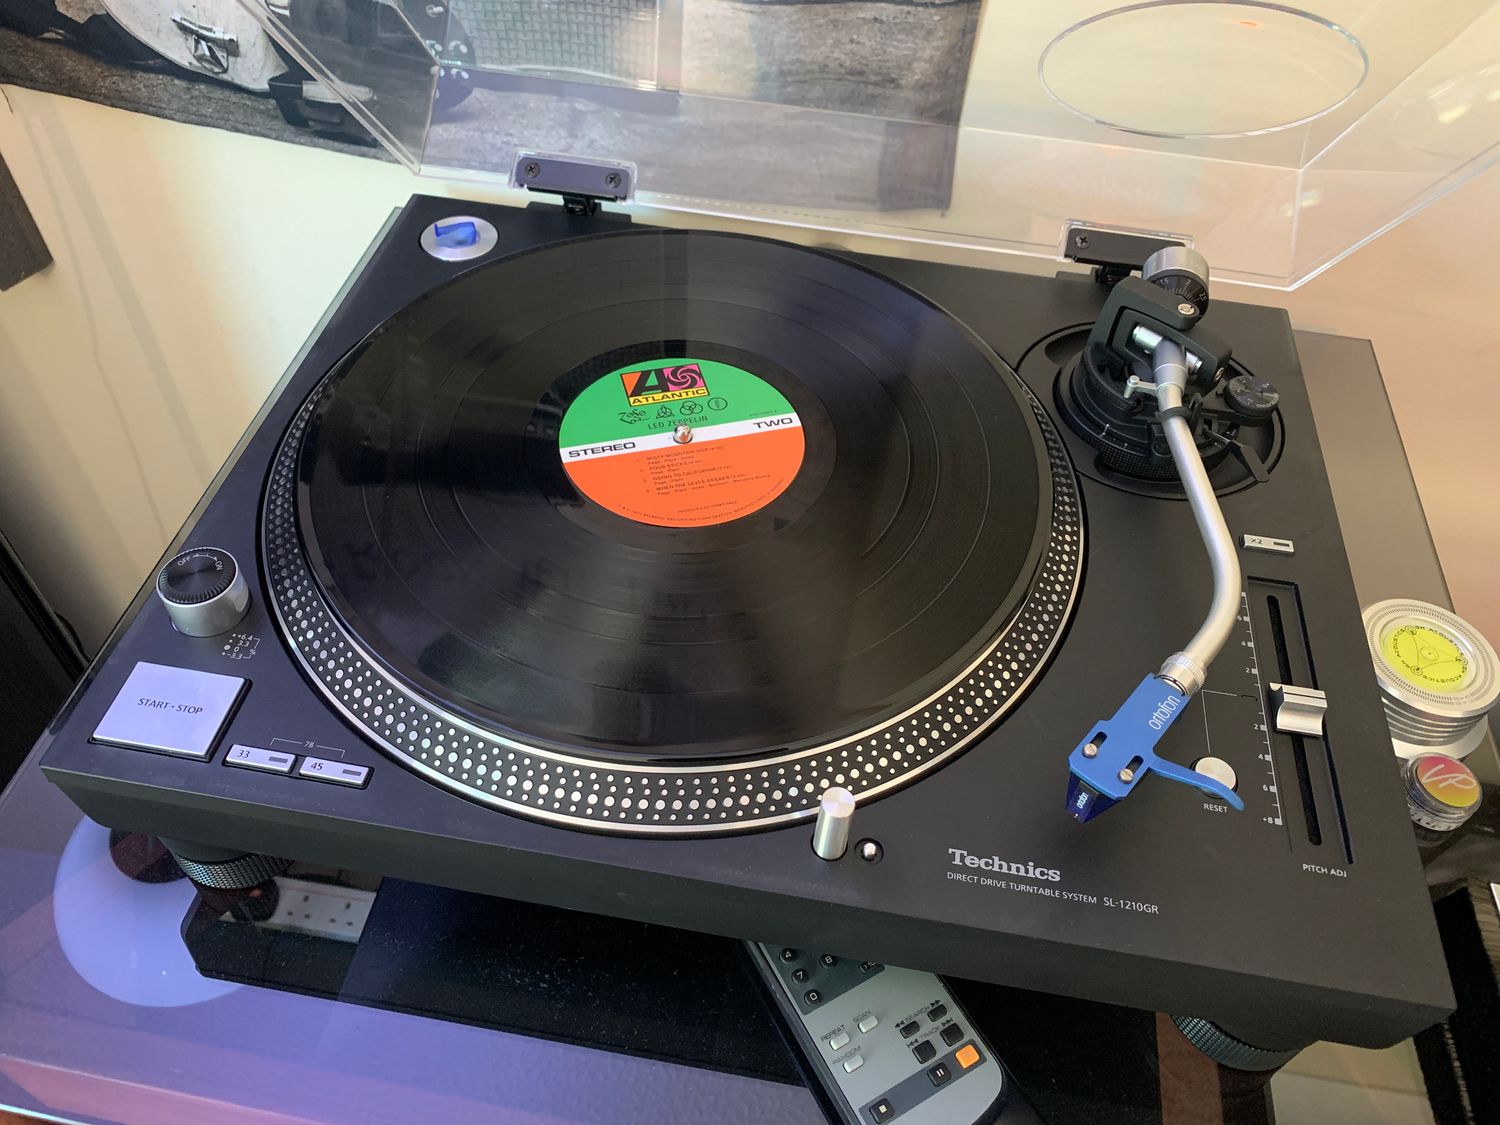
- Attach the Platter: The platter is the rotating platform where you place your vinyl records. It should easily fit onto the center spindle of your turntable. Gently place it on the spindle and ensure it sits securely.
- Install the Dust Cover (Optional): Some turntables come with a dust cover that protects the turntable and records from dirt and dust. If yours has a dust cover, attach it according to the manufacturer’s instructions.
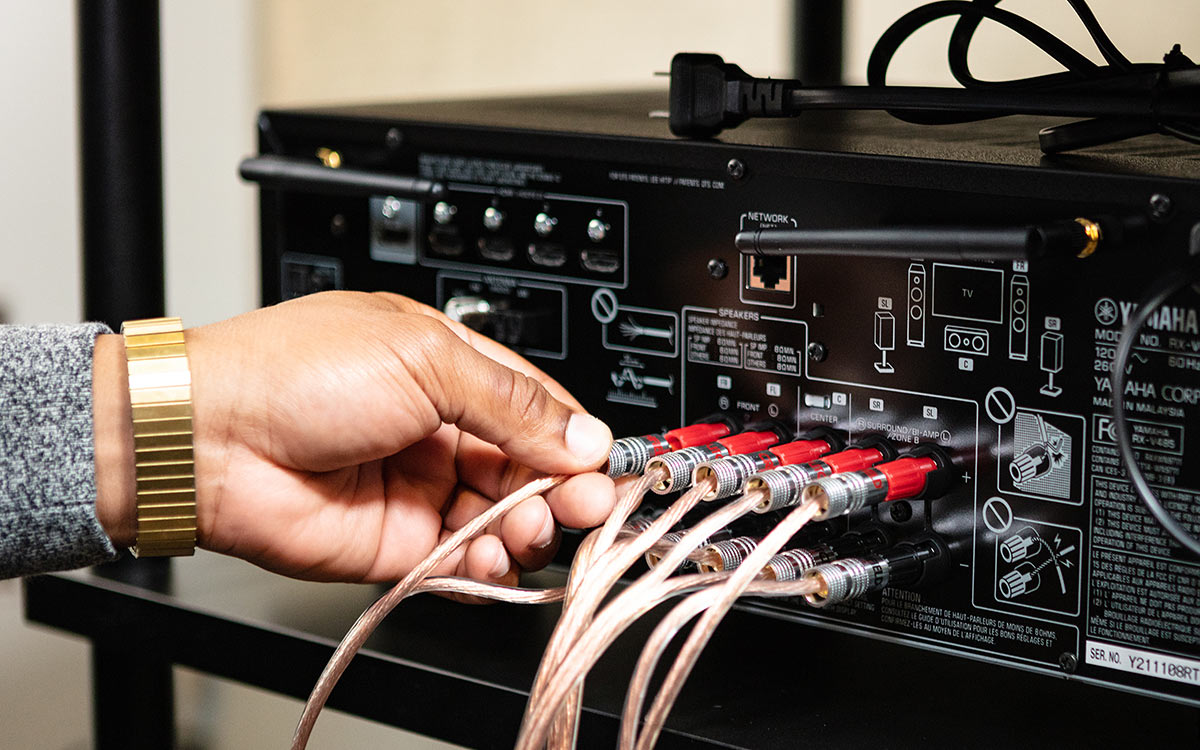
- Connect the Power Cable: Plug the power cable into an electrical outlet. Ensure that it is securely connected to the turntable and the outlet is functioning properly.
- Check the Speed Settings: Most turntables support multiple playback speeds, such as 33 1/3, 45, and sometimes 78 RPM. Ensure the speed setting matches the record you will be playing. This can usually be adjusted using a switch or button on the turntable.
Once you have completed these steps, your turntable should be set up and ready to connect to your computer. In the next step, we will guide you through the process of connecting the turntable using the USB cable.
Step 3: Connecting the Turntable to Your Computer
Now that your turntable is set up, it’s time to connect it to your computer. Follow these steps:
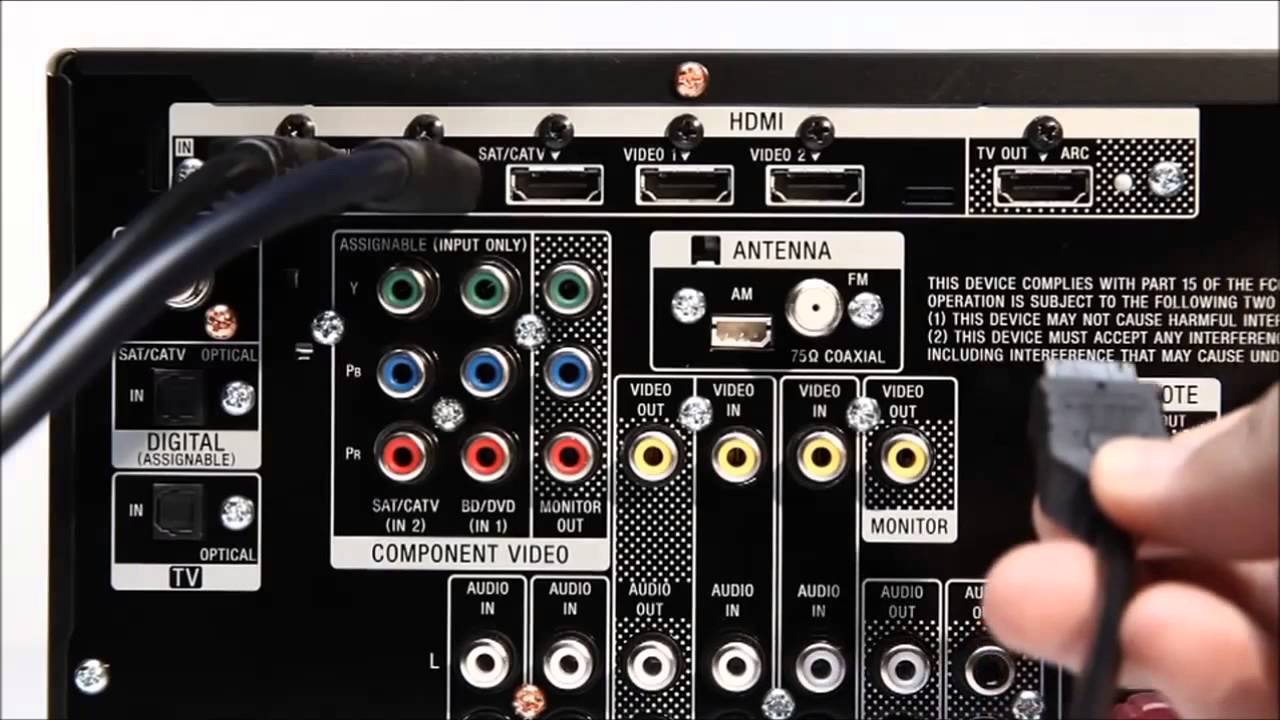
- Locate the USB Port: Identify an available USB port on your computer. It is usually located on the side or back of your computer tower. Ensure that the port is in good condition and free from any debris.
- Connect the USB Cable: Take the USB cable provided with your turntable and plug it into both the USB port on the turntable and the USB port on your computer. Ensure a secure connection on both ends.
- Power On the Turntable: Turn on the power switch of your USB turntable. The turntable should now be powered and ready to communicate with your computer.
- Driver Installation (If Required): Some USB turntables may require you to install specific drivers before connecting to your computer. Check the manufacturer’s instructions or website for any driver downloads and installation instructions. If your turntable doesn’t require drivers, your computer will automatically recognize and connect to the turntable.
- Wait for the Connection: Once you have connected the USB cable, give your computer a moment to recognize the turntable. You may see a notification or prompt indicating that the device is being connected. This may take a few seconds.
- Check Device Recognition: Open your computer’s device manager or system preferences to confirm that the USB turntable is recognized and listed as a connected device. This will ensure that your computer is communicating with the turntable properly.
Now that your turntable is successfully connected to your computer, it’s time to move on to the next step, where we will discuss the software you need to install to start playing and recording your vinyl records.
Step 4: Installing the Necessary Software
In order to play and record your vinyl records on your computer, you’ll need to install the necessary software. While some USB turntables come with their own software, others may require you to use third-party applications. Follow these steps to install the software:
- Check Included Software: If your USB turntable came with software, refer to the manufacturer’s instructions or website for installation guidelines. Insert the provided CD, follow the prompts, and install the software onto your computer. Make sure to use the latest version available from the manufacturer’s website if applicable.
- Research Third-Party Software: If your USB turntable did not come with software or you prefer to use a different application, research and identify reputable third-party software options. Some popular choices include Audacity, Adobe Audition, and GarageBand (for Mac users). Visit the official websites of these applications to download the software.
- Download and Install the Software: Once you have selected the software you want to use, download it from the official website. Follow the installation instructions provided by the software manufacturer to install it onto your computer. Make sure to choose the appropriate version for your operating system.
- Configure the Software: After the software is installed, you may need to configure it to work with your USB turntable. Refer to the software’s documentation or online guides for instructions on how to set it up for recording and playback.
- Test the Software: Once the software is properly installed and configured, test its functionality by opening it and checking if it detects your USB turntable. Use the software’s settings to ensure that it recognizes the correct input source from your turntable.
Once the necessary software is installed and tested, you’re ready to move on to the next step, where we will discuss how to configure the audio settings for optimal recording quality.
Step 5: Configuring Audio Settings
After installing the software, it’s important to configure the audio settings to ensure optimal recording quality. Follow these steps to configure the audio settings:
- Open the Software: Launch the software you installed in the previous step. Ensure that your USB turntable is connected to your computer and powered on.
- Select the Input Source: In the software’s settings or preferences, locate the input source options. Choose the correct input source that corresponds to your USB turntable. It may be listed as the brand or model of your turntable.
- Set the Recording Format: Determine the recording format you prefer. Most software applications offer options such as WAV, MP3, or FLAC. Choose the format that suits your needs and aligns with the intended usage of your recorded tracks.
- Adjust the Recording Levels: This step is crucial to avoid distorted or excessively quiet recordings. Look for the recording level or input gain settings in the software. Gradually increase the input level until it reaches an optimal point. Avoid peaking or clipping, as it can lead to poor audio quality.
- Check Output and Monitoring: Ensure that the output settings are correctly configured. This includes selecting the desired output device, such as your computer’s speakers or headphones. Also, check if the software allows for real-time monitoring, so you can listen to the audio as it is being recorded.
- Test Playback and Recording: Once the audio settings are configured, test the software by playing a vinyl record. Confirm that you can hear the audio through your computer’s speakers or headphones. Additionally, test the recording functionality by starting a recording and verifying that the software captures the audio from your USB turntable.
By following these steps and configuring the audio settings appropriately, you’ll be able to achieve high-quality recordings of your vinyl records. Now that everything is properly set up, let’s move on to the next step, where we will cover how to play and record with your USB turntable.
Step 6: Test the Connection
Now that you have completed the setup and configuration process, it’s time to test the connection between your USB turntable and computer. Testing the connection will ensure that everything is working as expected before you start playing and recording your vinyl records. Follow these steps to test the connection:
- Place a Vinyl Record: Select one of your favorite vinyl records and carefully place it on the turntable’s platter. Ensure that it is seated properly and centered.
- Start the Playback: In the software you installed, locate the playback controls and start the playback feature. The turntable’s stylus should gently touch the record and begin playing the audio.
- Listen for Audio Output: Use your computer’s speakers or headphones to listen to the audio coming from the turntable. Ensure that the volume is at an appropriate level and that you can hear the music clearly without any distortions or interruptions.
- Monitor the Recording: If you intend to record the audio, start a recording session in the software. Monitor the recording levels and verify that the software is capturing the audio accurately without any issues.
- Monitor for Noise or Interference: Pay close attention to any background noise, crackling, buzzing, or interference during playback or recording. If you notice any unwanted noise, try adjusting the turntable’s position, checking the cables, or ensuring that your setup is away from any electrical or magnetic interference sources.
- Test Different Tracks and Recordings: Try playing different tracks from your vinyl collection and record a few samples to test the connection thoroughly. This will help ensure consistent performance and high-quality recordings.
If you encounter any issues during the testing process, refer back to the previous steps to troubleshoot the problem. Making sure the connection is working properly is essential for capturing the best possible sound from your vinyl records.
Now that you have successfully tested the connection and confirmed everything is working, you’re ready to move on to the final step where we will discuss some troubleshooting tips to address common issues that may arise along the way.
Step 7: Playing and Recording with the USB Turntable
Now that you have completed the setup and testing process, it’s time to enjoy the full functionality of your USB turntable. This step will guide you on how to play and record your vinyl records using the USB turntable and the software you installed.
- Select a Vinyl Record: Choose a vinyl record from your collection that you want to play or record. Ensure that the record is clean and free from dust or debris.
- Place the Record: Gently place the vinyl record onto the turntable’s platter. Make sure it is properly centered and seated securely.
- Start Playback: In the software, locate the playback controls and start playing the vinyl record. The turntable’s stylus will make contact with the record’s grooves, producing audio that will be played through your computer’s speakers or headphones.
- Adjust Playback Settings: Use the software’s playback controls to adjust the volume, skip tracks, or apply any desired audio effects or enhancements. This allows you to customize your listening experience to your preferences.
- Record a Vinyl Track: If you want to record a track from the vinyl record, start a recording session in the software. Listen to the audio through your computer’s speakers or headphones while the software captures the sound and saves it as a digital file.
- Manage Recordings: Once you’ve recorded a track, you can manage and organize your recordings within the software. This may include adding metadata such as track names or album covers, editing the audio files, or converting them to different formats if desired.
- Enjoy Your Vinyl Collection: With your USB turntable and software, you can now enjoy your entire vinyl collection in a digital format. Listen to your favorite tracks, create playlists, and share your music with friends or family.
Remember to clean your vinyl records regularly and handle them with care to maintain their quality. Additionally, always follow the recommended guidelines and instructions provided by the software and USB turntable manufacturer for the best results.
Congratulations! You have successfully learned how to play and record with your USB turntable. Now, let’s move on to the final step, where we will provide some troubleshooting tips to help you overcome any issues you may encounter along the way.
Step 8: Troubleshooting Tips
While setting up and using your USB turntable, you may encounter some common issues. This step will provide you with helpful troubleshooting tips to resolve any problems you may face:
- No Power: If your USB turntable is not powering on, check the power connection and ensure it is plugged into a working electrical outlet. Also, verify that the power switch on the turntable is turned on.
- No Sound: If you’re not hearing any sound, check the volume settings on your computer, the software you are using, and the turntable itself. Ensure that all volume levels are appropriately adjusted and that your speakers or headphones are connected and functioning correctly.
- Poor Audio Quality: If the audio quality is subpar or distorted, check the settings and adjustments in your software. Make sure you have selected the right input source, properly adjusted the recording level, and positioned the stylus properly on the vinyl record.
- Skipping or Jumping Stylus: If the stylus is skipping or jumping, make sure the turntable is on a stable surface and free from any vibrations. Check the stylus’s condition and clean it with a proper stylus brush. Additionally, ensure that the tracking force and anti-skate settings are properly adjusted according to the turntable’s instructions.
- USB Connection Issues: If you’re experiencing connectivity issues, try using a different USB port on your computer. Ensure that the USB cable is securely connected to both the turntable and computer. If the problem persists, try using a different USB cable or testing the turntable on a different computer.
- Software Compatibility: If you’re having difficulties with the software, ensure that it is compatible with your operating system. Check for any software updates or patches that may resolve compatibility issues. If necessary, consider using different software that is compatible with your USB turntable.
- Background Noise or Interference: If you’re hearing unwanted background noise or interference, ensure that your setup is away from any potential sources of electrical or magnetic interference. Additionally, check that all cables are properly shielded and connected securely.
If you’re still experiencing difficulties after troubleshooting, consult the manufacturer’s instructions or contact their support for further assistance. They will be able to provide specific guidance based on your USB turntable model.
By following these troubleshooting tips, most common issues can be resolved, allowing you to enjoy a smooth and uninterrupted experience with your USB turntable.
With these troubleshooting tips in mind, you’re now equipped to identify and resolve any issues you may encounter while using your USB turntable. Now, go ahead, enjoy your vinyl records, and explore the joy of digitizing your audio collection!
That concludes our comprehensive guide on how to hook up an Ion USB turntable. We hope this article has provided you with the necessary information to set up and use your USB turntable successfully. Happy listening!
Conclusion
Congratulations on successfully setting up and utilizing your Ion USB turntable! Throughout this comprehensive guide, we have covered the step-by-step process of gathering the required equipment, setting up the turntable, connecting it to your computer, installing the necessary software, configuring audio settings, testing the connection, playing and recording your vinyl records, and troubleshooting common issues.
By following the instructions and tips provided in each step, you have acquired the knowledge and skills to seamlessly integrate your beloved vinyl collection into the digital realm. With your USB turntable, you can now enjoy the rich, warm sound of vinyl records while conveniently digitizing them for easy playback on your computer or portable devices.
Remember to take proper care of your vinyl records by keeping them clean and handling them with care. Regular maintenance and storage in appropriate sleeves will help preserve their quality and longevity.
Additionally, always refer to the user manual and instructions provided by the manufacturer for specific details about your USB turntable. Different models may have slight variations in setup and operation, so it’s important to have a thorough understanding of your particular device.
Whether you’re digitizing your vinyl collection, sharing your favorite tracks, or simply enjoying the nostalgic experience of playing records, your USB turntable is a versatile tool that adds a new dimension to your audio setup.
We hope this guide has empowered you with the knowledge and confidence to make the most out of your Ion USB turntable. Now, go ahead, play your favorite records, and immerse yourself in the timeless beauty of vinyl!