Home>Devices & Equipment>Turntable>How To Convert Records To Mp3 Files With Stanton T.92 Usb Turntable
Turntable
How To Convert Records To Mp3 Files With Stanton T.92 Usb Turntable
Modified: January 22, 2024
Learn how to convert your records to MP3 files with the Stanton T.92 USB turntable. Experience high-quality sound with this versatile turntable.
(Many of the links in this article redirect to a specific reviewed product. Your purchase of these products through affiliate links helps to generate commission for AudioLover.com, at no extra cost. Learn more)
Table of Contents
- Introduction
- Step 1: Setting up the Stanton T.92 USB Turntable
- Step 2: Connecting the Turntable to Your Computer
- Step 3: Installing the Necessary Software
- Step 4: Configuring the Recording Settings
- Step 5: Cleaning and Preparing the Vinyl Records
- Step 6: Starting the Recording Process
- Step 7: Monitoring and Adjusting the Recording Levels
- Step 8: Saving and Exporting the Recorded MP3 Files
- Step 9: Organizing and Managing Your MP3 Files
- Step 10: Troubleshooting Tips and Common Issues
- Conclusion
Introduction
Welcome to the world of vinyl records! There’s nothing quite like the warm sound and nostalgic feel of spinning a record on a turntable. But what if you want to listen to your favorite records on the go or share them with friends? That’s where the Stanton T.92 USB turntable comes in handy. This versatile turntable not only allows you to play your vinyl collection but also enables you to convert those cherished records into digital MP3 files.
Converting records to MP3 files not only preserves the audio quality but also makes it convenient to listen to your favorite albums on any device. Whether you want to create a digital archive of your vinyl collection or simply enjoy your music on the go, the Stanton T.92 USB turntable is a fantastic tool that combines classic analog playback with modern digital convenience.
But how exactly do you convert records to MP3 files using the Stanton T.92 USB turntable? In this guide, we’ll walk you through the step-by-step process, from setting up the turntable to saving and managing your recordings. With a little bit of time and effort, you’ll be able to enjoy your vinyl record collection anytime, anywhere.
So, if you’re ready to embark on this audio adventure, let’s dive into the world of record conversion with the Stanton T.92 USB turntable!
Step 1: Setting up the Stanton T.92 USB Turntable
Before you can start converting your records to MP3 files, you’ll need to set up the Stanton T.92 USB turntable. Here’s a step-by-step guide on how to do it:
- Find a suitable location: Choose a stable and level surface to place your turntable. It’s best to avoid areas with excessive vibrations, such as near speakers or heavy foot traffic.
- Connect the power cable: Plug one end of the power cable into the AC inlet on the back of the turntable and the other end into a wall outlet. Make sure the power switch on the turntable is in the “Off” position.
- Remove the protective cover: Gently lift the dust cover and set it aside. This will expose the turntable platter and tonearm.
- Install the platter: Place the platter over the center spindle and press it down firmly. Ensure that it is securely in place.
- Attach the slipmat: The slipmat provides a smooth surface for your records to spin on. Place it on top of the platter, ensuring a centered alignment.
- Balance the tonearm: Lift the tonearm lever and carefully move the tonearm to the tonearm rest. Adjust the counterweight at the back of the tonearm to achieve proper balance. This ensures optimal tracking and prevents unnecessary wear on your records.
- Set the anti-skate and tracking force: Adjust the anti-skate knob to match the tracking force of your cartridge. Consult the cartridge manufacturer’s instructions for the recommended tracking force, and then set it using the counterweight on the tonearm.
- Connect the audio cables: Use the provided RCA cables to connect the turntable’s audio output to an audio receiver or the line-in on your computer. Make sure to match the red and white cables with their respective connections.
- Verify the connections: Double-check all the connections and ensure that they are secure. Any loose connections can significantly affect the sound quality during the recording process.
- Turn on the turntable: Finally, flip the power switch on the turntable to the “On” position.
With these steps completed, your Stanton T.92 USB turntable is now set up and ready for the next stage of the record-to-MP3 conversion process.
Step 2: Connecting the Turntable to Your Computer
Now that you have your Stanton T.92 USB turntable set up, the next step is to connect it to your computer. This is essential for transferring the audio from your records to digital MP3 files. Follow these steps to connect the turntable to your computer:
- Identify the USB port: Locate an available USB port on your computer. It is usually found on the back or side of the computer tower, or on the sides of a laptop.
- Connect the USB cable: Take the USB cable that came with your Stanton T.92 USB turntable and plug one end into the USB port on your computer.
- Connect the other end to the turntable: Plug the other end of the USB cable into the USB output port on the back of the turntable. Ensure a secure connection.
- Select the appropriate input device on your computer: Open the audio settings on your computer and select the Stanton T.92 USB turntable as the input device. This step may vary depending on your computer’s operating system.
Once your turntable is connected to your computer via USB, it’s ready to be recognized as an audio input device. This connection allows the audio from your records to be captured and transferred to your computer for the conversion process. Make sure you have installed any necessary drivers or software that may be required for your specific operating system.
By completing this step, you have established a direct connection between your Stanton T.92 USB turntable and your computer, paving the way for the next stages of the record-to-MP3 conversion process.
Step 3: Installing the Necessary Software
Before you can start converting your vinyl records to MP3 files, you’ll need to install the necessary software on your computer. The software will enable you to capture and save the audio from your turntable. Follow these steps to install the software:
- Visit the manufacturer’s website: Go to the website of the manufacturer of your Stanton T.92 USB turntable.
- Navigate to the support or downloads section: Look for a section on the website that provides support or downloads for the turntable.
- Locate the software for recording: Find the software that is compatible with your operating system and specifically designed for recording audio from the turntable.
- Download the software: Click on the download link for the software and save it to your computer.
- Run the installation setup: Locate the downloaded software file on your computer and run the installation setup. Follow the on-screen instructions to install the software.
- Configure the software: Once the software is installed, open it and configure the recording settings. This may include selecting the audio source as the Stanton T.92 USB turntable and adjusting the recording format and quality settings.
It’s important to note that the software required for recording may vary depending on the specific model and manufacturer of your turntable. Some turntables may come with their own proprietary software, while others may be compatible with popular recording software such as Audacity or Ableton Live. Make sure to follow the instructions provided by the turntable manufacturer for the best results.
By installing the necessary software, you’ll have the tools needed to capture and convert the audio from your Stanton T.92 USB turntable to MP3 files. Once the software is installed and configured, you’re ready to move on to the next step in the record-to-MP3 conversion process.
Step 4: Configuring the Recording Settings
Now that the necessary software is installed on your computer, it’s time to configure the recording settings. This step ensures that you capture high-quality audio from your vinyl records. Follow these steps to configure the recording settings:
- Open the recording software: Launch the software that you installed in the previous step.
- Select the audio source: Look for an option or setting within the software that allows you to choose the audio source. Select the Stanton T.92 USB turntable as the input device.
- Choose the recording format: Determine the format you want to save your MP3 files in. Common options include WAV, AIFF, or MP3. Select MP3 for compatibility and file size considerations.
- Set the sample rate and bit depth: A higher sample rate and bit depth will result in higher audio quality but larger file sizes. Choose a sample rate of 44.1 kHz and a bit depth of 16-bit for CD-quality audio.
- Configure the recording levels: Verify that the recording levels are properly set to avoid distortion or clipping. You can usually adjust the recording levels within the software or via the gain control on your turntable.
- Enable noise reduction or click removal (optional): Some software may offer features like noise reduction or click removal to improve the audio quality. If available, enable these features and adjust the settings to your preference.
Take some time to experiment with the recording settings to find the right balance between audio quality and file size. It’s recommended to do a test recording and adjust the settings as needed before proceeding with the actual conversion process.
By configuring the recording settings, you’re ready to capture the audio from your vinyl records with optimal quality. Next, we’ll move on to the preparation and cleaning of your vinyl records in preparation for the conversion process.
Step 5: Cleaning and Preparing the Vinyl Records
Before converting your vinyl records to MP3 files, it’s essential to clean and prepare them to ensure the best possible audio quality. Dust, debris, and fingerprints can affect playback and lead to unwanted noise or skipping. Follow these steps to clean and prepare your vinyl records:
- Gather cleaning supplies: Obtain a record cleaning brush or a specialized record cleaning solution and a cleaning cloth or microfiber cloth. These can be found at audio stores or online.
- Remove dust and debris: Gently brush the record surface using a record cleaning brush in a circular motion. Make sure to remove any visible dust or debris. Be careful not to apply too much pressure to avoid scratching the surface.
- Clean with a record cleaning solution (optional): If your record has stubborn dirt or grime, you can apply a small amount of record cleaning solution onto a cleaning cloth or microfiber cloth. Wipe the record surface in a circular motion. Avoid getting the solution on the label or in the record’s center hole.
- Dry the record: After cleaning, use a dry cleaning cloth or microfiber cloth to remove any residue or moisture left on the record’s surface.
- Inspect for damage: While cleaning, inspect your records for any visible damage such as scratches or warping. If a record is severely damaged, it may affect the playback quality, and you may consider obtaining a replacement if it’s a favorite album.
- Organize and arrange the records: Take the time to organize and arrange your records in a way that makes it easy to find and select the ones you want to convert. Consider using record sleeves or storage solutions to keep them protected and organized.
By cleaning and preparing your vinyl records, you reduce the risk of unwanted noise and ensure the best possible audio quality during the conversion process. Clean records not only sound better but also prolong the life of your turntable’s needle.
With your vinyl records clean and ready, it’s time to move on to the exciting part – the recording process itself. In the next step, we’ll cover how to start and monitor the recording as you convert your records to MP3 files.
Step 6: Starting the Recording Process
Now that you have set up your turntable, connected it to your computer, and prepared your vinyl records, it’s time to begin the recording process. Follow these steps to start recording your vinyl records:
- Open the recording software: Launch the software that you installed earlier and configured for recording.
- Select the appropriate input source: Within the software, ensure that you have selected the Stanton T.92 USB turntable as the input source for audio.
- Position the tonearm: Lift the tonearm from its rest and carefully position it at the beginning of the vinyl record you wish to convert.
- Start recording: Click on the record or start button within the recording software to begin the recording process. Simultaneously, gently lower the tonearm onto the vinyl record.
- Monitor the recording: Keep an eye on the recording software to monitor the progress of the recording. Ensure that the audio levels are accurate and that there are no issues with the recording.
- Flip the record if necessary: Once one side of the record has finished playing, carefully lift the tonearm, flip the record to the other side, and lower the tonearm onto the new side.
- Continue recording: Click on resume or start the recording once again to continue capturing the audio from the second side of the record.
- Finish the recording: Once both sides of the record have been recorded, click on the stop button within the recording software to end the recording process.
During the recording process, it’s important to maintain a quiet environment and avoid unwanted vibrations or noise that could impact the audio quality. Additionally, it’s a good idea to monitor the recording levels and adjust them if necessary to ensure a clean and distortion-free recording.
Now that you have successfully recorded your vinyl records, it’s time to move on to the next step – monitoring and adjusting the recording levels for optimal quality.
Step 7: Monitoring and Adjusting the Recording Levels
Once you start the recording process, it’s essential to monitor and adjust the recording levels to ensure optimal audio quality. This step helps you avoid distortions or audio clipping that can occur if the input levels are too high. Follow these steps to monitor and adjust the recording levels:
- Monitor the recording levels: Keep a close eye on the recording software’s level meters or indicators during the recording process. These visual representations show the volume or amplitude of the incoming audio.
- Avoid clipping: Ensure that the input levels do not reach the maximum level or “clip” as indicated by the level meters. Clipping occurs when the volume exceeds the maximum signal level, resulting in distorted audio.
- Adjust the gain control: If the recording levels are too low, you may need to increase the gain on your turntable or within the recording software. Alternatively, if the levels are too high, you can decrease the gain to avoid distortion.
- Make minor adjustments: Fine-tune the gain control or the input level within the software to find the optimal balance between volume and distortion-free audio. It’s also helpful to refer to the software’s documentation or support resources for guidance.
By actively monitoring and adjusting the recording levels, you can ensure that the audio from your vinyl records is captured accurately and without any unwanted distortion. Remember to test the levels before starting the actual conversion process to find the best settings that work for your specific setup.
With the recording levels properly monitored and adjusted, you’re one step closer to completing the record-to-MP3 conversion process. In the next step, we’ll cover how to save and export the recorded MP3 files for easy enjoyment and accessibility.
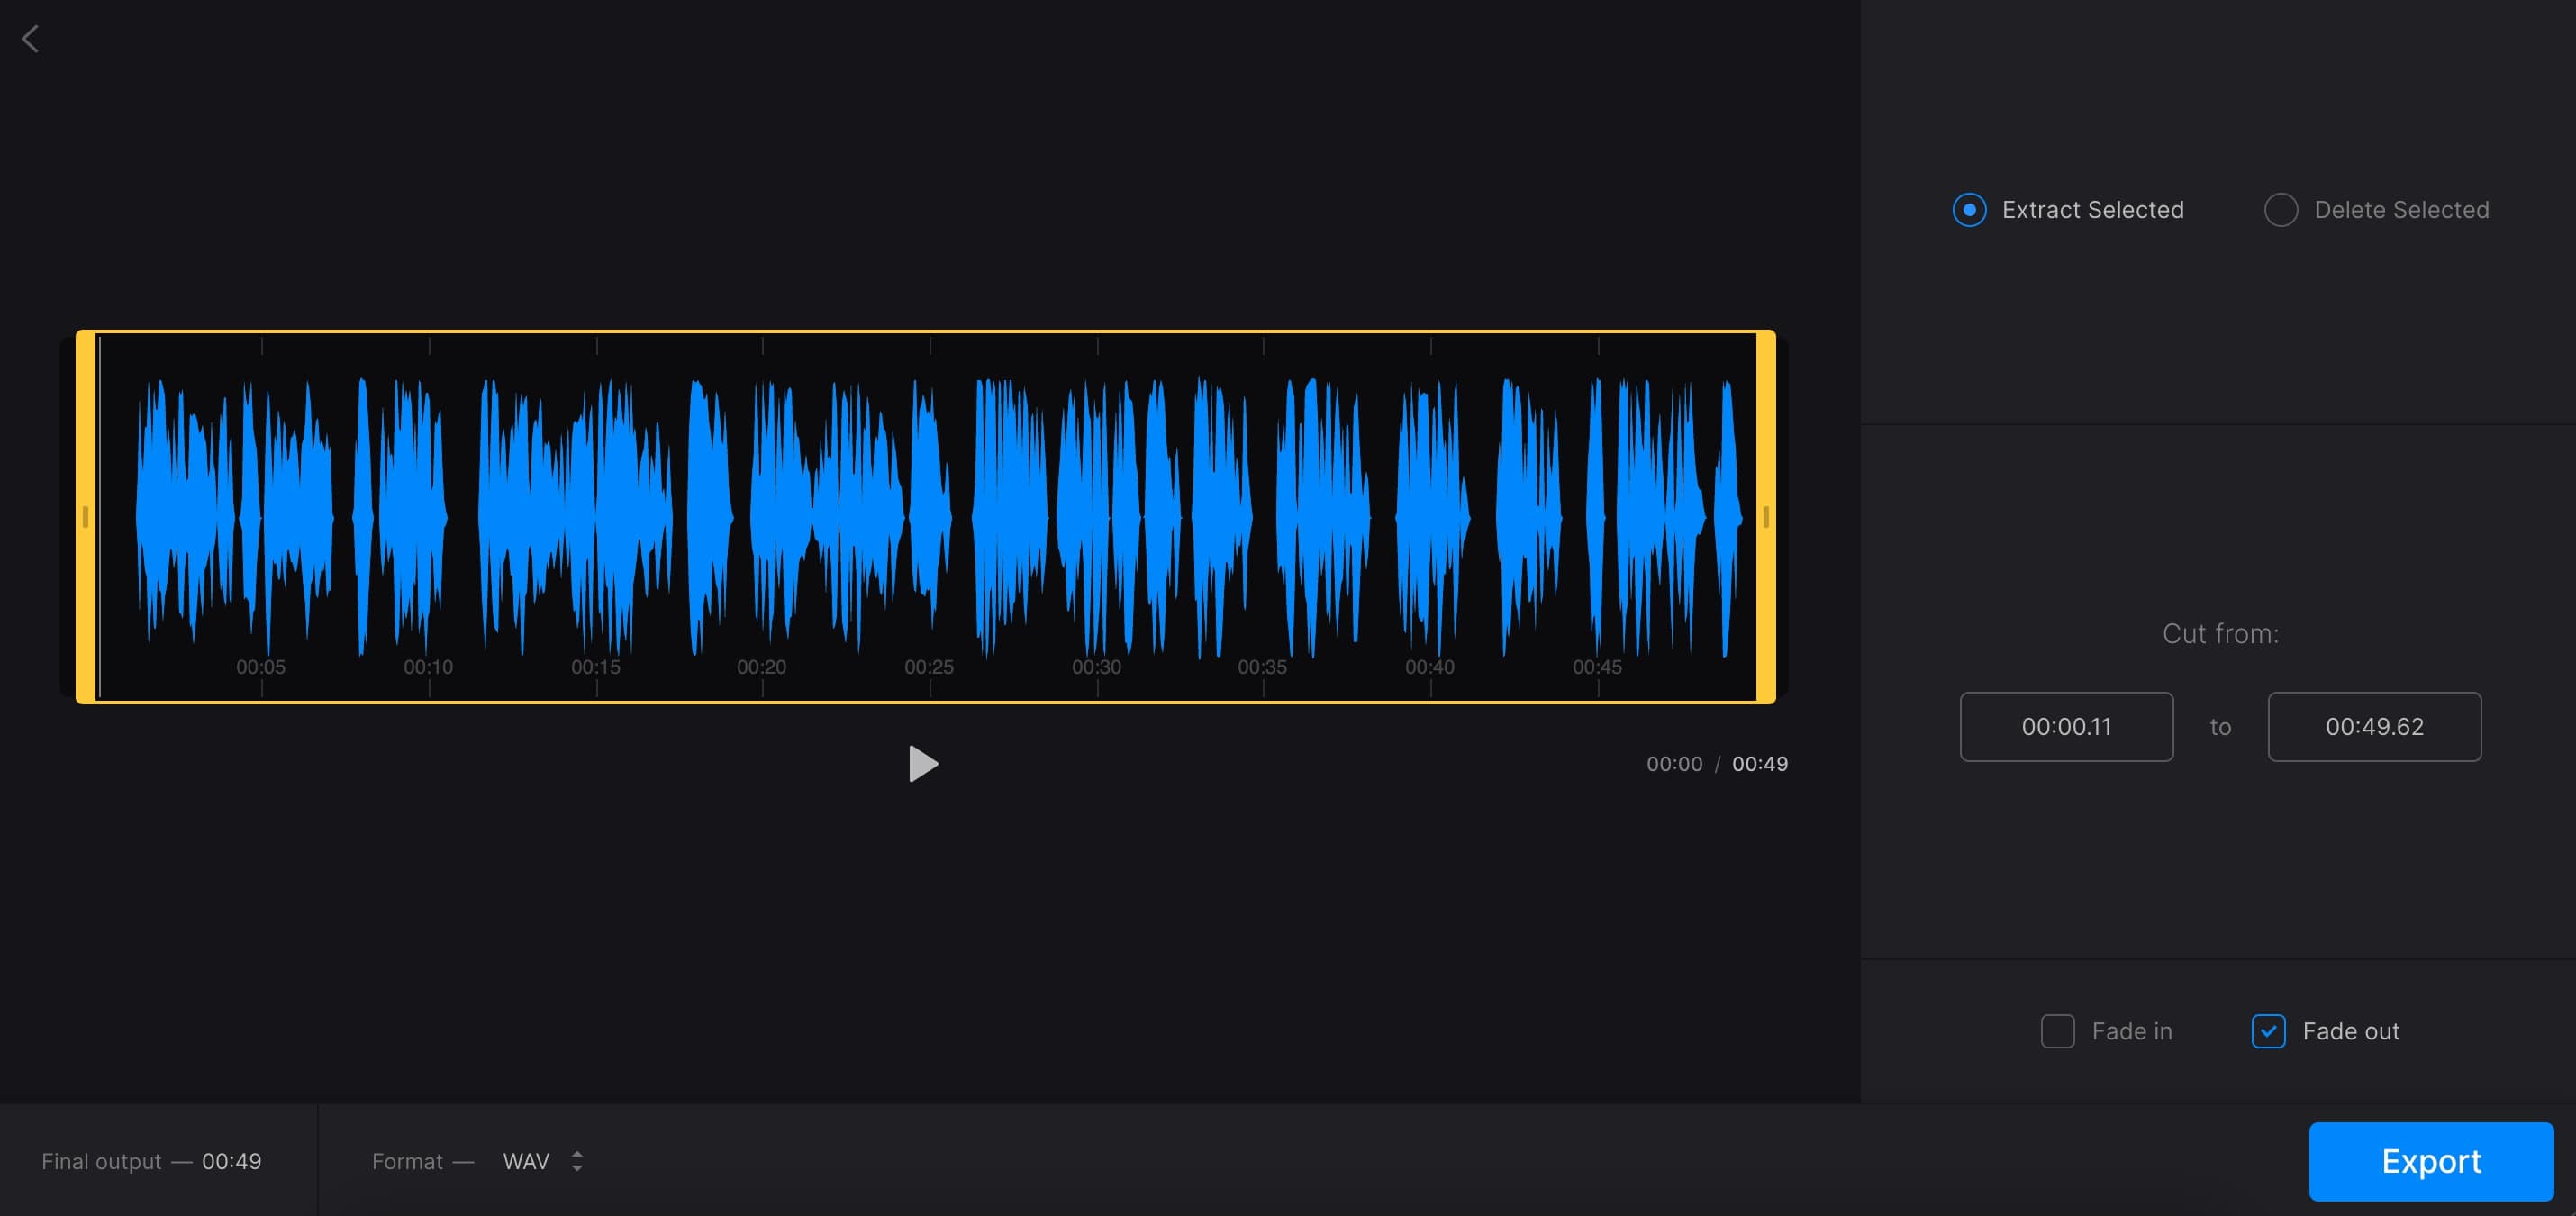
Step 8: Saving and Exporting the Recorded MP3 Files
After successfully recording your vinyl records, it’s time to save and export the recorded audio as MP3 files. This step allows you to store and enjoy your music collection in a digital format. Follow these steps to save and export your recorded MP3 files:
- Stop the recording: Click on the stop button within the recording software to end the recording process.
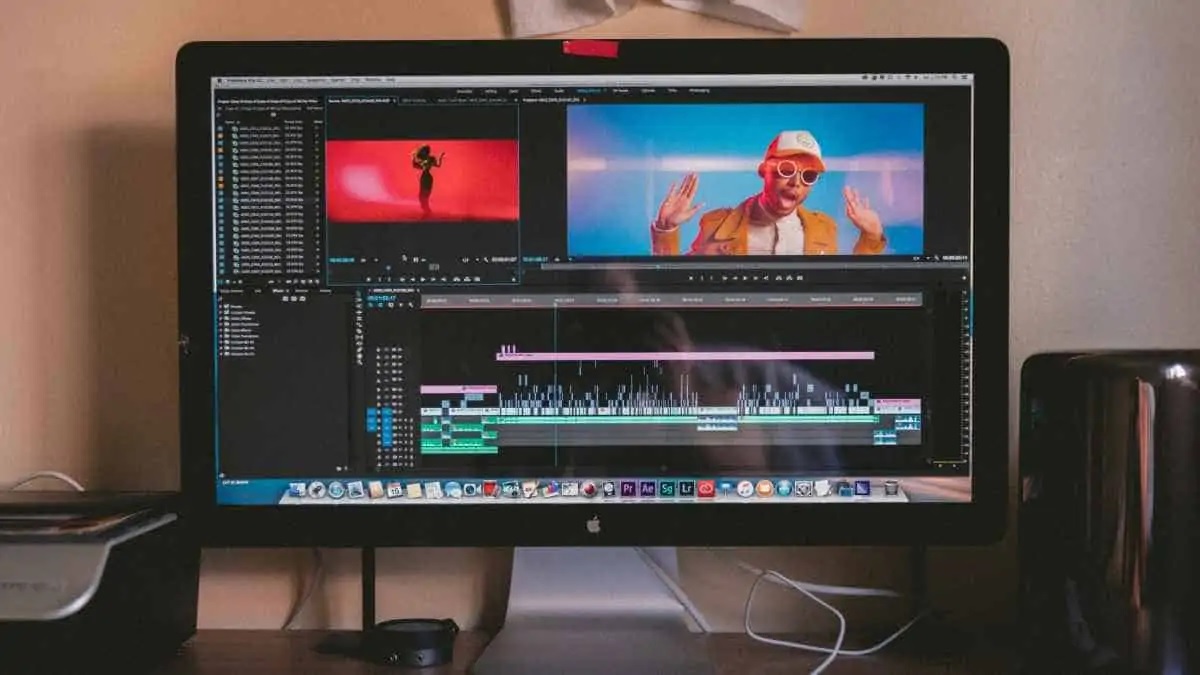
- Review and edit the recordings (optional): Take the time to listen to the recorded tracks and make any necessary edits or adjustments. Many recording software programs offer editing features such as cutting unwanted portions or fixing any audio imperfections.
- Choose the file name and location: Specify the desired file name and select the location where you want to save the recorded MP3 files on your computer. Create a dedicated folder for easy organization if needed.
- Select the MP3 export settings: Depending on your recording software, you may have options to choose the bitrate, quality, or other settings for the MP3 files. Select a suitable bitrate and quality that balances file size and audio fidelity.
- Export as MP3: Look for an export or save option within the software and choose the MP3 format for your files. Follow any prompts or dialogs to complete the export process.
- Wait for the export to finish: Depending on the length and number of recorded tracks, the export process may take some time. Allow the software to process and convert the recordings into MP3 files.
- Verify the exported files: Once the export is complete, navigate to the location where the MP3 files were saved. Verify that the files are properly exported and playable using a media player of your choice.
By saving and exporting the recorded MP3 files, you have successfully converted your vinyl records into a digital format. This allows for easy playback on various devices and platforms, ensuring the longevity and accessibility of your music collection.
With the recorded MP3 files safely saved, you can now move on to organizing and managing your digital music library. In the next step, we’ll cover some helpful tips and techniques for organizing and managing your MP3 files.
Step 9: Organizing and Managing Your MP3 Files
Now that you have successfully converted your vinyl records to MP3 files, it’s important to organize and manage your digital music library for easy access and enjoyment. Follow these steps to effectively organize and manage your MP3 files:
- Create a dedicated folder structure: Establish a logical folder structure on your computer to store your MP3 files. Consider organizing them by artist, album, genre, or any other criteria that makes sense to you.
- Tag your MP3 files: Use a music tag editor software or the features within your preferred media player to add metadata to your MP3 files. Include information such as artist, album, track number, genre, and album artwork.
- Consider using a music management software: If you have a large music collection, you may find it convenient to use a music management software like iTunes, MusicBee, or foobar2000. These tools can help you organize, tag, and manage your MP3 files more efficiently.
- Backup your MP3 files: It’s crucial to back up your MP3 files to prevent loss in case of hardware failure or accidental deletion. Consider using external hard drives, cloud storage services, or dedicated backup software to create regular backups of your music collection.
- Sync with portable devices: If you plan to listen to your MP3 files on portable devices like smartphones or MP3 players, sync your music library with the device using the appropriate software or applications. This ensures that your favorite tunes are always with you on the go.
- Explore music management features: Take advantage of additional features provided by your chosen media player or music management software. These may include creating playlists, smart playlists, rating songs, or adding custom tags to further customize your music library.
- Maintain organization: As you continue to add new MP3 files to your library, make it a habit to maintain the organization and manage any duplicates or outdated files. Regularly review and update your music library for a seamless and clutter-free experience.
By organizing and managing your MP3 files, you can easily find and enjoy your favorite tracks, create personalized playlists, and maintain a well-structured digital music library. With these steps, you are well on your way to becoming a master of your digital music collection.
Now that you have successfully organized and managed your MP3 files, it’s time to address any common issues or troubleshoot any problems that may arise during the process. In the final step, we’ll cover some troubleshooting tips and common issues to help you overcome any hurdles you may encounter.
Step 10: Troubleshooting Tips and Common Issues
While converting records to MP3 files with the Stanton T.92 USB turntable, you may encounter some common issues or challenges. Fortunately, there are troubleshooting tips that can help you overcome these obstacles. Here are some troubleshooting tips and common issues to be aware of:
- Excessive background noise: If you notice excessive background noise in your recordings, ensure that your turntable is properly grounded. Check the connections and ensure that the grounding wire is securely attached.
- Skipping or jumping: If your turntable is skipping or jumping during playback or recording, check the condition of the stylus and ensure it is clean and free from dust or damage. Adjusting the tracking force and anti-skate settings may also help alleviate this issue.
- Distortion or clipping: Excessive volume or gain can lead to distortion or clipping in your recordings. Make sure to monitor and adjust the recording levels to maintain a proper balance and avoid distortion.
- Poor audio quality: If the audio quality of your recordings is not up to your expectations, consider cleaning your vinyl records more thoroughly and using a high-quality stylus. Additionally, ensure that your turntable and cartridge are properly aligned for optimal sound reproduction.
- Software compatibility issues: If you are experiencing difficulties with the software or driver installation, make sure you have the latest version specifically designed for your operating system. Be sure to check the manufacturer’s website for any software updates or troubleshooting guides.
- Playback issues on portable devices: In some cases, MP3 files converted from vinyl records may not play properly on certain portable devices. Check the compatibility of your device with the MP3 format and consider converting the files to a more universally supported format, such as AAC or FLAC.
- Inconsistent recording levels: If your recordings have inconsistent levels or volume fluctuations, it could be due to variations in the record itself. Consider using software with automatic gain control or perform manual adjustments during the editing process to normalize the levels.
If you encounter any of these issues or other technical problems, consult the user manual of your turntable, recording software, or seek assistance from online forums and communities dedicated to vinyl record and turntable enthusiasts. Remember to be patient and persistent in troubleshooting, as the reward of enjoying your vinyl collection in digital format is worth the effort.
Congratulations! By following these steps and troubleshooting tips, you have successfully converted your vinyl records to MP3 files using the Stanton T.92 USB turntable. Enjoy your music library and relish the convenience and versatility of digital audio.
Happy listening!
Conclusion
Converting your vinyl records to MP3 files with the Stanton T.92 USB turntable opens up a world of possibilities for enjoying and sharing your music collection. By following the steps outlined in this guide, you can transform your cherished vinyl records into digital audio files that can be easily accessed and enjoyed on various devices.
From setting up the turntable to saving and organizing the MP3 files, each step plays a crucial role in ensuring successful and high-quality conversions. Taking the time to properly clean and prepare your vinyl records can greatly improve the sound quality of your recordings. Configuring the recording settings, monitoring the levels, and adjusting as needed will help avoid distortions and unwanted noise.
Properly organizing and managing your MP3 library will make it easier to find and enjoy your favorite music. Creating a logical folder structure, tagging your files with relevant metadata, and utilizing music management software can enhance the overall experience of your digital music collection.
Throughout the process, it’s important to troubleshoot common issues that may arise, such as background noise, skipping, or poor audio quality. By following the troubleshooting tips provided, you can overcome these challenges and achieve the best possible results.
Converting vinyl records to MP3 files with the Stanton T.92 USB turntable bridges the gap between the analog and digital worlds, preserving the nostalgic charm of vinyl while providing the convenience of digital playback. Whether you’re archiving your vinyl collection or simply enjoying your favorite albums on the go, this process allows you to breathe new life into your beloved records.
So, dust off those vinyl records, set up your Stanton T.92 USB turntable, and embark on the journey of converting your vinyl treasures to MP3 files. Enjoy the warmth and richness of vinyl sound while relishing the portability and accessibility of digital music.
Happy spinning and listening!