Home>Production & Technology>Stereo>How To Add USB Port In Car Stereo

Stereo
How To Add USB Port In Car Stereo
Modified: January 22, 2024
Learn how to add a USB port to your car stereo with our step-by-step guide. Upgrade your stereo system and enjoy seamless connectivity for all your devices.
(Many of the links in this article redirect to a specific reviewed product. Your purchase of these products through affiliate links helps to generate commission for AudioLover.com, at no extra cost. Learn more)
Table of Contents
Introduction
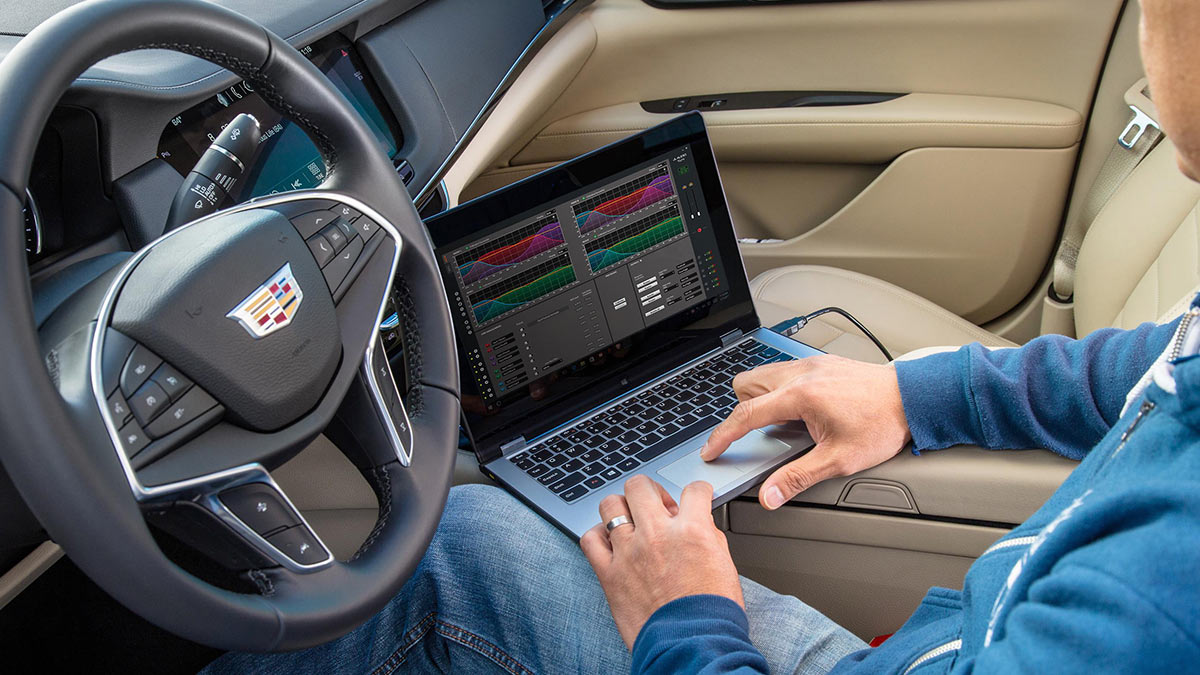
The advancement of technology has revolutionized the way we listen to music in our cars. Gone are the days of carrying around stacks of CDs or relying solely on radio stations. With the integration of USB ports in car stereos, now we have the convenience of playing our favorite music directly from our USB devices.
Adding a USB port to your car stereo can be a game-changer, allowing you to enjoy your personalized music playlist on long drives or even charging your phone while on the go. However, many older car models may not come equipped with this feature.
In this comprehensive guide, we will walk you through the step-by-step process of adding a USB port to your car stereo. Whether you’re a tech-savvy individual or a DIY enthusiast, this guide will equip you with the necessary knowledge and skills to transform your car stereo into a modern audio hub.
Before we dive into the installation process, it’s important to gather all the necessary materials and tools to ensure a smooth and successful upgrade. Let’s get started!
Step 1: Gather the necessary materials
Before you begin adding a USB port to your car stereo, it is crucial to gather all the materials and tools required for the installation. By having everything prepared, you can avoid unnecessary interruptions and complete the process more efficiently. Here are the essential items you will need:
- USB Port Kit: You will need a USB port kit that is compatible with your car stereo. Ensure that the kit includes the USB port itself, as well as any accompanying wires or connectors.
- Wire cutters and strippers: These tools will be necessary for cutting and stripping the wiring in your car stereo to make the necessary connections.
- Soldering iron and solder: If your car stereo requires soldering to establish a connection, make sure you have a soldering iron and solder on hand.
- Electrical tape: Electrical tape will be used to insulate and protect the wiring connections, ensuring a secure and reliable installation.
- Trim removal tools: Depending on your car model, you may need trim removal tools to safely and effectively remove the necessary panels to access your car stereo.
- Phillips head screwdriver: In most cases, a Phillips head screwdriver is required to remove screws and disassemble the car stereo.
- User manual or wiring diagram: It is useful to have the user manual or wiring diagram for your car stereo on hand. This will help you locate the appropriate wires and connectors for the USB port installation.
By gathering these materials beforehand, you can ensure a smooth installation process without any last-minute trips to the store. Once you have everything ready, you can proceed to the next step: determining the best location for your USB port.
Step 2: Determine the best location for the USB port
In this step, we will decide on the ideal location to install the USB port in your car. The location should be easily accessible and convenient for you to connect and disconnect your USB devices. Here are a few factors to consider:
- Dashboard accessibility: Look for a location on the dashboard or center console that is within reach while you are seated in the driver’s seat. Avoid choosing a spot that obstructs your view or interferes with other controls.
- Visibility: Opt for a location where the USB port is easily visible. This makes it simpler to find and connect your USB devices without distraction while driving.
- Cable management: Consider how you will route the USB cable from the port to your car stereo. Choose a location that allows for neat and secure cable management, ensuring that the cable does not interfere with other components or create any hazards.
- Existing features: Take into account any existing features or controls in your car’s dashboard. You want to avoid installing the USB port in a location that might interfere with or cover up important buttons, knobs, or displays.
Based on these factors, a few common locations for installing a USB port in a car include the center console, near the stereo unit, or on the dashboard itself. Different car models may require specific considerations, so consult your car’s user manual or wiring diagram for guidance.
Once you have determined the best location for your USB port, it’s time to move on to the next step: disconnecting the car stereo.
Step 3: Disconnect the car stereo
Before proceeding with the installation of the USB port, it is essential to disconnect your car stereo to ensure a safe and successful setup. Follow these steps to disconnect the car stereo:
- Turn off your car: Start by turning off your car completely and removing the keys from the ignition.
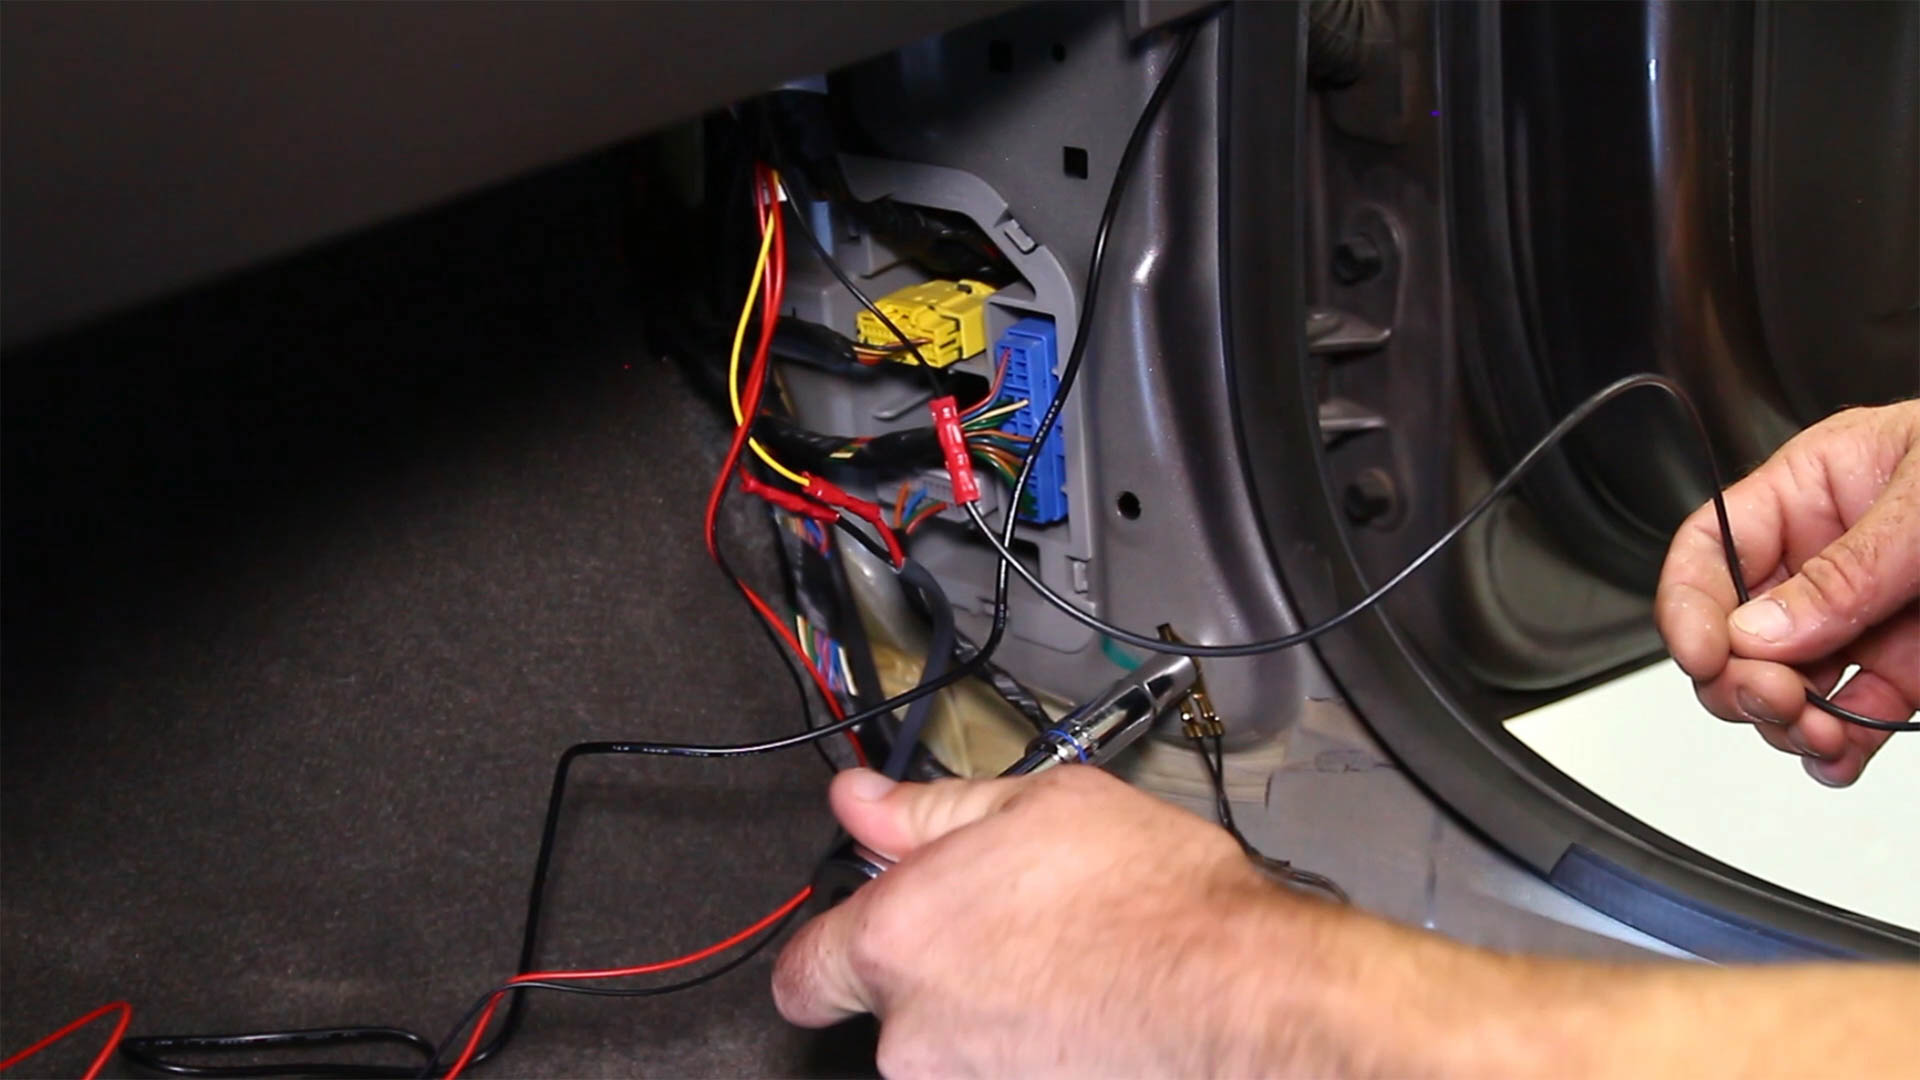
- Locate the necessary panels: Refer to your car’s user manual or wiring diagram to identify the panels that need to be removed to access the car stereo. You may need to use trim removal tools to carefully pry open the panels without causing any damage.
- Remove screws and connectors: Once you have removed the necessary panels, you will likely find screws securing the car stereo in place. Use the appropriate size Phillips head screwdriver to remove these screws. After removing the screws, gently pull out the car stereo unit to expose the wiring connectors at the back.
- Disconnect the wiring harness: Look for the main wiring harness that connects the car stereo to the vehicle’s electrical system. Depress any release tabs or levers if present, and carefully disconnect the wiring harness by pulling it straight out. You may need to exert a small amount of force, but be cautious not to pull too hard as you can damage the wires or connectors.
- Remove any additional connectors: Some car stereos may have additional connectors for features such as antenna connections or steering wheel controls. Take note of these additional connectors and disconnect them accordingly.
By following these steps, you will safely disconnect the car stereo and be ready to proceed with the installation of the USB port. Make sure to keep track of any screws or connectors you remove, as you will need them when reassembling the car stereo later on.
In the next step, we will prepare the USB port for installation. Stay tuned!
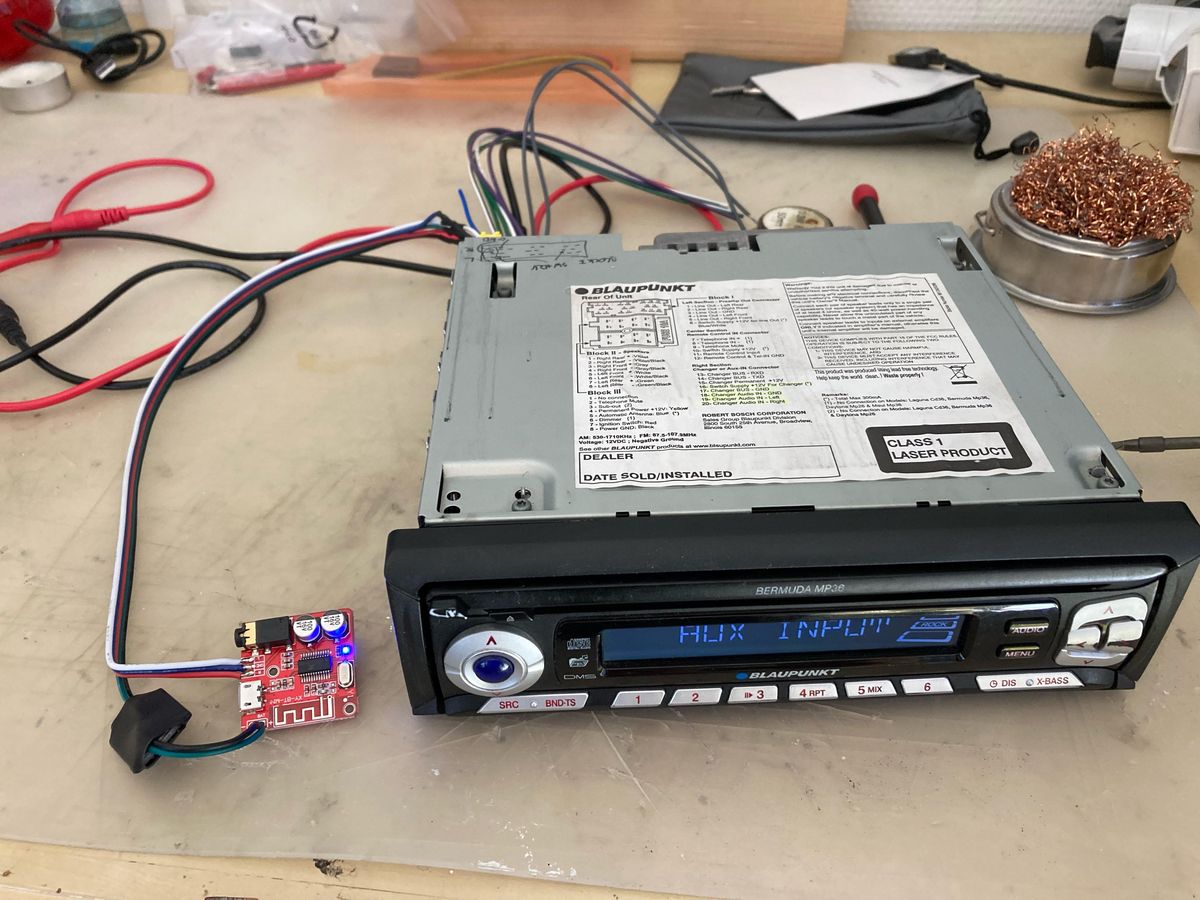
Step 4: Prepare the USB port
In this step, we will prepare the USB port for installation by making the necessary adjustments and connections. Follow these steps to get your USB port ready:
- Examine the USB port kit: Take a close look at the USB port kit you have obtained. Familiarize yourself with the various components, including the USB port itself, any accompanying wiring, connectors, and mounting accessories.
- Select the appropriate mounting method: Depending on the USB port kit, you may have options for mounting the port on the surface of your car’s dashboard or center console, or you may need to create a custom mount. Follow the instructions provided with the kit to determine the best method for your installation.
- Prepare the mounting location: If necessary, clean and prepare the mounting location on your car’s dashboard or center console. Remove any dust, debris, or adhesive residue that may interfere with the proper attachment of the USB port.
- Route the necessary wiring: Carefully determine the path in which the wiring for the USB port needs to be routed. This will depend on the location you have chosen and the accessibility to the car stereo. Ensure that the wiring will not interfere with any other components or moving parts.
- Make wiring connections: Refer to the USB port kit instructions or wiring diagram to identify the necessary connections. Strip the ends of the wires and connect them to the corresponding wires in the car stereo’s wiring harness. If soldering is required, use a soldering iron and solder to establish secure connections.
- Insulate the connections: Once the connections are made, use electrical tape to insulate and protect the exposed wiring connections. This helps prevent any short circuits or damage to the electrical system.
By adequately preparing the USB port and making the necessary connections, you are now ready to move on to the next step: connecting the USB port to the car stereo. Let’s continue the installation process!
Step 5: Connect the USB port to the car stereo
Now that you have prepared the USB port, it’s time to connect it to your car stereo. Follow these steps to ensure a proper and secure connection:
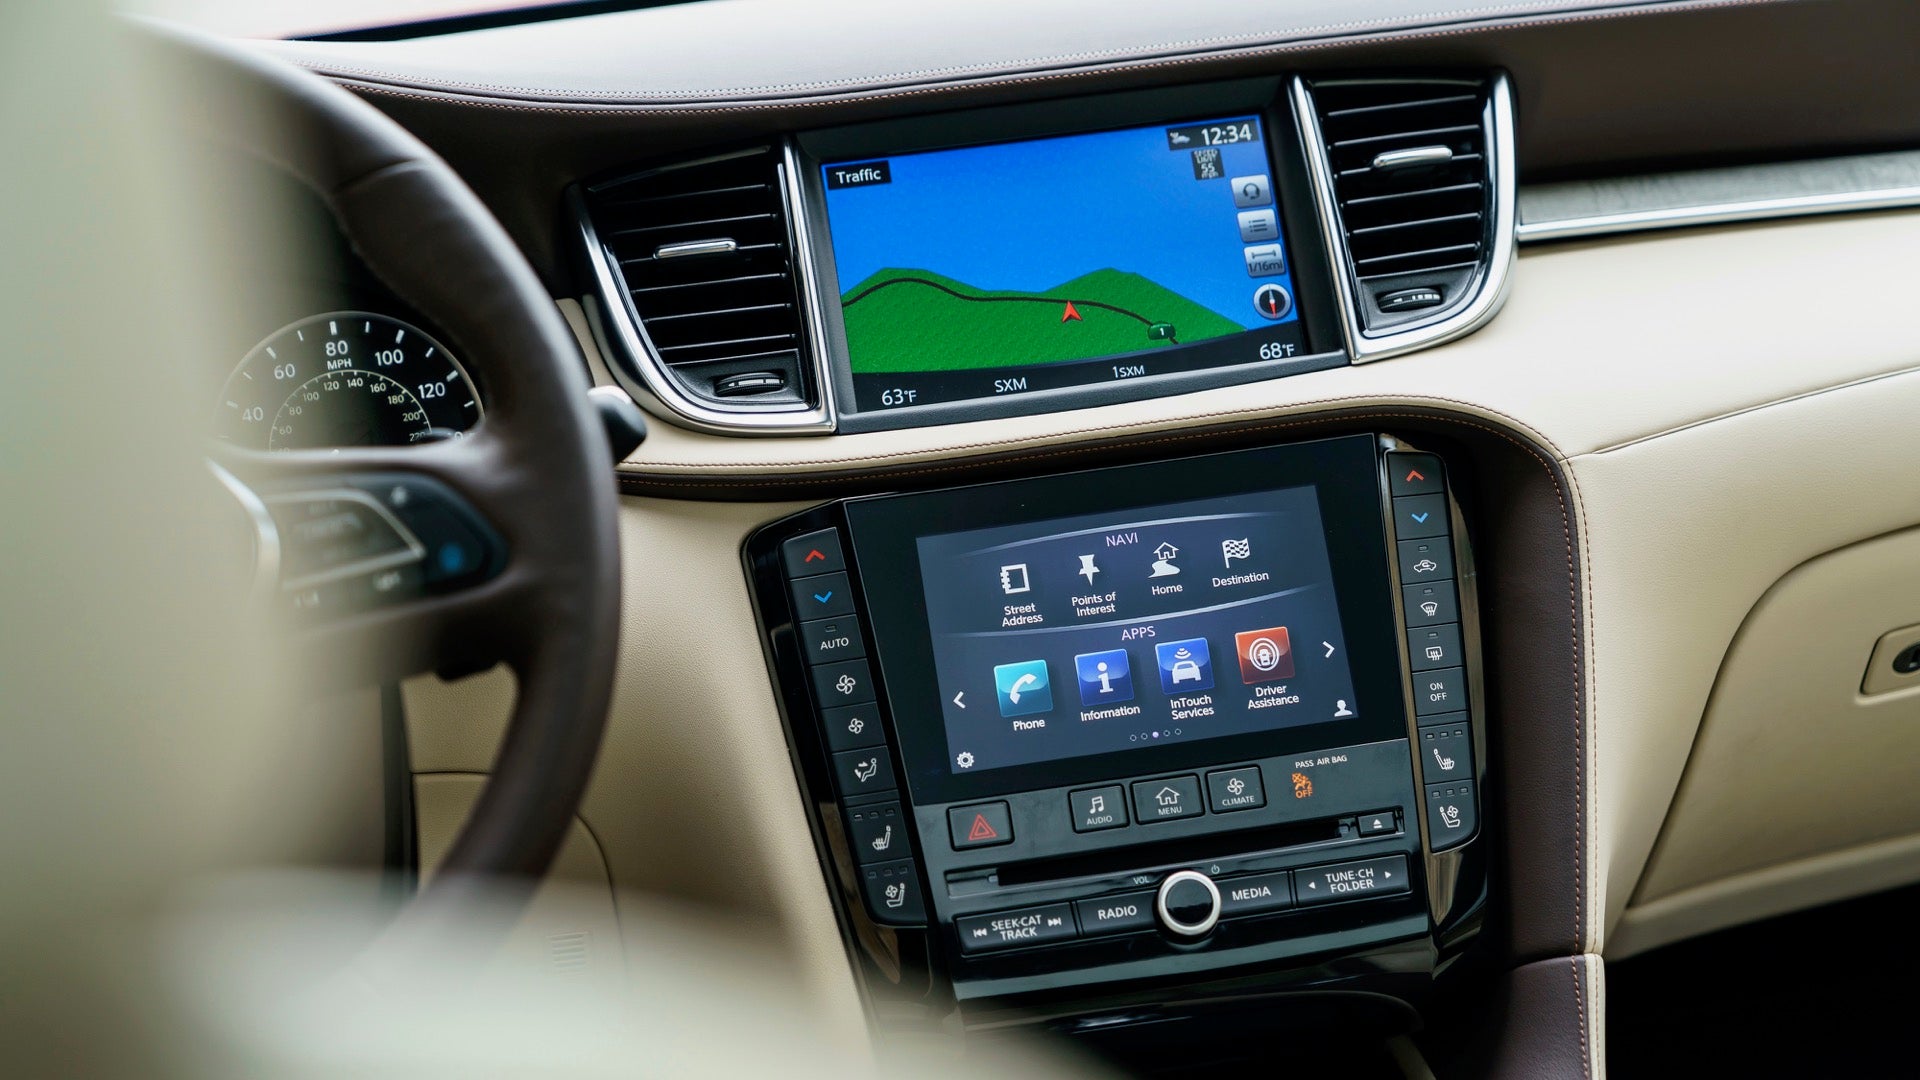
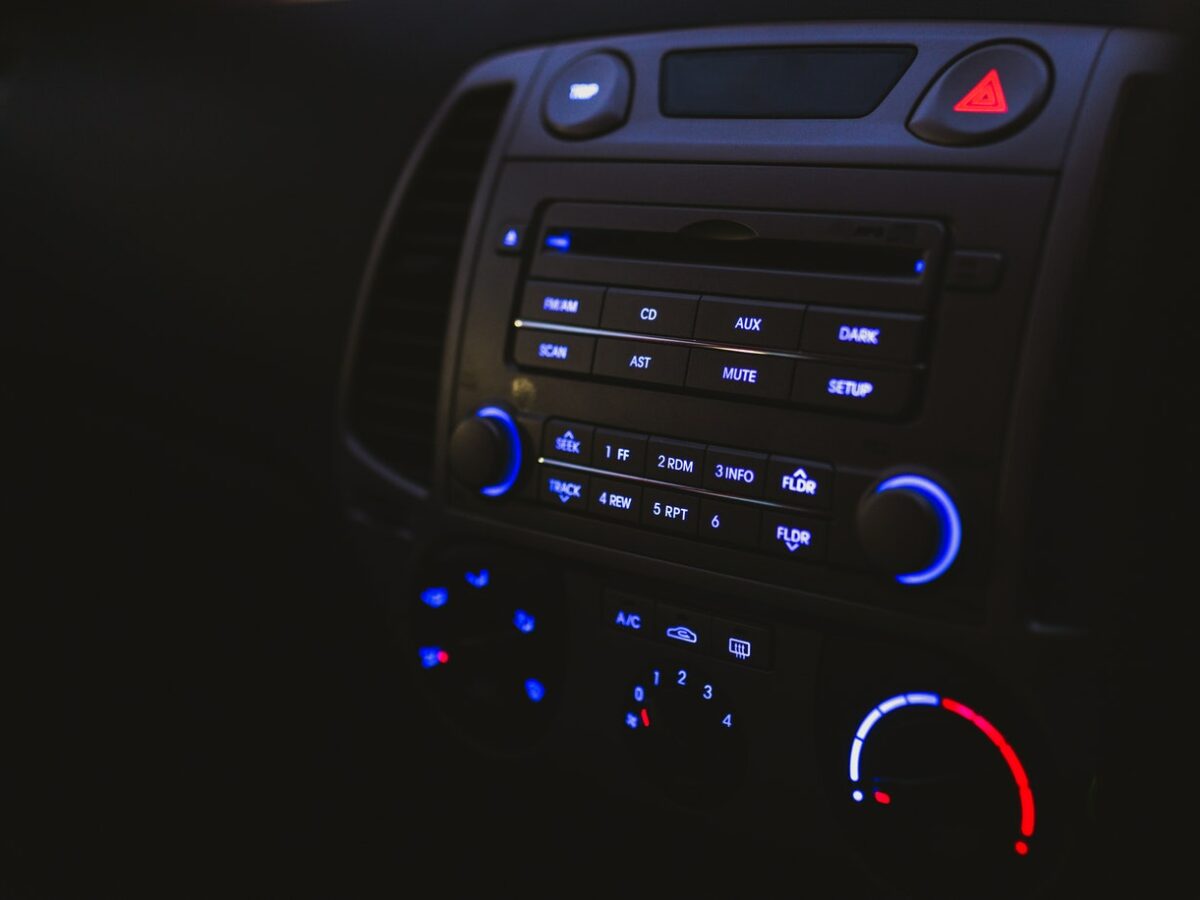
- Locate the USB input on the car stereo: Consult your car stereo’s user manual or wiring diagram to identify the USB input. It is usually located at the back of the unit and may be labeled as “USB,” “AUX,” or “Media.”
- Connect the USB port to the car stereo: Plug one end of the USB cable from the USB port kit into the USB input of the car stereo. Ensure a snug and secure connection.
- Secure the USB port in its mounting location: If you are using a custom mount or adhesive, follow the instructions provided with the USB port kit to secure it in place. If the kit includes a bracket or frame, attach it to the dashboard or center console according to the provided instructions.
- Route the USB cable: Carefully route the USB cable from the USB port to the back of the car stereo unit, following the path you determined during the preparation stage. Make sure the cable is neatly tucked away and does not obstruct any other components or interfere with the operation of the car.
- Secure the USB cable: Use adhesive clips or cable ties to secure the USB cable along its route. This will help prevent it from becoming loose or tangled during everyday use.
By successfully connecting the USB port to the car stereo, you are now one step closer to enjoying the convenience of playing music directly from your USB devices. In the next step, we will reassemble the car stereo. Let’s continue!
Step 6: Reassemble the car stereo
With the USB port successfully connected to the car stereo, it’s time to reassemble the various components and panels. Follow these steps to ensure a seamless reassembly process:
- Reconnect the wiring harness: Carefully reconnect the main wiring harness to the back of the car stereo unit. Make sure the connectors align properly and firmly push them together until they click into place.
- Reattach any additional connectors: If there were any additional connectors for features like antenna connections or steering wheel controls, reconnect them as well. Refer to your car’s user manual or wiring diagram for guidance if needed.
- Slide the car stereo unit back into place: Gently slide the car stereo unit back into its original position, ensuring that it is fitted securely. If there were screws holding the unit in place, reinsert and tighten them using a Phillips head screwdriver.
- Replace and secure the necessary panels: Put back any panels or trim that were removed during the disassembly process. Use the trim removal tools, if necessary, to position the panels correctly and secure them in place.
- Test the car stereo: Turn on your car and test the functionality of the car stereo, including the newly added USB port. Connect a USB device and verify that it is recognized and playing music through the car stereo system. Adjust the volume and settings as desired to ensure everything is working correctly.
By following these steps, you have successfully reassembled the car stereo after adding the USB port. Take the time to double-check all connections and make sure everything is securely in place before moving on to the final step: testing the USB port functionality.
Let’s move on to the last step to complete the installation process!
Step 7: Test the USB port functionality
After completing the installation process, it’s crucial to test the functionality of the USB port to ensure that everything is working correctly. Follow these steps to verify the USB port’s functionality:
- Connect a USB device: Plug in a USB device, such as a USB flash drive or smartphone, into the newly installed USB port.
- Check device recognition: Confirm that the USB device is recognized by the car stereo. Depending on your car stereo model, you may see a notification or indication on the screen confirming the connection.
- Access the USB device: Use the car stereo’s controls to access the USB device’s content. Navigate through folders, select songs or albums, and test playback functionality.
- Adjust settings and audio quality: Explore the car stereo’s settings and adjust any audio settings to your preference. Play around with equalizer settings, volume levels, and other audio features to ensure optimal sound quality.
- Disconnect and reconnect the USB device: Test the ease of disconnecting and reconnecting the USB device from the USB port. Ensure that the device is recognized promptly upon reconnecting.
By performing these tests, you can confirm that the USB port installation was successful. Enjoy the convenience of playing your favorite music directly from USB devices and charging them while on the go.
If you encounter any issues during the testing process, double-check the wiring and connections you made during the installation. Consult your car stereo’s user manual or seek professional assistance if necessary.
Congratulations! You have now successfully added a USB port to your car stereo. Enjoy the seamless integration of modern technology into your driving experience.
Thank you for following this comprehensive guide. Safe travels and happy listening!
Conclusion
Adding a USB port to your car stereo is a worthwhile upgrade that enhances your music listening experience and provides convenient charging options. With the step-by-step guide provided, you can easily perform the installation yourself and enjoy the benefits of modern technology on the road.
Throughout this comprehensive guide, you learned how to gather the necessary materials, determine the best location for the USB port, disconnect the car stereo, prepare the USB port, connect it to the car stereo, reassemble the components, and finally, test the USB port’s functionality.
By following each step carefully and paying attention to the details, you can ensure a successful installation process. However, it is vital to refer to your car’s user manual or wiring diagram for specific instructions that may vary depending on your car model and stereo system.
Remember, if you encounter any difficulties or are unsure about any aspect of the installation, it is always recommended to seek professional assistance. They can provide expert guidance and ensure that the installation is performed safely and efficiently.
Now that you have added a USB port to your car stereo, enjoy the convenience of playing your favorite music from USB devices, managing your playlist effortlessly, and charging your devices while on the go. Safe travels and happy listening!