Home>Devices & Equipment>Turntable>How To Remove The Plastic Bottom Of A Dual 704 Turntable
Turntable
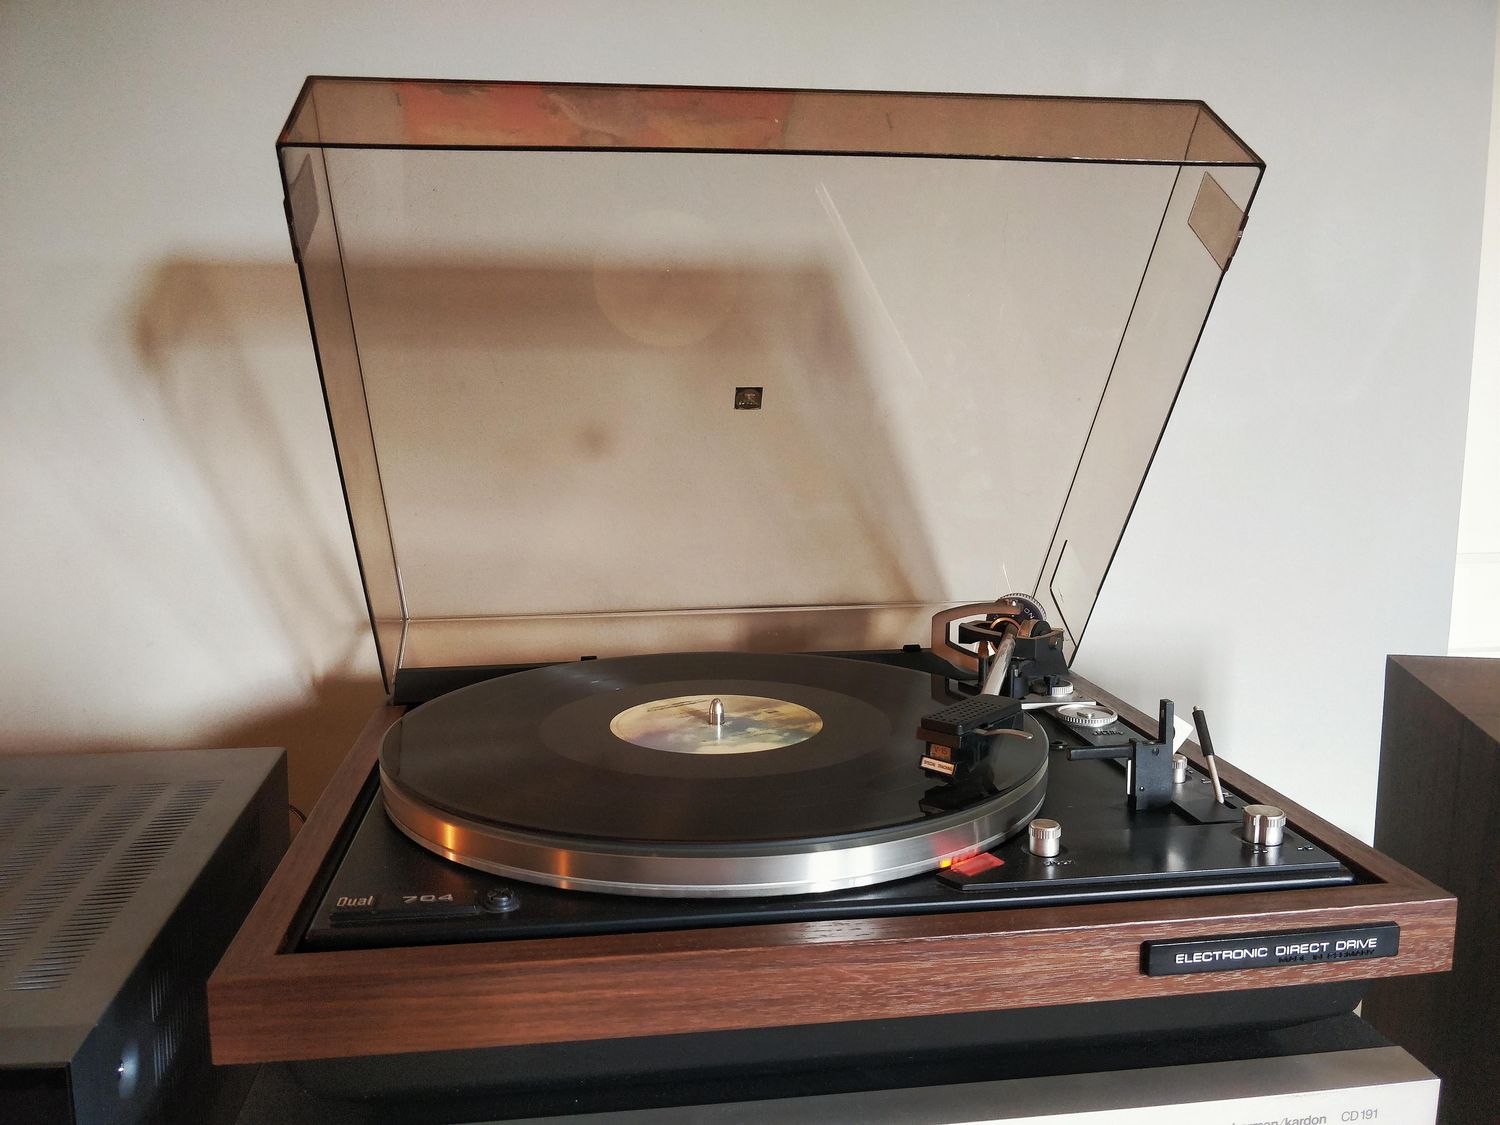
How To Remove The Plastic Bottom Of A Dual 704 Turntable
Published: January 19, 2024
Learn how to easily remove the plastic bottom of your Dual 704 turntable with our step-by-step guide. Discover the secrets to maintaining and optimizing your beloved turntable.
(Many of the links in this article redirect to a specific reviewed product. Your purchase of these products through affiliate links helps to generate commission for AudioLover.com, at no extra cost. Learn more)
Table of Contents
Introduction
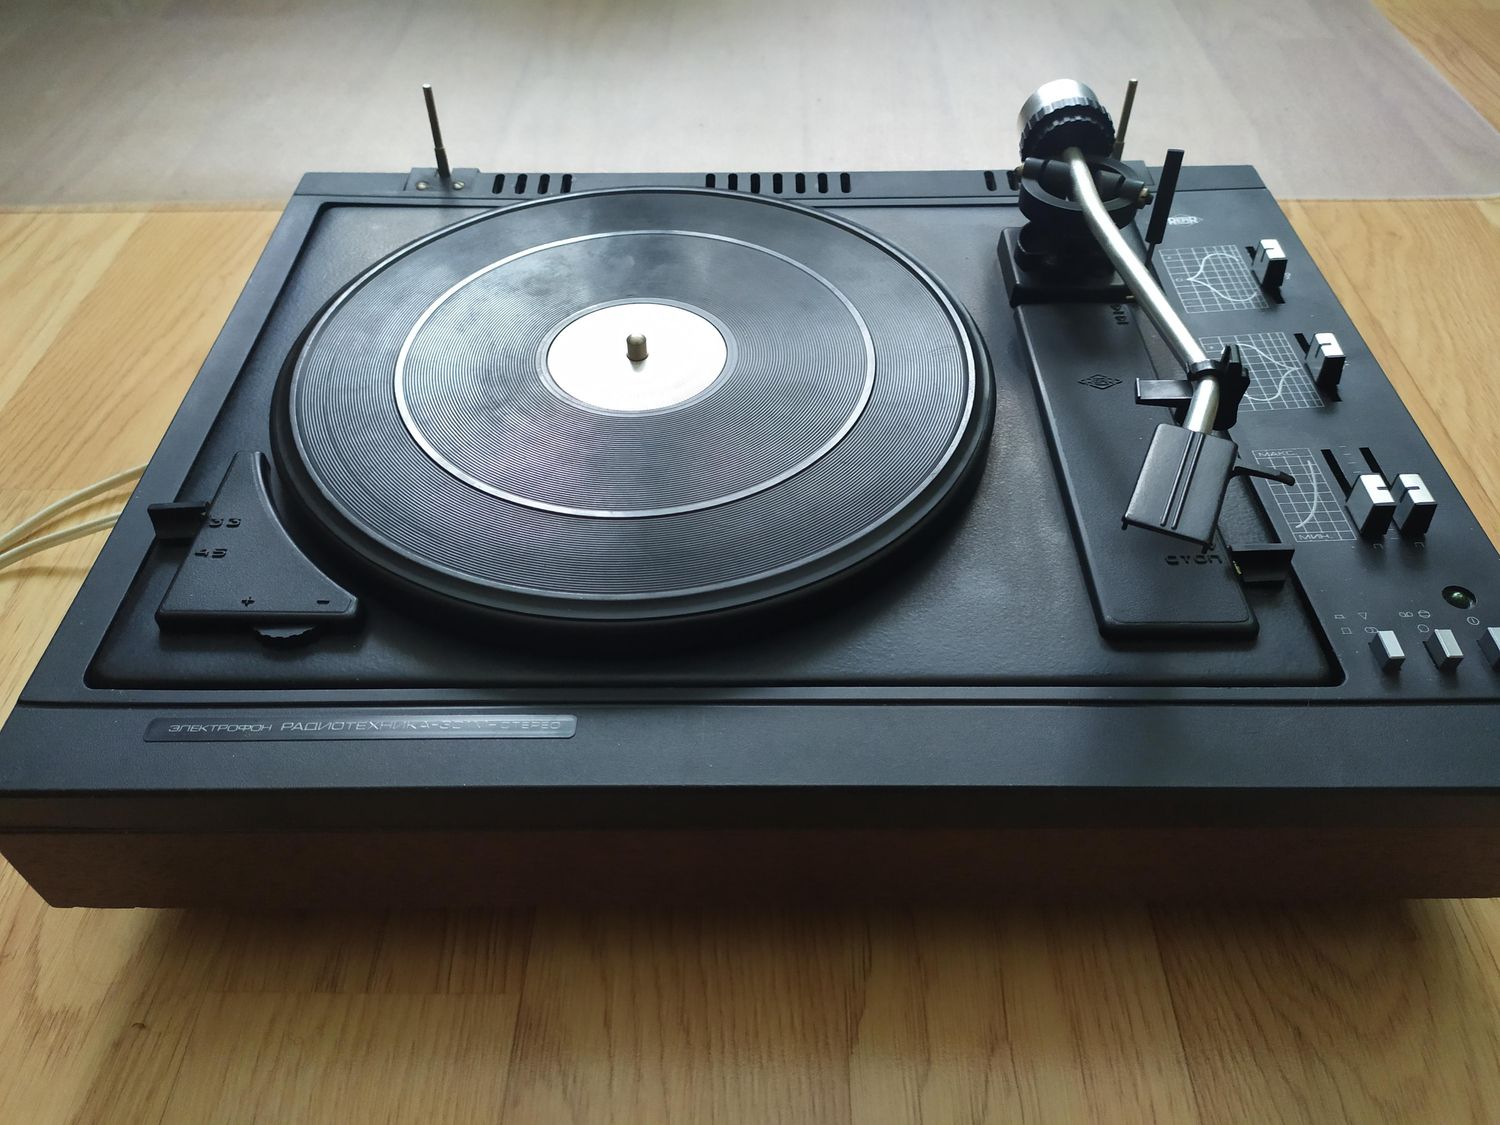
When it comes to turntables, the Dual 704 is an iconic model known for its superior sound quality and durable build. However, there may come a time when you need to remove the plastic bottom of your Dual 704 turntable. Whether you are looking to clean the bottom plate or make repairs to the internal components, removing the plastic bottom is a necessary step.
In this guide, we will walk you through the process of removing the plastic bottom of a Dual 704 turntable. We will provide step-by-step instructions, accompanied by helpful tips and insights, to ensure a smooth and successful process. To make things even easier, we will also highlight the tools and materials you will need along the way.
Before we dive in, it’s important to note that working with turntables requires a certain level of caution and precision. Always make sure to power off and unplug your turntable before attempting any repairs or maintenance. Additionally, if you are not confident in your abilities, it’s always a good idea to seek assistance from a professional technician.
Now, let’s gather our tools and materials and get started on removing the plastic bottom of your Dual 704 turntable!
Tools and Materials Needed
Before you begin the process of removing the plastic bottom of your Dual 704 turntable, it’s important to gather all the necessary tools and materials. Here is a list of what you will need:
- Screwdriver set (both Phillips and flathead)
- Clean cloth or microfiber cloth
- Rubbing alcohol or electronics cleaner
- Antistatic brush or compressed air canister
- Soft-bristled brush or toothbrush
- Container for screws (to avoid losing them)
These tools and materials will help you successfully remove the plastic bottom of your Dual 704 turntable and perform any necessary cleaning or repairs. The screwdriver set is essential for removing the screws that hold the bottom plate in place. Having both Phillips and flathead screwdrivers will ensure that you have the right tool for the job.
A clean cloth or microfiber cloth is necessary for wiping away any dust or debris that may have accumulated on the bottom plate. Some stubborn stains or grime might require the use of rubbing alcohol or electronics cleaner to thoroughly clean the surface. These cleaning agents are safe to use on electronic components and will not damage the turntable.
Using an antistatic brush or compressed air canister will help you remove any dust or dirt particles that may have settled in hard-to-reach areas. It’s important to keep your turntable clean and free from any debris, as this can affect its performance and sound quality.
Lastly, a soft-bristled brush or toothbrush can be used to gently scrub any stubborn stains or dirt. Be sure to use a soft-bristled brush to avoid scratching the surface of your turntable.
Now that you have all the necessary tools and materials, let’s move on to the step-by-step process of removing the plastic bottom of your Dual 704 turntable!
Step 1: Power Off and Unplug the Turntable
Before starting any maintenance or repair work on your Dual 704 turntable, it is crucial to ensure your safety and protect the delicate components of your device. Start by powering off the turntable and unplugging it from the power source.
This step is important as it prevents any accidental damage to the internal parts of the turntable and reduces the risk of electric shock while handling the device. Turning off and unplugging the turntable also ensures that the motor is not running, making it easier to work on the turntable without any moving parts.
Take a moment to verify that all power sources, including batteries and AC adapters, are disconnected. This precaution ensures that the turntable is completely powered down and eliminates the possibility of any electrical current flowing through the device.
Remember, safety should always be the top priority when working with any electronic device, and the Dual 704 turntable is no exception. By powering off and unplugging the turntable, you are taking the necessary precautions to protect yourself and your device.
Once you have ensured the turntable is powered off and unplugged, you can proceed with the next steps of removing the plastic bottom plate. This will allow you to access the internal components of the turntable for cleaning or repairs, ensuring optimum performance and longevity for your beloved Dual 704 turntable.
Step 2: Remove the Dust Cover
The dust cover of your Dual 704 turntable serves as a protective layer, preventing dust and debris from settling on the delicate components. Before you can access the plastic bottom plate, you will need to remove the dust cover. Here’s how:
- Locate the hinges: The dust cover is typically attached to the turntable through hinges located at the back. These hinges allow the cover to be lifted and closed smoothly.
- Support the dust cover: While holding the dust cover with one hand, use your other hand to gently support the cover as you release the hinges. This prevents any sudden movements that could cause the cover to fall or get damaged.
- Release the hinges: Depending on the model, the hinges may have a latch or a release mechanism. Carefully release the hinges by pressing the latch or unlocking the mechanism, allowing the dust cover to be fully lifted.
- Set the dust cover aside: Once the hinges are released, carefully lift the dust cover and set it aside in a safe place where it won’t get scratched or damaged. You may want to consider covering it with a clean cloth to protect it while you work on the turntable.
With the dust cover removed, you now have clear access to the top of the turntable and can proceed to the next step of removing the plastic bottom plate.
Remember to handle the dust cover with care to avoid any scratches or cracks. The dust cover is an essential part of your Dual 704 turntable, and proper maintenance will help keep your turntable in pristine condition.
Step 3: Remove the Platter
In order to remove the plastic bottom plate of your Dual 704 turntable, you will first need to remove the platter. The platter is the rotating disc where you place your vinyl records. Here’s how to remove it:
- Locate the spindle: The spindle is the central rod that the platter sits on. It is usually located in the center of the turntable.
- Hold the platter: Place your hand on the outer edge of the platter and gently lift it up. Be careful not to touch the turntable belt or any other delicate components.
- Remove the belt (if necessary): If your Dual 704 turntable has a belt-drive system, you may need to remove the belt before lifting the platter. Refer to your turntable’s manual for instructions on how to properly remove the belt.
- Lift and remove the platter: With a firm grip, lift the platter straight up and off the spindle. Set the platter aside in a safe place, making sure it is secure and won’t get scratched or damaged.
By removing the platter, you now have clear access to the top of the bottom plate. This will allow you to proceed with the next steps of removing the plastic bottom plate and performing any necessary maintenance or repairs.
It is important to handle the platter with care to avoid any damage. Mishandling the platter can affect its balance and cause playback issues. Always make sure to keep the platter in a safe place while you work on the turntable.
With the platter removed, you are now ready to move on to the next step of removing the plastic bottom plate of your Dual 704 turntable. Make sure to follow the next steps carefully to avoid any damage and ensure a successful removal process.
Step 4: Locate and Remove the Screws
With the platter removed, you can now locate and remove the screws that secure the plastic bottom plate of your Dual 704 turntable. The number and placement of the screws may vary depending on the model, but here’s a general guide to help you:
- Inspect the bottom of the turntable: Flip the turntable over and carefully examine the bottom plate. Look for any screws or fasteners that are holding it in place. Typically, you will find screws located around the perimeter of the bottom plate.
- Identify the screw types: Take note of the type and size of the screws used. The Dual 704 turntable may use Phillips or flathead screws. Having a screwdriver set with both types of screw heads will ensure you have the right tool for the job.
- Remove the screws: Use the appropriate screwdriver to carefully unscrew all the screws securing the bottom plate. Make sure to apply steady pressure to avoid stripping the screws. Place the screws in a small container or bag to keep them organized and prevent loss.
Be careful not to lose any screws during this step, as they are essential for reassembling the turntable after maintenance or repairs. Keeping them together in a container will ensure they are readily available when needed.
It is important to note that some Dual 704 turntable models may have additional screws hidden beneath stickers or rubber feet. Take your time to carefully remove any obstructions and locate all the screws before proceeding. Double-check that all screws have been removed before attempting to detach the bottom plate.
Once you have removed all the screws, you are ready to move on to the next step of detaching the plastic bottom plate of your Dual 704 turntable. Make sure to handle the turntable with care and avoid any excessive force that could cause damage.
By following these steps, you will be able to easily locate and remove the screws that secure the plastic bottom plate of your Dual 704 turntable, allowing you to proceed with the next steps of the removal process.
Step 5: Detach the Bottom Plate
Once you have removed all the screws, you are ready to detach the plastic bottom plate of your Dual 704 turntable. This step will give you access to the internal components for cleaning or repairs. Follow these instructions to safely detach the bottom plate:
- Remove any obstacles: Before attempting to detach the bottom plate, ensure that there are no cables or wires obstructing its removal. Gently move any cables out of the way to prevent them from getting caught or damaged.
- Align the turntable: Carefully align the turntable with the bottom plate facing upwards. Use both hands to secure the turntable, providing a stable grip.
- Lower the turntable: Slowly lower the turntable towards a soft surface, such as a clean and padded work area. Make sure to support the turntable with both hands to avoid any sudden drops or shifts. This will prevent any potential damage to the internal components.
- Detach the bottom plate: With the turntable placed on the soft surface, carefully lift and remove the plastic bottom plate. Use gentle, even pressure to detach the plate, ensuring that no wires or components are snagged or caught in the process.
Remember to handle the plastic bottom plate with care to prevent any cracks or damage. Set it aside in a safe location where it won’t be accidentally bumped or exposed to any potential hazards.
By following these steps, you have successfully detached the plastic bottom plate of your Dual 704 turntable. You now have access to the internal components, allowing you to clean or make any necessary repairs.
Keep in mind that the bottom plate is an integral part of the turntable’s structure, and removing it should only be done for maintenance purposes. When reassembling the turntable, make sure to carefully align and secure the bottom plate to maintain the structural integrity of your Dual 704 turntable.
Now that the bottom plate is detached, you can proceed with cleaning or making any desired repairs to your Dual 704 turntable. Take your time and ensure a thorough and meticulous cleaning process to maintain the optimal performance and longevity of your beloved turntable.
Step 6: Clean the Bottom Plate (Optional)
Now that you have detached the bottom plate of your Dual 704 turntable, you have the option to clean it. Cleaning the bottom plate is an excellent opportunity to remove any accumulated dust, dirt, or debris that may affect the performance of your turntable. Though this step is optional, it is highly recommended to ensure optimal functionality and longevity. Here are some steps to follow for cleaning the bottom plate:
- Inspect the bottom plate: Carefully examine the bottom plate for any visible dirt, dust, or grime. Pay close attention to corners or hard-to-reach areas where debris may have accumulated.
- Use a soft brush or cloth: Gently wipe or brush away any loose dust or debris from the bottom plate. Be sure to use a soft-bristled brush, microfiber cloth, or a lint-free cloth to avoid scratching the surface of the plate.
- Apply cleaning solution (if necessary): For tougher stains, you may need to apply a mild cleaning solution. Dampen a clean cloth with a mixture of water and a gentle cleaning agent, such as mild dish soap or electronics cleaner.
- Gently scrub the surface: Using the damp cloth, gently scrub the surface of the bottom plate in a circular motion. Be cautious not to apply excessive pressure or get any cleaning solution into the internal components of the turntable.
- Dry the bottom plate: After cleaning, use a dry cloth to carefully wipe away any remaining moisture. Ensure that the bottom plate is completely dry before reassembling the turntable.
Remember to exercise caution while cleaning the bottom plate to avoid damaging any delicate parts of your Dual 704 turntable. Take your time and pay attention to detail to ensure a thorough cleaning process.
Cleaning the bottom plate not only helps improve the overall appearance of your turntable but also ensures that dust and debris do not hinder the performance of the internal components. By keeping the bottom plate clean and free from any obstructions, you can enjoy optimal sound quality and prolong the life of your cherished Dual 704 turntable.
Once you have finished cleaning the bottom plate, you are ready to proceed to the final step of reassembling your Dual 704 turntable.
Step 7: Reassemble the Turntable
After cleaning the bottom plate or completing any necessary maintenance or repairs, it’s time to reassemble your Dual 704 turntable. Proper reassembly is crucial to ensure the correct functioning and performance of your turntable. Follow these steps to reassemble the turntable:
- Retrieve the bottom plate: Carefully pick up the cleaned or repaired bottom plate and align it with the turntable.
- Position the bottom plate: Gently lower the bottom plate onto the turntable, making sure it is properly aligned with the screw holes and other components. Take extra care to avoid trapping any wires or cables.
- Insert and tighten the screws: Begin by inserting the screws into their respective holes on the bottom plate. Use your screwdriver to tighten each screw securely but be careful not to overtighten, as this can cause damage.
- Verify the stability: Once all the screws are tightened, gently lift and shake the turntable to ensure that the bottom plate is securely in place. If there is any wobbling or instability, double-check the position of the screws and adjust accordingly.
- Reinstall the platter: If you removed the platter during the earlier steps, place it back onto the spindle carefully, ensuring it is properly seated. If necessary, reattach the turntable belt following the instructions in your turntable’s manual.
- Reattach the dust cover: Align the dust cover with the hinges and carefully lower it into place. Ensure that the cover is properly aligned and securely attached to the turntable.
- Power on and test: Finally, plug in the turntable and power it on to check if it is functioning correctly. Test the rotation of the platter and ensure that all the buttons and controls are working as expected.
By following these steps, you have successfully reassembled your Dual 704 turntable. Take a moment to appreciate your hard work and enjoy the renewed functionality and sound quality of your turntable.
Remember, if you encounter any issues or difficulties during the reassembly process, it is always recommended to consult the manufacturer’s manual or seek assistance from a professional technician. This ensures that your turntable is reassembled correctly and maintains its optimal performance.
With the turntable reassembled, you can now continue to enjoy your vinyl collection and experience the rich, warm sound that the Dual 704 turntable is known for.
Conclusion
Congratulations, you have successfully learned how to remove the plastic bottom of a Dual 704 turntable. By following the step-by-step instructions provided in this guide, you were able to safely detach the bottom plate, clean it (if desired), and reassemble your turntable. This process ensures optimal performance and extends the longevity of your beloved Dual 704 turntable.
Remember, when working with turntables, it is essential to prioritize safety by powering off and unplugging the device before starting any maintenance or repair work. Additionally, always handle the turntable and its components with care to avoid any damage or mishaps.
Cleaning the bottom plate of your Dual 704 turntable helps eliminate dust, dirt, and debris that may affect its performance. Regular maintenance also ensures that your turntable continues to deliver superior sound quality and precise playback for years to come.
Whether you are a casual vinyl lover or an audiophile, the Dual 704 turntable is a prized possession. Taking the time to maintain and care for it properly will help preserve its value and ensure that you can continue to enjoy your vinyl collection for a lifetime.
If you ever encounter any issues or complexities during the process of removing the plastic bottom of your Dual 704 turntable, it is always advisable to seek assistance from a professional technician. They will have the knowledge and expertise to guide you through any challenges and ensure that your turntable is handled with the utmost care.
We hope that this guide has provided you with the necessary knowledge and confidence to successfully remove the plastic bottom of your Dual 704 turntable. Enjoy your newly cleaned or repaired turntable, and let the music transport you to a world of melodic bliss!