Home>Devices & Equipment>Turntable>How To Remove Rubber Mat Turntable
Turntable
How To Remove Rubber Mat Turntable
Published: January 18, 2024
Learn how to easily remove a rubber mat from your turntable with our step-by-step guide. Say goodbye to stubborn mats and enjoy smooth, uninterrupted vinyl playback!
(Many of the links in this article redirect to a specific reviewed product. Your purchase of these products through affiliate links helps to generate commission for AudioLover.com, at no extra cost. Learn more)
Table of Contents
Introduction
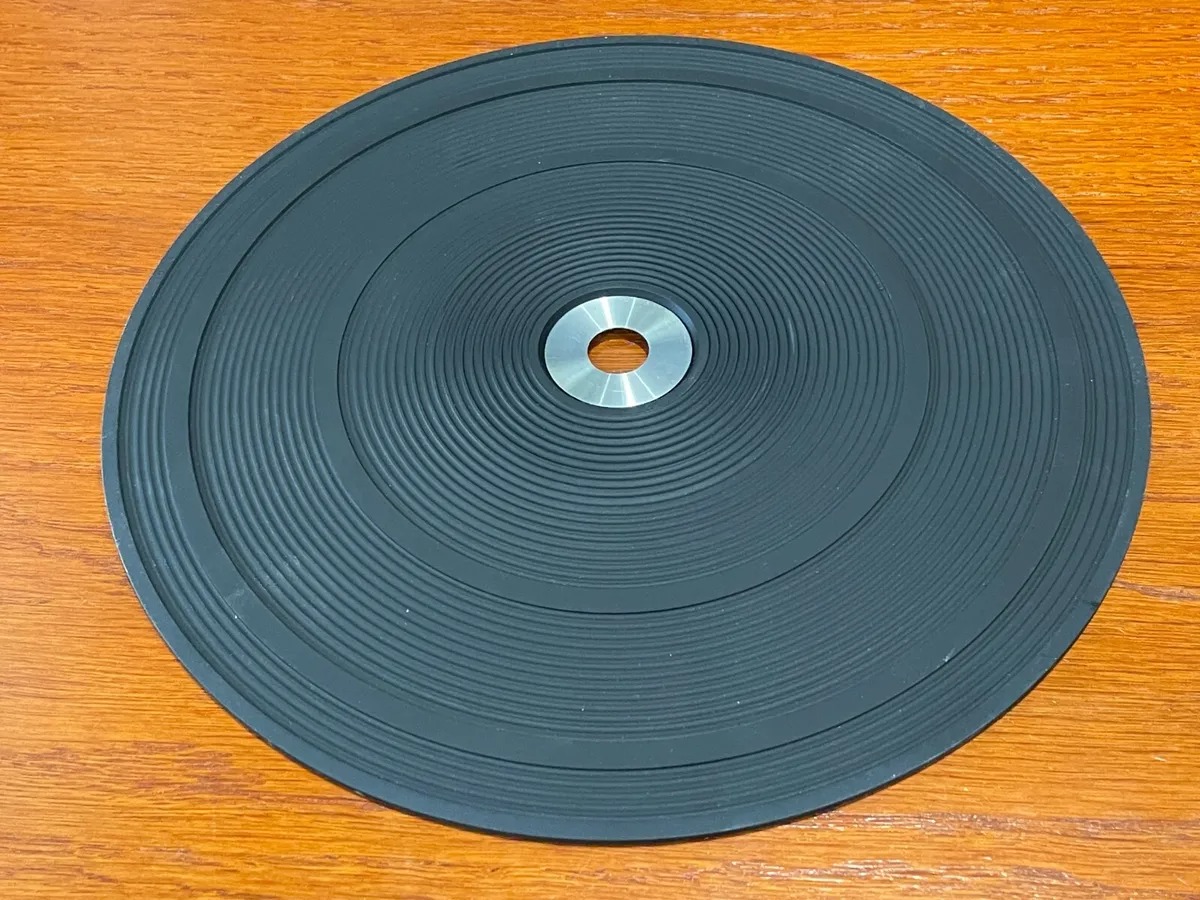
A rubber mat is often used on turntables to provide a cushioning effect and prevent slipping of records during playback. However, there may come a time when you need to remove the rubber mat, whether it’s to clean the turntable surface or replace the mat with a new one.
Removing a rubber mat from a turntable may seem like a daunting task, but with the right tools and techniques, it can be a straightforward process. In this article, we will guide you through the steps to safely and effectively remove a rubber mat from your turntable.
Before we begin, it’s important to note that the specific method of removing a rubber mat may vary depending on the make and model of your turntable. It’s always a good idea to consult the manufacturer’s instructions or seek professional assistance if you are unsure.
Now, let’s dive into the step-by-step process of removing a rubber mat from a turntable.
Step 1: Gather the necessary tools
Before you start removing the rubber mat from your turntable, it’s essential to have the right tools on hand. Here is a list of items you will need:
- Turntable platter lifting tool: This tool is specifically designed to safely lift the turntable platter without causing any damage. It is usually included with the turntable or can be purchased separately.
- Heat source: You will need a heat source such as a hairdryer or heat gun to loosen the adhesive holding the rubber mat in place.
- Isopropyl alcohol: Isopropyl alcohol is an effective cleaning solution that can help remove any sticky residue left behind by the adhesive.
- Clean, lint-free cloth: This will be used to wipe down the turntable surface and remove any dirt or debris.
- Optional: Replacement rubber mat: If you plan to replace the rubber mat, make sure to have a new one ready before removing the old mat.
Once you have gathered all the necessary tools, you can move on to the next step of the process.
Step 2: Lift the rubber mat
Now that you have your tools ready, it’s time to lift the rubber mat from the turntable. Follow these steps:
- Ensure that your turntable is turned off and unplugged for safety.
- Locate the small gaps or slots on the side of the turntable platter. These gaps are designed for the turntable platter lifting tool.
- Insert the lifting tool into the gaps and gently lift the platter. Be cautious not to use excessive force or twist the platter, as this can cause damage.
- Continue lifting until the platter is completely free from the turntable base.
- Set the platter aside in a safe place, taking care not to damage it.
By following these steps, you should now have the turntable platter lifted and ready for the next stage of removing the rubber mat.
Step 3: Remove any dirt or debris
Before proceeding to remove the rubber mat, it’s important to clean the turntable surface to ensure optimal performance. Follow these steps to remove any dirt or debris:
- Take a clean, lint-free cloth and gently wipe the turntable surface. This will help remove any loose particles and dust.
- If there are stubborn dirt or debris, you can use a soft brush or a microfiber cloth slightly dampened with water to gently scrub the surface. Avoid using excessive moisture to prevent any damage to the turntable.
- Make sure to pay attention to the edges and corners of the turntable, as these areas often accumulate more dirt and debris.
- Once the surface is clean, allow it to dry completely before proceeding to the next step.
By removing any dirt or debris from the turntable surface, you can ensure a smoother and more enjoyable listening experience. With a clean surface, you are now ready to proceed to the next step of removing the rubber mat.
Step 4: Apply heat to loosen the adhesive
To effectively remove the rubber mat from your turntable, it’s necessary to apply heat to loosen the adhesive that holds it in place. Follow these steps to do so:
- Plug in a hairdryer or heat gun and set it to a low or medium heat setting. Avoid using the highest heat setting as it may damage the turntable or the rubber mat.
- Hold the heat source about 6 to 8 inches away from the rubber mat. Move it in a back-and-forth motion to evenly distribute the heat.
- Continue applying heat for a few minutes, or until you can feel the adhesive becoming soft and pliable.
- Be cautious not to overheat the rubber mat or the turntable surface. If you notice any signs of excessive heat or melting, reduce the heat or move the heat source further away.
Applying heat helps to soften the adhesive, making it easier to remove the rubber mat from the turntable without causing any damage. Once you feel that the adhesive has loosened, you can proceed to the next step of gently peeling off the rubber mat.
Step 5: Peel off the rubber mat gently
With the adhesive loosened by applying heat, it’s time to carefully peel off the rubber mat from the turntable. Follow these steps:
- Start by using your fingers to gently lift one corner of the rubber mat.
- Slowly and gradually peel back the rubber mat, applying even pressure to avoid tearing or stretching it.
- If you encounter any resistance, stop and reapply heat to further soften the adhesive. This will make it easier to continue peeling off the mat.
- Continue peeling the rubber mat until it is completely removed from the turntable surface.
- Place the removed rubber mat aside, as you may choose to clean and reuse it or replace it with a new one.
Take your time and be patient while peeling off the rubber mat to ensure that it comes off smoothly without causing any damage to the turntable or the mat itself. Once the mat is removed, you can proceed to clean the turntable surface in the next step.
Step 6: Clean the turntable surface
After removing the rubber mat, it’s essential to clean the turntable surface to ensure optimal performance. Follow these steps to clean the turntable surface:
- Take a clean, lint-free cloth and dampen it with isopropyl alcohol.
- Gently wipe the turntable surface, paying attention to any adhesive residue or leftover dirt.
- If there are stubborn stains or residue, you can use a soft brush or a cotton swab dipped in isopropyl alcohol to scrub the affected areas gently.
- To ensure a thorough cleaning, make sure to reach the edges and corners of the turntable surface.
- Once the surface is clean, use a dry, lint-free cloth to remove any excess moisture and ensure it is completely dry before proceeding.
Cleaning the turntable surface not only improves the overall aesthetic but also helps maintain the quality of your records and prolongs the life of your turntable. Once the surface is clean and dry, you can move on to the last step of the process.
Step 7: Replace or discard the rubber mat
Now that the turntable surface is clean, you have the option to either replace the rubber mat or discard it if it is damaged or worn out. Here are the steps for each scenario:
If replacing the rubber mat:
- Ensure that you have a new rubber mat ready to be placed on the turntable.
- Align the new rubber mat with the turntable spindle and carefully place it onto the surface.
- Gently press down on the mat to ensure that it adheres evenly to the turntable surface.
- Reassemble the turntable by placing the platter back onto the turntable base and securing it in place.
If discarding the rubber mat:
- Properly dispose of the old rubber mat in accordance with your local waste management guidelines.
- Ensure that the turntable surface is clean and free from any adhesive residue.
- Reassemble the turntable by placing the platter back onto the turntable base and securing it in place.
Whether you choose to replace or discard the rubber mat, ensure that the turntable surface is clean and ready for use. With the mat replaced or removed, you can now enjoy using your turntable without any obstruction or issues caused by a worn-out rubber mat.
Conclusion
Removing a rubber mat from a turntable may seem like a daunting task, but with the right tools and techniques, it can be a straightforward process. By following the steps outlined in this guide, you can safely and effectively remove the rubber mat from your turntable, clean the surface, and either replace it with a new mat or continue using the turntable without one.
Remember to gather the necessary tools, such as a turntable platter lifting tool, heat source, isopropyl alcohol, and a clean cloth. Lift the rubber mat gently, ensuring not to apply excessive force or twist the platter. Clean the turntable surface thoroughly, removing any dirt or debris, and apply heat to loosen the adhesive. Peel off the rubber mat gradually, taking care not to tear or stretch it. Finally, clean the turntable surface with isopropyl alcohol and decide whether to replace the mat or discard it.
By maintaining a clean turntable surface, you can ensure optimal performance and prolong the life of both your records and the turntable itself. Whether you’re a vinyl enthusiast or a casual listener, properly caring for your turntable is essential for an enjoyable audio experience.
We hope that this guide has been helpful in guiding you through the process of removing a rubber mat from your turntable. Remember to consult your turntable’s manufacturer instructions or seek professional assistance if you have any concerns or difficulties during the process.
Now, go ahead and give your turntable the care it deserves and enjoy your favorite vinyl records with a clean and well-maintained surface!