Home>Devices & Equipment>Turntable>How To Connect Headphones To Turntable
Turntable
How To Connect Headphones To Turntable
Modified: January 22, 2024
Learn how to easily connect headphones to your turntable and enjoy your vinyl music without disturbing others. Discover step-by-step instructions and tips for a seamless audio experience.
(Many of the links in this article redirect to a specific reviewed product. Your purchase of these products through affiliate links helps to generate commission for AudioLover.com, at no extra cost. Learn more)
Table of Contents
Introduction
Welcome to the world of vinyl records and turntables! Connecting headphones to a turntable can be a fantastic way to experience the rich and warm sound that vinyl records have to offer. Whether you’re a seasoned audiophile or a newcomer to the world of vinyl, this article will guide you through the process of connecting headphones to your turntable.
By directly connecting headphones to your turntable, you can enjoy an intimate listening experience without disturbing others. This is especially useful if you live in an apartment or if you want to immerse yourself in the music without any distractions.
Before diving into the step-by-step process, it’s essential to familiarize yourself with the equipment involved. The basic setup usually consists of a turntable, a preamp or amplifier, and a pair of headphones. Understanding each component and its function is crucial for successfully connecting your headphones.
In the following sections, we will go over the process of connecting headphones to a turntable. We’ll discuss how to connect the turntable to a preamp, how to connect the preamp to an amplifier, and ultimately how to connect your headphones to the amplifier. Additionally, we’ll provide some troubleshooting tips to help you overcome any potential issues you might encounter along the way.
So, if you’re ready to dive into the world of vinyl and enjoy your favorite records through a pair of headphones, let’s get started!
Understanding the Equipment
Before you can connect your headphones to a turntable, it’s important to have a good understanding of the equipment involved. Let’s take a closer look at each component:
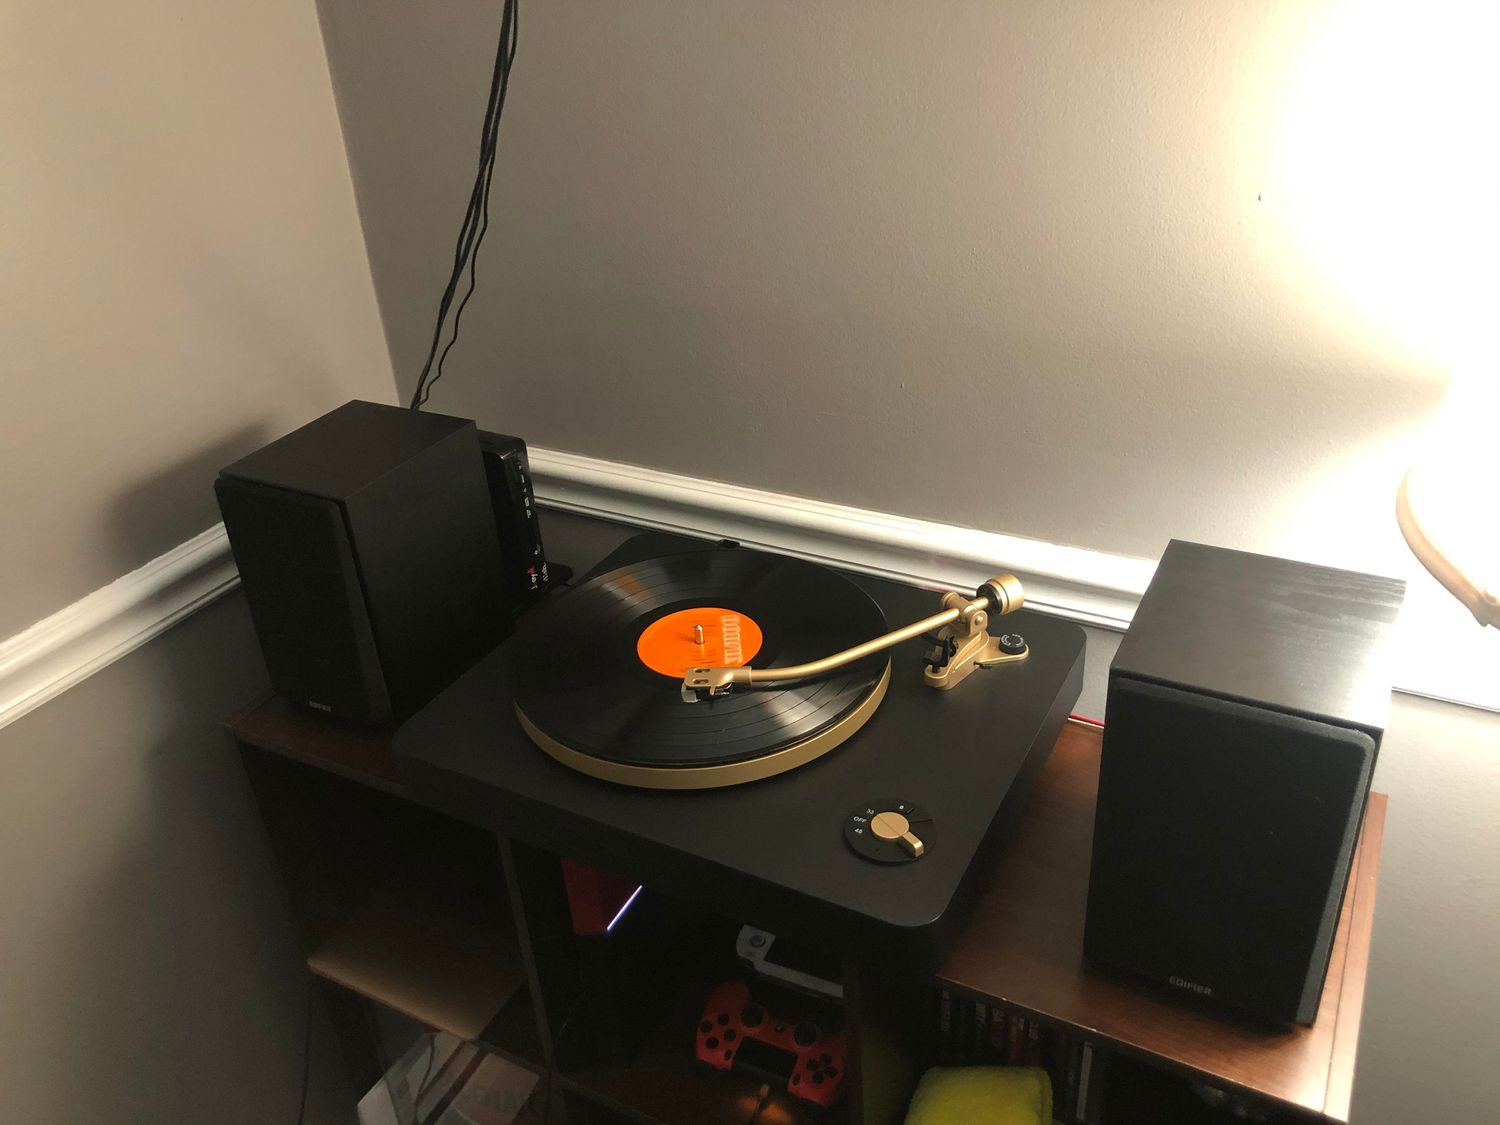
- Turntable: The turntable is the main component responsible for playing vinyl records. It typically consists of a platter, a tonearm, and a cartridge. The platter spins the record, while the tonearm holds the cartridge and stylus (needle) that reads the record’s grooves.
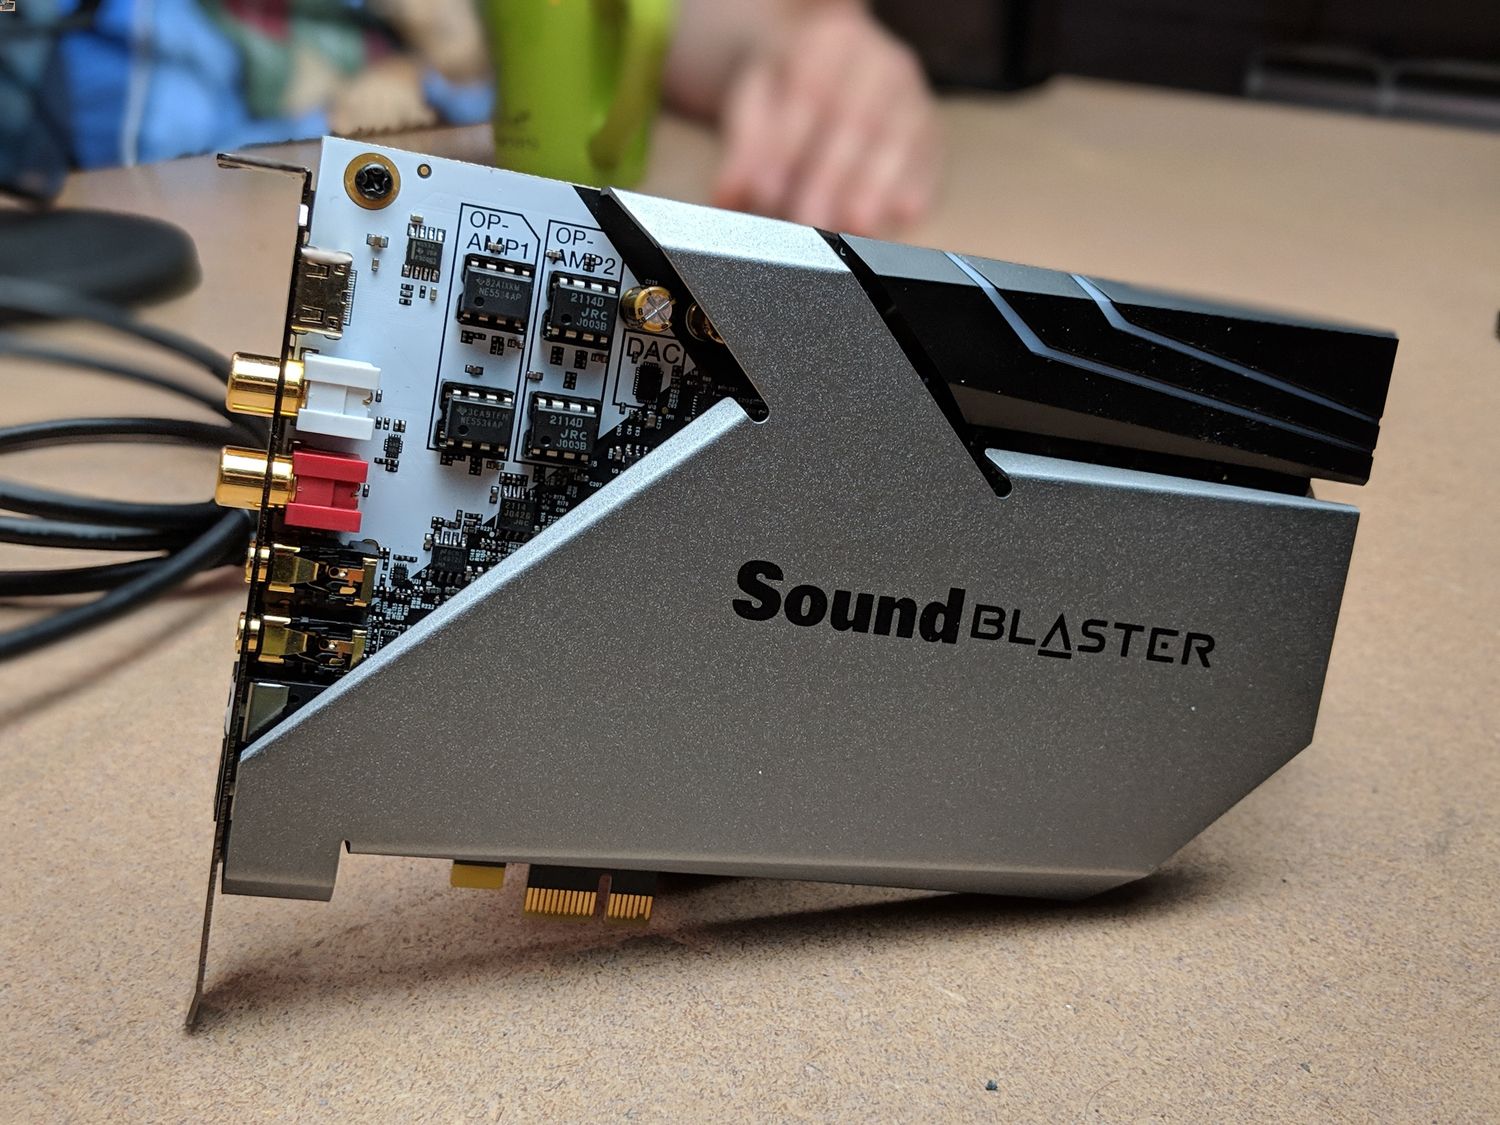
- Preamp/Phono Stage: Many turntables require a preamp or phono stage to amplify the tiny electrical signal produced by the cartridge. Some turntables have a built-in preamp, while others require an external one. A preamp boosts the signal to a line-level output, which can then be connected to an amplifier or other audio devices.
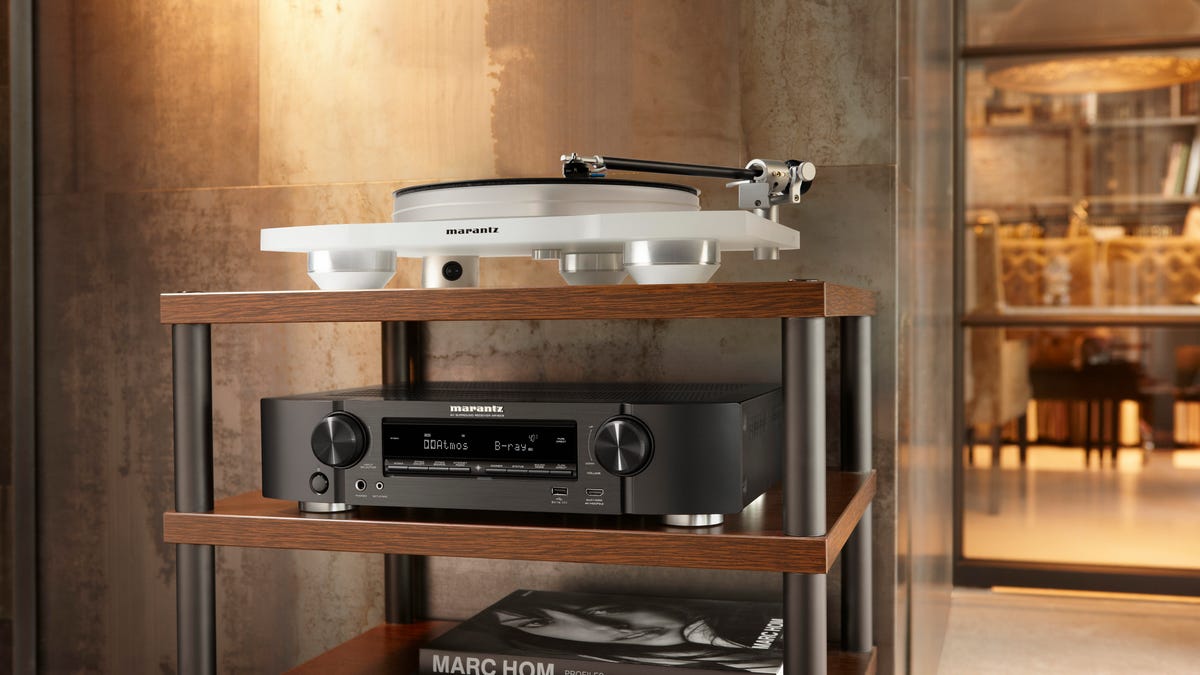
- Amplifier: An amplifier, also known as a receiver or integrated amplifier, takes the line-level signal from the preamp and further amplifies it for the speakers or headphones. It controls the volume and tone of the audio signal, allowing you to adjust the sound according to your preferences.
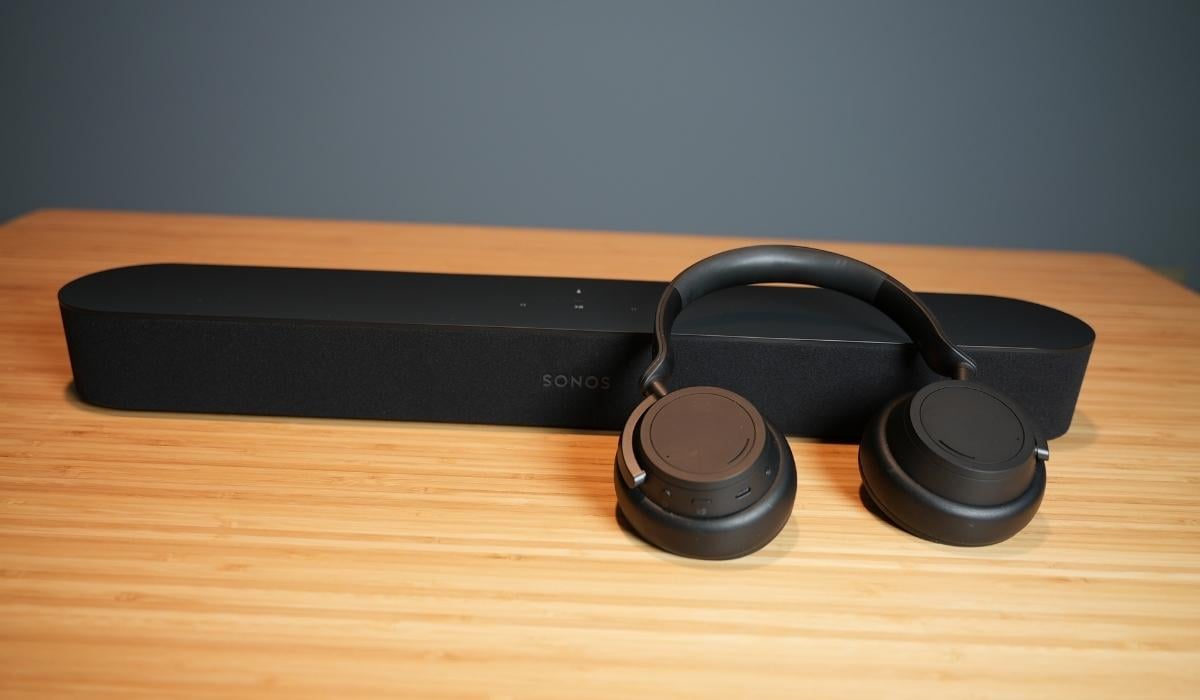
- Headphones: Headphones are the final component in the chain. They come in various types, such as over-ear, on-ear, and in-ear. They provide a personal and immersive listening experience by delivering the audio signals directly to your ears.
Understanding how these components work together is crucial for setting up your turntable and connecting your headphones properly. Some turntables have built-in preamps, while others require an external preamp. If your turntable has a built-in preamp, you can skip the step of connecting a separate preamp. However, if your turntable does not have a built-in preamp, you’ll need to connect it to an external preamp before proceeding.
Now that you have a good understanding of the equipment involved, it’s time to move on to the step-by-step process of connecting your headphones to the turntable.
Connecting the Turntable to a Preamp
Connecting your turntable to a preamp is an essential step in the process of connecting headphones to your setup. Here’s how you can do it:
- First, locate the audio output ports on your turntable. These are typically labeled as “phono out” or “line out.” If your turntable has a built-in preamp, it may also have a “line out” option.
- Next, identify the input ports on your preamp. They can be labeled as “phono in” or “line in.”
- Using an RCA cable, connect the audio output ports of your turntable to the corresponding input ports on your preamp. Ensure that the left channel (usually marked with a white or gray RCA plug) is connected to the left input port, and the right channel (usually marked with a red RCA plug) is connected to the right input port.
- If your turntable has a grounding wire, which is a separate wire attached to a grounding screw or terminal, connect it to the grounding post on your preamp. This helps reduce any unwanted hum or interference.
- Once the connections are made, power on your turntable and preamp.
If your turntable has a built-in preamp, connecting it to a separate preamp is not necessary. Simply connect the turntable’s line output directly to the amplifier or the headphone jack on your audio device, and proceed to the next section.
Now that you have successfully connected your turntable to a preamp, let’s move on to the next step of connecting the preamp to an amplifier.
Connecting the Preamp to an Amplifier
Once you have connected your turntable to a preamp, the next step is to connect the preamp to an amplifier. Follow these steps to complete the connection:
- Locate the output ports on your preamp. These are typically labeled as “line out” or “pre-out.”
- Identify the input ports on your amplifier. They are usually labeled as “line in” or “aux in.”
- Using RCA cables, connect the output ports on the preamp to the corresponding input ports on the amplifier. Again, make sure the left channel is connected to the left input and the right channel to the right input.
- If your amplifier has a headphone jack, you can connect your headphones directly to it. If not, you can connect your amplifier to an external headphone amplifier and then connect your headphones to the headphone amplifier.
- Turn on your amplifier and adjust the volume to a comfortable level. You’re now ready to enjoy your vinyl records through your headphones!
If you prefer to connect your headphones directly to your turntable without using a separate amplifier, ensure that the turntable has a built-in headphone jack. If it does, simply connect your headphones to the turntable’s headphone jack and adjust the volume on the turntable accordingly.
Remember, the quality of your amplifier can greatly impact the sound quality you experience through your headphones. Investing in a high-quality amplifier can enhance your listening experience and provide a more accurate representation of your vinyl records’ audio.
With your preamp successfully connected to an amplifier, let’s move on to the final step of connecting your headphones to the amplifier.
Connecting the Headphones to the Amplifier
Now that your turntable is connected to a preamp and the preamp is connected to an amplifier, it’s time to connect your headphones to the amplifier. Just follow these simple steps:
- Locate the headphone jack on your amplifier. It is usually located on the front panel or the top of the amplifier.
- Plug the headphone connector into the headphone jack firmly but gently.
- Ensure that the volume on your amplifier is set to a minimum before you start listening. This precaution will help prevent any sudden loud sound that could potentially damage your hearing or the headphones.
- Gradually increase the volume to a comfortable level. Take care not to set the volume too high, as this might result in distorted or unpleasant sound quality.
- Sit back, relax, and enjoy the immersive sound experience of your vinyl records through your headphones!
It’s worth noting that some amplifiers have a dedicated headphone amplifier built-in, which can provide a better and more tailored audio experience for your headphones. If your amplifier has this feature, you can expect optimized sound quality specifically designed for headphones.
Remember to always handle your headphones with care and ensure that the cable is not tangled or strained. Keeping them in good condition will ensure a long-lasting and enjoyable listening experience.
Now that you’ve successfully connected your headphones to the amplifier, it’s time to adjust the volume and start enjoying the beautiful sound of your vinyl records!
Adjusting the Volume and Enjoying Music
With your headphones connected to the amplifier, it’s time to adjust the volume and immerse yourself in the music. Here are a few tips to help you optimize your listening experience:
- Start by setting the volume at a comfortable level. It should be loud enough to enjoy the music without straining your ears.
- Take into consideration the sensitivity and impedance of your headphones. Different headphones have varying levels of sensitivity, which means they may require different volume levels to achieve the desired sound.
- Experiment with the tone controls on your amplifier, if available, to fine-tune the sound according to your preferences. Adjusting the bass, treble, and balance can help optimize the sound quality for your headphones.
- Pay attention to small details and nuances in the music. The analog warmth and richness of vinyl records can provide a unique listening experience, with subtle details that may not be as apparent in digital formats.
- Sit back, relax, and let the music take you on a journey. Enjoy the full range of frequencies, dynamics, and emotions that vinyl records can offer through your headphones.
Remember that everyone’s preferences and listening environments are different, so feel free to adjust the volume and tone controls as needed. Trust your ears and find the sweet spot that delivers an enjoyable and immersive listening experience.
Additionally, take breaks and give your ears some rest from time to time to prevent fatigue. This will allow you to fully appreciate the music and ensure a healthy listening experience.
Now that you’ve adjusted the volume and set everything up to your liking, it’s time to sit back, relax, and let the vinyl magic take you on a sonic journey!
Troubleshooting Tips
While setting up your turntable and connecting headphones can be a straightforward process, you may encounter some issues along the way. Here are a few troubleshooting tips to help you resolve common problems:
- No sound: If you’re not getting any sound through your headphones, check if the volume on your amplifier is turned up, and make sure your headphones are properly connected to the headphone jack. Additionally, ensure that the turntable and preamp are powered on.
- Low volume: If the volume seems low, check if the amplification settings on your preamp or amplifier are properly adjusted. Verify that the headphone impedance matches the headphone amplifier’s specifications. Consider using a headphone amplifier if you have high-impedance headphones.
- Distorted sound: Distortion might occur if the volume is set too high or if the audio signal is being overdriven. Decrease the volume to a reasonable level and see if the distortion improves. If the issue persists, check the connections between the turntable, preamp, and amplifier for any loose connections or faulty cables.
- Hum or noise: Excessive hum or background noise can be caused by improper grounding. Ensure that the turntable’s grounding wire is securely connected to the grounding post on the preamp or amplifier. You can also try relocating the equipment away from potential sources of electrical interference, such as televisions or power cables.
- Uneven balance: If you notice unequal volume levels between the left and right channels, check the connections for any loose or faulty cables. You can also try swapping the left and right cables to see if the imbalance follows the cable or stays on the same channel. If the issue persists, there might be an issue with the turntable’s cartridge or the amplifier’s circuitry, and further troubleshooting or professional assistance may be required.
If you’ve tried these troubleshooting tips and are still experiencing issues, it’s recommended to consult the instruction manual for your specific turntable, preamp, amplifier, and headphones. Additionally, reaching out to the manufacturer’s customer support or seeking assistance from audio enthusiasts and communities can provide valuable insights and solutions to your specific problem.
Remember, patience and persistence are key when troubleshooting audio setups. With a little bit of troubleshooting, you’ll be able to overcome any issues and fully enjoy the immersive experience of listening to vinyl records through your headphones!
Conclusion
Connecting headphones to a turntable can be a rewarding experience that allows you to immerse yourself in the world of vinyl records. By following the steps outlined in this guide, you can successfully connect your headphones to your turntable setup and enjoy the warm and rich sound that vinyl has to offer.
Understanding the equipment involved, such as the turntable, preamp, amplifier, and headphones, is crucial for a seamless connection. By properly connecting the turntable to a preamp, connecting the preamp to an amplifier, and finally connecting your headphones to the amplifier, you can set up a personalized and high-quality audio experience.
Adjusting the volume, utilizing tone controls (if available), and paying attention to the details in the music will enhance your listening experience. Take the time to experiment with different settings to find the sound that suits your preferences and allows you to fully appreciate the nuances of your vinyl collection.
If any issues arise, don’t hesitate to try the troubleshooting tips provided. With a bit of patience and persistence, you can overcome common problems like low volume, distortion, or imbalance, ensuring that you enjoy a flawless audio experience.
Now you’re ready to sit back, relax, and indulge in the magic of vinyl records through your headphones. Immerse yourself in the timeless sound and unique charm that vinyl offers, as you embark on a journey through your favorite music, one groove at a time.