Home>Events & Info>Playback>How To Listen To Playback On Audacity
Playback
How To Listen To Playback On Audacity
Modified: January 22, 2024
Learn how to listen to playback on Audacity with our step-by-step guide. Enhance your editing skills and optimize your audio projects for a better playback experience.
(Many of the links in this article redirect to a specific reviewed product. Your purchase of these products through affiliate links helps to generate commission for AudioLover.com, at no extra cost. Learn more)
Table of Contents
Introduction
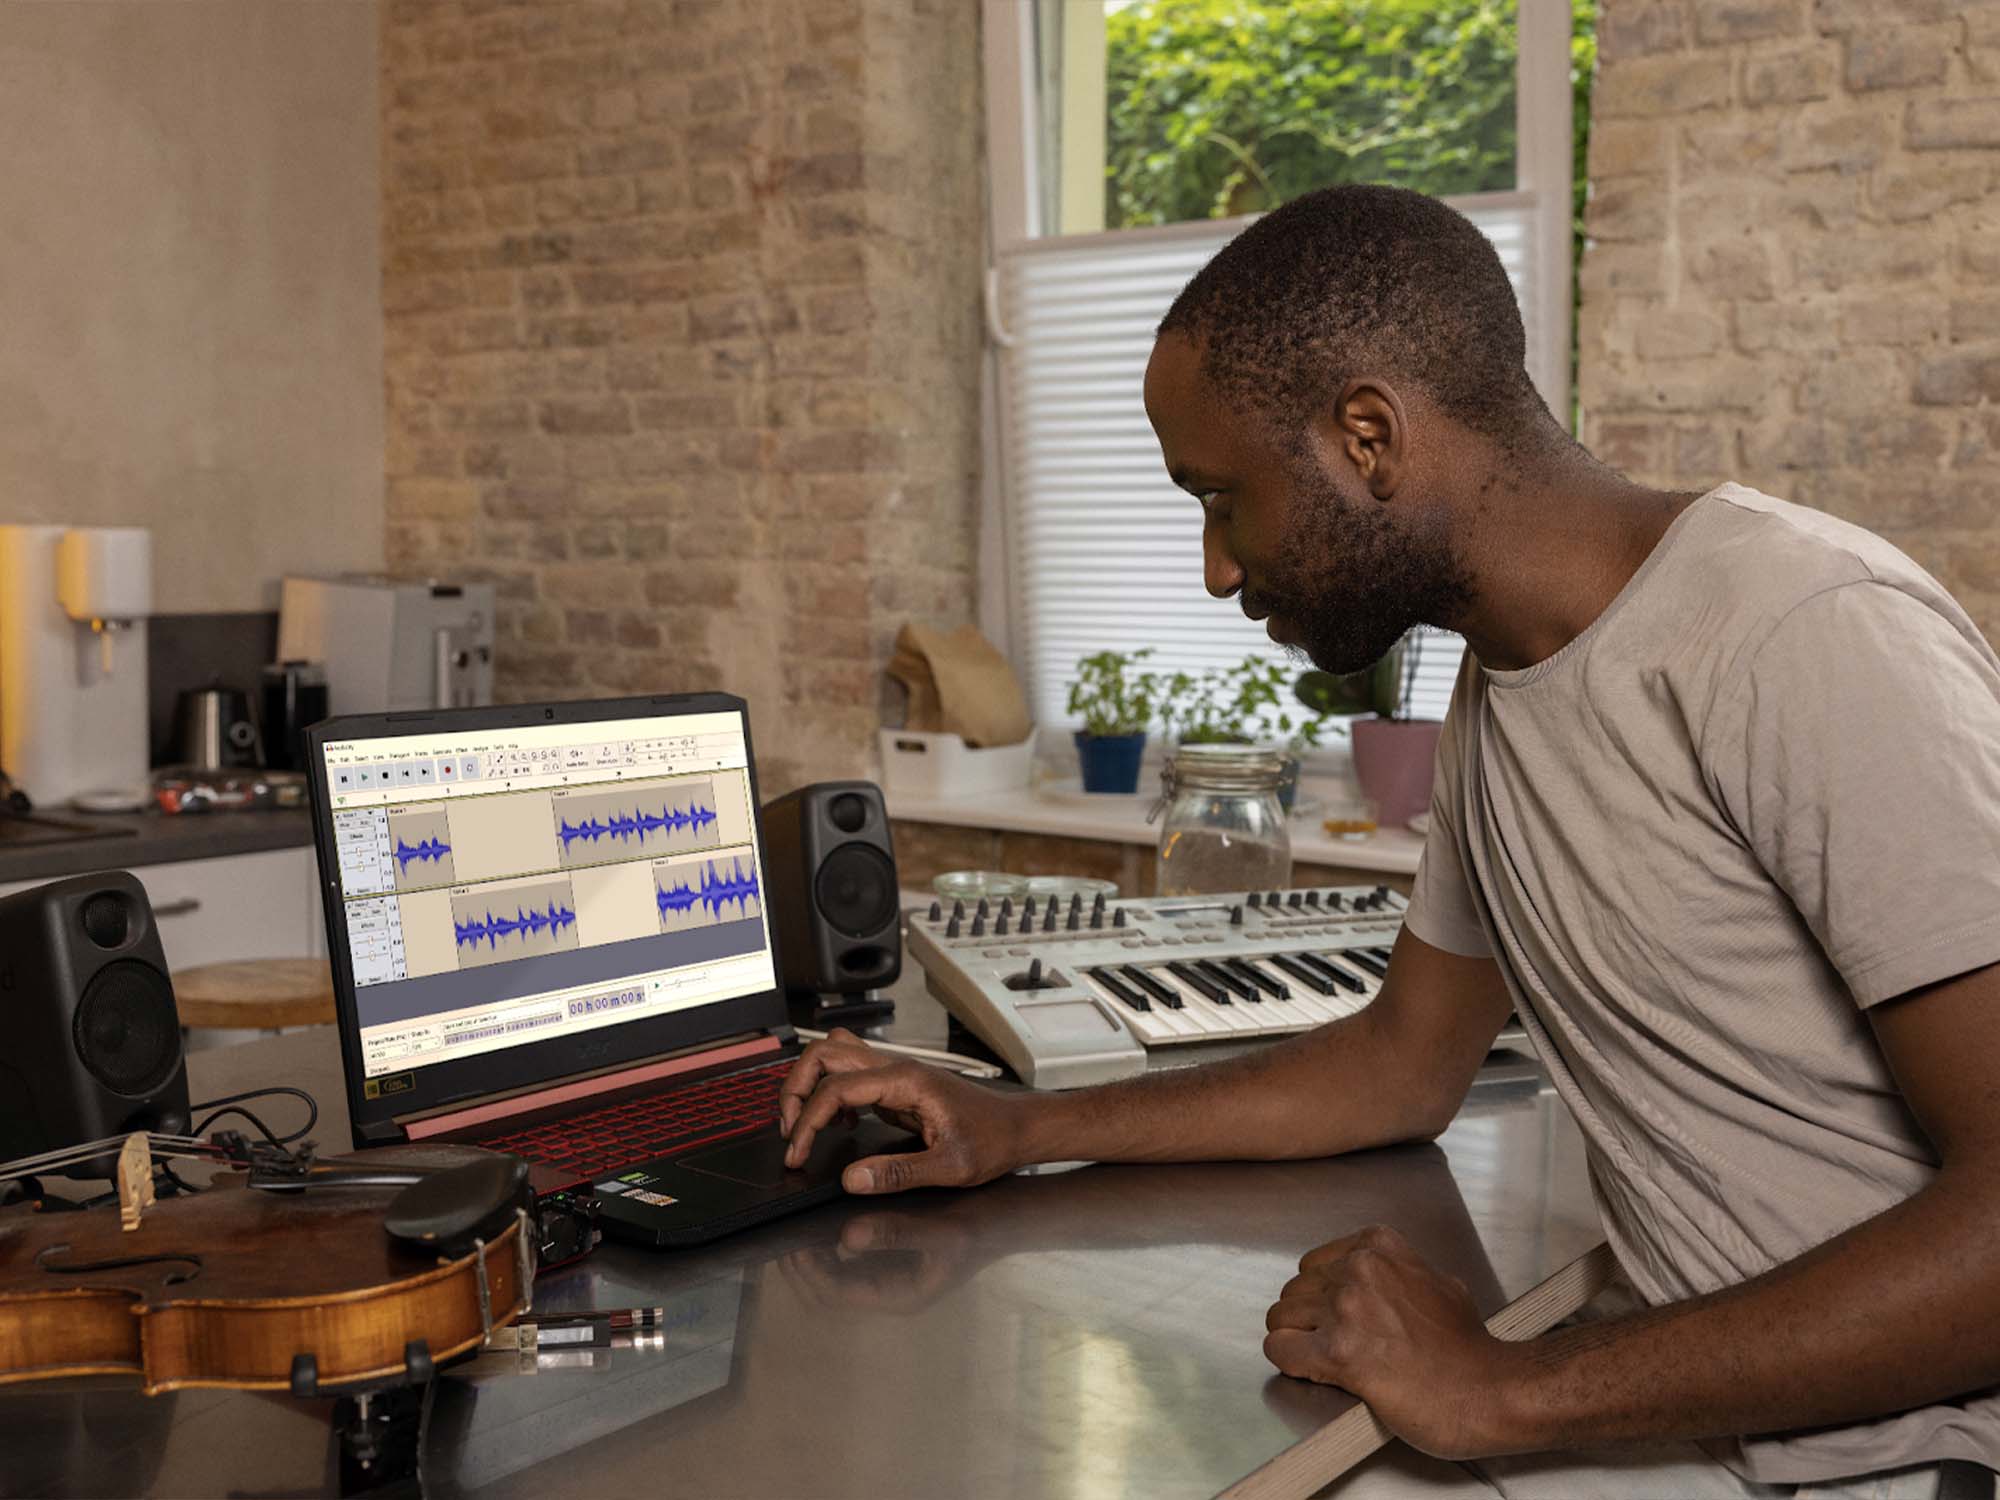
Welcome to the world of Audacity, a powerful and versatile audio editing software that allows you to manipulate, enhance, and create incredible audio recordings.
Whether you are a musician, podcaster, or simply a music lover, being able to listen to playback is essential for reviewing and refining your recordings. In this article, we will guide you through the process of listening to playback on Audacity, providing you with the knowledge and tools to make the most out of your audio editing experience.
Audacity offers a wide range of features and options when it comes to playback, allowing you to control every aspect of your audio. From importing and playing back audio files to adjusting playback settings and adding effects, we will cover it all to ensure you have a comprehensive understanding of the playback capabilities in Audacity.
So, whether you want to listen to your latest music composition, analyze a podcast recording, or make adjustments to your voiceover project, let’s dive into the world of playback in Audacity and explore how to make the most out of this invaluable feature.
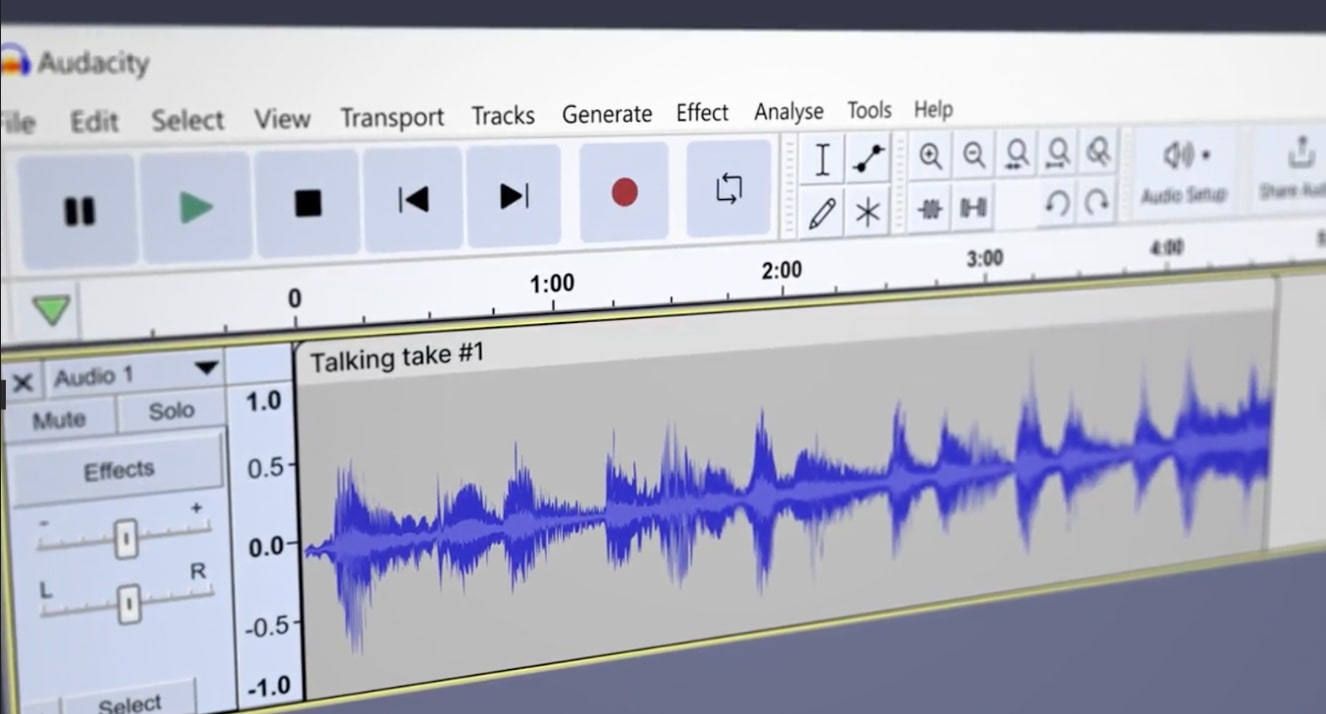
Getting Started with Audacity
Before we delve into the specifics of playback in Audacity, it’s crucial to have a basic understanding of the software interface. If you haven’t already, go ahead and download and install Audacity onto your computer.
Once installed, launch Audacity and you’ll be greeted with a clean and user-friendly interface. The main window consists of various toolbars and menus that provide access to different features and functions. Familiarize yourself with the layout to navigate through the software efficiently.
To begin working on an audio project, you’ll need to import an audio file into Audacity. Click on the “File” menu and select “Import” to choose the audio file you want to work with. Audacity supports a wide range of audio formats, so you can import files from various sources.
After importing your audio file, it will be displayed as a waveform in the main editing window. This visual representation of the audio allows you to easily identify and manipulate different parts of the recording.
Now that you have your audio file ready, let’s move on to exploring the playback controls in Audacity.
Importing Audio Files
Importing audio files into Audacity is a straightforward process, allowing you to bring in your desired audio recordings for playback and editing. Here’s how you can import audio files:
- Click on the “File” menu at the top of the Audacity interface.
- Select the “Import” option from the drop-down menu. This will open a sub-menu with different import options.
- Choose the appropriate import option based on where your audio file is located.
- Audio File: This option allows you to import an audio file from your computer’s local storage. Click on “Audio File” and browse to the location of your audio file. Select the file and click “Open” to import it into Audacity.
- Audio CD: If you have an audio CD, you can import the tracks directly into Audacity. Choose the “Audio CD” option, and Audacity will display a list of tracks on the CD. Select the tracks you want to import and click “Import” to proceed.
- Label Track: This option allows you to import a label track from a project or template. Label tracks contain annotations and markers that can be useful for organizing and navigating your audio project.
Once you’ve selected the appropriate import option, Audacity will import the audio file and display it as a waveform in the main editing window. You can now use the playback controls to listen to your imported audio file.
Importing audio files into Audacity is an essential step in the playback process, as it allows you to access and work with your desired recordings. Whether it’s a music track, a podcast episode, or a voiceover recording, Audacity supports a wide range of audio formats, ensuring compatibility with various sources and formats.
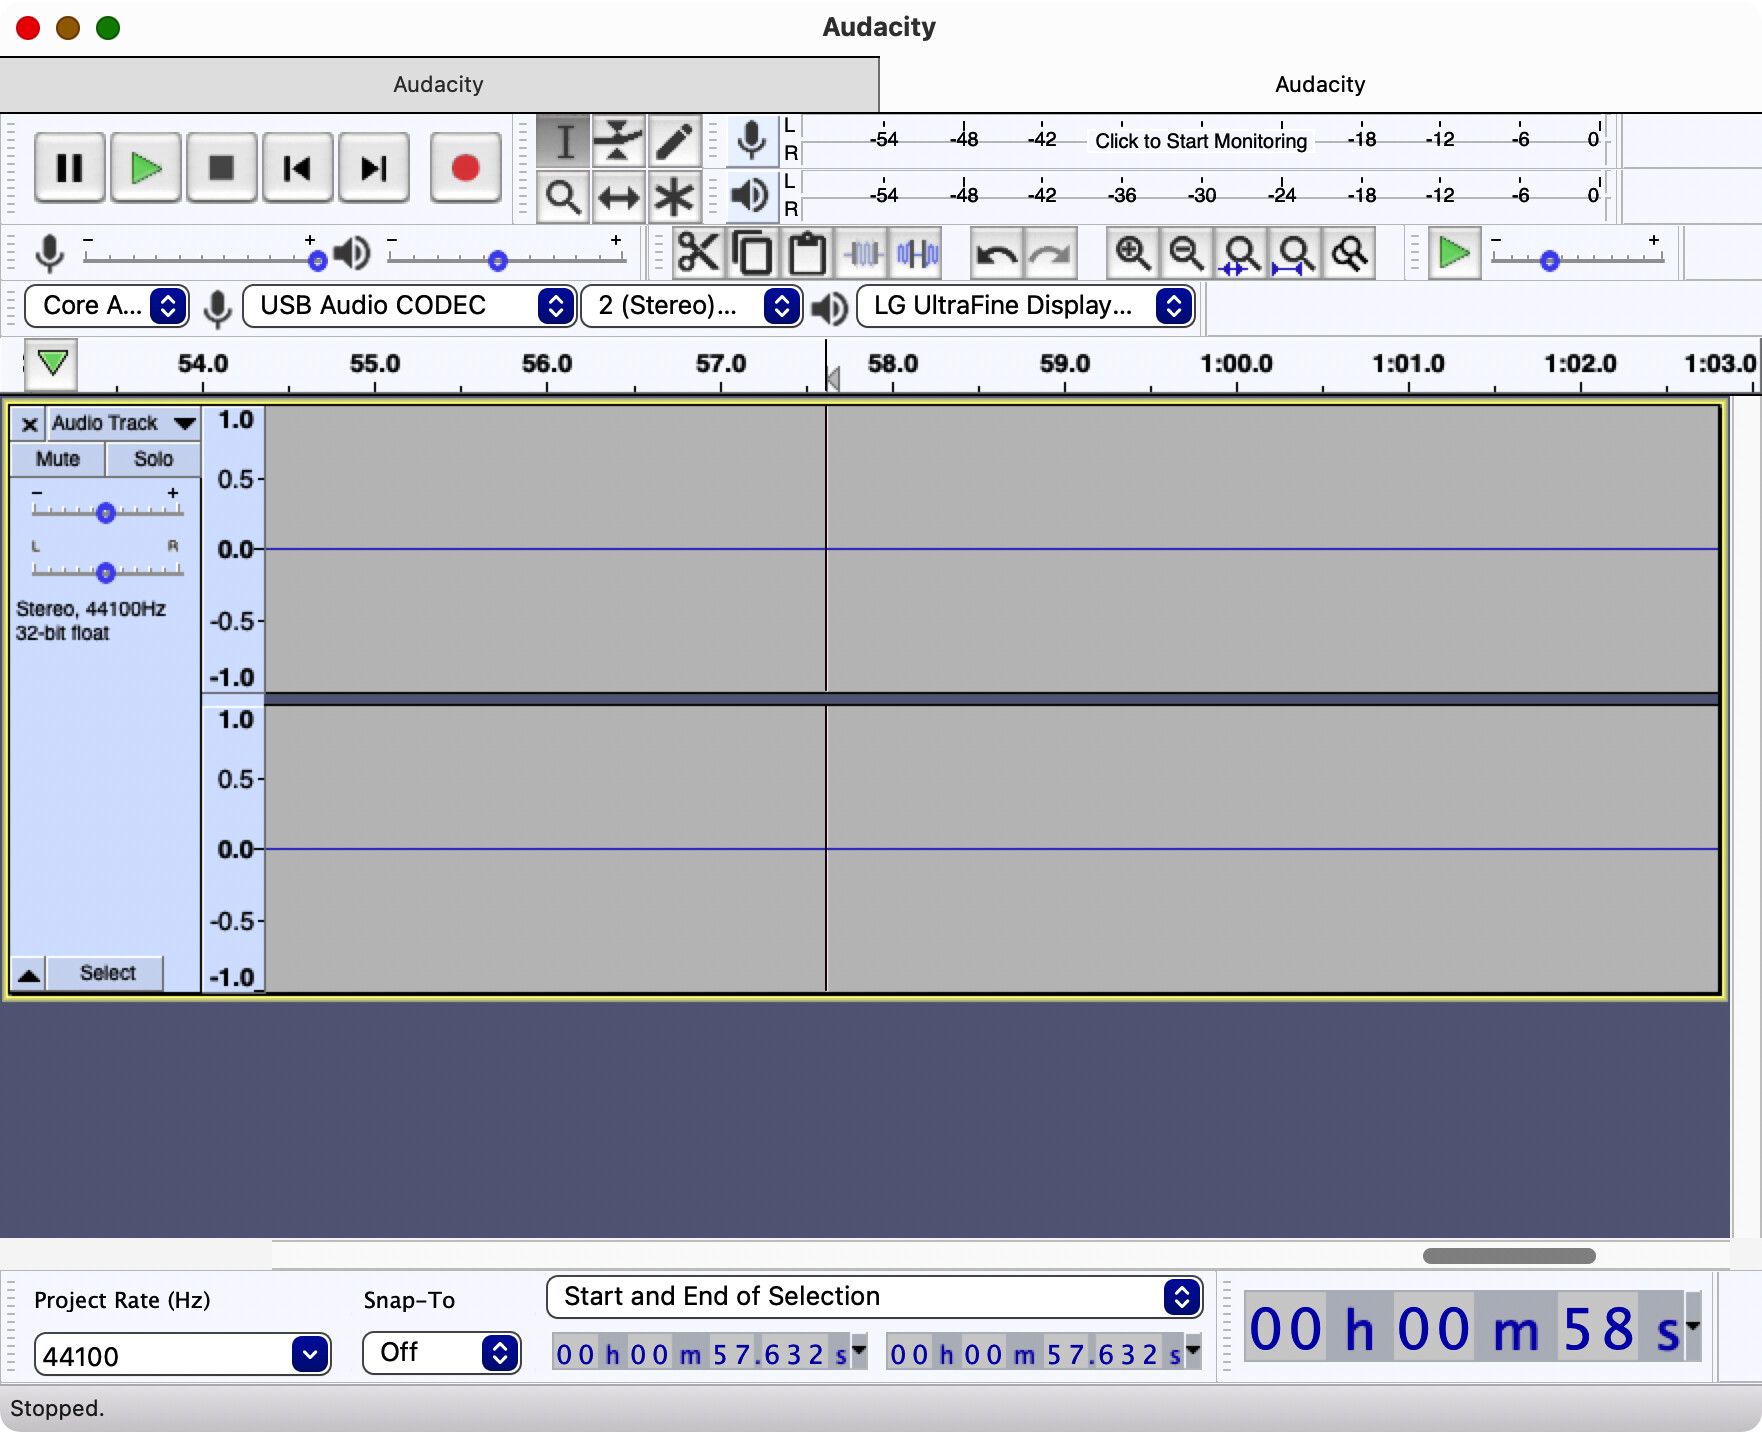
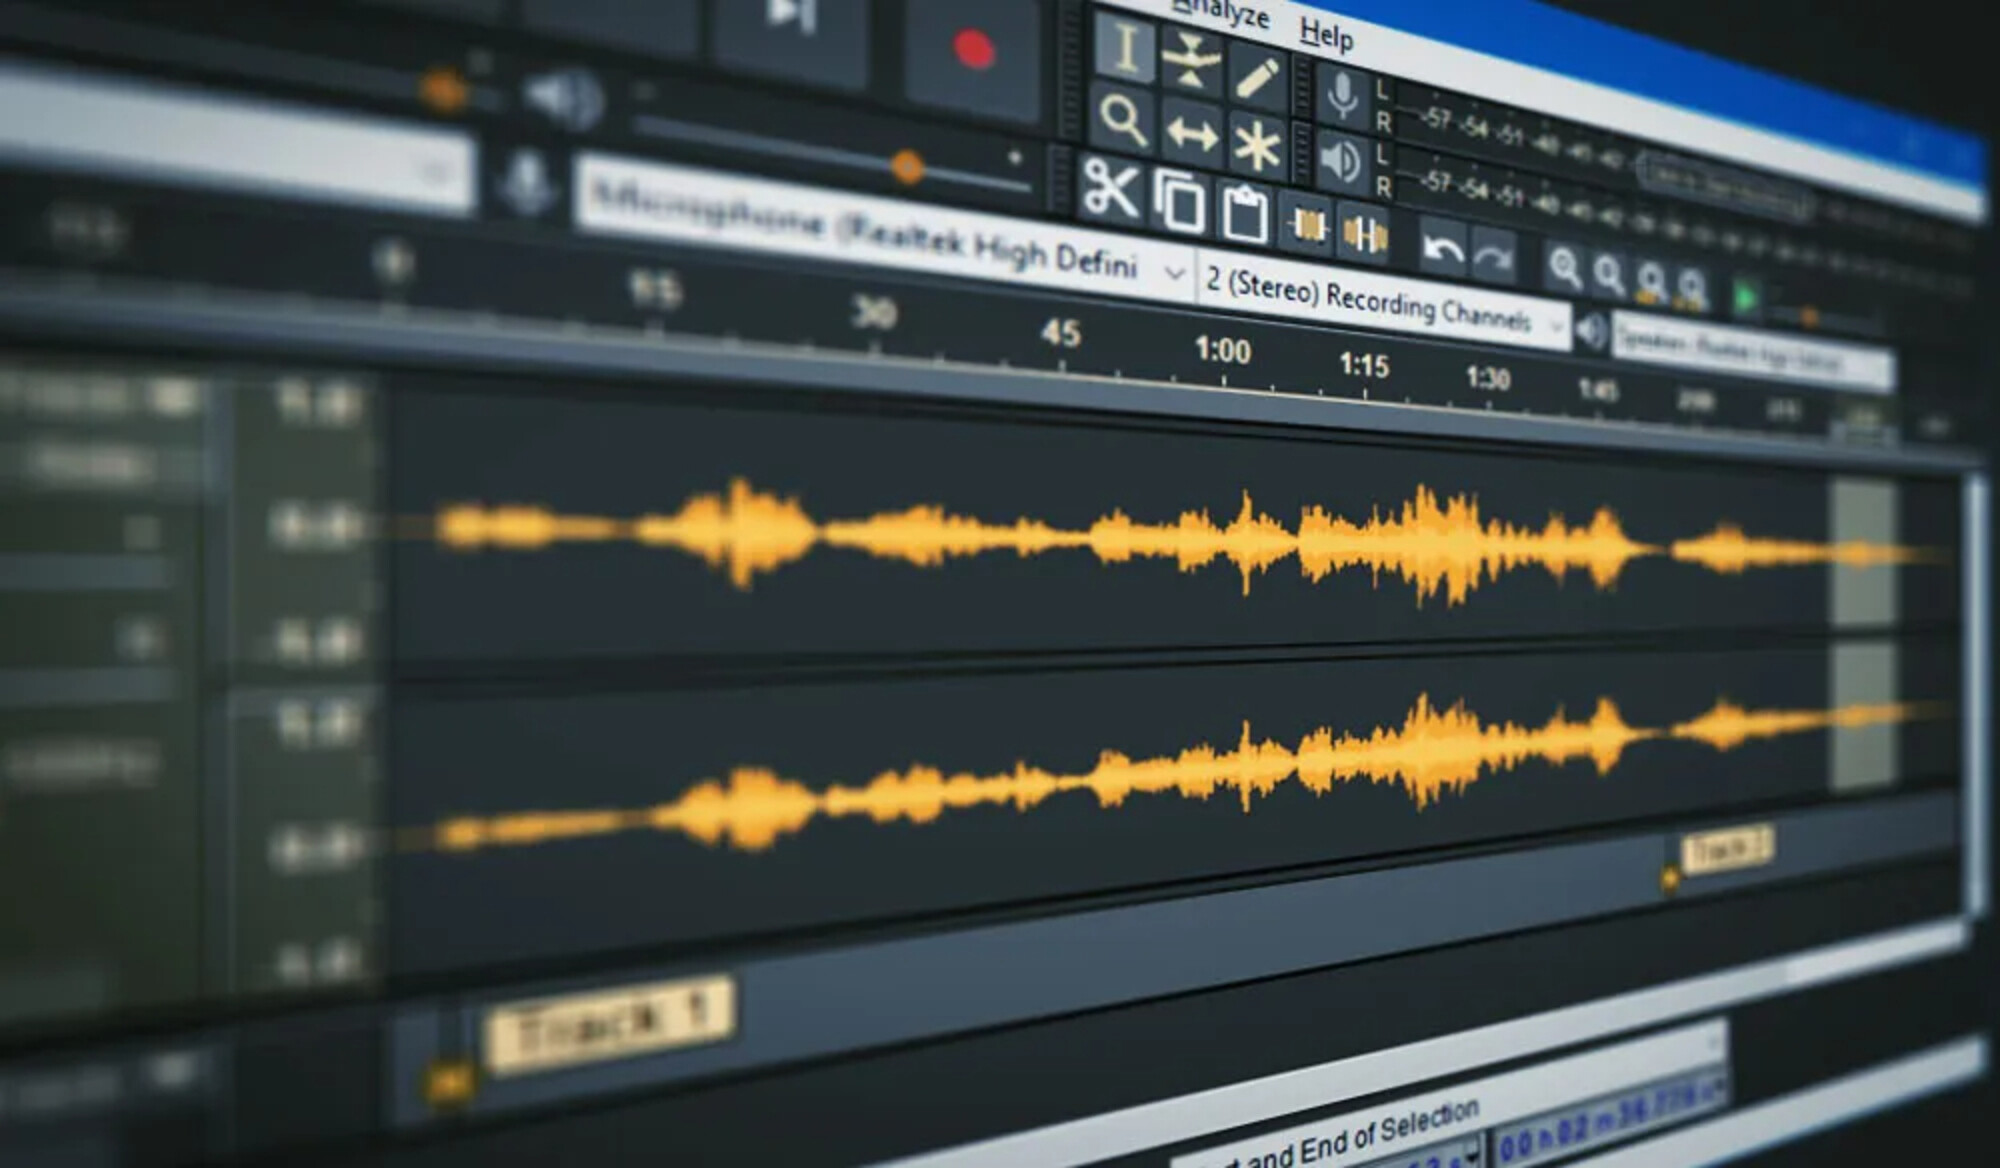
Playback Controls in Audacity
Now that you have imported your audio file, it’s time to explore the playback controls in Audacity. These controls allow you to play, pause, rewind, and navigate through your audio recording effortlessly. Let’s dive into the playback controls:
- Play Button: Located in the toolbar at the top of the Audacity interface, the play button (usually represented by a triangle) is used to start the playback of your audio file. Simply click the play button, and Audacity will begin playing your recording from the current cursor position.
- Pause Button: Found right next to the play button, the pause button (usually represented by two parallel lines) allows you to temporarily pause the playback of your audio file. Click the pause button to pause the audio, and click it again to resume playback from where you left off.
- Stop Button: The stop button (usually represented by a square) is used to stop the playback of your audio file completely. Clicking the stop button will bring the cursor back to the starting position, effectively ending the playback.
- Backward and Forward Seek Buttons: Located on either side of the play button, these buttons (usually represented by two arrows pointing left and right) allow you to seek backward or forward in your audio recording in small increments. Clicking the backward button moves the cursor a short distance backward, while clicking the forward button moves the cursor a short distance forward.
- Slider: The slider is a draggable control that allows you to navigate through your audio recording more precisely. You can click and drag the slider to move the cursor to a specific location in your recording, enabling you to jump to a certain point in the audio easily.
- Keyboard Shortcuts: Audacity also provides keyboard shortcuts for controlling playback. For example, the spacebar can be used to start and pause the playback, while the left and right arrow keys can be used to seek backward and forward. Familiarizing yourself with these shortcuts can significantly improve your workflow and efficiency.
These playback controls in Audacity give you complete command over the playback experience of your audio files. Whether you need to listen to a specific section, rewind to review a recording, or pause to make adjustments, these controls make it seamless and convenient to navigate through your audio project.
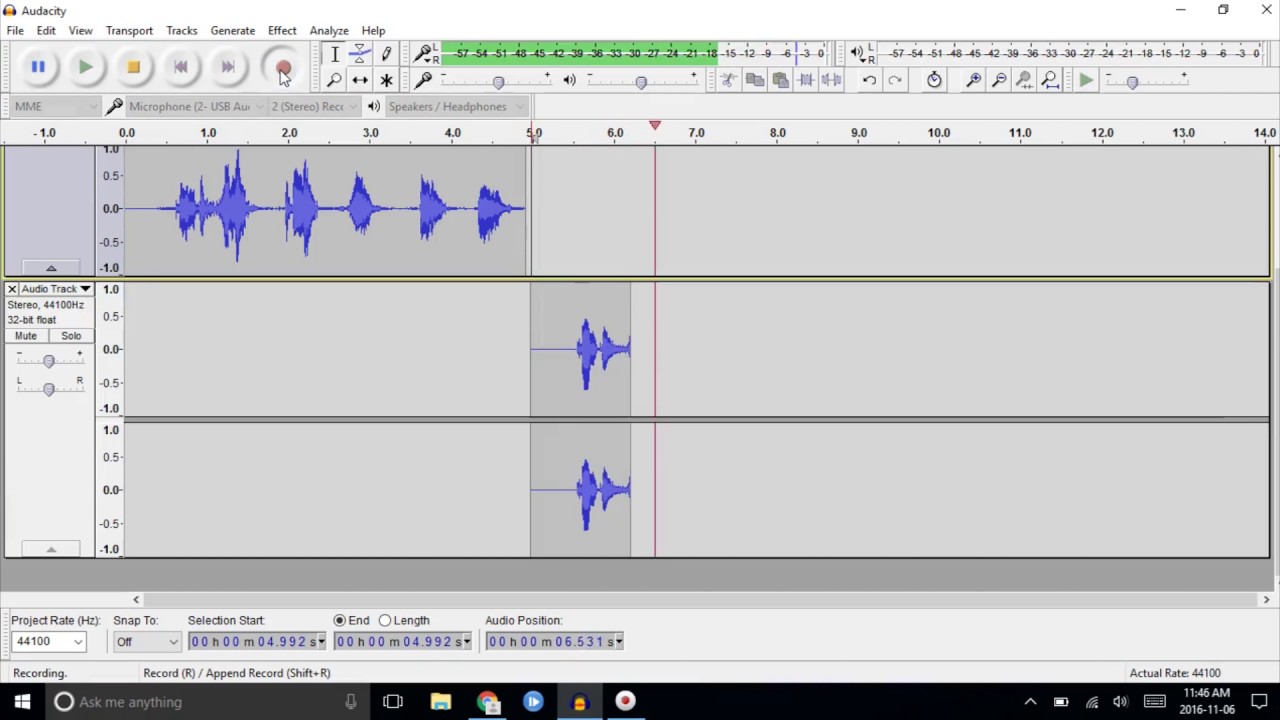
Monitoring Playback in Real-Time
When working with audio playback, it’s essential to monitor the playback in real-time to ensure the desired sound quality and make any necessary adjustments. Audacity provides various monitoring options to help you achieve this. Let’s explore how you can monitor playback in real-time:
- Volume Meter: The volume meter in Audacity displays the level of audio intensity as it is being played back. It helps you visualize the loudness of the audio and identify any peaks or dips in volume. You can find the volume meter in the toolbar or as a separate window, depending on your Audacity configuration.
- Playback Meter Toolbar: Audacity also offers a playback meter toolbar that provides more detailed information about the audio playback. This toolbar displays real-time feedback on the waveform and volume levels, allowing you to monitor the audio precisely. You can enable or disable the playback meter toolbar by going to the “View” menu and selecting “Playback Meter Toolbar.”
- Monitoring Modes: Audacity offers different monitoring modes to suit your specific needs. The default mode is “Playback,” which plays the audio through your computer’s speakers or headphones. However, if you’re recording live audio or need low-latency monitoring, you can switch to “Software Playthrough” or “Hardware Playthrough” modes. These modes allow you to monitor the audio input while recording or playing back with minimal delay.
- Solo and Mute Controls: In Audacity, you can use the solo and mute controls to monitor specific tracks during playback. Soloing a track isolates it and mutes all other tracks, allowing you to focus on that particular track’s audio. Muting a track, on the other hand, temporarily silences the audio on that specific track while still allowing other tracks to play. These controls are useful for fine-tuning the individual track’s playback and monitoring during editing.
Monitoring playback in real-time is crucial for ensuring the quality and accuracy of your audio project. By utilizing the volume meter, playback meter toolbar, monitoring modes, and solo and mute controls in Audacity, you can effectively monitor and adjust the playback to achieve the desired sound and make any necessary modifications.
Adjusting Playback Settings
Audacity allows you to customize and adjust various playback settings to tailor the playback experience according to your preferences. These settings can enhance the quality, performance, and functionality of the audio playback. Let’s explore how you can adjust the playback settings in Audacity:
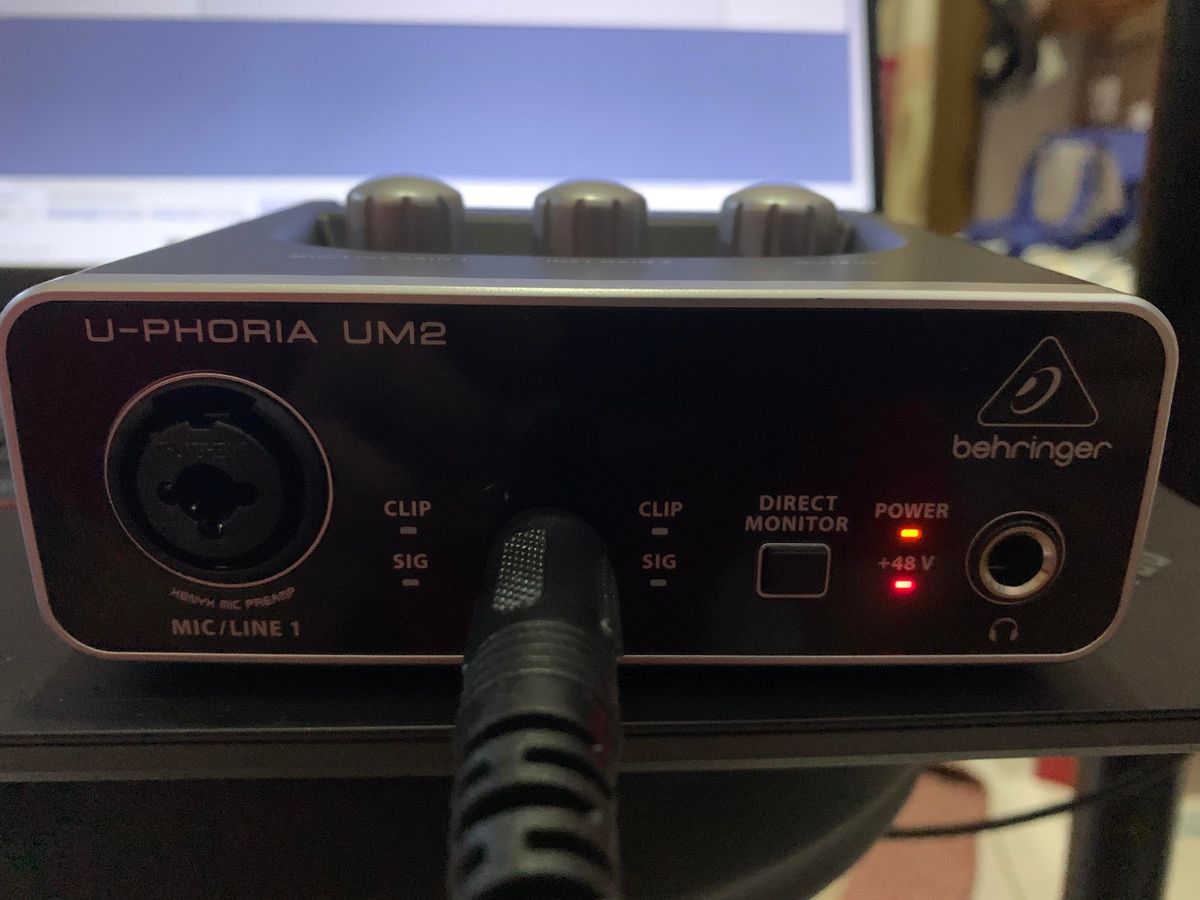
- Device Preferences: To ensure that Audacity is using the correct audio device for playback, you can navigate to the “Edit” menu and select “Preferences.” In the preferences window, go to the “Devices” section and choose the desired audio playback device from the dropdown menu. This option is particularly useful if you have multiple audio devices connected to your computer.
- Playback Rate: Audacity allows you to adjust the playback rate of your audio files. This feature enables you to speed up or slow down the playback speed, giving you more control over the tempo and timing of the audio. To change the playback rate, go to the “Tracks” menu, select “Change Speed,” and enter the desired value. Increasing the playback rate will make the audio play faster, while decreasing it will make it play slower.
- Channels and Audio Output: Audacity supports mono and stereo audio playback. You can choose the desired channel configuration by going to the “Tracks” menu, selecting “Stereo Track to Mono,” or “Mono Track to Stereo.” This feature is useful when working with audio recorded in different channel formats. Additionally, you can select the audio output device from the dropdown menu in the toolbar to direct the playback to specific speakers or headphones.
- Play-at-Speed feature: Audacity’s Play-at-Speed feature allows you to listen to your audio at a slower speed while maintaining the original pitch. This is particularly useful for transcribing audio or analyzing intricate details. To use this feature, navigate to the Transport menu and select “Play at Speed.” From there, you can set the desired playback speed.
By adjusting the playback settings in Audacity, you can optimize the audio playback to suit your needs. Whether it’s selecting the appropriate playback device, altering the playback rate, configuring the channel settings, or using the Play-at-Speed feature, these settings empower you to have full control over the playback experience and improve your overall audio editing workflow.
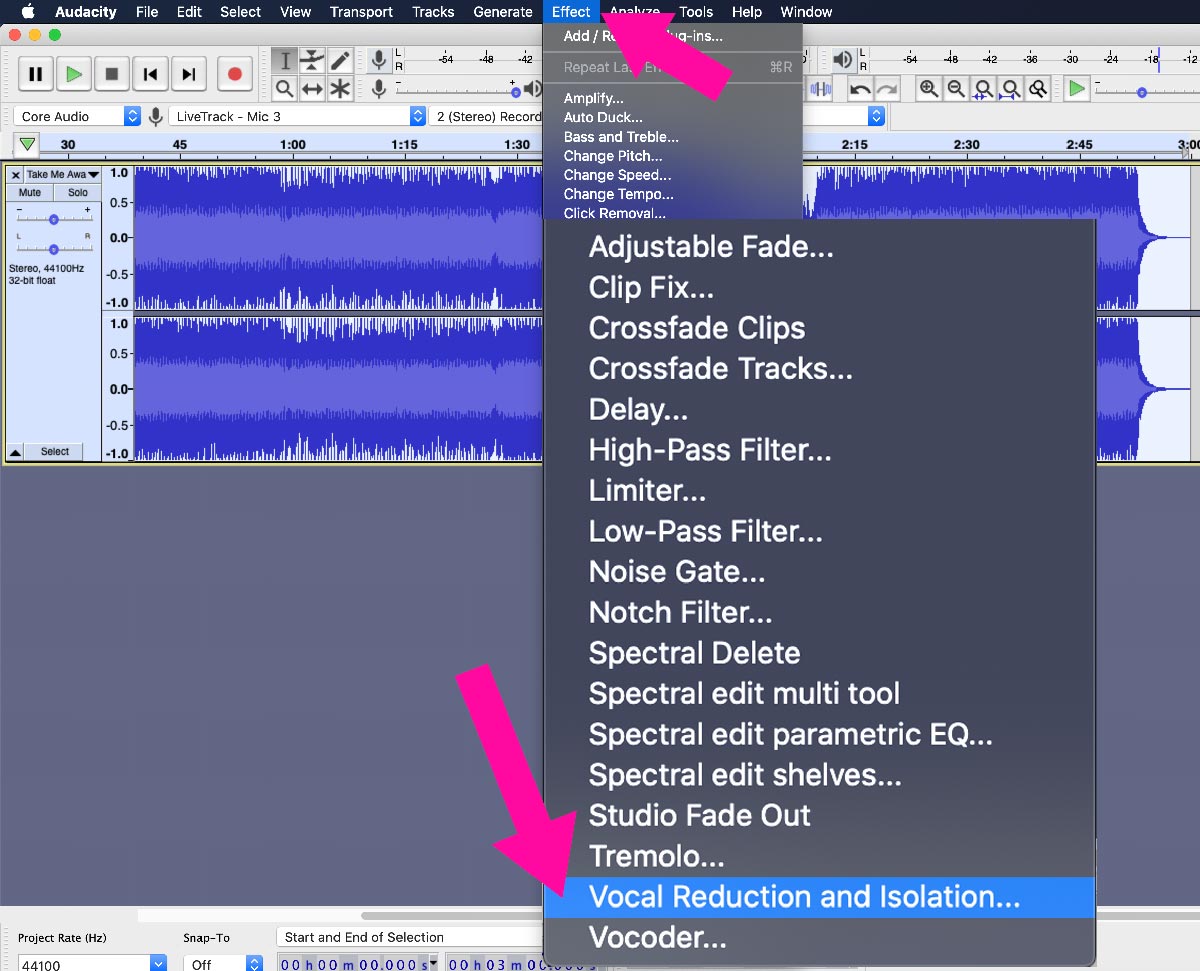
Adding Effects to Playback
Audacity provides a wide range of built-in audio effects that you can apply to your playback to enhance the sound, create unique effects, or modify the audio in creative ways. These effects can take your audio playback to the next level. Let’s explore how you can add effects to your playback in Audacity:
- Select the Audio: Before applying an effect, make sure to select the portion of the audio you wish to modify. Click and drag your cursor over the desired section of the waveform to highlight it.
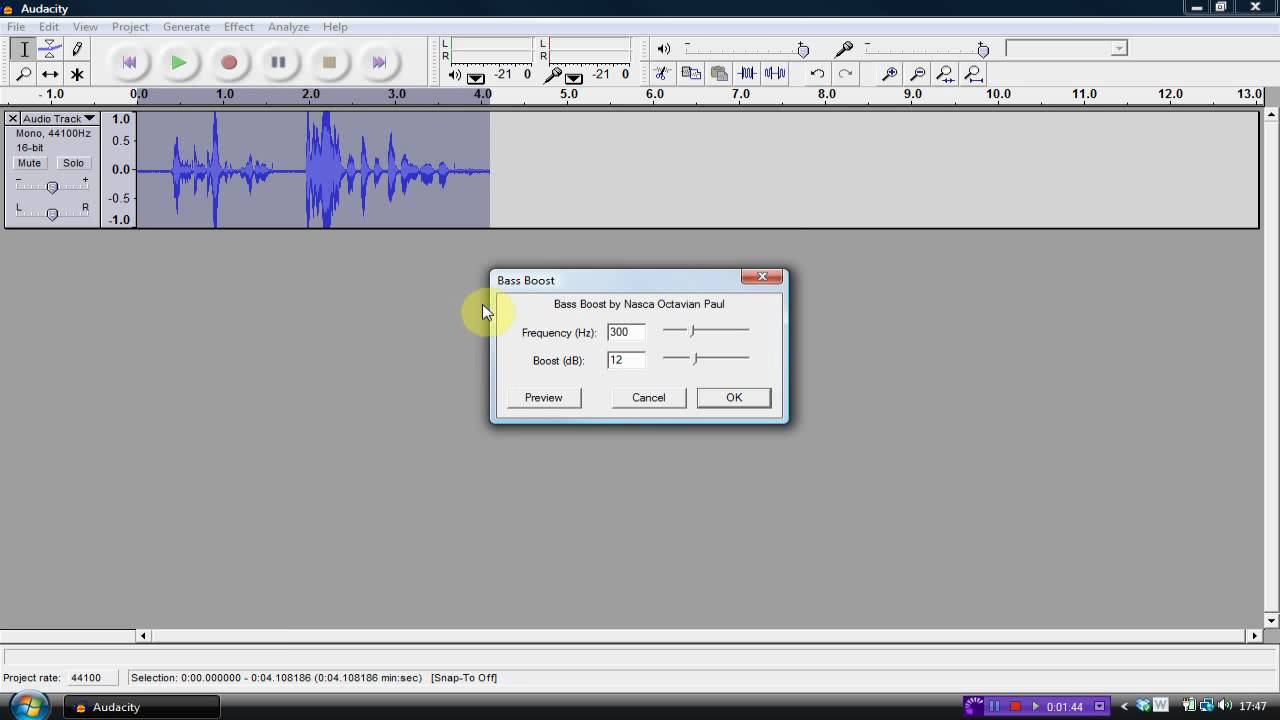
- Access the Effects Menu: Navigate to the “Effect” menu at the top of the Audacity interface. This menu provides a comprehensive list of built-in effects that you can apply to your audio playback.
- Apply the Effect: Choose the desired effect from the menu and click on it. This will open a dialog box with settings and options specific to the chosen effect. Adjust the settings as needed to achieve the desired effect.
- Preview the Effect: Audacity allows you to preview the effect before applying it to the entire playback. Select the “Preview” button in the effect dialog box, and Audacity will play a preview of the effect on the selected portion of the audio. This allows you to make any necessary adjustments before finalizing the effect.
- Apply the Effect: Once you are satisfied with the previewed effect, click on the “OK” button in the effect dialog box. Audacity will then apply the effect to the selected portion of the audio playback.
- Undo and Redo: Audacity provides the option to undo and redo any applied effects. If you are not satisfied with an effect, simply go to the “Edit” menu, select “Undo,” and Audacity will revert the audio back to its previous state. You can also use the “Redo” option to reapply a previously undone effect.
Adding effects to your playback in Audacity opens up a world of creative possibilities. Whether it’s applying equalization, reverb, echo, or even more complex effects like chorus or flanger, experimenting with different effects can transform your audio playback and take it to new heights of creativity and professionalism.
Exporting Playback Files
Once you have finished editing and enhancing the playback in Audacity, it’s time to export the final files into a format that can be shared, distributed, or used in other projects. Audacity offers several options for exporting playback files. Let’s explore how to export your files:
- Select the Desired Audio: Before exporting, make sure to select the portion of the audio you want to export. You can click and drag your cursor over the desired section of the waveform or use the “Select All” option from the “Edit” menu to choose the entire track.
- Choose Export Format: Go to the “File” menu and select “Export” or “Export Selected Audio” option. Audacity supports various audio formats, such as MP3, WAV, FLAC, and more. Choose the format that best suits your needs and preferences.
- Specify Export Settings: After selecting the export format, a dialog box will appear with options to customize the export settings. You can specify the quality, bitrate, sample rate, and other parameters depending on the chosen format.
- Provide File Name and Location: Specify the file name for your exported playback file and choose the desired location on your computer where you want to save the file. This will be the name and location of the exported file once it is generated.
- Export the File: Click the “Save” or “Export” button to initiate the exporting process. Audacity will then convert and export the selected audio portion into the specified format, creating a separate file that is ready for use.
Once the export process is complete, you will have your playback file saved in the chosen format, ready to be shared, uploaded to a website, or used in other audio projects. It’s important to choose the appropriate export format based on your intended use to ensure compatibility and optimal playback quality.
Audacity’s exporting capabilities provide you with the flexibility and control to save and share your edited playback files in various formats, making it easy to distribute your work or integrate it seamlessly into different audio projects.
Conclusion
Listening to playback in Audacity is a fundamental aspect of the audio editing process. By following the steps outlined in this guide, you can confidently import audio files, utilize the playback controls, monitor playback in real-time, adjust playback settings, add effects, and export the final playback files.
Audacity’s intuitive interface, coupled with its vast range of features and options, empowers you to have complete control over your audio playback experience. Whether you’re a musician, podcaster, or audio enthusiast, Audacity provides the tools you need to refine your recordings and bring them to life.
Remember to take advantage of Audacity’s playback settings, such as adjusting the playback rate and selecting the appropriate monitoring modes, to tailor the playback experience to your specific needs. Additionally, don’t hesitate to apply effects to your playback to enhance the sound or create unique effects that add a touch of creativity to your recordings.
Finally, exporting your finalized playback files in the desired audio format ensures compatibility and allows you to easily share and distribute your work across various platforms.
Now that you have a solid understanding of how to listen to playback in Audacity, it’s time to explore and experiment with the software’s rich features to take your audio editing skills to new heights. So go ahead, import your audio files, fine-tune the playback, and let your creativity soar!