Home>Events & Info>Podcast>How To Upload Podcast To ITunes
Podcast
How To Upload Podcast To ITunes
Modified: January 22, 2024
Learn how to upload your podcast to iTunes and get your content in front of a wider audience. Follow our step-by-step guide today!
(Many of the links in this article redirect to a specific reviewed product. Your purchase of these products through affiliate links helps to generate commission for AudioLover.com, at no extra cost. Learn more)
Table of Contents
- Introduction
- Step 1: Create a Podcast Episode
- Step 2: Prepare Your Podcast Artwork
- Step 3: Choose a Podcast Hosting Platform
- Step 4: Upload Your Podcast Episode to the Hosting Platform
- Step 5: Generate Your Podcast RSS Feed
- Step 6: Sign up for a Podcast Hosting Account with a Supported Provider
- Step 7: Submit Your RSS Feed to iTunes
- Step 8: Wait for iTunes Approval
- Conclusion
Introduction
Podcasts have gained significant popularity in recent years, becoming a powerful medium for sharing information and entertaining audiences. With millions of podcast episodes available across various platforms, it’s essential to ensure your podcast reaches the widest possible audience.
One of the key platforms for podcast distribution is iTunes, which boasts a vast user base and offers excellent visibility for podcasters. By uploading your podcast to iTunes, you can tap into this audience and attract new listeners.
In this article, we will guide you through the process of uploading your podcast to iTunes and getting it approved. By following these steps, you can increase the discoverability of your podcast and maximize its reach.
Before diving into the technical aspects of uploading your podcast to iTunes, it’s important to make sure you have all the necessary elements in place. This includes a captivating podcast episode, eye-catching artwork, and a reliable hosting platform for your podcast files.
Once you have these essentials ready, you’re well-prepared to embark on the journey of uploading your podcast to iTunes and taking your content to the next level. So let’s get started with the step-by-step process!
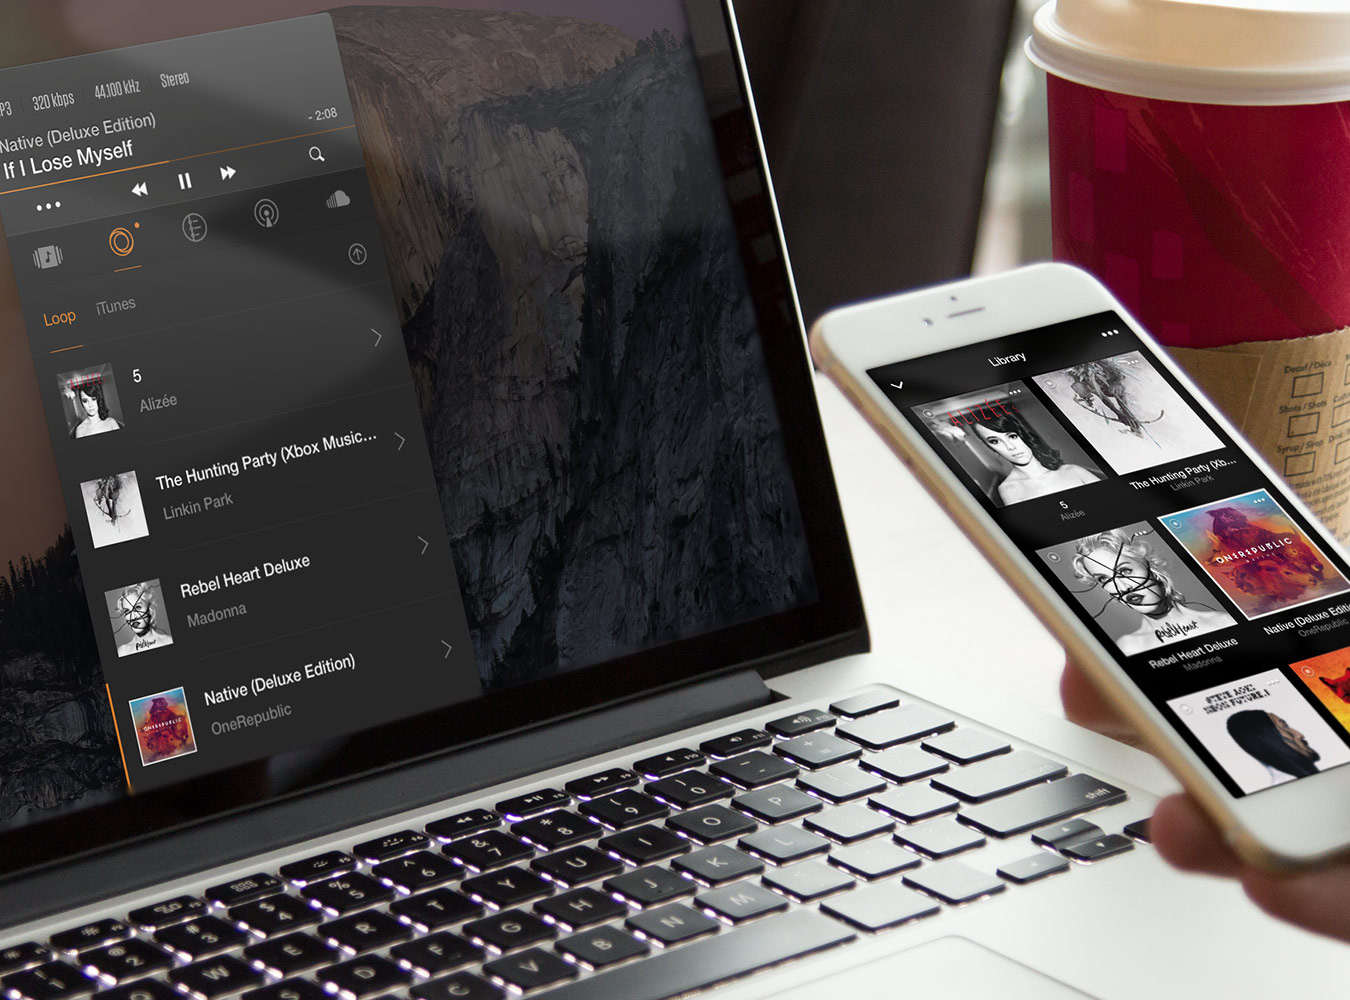
Step 1: Create a Podcast Episode
The first step in uploading your podcast to iTunes is to create a compelling podcast episode. This is the heart of your podcast and will determine how engaging your content is for your listeners. Here are some key considerations when creating your podcast episode:
- Choose a topic: Select a topic that aligns with your podcast’s theme and interests your target audience. Research popular trends and current events to stay relevant.
- Plan your episode: Outline the structure and flow of your episode. Decide on the format, such as interviews, solo discussions, or storytelling, and plan the segments or topics you want to cover.
- Prepare script or talking points: While some podcasters prefer a scripted approach, others opt for more conversational or improvised styles. Create a script or outline with key talking points to keep your episode focused and organized.
- Practice and rehearse: Before recording, take the time to practice your episode. This helps ensure a smoother delivery and minimizes any potential stumbling or hesitations.
- Record and edit: Use a high-quality microphone and recording software to capture your episode. Be mindful of ambient noise and find a quiet space for recording. Afterward, edit your episode to trim any unnecessary content and enhance audio quality.
- Add music and sound effects: Consider using music or sound effects to enhance the listening experience. Just be sure to use royalty-free or properly licensed content to avoid copyright issues.
- Preview and finalize: Listen to the final version of your episode to ensure everything sounds polished and professional. Make any necessary adjustments before moving on to the next steps.
Remember, the key to creating a successful podcast episode is to provide value to your audience. Engage them with interesting and relevant content, and aim to leave a lasting impression. Once you have your episode ready, it’s time to move on to the next step: preparing your podcast artwork.
Step 2: Prepare Your Podcast Artwork
Podcast artwork is like the cover of a book – it’s the first thing potential listeners see when browsing through podcasts. Therefore, it’s crucial to create eye-catching and professional artwork that accurately represents your podcast. Follow these steps to prepare your podcast artwork:
- Choose a design: Select a design that aligns with your podcast’s brand and theme. Consider the overall look and feel you want to convey. Whether it’s minimalist, bold, or vibrant, make sure the design reflects the essence of your podcast.
- Add the podcast title and subtitle: Incorporate your podcast’s title and subtitle into the artwork design. Use fonts and colors that are easy to read and visually appealing. The title should be prominent and clear, while the subtitle can provide additional context or intrigue.
- Include relevant imagery: Use images or illustrations that relate to your podcast’s content. These visuals can provide a glimpse into the topics or themes you explore. Ensure the artwork is visually appealing and captivating for potential listeners.
- Follow the specifications: Check the requirements and specifications for podcast artwork on the platform where you plan to upload your podcast. Different platforms have different size and format guidelines. Generally, artwork should be at least 1400 x 1400 pixels and save it as a JPEG or PNG file.
- Keep it simple and memorable: Avoid cluttering your artwork with too much information or complex designs. A clean and simple design tends to be more effective in grabbing attention. Focus on creating a memorable visual that stands out among other podcast covers.
- Consider branding consistency: If you have an existing brand or logo, incorporate it into your podcast artwork to maintain consistency across your platforms. This helps build recognition and familiarity with your audience.
- Test and refine: Before finalizing your artwork, seek feedback from others or conduct surveys to gather opinions on the design. Continue tweaking and refining until you are satisfied with the final result.
Remember, your podcast artwork is the first impression potential listeners have of your show. Make sure it accurately represents your podcast’s content and captures the attention of your target audience. With your podcast episode and artwork ready to go, it’s time to move on to the next step: choosing a podcast hosting platform.
Step 3: Choose a Podcast Hosting Platform
Now that you have your podcast episode and artwork prepared, it’s time to find a reliable podcast hosting platform. A hosting platform is where your podcast files will be stored and distributed to various podcast directories, including iTunes. Here are some factors to consider when choosing a podcast hosting platform:
- Storage and bandwidth: Consider the amount of storage and monthly bandwidth offered by the hosting platform. Ensure it can accommodate your podcast files and handle the expected number of listeners without any performance issues.
- Ease of use: Look for a hosting platform that is user-friendly and intuitive. The interface should make it easy to upload and manage your podcast episodes, add show notes, and track your podcast’s performance.
- Distribution to podcast directories: Check if the hosting platform automatically submits your podcast to major directories like iTunes, Spotify, and Google Podcasts. This saves you time and effort in manually submitting your podcast to each directory.
- Analytics and statistics: Consider whether the hosting platform provides detailed analytics and listener statistics. These insights can help you understand your audience and make informed decisions about your podcast’s content and marketing strategies.
- Monetization options: If you plan to monetize your podcast, look for hosting platforms that offer features like built-in advertising or sponsorship opportunities. These options can help you generate revenue from your podcast.
- Customer support: Ensure the hosting platform provides reliable customer support to assist you with any technical issues or questions that may arise. Prompt and helpful support is essential for a smooth podcasting experience.
- Pricing: Consider your budget and the pricing structure of different hosting platforms. While some offer free plans, they may come with limitations. Paid plans often offer more storage, bandwidth, and advanced features.
Take the time to research and compare different hosting platforms based on these factors. Read reviews and seek recommendations from other podcasters to make an informed decision. Once you have chosen a hosting platform, you can proceed to the next step: uploading your podcast episode to the hosting platform.
Step 4: Upload Your Podcast Episode to the Hosting Platform
Now that you have selected a podcast hosting platform, it’s time to upload your podcast episode to the platform. The hosting platform will serve as the central hub for storing and managing your podcast files. Follow these steps to upload your podcast episode:
- Create an account: Sign up for an account on the chosen hosting platform. Provide the necessary details and complete any required verification steps.
- Access the dashboard: Once you have created an account, log in to the hosting platform’s dashboard. This is where you will manage your podcast episodes and settings.
- Locate the upload section: Look for the option to upload or add a new episode on the dashboard. This is typically prominently displayed or placed in the “Episodes” or “Content” section.
- Prepare your episode file: Ensure your podcast episode is saved in a compatible format, such as MP3 or WAV. If necessary, use audio editing software to finalize your episode and ensure the best audio quality.
- Select the file: Click on the upload button and select the podcast episode file from your computer’s storage. Wait for the file to upload, which may take some time depending on the file size and your internet connection.
- Add episode details: Fill in the required information for your podcast episode, such as the episode title, description, and any relevant show notes. This information will appear on podcast directories and provide context for potential listeners.
- Set episode settings: Configure any additional settings offered by the hosting platform, such as episode release date, episode number, and whether the episode is explicit or not.
- Attach artwork: Upload your podcast artwork to accompany the episode. This artwork will be displayed alongside your episode on podcast directories and platforms.
- Save and publish: Review the episode details, artwork, and settings to ensure everything is accurate. Once you are satisfied, click the save or publish button to make your podcast episode live on the hosting platform.
Congratulations! You have successfully uploaded your podcast episode to the hosting platform. Now, it’s time to generate your podcast RSS feed, which is essential for podcast distribution and submission to iTunes.
Step 5: Generate Your Podcast RSS Feed
Your podcast’s RSS feed is a critical component for distributing your episodes to various podcast directories, including iTunes. The RSS feed acts as a syndication feed that contains all the necessary information about your podcast. Follow these steps to generate your podcast RSS feed:
- Check if your hosting platform provides an RSS feed: Some podcast hosting platforms automatically generate an RSS feed for your podcast. Check the platform’s settings or documentation to locate your RSS feed URL. If your platform doesn’t provide a feed, you may need to use an external service or follow the hosting platform’s instructions to create one.
- Verify the accuracy of your RSS feed: It’s crucial to ensure that your RSS feed is correct and functioning correctly. Use a validation tool or service to check for any errors or issues with your feed. An accurate and valid RSS feed will help prevent any submission or syndication problems.
- Include all essential details in the feed: Your RSS feed should contain crucial information about your podcast, such as the title, description, artwork, episode titles, descriptions, release dates, and audio file URLs. This information enables podcast directories to accurately display and categorize your episodes.
- Optimize your feed for iTunes: iTunes has specific requirements and guidelines for podcast RSS feeds. Ensure that your feed adheres to these guidelines by using the correct tags, including relevant keywords, and following the recommended formatting. This optimization can improve your visibility and searchability within iTunes.
- Test your RSS feed: Before submitting your feed to iTunes, test it with an RSS feed reader or validator to confirm that all episodes and details are correctly displayed. Check for any formatting issues, missing episodes, or broken links. Fix any errors or inconsistencies that you encounter.
- Save and backup your feed URL: Once you have generated your podcast RSS feed, save the URL in a safe and accessible location. This feed URL is what you will submit to iTunes and other podcast directories to ensure your episodes are regularly updated.
With your podcast RSS feed generated and verified, you’re now ready to move on to the next step, which involves signing up for a podcast hosting account with a supported provider.
Step 6: Sign up for a Podcast Hosting Account with a Supported Provider
Before submitting your podcast to iTunes, it’s essential to have a podcast hosting account with a supported provider. A podcast hosting provider is responsible for storing and delivering your podcast files to listeners. Follow these steps to sign up for a podcast hosting account:
- Research and choose a hosting provider: Look for a hosting provider that meets your needs, based on factors such as storage capacity, bandwidth, pricing, ease of use, and customer support. Popular podcast hosting providers include Libsyn, Podbean, Buzzsprout, and Anchor.
- Visit the hosting provider’s website: Go to the website of the hosting provider you have chosen and navigate to their sign-up or registration page.
- Select a hosting plan: Choose the hosting plan that aligns with your requirements and budget. Consider factors such as storage space, monthly bandwidth, monetization options, and analytics offered by the hosting provider.
- Provide your details: Fill out the required information, including your name, email address, podcast name, and any other requested details. Some hosting providers may ask for payment details if you are signing up for a paid plan.
- Choose a podcast name and URL: Select a unique and memorable name for your podcast. Most hosting providers allow you to customize the URL for your podcast, which will be part of the RSS feed URL.
- Set up your payment: If you are signing up for a paid plan, enter your payment details and complete the necessary steps to set up your payment account. Make sure to review the pricing details and any recurring charges before finalizing your payment.
- Configure your account settings: Once you have completed the sign-up process, you may be prompted to set up your account settings, such as podcast categories, tags, and other metadata. Provide accurate and relevant information to optimize the discoverability of your podcast.
- Verify your email and account: Check your email inbox for a verification email from the hosting provider. Follow the instructions to confirm your email address and activate your hosting account.
After signing up for a podcast hosting account, you’re one step closer to submitting your podcast to iTunes. The hosting account will serve as the repository for your podcast episodes and allow you to manage your content efficiently. Proceed to the next step to learn how to submit your RSS feed to iTunes.
Step 7: Submit Your RSS Feed to iTunes
Once you have created your podcast episode, prepared your artwork, chosen a hosting platform, uploaded your podcast episode, and generated your podcast RSS feed, it’s time to submit your RSS feed to iTunes. Here’s how you can do it:
- Sign in to iTunes Podcasts Connect: Visit the iTunes Podcasts Connect website and sign in using your Apple ID. If you don’t have an Apple ID, create one.
- Add your podcast to iTunes: Click on the “Add a Podcast” button and enter your podcast’s RSS feed URL. iTunes will validate the feed and retrieve the necessary information about your podcast.
- Verify and review your podcast information: After adding your RSS feed, iTunes will display the retrieved podcast information. Check that all the details such as the podcast title, description, artwork, and episodes are correct. Make any necessary edits if needed.
- Submit your podcast for review: Once you have reviewed and confirmed the accuracy of your podcast information, click on the “Submit” or “Save” button to submit your podcast to iTunes for review.
- Wait for iTunes approval: iTunes will review your podcast to ensure it meets their content guidelines and technical requirements. This review process may take some time, so be patient. You will receive a notification via email once your podcast is approved.
- Check your podcast status: Monitor the status of your podcast in iTunes Podcasts Connect. Once approved, your podcast will be listed as active, and you can view it on iTunes and other podcast directories.
- Market and promote your podcast: After your podcast is live on iTunes, focus on marketing and promoting your podcast to increase visibility and attract listeners. Utilize social media, your website, email newsletters, and other channels to share your podcast and engage with your audience.
Note that iTunes may have specific requirements for podcast artwork, including dimensions, resolution, and content. Make sure your artwork complies with their guidelines to avoid any issues during the review process.
It’s important to promote your podcast actively and consistently once it’s available on iTunes. Engage with your audience, encourage reviews and ratings, and explore opportunities for collaboration or guest appearances on other podcasts.
Congratulations! You have successfully submitted your podcast to iTunes. Now, continue producing and publishing high-quality episodes to keep your audience engaged and continue growing your podcast’s reach.
Step 8: Wait for iTunes Approval
After submitting your podcast to iTunes, you will need to wait for iTunes to review and approve your podcast. The approval process can take varying amounts of time, ranging from a few hours to several days. Here’s what you need to know while waiting for iTunes approval:
- Be patient: iTunes receives a large number of podcast submissions, so it may take some time for them to review your podcast. It’s important to be patient and avoid submitting multiple requests or making unnecessary changes to your submission.
- Check your email: iTunes will send you an email notification once they have reviewed and approved your podcast. Make sure to check your email regularly, including your spam or promotions folder, to ensure you don’t miss any important updates.
- Review any feedback or changes required: In some cases, iTunes may request changes to your podcast artwork, description, or other details before approving your podcast. If you receive feedback or change requests, carefully review them and make the necessary adjustments.
- Monitor iTunes Podcasts Connect: During the waiting period, log in to iTunes Podcasts Connect and monitor the status of your podcast. You will see whether your podcast is still pending review or if it has been approved.
- Prepare for launch: While waiting for iTunes approval, take the time to prepare for your podcast’s launch. Plan your marketing strategies, create social media content, and develop a promotional plan to generate excitement around your podcast’s debut.
- Continue producing new episodes: Use the waiting period to continue producing new podcast episodes. Having a backlog of episodes ready to release ensures that you can maintain a consistent schedule and engage your listeners right from the start.
- Stay informed: Stay updated with any changes or announcements from iTunes regarding their podcast submission and review process. They may introduce new guidelines or requirements that could affect your podcast in the future.
Remember, the approval process may vary, and it’s essential to comply with iTunes’ guidelines to increase the chances of a smooth review. Once your podcast is approved, it will be listed on iTunes and available to a vast audience of potential listeners.
So, while waiting for iTunes approval, keep your excitement high and use the time to prepare for a successful podcast launch. Stay proactive and continue creating valuable content for your audience. Once your podcast is approved, you can start sharing it with the world and watch your podcast grow.
Conclusion
Congratulations on successfully uploading your podcast to iTunes! By following the step-by-step process outlined in this article, you have taken a significant stride towards making your podcast accessible to a wider audience. Here’s a recap of the steps:
- Create a captivating podcast episode that engages your audience.
- Prepare visually appealing artwork that accurately represents your podcast.
- Choose a reliable podcast hosting platform that fits your needs.
- Upload your podcast episode to the hosting platform.
- Generate your podcast RSS feed, ensuring it contains all the necessary information.
- Sign up for a podcast hosting account with a supported provider.
- Submit your RSS feed to iTunes for review.
- Wait patiently for iTunes to approve your podcast.
Once your podcast receives iTunes approval, the journey doesn’t end there. Remember to consistently produce high-quality episodes, market your podcast, and engage with your audience to foster growth and maintain listener interest.
Utilize social media, your website, and other promotional channels to spread the word about your podcast and attract new listeners. Encourage reviews and ratings to boost your podcast’s visibility and credibility in iTunes and other podcast directories.
Lastly, don’t underestimate the power of networking and collaboration within the podcasting community. Consider guest appearances on other podcasts or inviting guests onto your show. These opportunities can help expand your reach and attract new listeners.
Now that you have the knowledge and steps to upload your podcast to iTunes, it’s time to take action and make your podcast available to the world. Embrace the challenges and opportunities that come with podcasting, and above all, enjoy the journey as you connect with an ever-growing audience through the power of your words and stories.