Home>Production & Technology>MP3>How To Convert MP3 To Itunes


MP3
How To Convert MP3 To Itunes
Modified: January 22, 2024
Learn how to convert MP3 files to iTunes format easily and quickly. Transfer your favorite music from MP3 to iTunes hassle-free and enjoy seamless playback.
(Many of the links in this article redirect to a specific reviewed product. Your purchase of these products through affiliate links helps to generate commission for AudioLover.com, at no extra cost. Learn more)
Table of Contents
Introduction
Converting MP3 files to iTunes format can be a daunting task for many. Whether you want to transfer your favorite music from your MP3 player to your iPhone, or simply want to organize and manage your music collection more efficiently, converting MP3 to iTunes can streamline the process.
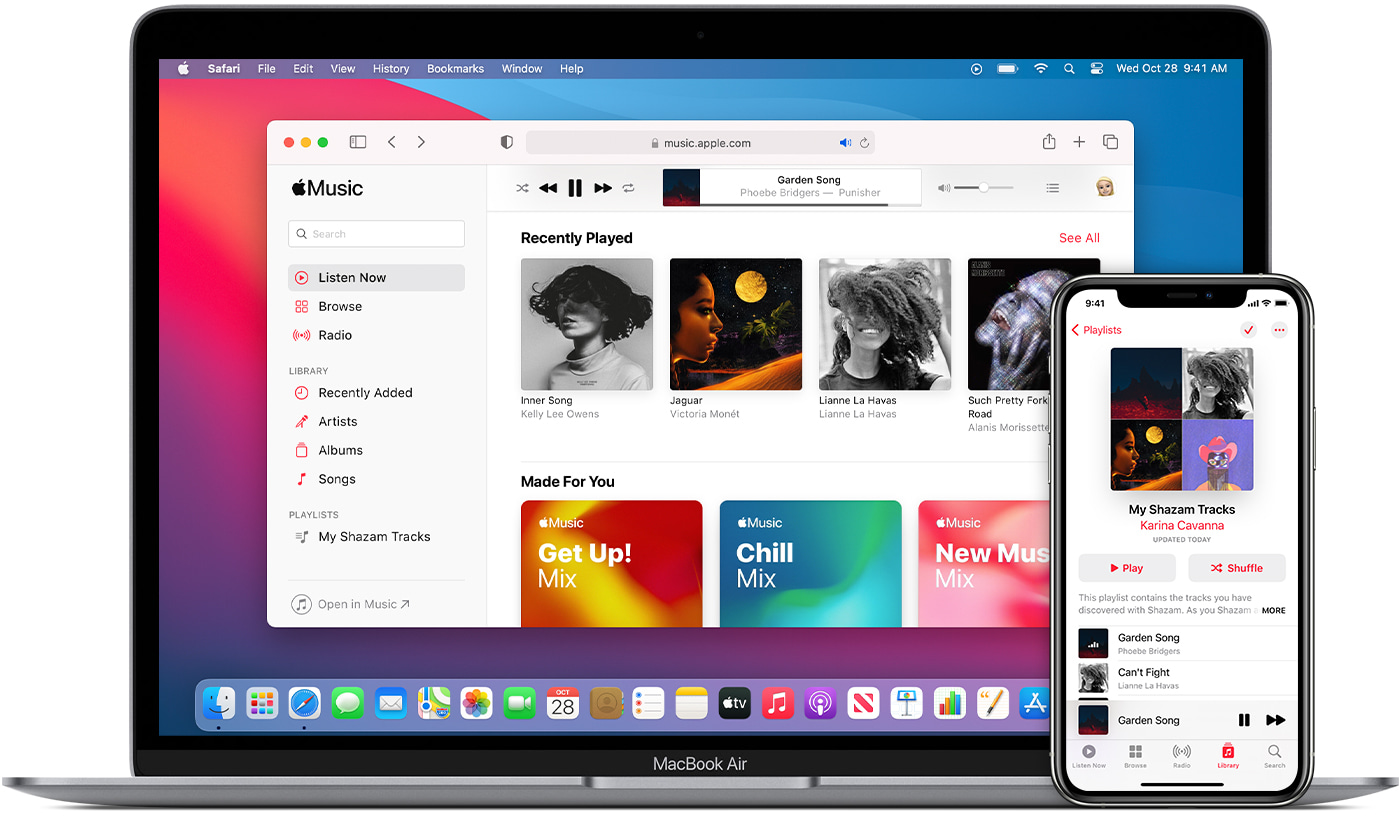
iTunes, developed by Apple Inc., is a powerful media player and library management software. It allows users to import, organize, and play various audio files, including MP3, M4A, and WAV. By converting your MP3 files to iTunes format, you can take advantage of iTunes’ advanced features, such as smart playlists, automatic syncing, and seamless integration with Apple devices.
In this article, we will walk you through the step-by-step process of converting MP3 files to iTunes format. Whether you’re a tech-savvy individual or a complete beginner, this guide will equip you with the necessary knowledge to successfully convert your MP3 files and make the most out of your iTunes library.
Before we begin, it’s important to note that the following instructions are specifically tailored to iTunes on a Windows or Mac computer. If you’re using an older version of iTunes, the steps may vary slightly. However, the overall process remains the same.
So, without further ado, let’s dive into the world of MP3 to iTunes conversion and unlock the full potential of your music collection.
Step 1: Download and Install iTunes
The first step in converting MP3 to iTunes format is to download and install the iTunes software on your computer. iTunes is available for both Windows and Mac operating systems and can be downloaded from the official Apple website.
To download iTunes, simply visit the Apple website and navigate to the iTunes download page. From there, you can choose the appropriate version of iTunes for your operating system and click on the download button. The download process may take a few minutes, depending on your internet connection speed.
Once the download is complete, locate the installer file in your downloads folder and double-click on it to begin the installation process. Follow the on-screen prompts and agree to the terms and conditions to proceed with the installation.
During the installation, you may be asked to customize the installation options. In most cases, the default settings are sufficient, but you can choose to modify them according to your preferences. Make sure to select the options related to importing and converting audio files to iTunes format.
After the installation is complete, launch iTunes on your computer. You may be prompted to sign in with your Apple ID or create a new Apple ID if you don’t have one already. Signing in with your Apple ID will allow you to access additional features, such as purchasing music from the iTunes Store and syncing your iTunes library across multiple devices.
With iTunes successfully installed and launched on your computer, you’re ready to proceed to the next step of converting your MP3 files to iTunes format.
Step 2: Add MP3 Files to iTunes Library
Once you have iTunes installed and launched on your computer, the next step is to add your MP3 files to the iTunes library. The iTunes library acts as a central hub for all your media files, including music, videos, and podcasts.
To add MP3 files to your iTunes library, follow these simple steps:
- Click on the “File” tab in the top menu bar of iTunes.
- From the drop-down menu, select “Add File to Library” if you want to add a specific MP3 file, or select “Add Folder to Library” if you want to add an entire folder containing multiple MP3 files.
- Navigate to the location where your MP3 files are stored on your computer. Select the desired MP3 file(s) or folder and click on “Open” to proceed.
- Wait for iTunes to import and add the selected MP3 files to your library. The duration of this process may vary depending on the size of your files and the processing power of your computer.
Once the import process is complete, you will see your MP3 files listed in the iTunes library. They will be organized by artist, album, and song title, making it easier for you to navigate and locate your music.
It’s worth mentioning that iTunes supports various audio file formats, including MP3, AAC, M4A, WAV, and AIFF. When you add MP3 files to your iTunes library, they will be automatically converted to the default iTunes format, which is AAC (Advanced Audio Coding). This conversion helps optimize the audio quality and compatibility with Apple devices.
Now that your MP3 files are added to the iTunes library, you’re ready to move on to the next step and convert them to the iTunes format for optimal playback and synchronization.
Step 3: Convert MP3 to iTunes Format
After adding your MP3 files to the iTunes library, the next step is to convert them to the iTunes format. This conversion process ensures that your music is compatible with all Apple devices and takes advantage of the advanced features offered by iTunes.
To convert your MP3 files to the iTunes format, follow these steps:
- Select the MP3 files or folder you want to convert in the iTunes library.
- Right-click on the selected files and choose “Create AAC Version” from the context menu.
- iTunes will start converting the selected MP3 files to the AAC format. The converted files will have the same name and will be listed below the original files in the library.
- Once the conversion process is complete, you can verify that the MP3 files have been successfully converted to the iTunes format by checking the file extension. The converted files will have the “.m4a” extension.
- Optionally, you can choose to delete the original MP3 files from your iTunes library to save storage space. However, make sure to keep a backup of the original files in case you need them in the future.
It’s important to note that the conversion process may take some time, depending on the number and size of the MP3 files you’re converting. Be patient and wait for iTunes to finish the conversion before proceeding to the next steps.
By converting your MP3 files to the iTunes format, you ensure seamless compatibility with all your Apple devices, including iPhone, iPad, iPod, and Apple TV. Now that your MP3 files are successfully converted, let’s move on to the next step of editing metadata and preferences in iTunes.
Step 4: Edit Metadata and Preferences
After converting your MP3 files to the iTunes format, it’s time to edit the metadata and preferences to further organize and customize your music collection. Metadata includes information such as the song title, artist name, album name, genre, year, and artwork.
To edit the metadata of your songs in iTunes, follow these steps:
- Select the song(s) in your iTunes library that you want to edit.
- Right-click on the selected song(s) and choose “Get Info” from the context menu. Alternatively, you can click on the “File” tab in the top menu bar and select “Get Info”.
- A window will appear where you can edit the metadata of the selected song(s). Enter or modify the relevant information, such as the song title, artist name, album name, genre, year, and more.
- If you have album artwork that you want to associate with the song, click on the “Artwork” tab and use the “Add Artwork” button to select the desired image file.
- Click on “OK” to save the changes and update the metadata of the song(s).
In addition to editing metadata, you can also customize various preferences in iTunes to enhance your listening experience. To access the preferences, click on the “Edit” tab in the top menu bar and select “Preferences” (Windows) or “iTunes” and then “Preferences” (Mac).
In the preferences window, you can adjust settings related to playback, library organization, audio quality, syncing, and more. Take some time to explore the different tabs and customize the preferences according to your needs.
By editing the metadata and adjusting the preferences in iTunes, you can create a personalized and well-organized music library that suits your taste and preferences. Now that your music collection is organized and customized, let’s move on to the final step of syncing your iTunes library with your Apple devices.
Step 5: Sync iTunes Library with Devices
Now that you have converted your MP3 files to the iTunes format, edited the metadata, and customized the preferences, it’s time to synchronize your iTunes library with your Apple devices. Syncing allows you to transfer your music and other media files to your iPhone, iPad, iPod, or Apple TV.
To sync your iTunes library with your devices, follow these steps:
- Connect your Apple device to your computer using the USB cable that came with it. Ensure that your device is recognized by iTunes.
- In iTunes, click on the device icon that appears in the top left corner of the window. This will take you to the device management page.
- Select the “Music” tab in the left sidebar to manage your music syncing options.
- Choose whether you want to sync your entire music library or select specific playlists, artists, genres, or albums.
- Once you have made your selections, click on the “Apply” or “Sync” button to start the synchronization process. iTunes will transfer the selected music files from your library to your device.
Depending on the size of your music library and the speed of your computer, the syncing process may take some time. It is important to keep your device connected to your computer until the sync is complete.
After the synchronization is finished, you can disconnect your device from the computer and enjoy your music on the go. Your iTunes library will now be accessible on your Apple device, allowing you to listen to your favorite songs, create playlists, and enjoy a seamless music experience.
It’s worth noting that you can also enable automatic syncing in iTunes preferences to ensure that any changes you make to your library, such as adding new songs or playlists, are automatically transferred to your connected devices.
Congratulations! You have successfully converted your MP3 files to the iTunes format, organized your music library, and synced it with your Apple devices. Now you can enjoy your favorite music wherever you go, thanks to iTunes’ powerful features and seamless integration.
Conclusion
Converting MP3 files to iTunes format opens up a world of possibilities for organizing, managing, and enjoying your music collection. With iTunes, you can seamlessly sync your music across all your Apple devices, create custom playlists, and take advantage of advanced features for a superior listening experience.
In this guide, we covered the step-by-step process of converting MP3 files to iTunes format. We started by downloading and installing iTunes, then proceeded to add MP3 files to the iTunes library. We then converted the MP3 files to the iTunes format, edited the metadata and preferences, and finally synced the iTunes library with our Apple devices.
By following these steps, you now have a well-organized iTunes library, optimized for compatibility with your Apple devices. Whether you’re a music enthusiast, a podcast lover, or simply want to enjoy your favorite songs on the go, iTunes provides a comprehensive solution for managing and listening to your media.
Remember to periodically update your iTunes library by adding new music and removing any duplicates or outdated files. This will ensure that your library stays organized and up to date with your evolving music taste.
Now that you’re equipped with the knowledge to convert and manage your MP3 files in iTunes, it’s time to unleash the full potential of your music collection. Explore iTunes’ features, discover new artists and albums, and enjoy a seamless music experience across all your Apple devices.
So go ahead, start converting your MP3 files to iTunes format and elevate your music listening to new heights!

