Home>Events & Info>Acapella>How To Make A Acapella On FL Studio

Acapella
How To Make A Acapella On FL Studio
Published: January 3, 2024
Learn how to create an acapella track in FL Studio with step-by-step instructions. Perfect for vocal enthusiasts and music producers looking to isolate vocals.
(Many of the links in this article redirect to a specific reviewed product. Your purchase of these products through affiliate links helps to generate commission for AudioLover.com, at no extra cost. Learn more)
Table of Contents
Introduction
Acappella music has a unique charm and appeal that captivates listeners around the world. With its intricate harmonies and captivating vocal performances, acappella creates a truly immersive and captivating musical experience. If you’re a fan of acappella and want to experiment with creating your own acappella tracks, you’re in luck! In this article, we will explore how to make an acappella using FL Studio, a popular digital audio workstation.
FL Studio, also known as Fruity Loops, is a powerful software that offers a wide range of tools and features for music production. Although it is primarily used for electronic music production, FL Studio can also be used to create acappella tracks by isolating and manipulating vocals from an existing song. Whether you’re a seasoned producer or a beginner, FL Studio provides an accessible and user-friendly platform to create your own acappella masterpieces.
In this step-by-step guide, we will walk you through the process of making an acappella using FL Studio. From setting up your project to exporting the final acappella track, we will cover everything you need to know. So, grab your headphones, fire up FL Studio, and let’s dive into the world of acappella production!
Overview of FL Studio
Before we delve into the process of creating an acappella track in FL Studio, let’s take a moment to familiarize ourselves with the software. FL Studio is a digital audio workstation (DAW) developed by Belgian company Image-Line. It has gained immense popularity among music producers for its intuitive interface, robust features, and extensive library of plugins and effects.
FL Studio offers a wide range of tools and capabilities that make it a versatile platform for music production. Whether you’re composing, recording, mixing, or mastering, FL Studio provides all the necessary tools to bring your creative vision to life. Its seamless integration with both virtual instruments and external hardware makes it a favorite among producers of diverse genres.
One of the standout features of FL Studio is its native step sequencer, which allows users to create intricate drum patterns and melodies with ease. The piano roll editor provides a visual representation of notes, making it simple to compose melodies and chords. FL Studio also supports multiple audio tracks and allows for non-linear editing, providing flexibility and efficiency during the production process.
Another notable feature of FL Studio is its extensive collection of virtual instruments and effects plugins. From synths and samplers to reverbs and compressors, FL Studio has you covered. These plugins can be used to shape and enhance your acappella tracks, allowing you to add textures, create unique vocal effects, and polish the final mix.
FL Studio’s user-friendly interface and extensive documentation make it accessible to both beginners and advanced users. Whether you’re new to music production or have years of experience under your belt, FL Studio provides a streamlined workflow and powerful tools to unleash your creativity. With its frequent updates and dedicated user community, FL Studio continues to evolve and stay ahead of the curve in the ever-growing world of music production.
Now that we have a basic understanding of FL Studio, let’s move on to the process of creating an acappella track using this powerful software.
Step 1: Setting Up Your Project
Before you can start creating an acappella track in FL Studio, it’s important to set up your project correctly. By following these steps, you’ll ensure that you have the optimal settings for recording and editing your vocals.
1. Launch FL Studio and create a new project. You can do this by selecting “File” from the menu bar, followed by “New” and “Project.” Alternatively, you can use the keyboard shortcut Ctrl+N.
2. Set the project tempo. This will determine the speed or BPM (beats per minute) of your acappella track. You can adjust the tempo by clicking on the BPM value on the top left corner of the FL Studio window.
3. Choose the time signature. The time signature determines the rhythm and beats of your track. By default, FL Studio uses a 4/4 time signature, but you can change it to suit your needs. Simply click on the time signature value next to the BPM and select the desired time signature from the dropdown menu.
4. Enable the metronome. The metronome is a useful tool for keeping time while recording vocals. To enable the metronome, click on the small metronome icon at the top of the FL Studio window. You can adjust the volume and other settings of the metronome in the Mixer window.
5. Set the audio input device. If you’re using an external microphone to record your vocals, you’ll need to select the appropriate audio input device in FL Studio. To do this, go to “Options” in the menu bar, select “Audio Settings,” and choose your microphone from the input dropdown menu. Adjust the input volume to ensure optimal recording levels.
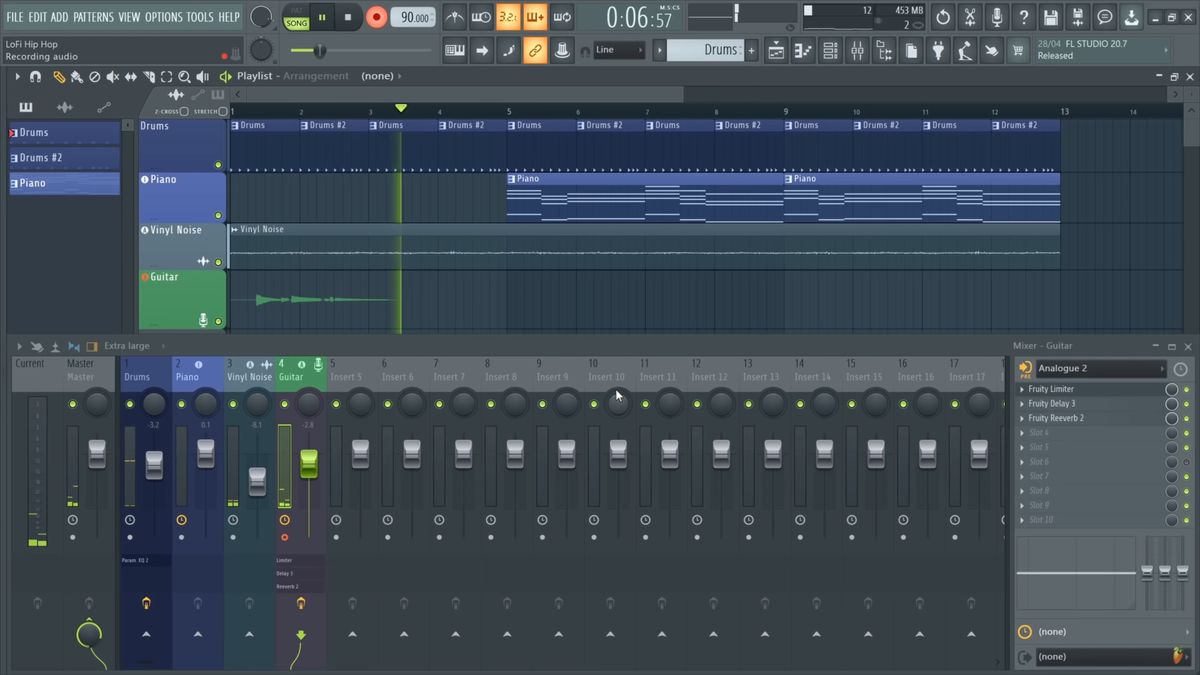
6. Create audio tracks. To begin recording your vocals, you’ll need to create audio tracks in FL Studio. Right-click on an empty area in the Channel Rack and select “Insert > Audio Clip” to create a new audio track. You can create multiple audio tracks to record different vocal parts separately.
Once you have set up your project in FL Studio, you’re ready to move on to the next step: importing the music track that you want to create an acappella version of.
Step 2: Importing the Music Track
Now that your project is set up, it’s time to import the music track that you want to create an acappella version of. Follow these steps to import the track into your FL Studio project:
1. Locate the music track file on your computer. Make sure it is in a compatible audio format such as WAV, MP3, or AIFF.
2. In FL Studio, go to the “Playlist” window. Right-click on an empty area and select “Insert > Audio Clip” from the menu.
3. A file browser will appear. Navigate to the location of the music track file and select it. Click “Open” to import the track into FL Studio.
4. The imported track will appear as an audio clip in the Playlist window. You can resize and move the clip to the desired location on the timeline.
5. Listen to the imported track to ensure that it is playing correctly and at the right volume. You can adjust the volume of the track by right-clicking on the audio clip in the Playlist window and selecting “Volume > Set Volume”.
At this point, you have successfully imported the music track into your FL Studio project. Now it’s time to move on to the next step: isolating the vocals from the imported track.
Step 3: Isolating the Vocals
Now comes the exciting part – isolating the vocals from the imported music track. FL Studio offers several methods and tools to help you extract the vocals and separate them from the rest of the audio. Follow these steps to isolate the vocals:
1. Identify the section of the track where the vocals are most prominent. This could be the chorus, verse, or any other part where the vocals are clear and distinct.
2. Create a new audio track in FL Studio. Right-click on an empty area in the Channel Rack and select “Insert > Audio Clip”. This track will be used to extract the isolated vocals.
3. In the Mixer window, route the audio output of the music track to the newly created audio track. To do this, click on the drop-down menu on the music track and select the corresponding audio track as the output destination.
4. Apply EQ and filters to the audio track to reduce or remove frequencies that are not part of the vocals. This can help in isolating the vocals by minimizing the interference from other instruments and sounds. Experiment with different EQ settings to find the best balance between preserving the vocals’ quality and reducing background noise.
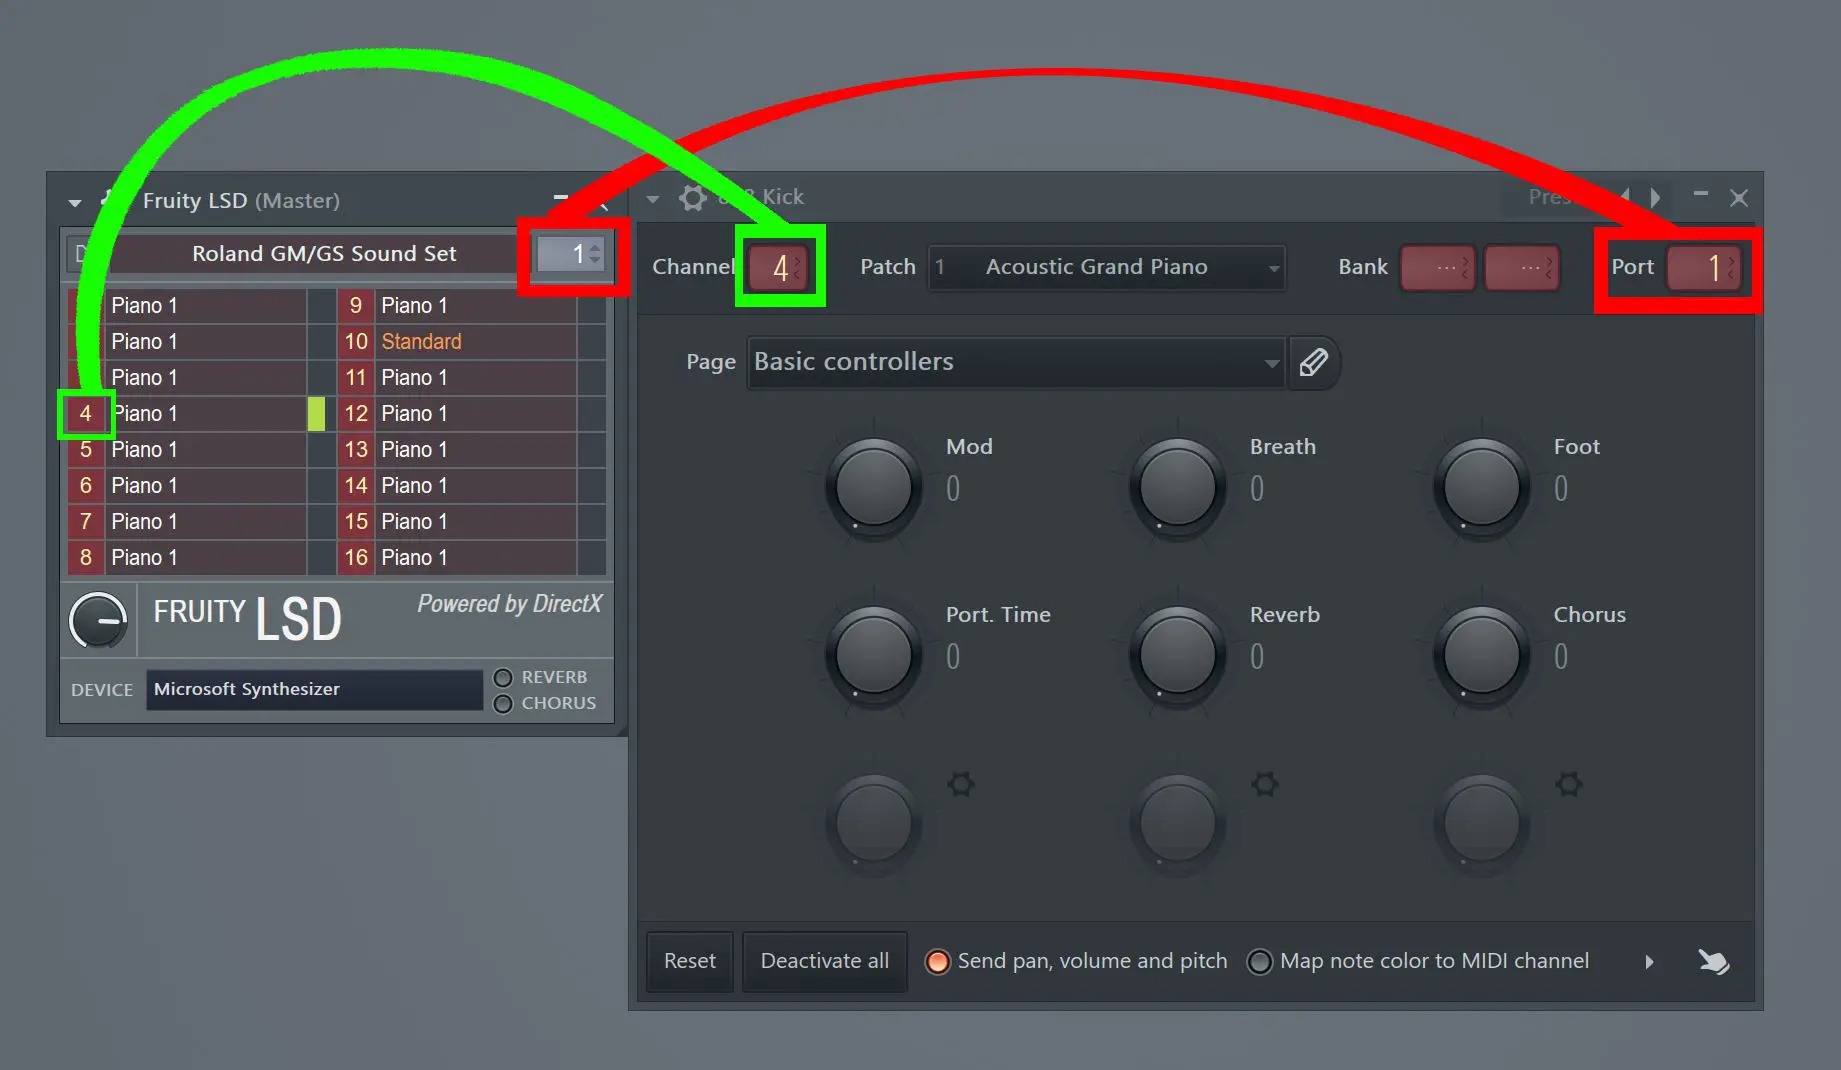
5. Use the Edison plugin, which is included in FL Studio, to manually edit and remove any remaining unwanted sounds or instruments. Edison provides advanced editing capabilities for precise vocal isolation.
6. Utilize the vocal remover plugin if needed. FL Studio offers several third-party vocal remover plugins that can assist in reducing the vocals’ presence in the audio track. These plugins work by analyzing the spectral content and attempting to attenuate or eliminate the vocals. However, note that the effectiveness of these plugins can vary depending on the quality and complexity of the source material.
Remember, isolating vocals can be a challenging process, especially if the track has a complex mix. It may not always be possible to achieve a perfect isolation, but through careful adjustments and experimentation, you can significantly reduce the presence of other elements and highlight the vocals in your acappella track.
Once you have successfully isolated the vocals, you can move on to the next step: applying effects and adjustments to enhance the quality of the acappella track.
Step 4: Applying Effects and Adjustments
With the vocals isolated, it’s time to enhance and refine your acappella track by applying effects and adjustments. FL Studio provides a wide range of built-in effects plugins and editing tools to help you achieve the desired sound. Follow these steps to make your acappella track truly shine:
1. Add equalization (EQ): Use an EQ plugin to balance the frequencies of the vocals. Cut or boost specific frequencies to enhance clarity and remove any unwanted resonances or harshness. Experiment with different EQ settings to find the sweet spot for your vocals.
2. Apply compression: Use a compressor to control the dynamic range of the vocals. Compression helps to even out the volume levels by reducing the peaks and increasing the overall loudness. Adjust the threshold, ratio, attack, and release settings to achieve a balanced and polished sound.
3. Add reverb or delay: To add depth and ambience to your vocals, consider applying reverb or delay effects. Reverb gives the illusion of a specific acoustic space, while delay creates echoes and repeats the vocals. Experiment with different settings to find a balance that enhances the vocals without overpowering them.
4. Use effects creatively: FL Studio offers a wide range of effects plugins, such as chorus, flanger, phaser, and distortion. Don’t be afraid to experiment with these effects to add unique textures and character to your acappella track. However, use them sparingly and ensure they enhance the vocals rather than distract from them.
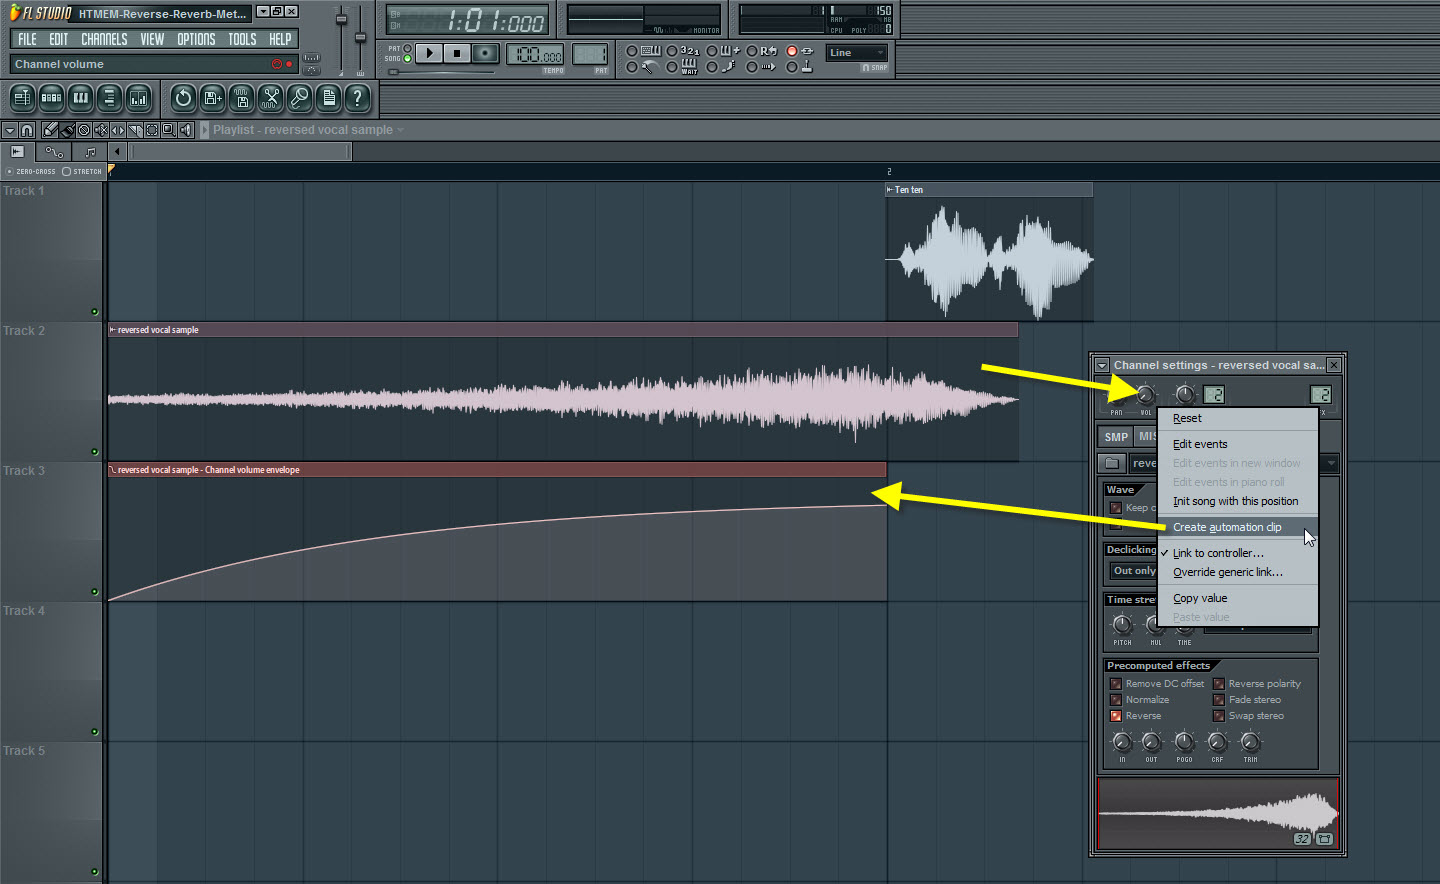
5. Apply automation: Automation allows you to control various parameters over time. Use automation to create subtle or dramatic changes in volume, panning, or effects settings throughout the acappella track. This adds movement and interest to the vocals, making them more engaging to the listener.
6. Consider pitch correction: If needed, you can use a pitch correction plugin to correct any pitch inaccuracies or to achieve a specific vocal style. However, be mindful not to overuse pitch correction, as it can sound unnatural and detract from the authenticity of the acappella track.
Remember, the goal of applying effects and adjustments is to enhance the vocals and improve their overall quality. Let your ears be the guide, and make adjustments based on what sounds best for your acappella track.
Once you’re satisfied with the effects and adjustments, it’s time to move on to the final step: exporting your acappella track.
Step 5: Exporting the Acapella Track
After putting in the hard work of isolating the vocals and making adjustments, it’s time to export your acapella track and share it with the world. FL Studio makes it easy to export your project in a variety of formats. Follow these steps to export your acapella track:
1. Set the export settings: Before exporting, it’s important to set the export settings according to your preferences. Go to the “File” menu and select “Export > WAV File” or “Export > MP3 File,” depending on your desired format. This will open the export settings window.
2. Choose the file format: Select the desired file format for your acapella track. WAV is a lossless format that retains the highest audio quality, while MP3 is a compressed format that offers smaller file sizes but sacrifices some audio quality. Choose the format that best suits your needs.
3. Set the export location: Choose the destination folder where you want to save your acapella track. Select a location that is easily accessible and organized for future use.
4. Name your file: Give your acapella track a meaningful name. This will make it easier to identify and differentiate from other files in your music library.
5. Adjust export settings: Optionally, you can adjust additional export settings such as bit depth, sample rate, and quality. Higher settings generally provide better audio quality but also result in larger file sizes.
6. Export your acapella track: Once you’ve adjusted the export settings, click “Start” or “Export” to begin the exporting process. FL Studio will render your acapella track and save it in the specified format and location.
7. Listen to the exported acapella track: After the export process is complete, take a moment to listen to the exported acapella track. Make sure it sounds as expected and that the vocals are isolated and well-rendered.
Now that you have successfully exported your acapella track, you can share it with others, use it in your productions, or even upload it to online platforms and social media to showcase your talent.
Congratulations! You’ve completed the process of creating an acapella track using FL Studio. By following these steps, you’ve gained the skills and knowledge to create captivating acapella tracks that showcase your creativity and musical abilities.
Remember, practice makes perfect, so don’t hesitate to experiment, explore different techniques, and continue honing your skills in acapella production using FL Studio.
Conclusion
Congratulations on completing the journey of creating an acapella track using FL Studio! We have explored the key steps involved in setting up your project, importing the music track, isolating the vocals, applying effects and adjustments, and finally exporting your acapella track. By following these steps, you’ve gained the skills and knowledge to produce high-quality acapella tracks that showcase your creativity and musical abilities.
FL Studio offers a powerful and versatile platform for acapella production, with its user-friendly interface, extensive plugin library, and a wide range of editing tools. From setting up your project to the final export, FL Studio provides all the necessary features to achieve professional results.
Remember, creating an acapella track requires precision, patience, and a good ear for music. While FL Studio provides tools and techniques to help you isolate the vocals, it’s important to understand that not all tracks can be fully separated from the music. Depending on the complexity of the original recording, there may be limitations to the quality of the isolated vocals. But with practice and experimentation, you can achieve impressive results.
As with any form of music production, the key to success is practice and continuous learning. Experiment with different effects, techniques, and styles to develop your own unique sound. Don’t hesitate to explore tutorials, forums, and online resources to further enhance your acapella production skills.
Now that you have the knowledge and tools to create acapella tracks, let your creativity soar. Use your newly acquired skills to produce captivating acapella arrangements, remixes, or original compositions. Share your work with others, collaborate with fellow artists, and use your acapella tracks to showcase your talent and passion for music.
Remember, the journey of music production is an ongoing one. Keep refining your skills, experimenting with different techniques, and exploring new horizons. With dedication and perseverance, you can continue to grow as an acapella producer and create stunning music that resonates with others.
So go ahead, fire up FL Studio, and let your acapella creations take flight. The world is waiting to hear your unique voice.