Home>Events & Info>Acapella>How To Make An Acapella FL Studio No Voicetrap
Acapella
How To Make An Acapella FL Studio No Voicetrap
Modified: February 4, 2024
Learn how to create an acapella track in FL Studio without using Voicetrap. Step-by-step tutorial for making acapella music.
(Many of the links in this article redirect to a specific reviewed product. Your purchase of these products through affiliate links helps to generate commission for AudioLover.com, at no extra cost. Learn more)
Table of Contents
Introduction
Acapella music, with its raw and unaccompanied vocal performances, has been captivating listeners for centuries. Whether it’s a soulful ballad or an energetic pop hit, acapella allows us to appreciate the true essence of the human voice.
Creating an acapella track can be a rewarding and fulfilling experience, especially if you are a music producer or a vocal enthusiast. In this article, we will explore how to make an acapella track using FL Studio, a popular digital audio workstation (DAW) that offers powerful tools for audio manipulation.
FL Studio provides a range of features that can assist you in isolating vocals from existing songs and creating a clean, standalone acapella track. While it may seem daunting at first, with the right techniques and a bit of practice, you can achieve professional-sounding results.
So, whether you want to remix a song, create a unique cover, or just experiment with your favorite tracks, this guide will walk you through the steps of making an acapella track using FL Studio without the need for additional plugins or software.
Before we dive into the technicalities, let’s take a moment to ensure that you have the necessary components to get started.
Step 1: Gathering the Necessary Components
Before diving into the world of acapella creation, it’s important to have the right tools at your disposal. Here’s a list of the necessary components you’ll need:
- FL Studio: Make sure you have FL Studio installed on your computer. You can get the latest version from the official Image-Line website.
- Audio Interface: To ensure high-quality audio recording and playback, you’ll need an audio interface. This device connects your computer to your microphone and speakers or headphones. There are various options available on the market to suit different budgets and needs.
- Microphone: A good quality microphone is essential for capturing clean and professional-sounding vocals. Condenser microphones are commonly used for recording vocals due to their sensitivity and accuracy. However, dynamic microphones can also yield great results, especially for live performances or recordings in noisy environments.
- Pop Filter: To minimize plosive sounds (like “p” and “b” sounds), a pop filter is a must-have accessory. It is placed in front of the microphone to reduce unwanted bursts of air that can distort the recording.
- Headphones: A decent pair of closed-back headphones is crucial for monitoring your recordings and making precise adjustments. Look for headphones that provide accurate sound reproduction and good isolation from external noise.
Once you have gathered these components, you’ll be ready to set up your audio interface and start creating your own acapella tracks in FL Studio. But before that, it’s important to ensure your audio interface is properly configured for optimal performance.
Next, we’ll walk you through the process of setting up the audio interface in FL Studio to ensure seamless communication between your hardware and software.
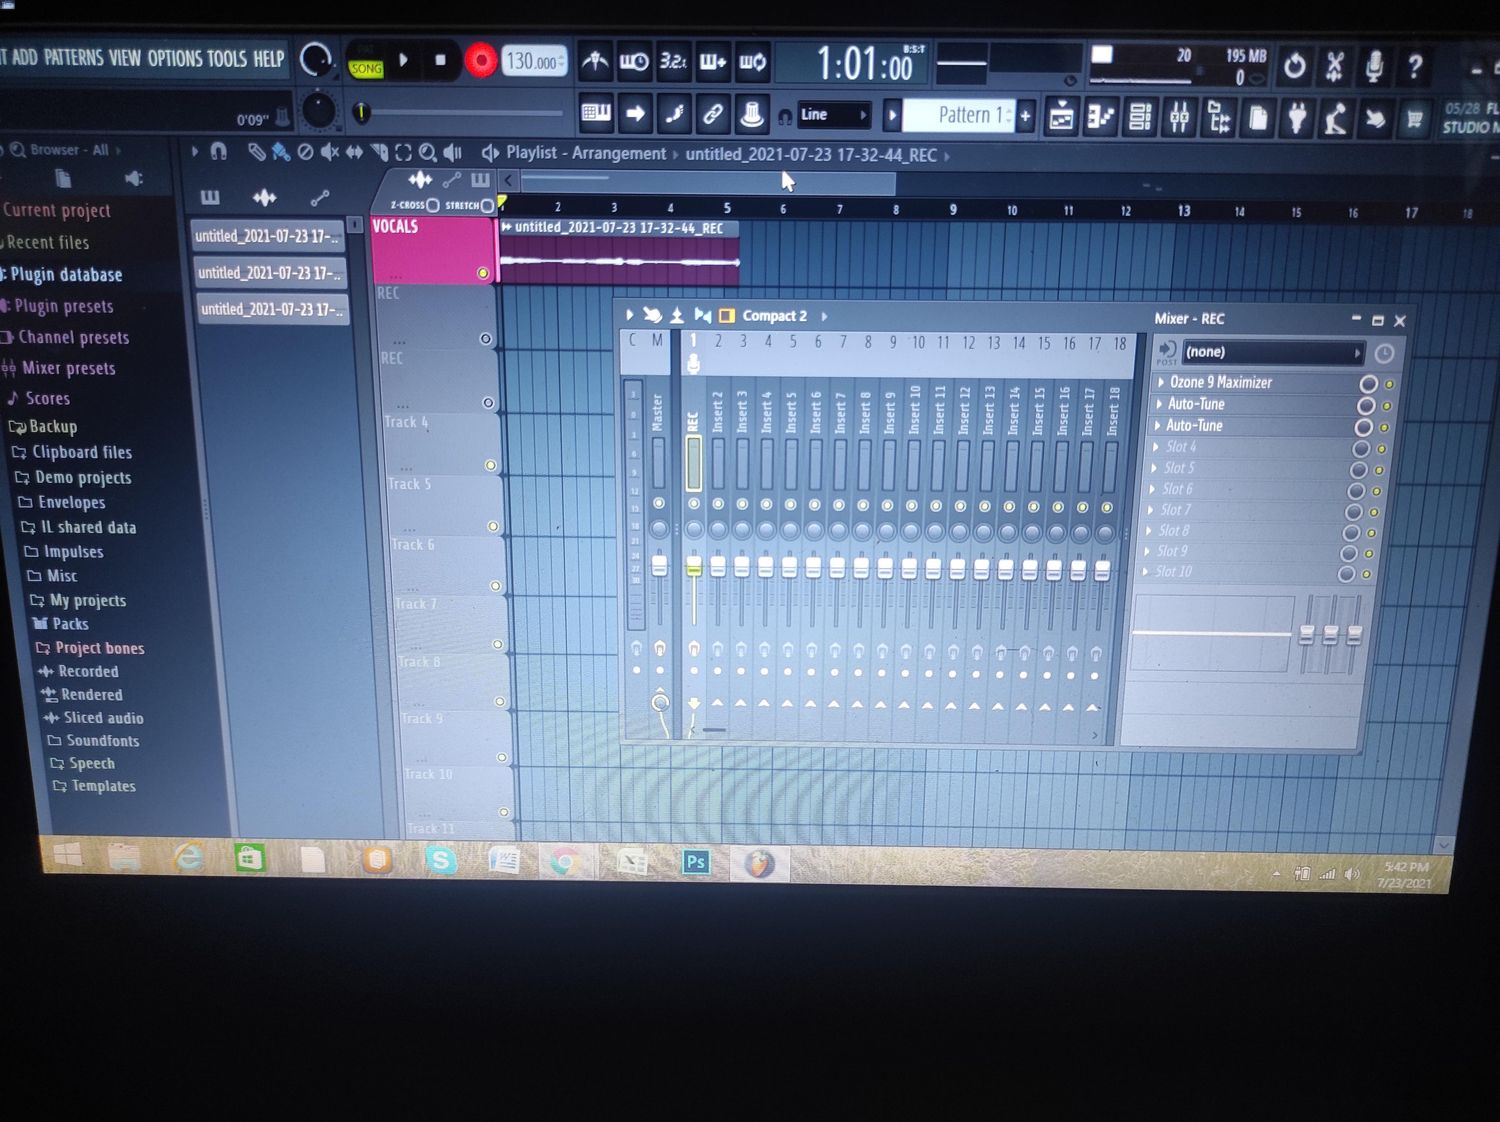
Step 2: Setting Up the Audio Interface
Setting up your audio interface correctly is crucial for achieving optimal sound quality and minimizing latency in your acapella recordings. Follow these steps to ensure a smooth setup process:
- Connect the Audio Interface: Use the appropriate cables to connect your audio interface to your computer. Typically, you’ll use a USB or Thunderbolt cable for this purpose. Make sure the interface is powered on.
- Configure Audio Settings in FL Studio: Launch FL Studio and navigate to the “Options” menu. Select “Audio Settings” from the dropdown menu. In the audio settings window, select your audio interface from the input and output device dropdown menus. Adjust the buffer length to the lowest possible value without causing audio glitches or dropouts.
- Set the Sample Rate: Choose an appropriate sample rate for your recordings. 44.1 kHz is the standard sample rate used in the audio industry, but you can choose a higher sample rate if desired. Note that using higher sample rates may result in larger file sizes.
- Check Input and Output Levels: Make sure your input and output levels are properly set on your audio interface. Consult the user manual of your specific interface for detailed instructions on adjusting these levels.
- Test the Connection: To ensure that your audio interface is set up correctly, play some audio through your DAW and check if you can hear it through your headphones or speakers. Likewise, test the input by recording something and checking the levels and clarity of the recorded audio.
Once you have successfully set up your audio interface, you’re ready to import the audio track into FL Studio and start working on creating your acapella masterpiece. This leads us to the next step in the process: importing the audio track.
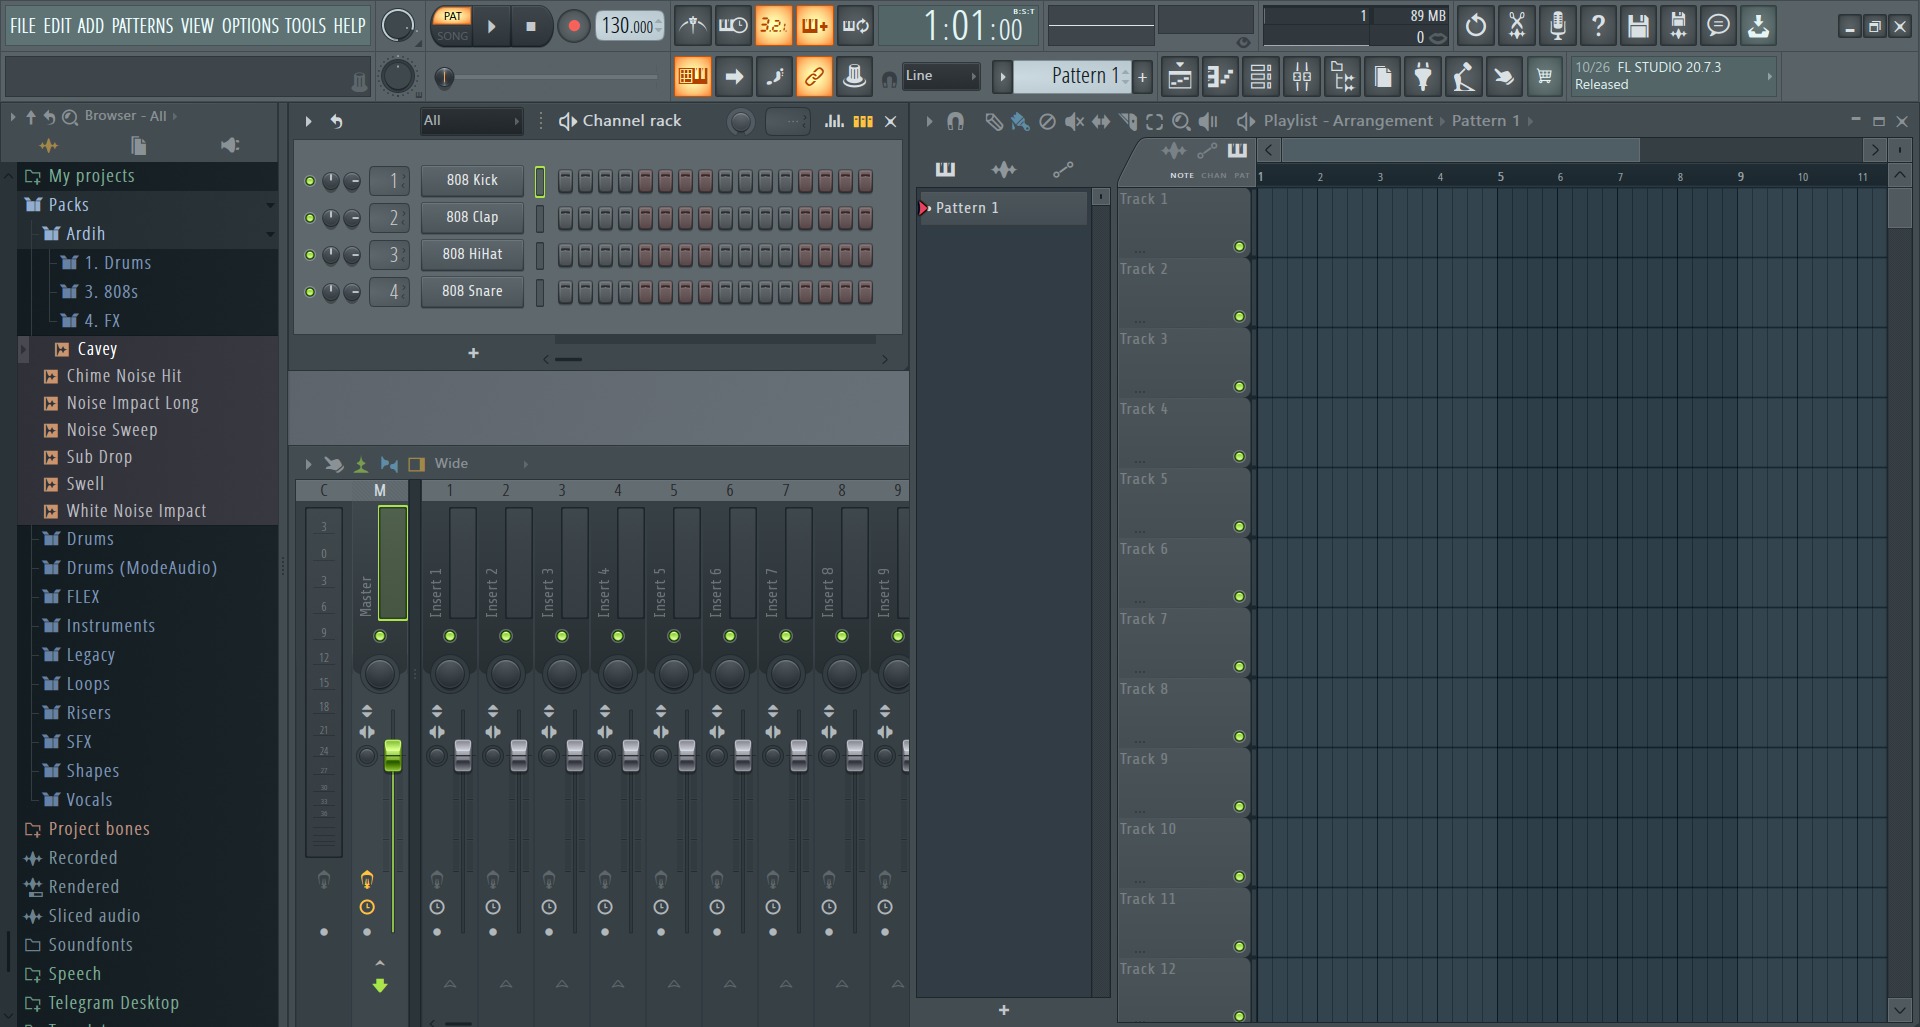
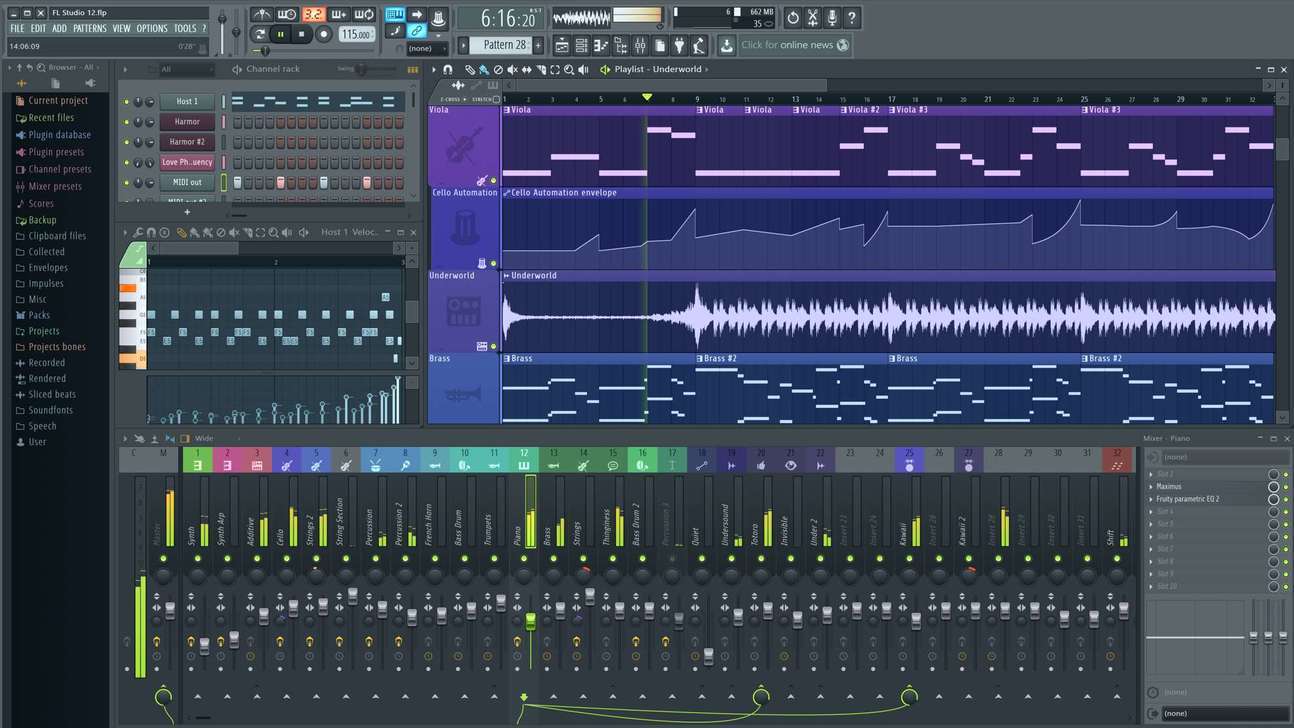
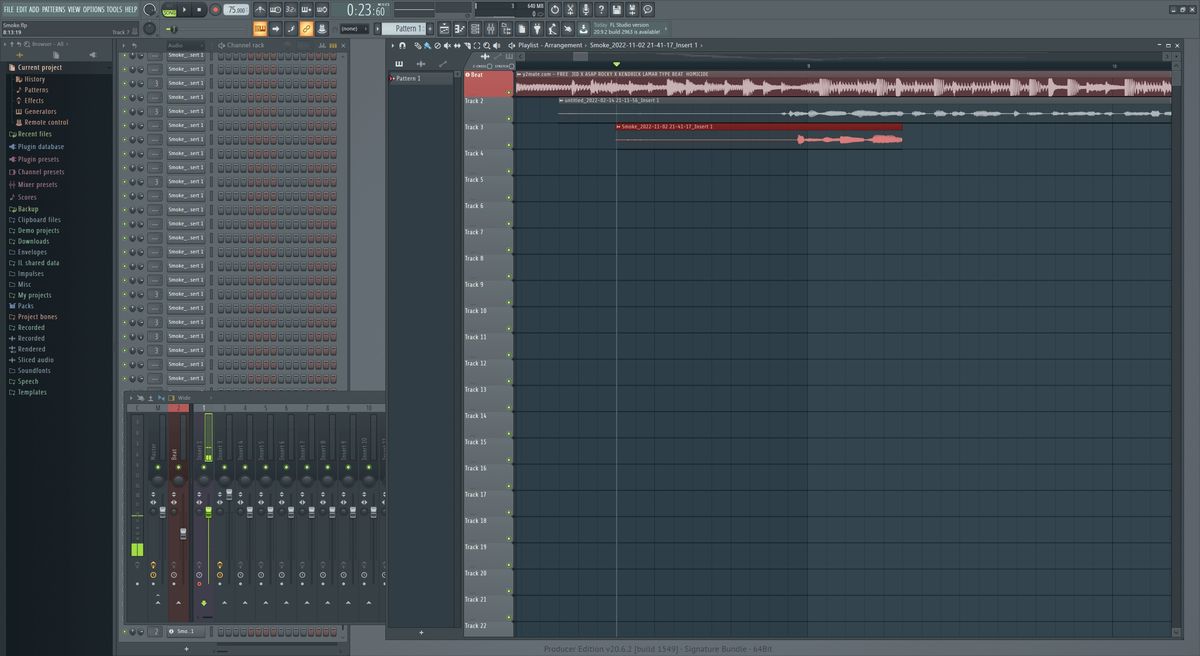
Step 3: Importing the Audio Track into FL Studio
Now that your audio interface is set up, it’s time to import the audio track you want to create an acapella from into FL Studio. Follow these steps to import the track:
- Open FL Studio: Launch FL Studio on your computer and create a new project by selecting “File” and then “New”. This will open a blank project for you to work in.
- Add a New Audio Track: To import the audio track, right-click on the empty Playlist view and select “Insert” followed by “Audio”. This will create a new audio track in the Playlist.
- Import the Audio File: With the audio track selected, click on the empty box labeled “Audio Clip”. This will open the browser window where you can navigate to the location of the audio file you want to import. Select the file and click “Open” to import it into FL Studio.
- Set the Project Tempo and Key: If you know the tempo and key of the audio track, you can set it in FL Studio by right-clicking on the sample in the audio track and selecting “Edit”. In the sample editor, you’ll find options to set the tempo and key of the sample. This will help synchronize and pitch-correct the acapella track later on.
By following these steps, you will have successfully imported the audio track into FL Studio. It’s important to note that FL Studio supports a wide range of audio file formats, so you should have no trouble importing your desired track.
Now that the audio track is loaded into FL Studio, the next step is to isolate the vocals from the rest of the instrumentation. This will allow us to create a clean acapella track. We will cover this process in the next step.
Step 4: Isolating the Vocals
Isolating the vocals from the rest of the instrumentation is a crucial step in creating an acapella track. In FL Studio, there are a few techniques you can use to achieve this isolation. Here’s how:
- Solo the Vocals: Start by listening to the track and identifying the sections where the vocals are most prominent. Use the solo feature in FL Studio to isolate the vocals by muting all other tracks or instruments. This will allow you to focus on the vocals and make it easier to separate them from the rest of the mix.
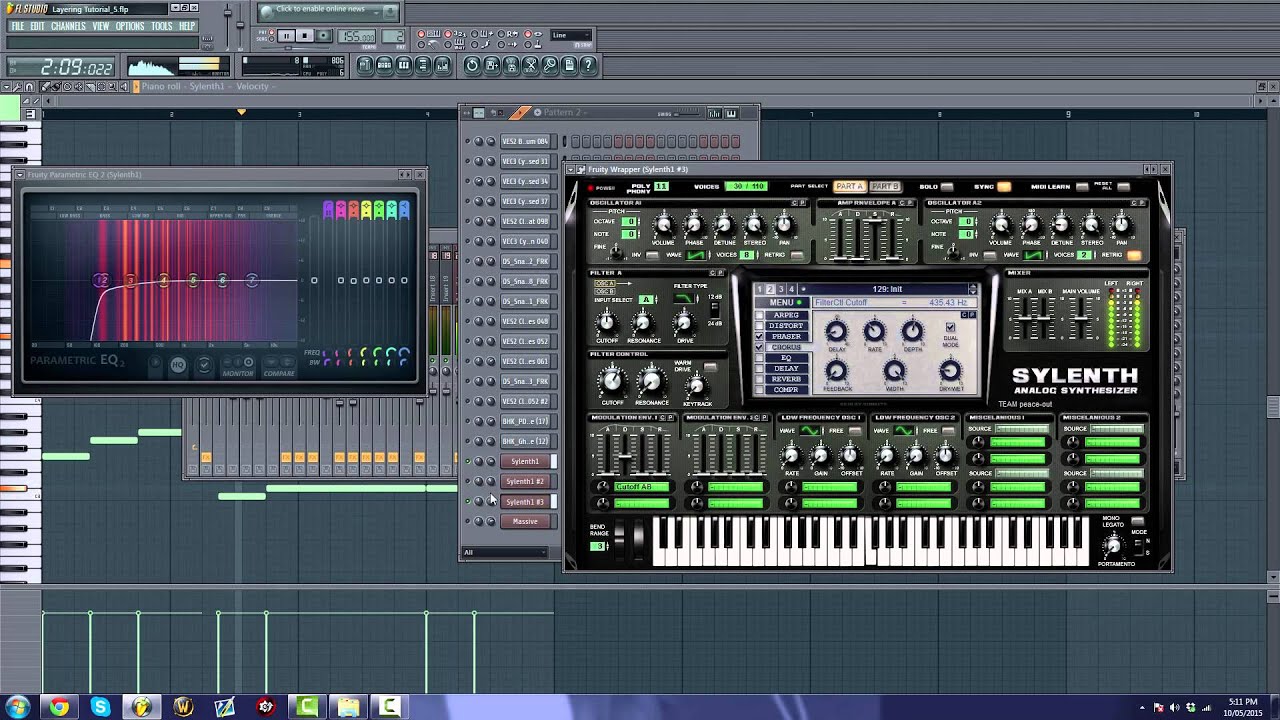
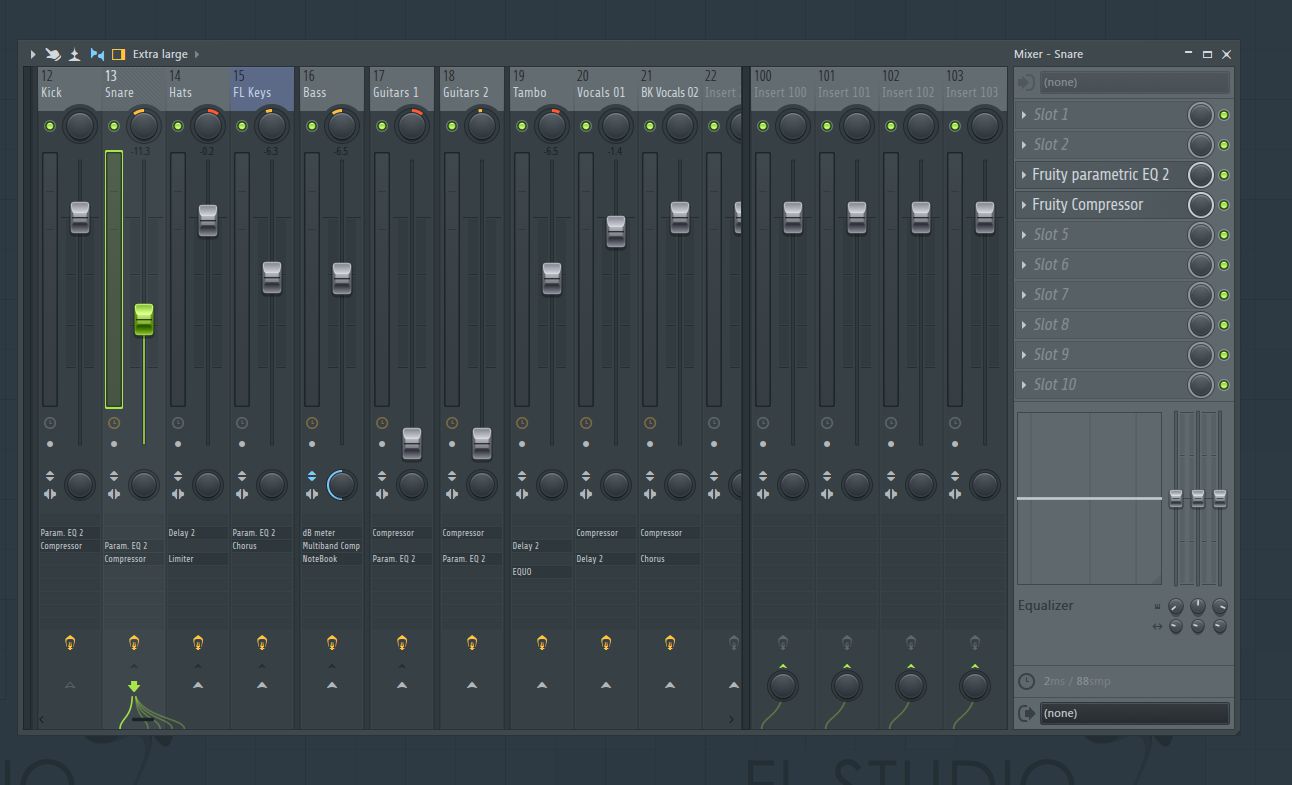
- Apply EQ to Enhance Vocals: Once you have identified the vocal sections, apply an equalizer (EQ) to the audio track. Use the EQ to boost the frequencies that are most prominent in the vocals, such as the mid-range frequencies around 2kHz to 5kHz. This will help bring out the vocals and reduce the presence of other instruments.
- Use Sidechain Compression: Sidechain compression is a technique used to create space for the vocals by reducing the volume of other instruments when the vocals are present. In FL Studio, you can achieve this by routing the vocal track to a sidechain mixer track and applying a compressor to the instruments’ tracks. Set the sidechain input of the compressor to the vocal mixer track and adjust the settings to achieve the desired level of compression.
- Experiment with Phase Cancellation: Phase cancellation is a technique that involves inverting the phase of one audio track and layering it with another to cancel out certain frequencies. In the case of vocals, you can try inverting the phase of the instrumental track and layering it with the original mix. This may help attenuate the instruments and enhance the vocals.
- Apply Noise Reduction: If there is any background noise or unwanted artifacts in the vocals, you can apply noise reduction techniques to minimize them. FL Studio provides plugins like Edison and RX that offer noise reduction features. Use these tools to remove any unwanted noise without affecting the quality and clarity of the vocals.
By using a combination of these techniques, you can effectively isolate the vocals from the rest of the instrumentation and create a clean vocal track. However, keep in mind that achieving a perfect acapella extraction may not always be possible, especially with complex mixtures. But with practice and experimentation, you can get impressive results.
Once you have isolated the vocals, the next step is to remove the remaining instrumentation from the audio track. We will cover this process in the next step.
Step 5: Removing the Instrumentation
Now that you have successfully isolated the vocals, it’s time to remove the remaining instrumentation from the audio track. This step requires careful attention to detail and the use of specific techniques. Here’s how to remove the instrumentation from the vocals in FL Studio:
- Apply a High-Pass Filter: Start by applying a high-pass filter to the audio track. This filter allows frequencies above a certain cutoff point (typically around 200Hz) to pass through while attenuating frequencies below that point. This can help reduce the presence of bass instruments and create a cleaner acapella track.
- Utilize the Inverse Phase Technique: The inverse phase technique involves inverting the phase of the original mix and layering it with the vocal track. This cancels out any audio that is common to both the instrumental and vocal tracks, effectively removing the instrumentation. In FL Studio, you can accomplish this by duplicating the original mix and inverting the phase of the duplicated track. Then, adjust the volume levels and alignment to find the sweet spot where the vocals are prominent and the instrumentation is minimized.
- Use a Noise Gate: A noise gate is a helpful tool for removing unwanted residual sounds and background noise between vocal phrases. Set the threshold of the noise gate to a level just below the volume of the vocals. This will allow the gate to close during silent sections, effectively muting any remaining instrumentation or noise.
- Fine-Tune with EQ and Stereo Imaging: To further improve the separation between the vocals and instrumentation, use EQ and stereo imaging techniques. EQ can be used to pinpoint and reduce frequencies that may still be present in the instrumental track. Additionally, stereo imaging tools can be used to adjust the width and placement of the vocal and instrumental elements. This can create more space and separation in the mix, enhancing the acapella effect.
- Listen and Adjust: Throughout the process, make sure to listen critically and make adjustments as needed. It can be helpful to A/B compare your acapella track with the original mix to ensure the vocals remain clear and the instrumentation is minimized.
By employing these techniques in FL Studio, you can effectively remove the instrumentation from the audio track, leaving behind a clean and isolated acapella. However, it’s important to keep in mind that the success of this step will depend on the quality of the original mix and the complexity of the instrumentation. Some tracks may be more challenging to extract vocals from, but with practice and perseverance, you can achieve satisfactory results.
In the next step, we will focus on fine-tuning and polishing the acapella to make it sound even better.
Step 6: Fine-Tuning and Polishing the Acapella
Now that the instrumentation has been removed and you have a clean acapella track, it’s time to fine-tune and polish it to ensure it sounds as polished and professional as possible. Here are some steps to follow in FL Studio to achieve this:
- Adjust Levels and Dynamics: Use volume automation or manual adjustments to ensure that the vocal levels are consistent throughout the acapella track. Pay attention to both the loud and soft parts, making sure they are balanced and well-integrated.
- Apply Pitch Correction: If the original vocal track has any pitch inconsistencies, you can apply pitch correction to refine the pitch accuracy. FL Studio offers plugins like Newtone and Pitcher that allow you to correct and fine-tune the pitch of the vocals.
- Enhance Vocal Performance: Apply subtle processing techniques to enhance the vocal performance. Compression can help control dynamics, while EQ can be used to shape the tone of the vocals. Reverb and delay effects can also be added to create a sense of space and depth in the acapella track.
- Clean Up Background Noise: Listen carefully for any remaining background noise or artifacts in the acapella track. Use noise reduction plugins or manual editing techniques to clean up any unwanted sounds. Be cautious not to remove any desired nuances or natural ambience in the process.
- Fix Timing Issues: If there are any timing issues in the acapella track, such as slight variations or inconsistencies, you can utilize time correction tools in FL Studio to align them accurately. This will help ensure the vocals are in sync and rhythmically precise.
- Experiment with Effects: Don’t be afraid to experiment with different effects to add depth, character, and uniqueness to the acapella track. However, exercise moderation and ensure that the effects complement the vocals without overpowering them.
Throughout this step, it’s essential to continuously audition and analyze the acapella track to understand how each adjustment affects the overall sound. Make sure to listen critically, compare with the original mix, and make refinements as necessary to achieve a polished and professional-sounding acapella track.
Once you are satisfied with the fine-tuning and polishing of the acapella track, it’s time to export and save it as a separate file. We will cover the export process in the next step.
Step 7: Exporting the Acapella Track
After fine-tuning and polishing the acapella track, it’s time to export your masterpiece from FL Studio. Follow these steps to export the acapella track:
- Select the Desired Range: Determine the range of the acapella track you want to export. If you want to export the entire track, make sure the entire track is selected. Alternatively, you can select a specific portion of the track by highlighting the desired section in the Playlist or using the markers in FL Studio.
- Set Export Settings: Navigate to the “File” menu and select “Export”. In the export window, you can configure various settings to customize the exported audio file. Choose your preferred file format, such as WAV, MP3, or FLAC, and adjust the quality settings according to your needs. Here, you can also specify the file location and choose a suitable filename for the acapella track.
- Export the Acapella: Once all the export settings are configured, click on the “Start” or “Export” button to begin the exporting process. FL Studio will render and save the acapella track as a separate audio file based on your specified preferences.
- Review and Listen to the Exported Track: After the export process is complete, navigate to the file location where the acapella track is saved. Open it in a media player or import it back into FL Studio to listen and verify the quality of the exported acapella track. Make sure it sounds as intended and matches your desired expectations.
Congratulations! You have successfully exported your acapella track from FL Studio. Now, you can use it in your music productions, remixes, or any creative project you have in mind. Remember to keep a backup of your exported acapella track in a safe location for future use.
By following these steps, you can create impactful and professional-sounding acapella tracks in FL Studio. Don’t be afraid to experiment, try different techniques, and refine your skills along the way. With practice and dedication, you will be able to produce captivating acapella tracks that showcase the beauty and power of the human voice.
Now, go out there and let your acapella creations shine!
Conclusion
Congratulations on completing the journey of creating an acapella track using FL Studio! By following the steps outlined in this guide, you have learned how to gather the necessary components, set up your audio interface, import the audio track, isolate the vocals, remove the instrumentation, fine-tune and polish the acapella, and finally, export the track.
Creating an acapella track may require some experimentation and patience, but with the right techniques and dedication, you can achieve impressive results. Remember, each track is unique, and the quality of the acapella extraction depends on various factors such as the original mix, instrumentation complexity, and your skills as a producer.
Throughout this process, it’s crucial to listen critically, make adjustments, and trust your ears. Don’t be afraid to try different techniques and plugins to refine the acapella track to your liking. Remember that practice makes perfect, so keep honing your skills and experimenting with new ideas.
Now that you have a clean and isolated acapella track, the possibilities are endless. You can use it to create remixes, mashups, covers, or even explore new genres and styles by combining it with different instrumental tracks. Let your creativity flow and use your newly acquired acapella production skills to captivate your listeners.
Whether you’re a music producer, a vocalist, or simply an enthusiast, the art of creating acapella tracks allows for a deeper appreciation of the human voice and the creative process behind music production. So, embrace the power of acapella and let your vocals take center stage.
Remember, as you continue your music production journey, keep experimenting, learning, and pushing the boundaries of your creativity. With the right skills and tools, you have the power to create remarkable music that resonates with others.
So go forth and create your own captivating acapella tracks, showcase your talent, and impress the world with the beauty of your vocals!