Home>Production & Technology>Remix>How To Make A Remix On Fl Studio 12

Remix
How To Make A Remix On Fl Studio 12
Modified: February 19, 2024
Learn how to create a captivating remix using FL Studio 12. Discover essential tips and techniques to enhance your remixing skills.
(Many of the links in this article redirect to a specific reviewed product. Your purchase of these products through affiliate links helps to generate commission for AudioLover.com, at no extra cost. Learn more)
Table of Contents
Introduction
Your music playlist is full of amazing tracks, but have you ever wondered what it would be like to put your own unique spin on them? With the power of FL Studio 12, you can create stunning remixes that will make your audience move and groove. FL Studio 12 is a popular digital audio workstation (DAW) that offers a wide range of tools and features to help you craft professional-quality remixes.
In this article, we will guide you through the process of making a remix using FL Studio 12. Whether you’re a beginner looking to explore the world of remixing or an experienced producer seeking new techniques, we’ve got you covered.
Remixing is a creative art form that involves taking an existing song and putting your own unique twist on it. By adding your own style, changing the tempo, rearranging the sections, and applying various effects, you can transform a familiar track into something fresh and exciting.
FL Studio 12 provides a user-friendly interface that allows you to easily import audio, manipulate sound, and arrange your remix. It offers a vast array of virtual instruments, effects, and tools to help you create the perfect remix.
Whether you want to remix a popular hit or experiment with a lesser-known track, FL Studio 12 offers the flexibility to unleash your creativity and make your mark in the world of music production.
So, if you’re ready to dive into the world of remixing and create your own unique musical masterpiece, let’s get started with FL Studio 12!
Getting Started
Before you start creating your remix using FL Studio 12, it’s important to have a basic understanding of the software. If you’re new to FL Studio 12, don’t worry – we’ll guide you through the essential steps to get started.
Step 1: Install FL Studio 12
If you haven’t already done so, the first step is to download and install FL Studio 12 on your computer. You can find the installation files on the official FL Studio website. Follow the instructions provided and launch the application once the installation is complete.
Step 2: Familiarize Yourself with the Interface
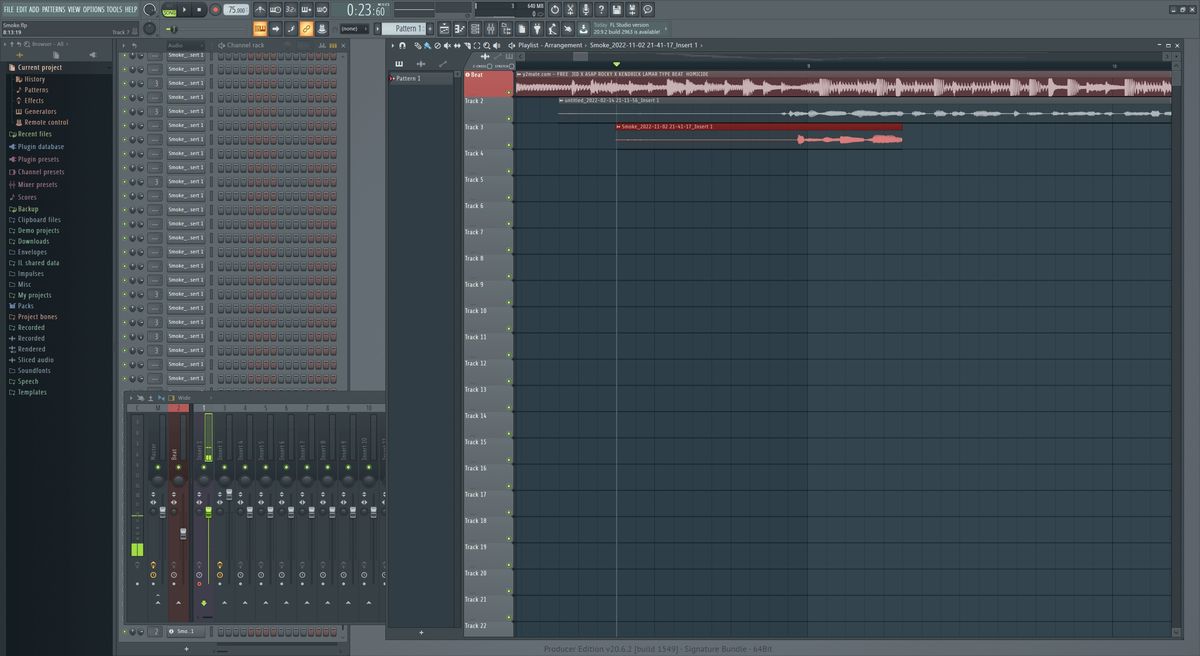
Take some time to explore the FL Studio 12 interface. Familiarize yourself with the various menus, toolbars, and windows. The main window consists of the Pattern and Playlist areas, where you’ll be working on your remix. Spend some time navigating through the different sections to get comfortable with the layout.
Step 3: Set up Your Audio Devices
Before you start working on your remix, it’s important to ensure that your audio devices are properly set up in FL Studio 12. Go to the Options menu and select Audio Settings. Here, you can choose your audio interface and set the sample rate and buffer size according to your preference. Make sure to select the correct input and output devices for recording and playback.
Step 4: Create a New Project
Once you’ve familiarized yourself with the interface and set up your audio devices, it’s time to create a new project for your remix. Go to the File menu and select New. Choose the template that best suits your remixing needs or start with an empty project if you prefer a blank canvas.
Step 5: Save Your Project
Before you dive into the creative process, it’s essential to save your project. Go to the File menu and select Save As. Choose a location on your computer and give your project a meaningful name. Saving your project regularly will prevent any loss of work.
Now that you’ve taken the necessary steps to set up FL Studio 12 and create a new project, you’re ready to start importing audio and begin the remixing process. In the next section, we’ll explore how to import audio into FL Studio 12 and set up your remix.
Importing Audio
Once you have your project set up in FL Studio 12, it’s time to import the audio files you want to use in your remix. FL Studio 12 supports a wide range of audio formats, so you can work with MP3s, WAVs, and more.
Step 1: Navigate to the Browser
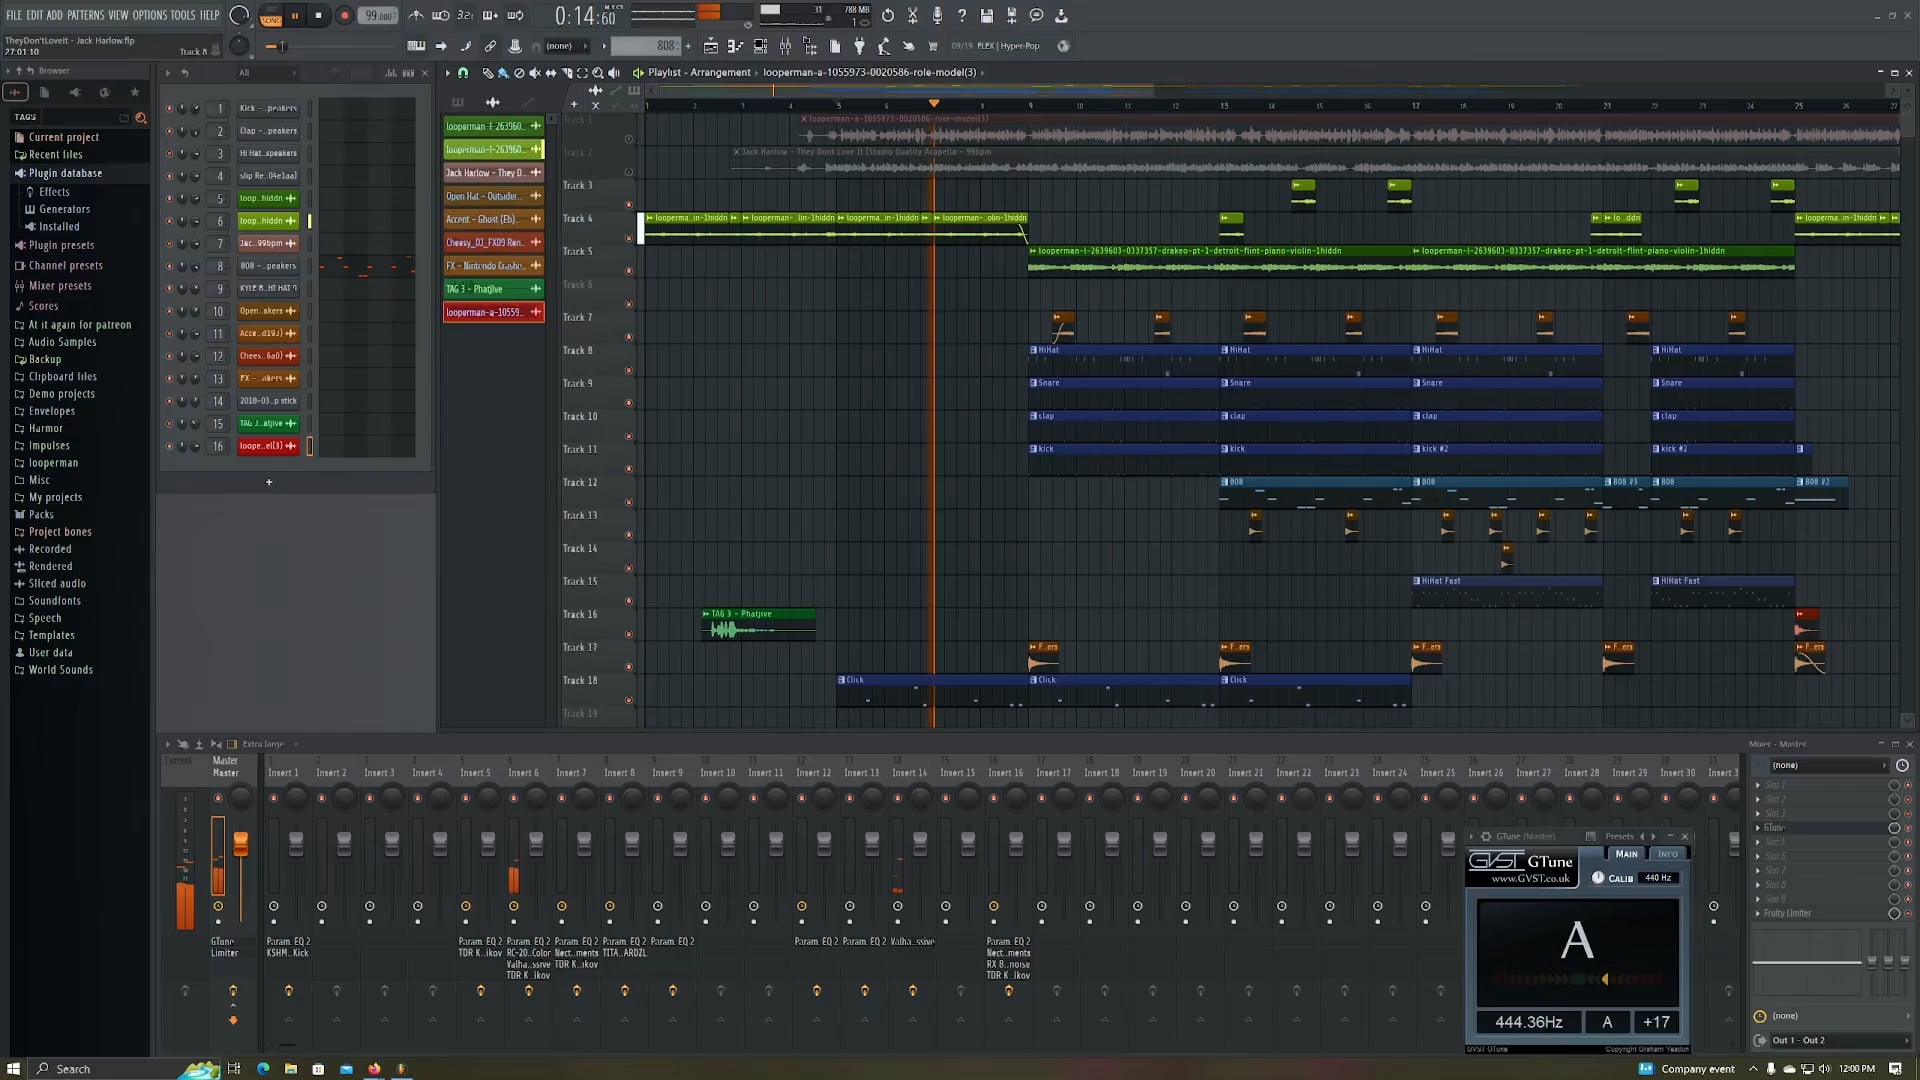
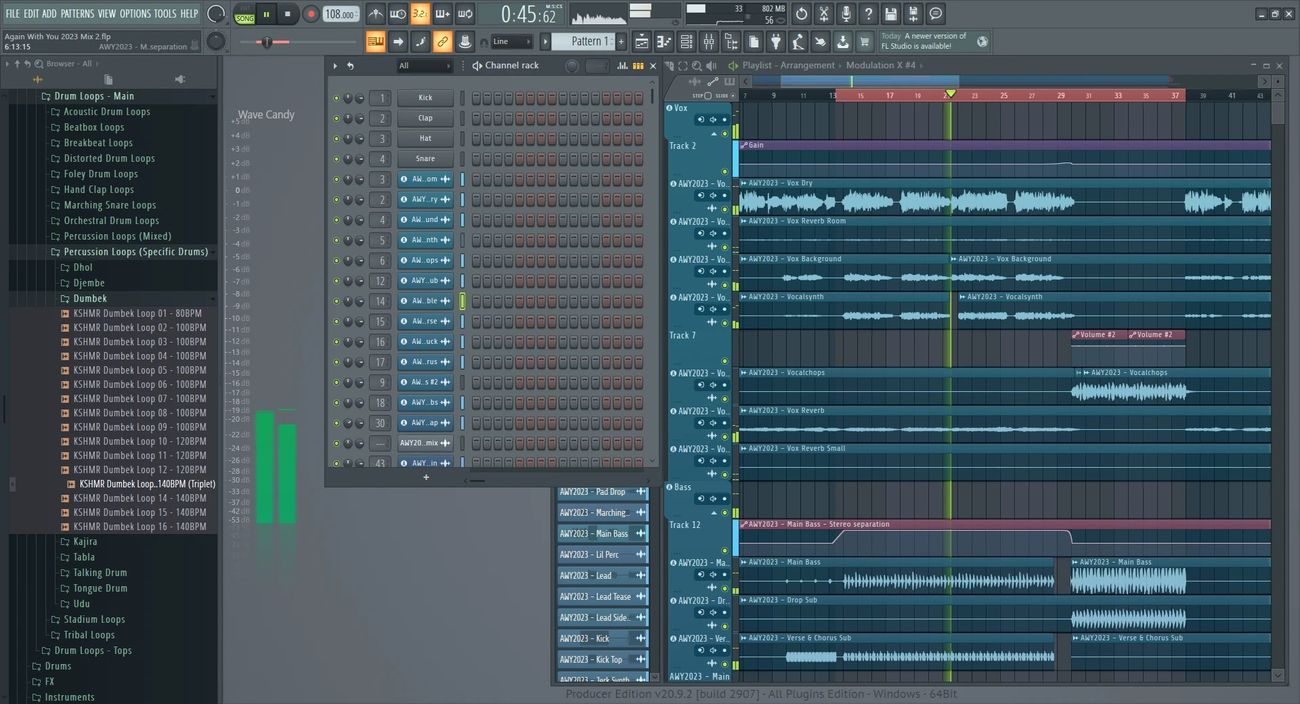
In FL Studio 12, the Browser window is your go-to place for managing and importing audio files. Locate the Browser window, which is usually located on the left side of the screen. If you can’t find it, you can enable it by going to the View menu and selecting Browser.
Step 2: Locate Your Audio Files
In the Browser window, you’ll see a tree view of your computer’s files and folders. Navigate to the location where your audio files are stored. You can use the folders to organize your files and make it easier to find what you’re looking for.
Step 3: Drag and Drop
To import an audio file into your project, simply drag and drop it from the Browser window into the Pattern or Playlist area. You can also right-click and select “Insert” or use the keyboard shortcut (Ctrl+I) to import the file.
Step 4: Adjust the Length
Once the audio file is imported, you may want to adjust its length to fit your remix. To do this, click and drag the edges of the audio clip to extend or shorten it. You can also use the Trim tool to precisely trim the audio file.
Step 5: Repeat for Additional Audio Files
If your remix requires multiple audio files, repeat the process above to import and arrange them in your project. You can have multiple audio clips in the Pattern or Playlist area to work with.
By importing the audio files into your project, you have laid the groundwork for your remix. In the next section, we will explore how to set up your remix by adjusting the tempo and key settings to match your desired sound.
Setting Up the Remix
Before you start adding your creative touches to the remix, it’s important to set up the project to match the desired tempo and key of your remix. FL Studio 12 offers several tools to help you achieve the right settings for your project.
Step 1: Adjust the Tempo
The tempo of a remix determines the speed at which the music plays. To adjust the tempo in FL Studio 12, locate the Tempo control in the upper-left corner of the interface. You can manually enter the BPM (beats per minute) or use the arrow keys to increase or decrease the tempo. Experiment with different tempos to find the one that suits your remix best.
Step 2: Determine the Key
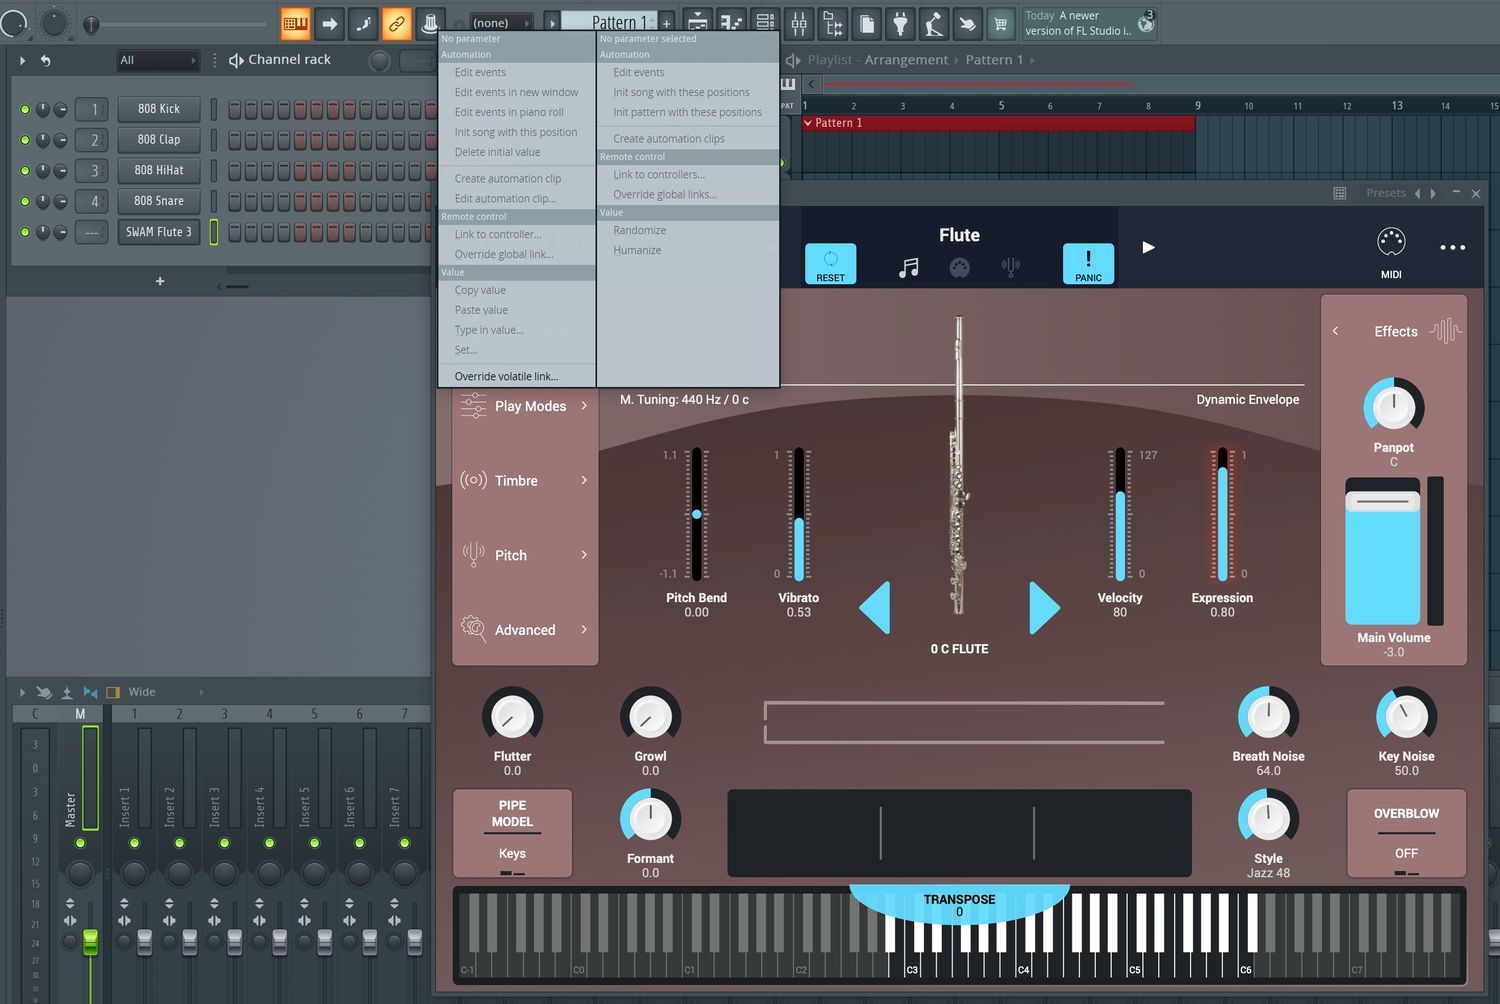
The key of a remix defines the pitch and tonality of the music. To set the key in FL Studio 12, you can use the Piano Roll or a plugin like the Newtone or Pitcher. These tools allow you to analyze the original audio and determine the key information. Once you know the key, you can manually set it in FL Studio 12 by going to the Channel Rack and selecting the desired key from the drop-down menu or using a piano plugin.
Step 3: Choose the Scale
Choosing the right scale for your remix is crucial for ensuring that the additional elements you add harmonize with the original audio. FL Studio 12 provides a variety of scales to choose from, including major, minor, and various modes. Experiment with different scales to find the one that complements your remix.
Step 4: Set up Time Signature
The time signature determines the rhythm and structure of your remix. To set the time signature in FL Studio 12, click on the Time Signature control in the upper-left corner of the interface. Choose the desired time signature, such as 4/4 for a typical remix, or experiment with different signatures to create unique rhythmic patterns.
Step 5: Save Your Settings
Once you have adjusted the tempo, key, scale, and time signature, it’s essential to save your project settings. Go to the File menu and select Save Project As. This way, you can quickly recall these settings if you need to make adjustments later.
By setting up your remix with the appropriate tempo, key, scale, and time signature, you have established the foundation for your creative process. In the next section, we will explore how to chop and slice the audio to create new and exciting elements for your remix.
Adjusting Tempo and Key
When creating a remix, one of the key elements is adjusting the tempo and key of the original audio to fit your vision. FL Studio 12 offers various tools and features that make it easy to modify these parameters and create a seamless remix experience.
Step 1: Syncing the Tempo
If you want to change the speed or tempo of the original audio, FL Studio 12 provides a flexible time-stretching feature. To adjust the tempo, select the audio clip in the Playlist or Pattern area and use the Time Stretch tool. Dragging the edges of the audio clip will change its duration while maintaining its pitch, allowing you to synchronize it with the desired tempo.
Step 2: Changing the Key
Changing the key of the audio is another crucial aspect of remixing. FL Studio 12 offers plugins like Newtone or Pitcher that allow you to detect the key of the original audio. Once the key is determined, you can use plugins or transpose options to change the pitch and match it to the desired key of your remix.
Step 3: Experimenting with Pitch Correction
If you want to fine-tune the pitch of the vocals or instruments in the original audio, FL Studio 12 provides pitch correction plugins like Pitcher or Autotune. These plugins help in achieving a more polished sound and allow you to further customize the remix to your liking.
Step 4: Balancing Tempo and Key Changes
When adjusting the tempo and key, it’s crucial to strike a balance to ensure that the remix flows smoothly and sounds harmonically pleasing. Pay attention to how the tempo and key changes interact with one another. Listening actively and making small adjustments can help you achieve a cohesive and well-balanced remix.
Step 5: Experiment and Trust Your Ears
Remixing is a creative process, so don’t be afraid to experiment and trust your ears. Adjusting the tempo and key is not an exact science, and sometimes, the best results come from trying new things and stepping outside the box. Take the time to listen to your remix and make adjustments as needed to achieve the desired sound.
By carefully adjusting the tempo and key, you can transform the original audio into something fresh and exciting. In the next section, we will dive into slicing and chopping the audio to create unique elements for your remix.
Slicing and Chopping the Audio
Slicing and chopping the audio is a vital technique in remixing that allows you to create unique elements and introduce your own creative touch. FL Studio 12 provides several tools and features to help you slice and chop audio with precision.
Step 1: Using the Slice Tool
In FL Studio 12, the Slice tool is your go-to tool for cutting and dividing audio clips. To access the Slice tool, select the audio clip in the Playlist or Pattern area, then right-click and choose Slice tool from the menu. Click on the desired points in the audio waveform to create slices.
Step 2: Adjusting Slice Properties
Once you have sliced the audio, FL Studio 12 enables you to modify the properties of each slice individually. Right-click on a slice and select Slice Properties. Here, you can adjust parameters such as volume, panning, pitch, and time stretching to create unique variations within the audio.
Step 3: Applying Time-Based Effects
In addition to slicing, FL Studio 12 offers a wide range of time-based effects that can be applied to the sliced audio to enhance its creative potential. These effects include reverse, fade in/out, time stretch, and more. Experiment with different effects to add depth and dynamics to your remix.
Step 4: Chopping and Arranging Slices
Chopping and arranging the slices is where you can truly showcase your creativity. Cut and rearrange the slices in the Playlist area to create new patterns and sequences. You can layer different slices, change their order, or repeat certain slices to build tension and excitement in your remix.
Step 5: Adding Effects and Transitions
To further enhance the slices, FL Studio 12 offers a wide range of effects and transitions. Experiment with filters, reverbs, delays, and other effects to add depth and texture to the sliced audio. Use effects to smoothly transition between different slices and create a cohesive and engaging remix.
Remember, slicing and chopping the audio is an opportunity to bring your unique flair into the remix. Don’t be afraid to explore different slicing techniques and experiment with different arrangements. In the next section, we will explore how to apply effects and filters to further enhance your remix.
Applying Effects and Filters
Applying effects and filters is a crucial step in the remixing process as it adds depth, character, and creativity to your audio. FL Studio 12 offers a vast array of effects and filters that you can apply to your individual tracks and audio elements.
Step 1: Selecting the Audio Track
In FL Studio 12, select the audio track or pattern you want to apply effects to. You can either work with the entire track or focus on specific sections or elements within the track.
Step 2: Opening the Mixer
To access the effects and filters options, open the Mixer window in FL Studio 12. You can do this by clicking on the mixer icon in the toolbar or by pressing the F9 key on your keyboard.
Step 3: Applying Effects
Within the Mixer window, locate the corresponding track or channel for the audio you want to apply effects to. Each track in the Mixer has its own mixer channel where effects can be added. Click on the arrow icon on the mixer channel to expand it and reveal the insert slots available for effects.
Step 4: Choosing Effects
FL Studio 12 offers a wide range of built-in effects that you can choose from. These include reverb, delay, distortion, chorus, EQ, and many more. Depending on the desired sound and the individual elements of your remix, experiment with different effects to achieve the desired result.
Step 5: Adjusting Effect Parameters
Once you have added an effect to the insert slot, you can fine-tune its parameters. Each effect plugin has its own set of parameters that can be adjusted to alter the sound. Explore these parameters to shape the effect to your liking and achieve the desired impact on your remix.
Step 6: Applying Filters
Filters can be used to shape and mold the audio by controlling frequencies. FL Studio 12 offers a variety of filter plugins, such as high-pass, low-pass, and band-pass filters. Apply filters to specific audio elements to create unique sounds or to modify existing ones.
Step 7: Automation and Modulation
FL Studio 12 also allows for automation and modulation of effects and filters over time. This means you can create dynamic changes in the sound by automating parameters or applying modulation effects such as LFO (Low-Frequency Oscillator).
By applying effects and filters in FL Studio 12, you can add your personal touch and create a distinct sound for your remix. In the next section, we will explore how to add additional elements to further enhance your remix.
Adding Additional Elements
Adding additional elements to your remix is an opportunity to infuse it with your own creativity and style. FL Studio 12 offers a wide range of virtual instruments, loops, and samples that you can incorporate into your remix to enhance and expand upon the original audio.
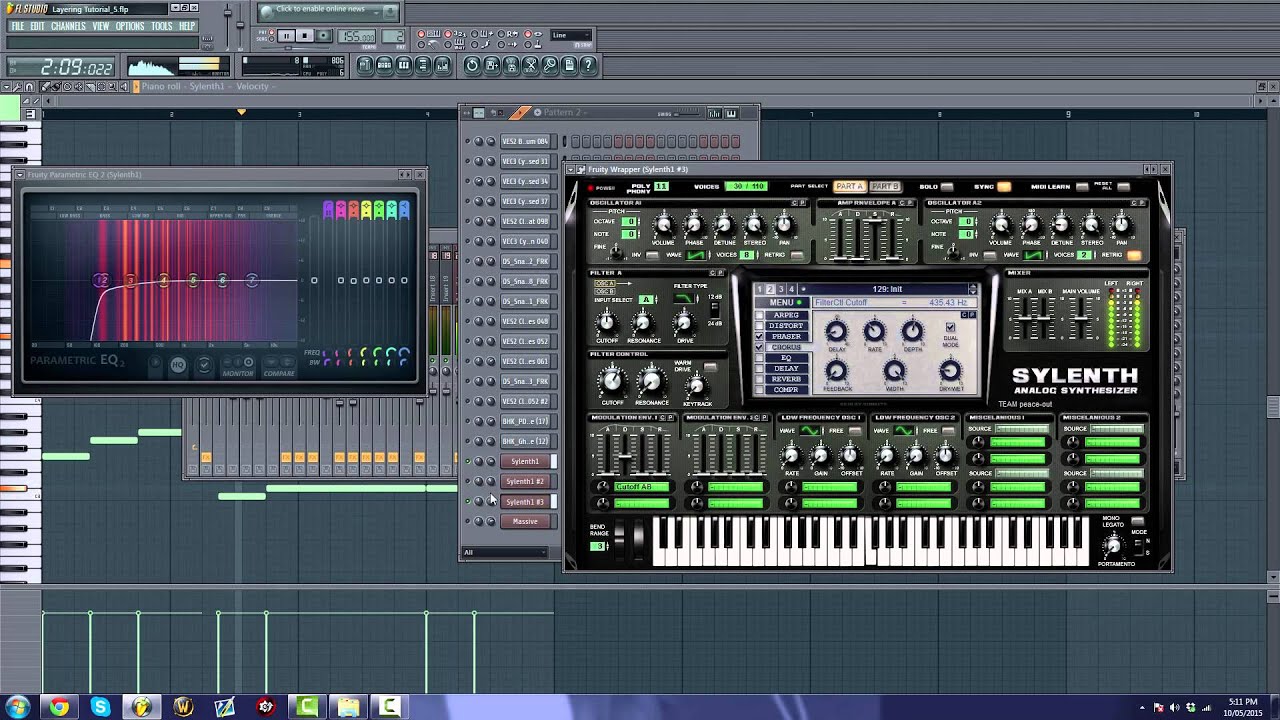
Step 1: Selecting Virtual Instruments
In FL Studio 12, explore the collection of virtual instruments that the software provides. These instruments can be used to create new melodies, harmonies, basslines, or atmospheric elements within your remix. Choose the instruments that best complement the style and mood you want to achieve.
Step 2: Drag and Drop or Sequence
Once you’ve selected a virtual instrument, you can either drag and drop it into the Playlist area or use the Piano Roll to sequence and create MIDI patterns. Experiment with different melodies and rhythms to add depth and complexity to your remix.
Step 3: Incorporating Loops and Samples
FL Studio 12 also offers a vast library of loops and samples in various genres and styles. Browse through the loops and samples library and find elements that you can layer on top of the original audio to add texture and interest. These loops and samples can be easily dragged and dropped into the Playlist area.
Step 4: Sound Design and Synthesis
Another way to add additional elements is through sound design and synthesis. FL Studio 12 provides powerful synthesizers and sound design tools that allow you to create unique sounds that complement the remix. Experiment with different synth presets, tweak parameters, or design your own patches to add a touch of originality.
Step 5: Complementing the Original Audio
When adding additional elements, it’s important to ensure they complement the original audio rather than overpowering it. Listen attentively and make adjustments to the levels and EQ settings to maintain a balance between the new elements and the existing audio in your remix.
Remember, the goal of adding additional elements is to enhance the remix and inject your own creativity while still maintaining the essence of the original track. In the next section, we will explore how to arrange your remix to create a cohesive and engaging musical journey.
Arranging the Remix
Once you have added additional elements and created new layers in your remix, it’s time to focus on the arrangement. Arranging involves organizing the different sections of your remix to create a cohesive and engaging flow from start to finish. FL Studio 12 provides several tools and techniques to help you arrange your remix effectively.
Step 1: Section Identification
Identify the different sections of the original audio and the newly added elements. This may include the intro, verse, chorus, bridge, and outro. Label each section accordingly to keep your remix organized for easier editing.
Step 2: Drag and Drop
In FL Studio 12, you can easily arrange the sections of your remix by dragging and dropping them in the Playlist area. Rearrange the sections to create a logical and compelling progression in your remix. Experiment with different variations until you find the arrangement that best suits your creative vision.
Step 3: Layering and Variation
Consider layering different elements such as drums, vocals, melodies, and additional instruments to add depth and variation within each section. Introduce variations in the arrangement by removing or adding elements, changing the instrumentation, or applying effects to create a sense of progression and interest.
Step 4: Transitions and FX
Smooth transitions between sections are essential to maintain the flow of your remix. Use automation, filters, fades, and effects to create seamless transitions between different parts of your remix. Experiment with risers, impacts, and other sound effects to add impact and excitement during transitions.
Step 5: Dynamic Energy and Build-ups
As you arrange your remix, pay attention to the overall energy and build-up of the track. Gradually introduce new elements, increase the intensity, or change the dynamics to create tension and anticipation. This will keep your listeners engaged and excited throughout the remix.
Step 6: Sculpt the Arrangement
Continue refining and sculpting the arrangement until you are satisfied with the overall structure and flow of your remix. Listen attentively, make adjustments, and trust your instincts to create a captivating musical journey for your audience.
By effectively arranging your remix, you can enhance its impact and deliver a compelling listening experience. In the next section, we will explore the process of mixing and mastering your remix to achieve a professional-quality sound.
Mixing and Mastering
Mixing and mastering are essential steps in the remixing process that ensure your final product sounds polished and professional. FL Studio 12 provides a range of tools and features to help you achieve a balanced mix and a high-quality master.
Step 1: Balancing the Mix
Begin the mixing process by adjusting the level of each individual track in your remix. Use the Mixer window in FL Studio 12 to control the volume, panning, and EQ of each track, ensuring they blend well together. Pay attention to the relationships between different elements, making sure that no instrument or sound dominates the mix.
Step 2: EQ and Frequency Balancing
Apply EQ to each track in your remix to shape the frequency response and improve clarity. Use high-pass and low-pass filters to remove unwanted frequencies and make room for important elements. Use the parametric EQ to boost or cut specific frequencies to create a balanced and cohesive mix.
Step 3: Dynamic Processing
Implement dynamic processing techniques such as compression, limiting, and gating to control the dynamics of individual tracks and the overall mix. Compression helps even out the volume levels, limiting prevents clipping, and gating removes unwanted background noise or bleed from certain tracks.
Step 4: Spatial Effects and Stereo Imaging
Add spatial effects like reverb and delay to create depth and dimension in your mix. Use these effects to position sounds within the stereo field, giving them a sense of space and realism. Experiment with different reverbs and delays to find the right balance and create a cohesive sonic environment.
Step 5: Mastering and Final Processing
After mixing, move onto the final stage of mastering. Mastering involves fine-tuning the overall dynamics, EQ, and stereo image of the remix. Use mastering plugins or dedicated mastering tools to apply the necessary processing to achieve a balanced and cohesive final sound. This includes adjusting the final levels, applying subtle compression, EQ enhancements, and stereo imaging to give your remix that professional sheen.
Step 6: Listen and Make Adjustments
Throughout the mixing and mastering process, listen carefully to your remix on different playback systems and make any necessary adjustments. Take breaks and come back with fresh ears to ensure you’re making objective decisions. Trust your instincts, and don’t be afraid to make additional tweaks until you achieve the desired sound.
By devoting time and attention to the mixing and mastering stages, you can elevate your remix to a professional level and ensure it resonates with your audience. In the final section, we will explore the process of exporting your remix in FL Studio 12.
Exporting the Remix
After perfecting your remix in FL Studio 12, it’s time to export it into a final audio file that can be shared and enjoyed by others. FL Studio 12 provides a simple and straightforward process for exporting your remix.
Step 1: Finalize Your Mix
Prior to exporting, review your remix and make any last-minute adjustments to ensure it sounds exactly as you want it. Pay attention to the levels, dynamics, and overall tonal balance. It’s crucial to have a mix that accurately reflects your creative vision.
Step 2: Select the Export Options
In FL Studio 12, go to the File menu and select Export. You’ll be presented with a range of export options to choose from. These include the file format, bit depth, sample rate, and other settings. Select the options that best suit your needs and the intended platform for your remix.
Step 3: Choose the File Format
Select the desired file format for your exported remix. FL Studio 12 supports various formats such as WAV, MP3, FLAC, and more. Consider the quality and compatibility requirements for your remix when choosing the file format.
Step 4: Set the Destination
Choose the folder or location on your computer where you want to save your exported remix. Select a meaningful and memorable name for the file to make it easier to identify later.
Step 5: Export the Remix
Click on the Export button to initiate the export process. FL Studio 12 will render your remix according to the selected settings and save it as a new audio file in the chosen destination folder. Depending on the complexity and length of your mix, this process may take some time.
Step 6: Verify the Exported Remix
Once the export is complete, take a moment to verify the exported remix. Listen to it carefully to ensure that it matches your expectations and sounds as intended. If any issues are found, you can go back and adjust the mix or export settings as needed.
By following these steps, you can export your remix from FL Studio 12 and have a high-quality audio file ready for sharing, uploading to streaming platforms, or including in your DJ sets.
Congratulations! You’ve successfully taken your original track and transformed it into an impressive remix using FL Studio 12. Now, it’s time to showcase your creativity and share your masterpiece with the world. Enjoy the journey of remixing and continue honing your skills to create even more incredible music!
Conclusion
Congratulations on completing your journey through the process of creating a remix using FL Studio 12! By following the steps outlined in this article, you have learned how to import audio, adjust tempo and key, slice and chop audio, apply effects and filters, add additional elements, arrange the remix, and finally, mix and master your creation.
FL Studio 12 is a powerful tool that empowers you to bring your creative ideas to life and transform existing tracks into unique remixes. The software provides a wide range of features, including virtual instruments, effects, and intuitive workflows that make the remixing process an enjoyable and fulfilling experience.
Remember, remixing is an art form that allows you to put your own personal touch on existing music. Use your creativity, experiment with different techniques, and trust your instincts to create remixes that stand out and captivate your audience.
As you continue your journey in remixing, don’t be afraid to think outside the box and push the boundaries of what is possible. Embrace your unique style, incorporate diverse influences, and refine your techniques to develop your own signature sound.
Additionally, take advantage of the online communities and forums where you can connect with other remix artists, share your work, and gain inspiration and feedback. Collaboration and learning from others can greatly enrich your remixing experience.
Lastly, always trust your ears and follow your passion for music. Remixing is a creative process that requires dedication, patience, and a deep love for music. With FL Studio 12 as your tool and your innate creativity as your guide, there are no limits to what you can achieve.
So, go forth, dive into your favorite tracks, and create amazing remixes that leave a lasting impression. Remember, the remix world is your playground, and FL Studio 12 is your key to unlocking endless possibilities. Happy remixing!