Home>Instruments>Bass>How To Make A Sub Bass In Fl Studio 12
Bass
How To Make A Sub Bass In Fl Studio 12
Modified: January 22, 2024
Learn how to create a powerful sub bass in FL Studio 12 using our step-by-step guide. Enhance your tracks with a deep bass sound.
(Many of the links in this article redirect to a specific reviewed product. Your purchase of these products through affiliate links helps to generate commission for AudioLover.com, at no extra cost. Learn more)
Table of Contents
Introduction
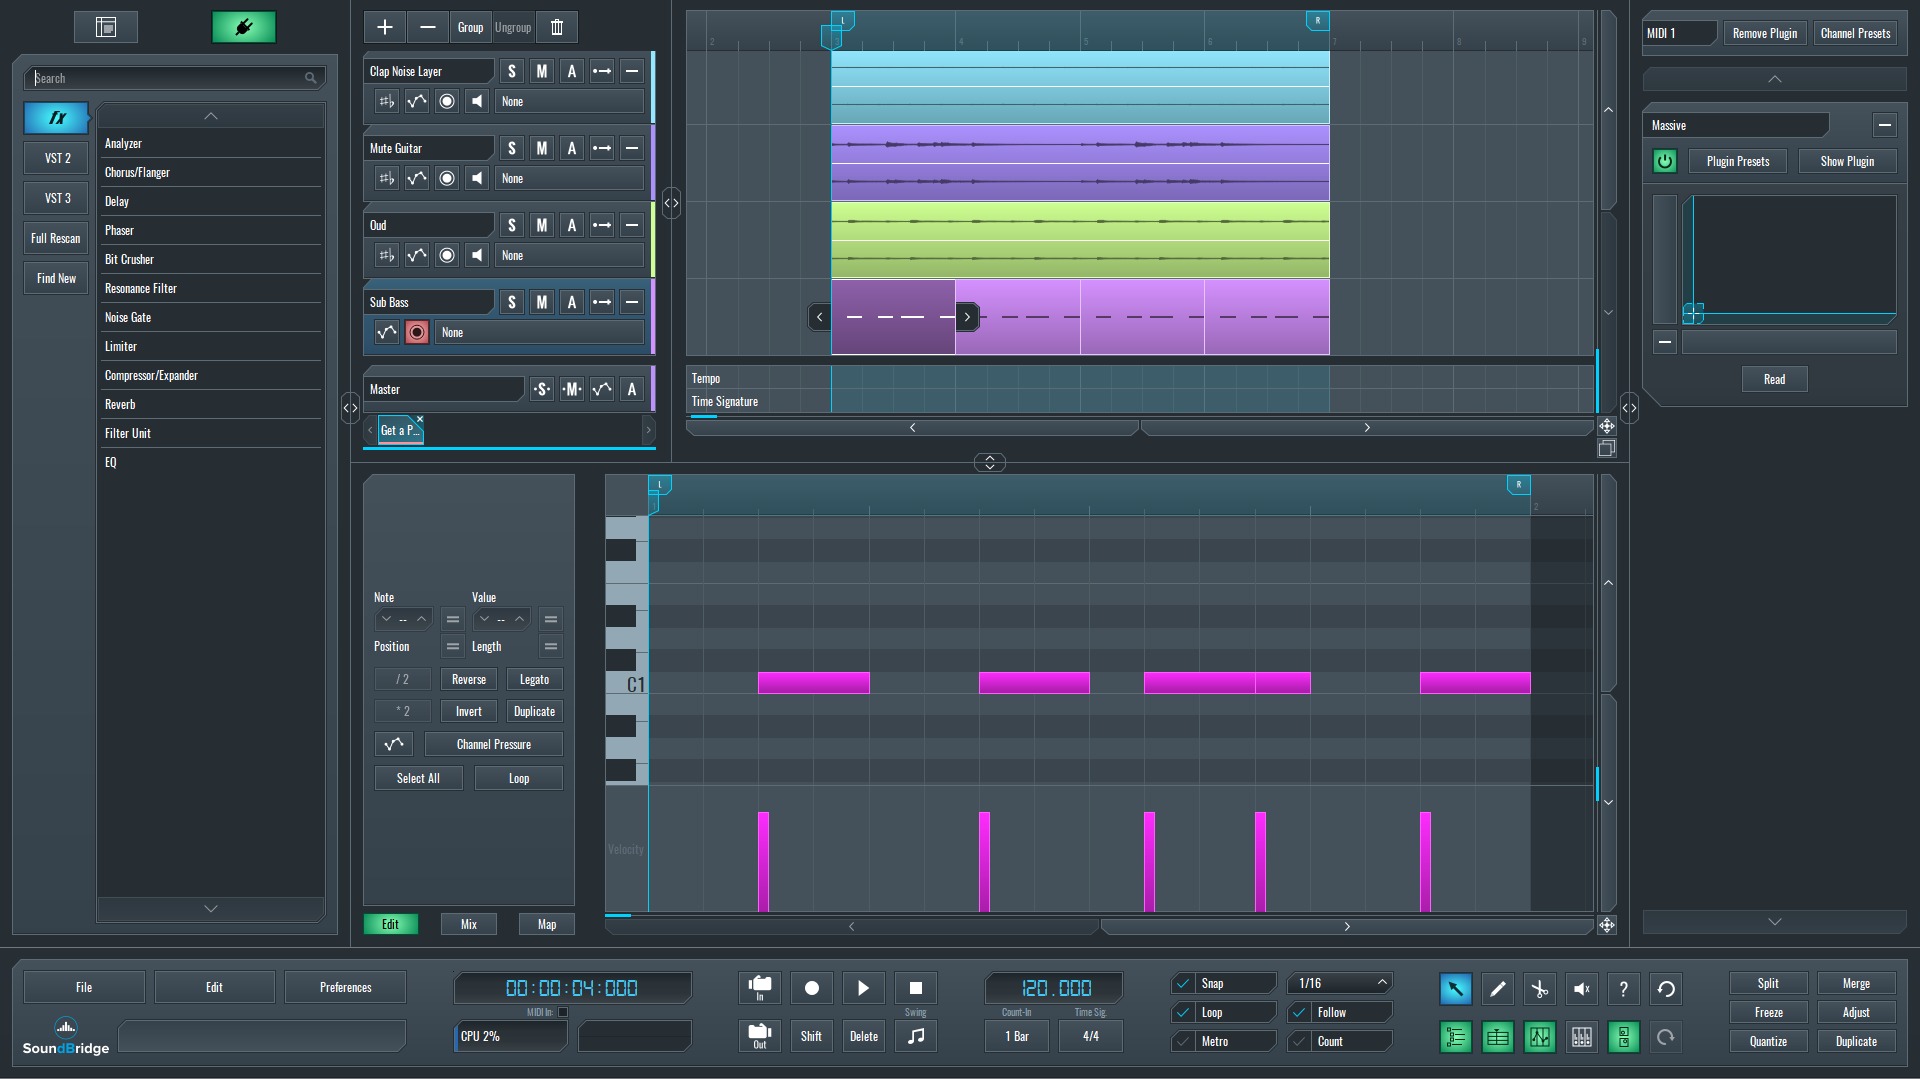
Welcome to this comprehensive guide on how to make a sub bass in FL Studio 12. The sub bass is an essential element in electronic music, providing that low-end foundation and adding depth to your tracks. Whether you’re a beginner or an experienced producer, understanding how to create a powerful and well-defined sub bass is key to crafting genre-defining tracks.
FL Studio 12 is a popular digital audio workstation (DAW) known for its versatility and user-friendly interface. It offers a wide range of tools and features that make it the perfect platform for creating sub basses that shake the speakers.
In this tutorial, we will take you through a step-by-step process on how to create a sub bass from scratch using FL Studio 12. We will cover everything from setting up the oscillator to applying envelopes and effects, allowing you to create a deep and rumbling sub bass that will make your tracks stand out.
Before we dive in, it’s important to note that understanding the basics of sound design and having a good ear for music will greatly benefit you in creating a sub bass that suits your style and preferences. So let’s get started and unlock the secrets to crafting a powerful sub bass in FL Studio 12!
Step 1: Setting up the Oscillator
The first step in creating a sub bass in FL Studio 12 is to set up the oscillator. The oscillator is the core component that generates the sound. Here’s how you can do it:
- Open FL Studio 12 and create a new project.
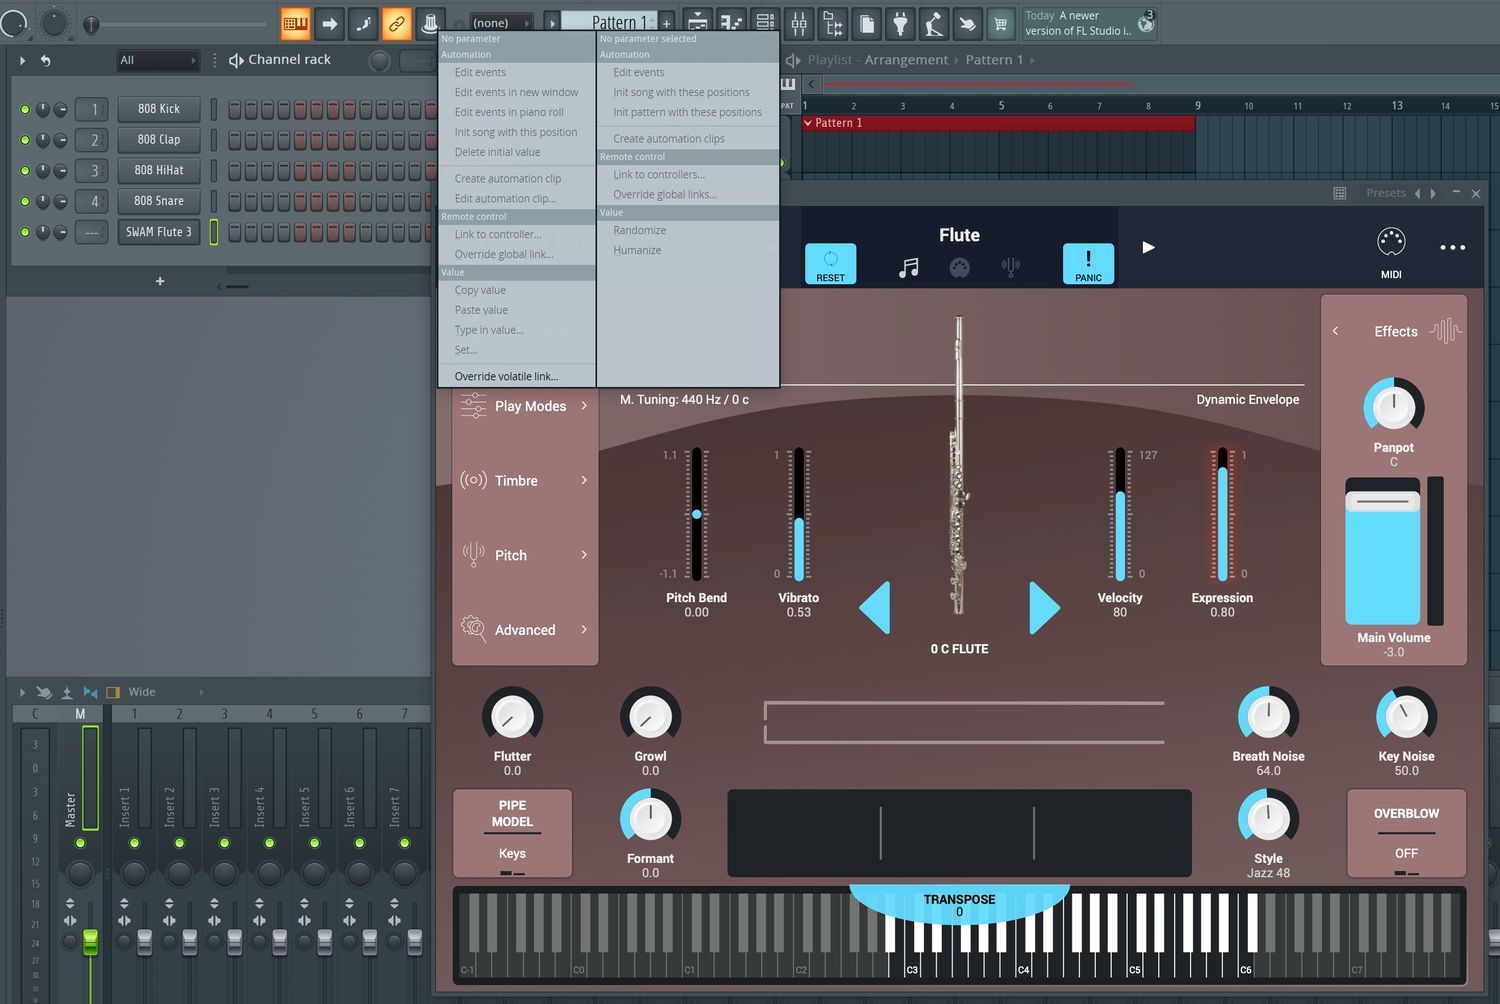
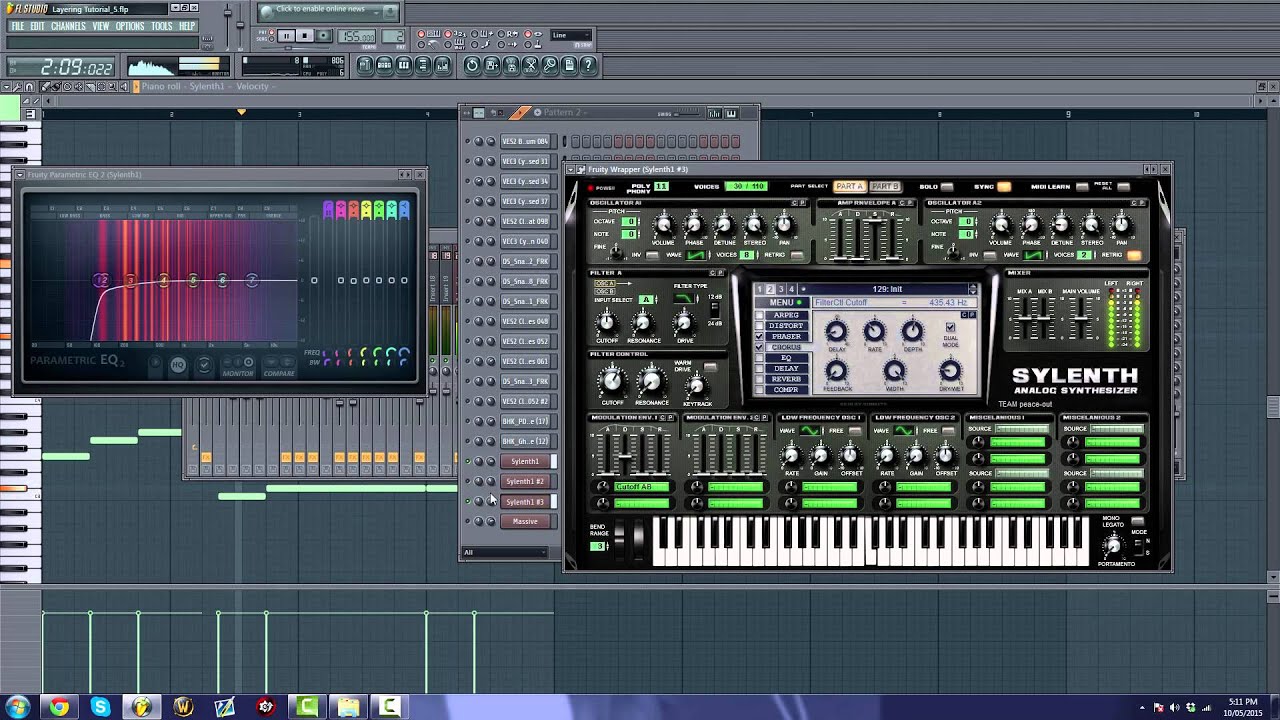
- Insert a new instance of the synthesizer of your choice. For this tutorial, we’ll use the popular plugin, Sytrus.
- In the Sytrus interface, locate the oscillator section. This is where you can manipulate the waveform that will produce the sub bass sound.
- Select a waveform that is rich in low frequencies. Sine and triangle waves are commonly used for creating sub basses due to their smooth and pure tones. Experiment with different waveforms to find the one that suits your desired sub bass sound.
- Adjust the oscillator octave to set the frequency range of your sub bass. Lower octaves produce deeper tones, while higher octaves create a brighter sound. Start by setting the oscillator octave to -2 or -3 to achieve a deep and rumbling sub bass.
- Fine-tune the oscillator’s pitch to your desired note. This will determine the fundamental frequency of the sub bass. Lower pitches will create a deeper and more powerful sound, while higher pitches will result in a higher-pitched sub bass. Use your musical intuition and experimentation to find the sweet spot.
Once you’ve completed these steps, you’ve successfully set up the oscillator for your sub bass. The next step is to adjust the filter to further shape and refine the sound. So let’s move on to step 2!
Step 2: Adjusting the Filter
Now that we have set up the oscillator for our sub bass, it’s time to shape the sound using a filter. The filter helps to control the frequency content of the sound, allowing us to shape the character and tonal qualities of the sub bass. Here’s how you can adjust the filter:
- Locate the filter section in your chosen synthesizer (in this case, Sytrus).
- Select a low-pass filter. A low-pass filter allows frequencies below a certain cutoff point to pass through, while attenuating higher frequencies. This helps to create a rounded and bass-heavy tone for your sub bass.
- Adjust the cutoff frequency to control the point at which the filter starts to attenuate higher frequencies. Lower cutoff frequencies will result in a darker and more focused sub bass, while higher cutoff frequencies will introduce more harmonic content.
- Experiment with the filter resonance to add emphasis to specific frequencies. Increasing the resonance can create a more pronounced and resonant sub bass sound, but be cautious not to overdo it as it can lead to unwanted distortion or unwanted frequencies.
- Fine-tune the filter envelope settings to shape the dynamics of the sub bass. The envelope controls how the filter responds over time. For a typical sub bass, you’ll want a slow attack time to let the sound gradually fade in, a medium decay time to sustain the sub bass, and a relatively long release time to allow the sound to fade out smoothly.
Once you have adjusted the filter to your liking, you’ve successfully shaped the character of your sub bass. The next step is to apply envelopes and LFO to further enhance the sound. Let’s move on to step 3!
Step 3: Applying Envelope and LFO
Now that we have set up the oscillator and adjusted the filter, it’s time to apply envelopes and low-frequency oscillation (LFO) modulation to add movement and dynamics to our sub bass sound. Here’s how you can do it:
- Locate the envelope section in your synthesizer. There are usually separate envelopes for the amplitude and the filter.
- Apply an envelope to the amplitude to shape the volume of the sub bass over time. A typical envelope for a sub bass would have a fast attack to create an immediate impact, a short decay to sustain the volume, and a medium release to allow a smooth transition when the sound fades out.
- Experiment with the envelope settings to achieve the desired level of punch and sustain in your sub bass sound. Adjusting the attack and decay times can significantly impact the overall feel of the sub bass, so take the time to fine-tune it to your liking.
- Add modulation to the filter frequency using an LFO. An LFO is a low-frequency oscillator that creates periodic variations in a parameter. In this case, we will use it to modulate the filter cutoff frequency.
- Set the LFO rate to control the speed of the modulation. Higher rates will result in faster and more pronounced variations, while lower rates will create slower and subtler movements.
- Adjust the LFO depth to determine the range of modulation applied to the filter cutoff frequency. Higher depths will create more noticeable changes, while lower depths will have a more subtle effect.
By applying envelopes and LFO modulation, you can add movement, dynamics, and variability to your sub bass sound. These techniques contribute to creating a more interesting and expressive sub bass, taking it to the next level. Now that we have applied envelopes and LFO, it’s time to add effects to further enhance our sub bass sound. Let’s move on to step 4!
Step 4: Adding Effects
Adding effects to your sub bass can take it from sounding good to sounding incredible. Effects can help shape the tone, add depth and dimension, and make your sub bass stand out in the mix. Here are some effects you can consider adding to your sub bass:
- Equalizer (EQ): Use EQ to fine-tune the frequency balance of your sub bass. Boosting the low frequencies can add weight and impact, while reducing certain frequencies can help clean up any muddiness or unwanted resonances.
- Saturation or Distortion: Adding a touch of saturation or distortion can add harmonics and warmth to your sub bass, giving it more presence and grit. Be careful not to overdo it, as excessive distortion can result in unwanted artifacts or mud.
- Chorus or Flanger: Applying modulation effects like chorus or flanger can create subtle movement and widen the stereo field of your sub bass, making it sound more immersive and interesting.
- Reverb: Adding a subtle amount of reverb can help place your sub bass in a virtual space, giving it a sense of depth and ambience. Be cautious not to use excessive reverb, as it can make the sub bass sound washed out and distant.
- Compression: Using compression can help control the dynamic range of your sub bass, making it more consistent and balanced. It can also add sustain and make your sub bass sound more present in the mix.
Experiment with different effects and settings to find the perfect combination that enhances the characteristics of your sub bass while maintaining its clarity and impact. Remember that subtlety is key when it comes to adding effects to your sub bass. You want to enhance its sound without overpowering or masking it. With effects added, your sub bass is now ready for some final adjustments and fine-tuning. Let’s move on to step 5!
Step 5: Fine-Tuning the Sub Bass
After setting up the oscillator, adjusting the filter, applying envelopes and LFO modulation, and adding effects, it’s time to fine-tune your sub bass to perfection. Fine-tuning allows you to make precise adjustments and ensure that your sub bass blends seamlessly with the rest of your track. Here’s what you should consider:
- Volume Balance: Make sure your sub bass is at an appropriate volume level in relation to the other elements in your mix. It should be audible and impactful without overpowering other elements.
- Frequency Clarity: Ensure that your sub bass is occupying the desired frequency range, typically the lower end of the spectrum. Remove any unwanted frequencies or resonances that may clash with other elements in your mix using an EQ.
- Subtle Automation: Add subtle automation to certain parameters, such as filter cutoff and LFO rate, to introduce movement and variation to your sub bass throughout different sections of your track. This helps keep it interesting and prevents it from becoming repetitive.
- Mixing: Pay attention to the mix of your sub bass along with other elements. Ensure that it sits well in the overall mix by adjusting the levels, panning, and EQ of other tracks if necessary.
- Reference Listening: Compare your sub bass to professionally mixed tracks in a similar genre. This will help you gauge how well your sub bass holds up and allow you to make any necessary adjustments to achieve a balanced and cohesive sound.
Remember, the process of fine-tuning is subjective and requires a keen ear and attention to detail. Take your time, trust your instincts, and make the necessary adjustments until you achieve the desired sub bass sound that complements your track.
Now that you’ve fine-tuned your sub bass, you’re ready to unleash its power and create tracks that will shake the dance floor. Let your creativity guide you, experiment with different techniques, and always strive to improve your sound design skills. Happy producing!
Conclusion
Congratulations! You have reached the end of this comprehensive guide on how to make a sub bass in FL Studio 12. Throughout this article, we have covered the essential steps from setting up the oscillator to fine-tuning the sub bass to achieve that powerful and rumbling low-end foundation in your tracks.
By understanding how to manipulate the oscillator, adjust the filter, apply envelopes and LFO modulation, add effects, and fine-tune your sub bass, you now have the tools to create sub basses that stand out and add depth to your music.
Remember, sound design is a journey of experimentation and creativity. While this guide provides you with a solid foundation, it’s important to explore and develop your unique style by trying out different waveforms, filter settings, modulation techniques, and effects. Trust your ears and let your imagination guide you.
Continuously refine your skills by studying and analyzing the work of other artists and producers in your genre. Pay attention to how they use sub bass to enhance their tracks and learn from their techniques.
Lastly, don’t forget to have fun! Creating sub bass is not only a technical process but also an opportunity for self-expression and artistic exploration. Enjoy the process and let your passion for music drive you to create tracks that move both the speakers and the souls of your listeners.
So go ahead, dive into FL Studio 12, explore different sounds, and start creating those massive sub basses that will make your tracks truly unforgettable. Happy producing!