Home>Instruments>Bass>How To Bass Boost Your Microphone
Bass
How To Bass Boost Your Microphone
Modified: February 16, 2024
Learn how to bass boost your microphone for enhanced audio quality and powerful sound. Boost the bass levels and take your recordings to the next level with our step-by-step guide.
(Many of the links in this article redirect to a specific reviewed product. Your purchase of these products through affiliate links helps to generate commission for AudioLover.com, at no extra cost. Learn more)
Table of Contents
Introduction
Are you looking to enhance the bass quality of your microphone recordings? If so, you’ve come to the right place. Whether you’re a podcaster, gamer, streamer, or musician, boosting the low-frequency response of your microphone can add depth, richness, and impact to your audio. In this article, we will delve into the world of bass boosting for microphones, exploring techniques to achieve that desired rich and booming sound.
Understanding how bass boosting works is essential before diving into the practicalities. Bass boosting is the process of increasing the low-frequency range of audio signals, primarily centered around the bass frequencies. It offers a more pronounced and powerful bass sound, which can be particularly beneficial for genres like hip-hop, EDM, or for creating an immersive gaming or podcasting experience.
However, before you can start bass boosting, it’s crucial to choose the right microphone. Different microphones have varying frequency responses, and some are better suited for capturing bass-heavy sounds than others. Factors like diaphragm size, polar pattern, and microphone type all play a role in capturing and reproducing bass frequencies accurately.
Once you have selected the appropriate microphone, setting up your equipment correctly is a vital next step. This involves connecting your microphone to an audio interface or mixer, ensuring proper gain staging, and making any necessary adjustments to your digital audio workstation (DAW) settings. Taking the time to properly configure your set-up will help you achieve optimal results when applying bass boosting techniques.
Now comes the exciting part – the bass boosting techniques themselves. There are various methods to consider, including software-based equalization, hardware preamps and processors, as well as utilizing virtual plugins and effects. Each method has its advantages and can be tailored to your specific needs and technical capabilities.
Once you have applied your chosen bass boosting technique, it’s essential to test and adjust the bass levels to achieve the desired effect. This involves listening to your recordings, making any necessary tweaks, and paying attention to potential audio artifacts or imbalances that might occur during the process.
To wrap up our journey, we will go over common issues and troubleshooting techniques that you may encounter along the way. This will help you troubleshoot any problems that could arise, enabling you to fine-tune and refine your bass boosting journey with confidence.
So, if you’re ready to elevate the bass quality of your microphone recordings to new heights, let’s dive in and explore the exciting world of bass boosting!
Understanding Bass Boosting
Bass boosting is the process of increasing the low-frequency response of audio signals, primarily focused on amplifying the bass frequencies. It is a technique widely used in various audio applications to add depth, power, and richness to the sound. Understanding how bass boosting works is crucial in order to apply the technique effectively.
At its core, bass boosting involves amplifying specific frequencies in the lower end of the sound spectrum. The human hearing range typically spans from 20Hz to 20kHz, with the bass frequencies ranging from 20Hz to around 250Hz. Boosting these frequencies can have a significant impact on the overall sound quality, especially when it comes to capturing and reproducing deep, rumbling bass sounds.
There are several methods used to achieve bass boosting, both in analog and digital domains. In the analog world, bass boosting can be achieved through the use of equalizers or specialized audio processors designed to emphasize bass frequencies. These devices allow for precise control over specific frequency ranges, enabling users to boost the desired bass frequencies to their preference.
In the digital realm, bass boosting is commonly achieved using software equalization tools. Equalizers in digital audio workstations (DAWs) or dedicated audio plugins offer the ability to boost or attenuate specific frequencies, including the bass range. These tools provide greater flexibility and precision in shaping the bass response of audio signals.
By amplifying the bass frequencies, bass boosting can add warmth, impact, and fullness to audio recordings. This is particularly useful in musical genres like hip-hop, electronic dance music (EDM), or any genre that relies heavily on deep bass sounds. Bass boosting can also enhance the immersive experience in gaming, creating a more realistic and engaging audio environment.
It is important to note that while bass boosting can enhance the overall audio quality, it should be used judiciously. Over-boosting the bass frequencies can result in an imbalanced sound, causing distortion, muddiness, or masking other important frequencies. It is crucial to find the right balance and tailor the amount of bass boost to suit the specific audio content and the listener’s preferences.
Additionally, it’s worth mentioning that bass boosting is not just limited to playback or recording devices. It can also be applied to microphones themselves, either through built-in features or external devices. Some microphones and microphone accessories offer bass rolloff switches or filters to reduce low-frequency rumble or to tailor the bass response to a specific application.
Now that we have a better understanding of what bass boosting entails, it’s time to explore the next step in the process – choosing the right microphone to achieve the best bass response.
Choosing the Right Microphone
When it comes to bass boosting your microphone recordings, selecting the right microphone is crucial. Different microphones have different frequency responses, and some are better suited for capturing bass-heavy sounds than others. Factors such as diaphragm size, polar pattern, and microphone type all play a role in accurately capturing and reproducing bass frequencies.
One important consideration is the microphone’s diaphragm size. Larger diaphragms are generally more capable of capturing low-frequency sounds. They have a greater surface area to vibrate and respond better to lower frequencies, resulting in a more accurate representation of bass in your recordings. Large-diaphragm microphones are commonly used in recording studios for their ability to capture rich, deep bass sounds.
Another factor to consider is the polar pattern of the microphone. Polar patterns determine how the microphone picks up sound from different directions. For bass-heavy applications, a cardioid polar pattern is often a good choice. Cardioid microphones capture sound primarily from the front and reject sound from the sides and rear. This helps minimize unwanted ambient noise and focus on the direct sound source, where the bass frequencies are typically stronger.
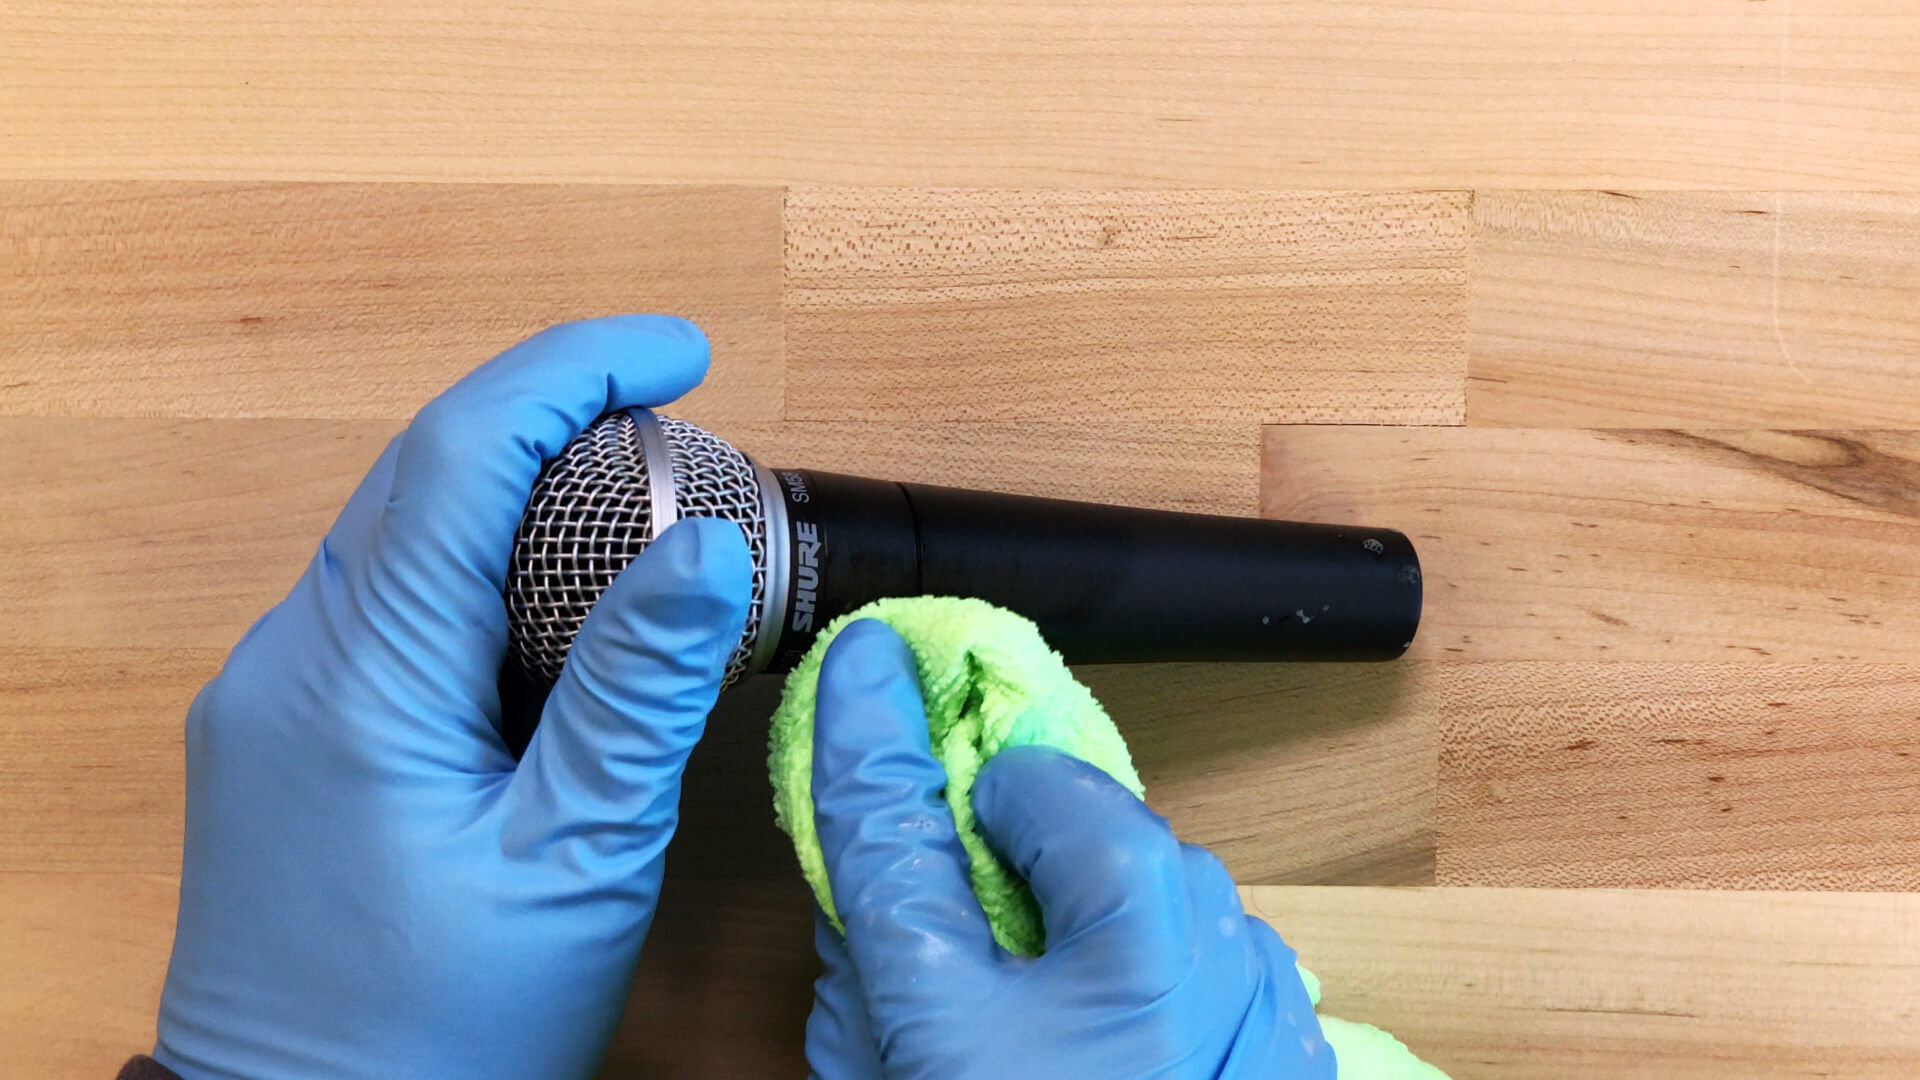
The microphone’s type is also essential in selecting a microphone suitable for bass boosting. Dynamic microphones, for example, are well-suited for capturing bass-heavy sounds due to their inherent ability to handle high sound pressure levels. They have a robust construction and can handle loud sources without distorting, making them ideal for capturing powerful low-frequency instruments like bass guitars and kick drums.
Condenser microphones, on the other hand, are known for their sensitivity and accuracy in capturing a wide frequency range. They excel in capturing the subtle details of bass-heavy instruments and vocals. Many condenser microphones also come with switchable low-frequency rolloff filters that can help tailor the bass response and reduce unwanted low-frequency rumble.
Additionally, consider the microphone’s frequency response graph when choosing a microphone for bass boosting. Look for microphones with a flat or extended low-frequency response, indicating that they are capable of capturing bass frequencies accurately. Some microphone manufacturers provide frequency response graphs in their product specifications, giving you a better idea of how the microphone will handle bass frequencies.
Lastly, it’s important to consider your budget and the overall capabilities you require from the microphone. There is a wide range of microphones available at various price points, each with its own strengths and limitations. Assess your specific needs and do some research to find a microphone that suits both your budget and your desired sound quality for bass boosting.
With the right microphone in hand, you’ll be well-prepared to dive into the next steps of setting up your equipment and applying effective bass boosting techniques to take your microphone recordings to the next level.
Setting Up Your Equipment
Once you have chosen the right microphone for bass boosting, the next step is to set up your equipment properly. Proper setup ensures optimal performance and allows you to achieve the best possible bass response in your recordings.
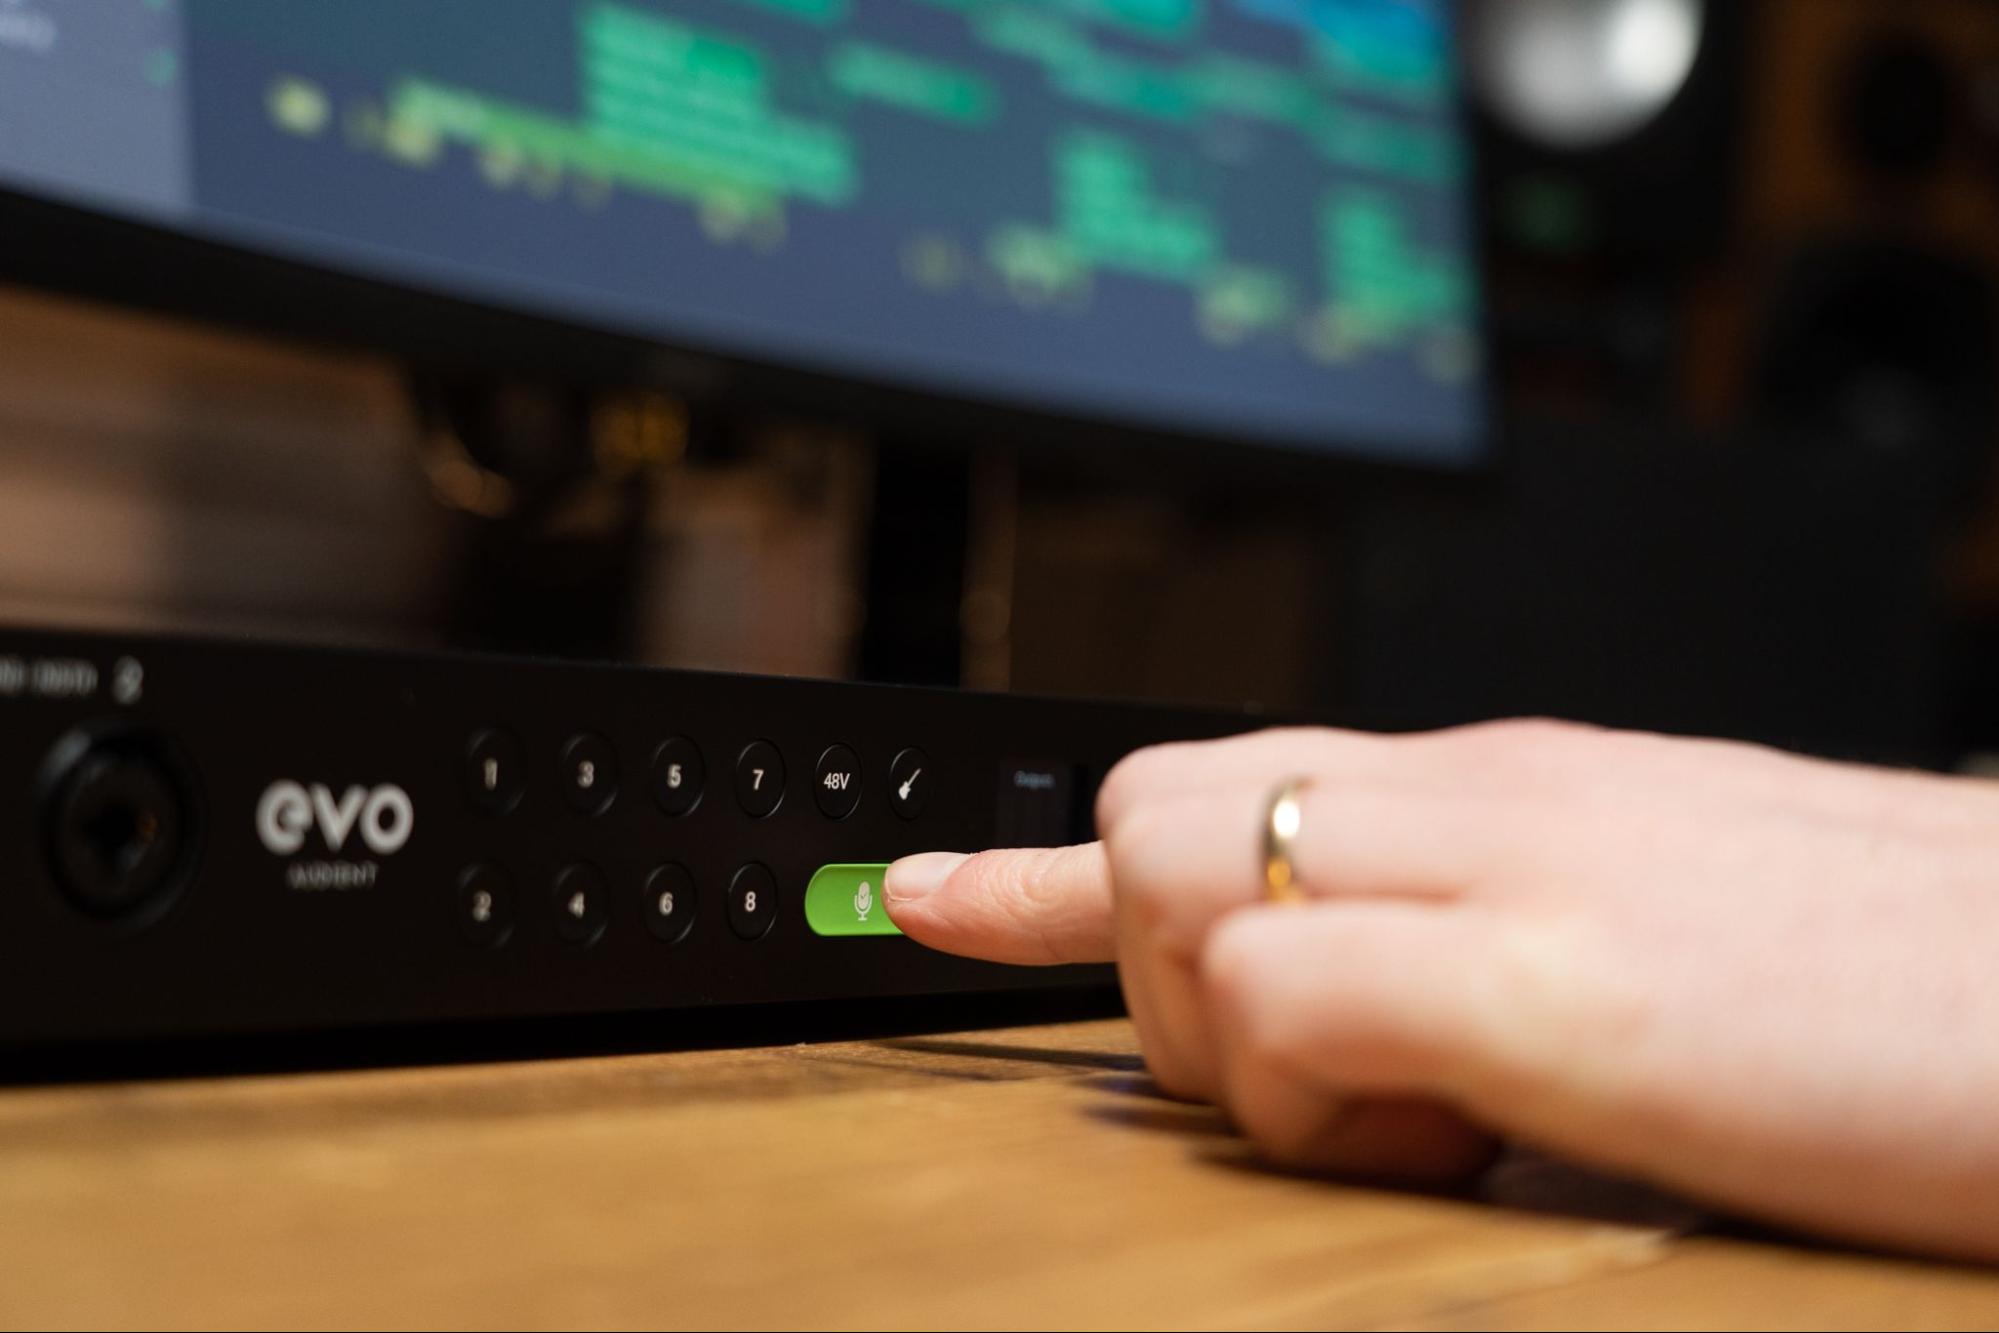
The first step in setting up your equipment is to connect your microphone to an audio interface or mixer. Most microphones use an XLR connector, so make sure your audio interface or mixer has XLR inputs. Use a high-quality XLR cable to connect the microphone to the input of your audio interface or mixer, ensuring a clean and secure connection.
Before you start recording, it’s essential to check the gain staging. Gain staging involves setting the input gain level of your audio interface or mixer appropriately to ensure the best signal-to-noise ratio and prevent distortion. Aim for a healthy signal level without clipping or too much noise. Take the time to experiment and find the optimal gain level that allows your microphone to capture the desired bass frequencies accurately.
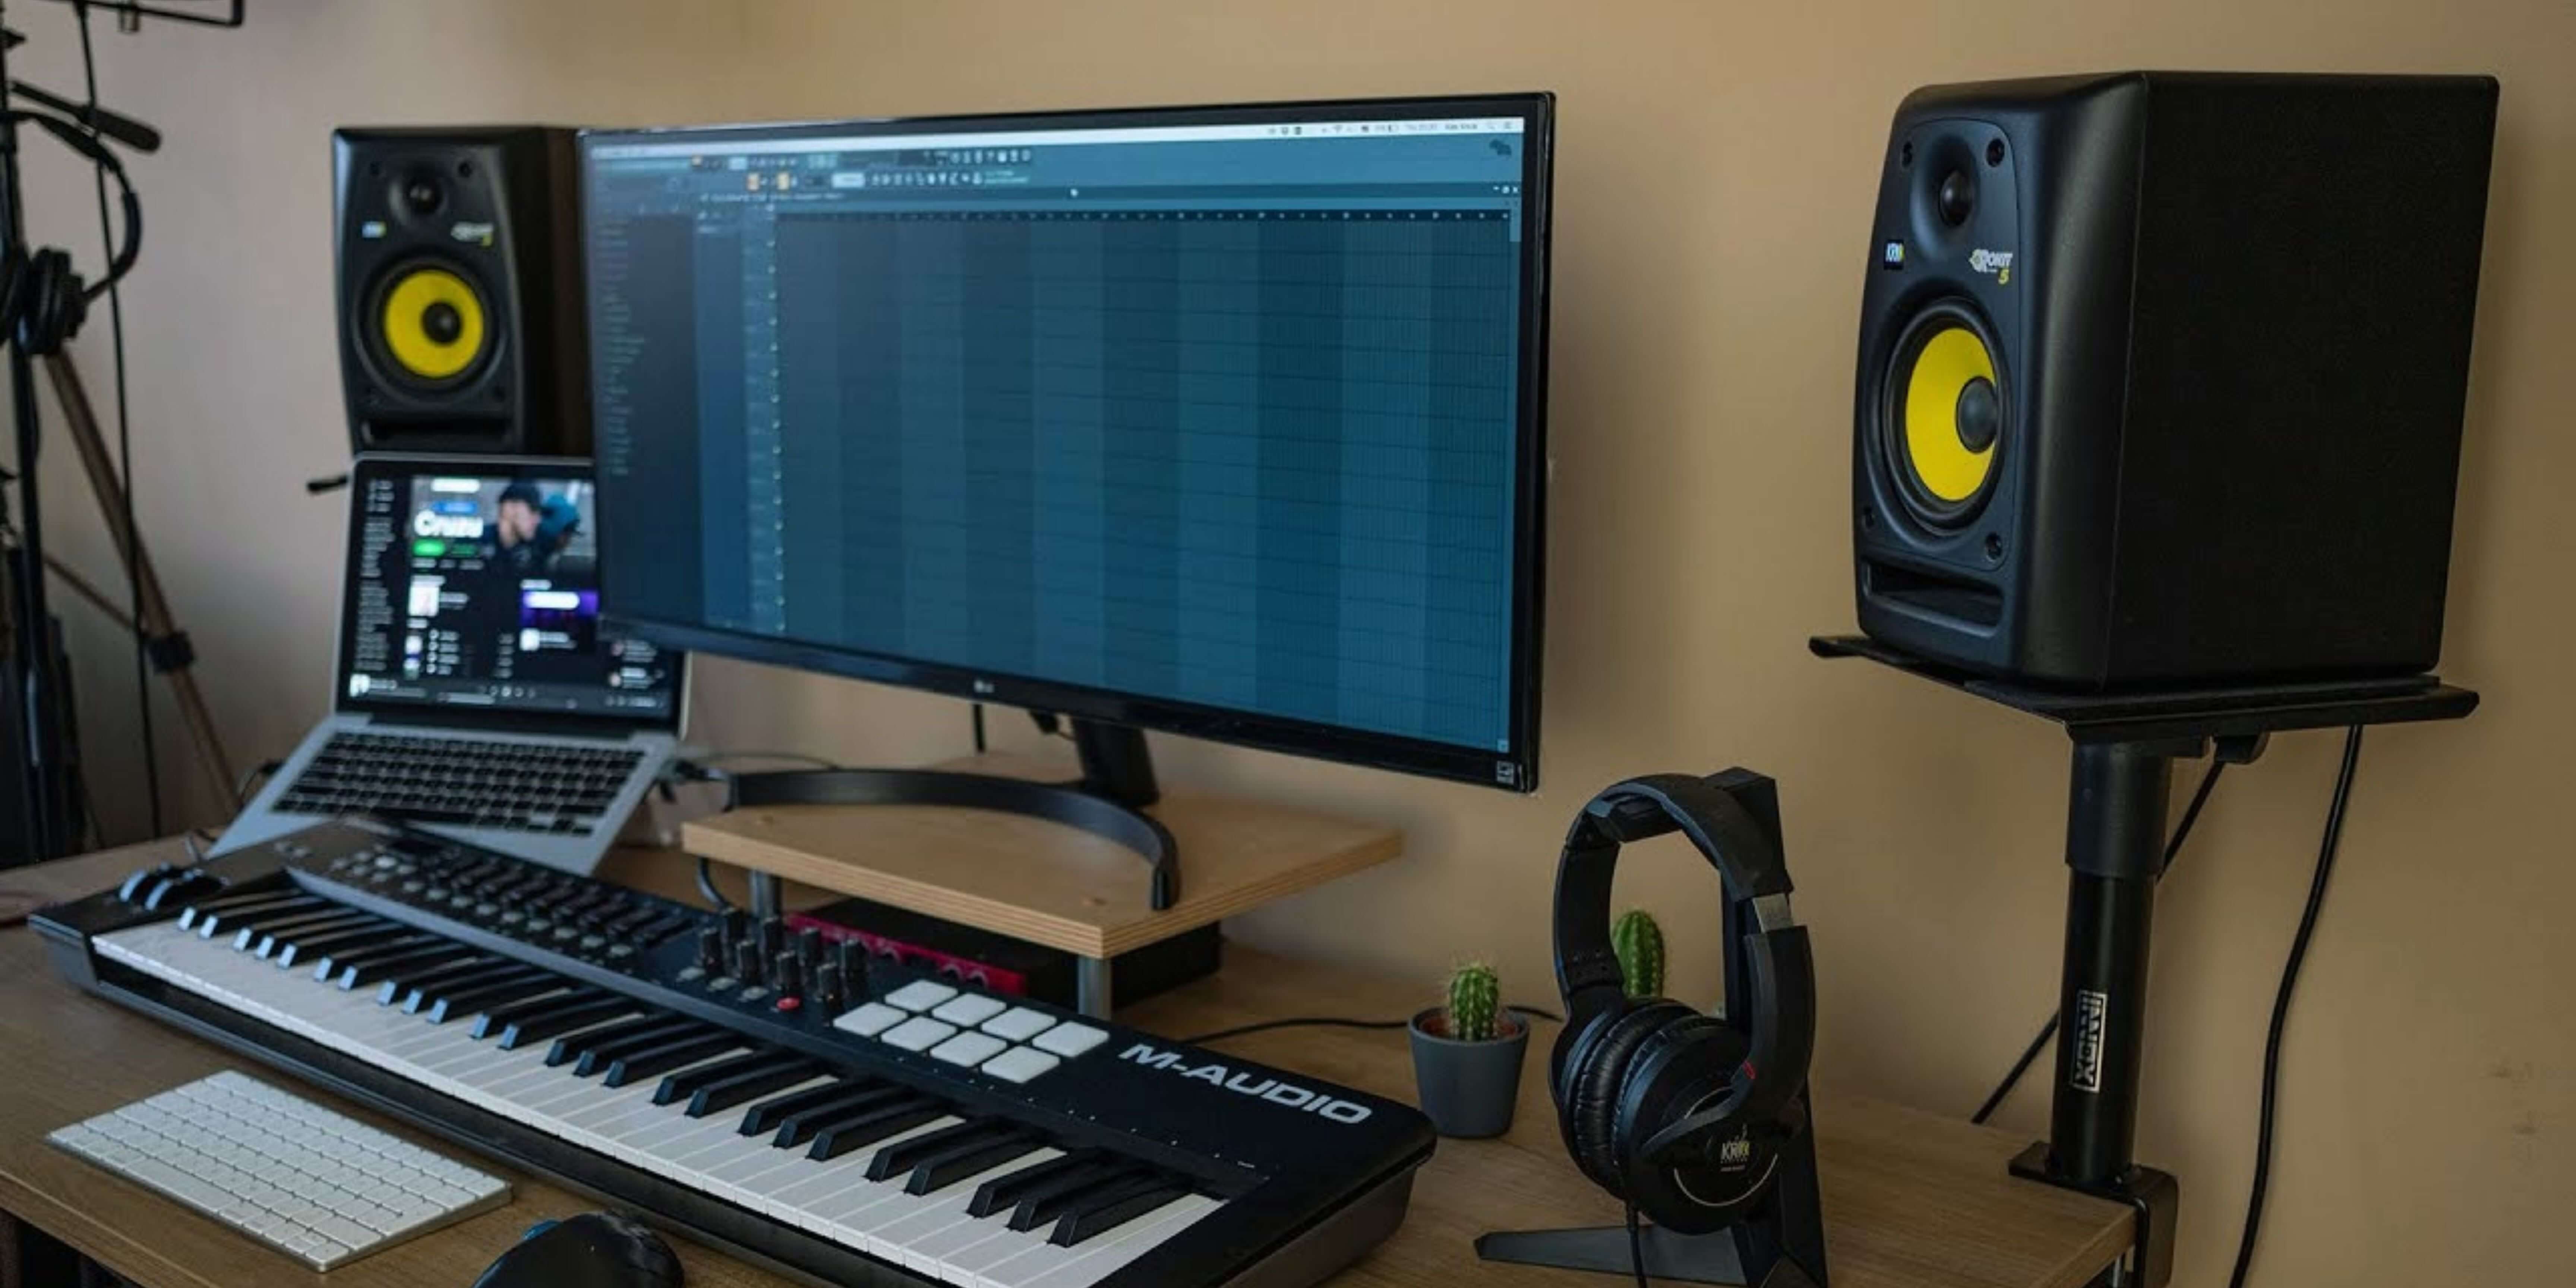
Next, make sure your digital audio workstation (DAW) settings are properly configured. Check that the input channel corresponding to your microphone is selected, and adjust any necessary settings such as sample rate and buffer size to optimize the performance of your DAW. Most DAWs offer a variety of routing options and plugins that can help you shape and enhance the bass response of your recordings.
Consider using a pop filter or windscreen to minimize plosive sounds and unwanted noise. These accessories help reduce the impact of sudden bursts of air on the microphone, which can cause unwanted artifacts or distortions. Place the pop filter or windscreen in front of the microphone, ideally a couple of inches away, to effectively mitigate any plosive sounds.
If you are using a microphone stand, ensure that it is stable and properly positioned to capture the sound source effectively. Experiment with different microphone placements to find the sweet spot that captures the desired bass response. Adjusting the distance between the microphone and the sound source can have a significant impact on the bass frequencies recorded, so take the time to find the ideal placement.
Additionally, pay attention to the acoustic environment in which you are recording. Minimizing background noise and avoiding reflective surfaces can greatly improve the overall sound quality and bass response of your recordings. Consider using acoustic treatment, such as foam panels or diffusers, to reduce unwanted reflections and create a more controlled recording environment.
By setting up your equipment properly, you ensure that your microphone captures the best possible bass response and minimizes any interference or noise that may affect the quality of your recordings. With everything in place, you are now ready to move on to the next step – applying bass boosting techniques to your microphone recordings.
Bass Boost Techniques
Now that you have your microphone set up and ready, it’s time to explore various bass boost techniques to enhance the low-frequency response in your recordings. There are several methods you can employ, ranging from software-based equalization to hardware processors. Let’s dive into some popular bass boost techniques.
1. Software Equalization:
Using equalization (EQ) is one of the most common methods for bass boosting. In a digital audio workstation (DAW), apply a parametric EQ plugin to the audio track and focus on the low-frequency range. Boosting frequencies between 20Hz to 250Hz can give your recordings a noticeable bass boost. Be cautious not to overdo it, as excessive boosts can result in a muddy or boomy sound.
2. Shelf EQ:
Another EQ technique involves using a low-frequency shelf. By boosting the low-end frequencies uniformly, the shelf EQ provides a more subtle and gentle bass boost. This technique is particularly effective when you want to maintain a natural and balanced sound, without emphasizing specific frequencies too much.
3. Subharmonic Synthesis:
Subharmonic synthesis is a technique that generates subharmonic frequencies below the original input signal. This technique is commonly used in bass-heavy music genres to enhance the depth and impact of the bass frequencies. There are specialized plugins available that generate subharmonics to add weight and richness to the low end of your recordings.
4. Harmonic Exciters:
Harmonic exciters, or enhancers, are audio processors that add harmonics to the original signal. They can make the bass frequencies sound more pronounced and detailed, giving a sense of clarity and depth to the low-end. Experiment with different harmonics and intensity settings to find the sweet spot that enhances the bass without sounding artificial.
5. Hardware Preamps and Processors:
If you have access to hardware preamps or processors, they can also be used to boost the bass. These devices offer dedicated bass controls or equalization settings that allow you to shape the low-frequency response of the microphone signal. Adjust the bass controls or use the built-in equalization options to tailor the bass boost to your liking.
6. Virtual Plugins and Effects:
There is a wide range of virtual plugins and effects available that specifically focus on bass enhancement. These plugins offer various features, such as sub-bass synthesis, harmonic enhancement, and specialized bass equalization, to give your recordings a bass boost. Explore different plugins and experiment with their settings to find the ones that work best for your desired sound.
Remember, when applying these techniques, it’s crucial to listen critically and make adjustments based on the specific characteristics of the audio source. Take your time to find the right settings and balance that enhance the bass frequencies without overpowering other elements of the mix.
Now that you have learned some popular bass boost techniques, it’s time to put them into action and start enhancing the low-end response of your microphone recordings. Experiment with different approaches and find the techniques that work best for your specific audio content and desired sound.
Testing and Adjusting Bass Boost
Once you have applied your chosen bass boost techniques to your microphone recordings, it’s imperative to test and adjust the bass levels to achieve the desired effect. Testing and fine-tuning the bass boost ensure that you achieve a balanced and impactful low-frequency response. Here are some steps to follow when testing and adjusting your bass boost:
1. Listen Critically:
Start by listening to your recordings with the bass boost applied. Pay close attention to the overall sound quality, the impact of the bass frequencies, and any potential audio artifacts or imbalances that may have been introduced. Take notes on what you like and what you think needs improvement.
2. Adjust Bass Boost Settings:
Based on your initial listening, make adjustments to the bass boost settings. If the bass frequencies sound too overpowering or muddy, try reducing the amount of boost or adjusting the frequency range. On the other hand, if the bass seems weak or lacking presence, increase the boost or adjust the frequencies to add more depth and impact.
3. Consider the Context:
Take into account the genre or style of your recording and how the boosted bass fits within the overall mix. Consider the balance between the bass frequencies and other elements such as vocals, instruments, and ambient sounds. Aim for a cohesive and well-integrated mix where the bass boost enhances the overall sound without overpowering or distracting from other elements.
4. Compare With Reference Tracks:
Use reference tracks that have similar bass characteristics to compare your recordings. Listen to these tracks and pay attention to how the bass frequencies are balanced and how they contribute to the overall sonic experience. Compare the bass response in your recordings with the reference tracks to get a better sense of whether you need to make further adjustments.
5. Test On Different Playback Systems:
It’s crucial to listen to your bass-boosted recordings on different playback systems, such as speakers, headphones, and car audio systems. Different listening environments can reveal different aspects of the bass response, and testing on multiple systems helps ensure that your bass boost translates well across various devices. Make notes of any discrepancies or inconsistencies you observe.
6. Iterate and Fine-Tune:
Based on your testing and adjustments, iterate and fine-tune the bass boost settings as necessary. It may take several rounds of testing and tweaking to achieve the desired balance and impact. Be patient, trust your ears, and make incremental adjustments to achieve the best possible bass response.
Remember that the goal of testing and adjusting the bass boost is to achieve a natural and pleasing low-frequency response without compromising the overall clarity and balance of your recordings. Take the time to fine-tune the bass levels, and don’t be afraid to make further adjustments throughout the mixing process as needed.
By testing and adjusting the bass boost, you ensure that your recordings have the desired bass impact and depth, enhancing the overall listening experience for your audience.
Common Issues and Troubleshooting
While bass boosting can greatly enhance the low-frequency response of your microphone recordings, it’s important to be aware of common issues that may arise and have troubleshooting techniques at your disposal. Here are some common problems and potential solutions to help you troubleshoot your bass boost process:
1. Muddy or Boomy Sound:
If your bass-boosted recordings sound muddy or boomy, it could indicate an excessive boost in the low-frequency range. Try reducing the amount of bass boost or adjust the frequency range to achieve a more balanced and defined bass response.
2. Clipping or Distortion:
If you notice clipping or distortion in your bass-boosted recordings, it means the signal is too hot and exceeding the dynamic range of your equipment. Lower the input gain level or reduce the bass boost amount to prevent clipping and maintain a clean, distortion-free recording.
3. Imbalanced Bass:
If the bass frequencies seem imbalanced or uneven in your recordings, it may be due to inconsistencies in your microphone placement or the positioning of your sound source. Experiment with different microphone placements and distances to achieve a more consistent and balanced bass response. Consider using headphones to monitor and fine-tune the placement more accurately.
4. Unwanted Noise:
Excessive noise or interference in your bass-boosted recordings can be frustrating. Ensure all your connections are secure and free from interference. Check for any ground loops or electrical interference that may be causing the noise. Consider using shielded cables or noise reduction plugins to minimize or eliminate unwanted noise.
5. Lack of Impact:
If you feel that your bass-boosted recordings lack impact or presence, try increasing the bass boost or experiment with different bass boost techniques. Adjusting the EQ settings or utilizing dynamic processors like compressors or transient enhancers can help add punch and impact to the bass frequencies.
6. Compatibility Issues:
Ensure your bass-boosted recordings are compatible with various playback systems and platforms. Test your recordings on different devices and software to confirm compatibility and make any necessary adjustments to optimize the bass response across different platforms.
7. Mixing Challenges:
Integrating bass-boosted recordings into a mix can present challenges, particularly when balancing the low-frequency content with other instruments and vocals. Use EQ and volume automation techniques to carve out space for the bass frequencies, preventing muddiness and maintaining clarity in the mix.
Remember to listen critically, experiment, and adjust as needed when troubleshooting any bass boosting issues. It’s essential to trust your ears and make incremental changes to achieve the best possible bass response for your microphone recordings.
By being aware of and proactively addressing these common issues and troubleshooting techniques, you can overcome obstacles and ensure a smooth and successful bass boost process.
Conclusion
Congratulations! You’ve reached the end of our comprehensive guide on bass boosting your microphone recordings. Throughout this article, we explored the fundamentals of bass boosting, the importance of choosing the right microphone, setting up your equipment effectively, applying various bass boost techniques, testing and adjusting the bass levels, and troubleshooting common issues.
By understanding the principles of bass boosting and selecting the appropriate microphone, you can capture and reproduce powerful, impactful bass frequencies in your recordings. Setting up your equipment correctly ensures that you capture the best possible bass response from your microphone, while experimenting with different bass boost techniques allows you to sculpt the low-frequency range to your liking.
Remember to test and adjust the bass levels in your recordings to achieve the desired effect. Critical listening, comparing with reference tracks, and testing on different playback systems will help you fine-tune the bass boost for optimal results. Additionally, troubleshooting common issues like muddiness, distortion, and imbalance will ensure a smooth and hassle-free bass boosting process.
Ultimately, the goal of bass boosting your microphone recordings is to enhance the overall audio experience, whether for podcasts, music production, gaming, or any other application. The power and impact of a well-boosted bass can transform ordinary recordings into immersive and captivating soundscapes. However, it’s important to use bass boosting judiciously and maintain a balance that complements the rest of the audio elements in your mix.
Now armed with the knowledge and techniques to bass boost your microphone recordings, it’s time to put them into practice. Experiment, fine-tune, and trust your ears as you embark on your bass-boosting journey. With dedication and practice, you’ll be able to achieve the desired rich, deep, and booming sound that will captivate your audience and take your recordings to new heights.
So, go forth and embrace the world of bass boosting with confidence. Elevate your microphone recordings and immerse your listeners in a sonic experience they won’t forget!