Home>Instruments>Bass>How To Bass Boost Songs With Audacity
Bass
How To Bass Boost Songs With Audacity
Modified: March 5, 2024
Learn how to enhance the bass in your songs using Audacity with our step-by-step guide. Perfect for music enthusiasts looking to create a richer audio experience.
(Many of the links in this article redirect to a specific reviewed product. Your purchase of these products through affiliate links helps to generate commission for AudioLover.com, at no extra cost. Learn more)
Table of Contents
Introduction
Are you a fan of deep, rumbling bass? Do you want to enhance the low-end frequencies in your favorite songs for a more powerful listening experience? Look no further! In this article, we will walk you through the process of bass boosting songs using Audacity, a free and powerful audio editing software.
Whether you’re a music producer, DJ, or just an avid music lover, knowing how to bass boost songs can take your audio experience to the next level. Bass boosting involves increasing the volume and presence of the lower frequencies in a song, giving it a fuller, richer sound. With Audacity’s easy-to-use interface and versatile features, you’ll be able to achieve professional-quality bass boosts with just a few simple steps.
Before we dive into the tutorial, make sure you have Audacity installed on your computer. Audacity is a widely used audio editing software available for Windows, macOS, and Linux. If you haven’t installed it, head over to the official Audacity website and download the latest version.
Once you’re ready, let’s get started with the step-by-step guide on how to bass boost songs using Audacity.
Step 1: Download and Install Audacity
The first step in bass boosting songs with Audacity is to download and install the software on your computer. Follow these simple instructions:
- Go to the official Audacity website at www.audacityteam.org.
- Click on the “Download” button, which will take you to the download page.
- Choose the version of Audacity that is compatible with your operating system (Windows, macOS, or Linux).
- Click on the “Download” button for the chosen version.
- Once the download is complete, open the installer file.
- Follow the on-screen instructions to install Audacity on your computer.
After the installation process is complete, you should have Audacity ready to use on your computer. It’s a good idea to familiarize yourself with the software interface and basic functions before moving on to the bass boosting process.
Note: Audacity is a free and open-source software, so you don’t need to worry about any hidden costs or subscriptions. It’s an excellent tool for audio editing, with a wide range of features and plugins available to enhance your audio projects.
Now that you have Audacity installed, let’s move on to the next step: importing the song you want to bass boost.
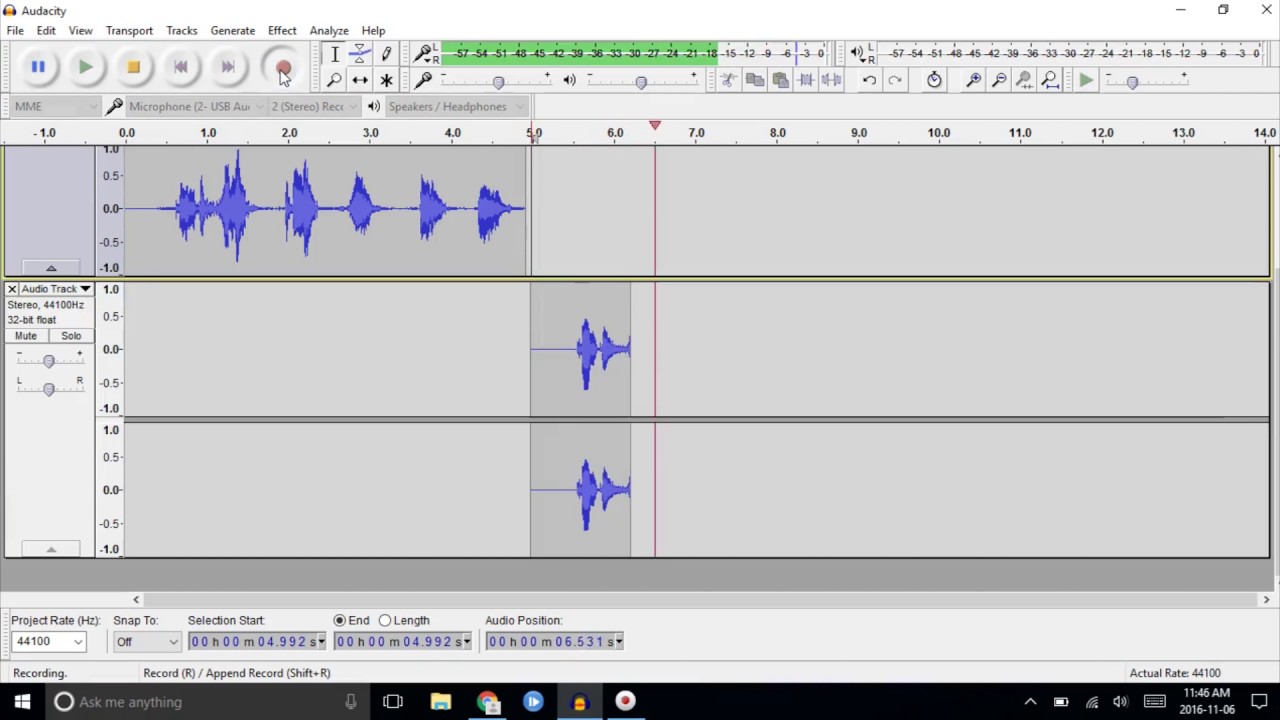
Step 2: Import the Song into Audacity
Now that you have Audacity installed on your computer, it’s time to import the song you want to bass boost. Follow these steps:
- Launch Audacity by double-clicking the application icon.
- Click on “File” in the top menu bar and select “Open” from the dropdown menu.
- Navigate to the location of the song file on your computer and select it.
- Click on the “Open” button.
After following these steps, the song will be imported into Audacity, and you will be able to see the waveform of the audio in the main editing window. Take a moment to familiarize yourself with the various controls and options available in Audacity’s interface.
By default, Audacity will display the entire song in the editing window. If you want to work on a specific section of the song, you can use the selection tools in Audacity to choose the desired portion.
Now that you have successfully imported the song into Audacity, it’s time to move on to the next step: selecting the section of the song that you want to bass boost.
Step 3: Select the Song Section to Bass Boost
Once you have your song imported into Audacity, it’s time to select the specific section you want to bass boost. Here’s how you can do it:
- Click and drag your cursor over the waveform to highlight the section of the song you want to bass boost.
- Use the zoom tool to zoom in on the selected section for precise editing. You can find this tool in the toolbar at the top of the Audacity window.
- Ensure that you have selected the desired part of the song by listening to it using the playback controls in Audacity.
It’s important to choose a section of the song that contains prominent bass frequencies. This will allow you to achieve the best results when applying the bass boost effect.
Remember, you can always make adjustments to the selected section later if needed. Audacity provides various editing tools and functions to modify your selection, so don’t worry if you’re not satisfied with the initial choice.
Now that you have selected the section of the song to bass boost, let’s move on to the next step: applying the equalization effect to enhance the bass frequencies.
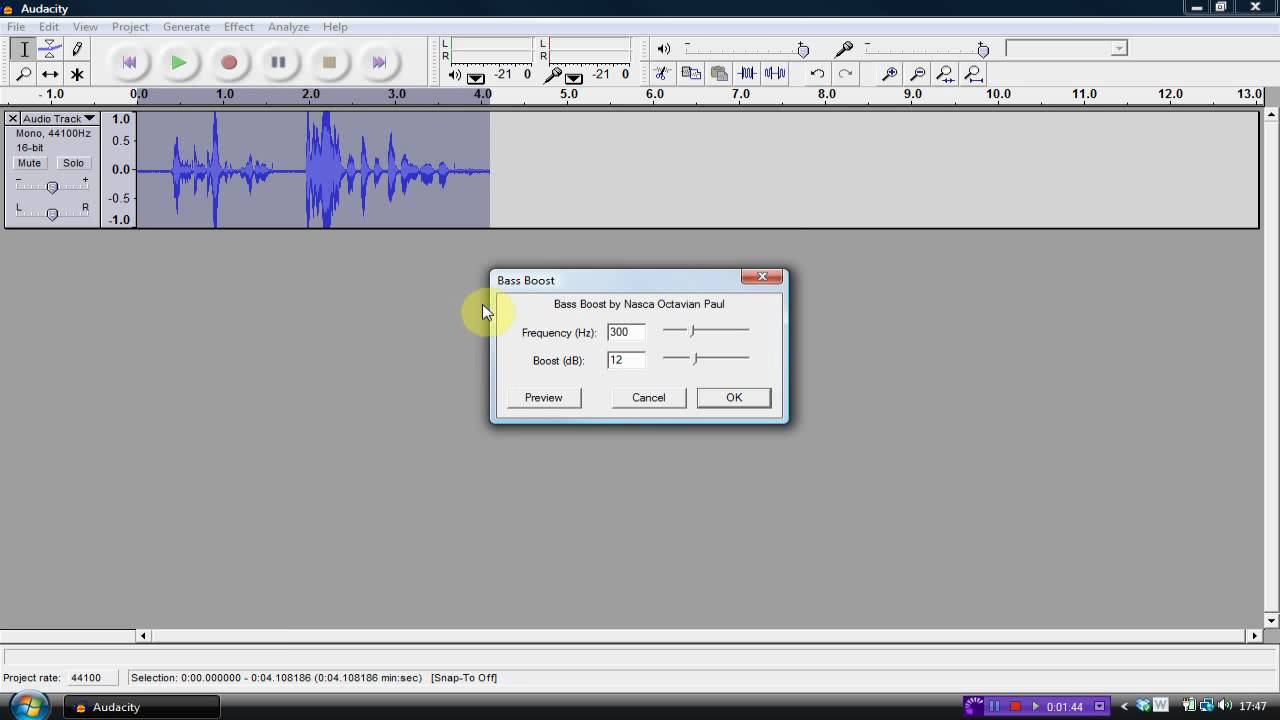
Step 4: Apply Equalization Effect
Now that you have selected the section of the song you want to bass boost, it’s time to apply the equalization effect in Audacity. The equalization effect allows you to adjust the frequencies of the audio to enhance the bass. Follow these steps:
- Select the entire waveform by clicking anywhere on it.
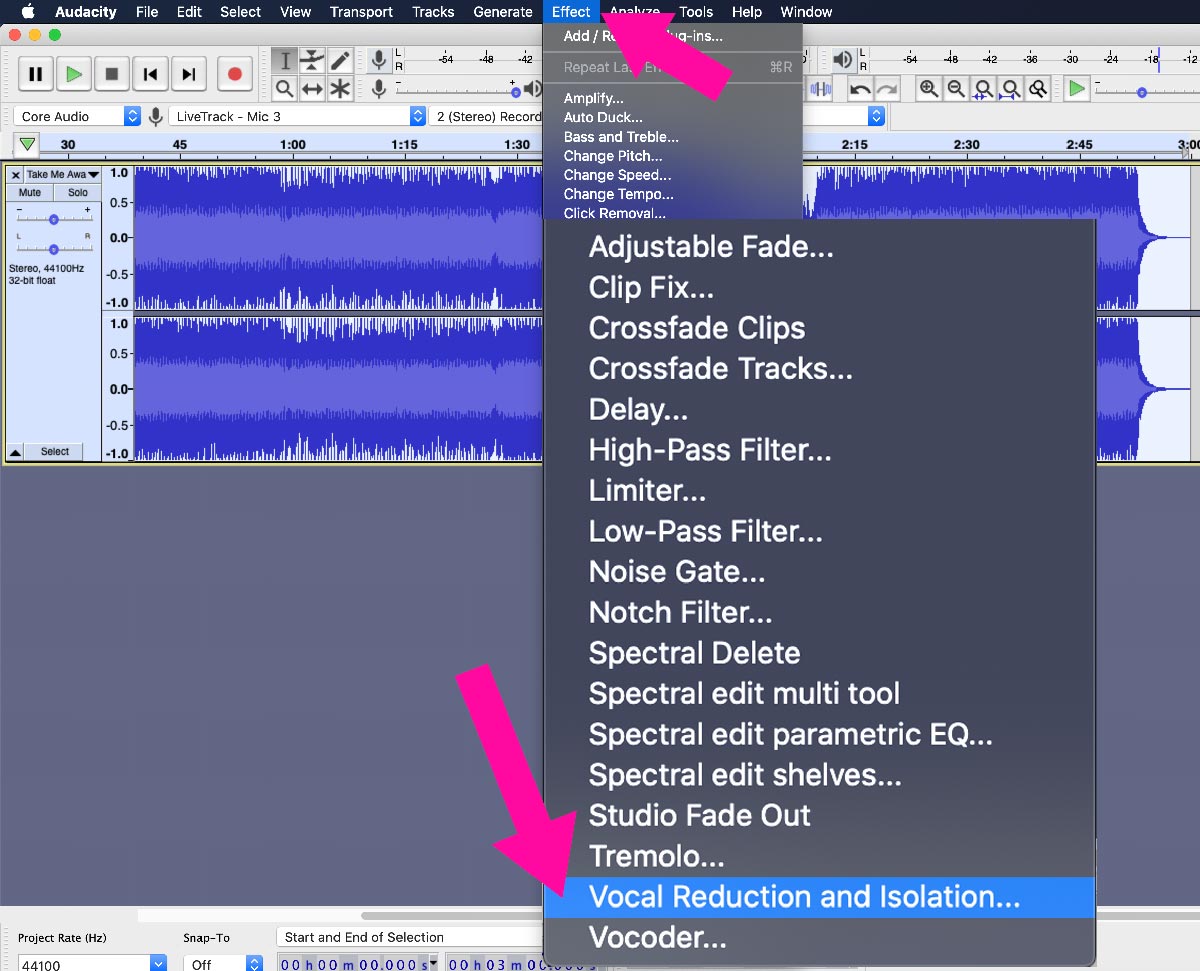
- Go to the top menu bar and click on “Effect”. From the dropdown menu, select “Equalization”.
- In the Equalization window that appears, you will see a graph representing the frequencies of the audio.
- Locate the default EQ curve and click on it.
You should now see some points on the graph. These points represent the equalization adjustments that can be made to the audio. By default, Audacity provides a basic equalization curve.
To enhance the bass frequencies, you’ll want to focus on the lower end of the graph. Click and drag the points on the left side of the graph upwards to boost the bass frequencies. Be careful not to overdo it, as excessive boosting can distort the audio.
As you make adjustments, you can preview the changes by clicking the “Preview” button in the Equalization window. This will allow you to listen to how the bass is being affected in real-time.
Experiment with different adjustments until you achieve the desired bass boost effect. Remember to strike a balance between enhancing the bass and maintaining a natural sound. Fine-tuning the equalization settings is crucial for achieving optimal results.
Now that you have applied the equalization effect to enhance the bass frequencies, let’s move on to the next step: adjusting the bass frequencies to further refine the bass boost.
Step 5: Adjust the Bass Frequencies
After applying the equalization effect in Audacity to enhance the bass frequencies, you may find it beneficial to further adjust the bass frequencies to refine the bass boost effect. Here’s how you can do it:
- Locate the bass frequencies on the equalization graph. These are typically the lower frequencies represented on the left side of the graph.
- Click and drag the points associated with the bass frequencies to fine-tune the boost.
- Listen to the changes as you make adjustments. Use your ears as your guide and aim for a balanced and natural-sounding bass.
- Consider making additional adjustments to other frequencies as well, if necessary. This will help maintain an overall balanced sound.
While adjusting the bass frequencies, it’s essential to keep in mind that excessive boosting can lead to distortion and a lack of clarity in the audio. Strive for a bass boost that complements the original song and enhances its overall impact, rather than overpowering other elements.
Remember that every song is unique, and what works well for one may not work for another. Take the time to listen critically and make small adjustments as needed to achieve the desired bass boost result.
Once you’re satisfied with the bass frequency adjustments, it’s time to move on to the next step: previewing and fine-tuning the bass boost effect.
Step 6: Preview and Fine-tune the Bass Boost
After adjusting the bass frequencies in Audacity, it’s essential to preview the bass boost effect and fine-tune it for optimal results. Here’s how you can do it:
- Click on the Play button in Audacity to listen to the bass-boosted section of the song.
- Pay close attention to the bass frequencies. Assess whether the bass boost is enhancing the overall sound without overpowering other elements.
- If necessary, make additional adjustments to the equalization settings or the bass frequencies to achieve the desired balance.
- Continuously toggle between the original and bass-boosted versions of the song to compare the differences.
- Take breaks and listen to the bass-boosted section with fresh ears to ensure the changes are accurately reflected in the final result.
Keep in mind that the goal of bass boosting is to enhance the listening experience and create a fuller, richer sound. The bass frequencies should complement the original song, rather than overpowering it. It’s crucial to maintain a balanced mix and ensure that the bass boost doesn’t distract from other crucial elements of the music.
Remember that personal preference plays a significant role in bass boosting. Experiment with different settings and make adjustments until you achieve the desired bass boost effect that suits your taste and complements the song.
Once you’re satisfied with the bass boost settings, it’s time to move on to the final step: exporting the bass-boosted song.
Step 7: Export the Bass Boosted Song
After fine-tuning and perfecting the bass boost effect in Audacity, it’s time to export the bass-boosted version of the song. Follow these simple steps:
- Ensure that the entire song or the specific section you want to export is selected in Audacity.
- Go to the top menu bar and click on “File”. From the dropdown menu, select “Export” and then choose the desired audio file format, such as MP3 or WAV.
- Choose a suitable location on your computer to save the bass-boosted song.
- Give the file a relevant name to differentiate it from the original song.
- Adjust any additional export settings, such as bitrate or quality, if required.
- Click on the “Save” button to export the bass-boosted song.
Depending on the length of the song and your computer’s processing power, the export process may take a few moments. Once the export is complete, you will have a new file that contains the bass-boosted version of the song.
Listen to the exported file to ensure that the bass boost effect has been accurately maintained. Take note of any final adjustments you may want to make for future reference.
Congratulations! You have successfully bass boosted your song using Audacity. Now you can enjoy your favorite songs with enhanced bass and a more immersive listening experience.
Remember, mastering the art of bass boosting takes practice and experimentation. Don’t be afraid to try different techniques and settings to achieve the desired results. With time and experience, you’ll become more proficient in bass boosting songs to suit your personal preferences and style.
Now go ahead and share your bass-boosted creations with your friends or listeners and let the deep, rumbling bass take them on an unforgettable musical journey!
Conclusion
Bass boosting songs using Audacity can significantly enhance the audio experience, providing a deeper, more immersive sound. Whether you’re a music producer, DJ, or simply an avid music lover, knowing how to manipulate the bass frequencies can take your favorite songs to the next level.
In this article, we have provided a comprehensive step-by-step guide on how to bass boost songs using Audacity. From downloading and installing the software to exporting the final bass-boosted version of the song, we have covered each essential aspect of the process.
By following the steps outlined in this guide, you can easily import your favorite songs into Audacity, select specific sections to bass boost, and apply the equalization effect to enhance the bass frequencies. Through careful adjustment and fine-tuning, you can achieve a balanced and natural-sounding bass boost for an enhanced listening experience.
Remember, bass boosting is an art that requires practice and experimentation. It’s crucial to strike a balance, ensuring that the bass frequencies complement the original song without overpowering other elements. Take the time to listen critically and make small adjustments as needed to achieve the desired results.
Now that you have the knowledge and tools to bass boost songs, why not explore and unleash your creativity? Experiment with different songs, genres, and equalization settings to create unique and personalized bass-boosted versions that resonate with your personal taste and style.
So go ahead, grab your favorite songs, fire up Audacity, and dive deep into the world of bass boosting. Elevate your audio experience, feel the music, and enjoy the powerful impact of a well-balanced, rumbling bass.