Home>Production & Technology>Audio Interface>How To Calibrate Your Daw To Your Audio Interface
Audio Interface
How To Calibrate Your Daw To Your Audio Interface
Modified: February 22, 2024
Learn how to calibrate your DAW to your audio interface for optimal audio recording and mixing. Find step-by-step instructions and tips to ensure accurate sound reproduction.
(Many of the links in this article redirect to a specific reviewed product. Your purchase of these products through affiliate links helps to generate commission for AudioLover.com, at no extra cost. Learn more)
Table of Contents
- Introduction
- Understanding the DAW and Audio Interface Relationship
- Checking Compatibility Between your DAW and Audio Interface
- Setting Up Your DAW for Calibration
- Adjusting Buffer and Sample Rate Settings
- Configuring Input and Output Channels
- Calibrating Input Levels
- Calibrating Output Levels
- Testing and Fine-Tuning the Calibration
- Troubleshooting Tips
- Conclusion
Introduction
Welcome to the world of audio interfaces and digital audio workstations (DAWs). If you’re a musician, podcaster, or sound engineer, you’ve likely encountered these essential tools for recording and producing music or other audio projects. Understanding how to calibrate your DAW to your audio interface is crucial for achieving optimal sound quality and performance.
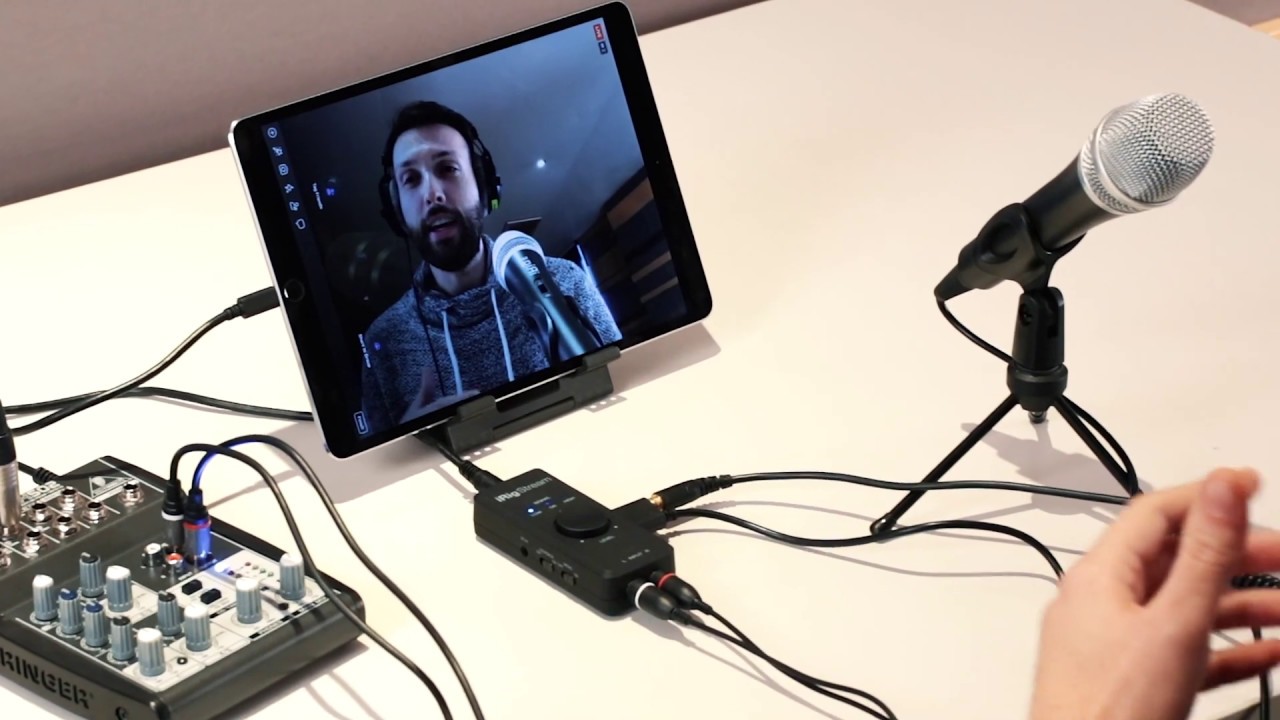
An audio interface serves as the bridge between your computer and other audio devices such as microphones, instruments, and studio monitors. It converts analog signals into digital data that your DAW can process and vice versa. Your DAW, on the other hand, is the software you use to record, edit, and mix your audio.
Calibrating your DAW to your audio interface ensures that they work harmoniously together, providing accurate audio representation and minimizing latency issues. This calibration process involves fine-tuning various settings and levels to achieve the best possible sound quality for your recordings and playback.
In this article, we will guide you through the steps required to calibrate your DAW to your audio interface effectively. From checking compatibility to adjusting buffer settings and calibrating input and output levels, we’ll cover all the essential aspects to help you achieve optimal audio performance.
Navigating the world of audio interfaces and DAWs can feel overwhelming, especially for beginners. But fear not! By following these guidelines, you’ll be well on your way to setting up your audio production environment with confidence and precision.
So let’s dive in and explore how to calibrate your DAW to your audio interface, ensuring every note, word, or sound effect comes alive with pristine clarity and accuracy.
Understanding the DAW and Audio Interface Relationship
Before we delve into the calibration process, it’s crucial to understand the relationship between your DAW and audio interface. Both are integral components of your overall recording and production setup.
Your DAW, or digital audio workstation, is the software that allows you to record, edit, mix, and arrange audio files on your computer. It provides a virtual workspace where you can manipulate and shape your audio recordings, add effects, and create a professional-sounding mix. Popular DAWs include Pro Tools, Logic Pro, Ableton Live, and FL Studio, among others.
An audio interface, on the other hand, acts as the intermediary between your computer and other audio devices. It converts the analog signals from microphones, instruments, and other audio sources into digital data that your DAW can process. It also handles the conversion of digital audio signals back into analog form for playback through headphones or speakers.
The DAW and audio interface work in tandem to capture and reproduce audio with accuracy and fidelity. The audio interface acts as the physical interface, providing the necessary input and output connections for your microphones and speakers, while the DAW handles the digital processing and manipulation of the audio signals.
When properly calibrated, the DAW and audio interface will work seamlessly together, ensuring low-latency recording, accurate monitoring, and high-quality audio playback. Calibration involves matching the settings and levels of your DAW to the capabilities and specifications of your audio interface.
It’s essential to note that not all audio interfaces are compatible with all DAWs. Therefore, before diving into the calibration process, you need to ensure that your chosen audio interface is supported by your DAW. Check the manufacturer’s website or the DAW’s official documentation for a list of compatible audio interfaces.
Understanding the relationship between your DAW and audio interface is vital for effectively calibrating and optimizing your recording and production setup. So let’s move on to the next section, where we’ll explore how to check compatibility between your DAW and audio interface.
Checking Compatibility Between your DAW and Audio Interface
Before you can proceed with calibrating your DAW to your audio interface, it’s crucial to ensure compatibility between the two. Not all audio interfaces are compatible with all DAWs, so it’s essential to check if your chosen interface is supported by your DAW software.
The first step is to visit the manufacturer’s website of your audio interface and look for a list of supported DAWs. They will typically provide a compatibility chart or a list of tested and verified DAWs that work seamlessly with their interface. Make sure your DAW is included in this list before proceeding.
If you can’t find any information on the manufacturer’s website, you can check the official documentation or support resources of your DAW. Most DAWs provide a list of compatible audio interfaces on their website or in their user manuals. Look for a section that discusses supported hardware or system requirements.
In some cases, certain audio interfaces may require specific drivers or software to function properly with your DAW. Make sure to download and install the appropriate drivers or software provided by the manufacturer. These drivers facilitate communication between your DAW and the audio interface, ensuring proper functionality and compatibility.
It’s worth mentioning that compatibility is not limited to the operating system (OS) you’re using. While most audio interface manufacturers provide drivers for both Windows and macOS, it’s still essential to check if your specific DAW version is supported by your chosen audio interface on your preferred OS. Always check the system requirements and compatibility information provided by both the audio interface manufacturer and the DAW software developer.
By taking the time to check compatibility between your DAW and audio interface, you can ensure a smooth and hassle-free calibration process. It guarantees that the software and hardware will work in sync, allowing for seamless recording, monitoring, and playback of your audio projects.
Once you’ve confirmed compatibility, you’re ready to move on to the next section, where we’ll explore the steps for setting up your DAW for calibration.
Setting Up Your DAW for Calibration
Now that you’ve confirmed the compatibility between your DAW and audio interface, it’s time to set up your DAW for calibration. This involves configuring various settings within your DAW to match the specifications of your audio interface and optimize its performance.
Here are the steps to follow:
- Launch your DAW: Open your DAW software on your computer.
- Select audio interface as the input/output device: In your DAW’s settings or preferences menu, locate the audio device settings. Choose your audio interface as the input and output device. This ensures that your DAW communicates with your audio interface for recording and playback.
- Set the sample rate: Sample rate determines the number of samples per second that your audio interface records and plays back. Set the sample rate within your DAW’s settings to match the supported sample rate of your audio interface. Common sample rates are 44.1kHz or 48kHz, but some interfaces support higher sample rates for higher audio quality.
- Adjust buffer size: The buffer size determines the amount of audio data your computer processes at a time. A smaller buffer size reduces latency but requires more processing power. Conversely, a larger buffer size increases latency but reduces the strain on your computer’s CPU. Find a balance that suits your needs and your computer’s capabilities.
- Enable low-latency mode: Many DAWs have a low-latency mode, which prioritizes real-time monitoring during recording to minimize latency. Enable this mode if available.
- Configure MIDI settings (if applicable): If you use MIDI devices like keyboards or controllers, configure the MIDI settings within your DAW. This includes selecting the MIDI input and output devices and assigning MIDI channels.
These steps may vary slightly depending on the DAW software you’re using, but the general principles remain the same. Consult your DAW’s official documentation for specific instructions on setting up the software.
Once you have completed these initial setup steps, your DAW will be ready to calibrate further according to the specifications of your audio interface. In the next sections, we’ll explore how to adjust buffers, configure input and output channels, and calibrate the input and output levels of your DAW and audio interface, ensuring optimal audio performance.
Adjusting Buffer and Sample Rate Settings
When calibrating your DAW to your audio interface, it’s crucial to optimize the buffer and sample rate settings. These settings affect the latency and audio quality of your recordings and playback.
The buffer size determines the amount of audio data that your computer processes in one go. A smaller buffer size reduces latency but puts more strain on your computer’s CPU. A larger buffer size increases latency but reduces the strain on your CPU. Finding the right buffer size will depend on your computer’s capabilities and your specific needs.
To adjust the buffer size, follow these steps:
- Open your DAW’s settings: Locate the audio settings or preferences menu in your DAW software.
- Find the buffer size option: Look for the buffer size or latency settings within the audio device preferences.
- Experiment with different buffer sizes: Start with a medium buffer size and test the latency by recording and monitoring audio. Gradually decrease the buffer size until you reach the lowest possible latency without encountering audio glitches or dropouts.
- Test your buffer size: Once you’ve settled on a buffer size, test it by recording and playing back audio to ensure smooth performance. Fine-tune the buffer size if needed.
The sample rate refers to the number of samples per second that your audio interface records and plays back. It determines the frequency range that can be accurately captured and reproduced. Most audio interfaces support sample rates of 44.1kHz or 48kHz, which are suitable for general music production purposes.
To adjust the sample rate, follow these steps:
- Access your DAW’s settings menu: Locate the audio device settings or preferences within your DAW.
- Navigate to the sample rate option: Look for the sample rate settings and choose the appropriate rate for your audio interface.
- Select the desired sample rate: Choose the sample rate supported by your audio interface, typically 44.1kHz or 48kHz.
It’s worth noting that higher sample rates (such as 96kHz) may be supported by some audio interfaces, but they require more processing power and storage space. Unless you specifically require higher sample rates for your project, using the standard 44.1kHz or 48kHz is usually sufficient.
By adjusting the buffer and sample rate settings in your DAW to match your audio interface’s specifications, you can achieve optimal latency and audio quality. In the next sections, we’ll explore how to configure input and output channels and calibrate the input and output levels of your DAW and audio interface.
Configuring Input and Output Channels
Configuring the input and output channels in your DAW is a crucial step in calibrating your audio interface. It allows you to properly route audio signals to and from your interface, ensuring smooth recording and playback.
Here’s how you can configure input and output channels:
- Access your DAW’s settings or preferences: Open the audio settings or preferences menu in your DAW.
- Select input and output devices: Choose your audio interface as the input and output device in the audio device settings.
- Enable the desired input channels: Depending on your audio interface, you may have multiple input channels available. Enable the specific channels you plan to use, such as microphones or instruments connected to those inputs.
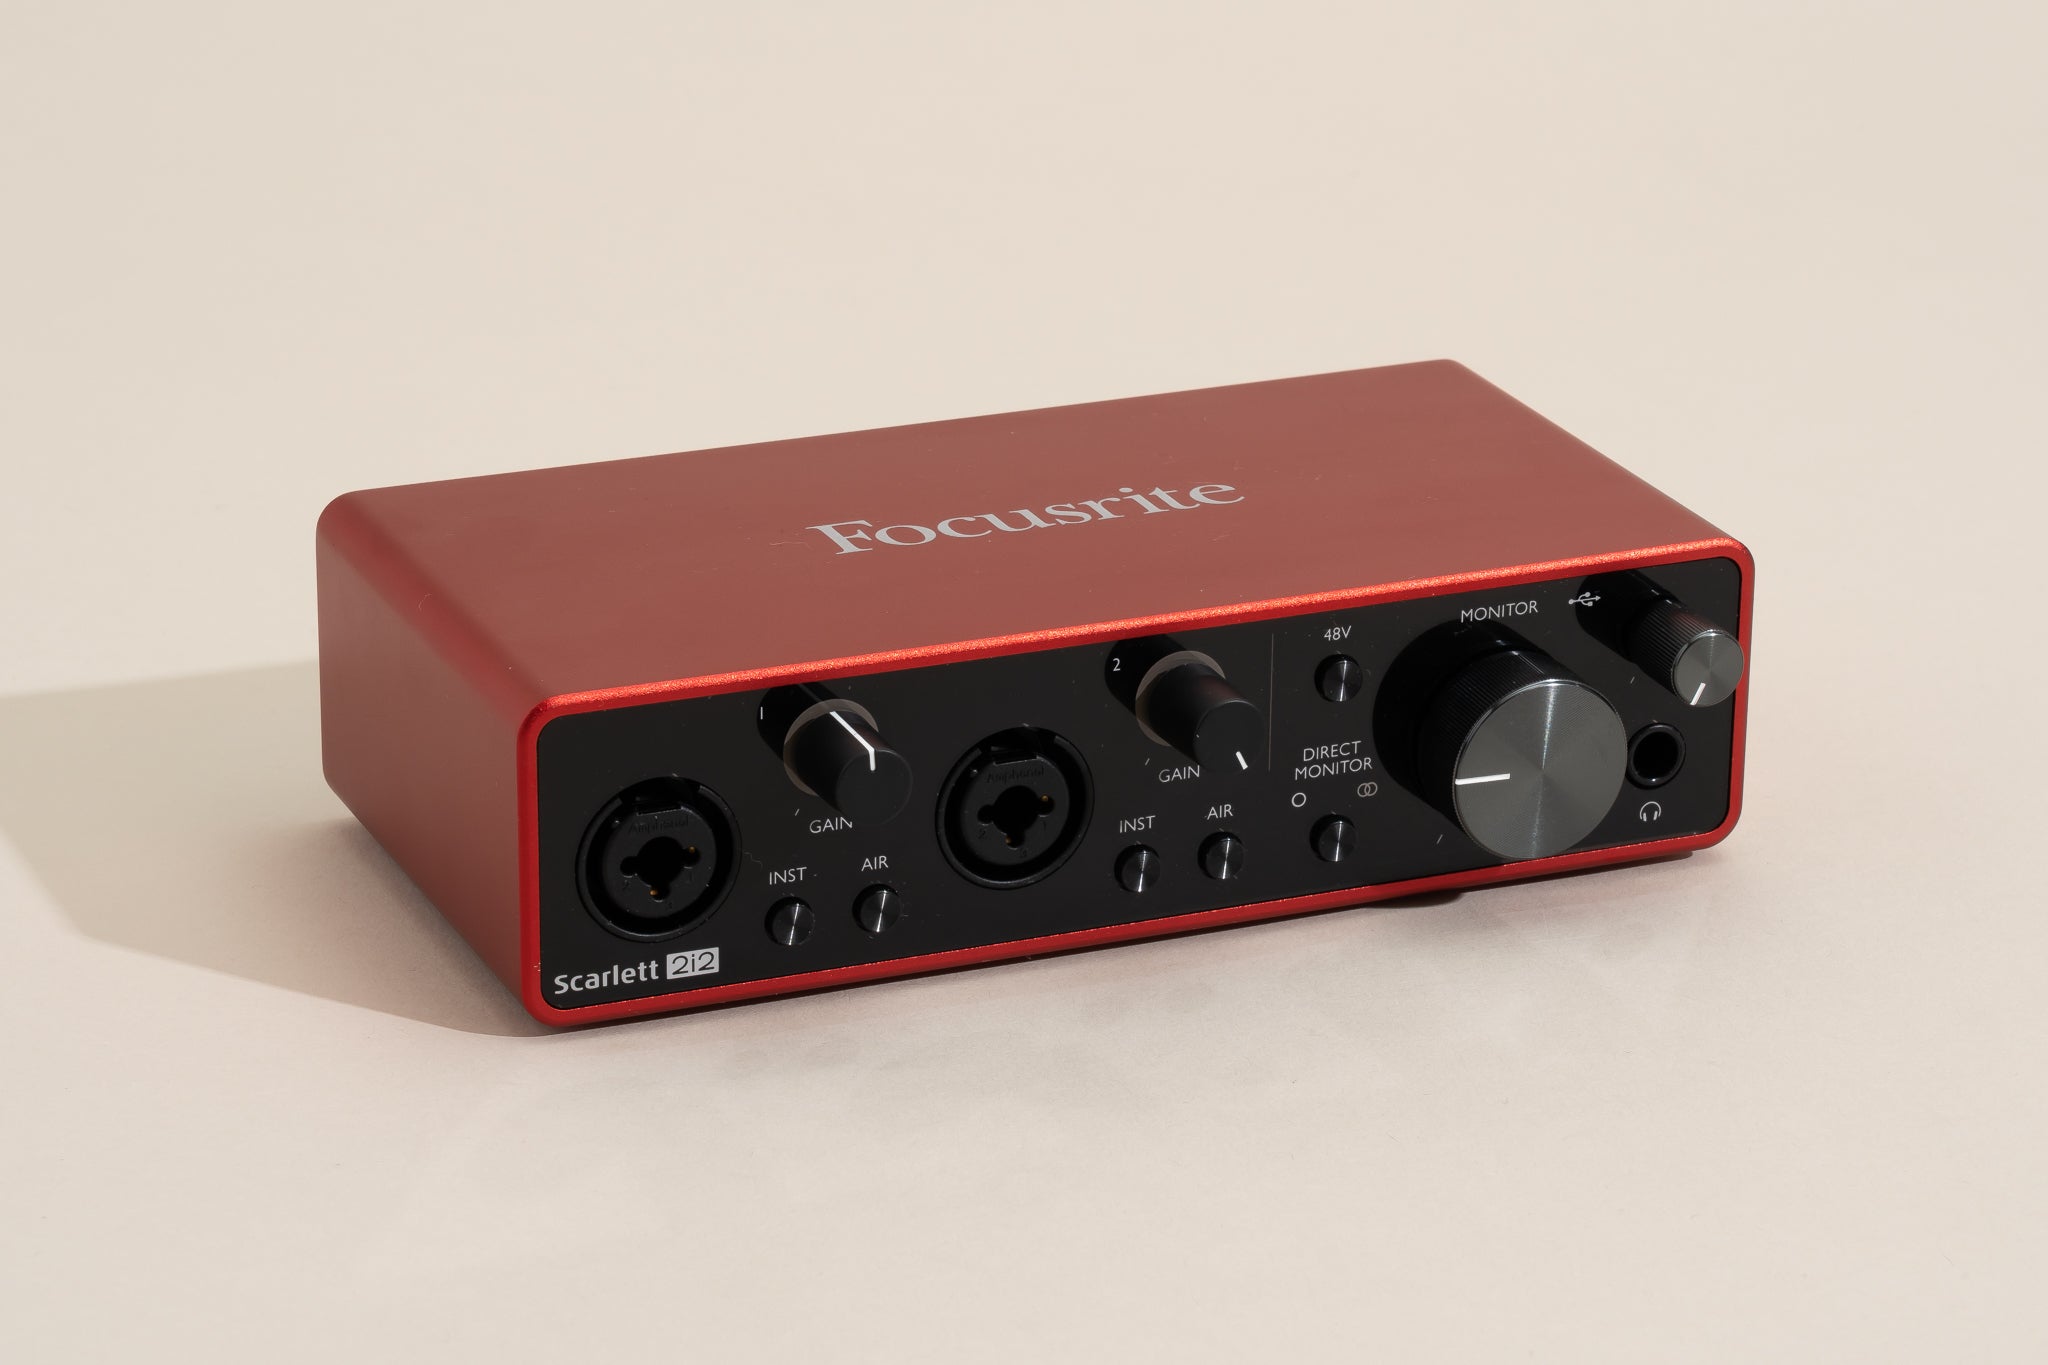
- Configure input channel settings: In the channel settings for each input, you can adjust parameters like gain, phantom power (for condenser microphones), and input type (mic/line/instrument). Set these parameters according to the specific requirements of your connected devices.
- Enable the desired output channels: If your audio interface has multiple output channels, enable the ones you need for monitoring or routing audio to external devices or headphones.
- Configure output channel settings: In the channel settings for each output, you can adjust parameters like volume, panning, and monitoring options. Set these parameters according to your monitoring preferences and the specific requirements of your connected devices.
Once you’ve configured the input and output channels, test the setup by connecting your audio devices and monitoring the audio signal. Ensure that the correct channels are receiving and sending the desired audio. Make any necessary adjustments to the channel settings to achieve the desired recording and monitoring setup.
Remember to label your input and output channels in your DAW for easy identification. This can help you stay organized and save time when working on complex projects.
By properly configuring the input and output channels in your DAW, you can take full advantage of the capabilities of your audio interface. In the next sections, we’ll explore how to calibrate the input and output levels to ensure optimal recording and playback performance.
Calibrating Input Levels
Calibrating the input levels of your audio interface is essential to ensure accurate and distortion-free recording. By properly setting the input levels, you can capture audio signals at an optimal level, preserving the dynamic range and avoiding clipping.
Here are the steps to calibrate the input levels:
- Select a test signal: Choose a test signal, such as a calibrated microphone or a tone generator, to send into your audio interface.
- Set the input gain: In your DAW or on the preamp of your audio interface, adjust the input gain control for the desired input channel. Start with the gain control at a low level.
- Monitor the input signal: Play the test signal and monitor the input level meter in your DAW. Gradually increase the input gain until the signal reaches an optimal level without clipping. Clipping occurs when the input level exceeds the maximum level that the interface can handle, resulting in distorted audio.
- Set the peak level: Aim to set the peak level of the input signal around -6 dB to -12 dB. This leaves headroom for any sudden peaks that may occur during recording, preventing clipping and preserving audio quality.
- Check for clipping: Once you have set the input levels, perform a test recording and examine the waveform in your DAW. Look for any signs of clipping, indicated by flat tops or squared-off peaks. If clipping occurs, reduce the input gain slightly and retest.
By calibrating the input levels of your audio interface, you can ensure optimal recording quality and avoid any unwanted distortion or clipping. It’s important to calibrate the input levels separately for each input channel you plan to use, as different sources may require different gain settings.
Keep in mind that the specific steps may vary depending on the audio interface and DAW software you’re using. Consult the user manual or documentation of your audio interface for any specific instructions or recommendations.
Now that we have calibrated the input levels, let’s move on to calibrating the output levels of your audio interface to ensure accurate monitoring and playback.
Calibrating Output Levels
Calibrating the output levels of your audio interface is crucial to ensure accurate monitoring and playback of your audio. Properly setting the output levels ensures that you hear the audio as intended, without distortion or loss of detail.
Here are the steps to calibrate the output levels:
- Choose a reference track: Select a professionally mixed and mastered track that you are familiar with and that represents the genre and sonic characteristics of your project.
- Play the reference track: Import the reference track into your DAW and play it back through your audio interface.
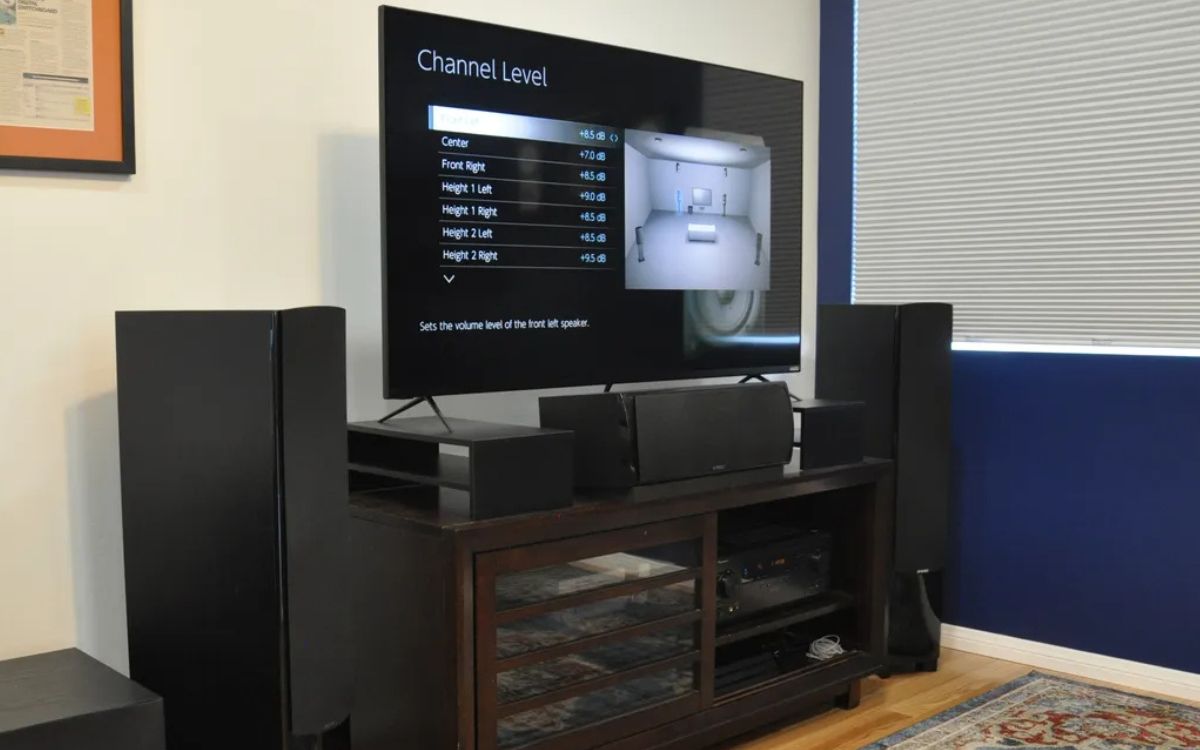
- Monitor the output signal: Use the meters in your DAW or on your audio interface to monitor the output level of the reference track.
- Adjust the output level: Gradually adjust the output level of your audio interface until it matches the perceived loudness of the reference track. The goal is to achieve a balanced level where the reference track doesn’t sound significantly louder or softer than your own project.
- Test with different audio sources: Play back different audio sources through your audio interface, such as recorded tracks or virtual instruments, to ensure that the output levels are consistent across different elements of your project.
- Check for distortion: Listen carefully to the output signal at various volume levels to ensure that there is no audible distortion or clipping. If you encounter distortion, lower the output level slightly until the distortion disappears.
It’s important to note that calibrating output levels is subjective to your listening environment and personal preferences. However, matching the perceived loudness to a well-mixed reference track can provide a starting point for achieving a balanced and cohesive mix.
Additionally, keep in mind that different audio sources in your project may require slight adjustments to their output levels to maintain a consistent balance. Trust your ears and make necessary adjustments to ensure an accurate representation of your audio.
By calibrating the output levels of your audio interface, you can ensure that your monitoring and playback accurately reflect the intended sound of your project. This helps you make informed decisions during mixing and mastering, resulting in a polished and professional-sounding final product.
Now that we have calibrated the output levels, let’s move on to testing and fine-tuning the calibration to ensure optimal performance.
Testing and Fine-Tuning the Calibration
Once you have calibrated the input and output levels of your audio interface, it’s important to test and fine-tune the calibration to ensure optimal performance. This involves testing the calibration with different audio sources, checking for any issues or inconsistencies, and making necessary adjustments.
Here are some steps to test and fine-tune the calibration:
- Play different audio sources: Test the calibration by playing various audio sources through your audio interface. This includes recorded tracks, virtual instruments, or any other audio elements in your project.
- Listen for balance and clarity: Pay attention to the balance of different elements in the mix. Is the vocal too loud or too soft compared to the instruments? Are certain frequencies overpowering others? Make note of any imbalances or clarity issues.
- Check the frequency response: Use frequency analyzer plugins or tools to analyze the frequency response of your audio interface. Ensure that there are no significant dips or peaks in the frequency range that could affect the accuracy of your monitoring.
- Test the dynamics: Play back music with a wide dynamic range to ensure that the audio interface accurately reproduces the dynamics of the music without any distortion or compression issues.
- Make necessary adjustments: Based on your tests, make any necessary adjustments to the input and output levels, EQ settings, or any other parameters within your DAW or audio interface to address any imbalances, clarity issues, or frequency response concerns.
- Repeat the testing process: After making adjustments, repeat the testing process to ensure that the changes have improved the overall performance and accuracy of your audio interface calibration.
Calibration is an ongoing process that may require periodic adjustments and refinements. As you work on different projects or encounter new audio sources, it’s important to reassess and fine-tune the calibration to maintain optimal performance.
By testing and fine-tuning the calibration, you can ensure that your audio interface accurately represents and reproduces the sound of your recordings, allowing you to make informed decisions during the mixing and mastering process.
In the next section, we’ll provide some troubleshooting tips to help you address common issues that may arise during the calibration process.
Troubleshooting Tips
While calibrating your audio interface and DAW, you may encounter some common issues or challenges. Here are some troubleshooting tips to help you overcome them:
- Latency: If you experience noticeable latency (delay) between playing and hearing the audio, try increasing the buffer size to reduce the strain on your computer’s CPU. Additionally, make sure your audio interface drivers are up to date.
- Audio glitches or dropouts: If you encounter audio glitches or dropouts during recording or playback, try increasing the buffer size or optimizing your computer’s performance by closing unnecessary applications and processes running in the background.
- Unbalanced audio: If you notice imbalances in the stereo field or between different audio sources, check your input and output channel settings to ensure proper routing and balance adjustments.
- Distorted or clipped audio: If your recordings or playback sound distorted or clipped, check the input and output levels. Make sure you’re not overdriving the input gain and adjust the output level to prevent clipping.
- Inconsistent volume levels: If you notice inconsistent volume levels between different audio sources, check the input and output level settings for each source and make necessary adjustments to achieve a balanced mix.
- Interference or noise: If you encounter unwanted noise or interference, ensure that you’re using high-quality cables and connections. Also, make sure your audio interfaces and other equipment are properly grounded.
- Compatibility issues: If you’re experiencing compatibility issues between your DAW and audio interface, ensure that you have the latest drivers and software updates installed. Check the manufacturer’s website for any official compatibility notes or troubleshooting guides.
Remember that troubleshooting can be a process of elimination. Start by checking the most common issues and gradually narrow down the causes until you identify and resolve the problem. Don’t hesitate to consult the user manuals, online forums, or support resources of your audio interface and DAW for further guidance.
By being proactive in troubleshooting and resolving issues, you can ensure a smooth and optimal calibration experience with your audio interface and DAW.
With troubleshooting tips in mind, let’s move on to wrap up this comprehensive guide to calibrating your DAW to your audio interface.
Conclusion
Calibrating your DAW to your audio interface is a crucial step in achieving optimal audio performance and ensuring accurate recording, monitoring, and playback. By following the steps outlined in this guide, you’ll be well-equipped to calibrate your setup with precision and confidence.
Understanding the relationship between your DAW and audio interface is key to a successful calibration process. Checking compatibility between the two ensures proper communication and functionality. Setting up your DAW involves adjusting buffer and sample rate settings to optimize latency and audio quality.
Configuring input and output channels allows you to route audio signals effectively, while calibrating input levels avoids distortion and clipping during recording. Calibrating the output levels ensures accurate monitoring and playback of your audio projects.
Testing and fine-tuning the calibration with different audio sources helps identify and address any issues, promoting balanced and clear audio. Troubleshooting tips are available to help you overcome common challenges that may arise during the calibration process.
Remember, calibration is an ongoing process that may require periodic adjustments as you work on different projects and encounter new audio sources. Trust your ears and make necessary refinements to maintain optimal performance.
By successfully calibrating your DAW to your audio interface, you’ll be well on your way to producing professional-quality recordings, mixes, and masters, allowing your creative vision to shine through with clarity and precision.