Home>Production & Technology>Audio Interface>How To Connect Mic To Garageband Audio Interface
Audio Interface
How To Connect Mic To Garageband Audio Interface
Modified: March 11, 2024
Learn how to connect a microphone to your Garageband audio interface. Discover the best techniques for seamless audio recording with an audio interface.
(Many of the links in this article redirect to a specific reviewed product. Your purchase of these products through affiliate links helps to generate commission for AudioLover.com, at no extra cost. Learn more)
Table of Contents
Introduction
Welcome to our comprehensive guide on how to connect a microphone to a GarageBand audio interface. If you’re a beginner in music production or podcasting, you might be wondering how to capture high-quality audio in your recordings. One essential piece of equipment you’ll need is an audio interface, which serves as the bridge between your microphone and your computer.
GarageBand, a popular digital audio workstation (DAW) software developed by Apple, offers a range of powerful features for recording and editing audio. By connecting your microphone to a compatible audio interface, you can take full advantage of GarageBand’s capabilities and produce professional-sounding tracks or podcasts.
However, the process of connecting a microphone to an audio interface can seem a bit daunting, especially for beginners. That’s why we have created this step-by-step guide to help you navigate the setup process and ensure a seamless connection.
In this article, we will cover everything you need to know about audio interfaces, choosing the right microphone for GarageBand, setting up the audio interface, connecting your microphone, configuring GarageBand for recording, testing the microphone connection, and troubleshooting common issues that may arise along the way. By the end of this guide, you’ll be equipped with the knowledge and confidence to connect your microphone to GarageBand like a pro.
So, let’s dive in and explore the wonderful world of audio interfaces and how they can enhance your recording experience in GarageBand!
Understanding Audio Interfaces
Before we dive into the technicalities of connecting a microphone to a GarageBand audio interface, let’s first understand what an audio interface is and why it’s crucial for recording high-quality audio.
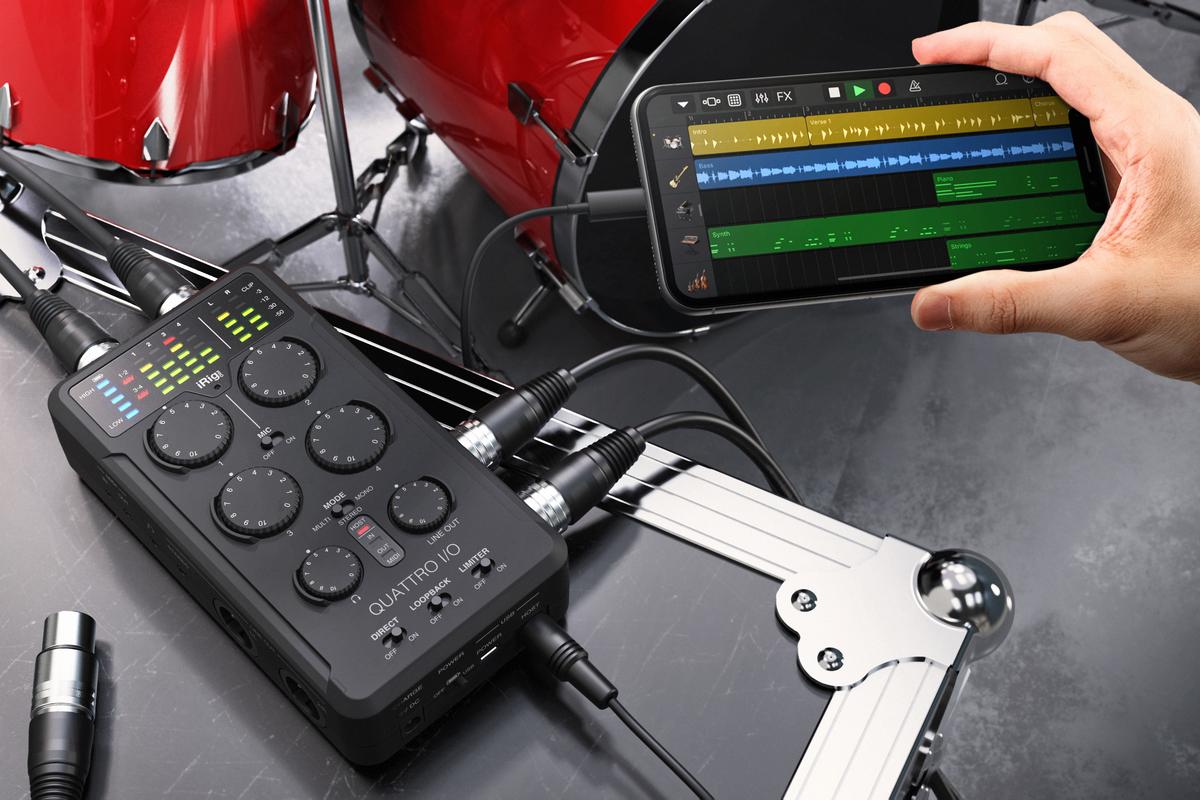
An audio interface is an external device that connects to your computer and serves as the intermediary between your microphone and your digital audio workstation (DAW), such as GarageBand. It essentially converts analog audio signals from your microphone into digital information that your computer can process and manipulate.
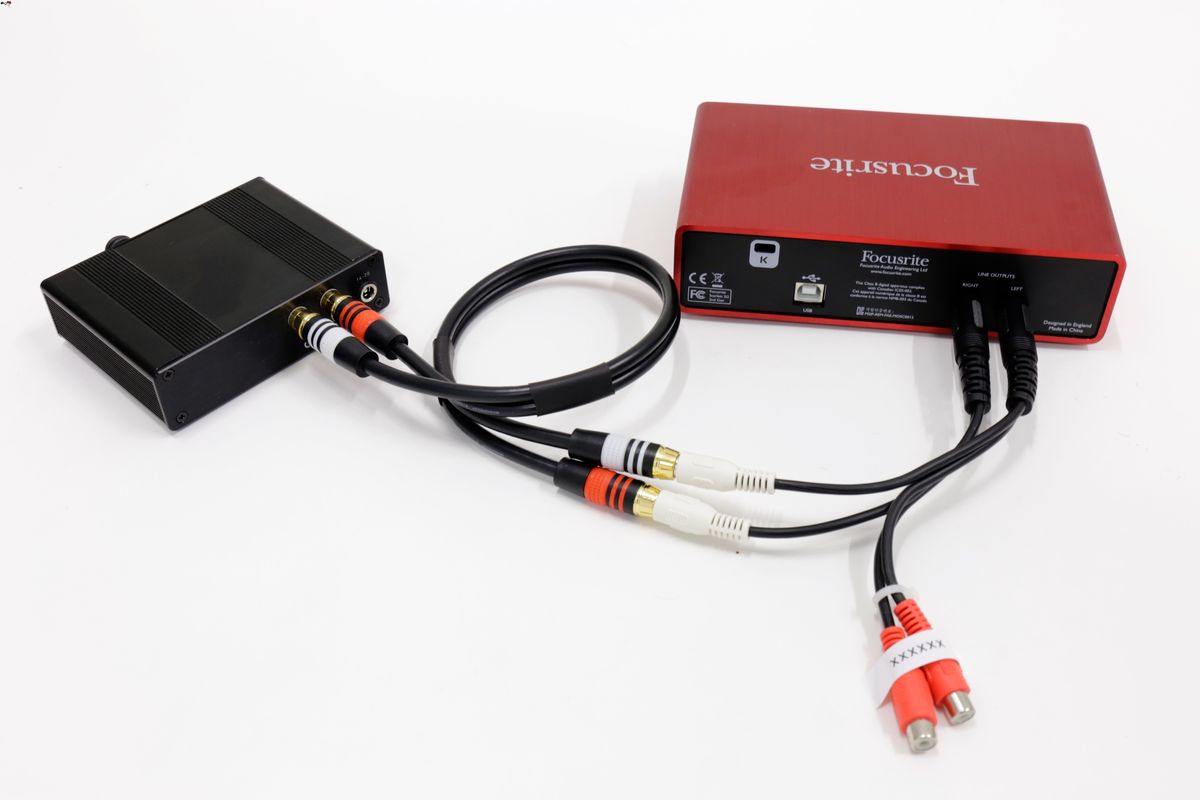
Audio interfaces come in various shapes and sizes, offering a range of input and output options to suit different recording needs. They typically offer XLR or TRS connectors for connecting microphones and instruments, as well as USB, Thunderbolt, or Firewire connections to link them to your computer.
One of the key components of an audio interface is the preamp. A preamp amplifies the weak microphone signal to a level that can be effectively recorded and processed by your computer. It also helps to maintain the integrity and clarity of the audio signal, minimizing noise and distortion.
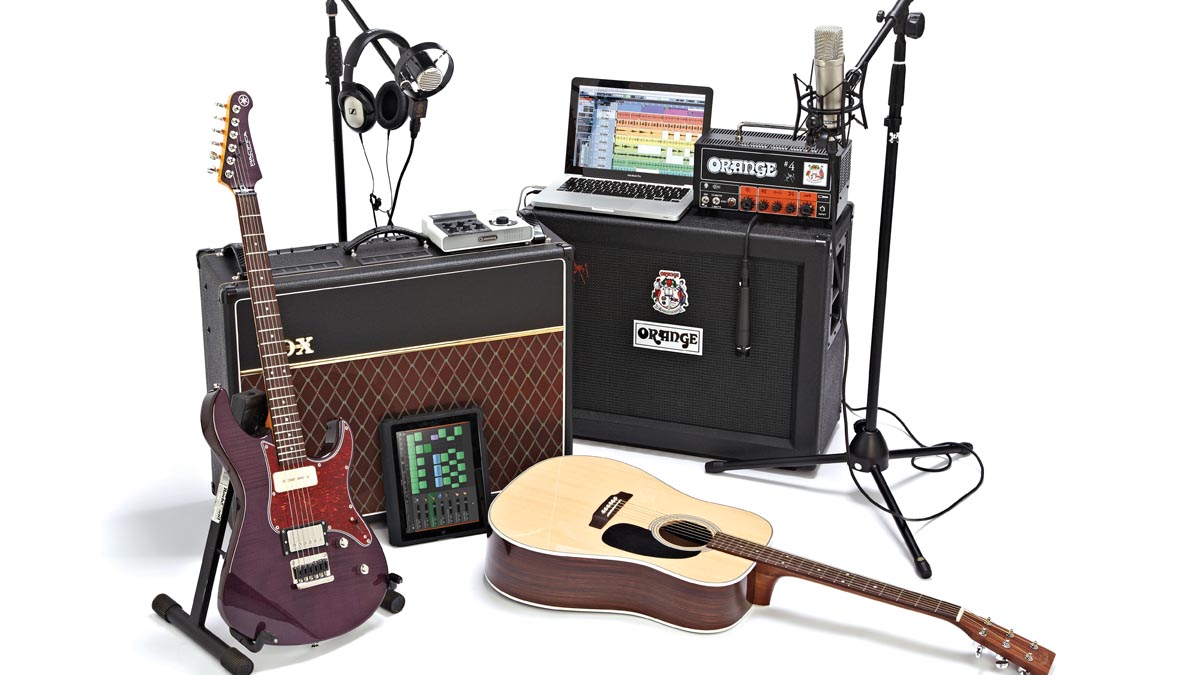
When choosing an audio interface for GarageBand, it’s important to consider the number of inputs and outputs you’ll need for your recording setup. If you plan to record multiple microphones simultaneously or connect instruments such as guitars or keyboards, you’ll want an audio interface with multiple inputs. Additionally, make sure to check for compatibility with your computer’s operating system.
Another aspect to consider is the audio interface’s sample rate and bit depth. The sample rate refers to the number of samples taken per second, while the bit depth determines the dynamic range and resolution of the recording. Higher sample rates and bit depths can result in more accurate and detailed audio, but they also require more processing power and storage space.
Overall, the audio interface acts as the bridge between your microphone and your computer, ensuring that your recordings are clean, professional, and free from latency issues. It’s an essential tool for any musician, podcaster, or content creator looking to take their audio production to the next level.
Choosing the Right Microphone for GarageBand
When it comes to recording audio in GarageBand, choosing the right microphone is crucial in capturing high-quality sound. There are several types of microphones available, each with its own strengths and suitable applications. Let’s explore some popular options:
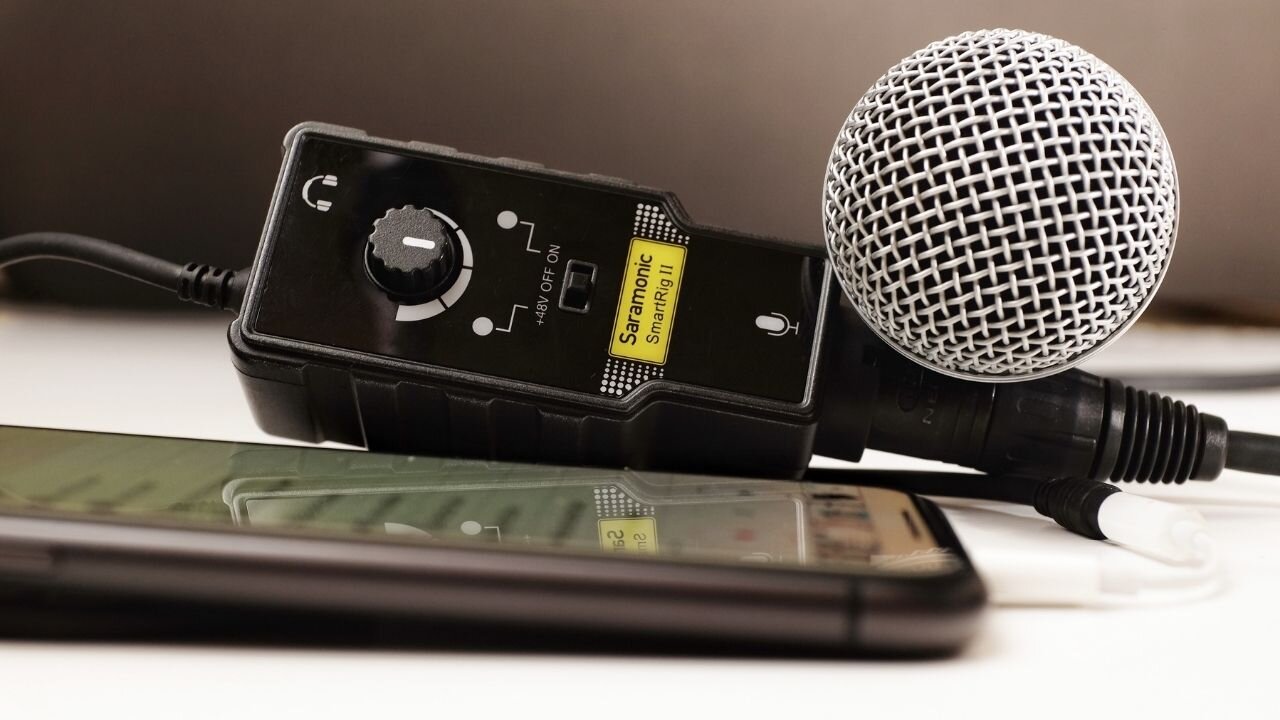
- Dynamic Microphones: Ideal for live performances and recording in noisy environments, dynamic microphones are rugged and can handle high sound pressure levels. They are commonly used for vocals, drums, and guitar amplifiers. They provide excellent isolation and minimal background noise.
- Condenser Microphones: Condenser microphones are known for their sensitivity, capturing fine details and providing a wide frequency response. They require phantom power, usually provided by the audio interface or an external power source. Condenser microphones are well-suited for recording vocals, acoustic instruments, and studio environments where low noise is important.
- Ribbon Microphones: Ribbon microphones offer a warm and vintage sound quality, often used for capturing the nuances of instruments like guitar amps, brass, and strings. They are delicate and require careful handling to avoid damage.
- Lavalier (or Lapel) Microphones: Lavalier microphones are small, clip-on microphones commonly used for interviews, presentations, and video recordings. They provide hands-free operation and can be discreetly placed on clothing.
- USB Microphones: USB microphones are convenient and beginner-friendly, as they can directly connect to your computer via USB. They are perfect for solo recordings, podcasting, and voiceovers.
When selecting a microphone for GarageBand, consider the specific requirements of your recording project, your budget, and the intended use of the microphone. Additionally, pay attention to the microphone’s polar pattern, which determines how it picks up sound from different directions. Common polar patterns include cardioid (focused on the front), omnidirectional (picks up sound from all directions), and bi-directional (picks up sound from the front and back).
Ultimately, the right microphone for GarageBand will depend on your personal preferences, the type of audio you plan to record, and the overall sound you aim to achieve. It’s worth experimenting with different microphones to find the best fit for your specific needs and artistic vision.
Setting Up the Audio Interface
Once you’ve chosen the right microphone for your GarageBand recordings, it’s time to set up your audio interface. Here’s a step-by-step guide to help you get started:
- Check Compatibility: Ensure that your audio interface is compatible with your computer’s operating system. Visit the manufacturer’s website to download any necessary drivers or software updates.
- Connect the Interface: Connect your audio interface to your computer using the provided USB, Thunderbolt, or Firewire cable. Make sure the audio interface is powered on and connected securely.
- Adjust Input and Output Levels: Use the gain knobs or sliders on your audio interface to set the input levels for your microphones or instruments. Aim for a healthy signal level without clipping or distortion.
- Configure Sample Rate and Buffer Size: Open GarageBand and go to the Preferences menu. Under the Audio/MIDI tab, select your audio interface and adjust the sample rate and buffer size settings according to your needs. Higher sample rates can offer better audio quality but may require more processing power.
- Mute or Disconnect Built-in Inputs: To avoid any audio interference or conflicts, deactivate or disconnect any built-in inputs or microphones on your computer. This will ensure that GarageBand routes audio exclusively through your chosen audio interface.
- Monitor with Headphones or Studio Monitors: Connect your headphones or studio monitors to the audio interface’s headphone or line output. This will allow you to monitor your recordings and playback with accuracy.
- Test Input and Output: Open a new project in GarageBand and select an audio track. Activate the record enable button for the track and start speaking or playing your instrument. Monitor the input levels to ensure that they are registering audio properly, and check the output to confirm that you can hear the playback through your headphones or monitors.
By following these steps and adjusting the settings as necessary, you should have your audio interface set up and ready to go in GarageBand. Make sure to consult the user manual or online resources provided by the manufacturer for any specific setup instructions related to your audio interface model.
Now that your audio interface is properly configured, it’s time to connect your microphone and start recording your audio projects in GarageBand with confidence!
Connecting the Microphone to the Audio Interface
Now that your audio interface is set up in GarageBand, it’s time to connect your microphone. Follow these simple steps to ensure a proper and secure connection:
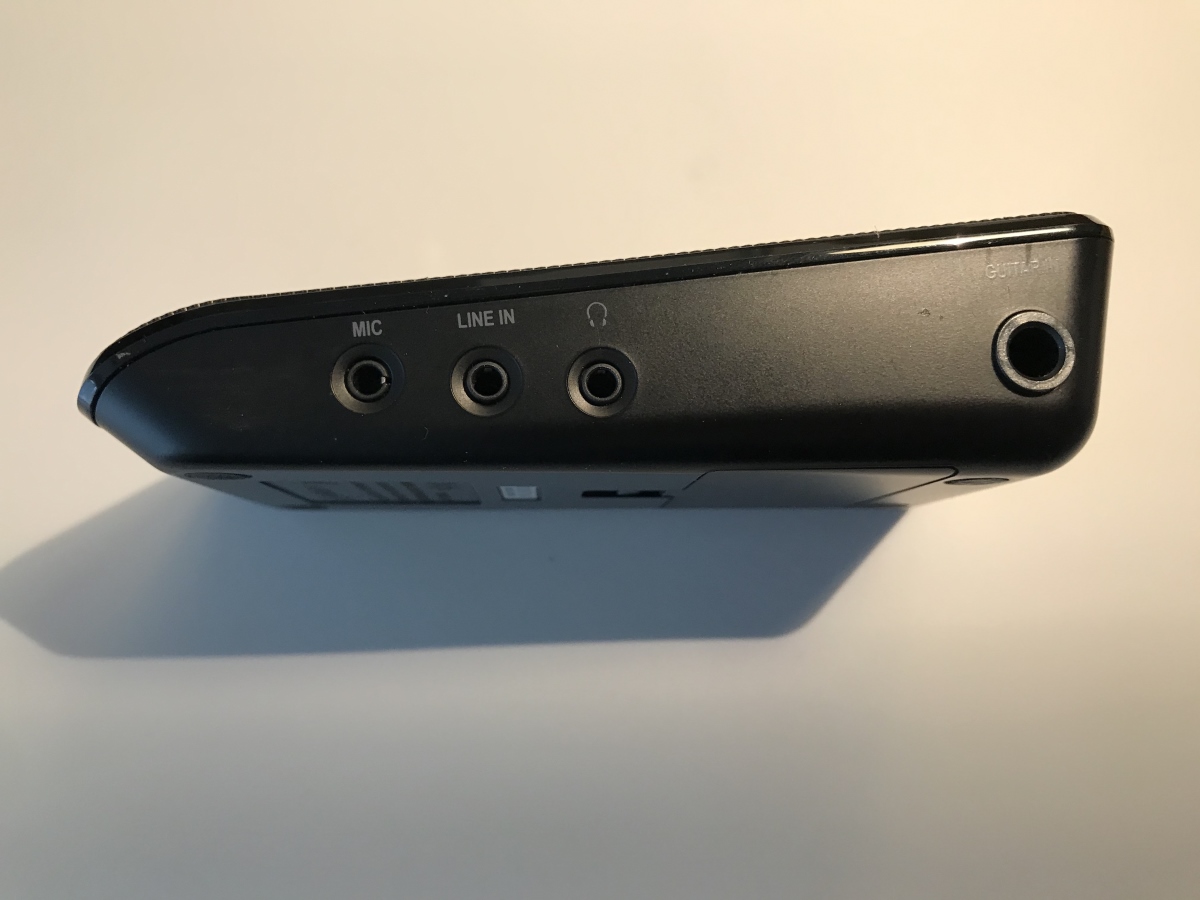
- Identify the Connector: Determine the type of connector on your microphone’s cable. Most microphones use XLR connectors, while others may have a 1/4-inch TRS or even a USB connector.
- Locate the Input: Find the corresponding input on your audio interface. It is usually labeled with a microphone or a symbol resembling an XLR connector.
- Connect the Cable: Plug one end of the microphone cable into the microphone itself, ensuring a firm connection. Then, connect the other end of the cable to the input on the audio interface. Make sure it is securely inserted, but be careful not to force it.
- Activate the Phantom Power (if required): If you are using a condenser microphone that requires phantom power, make sure to activate it on your audio interface. Phantom power provides the necessary voltage for the microphone to function properly. However, not all microphones require phantom power, so check the specifications of your microphone before enabling it.
- Adjust Gain and Levels: Use the gain knob or slider on the audio interface to adjust the input level for your microphone. Start with a low setting and gradually increase it until you achieve a proper signal level without distortion or clipping.
- Test the Connection: Open GarageBand and select an audio track. Monitor the input levels on the track while speaking or singing into the microphone. You should see the levels moving and registering sound. Make any necessary adjustments to the gain or input levels until you have a clean and balanced signal.
It’s worth mentioning that some audio interfaces may offer additional features, such as pad buttons or high-pass filters. These can help reduce distortion caused by excessive input levels or filter out unwanted low-frequency rumble. Familiarize yourself with the specific features and controls of your audio interface to take advantage of these options.
Remember to experiment with different microphone positions and gain settings to achieve the best sound for your recordings. It may take some trial and error to find the optimal setup for your voice or instrument, but with patience and perseverance, you will achieve the desired results.
Now that your microphone is successfully connected to your audio interface, you are ready to start capturing your performances and creating amazing audio content in GarageBand!
Configuring GarageBand for Recording
Once your microphone is connected to the audio interface, it’s time to configure GarageBand to optimize the recording settings. Follow these steps to ensure your GarageBand project is set up for recording:
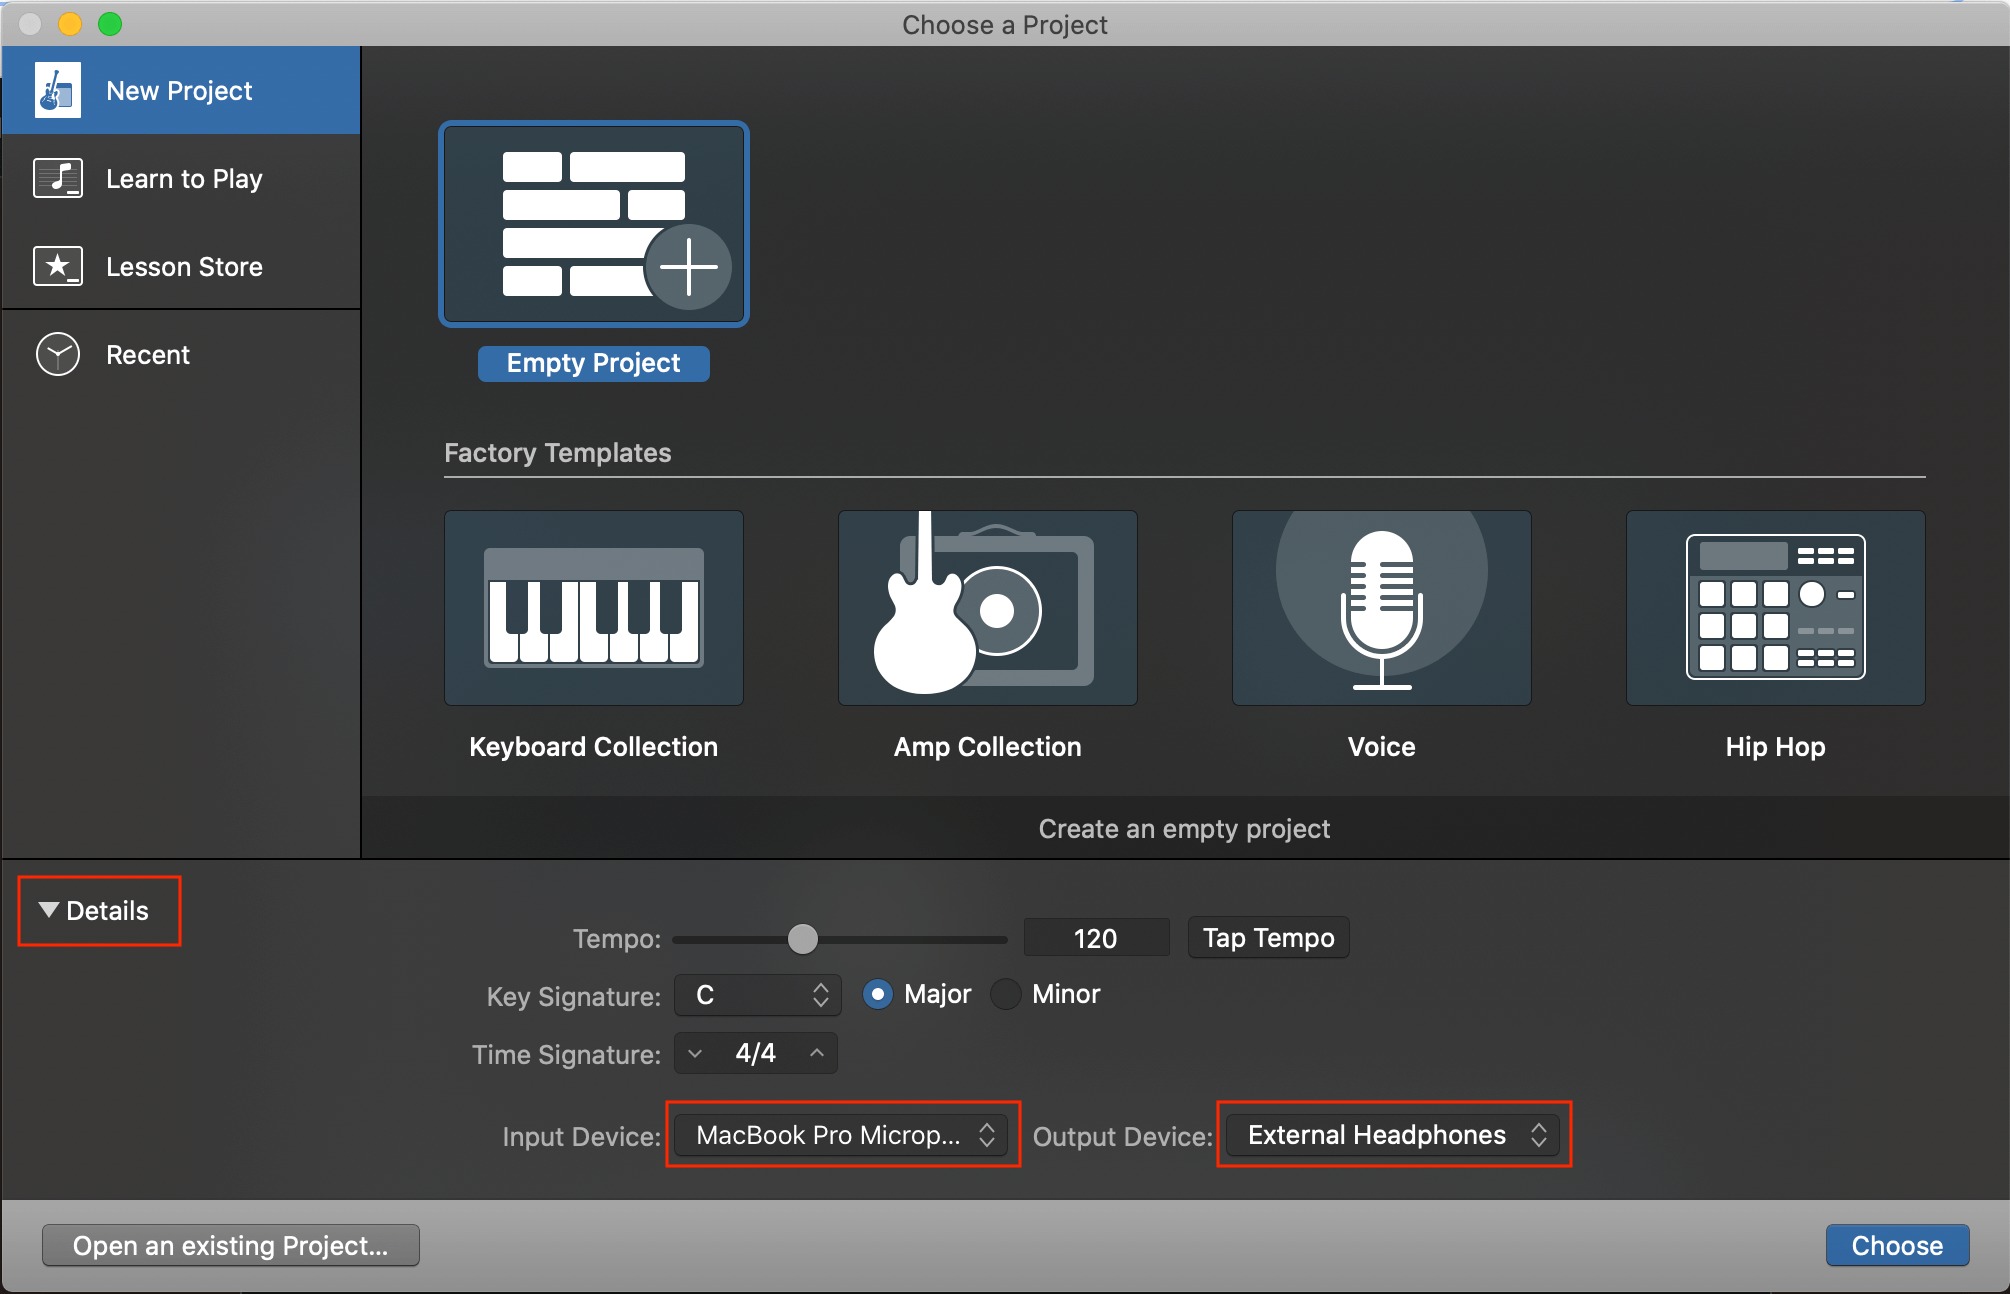
- Create a New Project: Open GarageBand and click on “New Project” or go to “File” > “New” to create a new project. Choose the appropriate project type based on your recording needs, such as “Voice” for vocals or “Empty Project” for instrumental recordings.
- Select Audio Track: In the GarageBand interface, click on the “+” button to add a new track. Choose “Audio” from the options presented. This will create a new track for recording your microphone input.
- Choose the Input Source: In the track settings, select the input source from the drop-down menu. Choose the input that corresponds to your audio interface and microphone connection.
- Set Input Monitoring: By default, GarageBand enables input monitoring, which allows you to hear the audio input in real-time. This is useful for monitoring your performance while recording. You can toggle input monitoring on or off by clicking the “I” icon on the track header.
- Enable Count-in and Metronome: To help you maintain timing and rhythm, GarageBand offers a count-in feature and a metronome. Go to “Control” > “Count-in” to activate the count-in option and select the desired number of bars before recording starts. Similarly, in the “Control” menu, enable the metronome to hear the click track while recording.
- Adjust Levels and Plugins: Use the track controls to adjust the input level and apply any desired audio effects or plugins. GarageBand offers a range of built-in plugins for EQ, compression, reverb, and more. Experiment with these tools to enhance the sound of your recordings.
- Set Recording Preferences: Go to “GarageBand” > “Preferences” > “Audio/MIDI” to access the recording preferences. Adjust the sample rate and buffer size settings based on your audio interface specifications and computer’s capabilities. Remember that higher sample rates result in better audio quality but may require more system resources.
- Enable Auto-Save and Backup: In the GarageBand preferences, make sure to enable auto-save and backup options to prevent data loss in case of any unexpected issues or crashes during recording sessions.
Once you have configured GarageBand to your liking, you are ready to start recording your audio. Make sure to perform some test recordings and ensure that the levels are balanced, the input signal is clean, and your microphone is picking up the desired sound.
Remember to save your GarageBand project regularly to avoid losing any valuable recordings. With GarageBand properly configured, you can fully focus on your performance without worrying about technical glitches.
Now that you have set up GarageBand for recording, it’s time to hit that record button and capture your musical ideas and performances with ease and precision!
Testing the Microphone Connection in GarageBand
Before you start recording your audio projects in GarageBand, it’s important to test the microphone connection to ensure everything is working properly. Follow these steps to test your microphone connection:
- Select an Audio Track: Open your GarageBand project and select the audio track that corresponds to your microphone input.
- Activate Record Enable: Click on the record enable button for the selected audio track. This will allow GarageBand to start accepting input from your microphone.
- Check Input Levels: Speak or sing into the microphone while monitoring the input levels on the audio track. You should see the levels moving in response to your voice or sound source. Make sure the levels are consistently registering and not clipping (going into the red) or too low (barely registering any signal).
- Listen to Playback: Record a short test clip or phrase and then play it back in GarageBand. Listen carefully to the playback to ensure that the audio is clear, without any distortion or unwanted background noise. If the sound quality is not satisfactory, go back and check the microphone connection and audio interface settings.
- Adjust Gain and Levels: If necessary, adjust the gain or input levels on your audio interface to achieve a clean and balanced signal. It’s important to find the right balance to capture your sound accurately without any distortion.
- Experiment with Placement: Consider experimenting with microphone placement to find the sweet spot for capturing the best sound quality. Move the microphone closer or farther from the sound source, change its angle, or try different positions until you get the desired audio result.
- Test Different Recording Situations: To fully test the microphone connection, try recording in different environments or scenarios. This could include recording vocals, instruments, or even capturing sound effects. Conducting these tests will help you become more familiar with the capabilities of your microphone and ensure that it performs well in a variety of recording situations.
By conducting thorough tests of your microphone connection in GarageBand, you can identify any issues, adjust settings as needed, and ensure that you’re capturing the best possible audio quality. Take the time to refine the setup and make any necessary adjustments before diving into your actual recording sessions.
Remember, practice makes perfect, so don’t hesitate to experiment and refine your recording techniques over time. By testing your microphone connection in GarageBand, you’ll be well-prepared to capture your musical ideas and performances with confidence!
Troubleshooting Common Issues
While connecting and setting up your microphone and audio interface in GarageBand, you may encounter some common issues. Here are a few troubleshooting tips to help you overcome these challenges:
- No Sound or Low Volume: If you’re not hearing any sound or experiencing low volume, first check the input level on your audio interface. Increase the gain or input level until you hear the desired volume. Also, ensure that the microphone cable is securely connected to both the microphone and the audio interface.
- Distorted or Clipping Audio: If your recordings are coming out distorted or clipping, it indicates that the input level is too high. Lower the gain or input level on your audio interface to avoid overloading the signal. Additionally, consider using a pop filter if plosive sounds are causing distortion in the recordings.
- Mic Not Detected: If your microphone is not being detected by GarageBand, ensure that it is properly connected to the correct input on the audio interface. Check the input selection in GarageBand to ensure it matches the input source connected to the microphone. If the issue persists, try connecting the microphone to a different input on your audio interface to see if it is recognized.
- Noise or Hum: If you are experiencing unwanted background noise or a persistent hum, check for any cable or grounding issues. Make sure the microphone cable is not near any electrical interference sources. Additionally, verify that your audio interface is plugged into a grounded outlet to reduce electrical noise.
- Latency Issues: Latency refers to the delay between when you play or sing into the microphone and when you hear the sound through your headphones or monitors. To minimize latency, adjust the buffer size settings in GarageBand preferences. Lower buffer sizes reduce latency but may require more processing power from your computer.
- Compatibility Issues: Ensure that your audio interface is compatible with your computer’s operating system and GarageBand version. Check the manufacturer’s website for any driver updates or compatibility information. Updating the audio interface drivers can resolve compatibility issues and enhance performance.
It’s also valuable to consult the user manual or online resources provided by the manufacturer of your specific microphone and audio interface. They may offer additional troubleshooting guidance for common issues or technical support for more complex problems.
Remember, troubleshooting can take time and patience. Take a systematic approach to identify and resolve the issue step by step. Don’t hesitate to reach out to support forums, online communities, or professionals in the field for assistance if needed.
By addressing common issues and finding solutions, you can ensure a smooth recording experience and produce high-quality audio in GarageBand.
Conclusion
Congratulations! You have reached the end of our comprehensive guide on connecting a microphone to a GarageBand audio interface. We have covered everything from understanding audio interfaces, choosing the right microphone, setting up the audio interface, configuring GarageBand, testing the microphone connection, and troubleshooting common issues.
By following the steps outlined in this guide, you are now equipped with the knowledge and confidence to connect your microphone to GarageBand and start recording professional-quality audio. Remember to choose the microphone that best suits your recording needs and experiment with different settings to achieve the desired sound.
While the process of connecting a microphone to an audio interface and configuring software like GarageBand may initially seem complex, with practice and patience, it will become second nature. Take advantage of the vast array of features and plugins available in GarageBand to further enhance your recordings and unleash your creativity.
Don’t forget to regularly test your microphone connection, adjust settings as needed, and troubleshoot any issues that arise along the way. With persistence, you’ll refine your setup and develop a deep understanding of how to capture the best audio for your projects.
Now, it’s time to explore and unleash your creativity with GarageBand. Whether you’re a musician, podcaster, or content creator, you have the tools and knowledge to take your audio production to new heights. Enjoy the process, have fun, and create something incredible!