Home>Instruments>Guitar>How To File A Guitar Nut


Guitar
How To File A Guitar Nut
Modified: February 15, 2024
Learn how to file a guitar nut with our step-by-step guide. Get expert tips and techniques for adjusting your guitar's nut for optimal performance.
(Many of the links in this article redirect to a specific reviewed product. Your purchase of these products through affiliate links helps to generate commission for AudioLover.com, at no extra cost. Learn more)
Table of Contents
Introduction
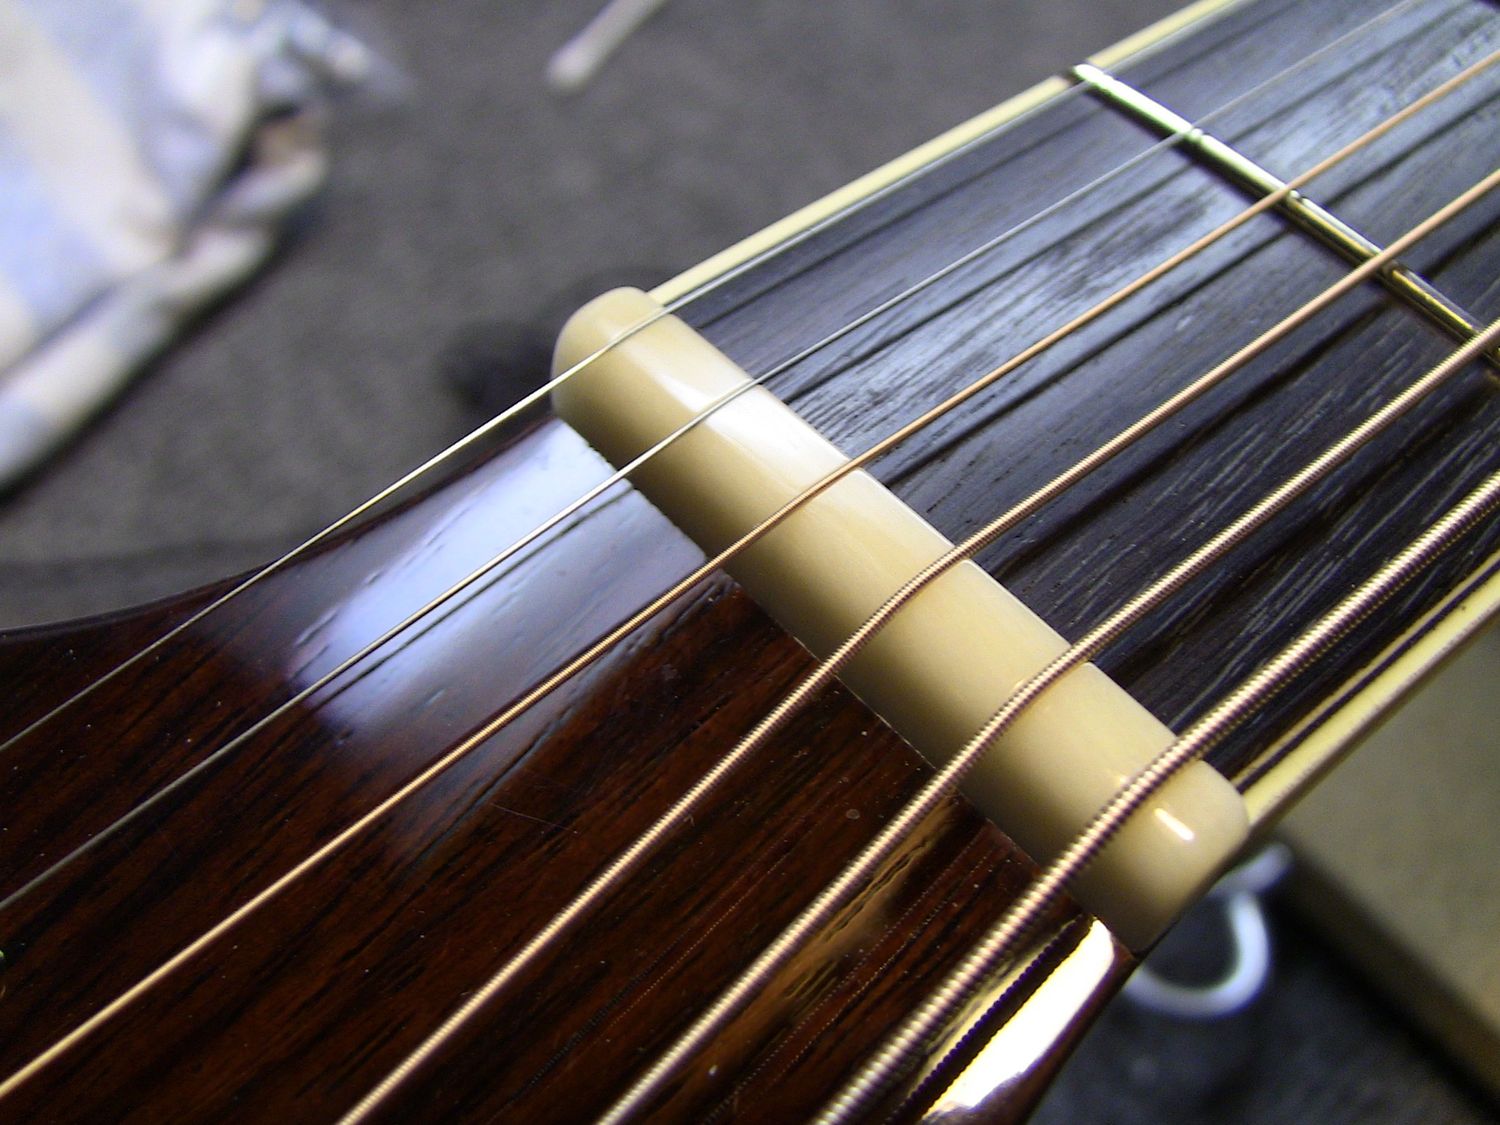
One of the most crucial yet often overlooked components of a guitar is the nut. The nut plays a vital role in maintaining proper string height, spacing, and tension, ultimately affecting the instrument’s playability and tone. Over time, the nut may wear down, develop slots that are too deep, or become damaged, leading to tuning instability and poor intonation. In such cases, replacing the nut is essential to restore the guitar’s optimal performance.
While seeking professional assistance is always an option, learning how to file a guitar nut yourself can be a rewarding and cost-effective endeavor for any guitarist. By understanding the process and acquiring the necessary tools and materials, you can confidently tackle this task and potentially enhance your instrument’s overall playability and sound.
In this comprehensive guide, we will walk through the step-by-step process of filing a new nut for your guitar, providing valuable insights and tips to ensure a successful outcome. Whether you’re a seasoned luthier or a passionate hobbyist, mastering this skill will undoubtedly empower you to maintain and customize your instrument with confidence.
Tools and Materials Needed
Before embarking on the nut filing process, it’s crucial to gather the essential tools and materials to ensure a smooth and efficient workflow. Here’s a comprehensive list of what you’ll need:
- New Nut: Select a high-quality nut that is compatible with your guitar’s specific make and model. Nuts are typically made of materials such as bone, synthetic bone, brass, or graphite, each offering unique tonal characteristics and durability.
- Files: Invest in a set of nut files designed for shaping and slotting nuts. These specialized files come in various sizes to accommodate different string gauges, ensuring precise and clean slotting.
- Sandpaper: Acquire fine-grit sandpaper for smoothing and refining the nut’s surface after filing. This will help achieve a proper fit and prevent any rough edges that could affect string movement.
- Masking Tape: Use masking tape to protect the fretboard and headstock from accidental scratches or marks during the filing process.
- Ruler or Feeler Gauge: A ruler or feeler gauge is essential for measuring the correct nut slot depths and ensuring uniformity across the strings.
- Pencil: Marking the nut with a pencil can help visualize the initial slot positions and track your progress as you file.
- Clamps (optional): If necessary, clamps can be utilized to secure the nut in place while filing, providing stability and precision.
- Workbench and Lighting: A well-lit and organized workbench will facilitate a comfortable and focused working environment, allowing you to assess your progress accurately.
By assembling these tools and materials, you’ll be well-equipped to execute the nut filing process with confidence and precision, ensuring that your guitar’s nut is tailored to perfection.
Removing the Old Nut
Before installing a new nut, it’s imperative to remove the existing one carefully. This process requires attention to detail to avoid damaging the guitar’s headstock or fretboard. Here’s a step-by-step guide on how to remove the old nut:
- Loosen the Strings: Begin by loosening the guitar strings to alleviate tension on the nut. This will make it easier to extract the nut without causing any undue strain on the instrument.
- Assess the Adhesive: Some nuts may be secured with adhesive to ensure stability. Carefully examine the base of the nut to determine if it is glued in place. If adhesive is present, use a sharp craft knife or nut slotting file to gently separate the nut from the slot and headstock. Exercise caution to prevent any chipping or splintering of the wood.
- Gradual Extraction: With the strings loosened and any adhesive addressed, carefully lift the old nut from its slot using a gentle upward motion. Avoid applying excessive force, as this could cause damage to the surrounding areas.
- Clean the Slot: Once the old nut is removed, take the opportunity to clean the slot and remove any residual adhesive or debris. This will ensure a clean and secure fit for the new nut.
By following these steps, you can safely and effectively remove the old nut, preparing the guitar for the installation of a new, precisely filed nut. Taking the time to execute this process with care will help maintain the integrity of the instrument and set the stage for a successful nut replacement.
Preparing the New Nut
Once the old nut has been removed, the next crucial step in the nut filing process is preparing the new nut for installation. Proper preparation ensures that the new nut will be tailored to the specific requirements of your guitar, promoting optimal string action and intonation. Here’s a detailed guide on how to prepare the new nut:
- Assess Fit and Alignment: Before any modifications, carefully examine the new nut to ensure that it aligns correctly with the nut slot on the guitar’s headstock. Verify that the nut sits flush and level, as any misalignment can lead to tuning and playability issues.
- Mark String Positions: Using a pencil, mark the positions of the strings on the new nut. This will serve as a visual guide for slotting and filing, ensuring that the slots are accurately placed for each string.
- Measure Slot Depths: Using a ruler or feeler gauge, measure the appropriate depths for the nut slots. This step is crucial for achieving consistent string height and preventing buzzing or fretting out when playing.
- Initial Slotting: With the string positions marked and slot depths determined, begin the initial slotting process using the appropriate nut file for each string gauge. Exercise patience and precision to avoid over-filing, as it’s easier to remove material gradually than to add it back.
- Test Fit and Adjustment: After the initial filing, test the fit of the new nut in the slot. Ensure that the strings seat properly in the slots without binding or rattling. Make any necessary adjustments to the slot depths or widths to achieve an optimal fit.
By diligently preparing the new nut with meticulous attention to detail, you can lay the groundwork for a successful nut filing process. This careful preparation will contribute to the overall stability, playability, and tone of your guitar once the new nut is installed.
Filing the New Nut
With the new nut prepared and the initial slotting completed, the next critical phase in the nut filing process involves fine-tuning the nut slots to accommodate the specific string gauges and ensure optimal string action. Filing the nut demands precision and patience to achieve the desired string height and spacing. Here’s a detailed guide on how to effectively file the new nut:
- String Height Adjustment: Begin by assessing the string height over the first fret. The ideal clearance, known as the first fret action, ensures that the strings are neither too high nor too low, facilitating comfortable fretting and clear intonation. Use a feeler gauge to measure and adjust the slot depths accordingly.
- Slot Smoothing: Employ fine-grit sandpaper to smooth and refine the nut slots, ensuring that there are no rough edges or burrs that could impede string movement or cause tuning instability. This step contributes to a clean and polished finish for the nut.
- String Spacing Alignment: Verify that the strings are evenly spaced across the nut. Consistent string spacing promotes balanced tension and facilitates accurate fretting and chord voicings. Make any necessary adjustments to achieve uniform string spacing.
- Tuning Stability Assessment: As you progress with the filing process, periodically tune the guitar and assess the tuning stability. This allows you to detect any binding or slippage in the nut slots, enabling timely adjustments to ensure reliable tuning performance.
- Final Playability Check: Once the nut slots are filed to the desired specifications, conduct a thorough playability check. Ensure that the strings articulate cleanly and resonate evenly across the fretboard. Address any issues related to fretting out, buzzing, or uneven string action.
By meticulously filing the new nut with a focus on precision and attention to detail, you can optimize the string action, intonation, and tuning stability of your guitar. This step is pivotal in tailoring the nut to the specific requirements of your instrument and enhancing its overall playability and performance.
Installing the New Nut
Upon completing the meticulous process of filing the new nut to precise specifications, the final step involves installing the nut onto the guitar’s headstock. Proper installation is crucial to ensure stability, optimal string action, and reliable tuning performance. Here’s a comprehensive guide on how to effectively install the new nut:
- Applying Adhesive (If Required): If your guitar’s nut slot design necessitates adhesive for stability, carefully apply a small amount of specialized nut glue or adhesive to the base of the new nut. Exercise caution to avoid excess glue that could seep into the slots or onto the headstock.
- Alignment and Placement: Position the new nut precisely within the nut slot, ensuring that it aligns flush and level with the headstock. Gently press the nut into place, allowing the adhesive to create a secure bond if applicable.
- String Installation: Once the new nut is firmly in place, reattach the guitar strings and bring them to tension. Verify that the strings seat properly in the nut slots without binding or catching, ensuring smooth and consistent string movement.
- Tuning and Intonation Check: With the strings restrung, tune the guitar to pitch and conduct a thorough intonation check. Assess the tuning stability and ensure that the open strings and fretted notes maintain accurate pitch across the fretboard.
- Final Adjustments: After the initial installation, evaluate the nut’s performance under playing conditions. Verify that the string action is uniform, the tuning stability is reliable, and the overall playability is optimized. Make any necessary adjustments to achieve the desired outcome.
By following these steps, you can confidently install the newly filed nut onto your guitar, setting the stage for enhanced playability, stability, and tonal clarity. The successful installation of the new nut represents the culmination of meticulous craftsmanship and attention to detail, ultimately contributing to the overall performance and character of the instrument.
Conclusion
Mastering the art of filing a new nut for your guitar is a valuable skill that empowers you to customize and maintain your instrument with precision and care. By embarking on this journey, you have delved into the intricate process of assessing, preparing, filing, and installing a crucial component that directly impacts your guitar’s playability, tone, and tuning stability.
Throughout this comprehensive guide, you have gained insights into the essential tools and materials required for nut filing, learned the meticulous steps involved in removing the old nut, and discovered the intricacies of preparing, filing, and installing a new nut. Each phase of the process demands attention to detail, patience, and a deep understanding of your guitar’s unique requirements.
As you refine your skills and knowledge in nut filing, you not only enhance your instrument’s performance but also cultivate a deeper connection with the craft of lutherie. The ability to tailor the nut to your exact specifications reflects a commitment to excellence and a dedication to optimizing your playing experience.
Remember, the journey of nut filing is not merely a technical task; it is a testament to your passion for the instrument and your desire to unlock its full potential. Whether you’re a seasoned luthier or an aspiring hobbyist, the process of filing a new nut embodies the artistry and precision that define the world of guitar craftsmanship.
As you apply the knowledge and techniques gleaned from this guide, may your guitar resonate with newfound clarity, responsiveness, and character, reflecting the artistry and dedication that you have invested in its care and maintenance.


