Home>Production & Technology>MP3>How To Clip MP3 Files
MP3
How To Clip MP3 Files
Published: December 8, 2023
Learn how to easily clip MP3 files and trim them to your desired length. Follow our step-by-step guide to edit MP3s without losing quality.
(Many of the links in this article redirect to a specific reviewed product. Your purchase of these products through affiliate links helps to generate commission for AudioLover.com, at no extra cost. Learn more)
Table of Contents
Introduction
Clipping MP3 files is a useful technique that allows you to extract specific segments from a longer audio recording. Whether you want to create personalized ringtones, edit podcast episodes, or compile a highlight reel of your favorite songs, knowing how to clip MP3 files can come in handy.
By using the right tools and following a few simple steps, you can easily extract the desired portions from an MP3 file and save them as separate files. This process requires a Digital Audio Workstation (DAW) software, which allows you to import, edit, and export audio files with precision.
In this article, we will guide you through the process of clipping MP3 files. We will provide a step-by-step tutorial, outlining the necessary tools and software needed to complete the task. Additionally, we will share some additional tips and considerations to help you achieve the best results.
Before we get started, it’s important to note that clipping MP3 files should be done for personal or non-commercial use. It is essential to respect copyright laws and not share or distribute copyrighted material without proper authorization.
Now, let’s dive into the tools and software you will need to get started with clipping MP3 files.
Tools and Software Needed
Before you can begin clipping MP3 files, there are a few essential tools and software you will need. These will help you import, edit, and export your audio files with ease. Here are the key components:
- Computer: You will need a computer with sufficient processing power and storage capacity to handle audio editing tasks. Ensure that your computer meets the minimum system requirements for the software you plan to use.
- Digital Audio Workstation (DAW) Software: This is the core software you will use to import, edit, and export your MP3 files. Popular DAW software options include Adobe Audition, Audacity, GarageBand (for Mac users), and FL Studio.
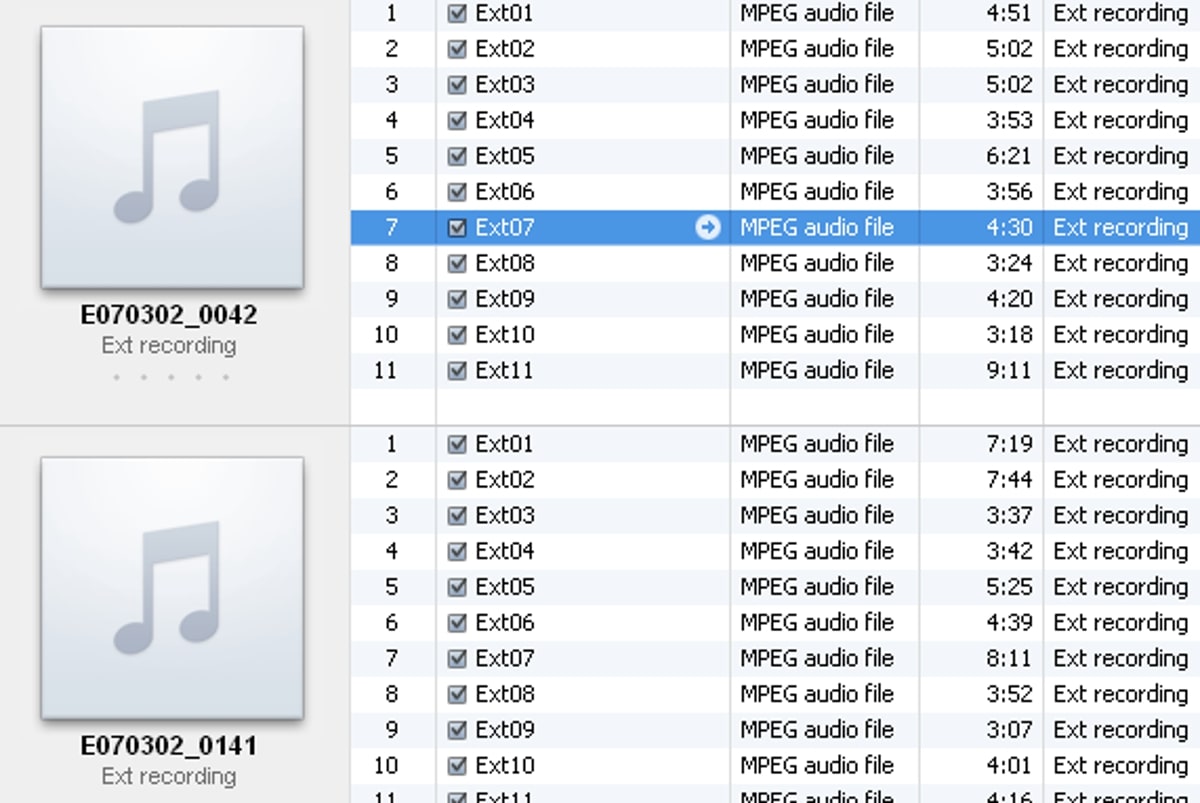
- MP3 Files: You will need the MP3 files you want to clip. These can be songs, podcasts, interviews, or any other audio recordings in the MP3 format. Ensure that you have them saved on your computer or accessible through a connected storage device.
- Headphones or Speakers: It is crucial to have reliable headphones or speakers to accurately monitor and listen to your audio while editing. This will help you identify the precise segments you want to clip.
- Internet Connection: While not mandatory, having a stable internet connection can be beneficial for accessing tutorials, downloading software updates, or exploring additional resources to enhance your audio editing skills.
Once you have the necessary tools and software, you can move on to the next step of the clipping process: selecting the MP3 file you want to work with. In the following section, we will walk you through this process and discuss how to determine the ideal clip points for your desired segments.
Step 1: Selecting the MP3 File
The first step in clipping an MP3 file is selecting the specific file you want to work with. This could be a song, podcast episode, audio recording, or any other MP3 file that you wish to edit.
Start by locating the MP3 file on your computer or connected storage device. If you have a large collection of MP3 files, you may want to create a separate folder or organize your files in a way that makes it easier to locate the desired file.
Consider the purpose of clipping the MP3 file. Are you creating a ringtone, editing out a specific section, or combining multiple clips? Having a clear goal in mind will help you choose the most suitable file to work with.
Once you have identified the MP3 file you want to clip, make a note of its location or keep the file open in your file explorer for easy access during the next steps.
Now that you have selected the MP3 file, you can move on to the next step: deciding on the clip points. This involves determining the specific sections you want to extract from the MP3 file. In the following section, we will explore this process further and guide you on how to make informed decisions about clip points.
Step 2: Deciding on Clip Points
Deciding on the clip points for your MP3 file is crucial in determining which sections you want to extract or remove. This step requires careful consideration and understanding of the desired outcome of your clipped file.
There are several factors to keep in mind when deciding on clip points:
- Purpose: Consider the purpose of clipping the MP3 file. Are you removing unwanted sections, creating a highlight reel, or extracting a specific segment? Understanding the purpose will help you identify the most relevant clip points.
- Content Flow: Pay attention to the flow and continuity of the audio content. Choose clip points that make sense within the context of the entire file. Avoid abrupt cuts that might disrupt the narrative or musical composition.
- Length: Decide on the desired length of the clipped segment. It can be a few seconds, a minute, or longer, depending on your preferences or the intended use of the clipped file.
- Audio Quality: Listen carefully to the audio in the MP3 file and select clip points that represent the best audio quality. Avoid sections with background noise, distortion, or any audio issues that could affect the overall experience.
Take your time to review the MP3 file and listen to different parts to identify potential clip points. Make note of the start and end timestamps or jot down the specific section you want to extract. This will ensure accuracy during the clipping process.
Once you have determined the clip points, you can proceed to the next step: using a Digital Audio Workstation (DAW) to import and edit the MP3 file. In the following section, we will guide you through this process using commonly available DAW software.
Step 3: Using a Digital Audio Workstation (DAW)
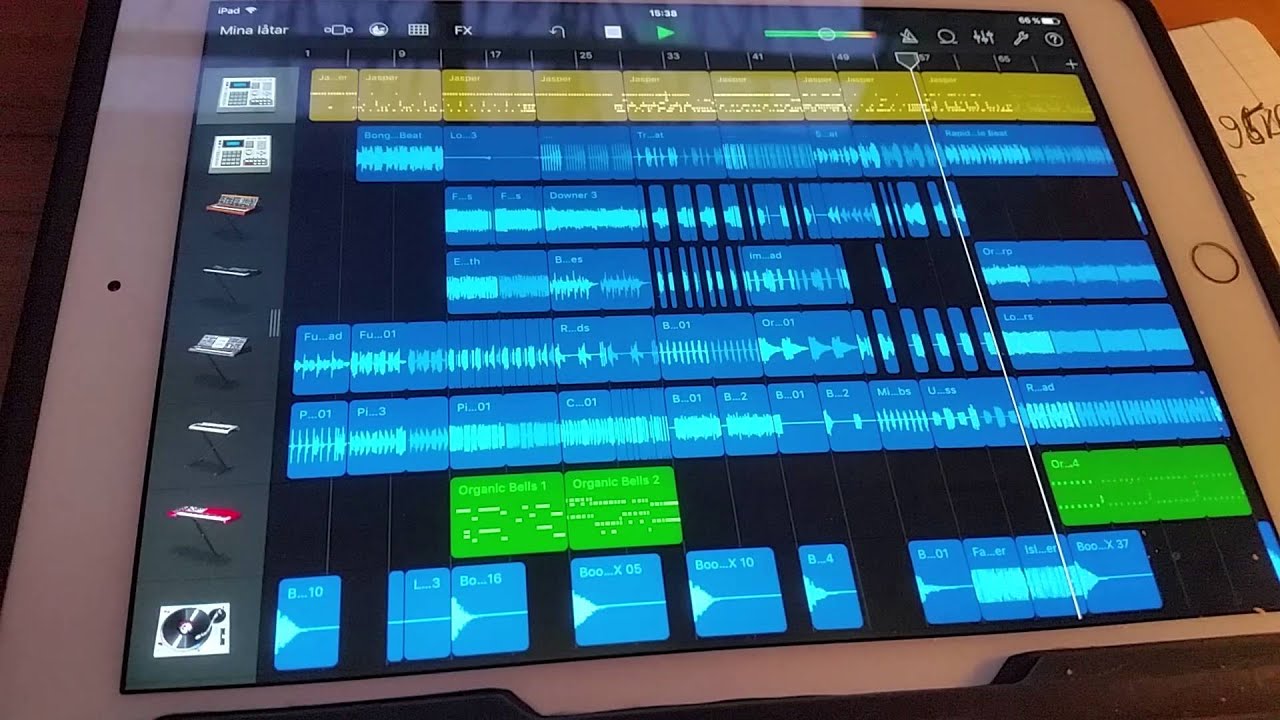
Now that you have chosen the clip points for your MP3 file, it’s time to utilize a Digital Audio Workstation (DAW) software to import and edit the audio. A DAW provides a user-friendly interface and a set of tools that enable you to perform precise editing tasks.
Here is a step-by-step guide on how to use a DAW to work with your MP3 file:
- Open the DAW Software: Launch the DAW software you have installed on your computer.
- Create a New Project: Start a new project within the DAW software. This will provide you with a blank canvas to import and edit your audio file.
- Import the MP3 File: Look for the “Import” or “Import Audio” option in the DAW software. Browse for the location where your MP3 file is stored and select it. The DAW software will import the MP3 file into your project.
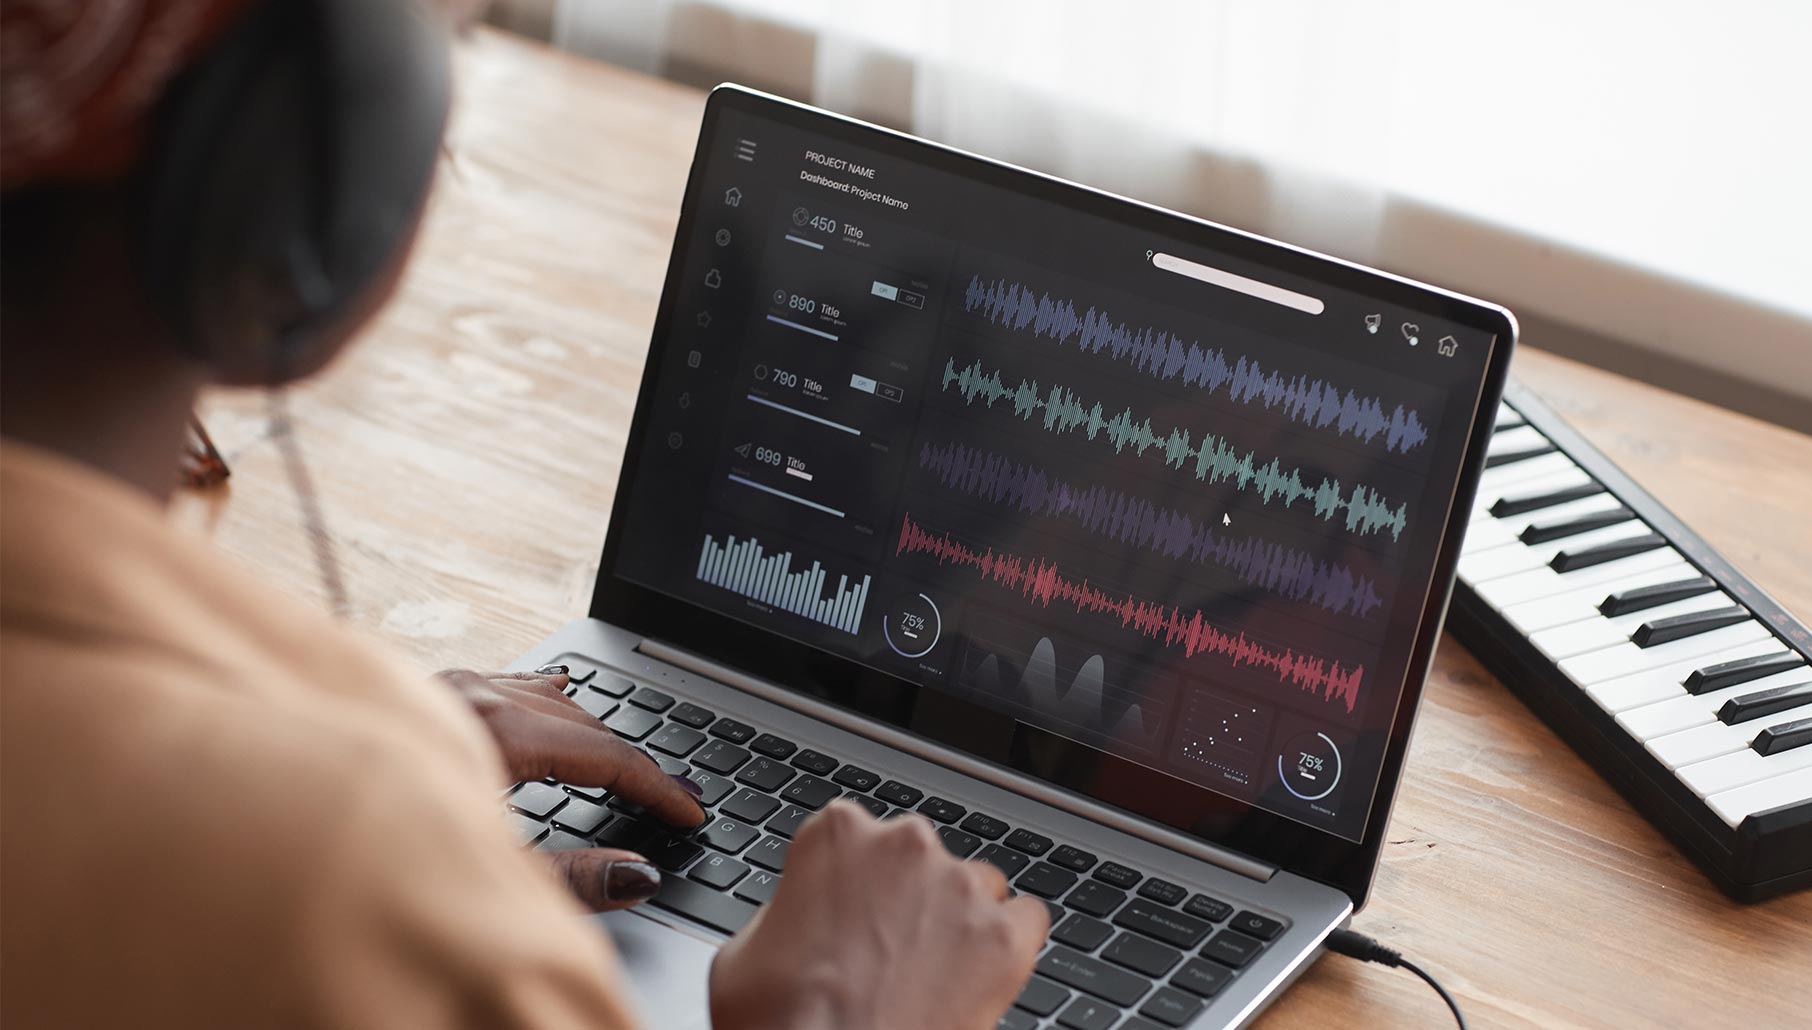
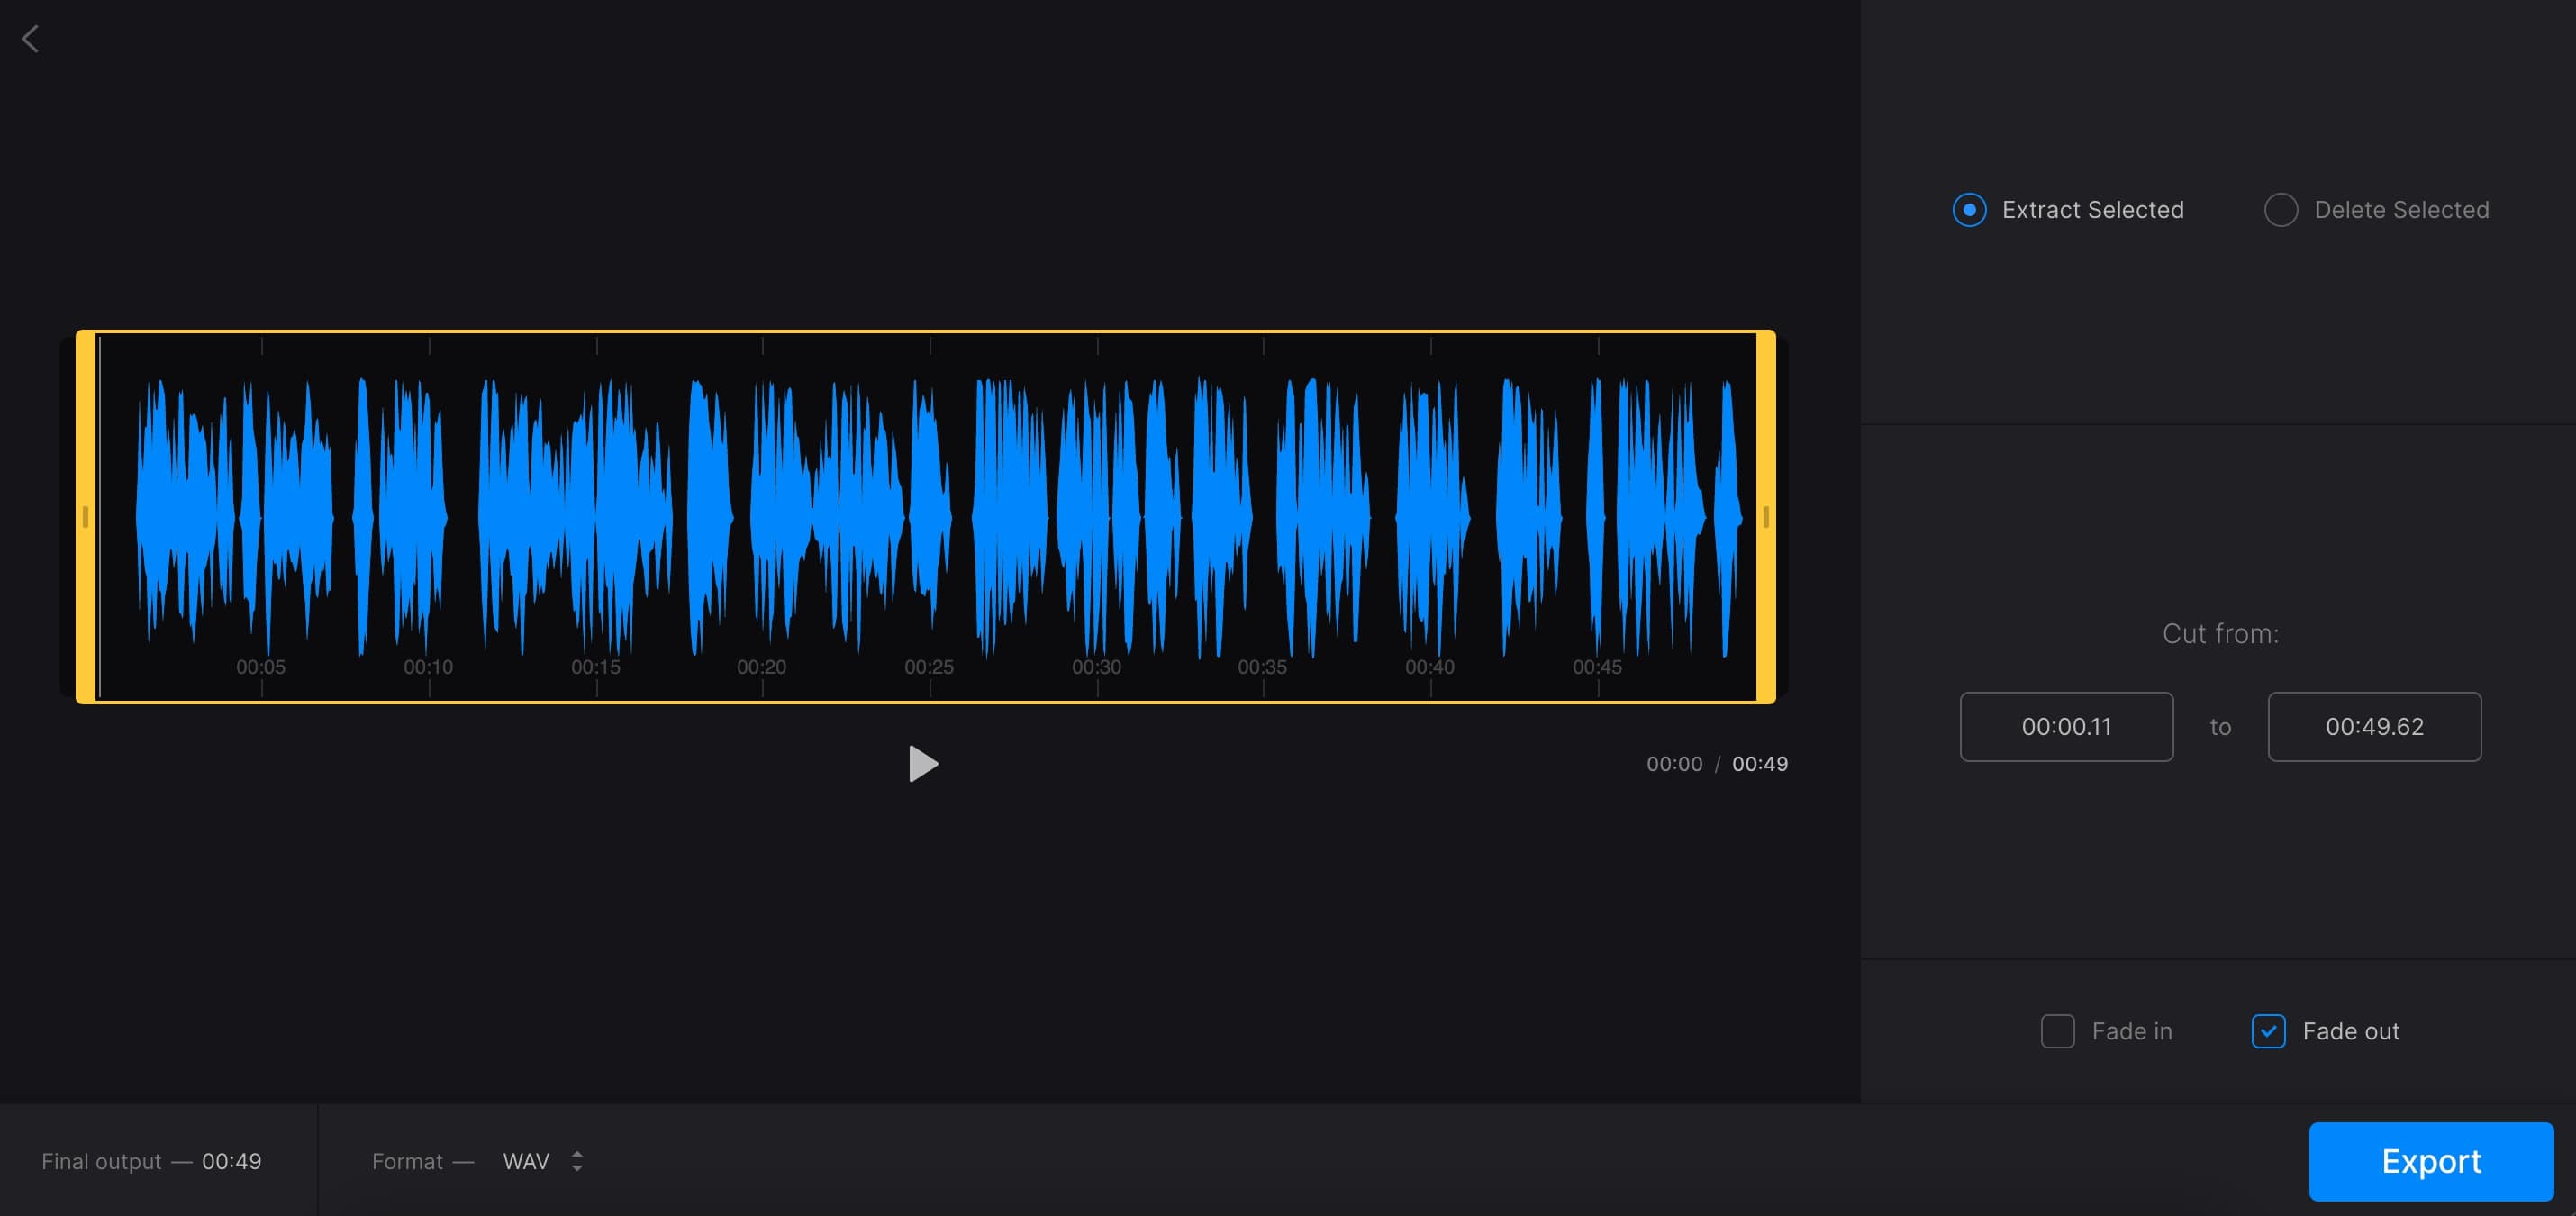
- Visualize the Audio Waves: Once the MP3 file is imported, you will see a visual representation of the audio waves in the DAW software. This waveform display allows you to see the audio’s dynamics and make precise edits.
- Zoom in to the Clip Points: Locate the clip points you identified earlier and zoom in on the waveform display to get a closer view of the desired sections.
- Select the Clip Points: Use the selection tool in the DAW software to choose the specific audio section you want to clip. Click and drag to highlight the desired segment.
- Preview and Adjust: Before finalizing the clip, preview the selected section to ensure it meets your expectations. If necessary, make adjustments by refining the clip points until you are satisfied with the result.
Once you have selected and adjusted the clip points, you are ready to move on to the next step: clipping the MP3 file. In the following section, we will discuss how you can execute this step successfully and save the clipped audio file.
Step 4: Clipping the MP3 File
With your clip points selected in the Digital Audio Workstation (DAW) software, you are now ready to clip the MP3 file and isolate the desired segment. This step involves cutting out the unnecessary sections and retaining only the section you want to keep.
Follow these steps to effectively clip the MP3 file:
- Select the Clip Points: Ensure that the selected clip points in the waveform display accurately represent the section you want to keep. Make any necessary adjustments to refine the selection.
- Verify the Clip Points: Double-check that the clip points align with your desired outcome. Listen to the audio preview within the DAW software to confirm that you have captured the precise segment you want.
- Execute the Clip: Once you are confident with your selection, use the “Cut” or “Delete” tool in the DAW software to remove the unwanted sections of the MP3 file. This action will create a clean break at the clip points, resulting in a clipped audio file.
- Review the Clipped Segment: Listen to the clipped segment to ensure that there are no abrupt cuts or audio anomalies. Make any necessary adjustments, such as fading in/out, to smoothen the transition between the remaining audio and the clipped segment.
By properly executing these steps, you should have successfully clipped the MP3 file and achieved the desired result. The remaining audio should now precisely reflect the specific segment you wanted to extract.
Now that the MP3 file has been clipped, it’s time to save the clipped segment as a separate audio file. In the next step, we will walk you through the process of saving the clipped MP3 file using the DAW software.
Step 5: Saving the Clipped MP3 File
Once you have successfully clipped the desired segment from the MP3 file, it’s time to save the clipped audio as a separate MP3 file. Saving the clipped segment ensures that you retain the isolated audio without affecting the original file.
Follow these steps to save the clipped MP3 file:
- Select the Clipped Segment: Ensure that the clipped segment is accurately selected in the waveform display of the DAW software. Double-check that there are no unintended portions of the original audio included.
- Choose the Export Option: Look for the “Export” or “Export Audio” option in the DAW software. This option allows you to save the selected segment as a separate audio file.
- Specify the File Format: In the export settings, select the MP3 format as the desired output format for the clipped audio file. You may also have the option to customize the file name, location, and other export settings.
- Export the Clipped MP3 File: Click on the “Export” or “Save” button to initiate the export process. The DAW software will process the clipped segment and save it as a new MP3 file in the specified location.
- Confirm the Clipped MP3 File: Navigate to the location where you saved the clipped MP3 file and verify that it has been successfully saved. Play the clipped MP3 file to ensure it contains the intended segment without any audio issues.
By following these steps, you should now have a separate MP3 file containing only the clipped segment you desired. This allows you to use the clipped audio for various purposes, such as creating personalized ringtones, editing podcast episodes, or compiling highlight reels.
Now that you have saved the clipped MP3 file, it’s recommended to test it to ensure it meets your expectations. In the next step, we will discuss how to test the clipped MP3 file and make any necessary adjustments if needed.
Step 6: Testing the Clipped MP3 File
After saving the clipped MP3 file, it is essential to test the file to ensure that it meets your expectations in terms of quality and accuracy. Testing the file allows you to identify any potential issues or inconsistencies and make any necessary adjustments before finalizing your project.
Here are some steps to effectively test the clipped MP3 file:
- Playback: Use a media player, such as Windows Media Player or iTunes, to play the clipped MP3 file. Listen to the audio carefully to ensure that it sounds as expected and that there are no audible glitches, artifacts, or distortions.
- Check Clip Accuracy: Compare the clipped segment in the MP3 file with your initial clip points in the DAW software. Verify that the clip accurately represents the desired section and that no unintended portions or gaps are present.
- Audio Quality: Pay attention to the overall audio quality, including clarity, volume, and any background noise or distortion. If you notice any issues, you may need to make further adjustments in the DAW software and repeat the clipping process.
- Listen for Transitions: If you faded in/out or made any other adjustments between the clip and the remaining audio, ensure that the transitions sound smooth and natural. Eliminate any noticeable jumps or abrupt changes in volume.
- Test Compatibility: If you plan to use the clipped MP3 file on different devices or platforms, it is recommended to test its compatibility. Play the file on multiple devices and software applications to confirm that it works as expected.
By thoroughly testing the clipped MP3 file, you can ensure that it meets your requirements and standards. If any issues or inconsistencies are found during testing, you may need to revisit the DAW software and make further adjustments to refine the clip points or improve the audio quality.
With the clipped MP3 file successfully tested, you are now ready to utilize it for your desired purposes. Whether it’s for creating custom ringtones, editing podcast episodes, or any other creative project, you can confidently use the clipped MP3 file knowing that it accurately represents the desired segment.
In the following section, we will provide some additional tips and considerations to help you achieve the best results when clipping MP3 files.
Additional Tips and Considerations
When clipping MP3 files, there are some additional tips and considerations that can enhance your workflow and help you achieve the best possible results. Here are a few valuable tips to keep in mind:
- Save a Backup: Before making any changes to the original MP3 file, it is always a good practice to save a backup copy. This ensures that you have a preserved version of the unedited audio in case you need to make any further adjustments or revert back to the original file.
- Use Keyboard Shortcuts: Familiarize yourself with the keyboard shortcuts available in the Digital Audio Workstation (DAW) software you are using. These shortcuts can significantly speed up your workflow and make the editing process more efficient.
- Experiment with Effects: Depending on the purpose of the clipped MP3 file, try experimenting with different audio effects to enhance the overall sound. Effects such as equalization, reverb, and compression can help improve the audio quality and create a more polished final result.
- Avoid Over-Clipping: Be cautious not to clip too much from the original MP3 file, as it may result in a disjointed or incomplete audio experience. Ensure that the clipped segment still maintains a logical flow and makes sense within the context of the entire audio file.
- Consider Crossfading: If you are working with multiple clips or transitioning between various sections, consider implementing crossfades. Crossfading helps create smooth transitions between clips, eliminating any abrupt changes or noticeable transitions.
- Test Different Devices: Make sure to test the final clipped MP3 file on various devices and platforms to ensure its compatibility. Play the file on different headphones, speakers, and software applications to ensure that it retains its quality and performs as expected.
Remember, practice makes perfect. The more you work with clipping MP3 files, the more proficient you will become. Take your time to experiment, fine-tune your techniques, and refine your editing skills to achieve the best possible results.
By following these additional tips and considerations, you can take your MP3 clipping process to the next level and create high-quality clipped files that meet your specific requirements and goals.
Now that you are equipped with a comprehensive understanding of how to clip MP3 files, you can confidently embark on your audio editing journey. Happy clipping!
Valid HTML
Conclusion
Clipping MP3 files is a valuable skill that allows you to extract specific segments from an audio recording. Whether you’re creating personalized ringtones, editing podcast episodes, or compiling highlight reels, knowing how to clip MP3 files can greatly enhance your audio editing capabilities.
In this article, we have provided a step-by-step guide on how to clip MP3 files, from selecting the file to saving the clipped segment. By using a Digital Audio Workstation (DAW) software, you can import, edit, and export your MP3 files with precision and accuracy.
Throughout the process, it is important to consider factors such as the purpose, content flow, audio quality, and desired length of the clipped segment. Making informed decisions about clip points ensures that you extract the most relevant sections from the MP3 file.
We also emphasized the importance of testing the clipped MP3 file to ensure its quality and accuracy. By using media players, checking for clip precision, and listening for transitions, you can identify any issues and make any necessary adjustments before finalizing your project.
Additionally, we provided some additional tips and considerations to further enhance your workflow, including saving backups, using keyboard shortcuts, experimenting with effects, and testing on different devices.
By following these guidelines and practicing your skills, you can become proficient in clipping MP3 files, creating professional-quality audio clips for various purposes.
Remember to respect copyright laws and only use the clipped MP3 files for personal or non-commercial purposes. Always give credit to the original creators and ensure that you have the necessary permissions to edit and share audio files.
Now that you have the knowledge and tools to efficiently clip MP3 files, it’s time to unleash your creativity and enjoy the endless possibilities that audio editing brings. Happy clipping!
Valid HTML