Home>Instruments>Guitar>How To Make A Capo For Guitar
Guitar
How To Make A Capo For Guitar
Modified: February 14, 2024
Learn how to make a DIY capo for your guitar at home using simple materials. Save money and customize your capo for the perfect fit.
(Many of the links in this article redirect to a specific reviewed product. Your purchase of these products through affiliate links helps to generate commission for AudioLover.com, at no extra cost. Learn more)
Table of Contents
Introduction
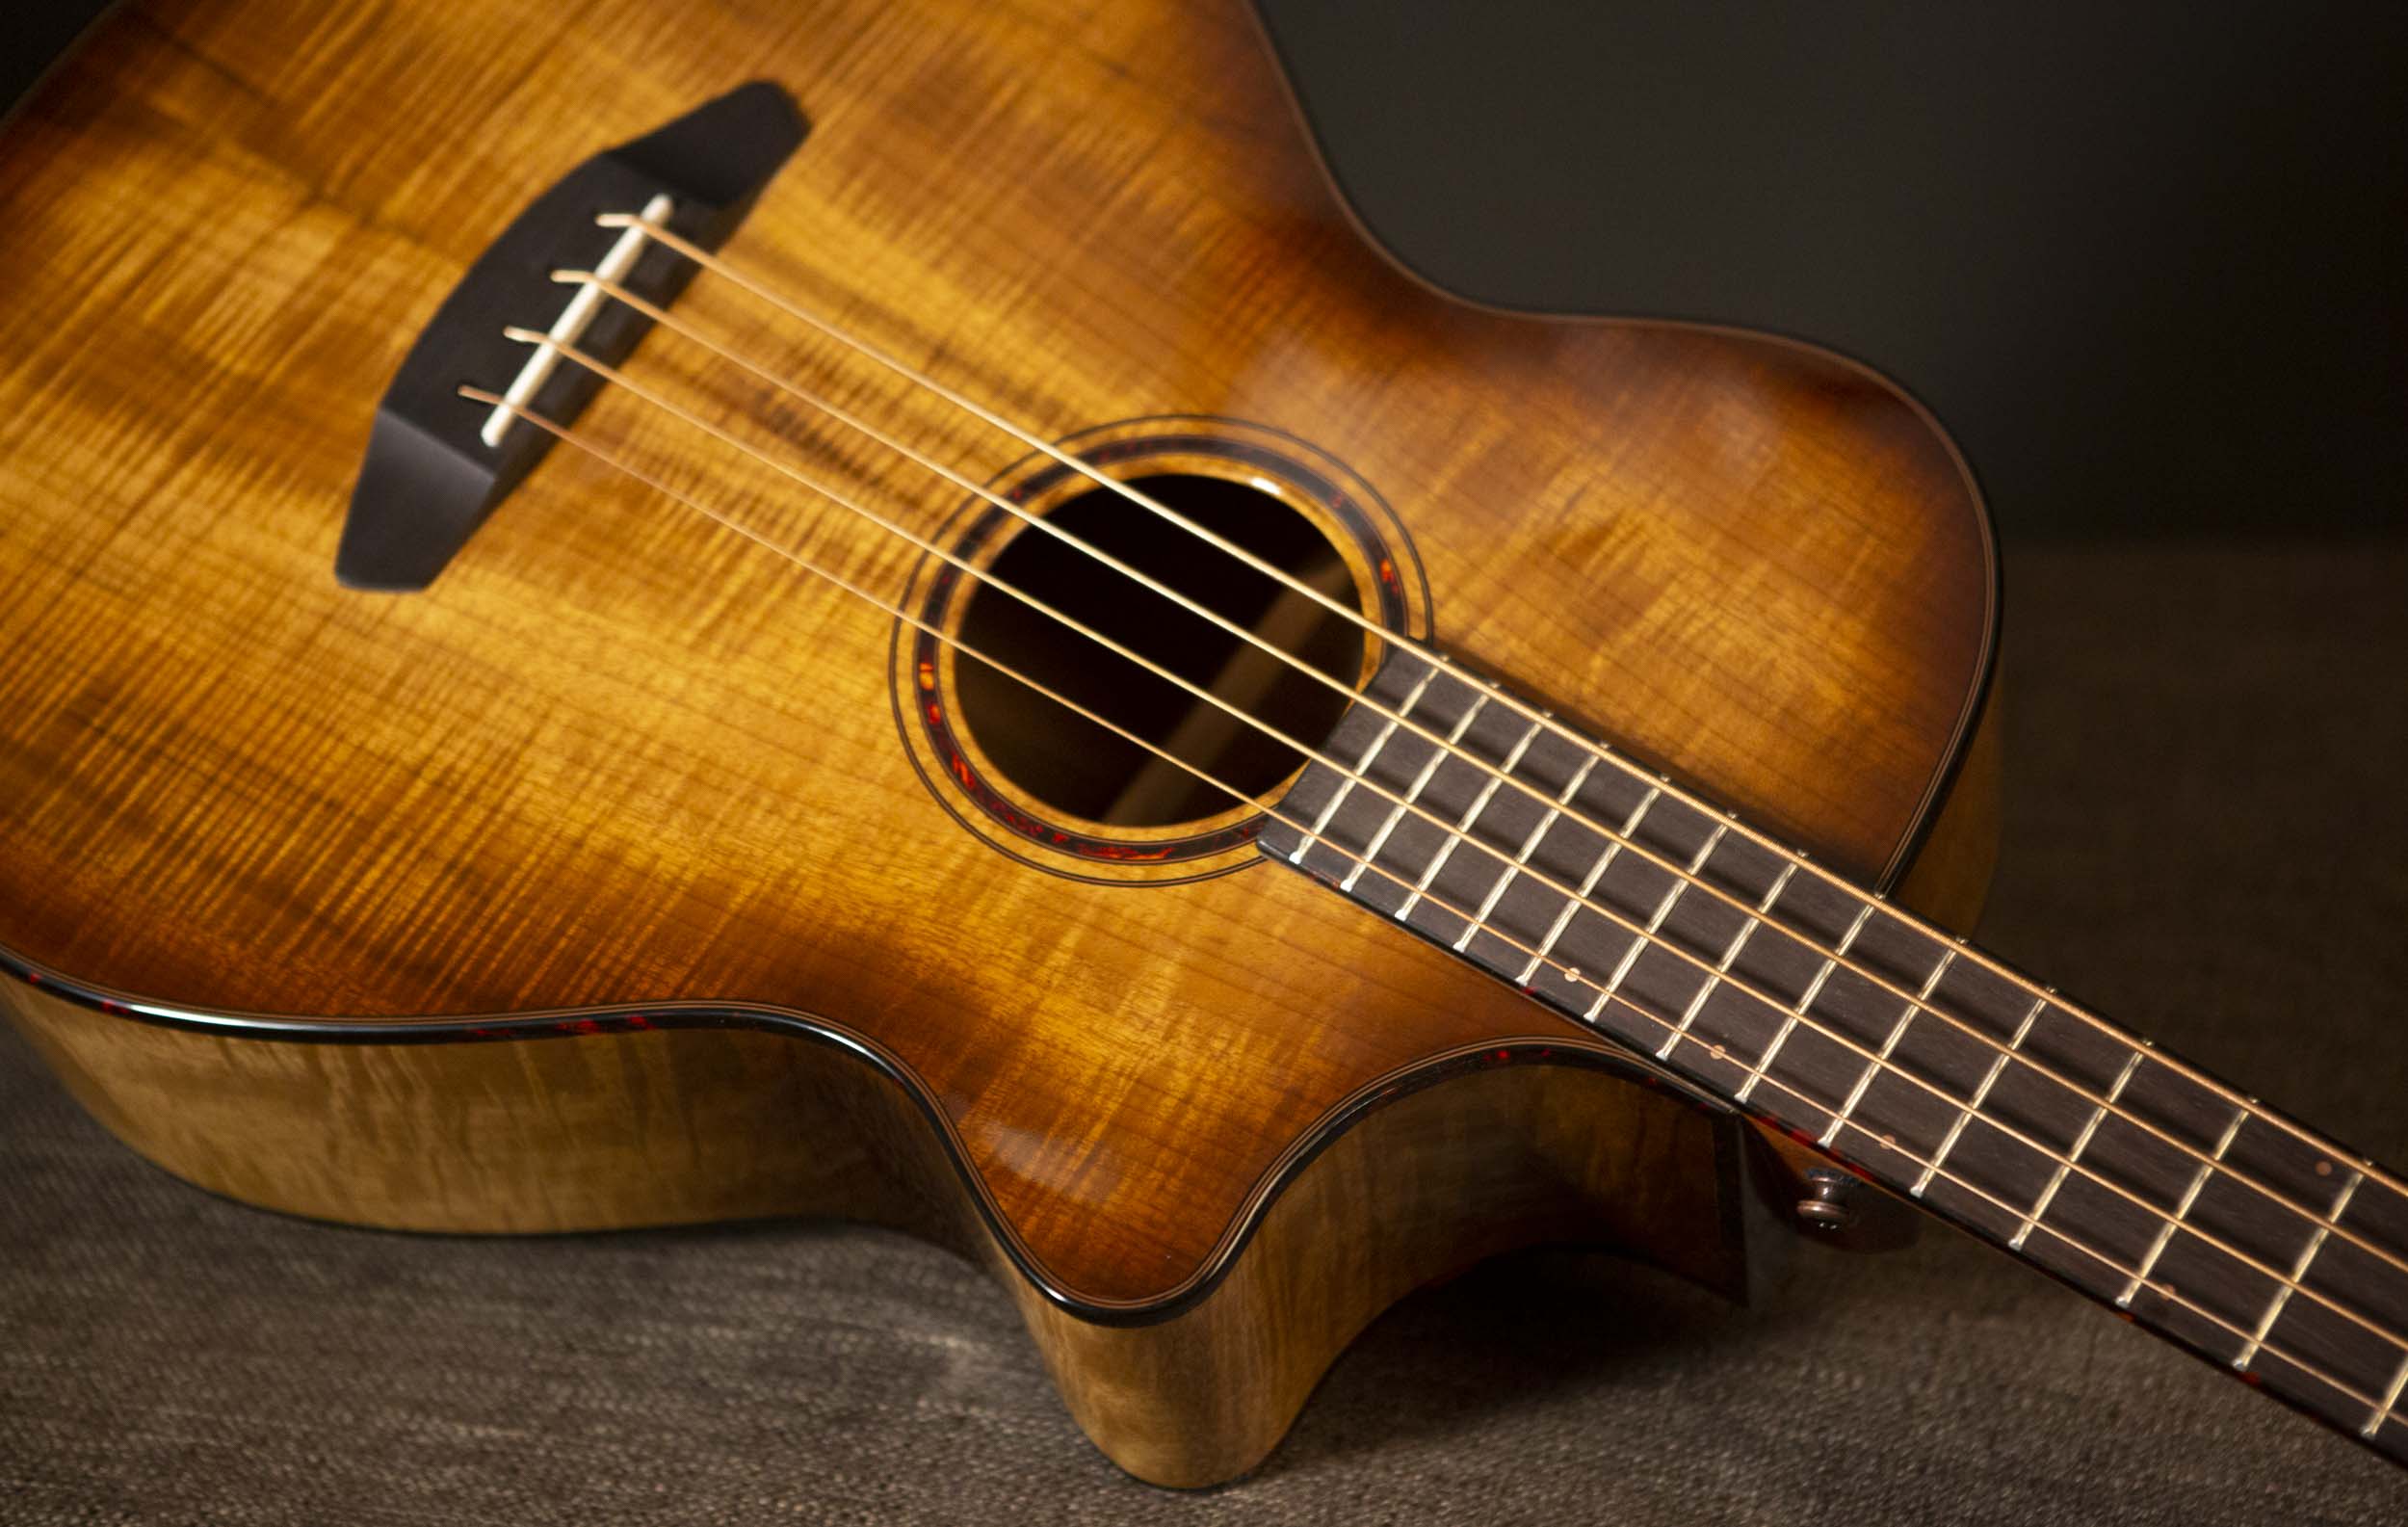
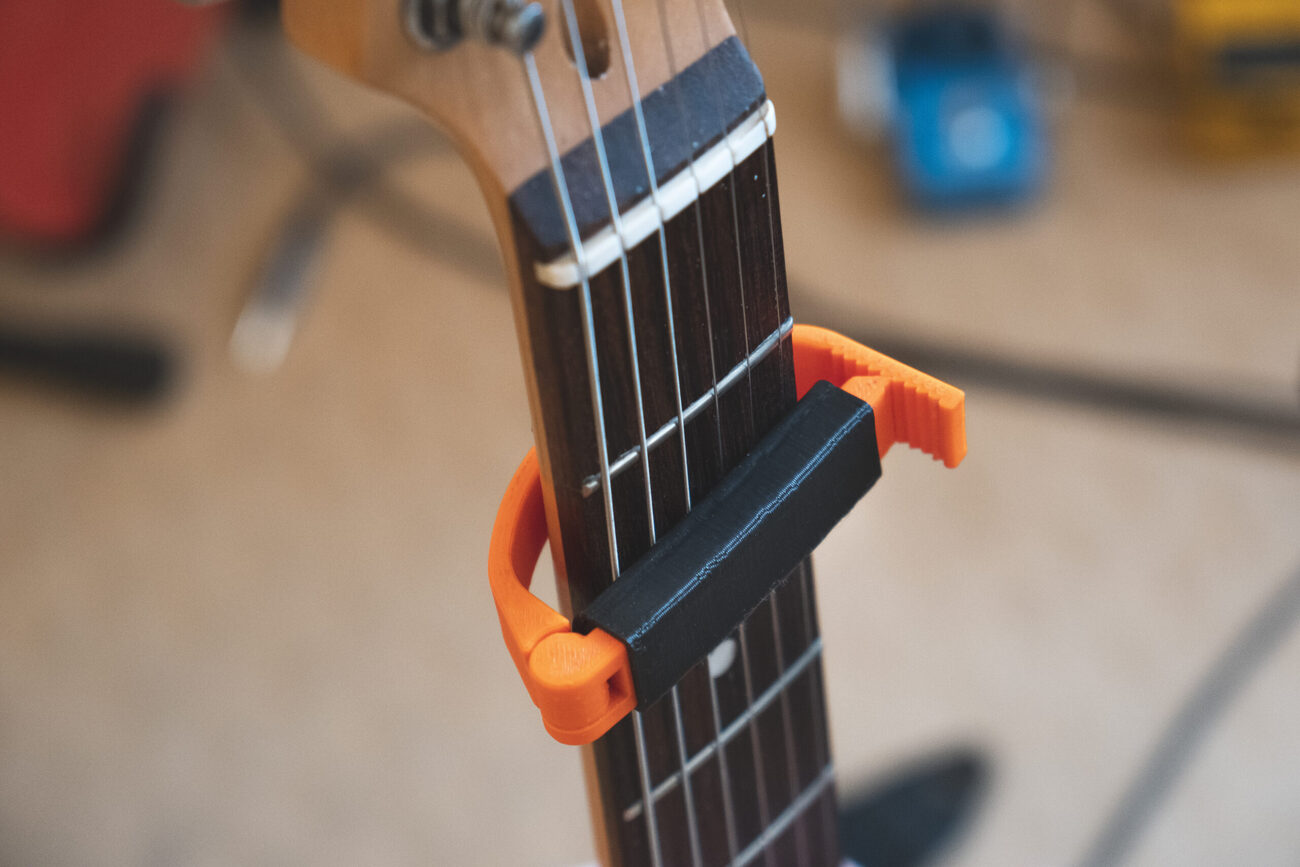
Playing the guitar is a wonderful way to express creativity and emotion through music. Whether you're a beginner or an experienced player, you may encounter situations where you need a capo to change the pitch of the guitar without adjusting the tuning of the strings. A capo is a valuable tool that allows you to explore different keys and create unique sounds.
In this article, we'll explore a simple and creative way to make a capo for your guitar using common household items. By following these steps, you'll be able to fashion a functional capo that serves its purpose effectively. This DIY approach not only saves you money but also allows for a personalized touch to your guitar accessories.
Creating your own capo can be a fun and rewarding experience, providing a sense of accomplishment and resourcefulness. Plus, having a homemade capo on hand can be incredibly convenient, especially if you find yourself in need of one unexpectedly. With just a few materials and a little bit of time, you can craft a practical capo that enhances your guitar playing experience.
So, gather your supplies and let's embark on this creative journey to make a capo for your guitar. With a touch of ingenuity and a handful of everyday items, you'll soon have a reliable capo to expand your musical repertoire.
Materials Needed
Before diving into the process of creating your own capo, it’s important to gather the necessary materials. The beauty of this DIY project lies in its simplicity and reliance on common household items. Here’s what you’ll need:
- A standard wooden pencil
- A rubber band (preferably a thicker, durable one)
- A pair of scissors
These readily available materials are all you need to fashion a functional capo for your guitar. The pencil will serve as the main body of the capo, providing a sturdy and easily adjustable base. The rubber band, when properly attached, will exert the necessary pressure on the guitar strings to achieve the desired pitch alteration. Lastly, the scissors will be used to trim the rubber band to the appropriate length.
With these items in hand, you’re well-equipped to embark on the process of creating your own capo. The simplicity of the required materials underscores the accessibility and practicality of this DIY endeavor, making it an ideal solution for guitarists seeking an affordable and personalized capo option.
Step 1: Measure and Cut the Pencil
The first step in creating your homemade capo involves preparing the wooden pencil to serve as the main structure of the capo. Start by taking the wooden pencil and determining the appropriate length for the capo. The capo should be long enough to effectively clamp the strings across the fretboard without obstructing your ability to play the guitar.
Once you’ve identified the desired length, carefully use the scissors to cut the pencil to the appropriate size. It’s important to ensure a clean and even cut to maintain the structural integrity of the pencil. This step lays the foundation for the capo, shaping it into a functional and adjustable tool that will facilitate seamless key changes during your guitar playing.
As you measure and cut the pencil, consider the specific requirements of your guitar and playing style. The goal is to create a capo that fits comfortably on the fretboard and effectively applies pressure to the strings, allowing you to achieve the desired pitch adjustments without compromising playability.
By customizing the length of the pencil to suit your preferences, you’re taking the first step toward tailoring your homemade capo to enhance your musical expression. This personalized approach ensures that the capo aligns perfectly with your playing needs, setting the stage for a practical and effective addition to your guitar accessories.
Step 2: Attach the Rubber Band
With the pencil prepared as the main body of the capo, the next crucial step is to attach the rubber band securely. The rubber band plays a pivotal role in exerting pressure on the guitar strings, enabling you to effectively change the pitch without adjusting the tuning. This simple yet ingenious mechanism forms the essence of the homemade capo, allowing for seamless key changes during your guitar playing.
To attach the rubber band, start by placing one end of the rubber band around the top end of the pencil. Ensure a snug fit to prevent slippage during use. Then, gently stretch the rubber band across the pencil and carefully secure the other end around the opposite side. The tension of the rubber band should be adequate to apply consistent pressure on the strings when the capo is positioned on the fretboard.
As you affix the rubber band, pay attention to the tension and positioning to achieve a balanced and reliable grip on the guitar strings. The secure attachment of the rubber band is essential for the capo to function effectively, facilitating smooth transitions between different keys as you play your favorite songs.
By attaching the rubber band with precision and care, you’re ensuring that your homemade capo delivers the intended functionality, allowing you to explore diverse musical possibilities with ease. This step marks the integration of the rubber band as a fundamental component of the capo, setting the stage for its seamless operation on your guitar.
Step 3: Test the Capo
After completing the assembly of your homemade capo, it’s time to put it to the test and ensure that it functions as intended. Testing the capo allows you to verify its effectiveness in altering the pitch of the guitar strings without compromising tone quality or playability. This critical step enables you to make any necessary adjustments and confirms that your DIY capo is ready for practical use.
To begin testing the capo, position it on a desired fret of the guitar, ensuring that it applies even pressure across all strings. Once in place, strum the strings and assess the resulting sound. Pay attention to the pitch alteration and ensure that the capo effectively raises the pitch without causing any buzzing or muffled tones.
As you test the capo, consider playing various chords and melodies to gauge its performance across different musical contexts. Evaluate how the capo influences the overall sound and assess its stability during prolonged playing. This hands-on approach allows you to gain a comprehensive understanding of the capo’s functionality and make any refinements if necessary.
If you encounter any issues during testing, such as uneven pressure on the strings or undesirable changes in tone quality, take the opportunity to fine-tune the capo’s positioning and tension. Making minor adjustments to the rubber band or the placement of the capo can significantly impact its performance, ensuring optimal functionality during your guitar playing.
Upon successful testing, you can confidently incorporate your homemade capo into your musical endeavors, knowing that it offers a reliable and cost-effective solution for exploring different keys and enhancing your playing experience. The culmination of this step signifies the completion of your DIY capo, ready to accompany you on your musical journey.
Conclusion
Congratulations on successfully creating your own capo for the guitar using simple household materials. By following the steps outlined in this guide, you’ve transformed a standard wooden pencil and a rubber band into a practical and functional tool that expands your musical possibilities. This DIY approach not only demonstrates resourcefulness but also empowers you to customize your guitar accessories to suit your preferences.
As you reflect on the process of making your homemade capo, consider the ingenuity and creativity involved in repurposing everyday items to enhance your musical endeavors. The satisfaction of crafting a personalized capo that complements your playing style is a testament to the DIY spirit and the adaptability of musicians in finding innovative solutions.
With your homemade capo at the ready, you now have the means to effortlessly explore diverse keys, experiment with new chord voicings, and infuse your music with fresh creativity. The versatility of the capo empowers you to adapt to various musical contexts and unlock new sonic possibilities, enriching your guitar playing experience.
Embrace the journey of crafting your own capo as a testament to your passion for music and your willingness to think outside the box. The resourcefulness and hands-on approach demonstrated in this DIY project exemplify the spirit of musicianship, where innovation and practicality converge to enhance musical expression.
As you embark on your musical endeavors with your homemade capo in hand, remember the simplicity and effectiveness of this DIY creation. Whether you’re strumming your favorite songs or delving into original compositions, your homemade capo stands as a testament to your ability to transform humble materials into tools of musical inspiration.
Now, armed with your newfound DIY expertise, continue to explore innovative ways to enhance your musical journey, knowing that creativity knows no bounds when it comes to expressing yourself through the art of guitar playing.