Home>Instruments>Guitar>How To Make A Guitar String Bracelet

Guitar
How To Make A Guitar String Bracelet
Modified: February 15, 2024
Learn how to make a stylish bracelet using guitar strings with our easy step-by-step guide. Transform old strings into trendy accessories today!
(Many of the links in this article redirect to a specific reviewed product. Your purchase of these products through affiliate links helps to generate commission for AudioLover.com, at no extra cost. Learn more)
Table of Contents
Introduction
Welcome to the fascinating world of guitar string jewelry! If you're a music enthusiast or a fashion-forward individual looking for a unique accessory, making a guitar string bracelet is an excellent way to blend your love for music with personal style. Crafting a bracelet from guitar strings not only allows you to repurpose materials in an innovative manner but also creates a one-of-a-kind accessory that reflects your passion for music.
The process of making a guitar string bracelet is a creative and rewarding endeavor. It provides an opportunity to transform used guitar strings into a fashionable and meaningful piece of jewelry. Whether you're a guitarist seeking a creative way to give new life to old strings or simply someone who appreciates the artistry of handmade accessories, this DIY project offers a perfect blend of form, function, and musical flair.
In this guide, we will explore the steps involved in creating a unique guitar string bracelet. From selecting the right materials to crafting the bracelet itself, you'll gain valuable insights into the process of turning ordinary guitar strings into a stylish and personalized accessory. Additionally, we'll discuss the importance of choosing the appropriate guitar strings, preparing them for crafting, and adding clasps to complete the bracelet. By the end of this tutorial, you'll be well-equipped to embark on your own guitar string bracelet-making journey.
So, grab your creativity and let's dive into the world of guitar string jewelry, where music and fashion intertwine to create something truly special. Let's get started on this exciting and expressive DIY adventure!
Materials Needed
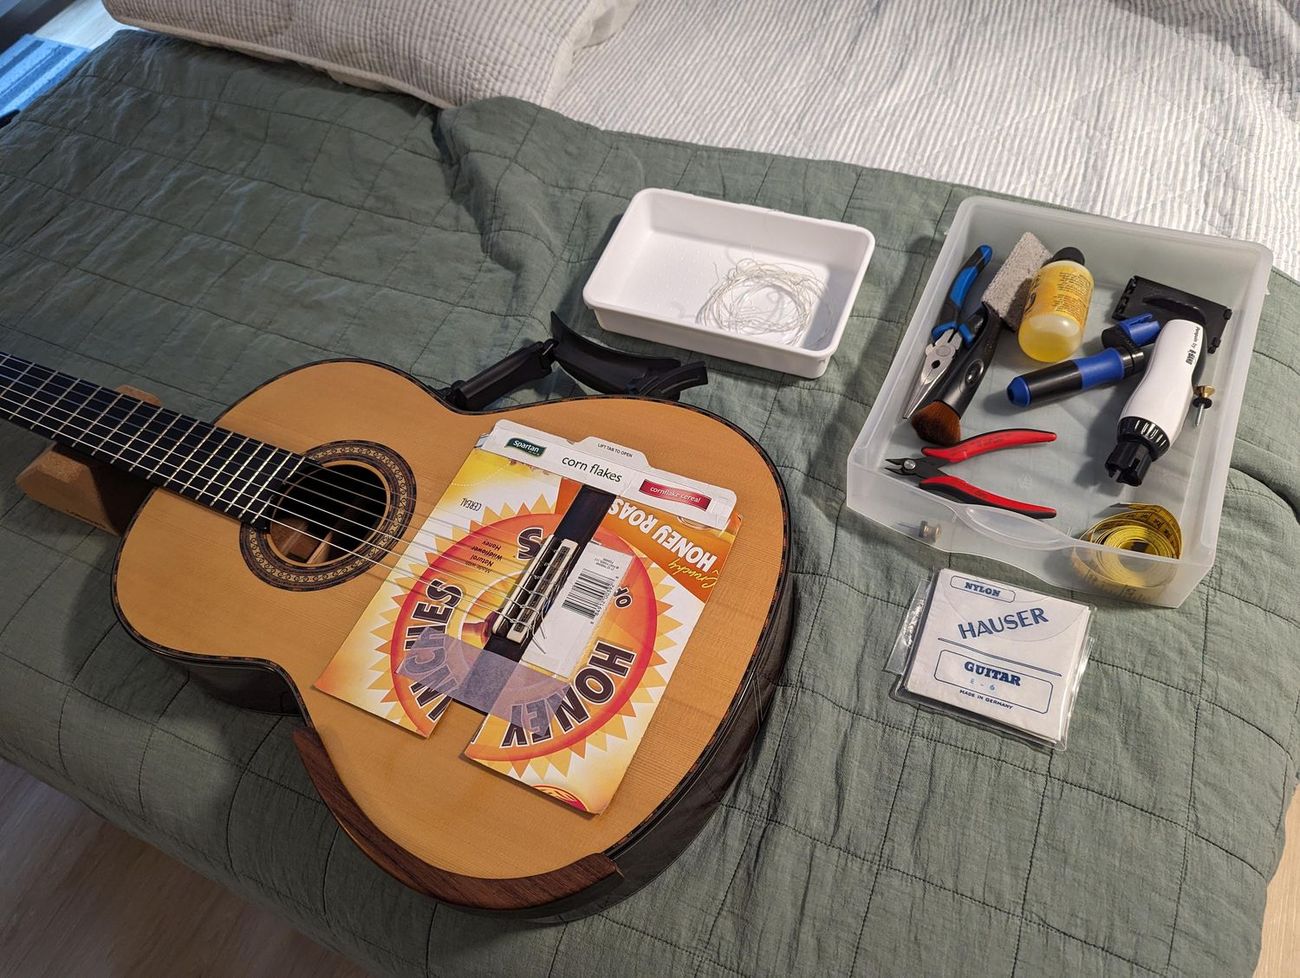
Before embarking on the creative process of making a guitar string bracelet, it’s essential to gather the necessary materials. The beauty of this DIY project lies in its simplicity and the minimalistic items required. Here’s a list of the basic materials you’ll need:
- Used guitar strings
- Scissors or wire cutters
- Jewelry clasps
- Jewelry pliers
- Measuring tape or ruler
- Crafting charms or beads (optional)
- Cleaning cloth
As you can see, the materials needed for creating a guitar string bracelet are readily accessible and affordable. The primary component, used guitar strings, can often be obtained from local music stores or musicians who frequently replace their strings. Additionally, the jewelry clasps, pliers, and crafting charms or beads, if desired, can be found at craft stores or online retailers specializing in jewelry-making supplies.
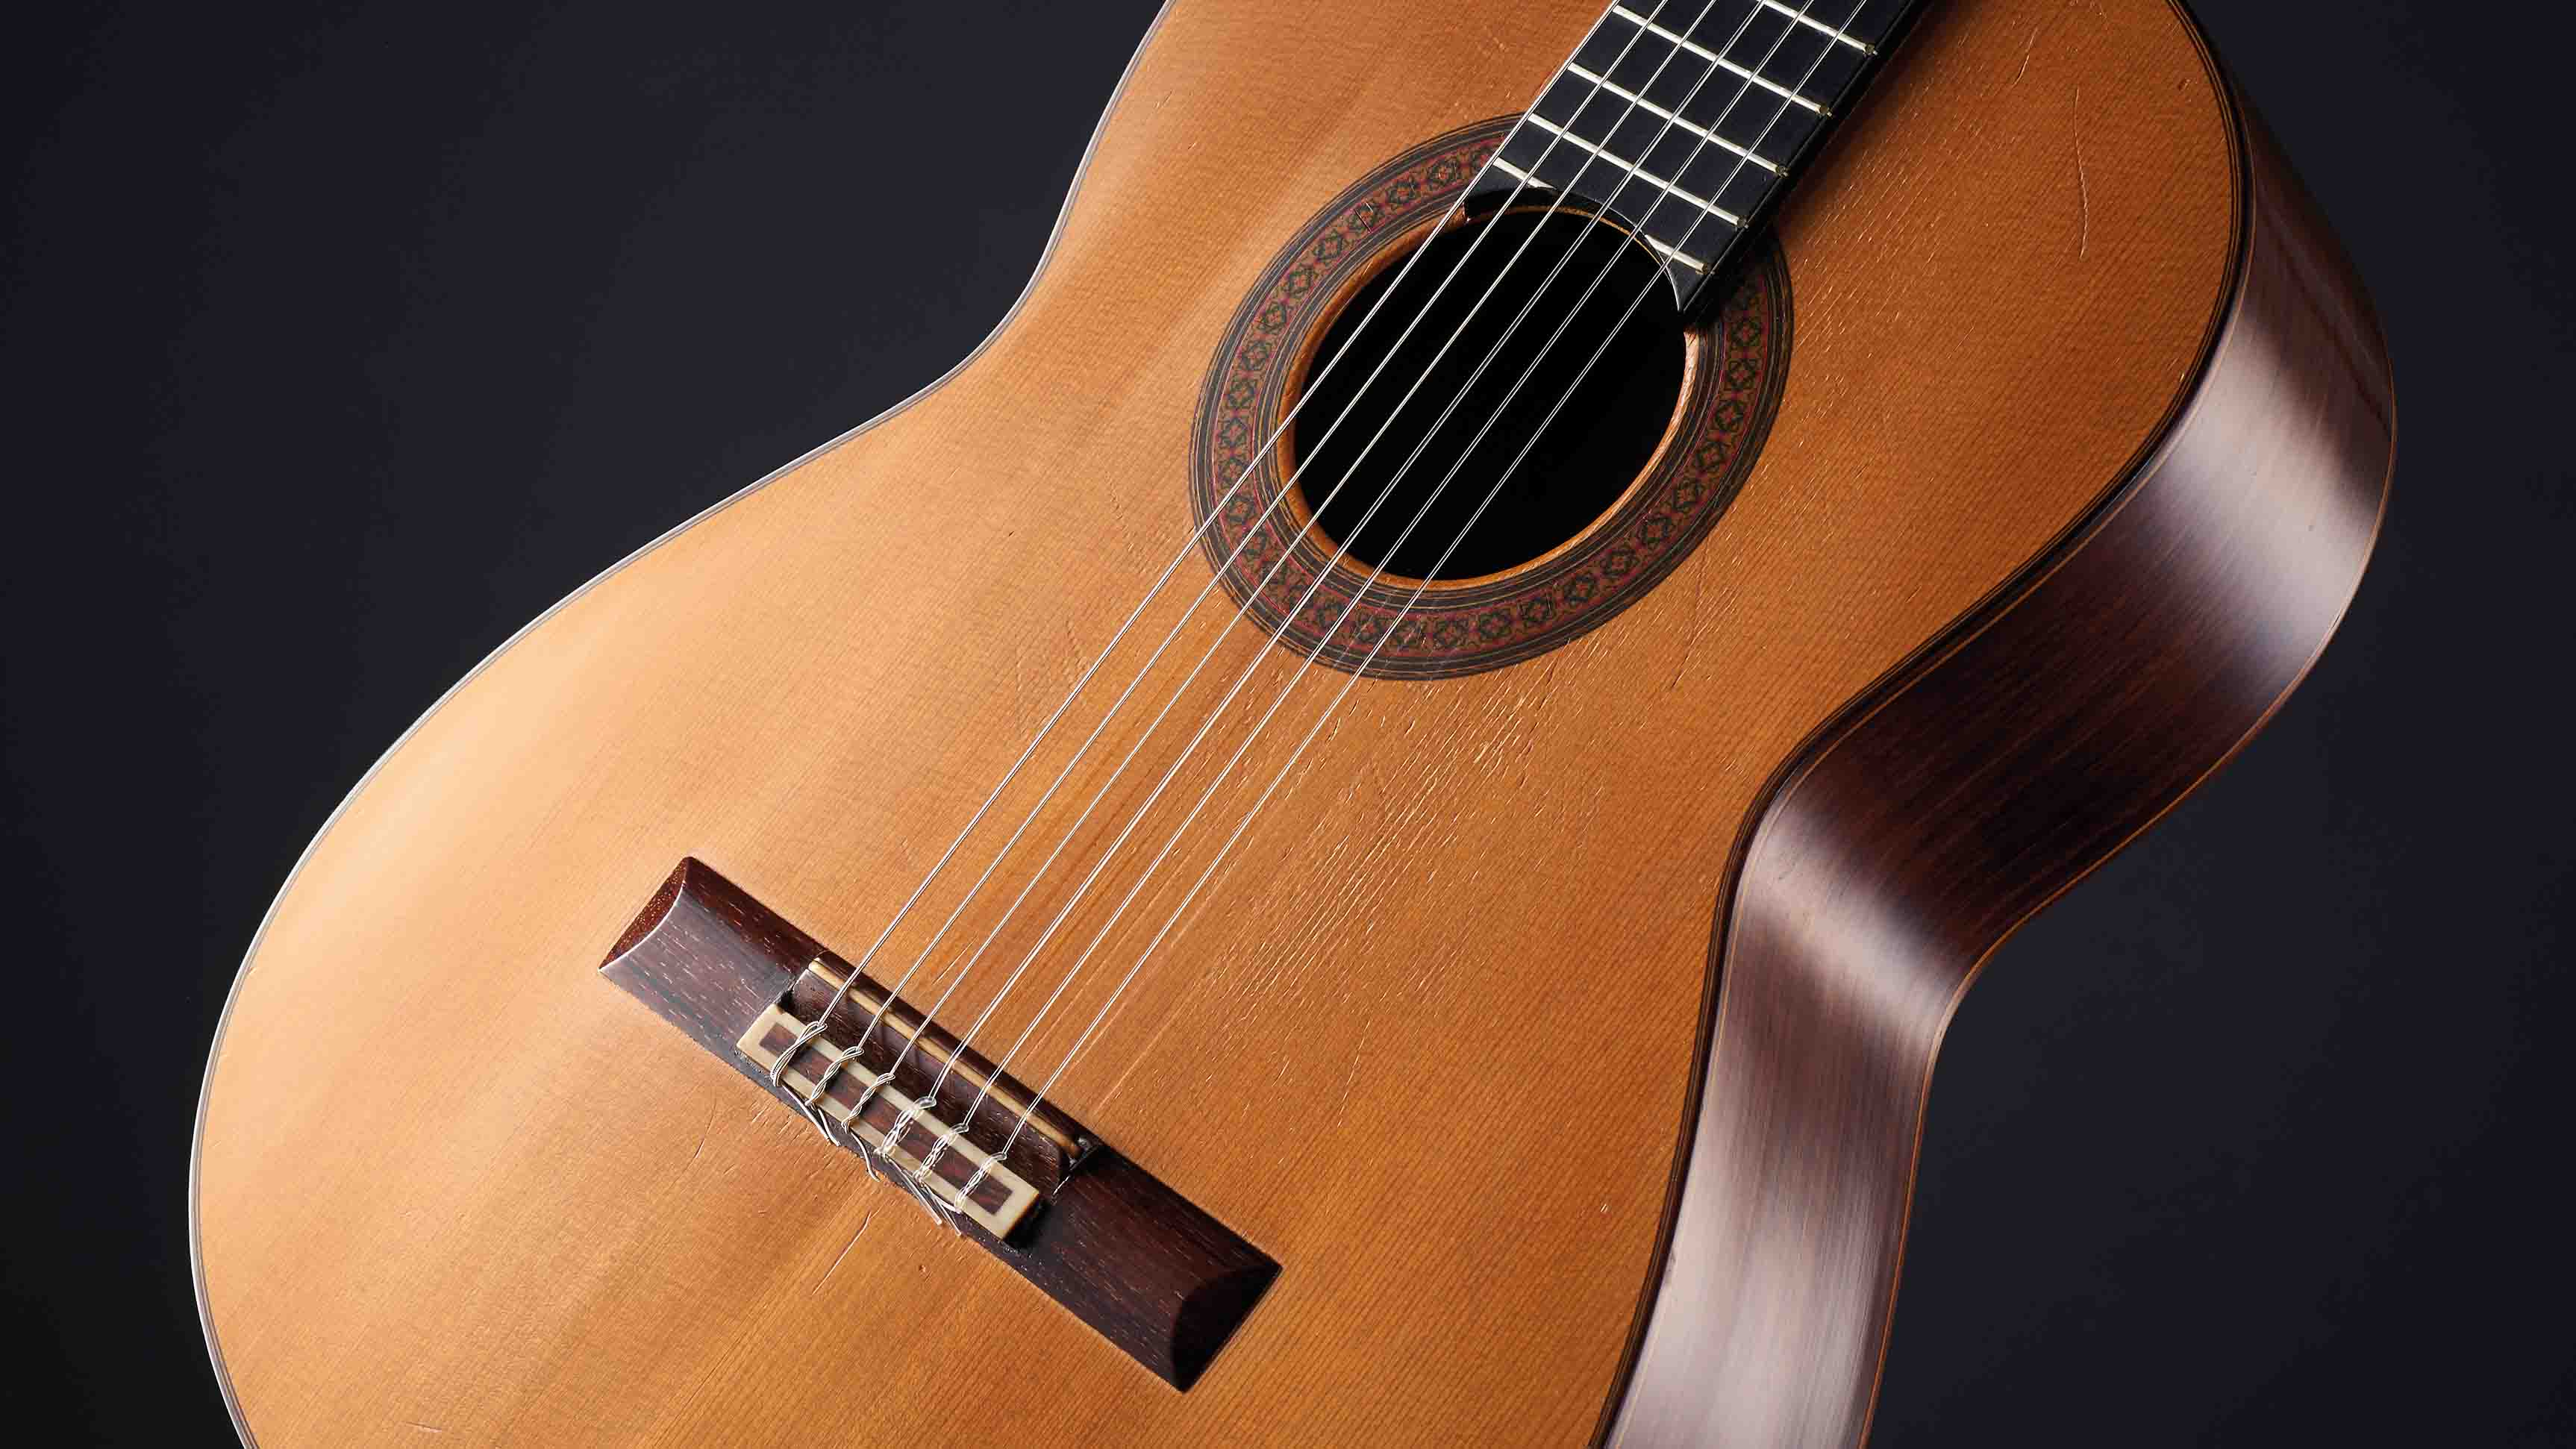
When selecting the guitar strings for your bracelet, consider the desired thickness and color to align with your personal preferences. Whether you prefer the sleekness of electric guitar strings or the warmth of acoustic guitar strings, the choice is entirely yours. Furthermore, the addition of crafting charms or beads can infuse a touch of individuality and creativity into your bracelet, making it truly unique.
Once you’ve gathered these materials, you’re ready to dive into the process of crafting your very own guitar string bracelet. With these basic supplies at your disposal, you’ll be well-equipped to embark on a creative and fulfilling DIY journey, transforming used guitar strings into a stylish and personalized accessory.
Choosing the Right Guitar Strings
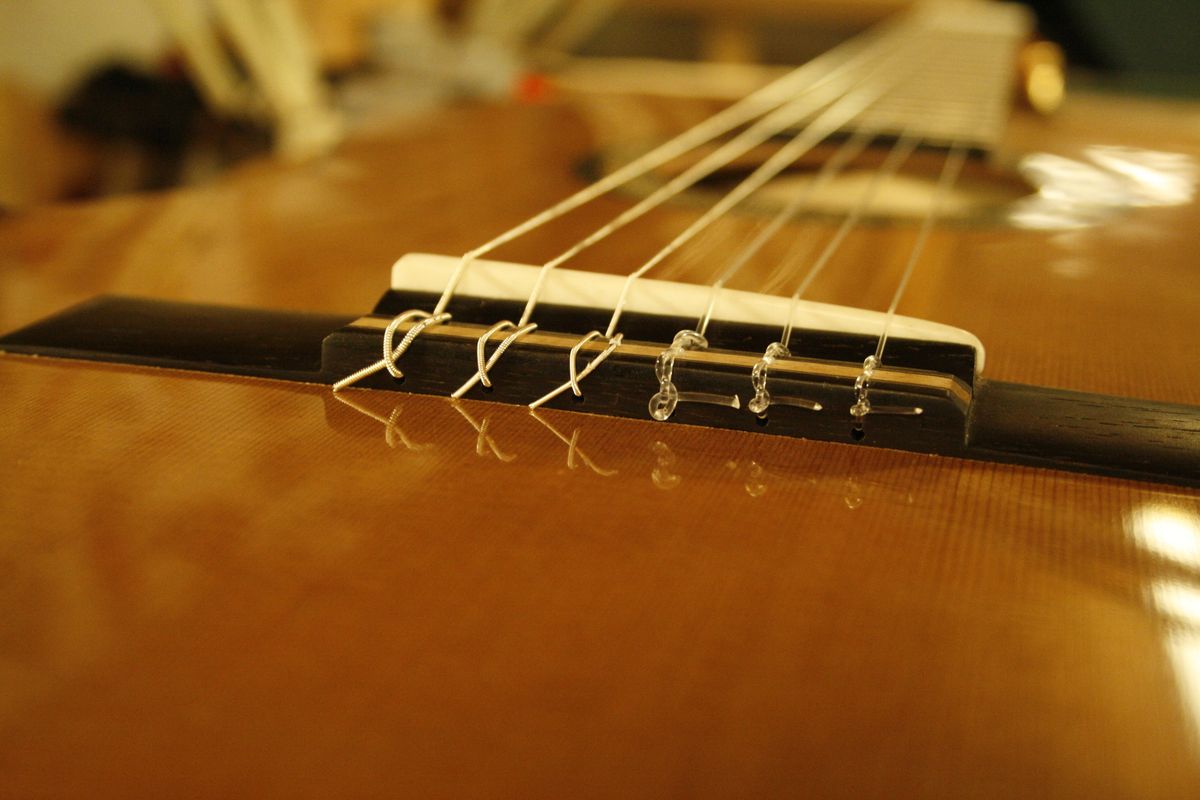
When it comes to creating a guitar string bracelet, the selection of the guitar strings themselves is a crucial step. The type of guitar strings you choose will significantly influence the appearance, durability, and overall aesthetic of the bracelet. Here are some key factors to consider when choosing the right guitar strings for your bracelet:
- Material: Guitar strings are commonly made from various materials, including stainless steel, nickel, bronze, and nylon. Each material offers distinct visual and textural qualities, allowing you to personalize the look and feel of your bracelet.
- Color: Guitar strings come in an array of colors, with options ranging from traditional silver and bronze to vibrant hues. Selecting a color that resonates with your personal style and complements your wardrobe can enhance the bracelet’s visual appeal.
- Thickness: The gauge or thickness of the guitar strings will determine the bracelet’s sturdiness and flexibility. Thicker strings can create a bold and substantial bracelet, while thinner strings offer a more delicate and lightweight aesthetic.
- Acoustic vs. Electric: Consider whether you prefer the robustness of acoustic guitar strings or the sleekness of electric guitar strings. The choice between these two types can influence the overall character of the bracelet.
It’s important to explore these factors and select guitar strings that align with your creative vision. Whether you aim to craft a rustic, earthy bracelet using bronze acoustic strings or a modern, edgy piece featuring sleek electric guitar strings, the possibilities are endless. Additionally, if you have access to a variety of used guitar strings, consider mixing and matching different types, colors, and thicknesses to create a truly unique and eclectic bracelet.
By carefully considering these elements, you can ensure that the guitar strings chosen for your bracelet reflect your individual style and resonate with your personal aesthetic preferences. With the right strings in hand, you’re one step closer to crafting a distinctive and meaningful guitar string bracelet that embodies your love for music and creativity.
Preparing the Guitar Strings
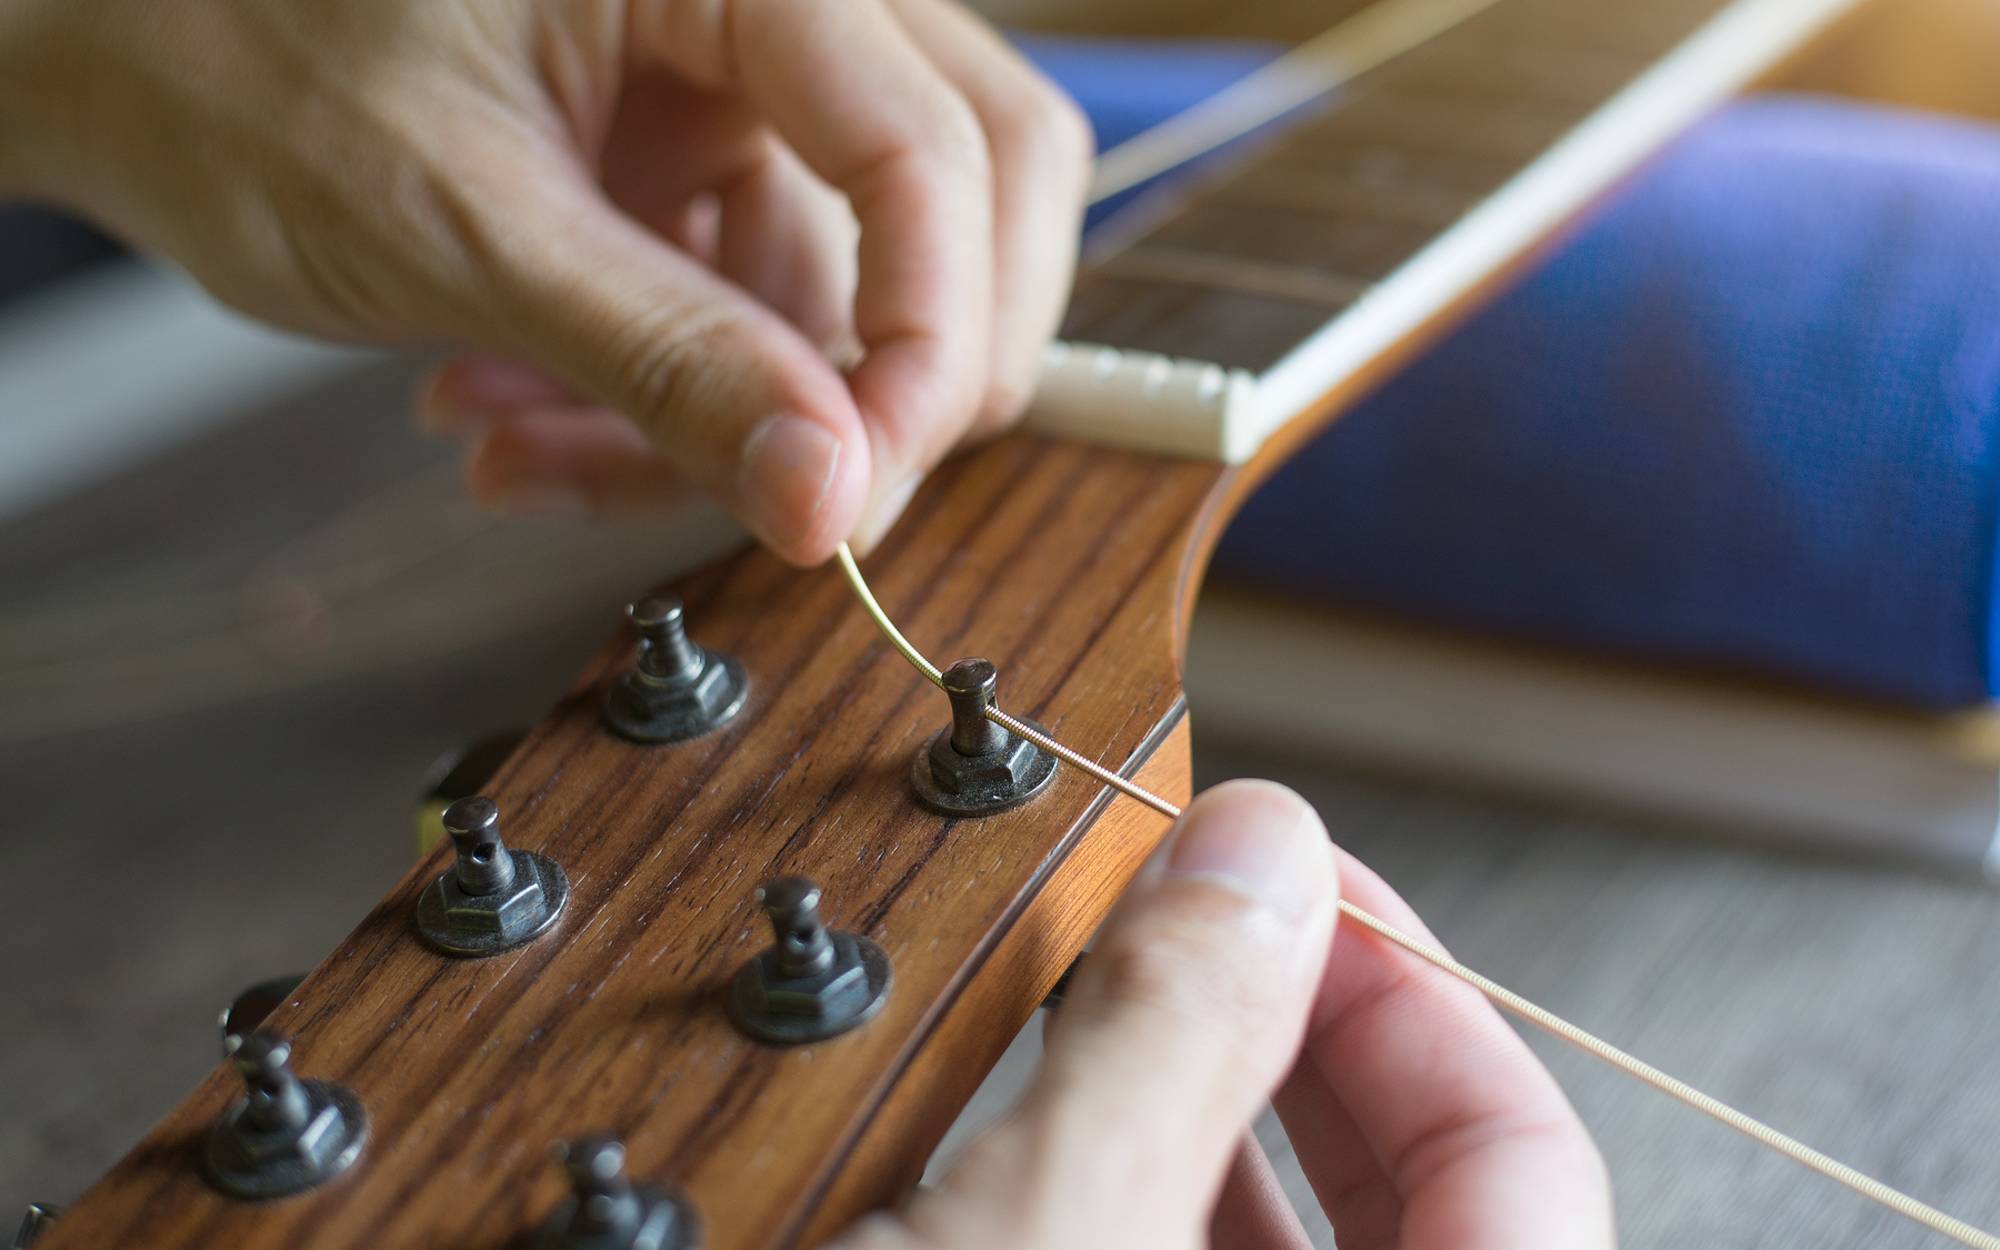
Before delving into the actual construction of the bracelet, it’s essential to properly prepare the guitar strings for crafting. Since used guitar strings may have accumulated dirt, grime, or residual oils from playing, it’s crucial to clean and sanitize them to ensure a pristine and hygienic finished product. Here’s a step-by-step guide to preparing the guitar strings:
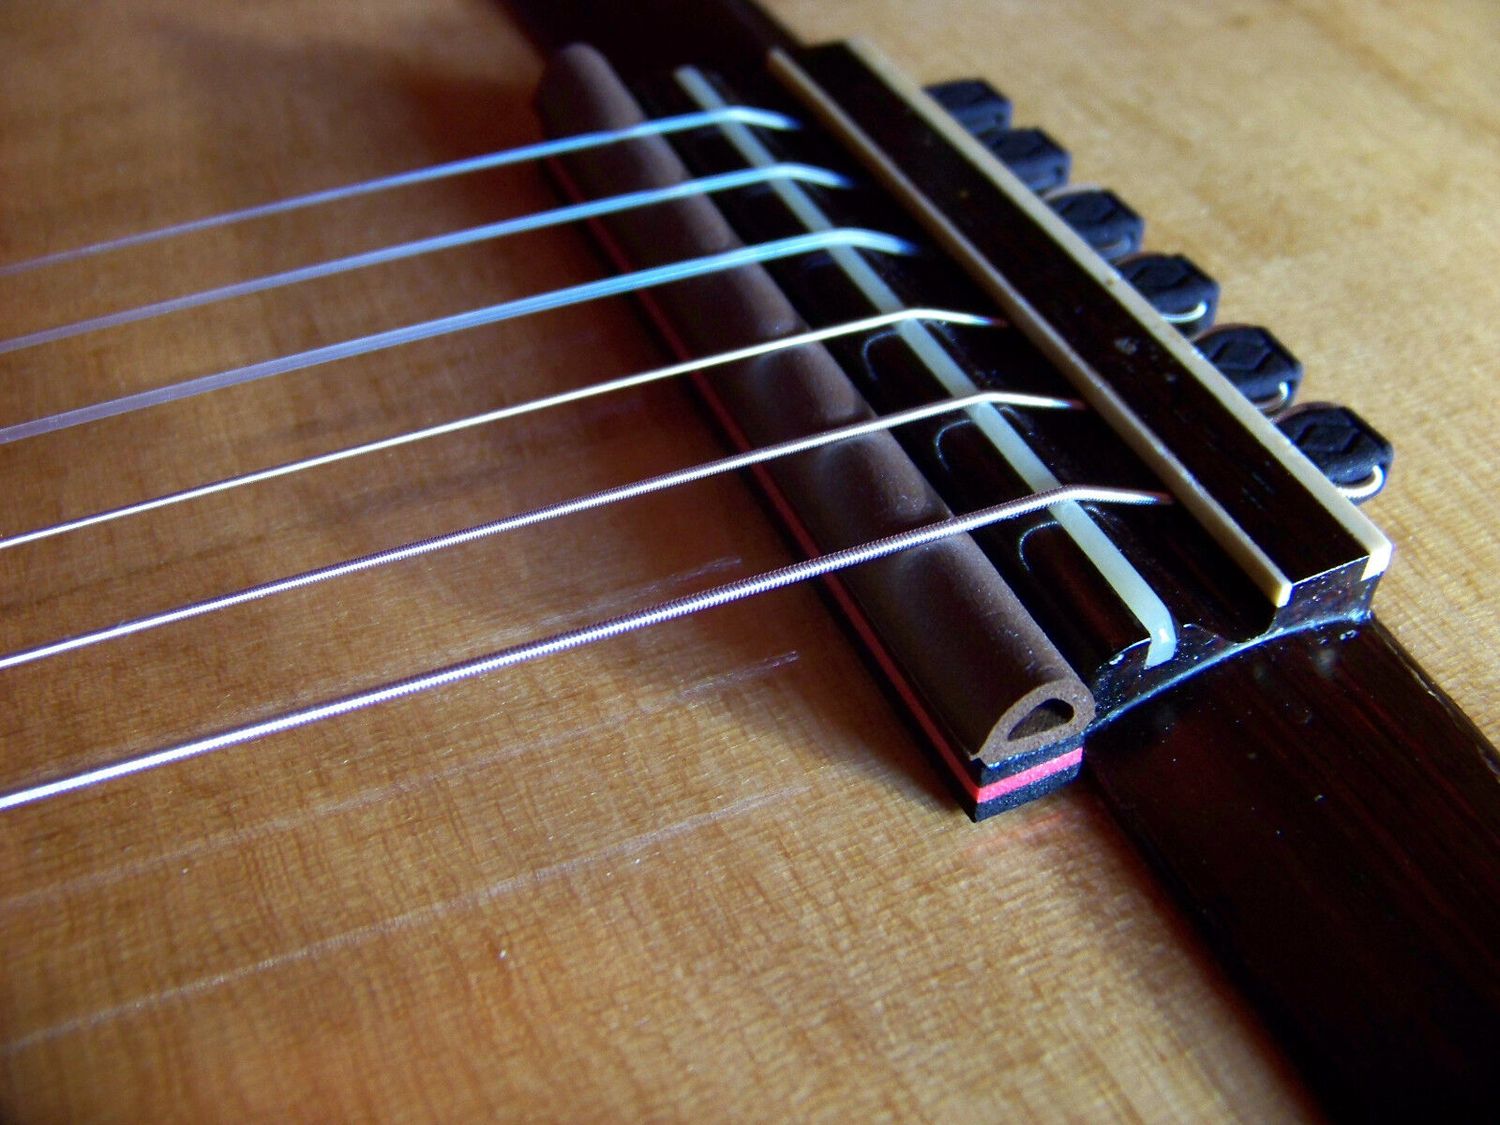
- Remove the Guitar Strings: Carefully remove the used guitar strings from the guitar, taking care to avoid any sharp edges or protruding ends. If necessary, use wire cutters to trim any excess length from the strings.
- Clean the Strings: Using a soft cleaning cloth and a mild solution of soap and water, gently wipe down each string to remove any accumulated debris and oils. This will help restore the luster and cleanliness of the strings.
- Dry the Strings: After cleaning, thoroughly dry the guitar strings to prevent any residual moisture from affecting the bracelet-making process. Ensure that the strings are completely dry before proceeding to the next step.
- Inspect for Damage: Carefully examine each string for any signs of damage, such as kinks, bends, or corrosion. It’s important to use strings that are structurally sound and free from defects to ensure the durability of the bracelet.
By following these preparatory steps, you can ensure that the guitar strings are clean, safe to handle, and free from any structural issues that could compromise the quality of the bracelet. Additionally, this process allows you to handle the materials with care and attention to detail, setting the stage for a successful and enjoyable crafting experience.
Once the guitar strings have been properly prepared, you’re ready to embark on the creative process of transforming them into a stunning bracelet. With clean, sanitized, and structurally sound materials at your disposal, you can confidently move forward in crafting a unique and expressive piece of jewelry that reflects your passion for music and style.
Making the Bracelet
Now comes the exciting part: transforming the cleaned and prepped guitar strings into a stylish bracelet. This process involves creativity, precision, and a touch of craftsmanship. Here’s a step-by-step guide to making your very own guitar string bracelet:
- Measure and Cut: Using a measuring tape or ruler, determine the desired length for your bracelet. Keep in mind that the length should accommodate the circumference of your wrist, allowing for a comfortable fit. Once measured, use scissors or wire cutters to trim the guitar strings to the appropriate length.
- Create a Pattern: If you’re using multiple guitar strings or incorporating beads or charms, experiment with different patterns and arrangements to achieve the desired aesthetic. Whether you opt for a symmetrical design or a more eclectic arrangement, this step allows you to infuse your personal style into the bracelet.
- Form the Bracelet: Carefully shape the guitar strings into a circular or oval form, ensuring that the ends align for secure closure. This step requires attention to detail and gentle manipulation of the strings to achieve a cohesive and visually appealing bracelet shape.
- Secure the Ends: Once the bracelet form is established, secure the ends of the guitar strings to maintain the shape. Depending on the chosen design, you can twist the ends together, use crimp beads, or employ other secure fastening techniques to ensure the bracelet remains intact.
- Refine the Design: Take a moment to refine the overall design of the bracelet, making any necessary adjustments to the shape, pattern, or embellishments. This stage allows you to perfect the visual appeal and structural integrity of the bracelet before adding the clasps.
Throughout this process, it’s important to approach the crafting with patience and creativity. The act of transforming guitar strings into a bracelet is a form of artistic expression, allowing you to imbue the accessory with your unique style and personality. Whether you opt for a sleek and minimalist design or a more intricate and embellished look, the bracelet-making process offers ample room for creative exploration.
By following these steps, you can bring your vision to life and craft a stunning guitar string bracelet that reflects your individuality and appreciation for music. The act of making the bracelet is not only a creative endeavor but also a meaningful celebration of craftsmanship and personal style.
Adding Clasps
Once the bracelet form has been crafted, the final step involves adding clasps to secure the ends of the guitar strings and complete the bracelet. Clasps not only provide functionality by allowing for easy wear and removal but also contribute to the overall aesthetic of the jewelry piece. Here’s a guide to adding clasps to your guitar string bracelet:
- Select the Clasps: Choose suitable jewelry clasps that complement the style and material of the guitar strings. Options include lobster clasps, spring ring clasps, and magnetic clasps, each offering distinct visual and functional attributes.
- Attach the Clasps: Using jewelry pliers, affix the chosen clasps to the ends of the guitar strings. This step requires precision and attention to detail to ensure a secure and seamless attachment.
- Test the Closure: Once the clasps are attached, test the closure to ensure that the bracelet securely fastens around your wrist. This step allows you to make any necessary adjustments to the clasps for optimal functionality.
- Refine the Presentation: Take a moment to refine the overall presentation of the bracelet, ensuring that the clasps enhance the visual appeal of the jewelry piece. This may involve adjusting the positioning of the clasps or making minor modifications to achieve a polished and cohesive look.
By adding clasps to the bracelet, you not only complete the functional aspect of the jewelry piece but also elevate its overall design. The choice of clasps and the manner in which they are integrated contribute to the bracelet’s character and usability, making them an essential component of the crafting process.
With the clasps in place, your guitar string bracelet is now ready to be worn and showcased as a unique and expressive accessory. The addition of clasps ensures that the bracelet is not only visually appealing but also practical and easy to incorporate into your daily style.
Conclusion
Congratulations on completing your journey into the art of crafting a guitar string bracelet! Through this DIY project, you’ve transformed used guitar strings into a fashionable and meaningful accessory that reflects your passion for music and creativity. As you conclude this creative endeavor, it’s important to reflect on the significance of this unique jewelry-making process.
By repurposing guitar strings and infusing them with your personal style, you’ve not only created a stunning bracelet but also contributed to sustainable and eco-friendly fashion. This DIY project embodies the spirit of upcycling, allowing you to breathe new life into materials that would have otherwise been discarded. In doing so, you’ve embraced a mindset of resourcefulness and artistic innovation, aligning with the ethos of sustainable fashion and conscious consumerism.
Furthermore, the act of crafting a guitar string bracelet is a celebration of individuality and self-expression. Your bracelet is a tangible representation of your love for music and your unique sense of style. Whether you’ve opted for a minimalist design or incorporated intricate patterns and embellishments, the bracelet serves as a personal statement—a testament to your creativity and appreciation for the artistry of handmade jewelry.
As you wear your guitar string bracelet, you carry with you a story of craftsmanship and passion. Each strummed chord and musical melody that once resonated through the guitar strings now adorns your wrist, serving as a reminder of the beauty and creativity found in everyday materials. Your bracelet is a conversation piece, an artistic expression, and a symbol of your connection to the world of music and design.
May your guitar string bracelet serve as a source of inspiration and a testament to the transformative power of creativity. As you continue to explore the realms of DIY jewelry-making and artistic expression, may this project remind you of the endless possibilities that arise when passion and innovation converge.
Embrace your unique creation, wear it proudly, and let it serve as a reminder of the harmonious blend of music and fashion that resides within you.