Home>Instruments>Bass>How To Make A Bass Guitar
Bass
How To Make A Bass Guitar
Published: November 29, 2023
Learn how to make a bass guitar from scratch and unleash your musical potential. Discover step-by-step guides and expert tips for crafting a customized bass instrument.
(Many of the links in this article redirect to a specific reviewed product. Your purchase of these products through affiliate links helps to generate commission for AudioLover.com, at no extra cost. Learn more)
Table of Contents
Introduction
Are you a music enthusiast with a passion for playing the bass guitar? Have you ever considered making your own bass guitar from scratch? Building your own instrument can be a rewarding and fulfilling experience that allows you to customize every aspect to suit your personal preferences. Whether you’re a seasoned woodworker or a beginner with a knack for DIY projects, this comprehensive guide will walk you through the process of making your very own bass guitar.
Building a bass guitar from scratch may seem like a daunting task, but with the right guidance and a bit of patience, you can create a high-quality instrument that rivals those available in music stores. The joy of playing on an instrument that you’ve built with your own hands is unparalleled, and it adds a unique touch to your musical journey.
This step-by-step guide will provide you with all the information you need to make a bass guitar. From gathering the necessary materials to applying the finishing touches, we’ll cover every detail of the process. Whether you’re interested in electric bass guitars or acoustic bass guitars, this guide has got you covered.
Throughout this article, we’ll discuss how to select the right materials, design the instrument to your specifications, cut and shape the wood, assemble the neck and body, install the necessary hardware, wire the electronics, apply the finish, and finally, set up and fine-tune your homemade bass guitar.
Remember, building a bass guitar requires attention to detail, patience, and proper tool usage. It’s essential to enjoy the process and take your time to ensure the best outcome. Now, let’s dive into the world of crafting your very own bass guitar!
Step 1: Gather Materials
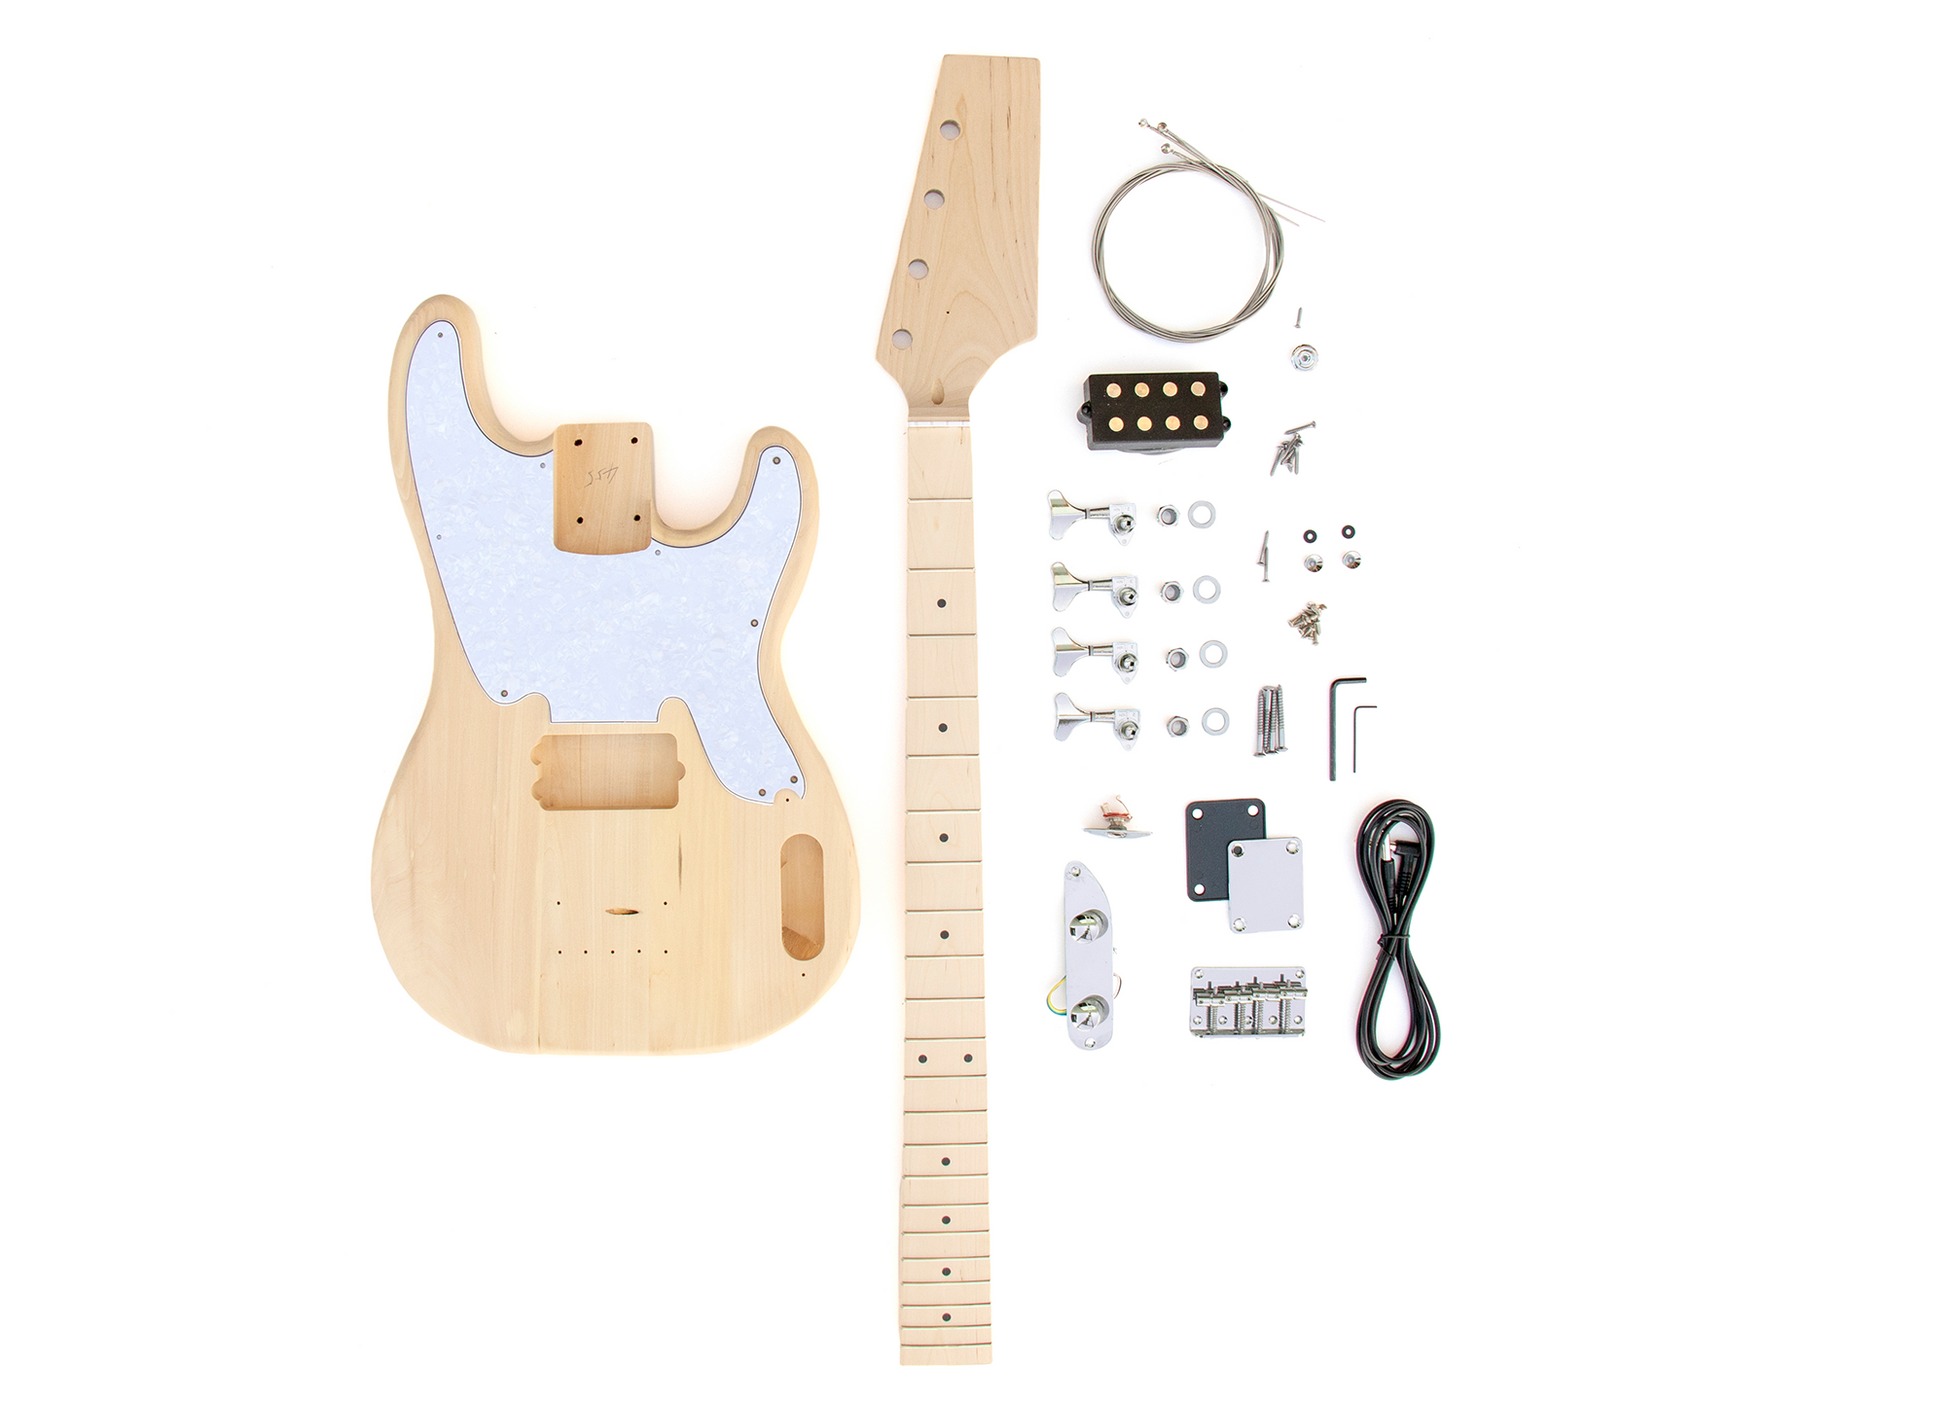
The first step in making your own bass guitar is to gather all the necessary materials. Here’s a list of items you’ll need:
- Wood: Choose a high-quality wood for the body and neck of your bass guitar. Popular options include mahogany, ash, alder, and maple.
- Fretboard: Select a durable and aesthetically pleasing wood for the fretboard, such as rosewood, maple, or ebony.
- Hardware: This includes items like tuners, bridge, knobs, pickups, and strings. Make sure to choose hardware that matches your desired sound and style.
- Electronics: You’ll need electronic components such as potentiometers, capacitors, and a jack for wiring the pickups and controls.
- Tools: Gather a variety of woodworking tools, including saws, sandpaper, chisels, drills, files, and clamps. Having the right tools will make the process much smoother.
- Finishing Materials: Decide on the type of finish you want for your bass guitar. This can include paints, stains, lacquers, or oils.
- Accessories: Don’t forget to gather accessories such as strap buttons, screws, and a truss rod for adjusting the neck tension.
It’s essential to choose high-quality materials that suit your preferences and budget. Remember, the materials you select will greatly impact the sound, playability, and overall aesthetic of your bass guitar. Consider researching different wood types and their tonal characteristics to help inform your decision.
Once you’ve gathered all the necessary materials, it’s time to move on to the next step: designing your bass guitar.
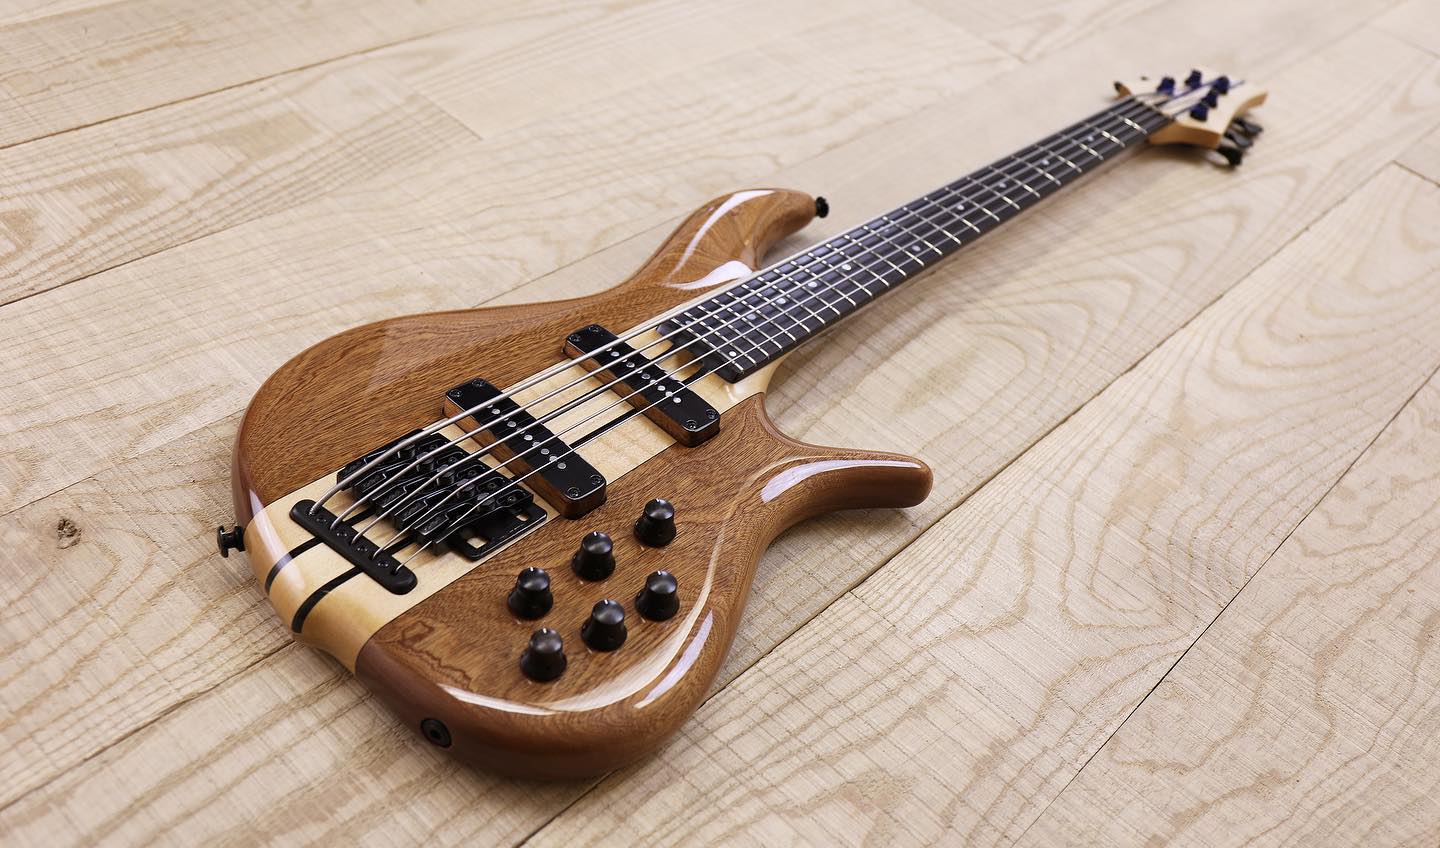
Step 2: Designing the Bass Guitar
Designing your bass guitar is an exciting and crucial step in the building process. It allows you to unleash your creativity and customize the instrument to match your playing style and personal preferences. Here are the key aspects to consider when designing your bass guitar:
- Body Shape: Decide on the shape of the body. Classic options like the P-bass or Jazz bass shapes are popular, but you can also explore unique and unconventional designs.
- Scale Length: Choose the scale length, which determines the length of the strings and the overall feel of the instrument. Common scale lengths for bass guitars range from 34 inches to 35 inches.
- Neck Profile: Consider the neck profile, which influences the feel of the neck in your hand. Options include thin and fast profiles or chunkier profiles for added stability and resonance.
- Fretboard Radius: Determine the fretboard radius, which affects the curvature of the fretboard. Different radii offer varied levels of comfort and playability.
- Fret Size: Select the size and material of the frets. Options include medium-jumbo, vintage-style, or stainless steel frets, each providing different tonal and playing characteristics.
- Pickup Configuration: Decide on the number and placement of pickups. Common configurations include a single coil or humbucker combination, or a blend of both.
- Control Layout: Plan the control layout. This includes the number and function of knobs or switches, allowing you to adjust volume, tone, and pickup selection.
- Finish Style: Choose the finish style, whether it’s a natural wood grain, a solid color, or a unique artistic design.
Take your time to sketch out your design or use computer-aided design (CAD) software to create a detailed visual representation. Consider consulting with experienced luthiers or fellow bass enthusiasts for additional guidance and inspiration.
Once you have finalized your design, you’re ready to move on to the next step: cutting and shaping the wood to bring your vision to life.
Step 3: Cutting and Shaping the Wood
With your design in hand, it’s time to start working with the wood to shape the body and neck of your bass guitar.
Begin by obtaining a solid block of wood that will serve as the body. Use your design as a template and mark the outline onto the wood. Carefully cut out the shape using a bandsaw or jigsaw, ensuring smooth and precise lines. Take your time during this step to achieve the desired shape.
Next, focus on the neck of the bass guitar. Start by selecting a suitable piece of wood that is both sturdy and resonant. Trace the shape of the neck onto the wood and cut it out. Use a hand plane, chisels, and sandpaper to shape the neck, taking care to create a comfortable profile for your playing style. Pay attention to the thickness and contour of the neck, ensuring it feels comfortable in your hand.
Once the body and neck are roughly shaped, it’s time to refine the details. Use rasps, files, and sandpaper to smooth the surfaces and create curved edges. Pay attention to the transition points between the body and neck, ensuring a seamless connection.
After shaping, it’s essential to drill holes for the hardware. Measure and mark the locations for the bridge, tuners, control cavity, and other components. Use appropriate drill bits to create pilot holes, then widen them to the required diameter. Take care to align the holes accurately to ensure a proper fit for the hardware.
Throughout the cutting and shaping process, it’s crucial to prioritize safety. Wear protective goggles and use clamps when necessary. Take your time and make precise cuts to achieve the best results.
Once the wood is accurately shaped and drilled, you’re ready to move on to the next step: assembling the neck and body of your bass guitar.
Step 4: Assembling the Neck and Body
Now that you have the body and neck of your bass guitar shaped and prepared, it’s time to bring them together and assemble the instrument.
Start by ensuring that the neck and body fit together perfectly. Make any necessary adjustments to ensure a snug and secure fit. If the neck pocket in the body is not deep enough, carefully use chisels or sandpaper to deepen it. It’s crucial to achieve a tight joint between the neck and body for optimal tone and stability.
Once the fit is perfect, apply a thin layer of wood glue to the neck pocket in the body. Carefully place the neck into the pocket, ensuring proper alignment with the center of the body as per your design. Use clamps to firmly hold the neck in place.
Allow the glue to dry according to the manufacturer’s instructions. It’s important to exercise patience during this step to ensure a strong and stable connection between the neck and body.
After the glue has dried, remove the clamps and clean up any excess glue. Use a chisel or sandpaper to level any uneven areas where the neck meets the body, creating a smooth and seamless joint.
With the neck and body assembled, it’s time to move on to the next step: installing the hardware on your bass guitar.
During the assembly process, pay close attention to the alignment and fit of the neck and body. Take your time to ensure a proper and secure connection, as this will greatly impact the overall playability and sound of your instrument.
Step 5: Installing the Hardware
With the neck and body of your bass guitar securely assembled, it’s time to install the hardware that will bring your instrument to life. Follow these steps to ensure a successful installation:
1. Start with the bridge: Position the bridge on the body according to your design and mark the screw hole locations. Use a drill to create pilot holes, then attach the bridge using appropriate screws or mounting hardware. Make sure the bridge is aligned properly and securely fastened to the body.
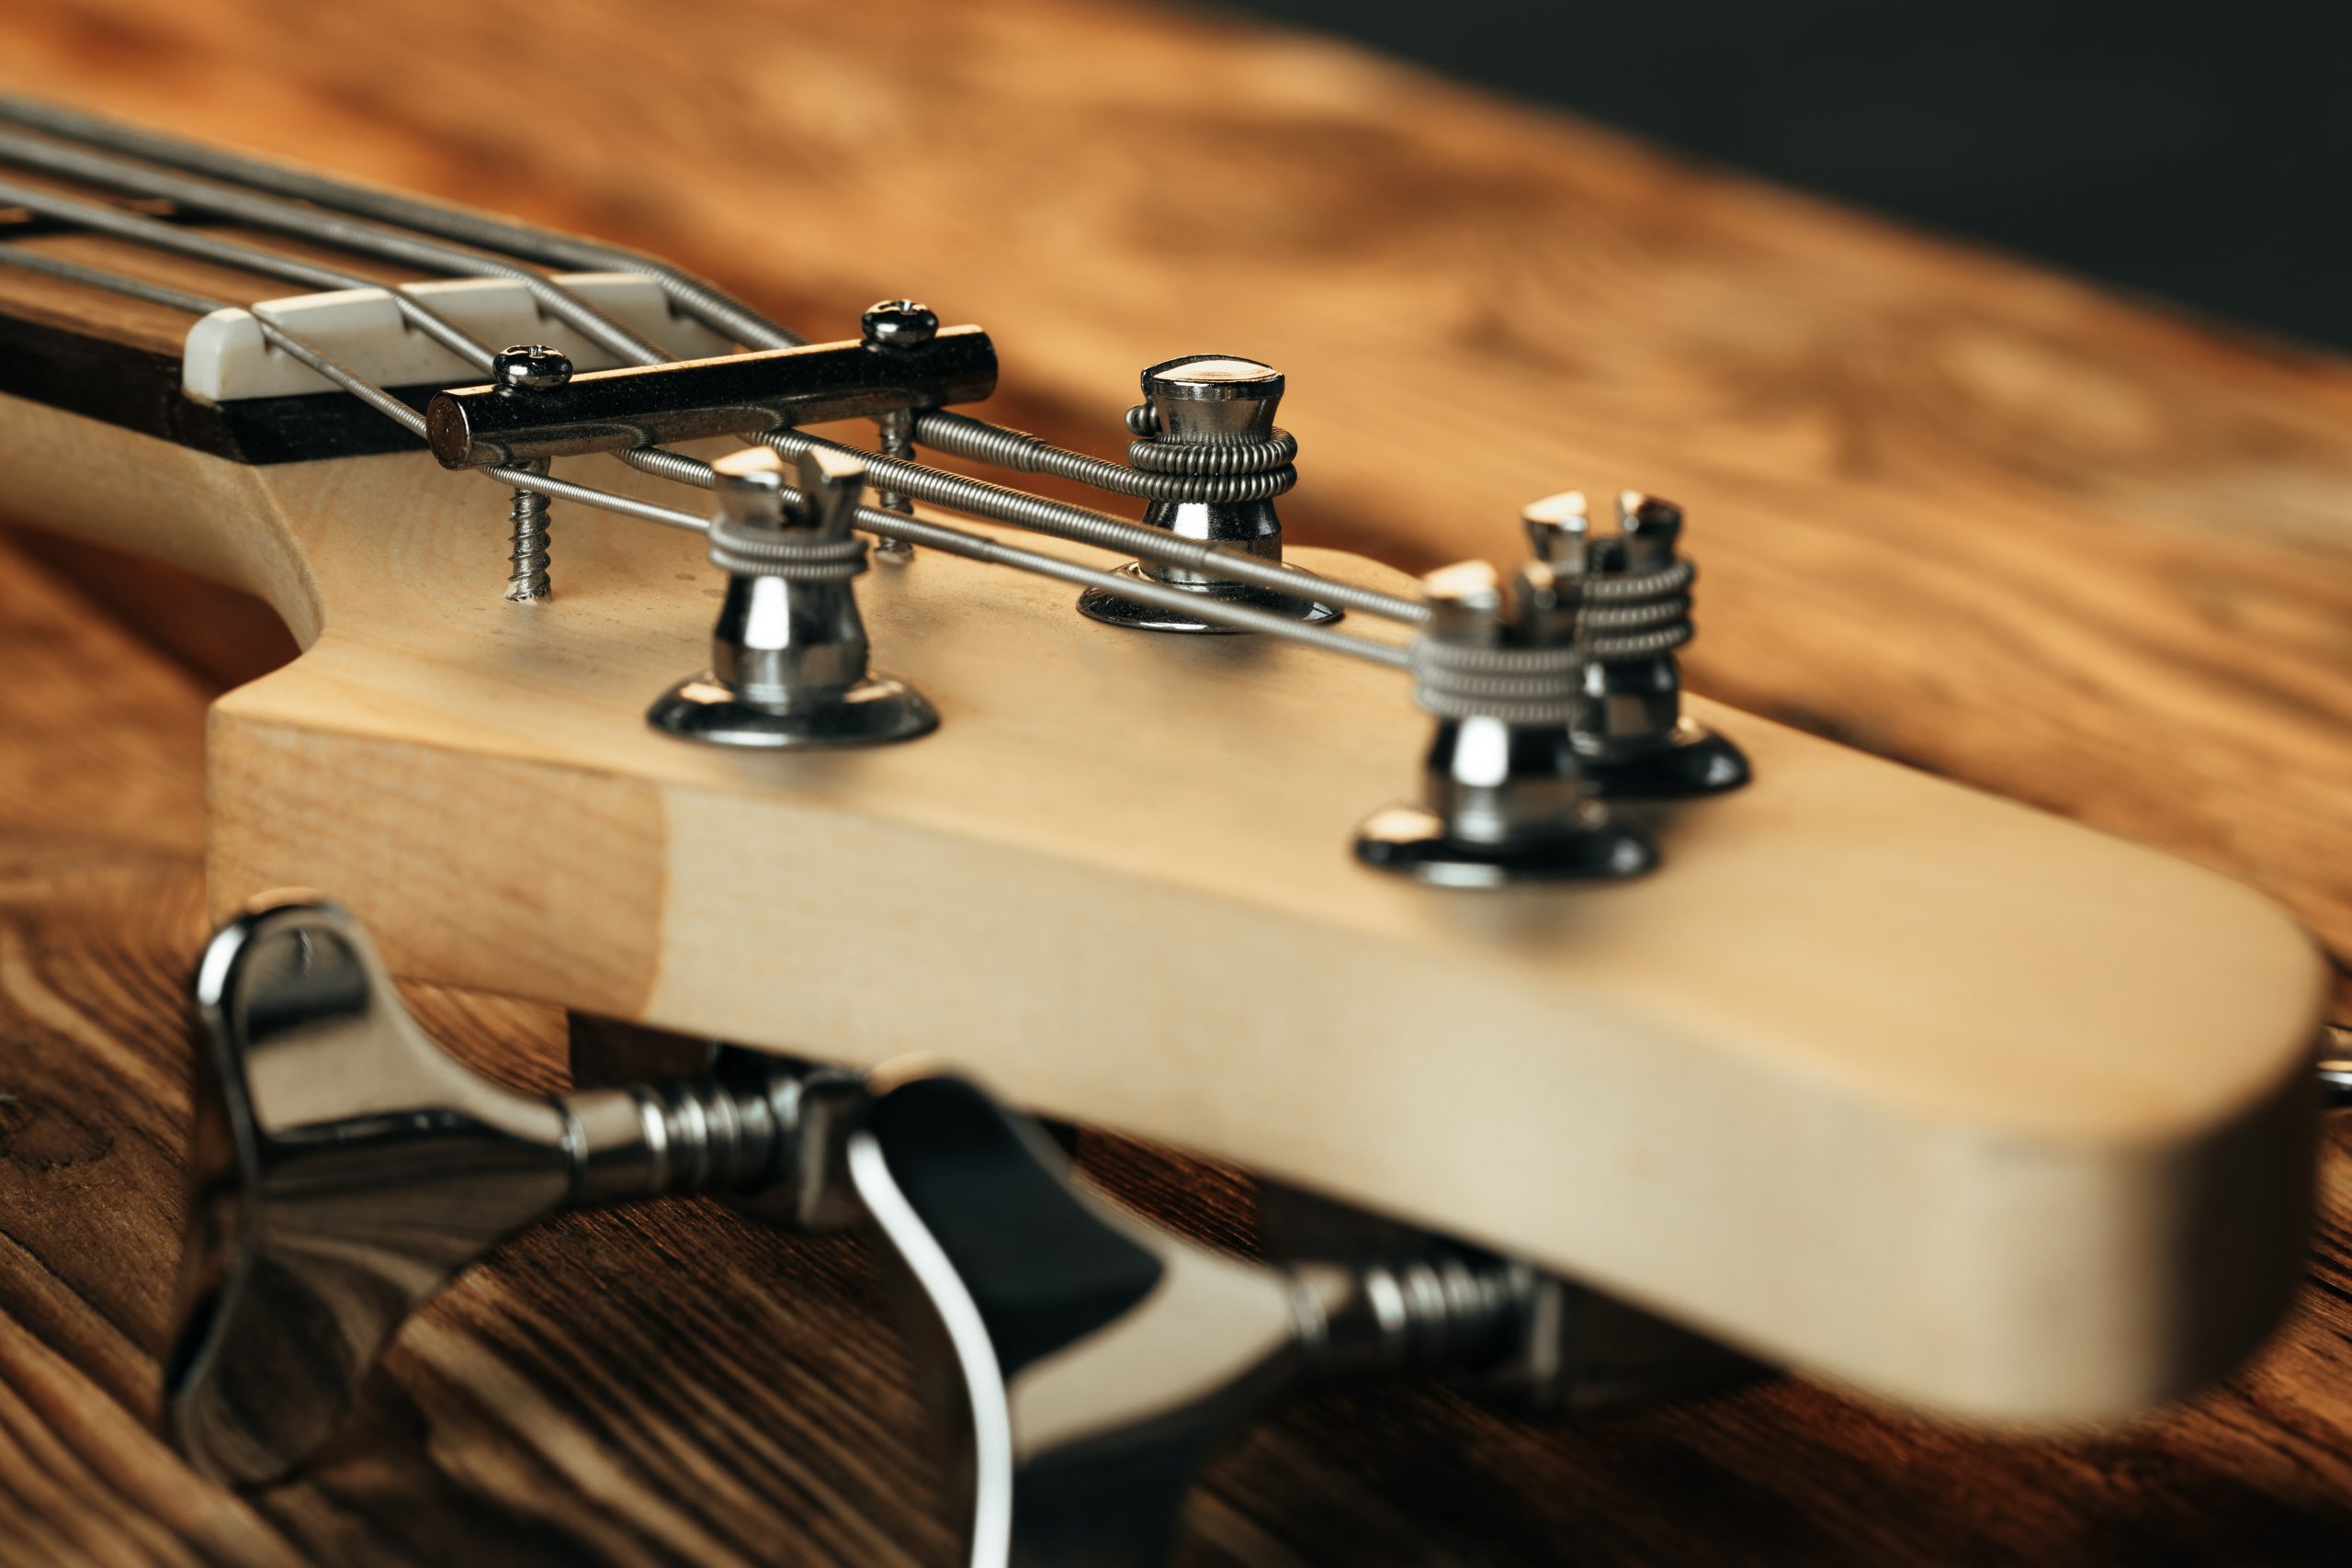
2. Install the tuners: Locate the appropriate spots on the headstock for the tuning pegs. Drill small pilot holes, then screw in the tuners. Ensure they are tight and aligned properly, allowing for smooth string winding and tuning.
3. Attach the strap buttons: Identify the desired locations for the strap buttons on the body of your bass guitar. Drill pilot holes for each button, then screw them in securely. Ensure the buttons are positioned in a way that provides proper balance and comfort when wearing a strap.
4. Install the pickups and electronics: Determine the placement of the pickups according to your design. Carefully follow the manufacturer’s instructions for wiring and soldering the pickups to the controls and output jack. Take your time to ensure proper connections and tidy wiring for optimal sound quality.
5. Mount the control knobs and switches: Decide on the configuration and layout of the control knobs and switches. Drill appropriately-sized holes for the components and secure them in place. Make sure they are placed ergonomically for easy access while playing.
Throughout the installation process, double-check the alignment and positioning of each hardware component. Take care to tighten screws securely, but avoid overtightening to prevent damage to the wood.
Once the hardware is installed, you can move on to the next step: wiring the electronics of your bass guitar.
Remember to exercise caution while handling tools and components. Take your time and follow instructions carefully to ensure a successful installation of the hardware.
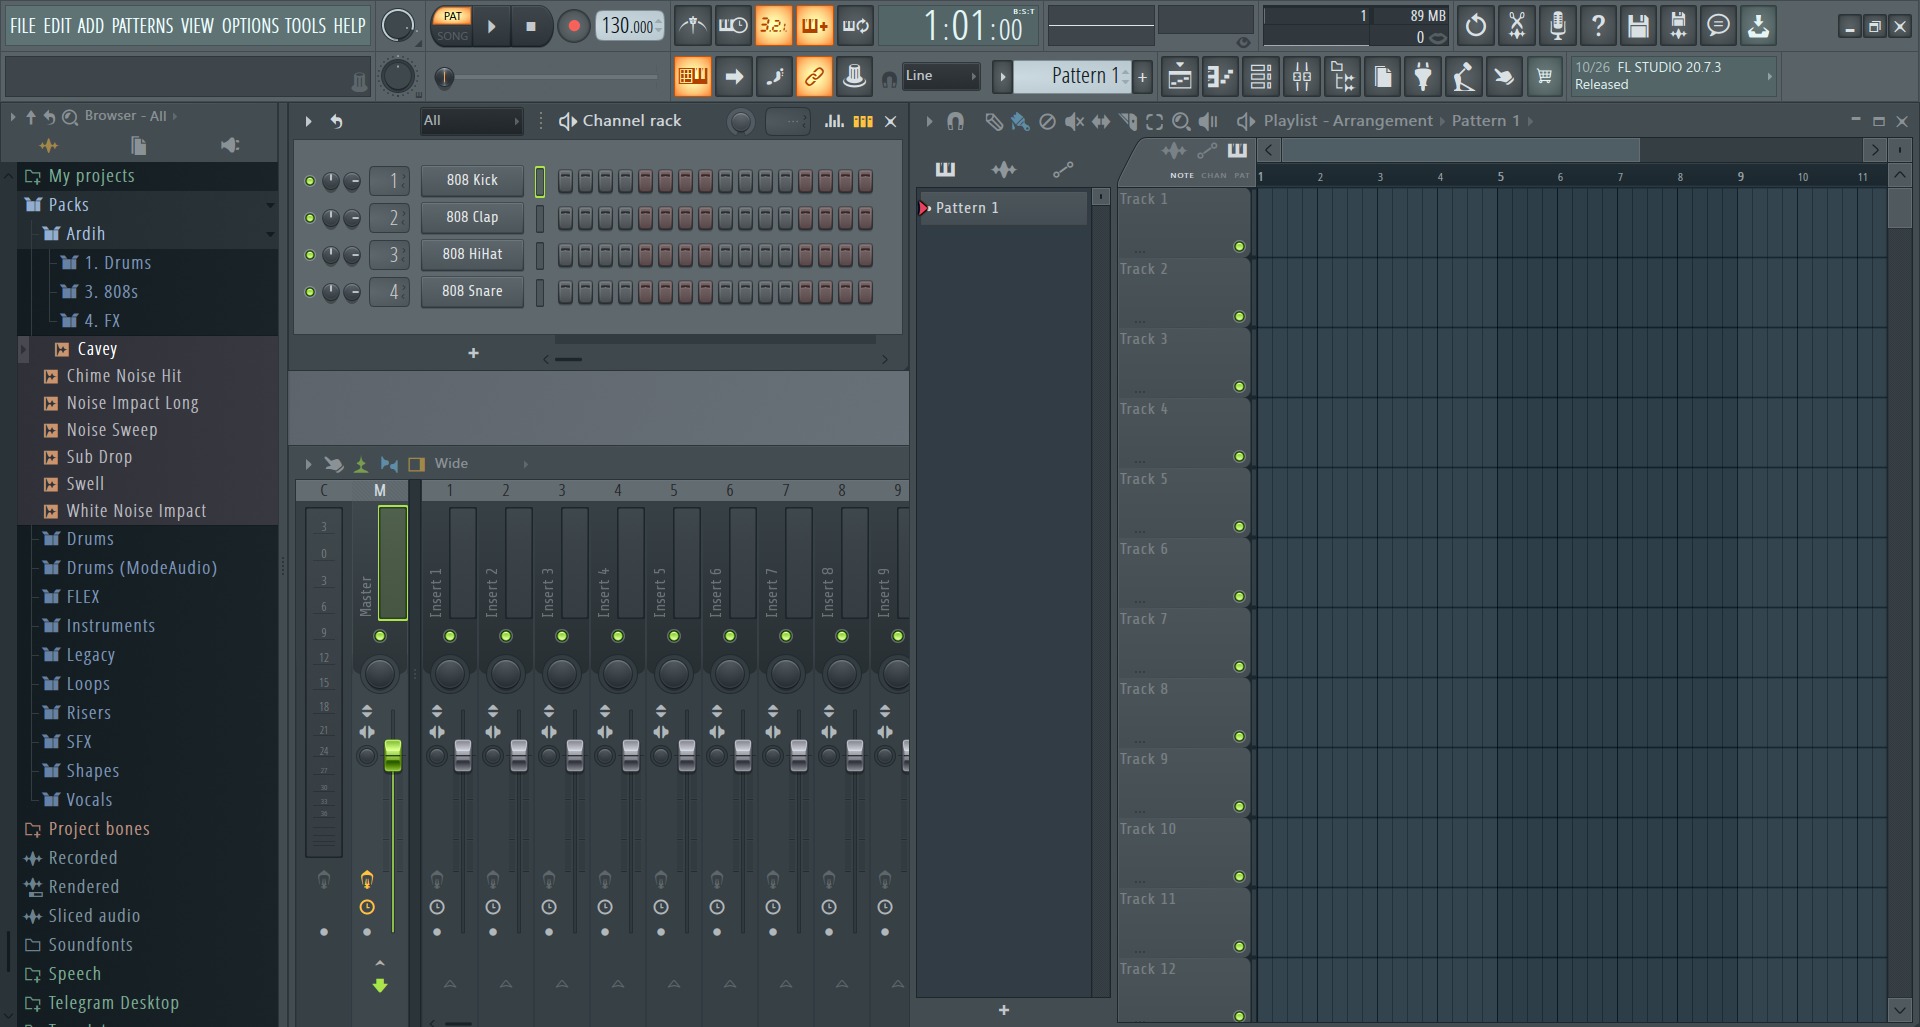
Step 6: Wiring the Electronics
Now that you have installed the hardware on your bass guitar, it’s time to wire the electronics and bring your instrument to life. Follow these steps to navigate the wiring process:
1. Gather the necessary components: Ensure you have all the required electronic components, including potentiometers, capacitors, and a jack, as well as the appropriate wiring and soldering tools.
2. Plan the wiring layout: Decide on the control layout for your bass guitar. This includes determining the placement of volume and tone controls, as well as any switches or pickups. Refer to your design or consult wiring diagrams specific to your bass guitar model for guidance.
3. Connect the pickups: Start by soldering the pickup wires to the appropriate terminals on the volume and tone controls. Follow the color-coded guidelines provided by the pickup manufacturer or refer to wiring diagrams for proper connection.
4. Wire the controls: Connect the volume and tone controls, as well as any other switches or components, following your desired wiring layout. Take care to avoid crossing wires or creating unnecessary confusion in the circuitry.
5. Grounding: It’s crucial to ground your bass guitar for proper functioning and to reduce unwanted noise or hum. Connect a wire from the back of one of the control pots to the bridge or a designated grounding point.
6. Test the circuitry: Before finalizing the wiring, double-check all connections and ensure there are no loose or soldered wires that could cause issues. Test the circuitry with an amplifier to verify that all controls and pickups are functioning correctly.
7. Properly insulate and secure the wiring: Once you’re satisfied with the circuitry and functionality, ensure that all wired connections are insulated properly using heat shrink tubing or electrical tape. Secure the wiring and components neatly within the control cavity to prevent unnecessary strain or damage during play.
Wiring the electronics can be a delicate process, so it’s important to work in a well-lit and organized workspace. Take your time, follow wiring diagrams or manufacturer’s instructions, and seek assistance if needed to ensure a properly functioning electrical system for your bass guitar.
Once the electronics are wired, you can proceed to the next step: applying the finish to your instrument.
Step 7: Applying Finish
Now that the hardware and electronics are in place, it’s time to give your bass guitar a finishing touch that not only enhances its appearance but also protects the wood from wear and tear. Follow these steps to apply the finish to your instrument:
1. Prepare the wood surface: If needed, sand the body and neck with progressively finer grits of sandpaper to smooth out any imperfections or unevenness. Ensure the wood is clean and free of dust or debris before proceeding.
2. Choose the type of finish: There are different options for finishing your bass guitar, including paints, stains, lacquers, or oils. Each type of finish offers a unique aesthetic and protection. Consider the look and feel you want for your instrument and choose a finish that suits your preferences.
3. Apply the finish: Apply the chosen finish following the product’s instructions. This may involve brushing, spraying, or wiping the finish onto the wood surface. Work in a well-ventilated area and use appropriate safety precautions, such as wearing a mask and gloves.
4. Allow the finish to dry: Give the finish ample time to dry and cure. Follow the manufacturer’s instructions regarding drying time and conditions. It’s important to be patient during this step to ensure a durable and professional-looking finish.
5. Sand and repeat (optional): If desired, sand the finish lightly between coats for a smoother and more uniform appearance. This step will depend on the type of finish used and your desired outcome. Repeat the application process until you achieve the desired level of finish and protection.
6. Buff and polish (optional): After the final coat of finish has dried, you may choose to buff and polish the surface to achieve a glossy shine. Use a soft cloth or buffing pad and a suitable polishing compound to bring out the luster of the finish.
Remember to follow all safety instructions and handle the finish materials with care. If you’re unsure about the finishing process, consider seeking assistance from experienced luthiers or woodworking professionals.
Once the finish is complete, you can move on to the final step: setting up and fine-tuning your bass guitar.
Step 8: Setting Up and Fine-tuning the Bass Guitar
After completing the previous steps and applying the finish to your bass guitar, it’s time to set up and fine-tune the instrument. This final step is crucial to ensure optimal playability and sound quality. Follow these steps to get your bass guitar ready for action:
1. Adjust the truss rod: The truss rod is a metal rod that runs through the neck of the guitar and helps control the neck’s curvature. Use an appropriate tool, such as an Allen wrench, to adjust the truss rod as needed, ensuring that the neck has a slight forward bow. This adjustment will counteract string tension and prevent bowing or buzzing.
2. Set the action: The action refers to the height of the strings above the fretboard. Adjust the string height at the bridge to achieve a comfortable and consistent action across all strings. Higher action can provide more sustain but may be harder to play, while lower action can make playing easier but may cause buzzing. Find the balance that suits your playing style and preference.
3. Intonate the guitar: Intonation ensures that each note plays in tune along the entire length of the fretboard. Use an electronic tuner and adjust the bridge saddles to accurately match the pitch at the 12th fret with the open string.
4. Check and adjust the nut: Inspect the nut for any sharp edges or improper string slots. If necessary, file the slots to the correct width and depth to ensure smooth string action and proper string spacing.
5. Check and adjust pickup height: Fine-tune the height of your pickups to achieve the desired balance of volume and tonal characteristics. Experiment with different heights to find the sweet spot for your desired sound.
6. Test the electronics: Plug in your bass guitar and test the functionality of the pickups, controls, and output jack. Make any necessary adjustments or repairs if you encounter any issues.
7. Stretch and tune the strings: Install a fresh set of strings and carefully stretch them to minimize tuning instability. Tune the bass guitar and make any necessary adjustments to maintain proper tuning stability.
Throughout the setup process, take your time and make small adjustments gradually. It may take some experimentation and fine-tuning to achieve the perfect setup for your playing style and preferences.
Once the setup is complete, your bass guitar is ready to be played and enjoyed. Enjoy the satisfaction of playing on an instrument that you’ve crafted with your own hands!
Conclusion
Congratulations! You’ve successfully completed the journey of making your own bass guitar from scratch. Building a bass guitar is a labor of love that requires dedication, patience, and attention to detail. By following the steps outlined in this guide, you have created a unique instrument that reflects your personal style and preferences.
Throughout the process, you learned the importance of selecting high-quality materials, designing the instrument to your specifications, cutting and shaping the wood, assembling the neck and body, installing the hardware, wiring the electronics, applying the finish, and setting up the instrument for optimal playability and sound.
Not only have you built a bass guitar that meets your needs and preferences, but you have also gained valuable knowledge and experience in woodworking, electronics, and instrument setup. The joy of playing on an instrument that you’ve crafted with your own hands is unparalleled, and it adds a unique touch to your musical journey.
Remember, the process of making a bass guitar is an ongoing learning experience. As you continue to play and refine your instrument, you may discover new ways to improve its sound, playability, or aesthetics. Embrace the opportunity to experiment and make adjustments along the way.
Building your own bass guitar not only allows you to express your creativity but also deepens your connection with the instrument. Cherish the time and effort you’ve invested in this project, as your homemade bass guitar carries with it a story and personal touch that sets it apart from commercially produced instruments.
So, strap on your new bass guitar, plug it in, and let your music flow. Enjoy the satisfaction of creating music with an instrument that you have crafted from start to finish.
Now, go forth and make some amazing bass music with your one-of-a-kind creation!