Home>Instruments>Guitar>How To Make A Guitar Strap

Guitar
How To Make A Guitar Strap
Published: February 13, 2024
Learn how to make a custom guitar strap with this step-by-step guide. Create a unique and comfortable accessory for your guitar-playing experience.
(Many of the links in this article redirect to a specific reviewed product. Your purchase of these products through affiliate links helps to generate commission for AudioLover.com, at no extra cost. Learn more)
Table of Contents
Introduction
So, you've got a beautiful guitar, and you're ready to rock out, but there's just one thing missing – a killer guitar strap! A guitar strap not only provides comfort and support while playing, but it's also a stylish accessory that can showcase your personality and vibe. Whether you're a seasoned guitarist or just starting out, making your own guitar strap can be a fun and rewarding project.
In this guide, we'll walk you through the process of creating a custom guitar strap that reflects your unique style. From selecting the right materials to adding personalized touches, you'll learn everything you need to know to craft a one-of-a-kind strap that will elevate your playing experience.
By crafting your own guitar strap, you have the opportunity to tailor it to your preferred length, width, and design, ensuring that it not only looks great but also feels comfortable during those long jam sessions. Plus, the satisfaction of creating something with your own hands adds an extra layer of meaning to the strap every time you sling it over your shoulder.
So, grab your materials and get ready to embark on a creative journey as we guide you through the step-by-step process of making a custom guitar strap that will become an essential part of your musical identity. Whether you're into classic leather, vibrant fabrics, or intricate embroidery, there's a style and technique that's just right for you. Let's dive in and unleash your creativity!
Materials Needed
Before diving into the exciting process of making your own guitar strap, it’s essential to gather the necessary materials. The beauty of crafting your own strap lies in the ability to handpick materials that align with your personal style and preferences. Here’s what you’ll need to get started:
- Fabric or Leather: Choose a durable and visually appealing material that will serve as the main body of your guitar strap. Whether you opt for a classic leather look, a bold patterned fabric, or a custom-printed design, the choice is yours.
- Thread: Select a strong, high-quality thread that complements the color and texture of your chosen fabric or leather.
- Hardware: This includes strap buttons, strap locks, and an adjustable buckle. These components are crucial for securely attaching the strap to your guitar and adjusting its length to your preference.
- Measuring Tape: An essential tool for accurately determining the desired length and width of your strap.
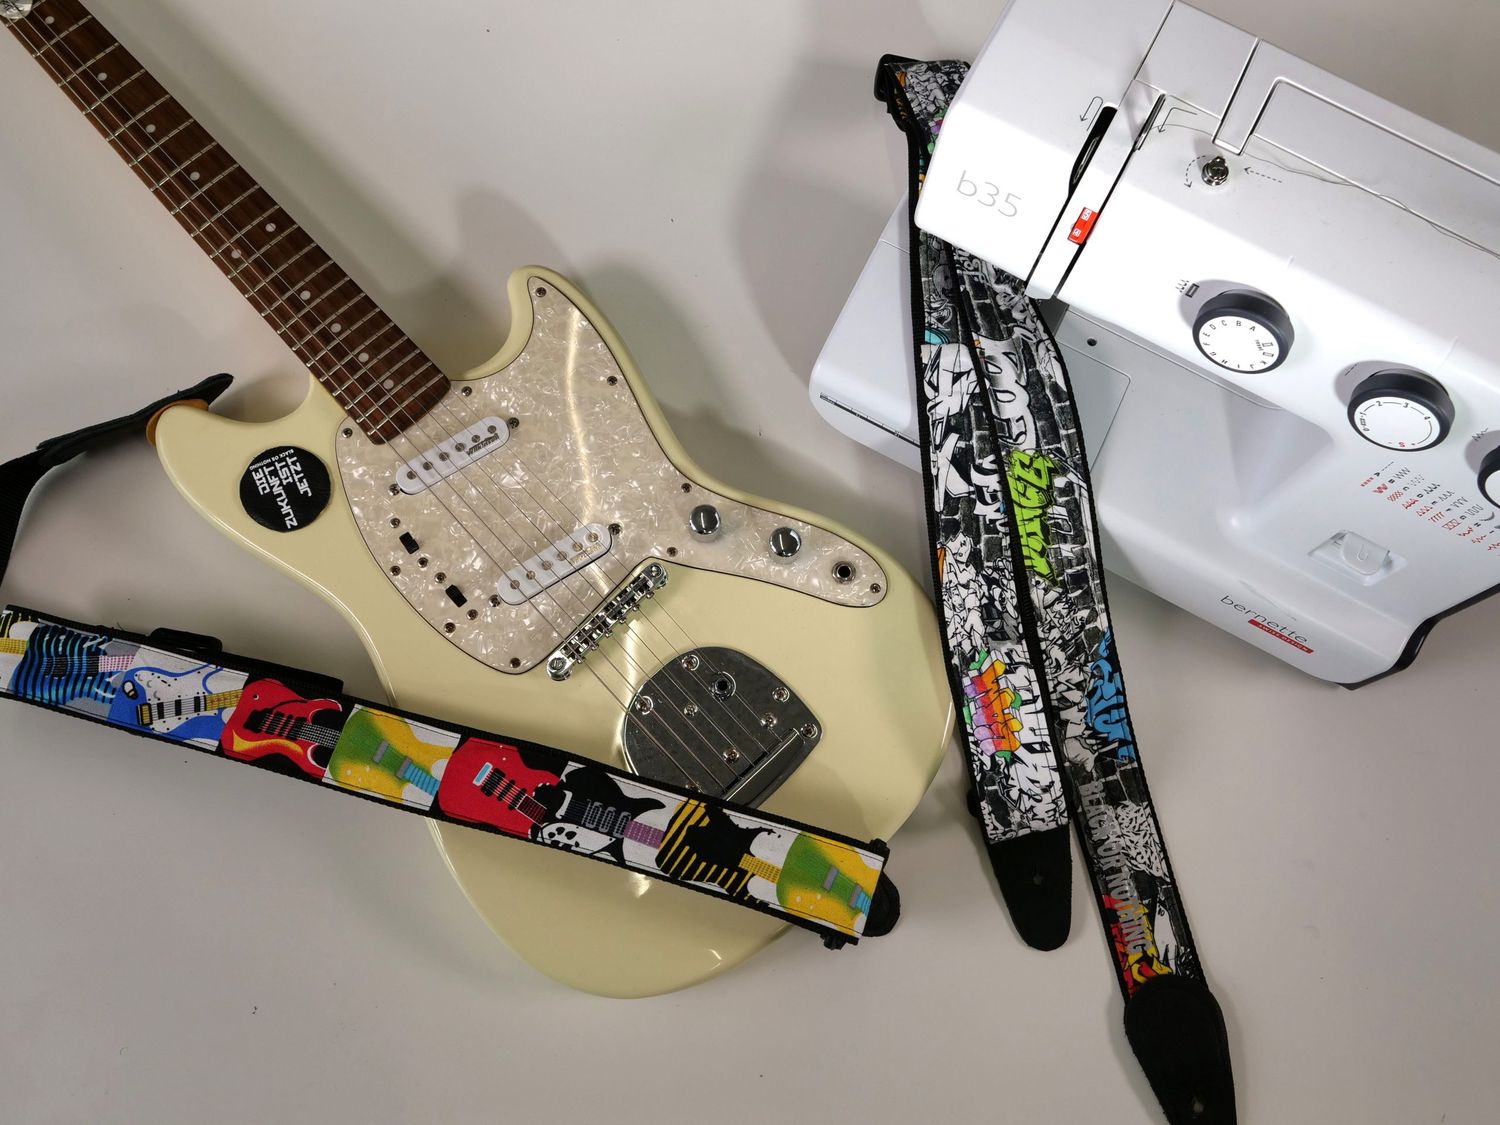
- Sewing Machine (optional): If you prefer machine sewing, having a sewing machine on hand can expedite the process. However, hand sewing is also a viable and rewarding approach.
- Scissors: A sharp pair of scissors is necessary for cutting the fabric or leather to the desired dimensions.
- Embellishments (optional): If you want to add a personal touch to your strap, consider embellishments such as patches, studs, or embroidery to make it uniquely yours.
By assembling these materials, you’ll be well-equipped to embark on the creative journey of making your own custom guitar strap. The possibilities are endless, so feel free to explore different textures, colors, and hardware options to bring your vision to life.
Step 1: Measure and Cut the Fabric
The first step in creating your custom guitar strap is to measure and cut the fabric or leather to your desired specifications. This is a crucial stage that sets the foundation for the entire project, so take your time with this process.
Begin by determining the ideal length and width for your guitar strap. Standard guitar straps are approximately 2 to 3 inches wide and 35 to 52 inches long, but these dimensions can be adjusted based on your personal comfort and playing style. Use a measuring tape to accurately measure and mark the dimensions on the fabric or leather, ensuring that the ends are straight and even.
Once you’ve marked the measurements, carefully cut the fabric or leather using sharp scissors, following the lines precisely to achieve clean and professional edges. If you’re using a fabric with a pattern or grain, pay attention to the alignment to ensure a visually appealing result.
If you’re incorporating a fabric that frays easily, consider using a sewing technique called “fray check” or applying a thin line of fabric glue along the edges to prevent unraveling. This extra step can contribute to the longevity and neatness of your guitar strap.
Remember, the goal is to create a sturdy and comfortable strap that will support your guitar while reflecting your personal style. Taking the time to measure and cut the fabric with precision will set the stage for the next steps in the crafting process.
Step 2: Sew the Ends
Once you’ve cut the fabric or leather to the desired dimensions, the next step in creating your custom guitar strap is to sew the ends to prevent fraying and provide a clean, finished look. This process will ensure that your strap is durable and able to withstand the rigors of regular use.
If you’re using a sewing machine, set it to the appropriate stitch length and thread it with a strong, coordinating thread. Begin by folding each end of the strap over by approximately 1 inch to create a clean edge. Secure the fold with pins to keep it in place while sewing. Then, carefully stitch along the edge of the fold, reinforcing the seam to withstand the tension of supporting your guitar.
For those who prefer hand sewing, a sturdy needle and a double-threading technique can provide the necessary strength for the seam. Use a backstitch or a running stitch to secure the folded ends, ensuring that the stitches are tight and evenly spaced for maximum durability.
Consider reinforcing the ends with an additional row of stitching to provide extra strength, especially if you anticipate heavy use of the guitar strap. This attention to detail will contribute to the longevity and reliability of your custom creation.
By sewing the ends of the strap, you’re not only preventing fraying but also adding a professional touch to your handmade accessory. This step sets the stage for attaching the hardware and adding adjustments, bringing you one step closer to completing your personalized guitar strap.
Step 3: Attach the Hardware
With the fabric or leather prepared and the ends securely sewn, it’s time to attach the hardware that will enable you to easily and securely fasten your custom guitar strap to your instrument. This step is essential for ensuring that your strap is not only functional but also reliable during performances and practice sessions.
Begin by identifying the placement of the strap buttons on your guitar. Typically, there will be one button near the base of the guitar body and another at the top, near the neck. These buttons serve as anchor points for attaching the strap, providing stability while playing in both standing and sitting positions.
Once you’ve located the appropriate positions for the strap buttons, use a screwdriver to affix them securely to the guitar. Ensure that they are fastened tightly to prevent any risk of the strap coming loose during use.
Next, attach the strap locks to the ends of your guitar strap. These locks will engage with the strap buttons on your guitar, providing a secure and reliable connection. Depending on the type of locks you’ve chosen, follow the manufacturer’s instructions to install them correctly, ensuring that they are firmly in place and able to withstand the weight of the guitar.
After the strap locks are attached, test the connection by fastening the strap to your guitar and gently tugging to ensure that it holds securely. This step is crucial for verifying that the hardware is properly installed and that your guitar strap is ready for action.
By attaching the hardware, you’re transforming your custom guitar strap into a fully functional and dependable accessory that will enhance your playing experience. With the hardware securely in place, you’re now ready to move on to the next step of adding adjustments to ensure optimal comfort and usability.
Step 4: Add Adjustments
Adding adjustments to your custom guitar strap is a crucial step that allows you to personalize the fit and comfort of the strap to suit your playing style and body type. By incorporating adjustable features, you can ensure that your strap provides the perfect balance of support and freedom of movement while playing.
One popular method for adding adjustments is to include a buckle or slider mechanism that allows you to modify the length of the strap with ease. If you’ve chosen this approach, carefully sew the adjustable component onto the strap, ensuring that it is securely attached and able to withstand the weight of the guitar.
Another option for creating adjustability is to incorporate a series of punched holes and a secure fastening method, such as a rivet or Chicago screw. This design allows you to customize the length of the strap by selecting the most comfortable and ergonomic setting for your playing preferences.
Consider the ideal length at which you prefer to play your guitar – whether you like it to hang low for a laid-back feel or prefer a higher position for precision and control. By incorporating adjustable features, you can effortlessly transition between playing positions, ensuring that your guitar strap adapts to your needs.
Once the adjustments are in place, test the strap to ensure that it can be easily modified to achieve your desired length and that the chosen fastening method is secure and reliable. This step is essential for confirming that your custom guitar strap provides the flexibility and support you require during performances and practice sessions.
With the adjustments seamlessly integrated into your custom guitar strap, you’re now ready to move on to the final step – adding personalized touches that will make your creation truly unique and reflective of your individual style.
Step 5: Personalize Your Strap
Personalizing your custom guitar strap is the exciting final step that allows you to infuse your unique personality and style into the finished product. Whether you’re drawn to intricate embroidery, eye-catching embellishments, or custom designs, this is the stage where you can make your guitar strap truly one-of-a-kind.
If you have a penchant for embroidery, consider adding your name, initials, or a meaningful symbol to the strap. This personalized touch not only adds visual interest but also creates a connection between you and your instrument, making it an extension of your identity as a musician.
For those who appreciate a bit of edge, incorporating studs, patches, or decorative hardware can elevate the aesthetic of the strap, adding a touch of rock ‘n’ roll flair. Whether you opt for a subtle accent or a bold statement, these embellishments can reflect your musical influences and individuality.
If you have access to custom printing or fabric painting techniques, consider adding a unique pattern, artwork, or vibrant colors to the strap. This approach allows for endless creativity, enabling you to express your artistic vision and create a strap that is as visually captivating as it is functional.
Another option for personalization is to integrate meaningful charms or pendants onto the strap, such as a small guitar pick, a treble clef symbol, or a miniature replica of your favorite guitar. These adornments serve as personal talismans, infusing your strap with sentimental value and significance.
As you add personalized touches to your guitar strap, keep in mind that the goal is to create a piece that resonates with you on a personal level and enhances your connection to your instrument. Whether subtle or bold, the customization process allows you to make a statement and showcase your individuality as a guitarist.
With the strap now personalized to your liking, you’ve completed the journey of creating a custom guitar strap that not only provides essential support but also reflects your unique style and musical identity. Your personalized creation is now ready to accompany you on your musical endeavors, adding a touch of artistry and comfort to every performance.
Conclusion
Congratulations on crafting your very own custom guitar strap! Through this creative process, you’ve not only created a functional and stylish accessory but also infused it with your unique personality and musical identity. As you prepare to sling your personalized strap over your shoulder and hit the stage or practice space, take a moment to appreciate the craftsmanship and creativity that went into bringing your vision to life.
By making your own guitar strap, you’ve tailored it to your preferred length, width, and design, ensuring that it not only looks great but also feels comfortable during those long jam sessions. The satisfaction of creating something with your own hands adds an extra layer of meaning to the strap every time you use it, serving as a constant reminder of your dedication to your craft.
Remember that the possibilities for customization are endless, allowing you to explore different materials, colors, and embellishments to create a strap that truly reflects your individual style. Whether you prefer a classic leather look, a vibrant fabric, or intricate embroidery, your custom strap is a testament to your creativity and passion for music.
As you embark on your musical journey with your new creation, let your personalized guitar strap serve as a symbol of your artistry and a source of inspiration. Whether you’re strumming in the comfort of your home, performing for an audience, or jamming with fellow musicians, your custom strap is a reflection of your dedication to your craft and a unique expression of your musical persona.
So, go ahead – sling your personalized guitar strap over your shoulder, feel the comfort and support it provides, and let it inspire your musical endeavors. With your custom creation in tow, you’re not just playing your guitar – you’re making a statement, showcasing your individuality, and embracing the art of music with a touch of personalized style.
Now, go forth and let your personalized guitar strap be both a practical companion and a visual representation of your musical passion. Rock on!

