Home>Production & Technology>Acoustic>How To Put A Strap On An Acoustic Guitar With One Buttons
Acoustic
How To Put A Strap On An Acoustic Guitar With One Buttons
Published: March 11, 2024
Learn how to easily attach a strap to your acoustic guitar with just one button. Follow these simple steps to secure your guitar and play comfortably. Ideal for acoustic guitar players.
(Many of the links in this article redirect to a specific reviewed product. Your purchase of these products through affiliate links helps to generate commission for AudioLover.com, at no extra cost. Learn more)
Table of Contents
Introduction
Adding a strap to your acoustic guitar can significantly enhance your playing experience, providing comfort and stability while performing standing up. Whether you're a seasoned musician or just starting out, knowing how to attach a strap to your acoustic guitar with one button is a valuable skill. This comprehensive guide will walk you through the process step by step, ensuring that you can confidently and securely attach a strap to your guitar with ease.
A well-attached strap not only offers convenience but also protects your guitar from accidental drops or slips during performances. By following the steps outlined in this guide, you'll be able to enjoy the freedom of movement that a guitar strap provides, allowing you to focus on your music without worrying about the safety of your instrument.
Now, let's dive into the details of how to put a strap on an acoustic guitar with just one button. With a few simple tools and a clear understanding of the process, you'll be ready to take your guitar playing to the next level, whether you're practicing at home or performing on stage.
Step 1: Gather the necessary materials
Before you begin the process of attaching a strap to your acoustic guitar, it's essential to gather the required materials. Having the right tools at hand will ensure a smooth and efficient process, allowing you to securely attach the strap without any hiccups. Here's a comprehensive list of the materials you'll need:
-
Guitar Strap: Select a high-quality guitar strap that suits your style and provides the desired level of comfort. Straps come in various materials, such as leather, nylon, or fabric, so choose one that aligns with your preferences and offers durability for long-term use.
-
Leather Tie: This small but crucial accessory will be used to secure the strap to the headstock of your acoustic guitar. Opt for a leather tie that is strong and reliable, as it will bear the weight of the guitar when it's hanging from your shoulder.
-
Scissors: A pair of scissors will be necessary for cutting the leather tie to the appropriate length, ensuring a neat and secure attachment to the guitar's headstock.
-
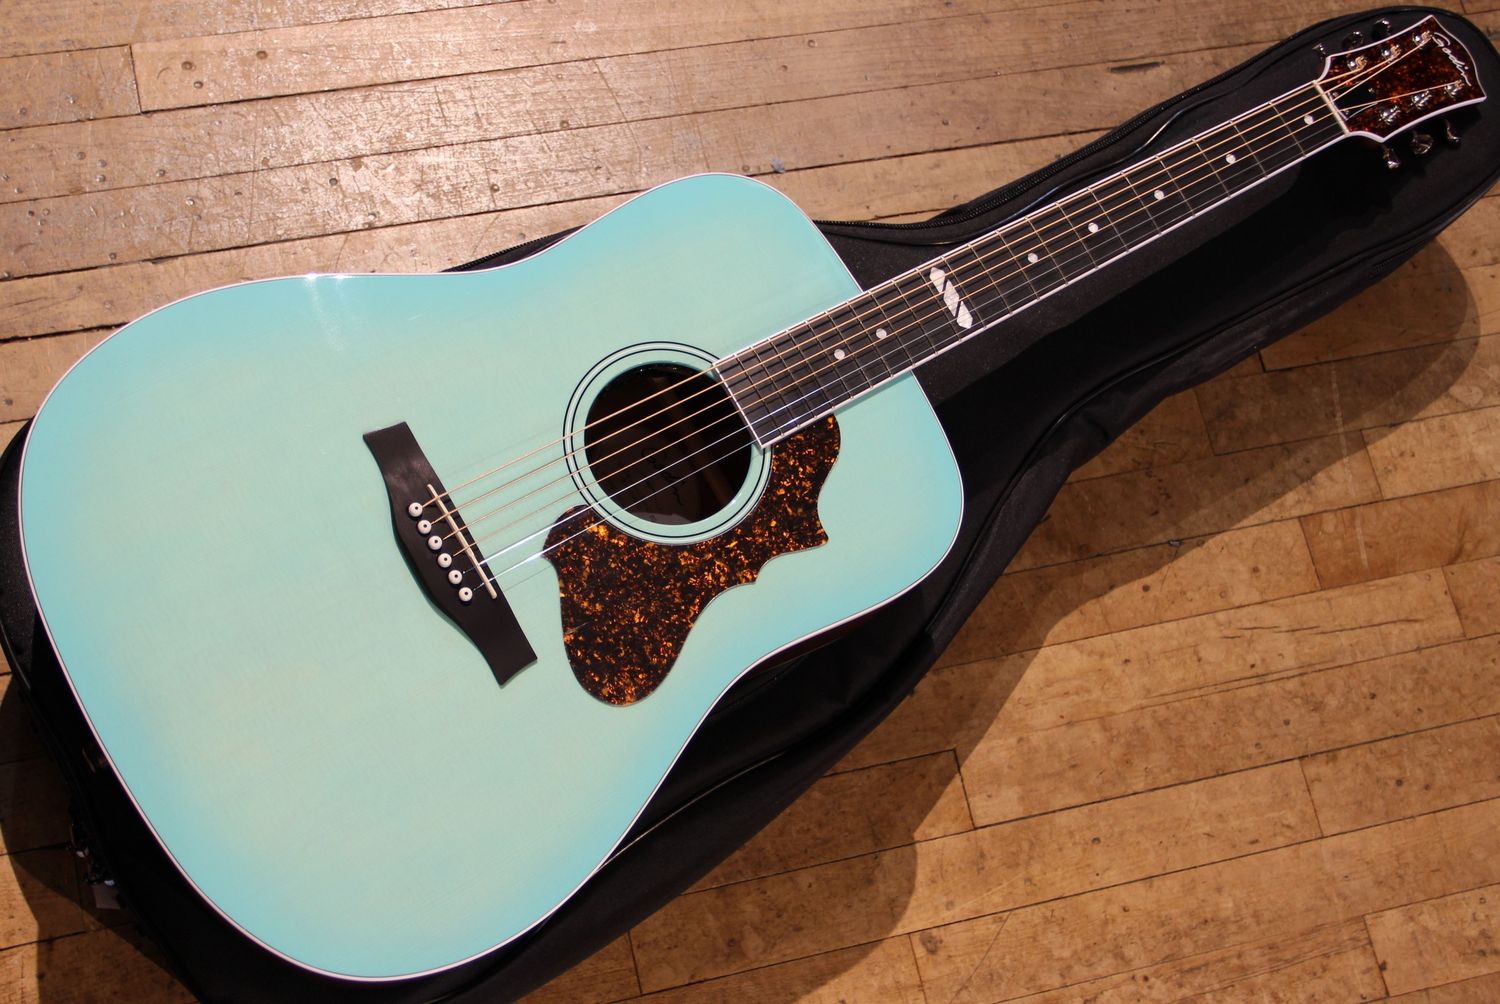
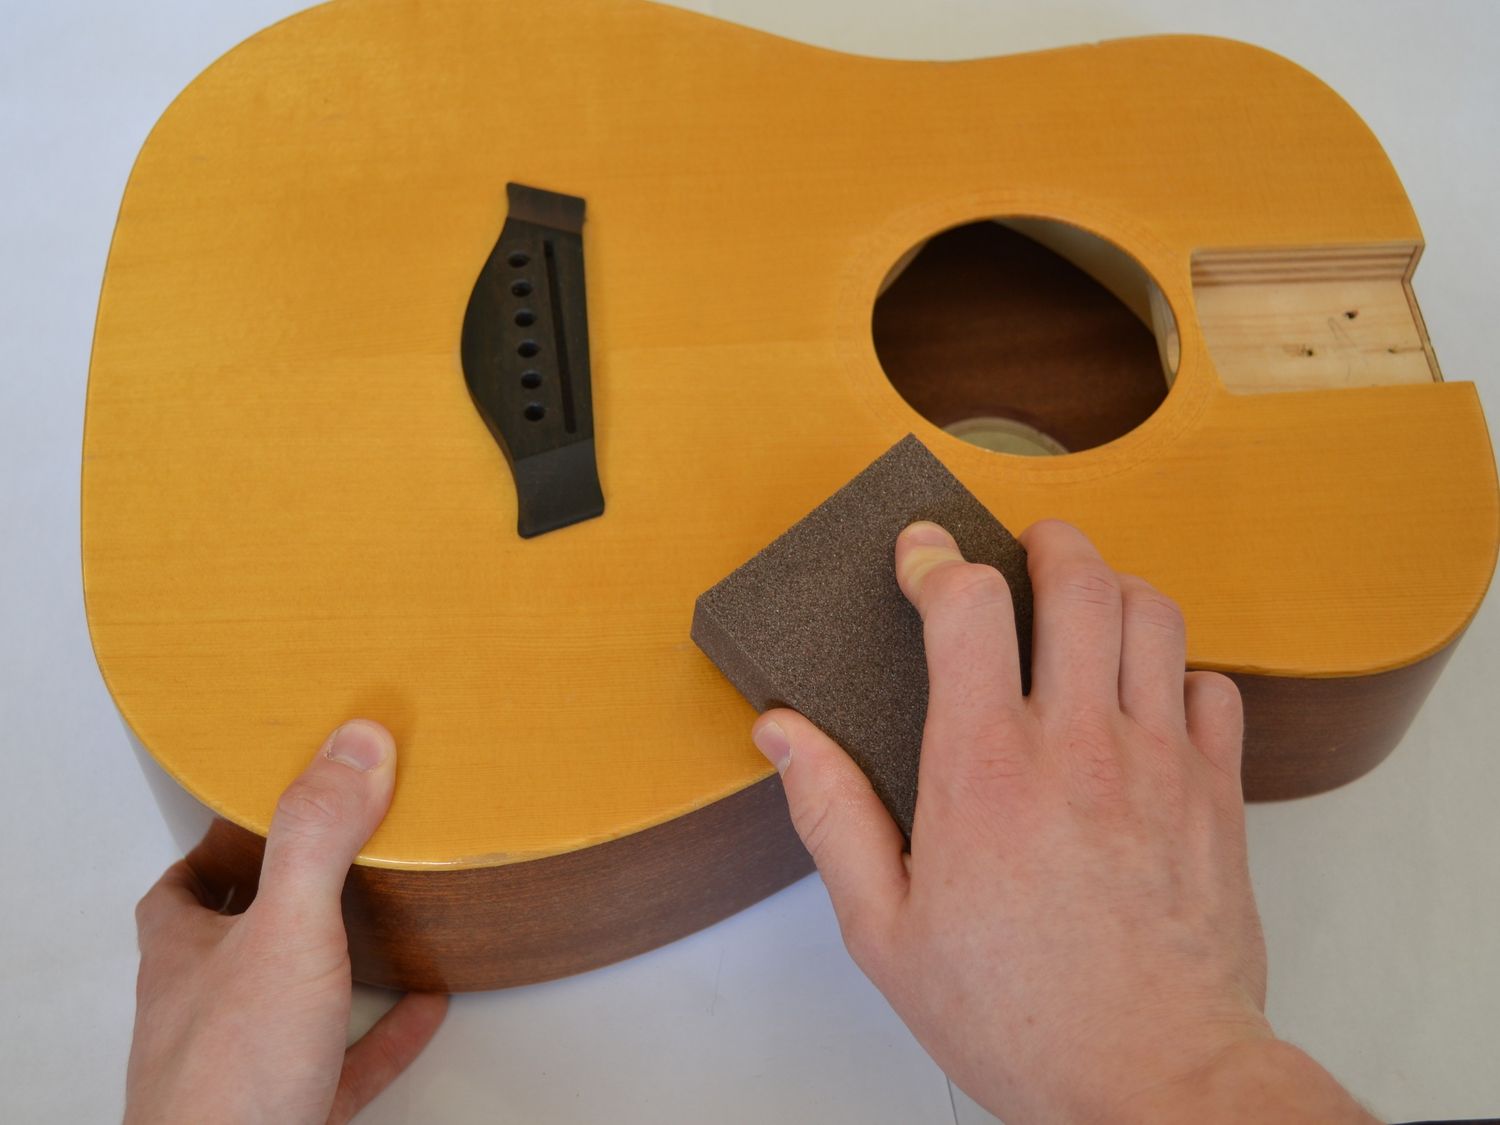
Acoustic Guitar with Button: Ensure that your acoustic guitar is equipped with a button at the base, typically located at the end block or bottom of the guitar. This button will serve as the anchor point for attaching the strap.
-
Optional: Guitar Polish: While not essential for the attachment process, having guitar polish on hand can be beneficial for maintaining the instrument's finish. It's a good opportunity to give your guitar a quick polish while you have the strap off.
By gathering these materials, you'll be well-prepared to proceed with attaching the strap to your acoustic guitar. With everything in place, you can move on to the next step with confidence, knowing that you have all the necessary tools at your disposal.
Step 2: Attach the strap to the button
Attaching the strap to the button of your acoustic guitar is a crucial step in ensuring a secure and reliable connection. This process requires precision and attention to detail to guarantee that the strap is firmly anchored to the guitar, providing stability during performances and practice sessions. Follow these steps to seamlessly attach the strap to the button:
-
Position the Guitar: Place your acoustic guitar on a flat surface with the bottom facing upward. This positioning will allow for easy access to the button and ensure that the strap can be attached without any obstructions.
-
Thread the Strap: Take the end of the guitar strap that does not have a leather tie and thread it through the hole or slot in the strap. Pull the strap through until the leather tie is close to the end of the strap, leaving enough length to comfortably hold the guitar when it's hanging from your shoulder.
-
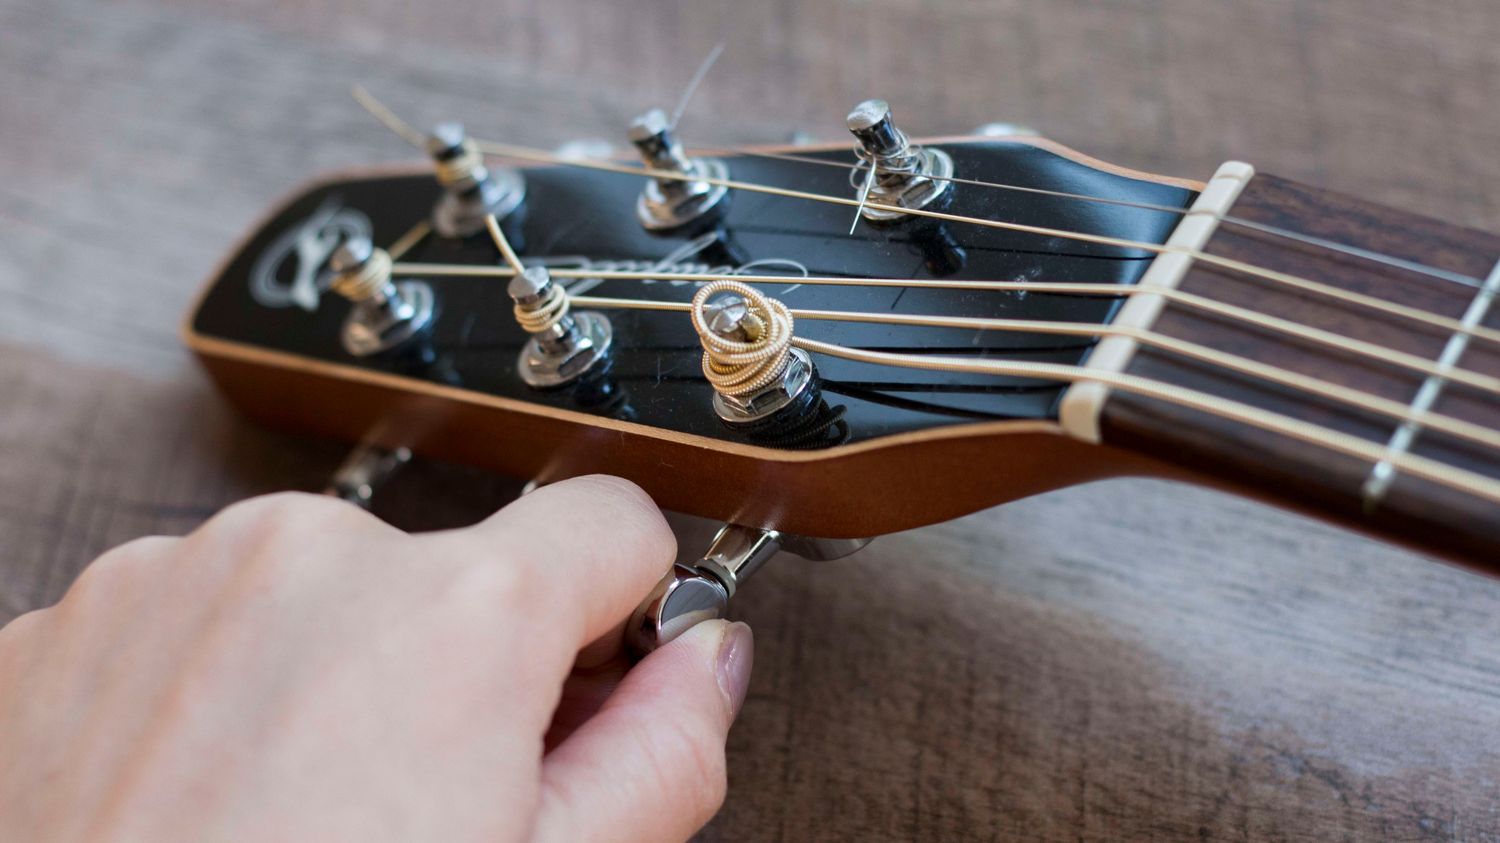
Secure the Leather Tie: Once the strap is threaded through the hole or slot, take the leather tie and loop it through the pre-drilled hole in the headstock of the guitar. Ensure that the leather tie is pulled through securely, creating a tight and stable connection between the strap and the headstock.
-
Adjust the Length: With the leather tie in place, adjust the length of the strap to your preferred setting. This step is essential for achieving the ideal playing position and comfort while wearing the guitar. Test the length by holding the guitar against your body to ensure that it feels secure and allows for unrestricted movement.
-
Double-Check the Attachment: After adjusting the length, double-check the attachment of the strap to the button and headstock. Gently tug on the strap to confirm that it is firmly secured and shows no signs of slipping or loosening. This extra precaution will help prevent any unexpected issues during performances or practice sessions.
By following these steps, you can confidently attach the strap to the button of your acoustic guitar, creating a dependable connection that enhances your playing experience. With the strap securely in place, you'll be ready to move on to the next step and fine-tune the length of the strap for optimal comfort and performance.
Step 3: Adjust the length of the strap
Once the strap is securely attached to the button and headstock of your acoustic guitar, the next crucial step is to adjust the length of the strap to ensure optimal comfort and functionality. Proper adjustment of the strap length is essential for maintaining a balanced and ergonomic playing position, allowing you to perform with ease and confidence. Follow these detailed steps to effectively adjust the length of the strap:
-
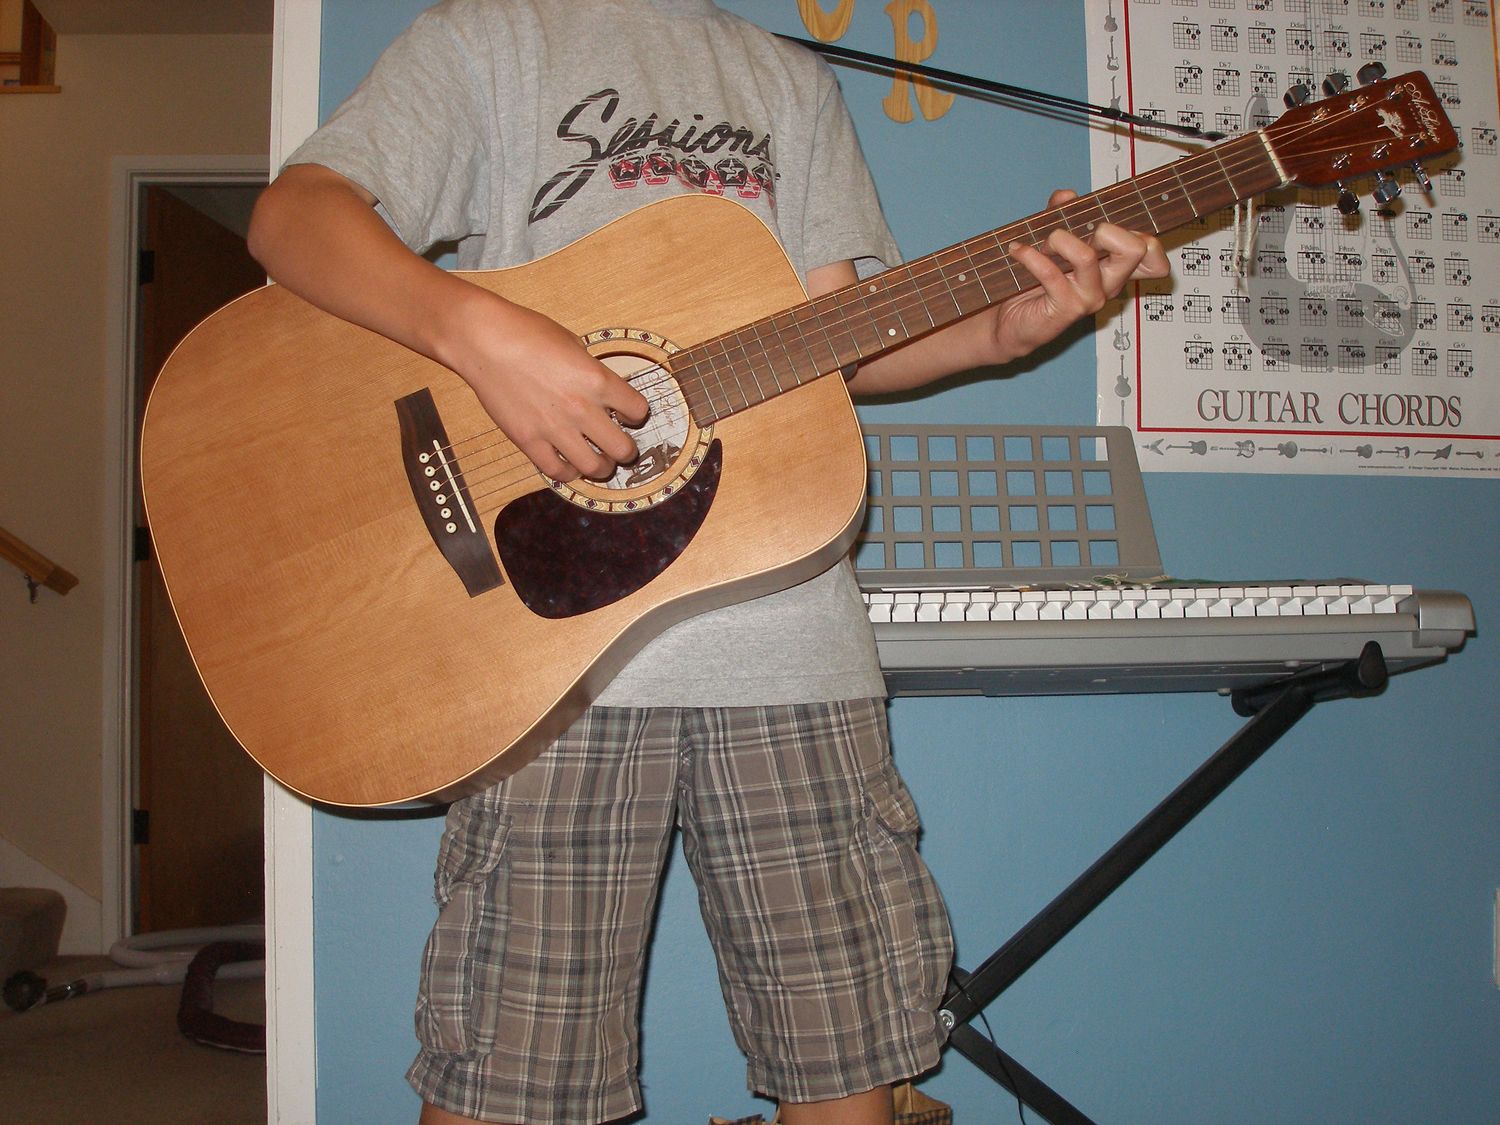
Evaluate Playing Position: Before making any adjustments, stand up with the guitar strapped on and assess the initial length of the strap. Pay attention to how the guitar rests against your body and the positioning of your hands on the fretboard. This initial evaluation will provide insight into the necessary adjustments for achieving a comfortable playing posture.
-
Strap Length Adjustment: To adjust the length of the strap, locate the adjustable mechanism on the strap, which is typically a buckle or sliding mechanism. Depending on the type of strap you have, loosen the mechanism to allow for length adjustments. If the strap features a buckle, gently pull the excess strap through the buckle to lengthen or shorten it as needed. For a sliding mechanism, adjust the length by sliding the strap through the mechanism until the desired length is achieved.
-
Testing and Refinement: After making initial adjustments, test the new length by playing the guitar in a standing position. Pay attention to the positioning of the guitar relative to your body and the ease of reaching different frets. Take note of any discomfort or strain in your posture, as this will indicate the need for further adjustments. Refine the length incrementally until you find the optimal position that allows for unrestricted movement and comfortable playing.
-
Secure the Adjustment: Once the ideal length is determined, secure the strap at the adjusted length to prevent any unintentional changes during performances or practice sessions. For buckle mechanisms, ensure that the excess strap is neatly tucked away to avoid interference while playing. If the strap features a sliding mechanism, double-check that it is securely locked in place to maintain the desired length.
-
Freedom of Movement: Test the adjusted strap length by moving around and performing various playing techniques. Ensure that the length allows for natural movement and does not restrict your ability to play the guitar comfortably. The goal is to achieve a balance between stability and freedom of movement, enabling you to express your musical creativity without hindrance.
By carefully adjusting the length of the strap, you can tailor the playing experience to your preferences and physical requirements, ensuring that the guitar remains securely positioned while allowing for effortless playing. With the strap length optimized, you'll be ready to move on to the final step of testing the strap for security, providing peace of mind as you embark on your musical journey.
Step 4: Test the strap for security
After attaching and adjusting the strap to your acoustic guitar, it's crucial to thoroughly test the security of the attachment to ensure that the strap can withstand the rigors of playing and performing. This step is essential for confirming that the strap is firmly in place and capable of supporting the weight of the guitar without any risk of slippage or detachment. By conducting a comprehensive security test, you can have peace of mind knowing that your guitar is securely positioned, allowing you to focus on your music without any concerns about the stability of the strap.
Here's a detailed guide on how to effectively test the strap for security:
-
Gentle Tugging: Begin by gently tugging on the strap to assess its resistance and stability. Apply light pressure to the strap in various directions, including upward, downward, and sideways movements. The strap should remain firmly attached to the button and headstock, showing no signs of loosening or slipping. This initial test will provide an indication of the initial security of the attachment.
-
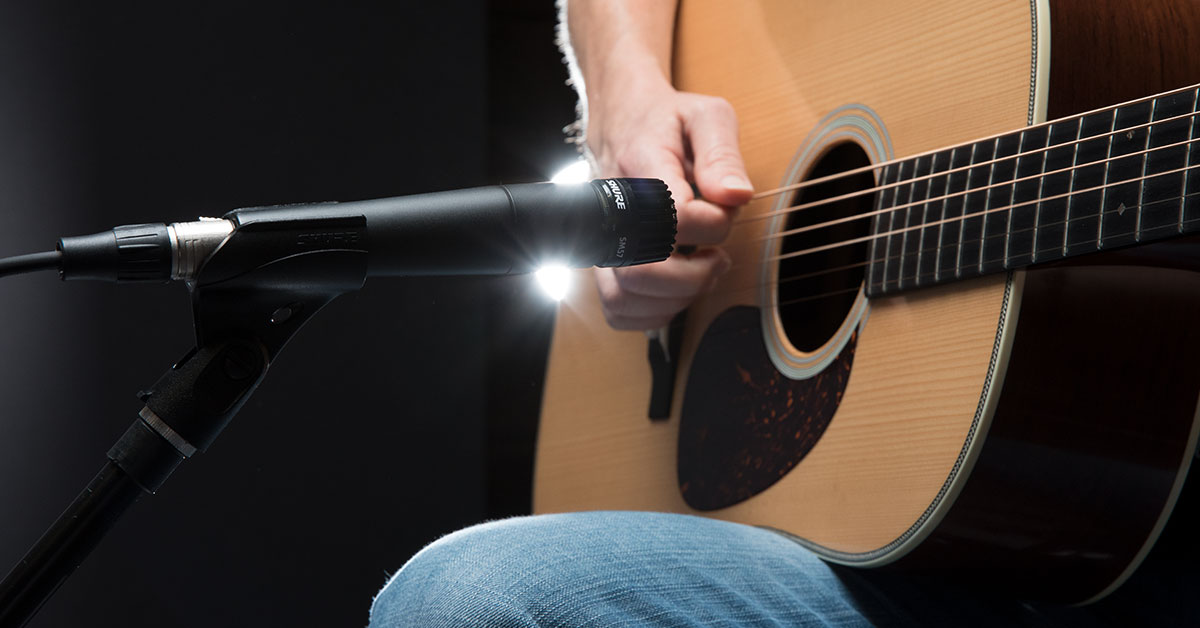
Dynamic Movement: Perform dynamic movements while wearing the guitar to simulate the motions involved in playing and performing. Engage in light jumping, bending, and swaying to mimic the physical dynamics of live playing. Pay close attention to how the guitar responds to these movements, ensuring that the strap maintains its position without any excessive movement or instability. The goal is to confirm that the strap can withstand dynamic playing without compromising security.
-
Extended Wear Test: Wear the guitar with the strap attached for an extended period, allowing for natural movements and adjustments while playing. This extended wear test will reveal any potential discomfort or strain caused by the strap, as well as any gradual loosening of the attachment. Throughout the test, monitor the strap's connection to the button and headstock, ensuring that it remains secure and reliable under prolonged use.
-
Performance Simulation: Simulate a performance scenario by playing the guitar while standing and moving around as you would during a live performance. Engage in various playing techniques and movements, including strumming, fingerpicking, and chord transitions. The goal is to replicate the conditions of a real performance to confirm that the strap can withstand the demands of live playing without compromising security.
-
Visual Inspection: Conduct a visual inspection of the strap attachment after completing the security tests. Check for any signs of wear, stress, or potential weak points in the connection. Ensure that the leather tie, button, and headstock attachment points show no signs of damage or strain. This visual inspection will provide valuable insights into the overall condition of the strap attachment.
By meticulously testing the strap for security through gentle tugging, dynamic movement, extended wear, performance simulation, and visual inspection, you can confidently confirm the reliability and stability of the attachment. This comprehensive approach ensures that the strap is securely fastened to your acoustic guitar, allowing you to focus on your music with the assurance that your instrument is well-supported and protected.
Conclusion
In conclusion, mastering the art of attaching a strap to an acoustic guitar with just one button is a valuable skill that enhances the overall playing experience. By following the step-by-step guide outlined in this comprehensive tutorial, you've gained the knowledge and confidence to securely attach a strap to your acoustic guitar, providing comfort, stability, and peace of mind during performances and practice sessions.
The process begins with gathering the necessary materials, including a high-quality guitar strap, a reliable leather tie, scissors for adjustments, and, of course, an acoustic guitar equipped with a button at the base. With these materials at hand, you're well-prepared to embark on the journey of enhancing your guitar playing experience.
Attaching the strap to the button and headstock of the acoustic guitar requires precision and attention to detail. By carefully threading the strap, securing the leather tie, and adjusting the length to your preference, you've created a dependable connection that ensures the guitar remains securely positioned while allowing for unrestricted movement and comfortable playing.
The crucial step of testing the strap for security provides the assurance that the attachment is reliable and capable of withstanding the dynamic movements and demands of live performances. By conducting thorough security tests, including gentle tugging, dynamic movement simulations, extended wear assessments, and performance scenario simulations, you've confirmed the stability and reliability of the strap attachment.
With the strap securely in place, you're now ready to elevate your guitar playing experience, whether you're practicing at home, performing on stage, or engaging in musical collaborations. The freedom of movement and stability provided by the securely attached strap allows you to focus on expressing your musical creativity without any concerns about the safety of your instrument.
By mastering the process of attaching a strap to your acoustic guitar with just one button, you've unlocked a new level of convenience and comfort in your musical journey. Embrace the newfound freedom and stability that the strap provides, and let your passion for music soar as you confidently showcase your talent with your securely strapped acoustic guitar.