Home>Instruments>Guitar>How To Clean A Bass Guitar
Guitar
How To Clean A Bass Guitar
Modified: February 15, 2024
Learn the best techniques for cleaning your guitar to keep it looking and sounding great. Discover the essential steps to maintain your bass guitar's quality and extend its lifespan.
(Many of the links in this article redirect to a specific reviewed product. Your purchase of these products through affiliate links helps to generate commission for AudioLover.com, at no extra cost. Learn more)
Table of Contents
Introduction
Maintaining a clean bass guitar is essential for preserving its sound quality and extending its lifespan. Regular cleaning not only enhances the instrument's appearance but also ensures that it continues to produce rich, resonant tones. Whether you're a seasoned bassist or just beginning your musical journey, learning how to properly clean your bass guitar is a crucial skill.
In this comprehensive guide, we'll walk through the step-by-step process of cleaning a bass guitar, covering everything from removing the strings to polishing the hardware. By following these simple yet effective techniques, you can keep your instrument in prime playing condition for years to come.
A clean bass guitar not only looks impressive but also plays and sounds better. Over time, dust, dirt, and grime can accumulate on the fretboard, affecting the playability and tone of the instrument. Additionally, the buildup of oils and debris on the body and hardware can detract from the bass guitar's overall aesthetic.
Regular maintenance and cleaning can prevent these issues, allowing you to enjoy a smooth, effortless playing experience and ensuring that your bass guitar continues to stand out on stage. With the right materials and a bit of know-how, you can easily maintain your bass guitar's pristine condition, preserving its value and performance.
Let's dive into the step-by-step process of cleaning a bass guitar, from gathering the necessary materials to re-stringing the instrument. Whether you're preparing for a performance or simply want to give your bass guitar some well-deserved TLC, this guide will equip you with the knowledge and skills to keep your instrument looking and sounding its best.
Materials Needed
Before embarking on the cleaning process, it’s essential to gather the necessary materials to ensure a thorough and effective cleaning of your bass guitar. Here’s a list of items you’ll need:
- Microfiber Cloth: A soft, lint-free microfiber cloth is ideal for wiping down the body, fretboard, and hardware of your bass guitar. It effectively removes dust and fingerprints without scratching the surface.
- Guitar Polish: A high-quality guitar polish helps maintain the shine of the body and protect it from smudges and minor scratches. Look for a polish specifically formulated for bass guitars.
- Fretboard Cleaner: A specialized fretboard cleaner or conditioning oil is necessary to remove dirt and grime from the fretboard without drying it out. Ensure the product is suitable for the type of wood used in your bass guitar’s fretboard.
- String Cutter/Winder: A string cutter and winder tool simplifies the process of removing and replacing strings, making the task more efficient and convenient.
- Allen Wrench/Set of Screwdrivers: Depending on the bass guitar’s hardware, you may need an Allen wrench or screwdrivers to remove components for thorough cleaning.
- String Cleaner/Lubricant: A string cleaner or lubricant can help extend the life of your bass guitar strings and maintain their playability and tone.
- Cotton Swabs: These are useful for reaching small crevices and tight spaces when cleaning the hardware and other intricate parts of the bass guitar.
- Guitar Stand or Soft Cloth: To support the bass guitar during the cleaning process and prevent any accidental damage, a stable guitar stand or a soft cloth to lay the instrument on is essential.
By ensuring you have these materials on hand, you’ll be well-prepared to effectively clean and maintain your bass guitar, preserving its appearance and performance for years to come.
Step 1: Remove the Strings
Before cleaning your bass guitar, it’s essential to remove the strings to access and clean the fretboard and body thoroughly. Follow these steps to safely and efficiently remove the strings:
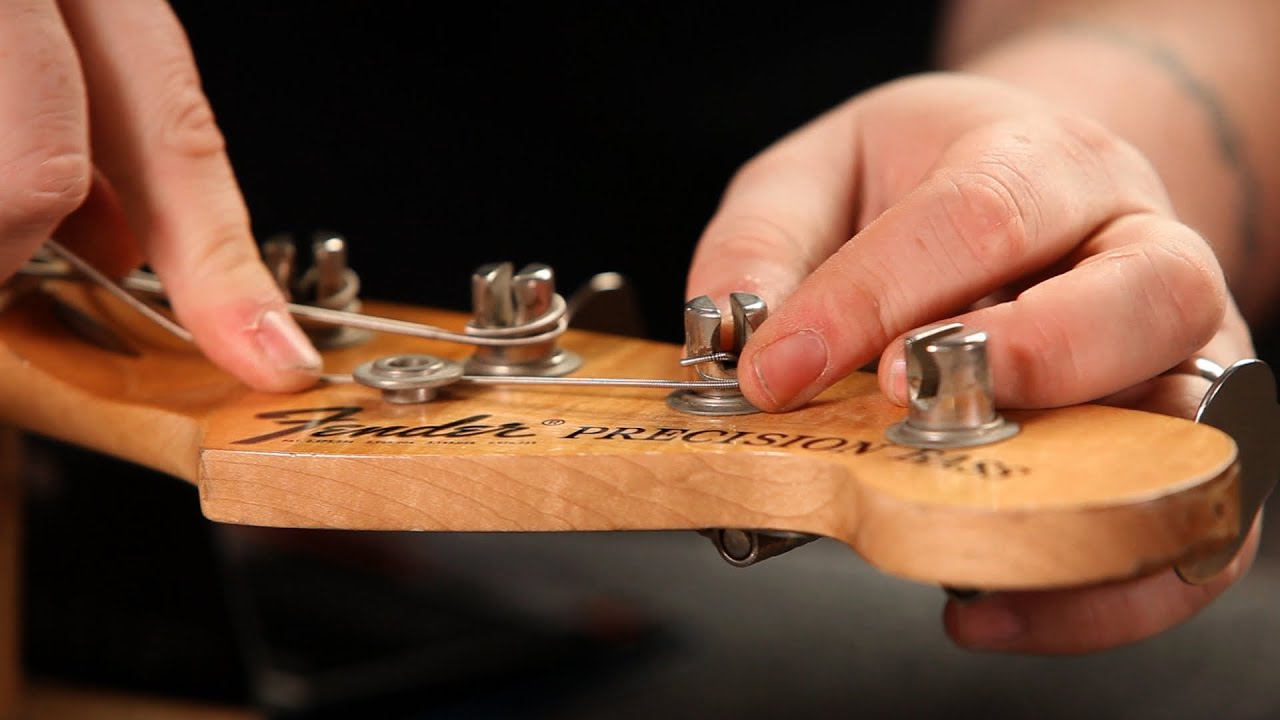
- Loosen the Strings: Using a guitar string winder or by hand, loosen the tension of each string by turning the tuning pegs counterclockwise. This reduces the tension on the strings and makes them easier to remove.
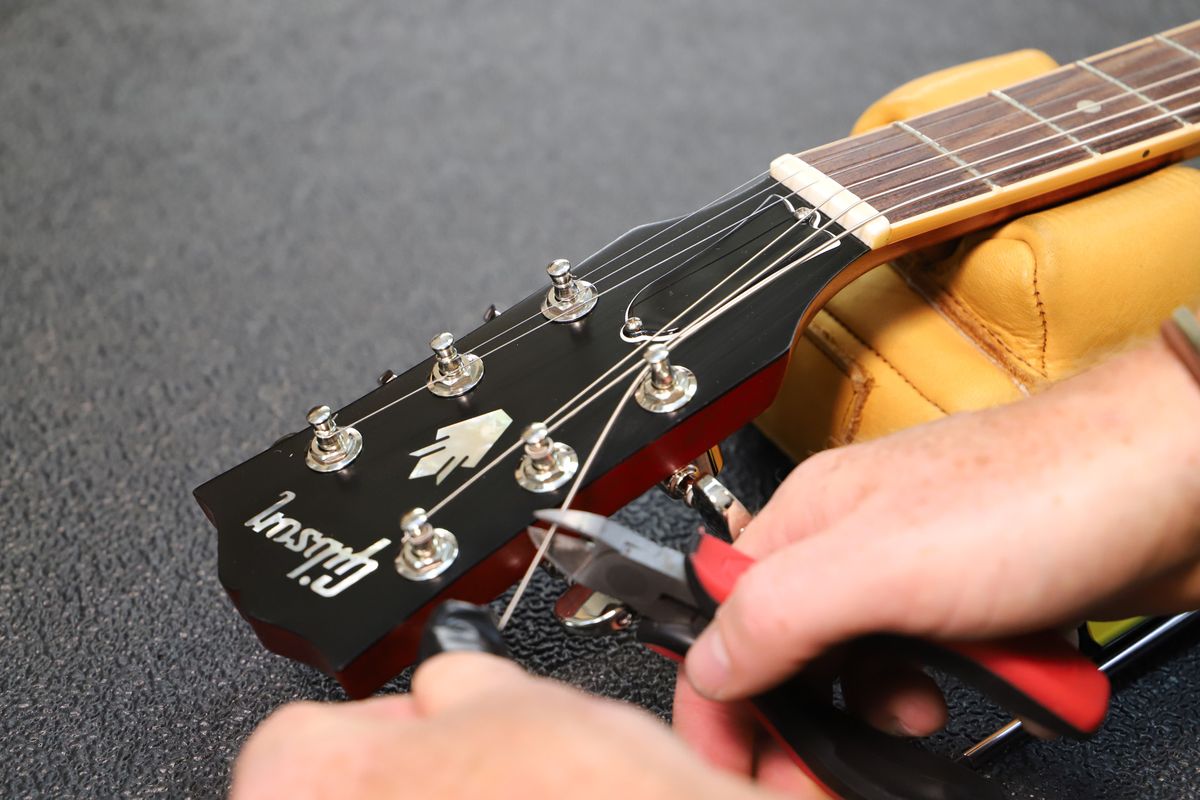
- Cut the Strings: Once the strings are sufficiently loosened, use a string cutter to snip the strings near the bridge of the bass guitar. Be cautious during this step to avoid any injury from the sharp string ends.
- Remove the Strings from the Tuning Pegs: Gently unwind each string from the tuning pegs, ensuring that the string coils smoothly off the pegs without causing any damage to the pegs or headstock.
- Remove the Strings from the Bridge: Carefully remove the loose ends of the strings from the bridge, taking note of how they are secured in place. Some bass guitars may have through-body stringing, while others have top-loading bridges. Follow the specific instructions for your bass guitar’s bridge type.
- Discard or Store the Old Strings: Once all the strings are removed, safely discard old strings if they are no longer usable. If they are still in good condition, you may choose to store them as backups for future use.
By following these steps, you can safely and effectively remove the strings from your bass guitar, preparing it for the subsequent cleaning process. Removing the strings provides access to the fretboard and body, allowing for a thorough cleaning to maintain the instrument’s playability and appearance.
Step 2: Clean the Fretboard
After removing the strings, the next crucial step in cleaning your bass guitar involves addressing the fretboard. Over time, the fretboard can accumulate dirt, oils, and residue from playing, which can impact the playability and overall feel of the instrument. Follow these steps to effectively clean the fretboard:
- Remove Excess Debris: Use a soft, dry microfiber cloth to gently wipe away any loose dirt or debris from the fretboard. This initial step helps prevent the buildup from spreading and facilitates a more thorough cleaning process.
- Apply Fretboard Cleaner: Using a specialized fretboard cleaner or conditioning oil, apply a small amount to the fretboard. Ensure that the product is suitable for the type of wood used in your bass guitar’s fretboard. Allow the cleaner to sit for a few moments to penetrate and loosen any stubborn grime.
- Gently Scrub the Fretboard: With a clean, soft-bristled brush or an unused toothbrush, gently scrub the fretboard to dislodge any remaining dirt or buildup. Pay particular attention to the areas around the frets where dirt tends to accumulate.
- Wipe Clean and Condition: Using a fresh section of the microfiber cloth, carefully wipe away the cleaner and lifted grime from the fretboard. This step also helps distribute the conditioning oil evenly across the wood, maintaining its moisture and preventing it from drying out.
- Inspect for Residue: Thoroughly inspect the fretboard to ensure that all residue and grime have been removed. If necessary, repeat the cleaning process to achieve a pristine fretboard surface.
By following these steps, you can effectively clean the fretboard of your bass guitar, ensuring that it remains in optimal condition for playing. A clean and well-maintained fretboard not only enhances the instrument’s aesthetics but also contributes to a smooth and enjoyable playing experience.
Step 3: Clean the Body
With the fretboard cleaned, the next step is to address the body of your bass guitar. The body can accumulate dust, smudges, and other residues that can detract from its appearance and potentially affect the instrument’s playability. Follow these steps to effectively clean the body of your bass guitar:
- Remove Surface Dust: Using a soft, dry microfiber cloth, gently wipe down the entire body of the bass guitar to remove any surface dust and loose particles. This initial step helps prevent scratching the finish during the subsequent cleaning process.
- Apply Guitar Polish: Apply a small amount of high-quality guitar polish to another clean section of the microfiber cloth. Gently rub the polish onto the body of the bass guitar using circular motions, covering the entire surface evenly. Ensure that the polish is suitable for the type of finish on your bass guitar.
- Buff the Body: Using a separate clean microfiber cloth, carefully buff the body of the bass guitar to remove the excess polish and achieve a lustrous shine. This step not only enhances the appearance of the instrument but also provides a protective layer against smudges and minor scratches.
- Inspect and Touch-Up: Thoroughly inspect the body of the bass guitar to ensure that it is free of smudges and blemishes. If necessary, perform additional spot cleaning or touch-ups using a small amount of guitar polish and a gentle touch.
By following these steps, you can effectively clean and polish the body of your bass guitar, restoring its luster and maintaining its visual appeal. A well-maintained body not only showcases the instrument’s beauty but also reflects your dedication to preserving its condition for years to come.
Step 4: Polish the Hardware
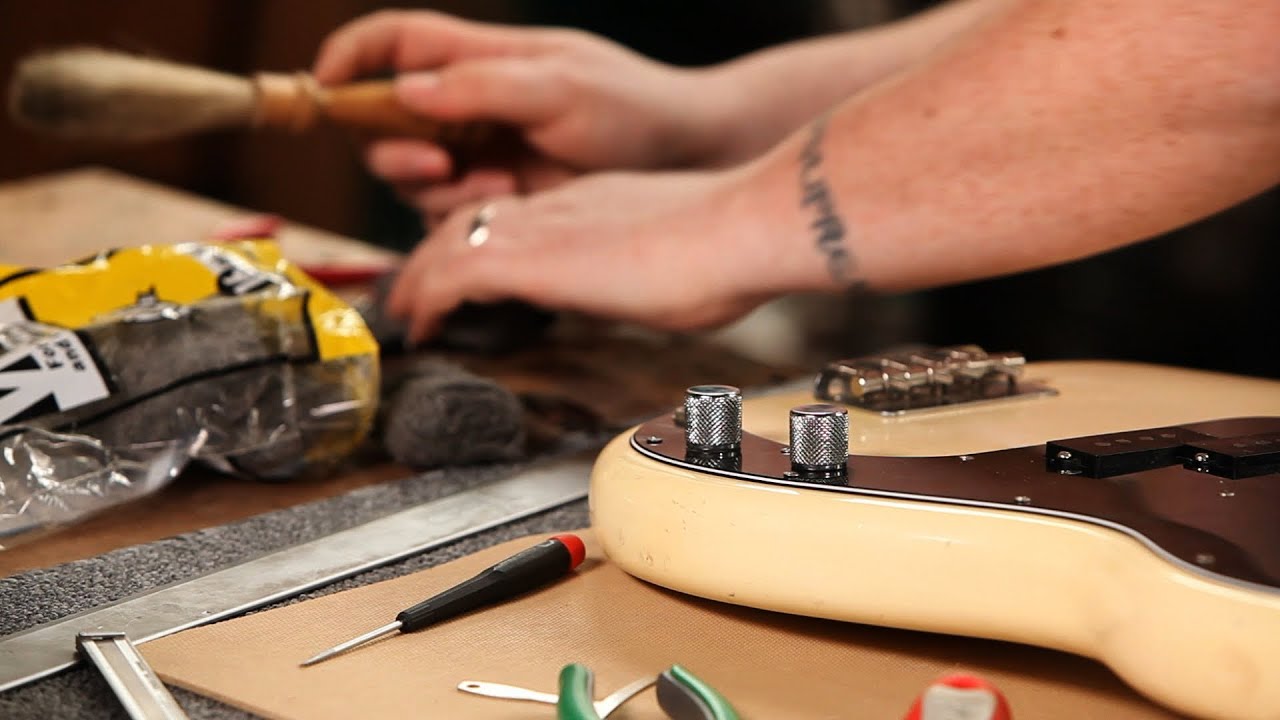
Polishing the hardware of your bass guitar is an essential step in the cleaning process, as it helps maintain the functionality and visual appeal of the instrument’s components. The hardware, including the bridge, tuners, knobs, and pickups, can accumulate tarnish, fingerprints, and grime over time. Follow these steps to effectively polish the hardware of your bass guitar:
- Remove Hardware Components (If Applicable): Depending on your bass guitar’s hardware design, you may need to use an appropriate tool, such as a screwdriver or Allen wrench, to remove certain components for thorough cleaning. Follow the manufacturer’s guidelines for disassembling and reassembling the hardware.
- Clean the Hardware Surfaces: Using a soft, dry microfiber cloth, gently wipe down the hardware components to remove any surface dust and debris. This initial cleaning step prepares the hardware for the polishing process.
- Apply Metal Polish: Apply a small amount of specialized metal polish to a clean, soft cloth. Gently rub the polish onto the metal hardware components, ensuring thorough coverage. Take care to avoid contact with any non-metal parts of the bass guitar.
- Polish and Buff: Using a separate clean cloth, carefully polish the metal hardware surfaces using circular motions. This process helps remove tarnish and restore the shine of the hardware. Continue buffing until the metal surfaces gleam and any tarnish or smudges are effectively removed.
- Reassemble the Hardware (If Disassembled): Once the hardware components are polished and free of tarnish, reassemble them according to the manufacturer’s instructions. Ensure that each component is securely fastened and aligned properly.
By following these steps, you can effectively polish the hardware of your bass guitar, ensuring that it not only looks impressive but also functions optimally. Clean, polished hardware contributes to the overall aesthetic appeal of the instrument and reflects your commitment to its maintenance.
Step 5: Re-string the Bass Guitar
After completing the cleaning and polishing process, the final step in maintaining your bass guitar is re-stringing the instrument. Fresh strings not only enhance the playability and tone but also contribute to the overall aesthetic appeal of the bass guitar. Follow these steps to effectively re-string your bass guitar:
- Select the Correct Strings: Choose high-quality bass guitar strings that are suitable for your playing style and musical preferences. Consider factors such as string gauge and material to achieve the desired tone and feel.
- Thread the Strings: Starting with the thickest string (usually the E string), thread it through the bridge of the bass guitar and pull it through until there is ample slack for winding around the tuning peg.
- Wind the Strings: Using a string winder or by hand, begin winding the string around the corresponding tuning peg, ensuring that the coils are neat and evenly spaced. Tune the string to the appropriate pitch as you wind it to maintain tension.
- Cut Excess String: Once the string is securely wound and tuned to pitch, use a string cutter to trim the excess length, leaving a small amount of slack to prevent slippage.
- Repeat for Remaining Strings: Follow the same process for each remaining string, ensuring that they are threaded through the bridge, wound around the tuning pegs, and tuned to the correct pitches.
- Stretch and Tune the Strings: After all the strings are re-installed, gently stretch and flex each string to help them settle and stabilize. Tune the strings to the desired pitches, making any necessary adjustments to achieve proper intonation.
By following these steps, you can effectively re-string your bass guitar, ensuring that it is equipped with fresh, responsive strings for optimal playability and tone. Re-stringing your bass guitar is a rewarding final step in the cleaning process, allowing you to fully experience the rejuvenated sound and feel of your instrument.
Conclusion
Successfully cleaning and maintaining your bass guitar is not only a practical endeavor but a deeply rewarding one. By following the step-by-step process outlined in this guide, you’ve taken a proactive approach to preserving the condition and performance of your instrument. Regular cleaning not only enhances the visual appeal of your bass guitar but also contributes to its playability and longevity.
Remember, a clean bass guitar is a reflection of your dedication to your craft and your respect for your instrument. The meticulous care and attention you’ve invested in cleaning the fretboard, body, and hardware, as well as re-stringing the instrument, will undoubtedly translate into an enhanced playing experience and a more resonant, vibrant tone.
Additionally, the act of cleaning your bass guitar provides an opportunity to connect with your instrument on a deeper level, fostering a sense of appreciation and mindfulness. As you meticulously clean each component, you forge a stronger bond with your bass guitar, gaining a deeper understanding of its construction and intricacies.
By incorporating regular maintenance and cleaning into your musical routine, you’re ensuring that your bass guitar remains a reliable and inspiring companion on your musical journey. The effort you’ve invested in cleaning your bass guitar will undoubtedly be reflected in the quality of your performances and the enduring beauty of your instrument.
Embrace the process of cleaning and maintaining your bass guitar as a form of self-expression and a testament to your commitment to musical excellence. With each cleaning session, you reaffirm your dedication to preserving the integrity and allure of your bass guitar, ensuring that it continues to resonate with clarity and distinction for years to come.