Home>Instruments>Synthesizer>How To Record A Synthesizer
Synthesizer
How To Record A Synthesizer
Modified: February 15, 2024
Learn how to record your synthesizer and create high-quality music. Discover tips, techniques, and software recommendations for capturing the perfect synth sounds.
(Many of the links in this article redirect to a specific reviewed product. Your purchase of these products through affiliate links helps to generate commission for AudioLover.com, at no extra cost. Learn more)
Table of Contents
- Introduction
- Equipment Needed
- Setting Up the Recording Environment
- Connecting the Synthesizer to the Audio Interface
- Adjusting Audio Levels
- Selecting the Right Recording Method
- Configuring Recording Software
- Recording the Synthesizer
- Editing and Post-processing the Recorded Audio
- Exporting or Saving the Recorded Synthesizer Track
- Conclusion
Introduction
Recording a synthesizer can be an exciting and rewarding experience. Whether you are a beginner or an experienced musician, capturing the unique sound of a synthesizer can add depth and creativity to your music compositions. However, knowing how to properly record a synthesizer is essential to achieve the best results.
In this article, we will guide you through the process of recording a synthesizer, covering everything from the equipment you need to the steps involved in capturing the perfect sound. So, let’s dive in!
Before we get started, it’s important to note that there are a few different methods you can use to record a synthesizer, depending on your setup and recording preferences. We will cover the most common methods and provide tips along the way to achieve the best possible sound quality.
So, whether you are using a hardware synthesizer or a software synthesizer plugin, these techniques can be applied to both and will help you bring your synthesizer tracks to life.
Now, let’s explore the equipment you’ll need to record a synthesizer.
Equipment Needed
Before you start recording your synthesizer, it’s important to have the right equipment. Here is a list of essential items you will need:
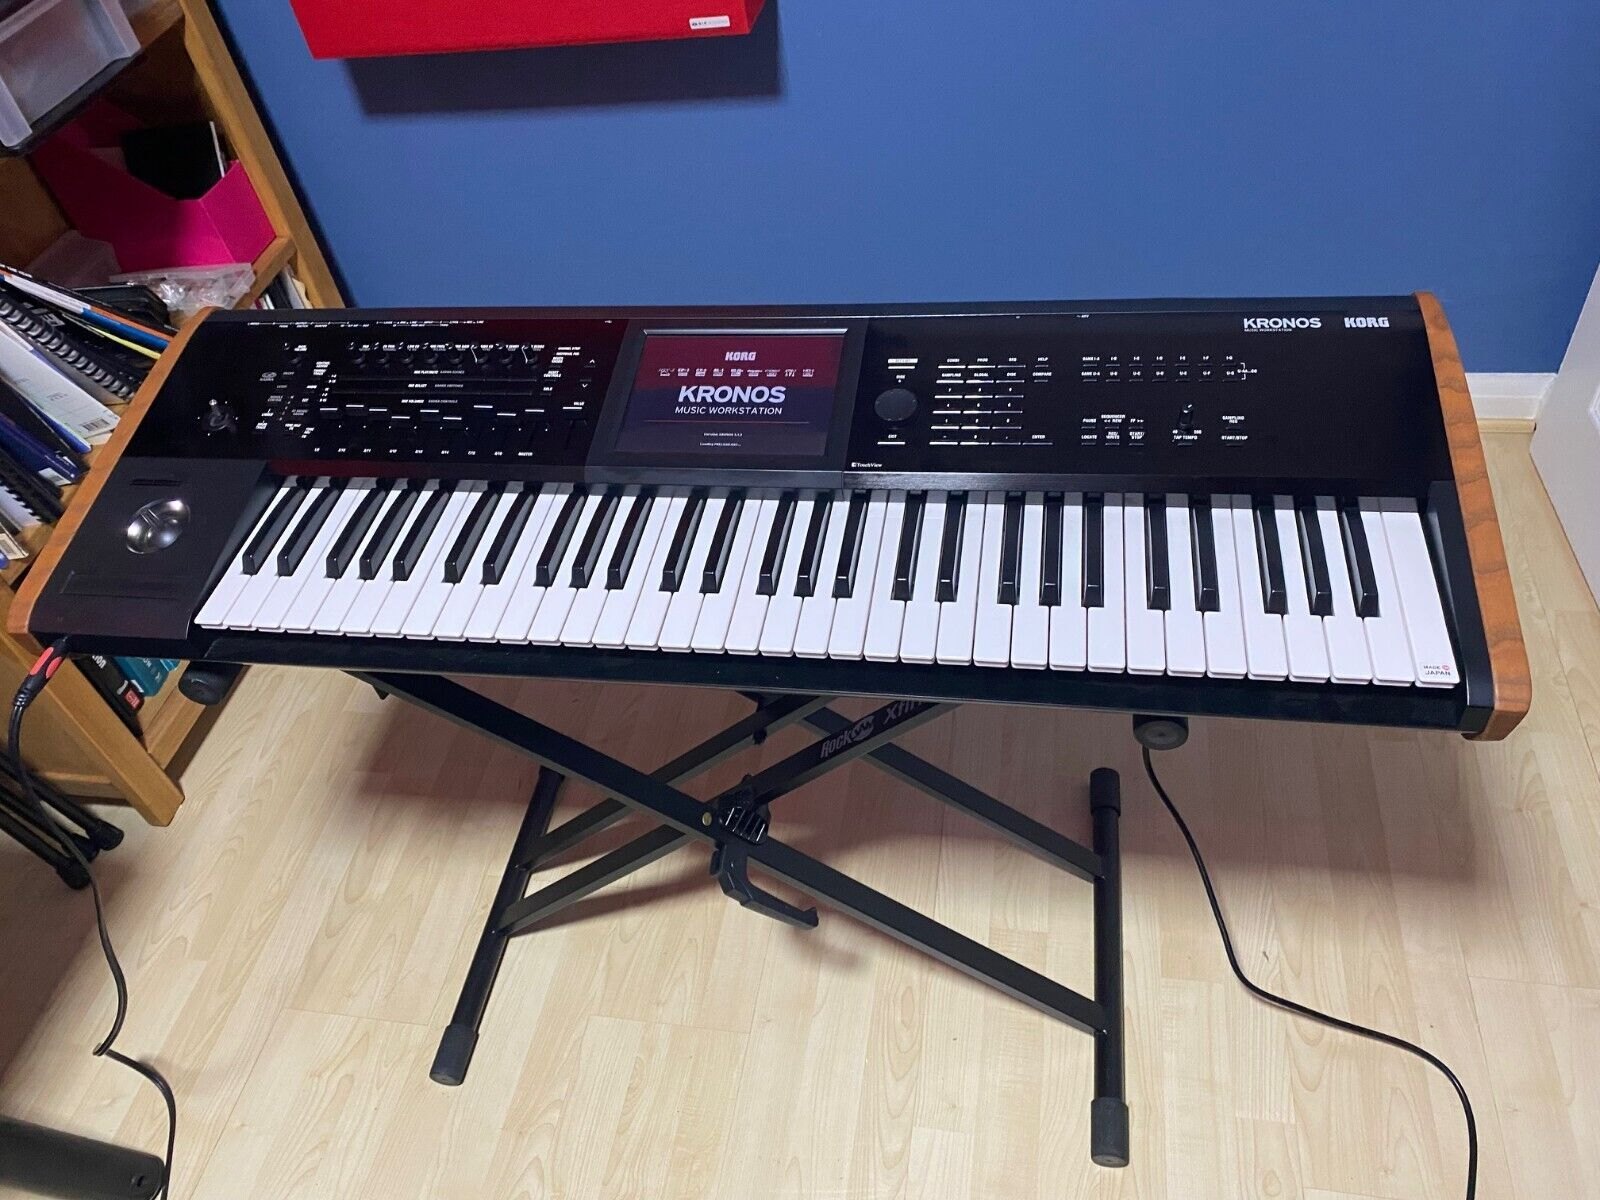
- Synthesizer: Of course, you will need a synthesizer to record. Whether you have a hardware synthesizer or a software synthesizer plugin, make sure it is in good working condition.
- Audio Interface: An audio interface is an essential piece of equipment that allows you to connect your synthesizer to your computer. It provides high-quality audio conversion and helps minimize latency. Choose an audio interface with suitable inputs and outputs to connect your synthesizer.
- Computer: You will need a computer or laptop with enough processing power and storage to handle the recording process. Make sure your computer meets the minimum system requirements for your chosen recording software.
- Microphone (optional): If you want to capture the sound of your synthesizer through an amplifier or speakers, you may need a microphone to record the audio. This is not necessary if you are using a direct connection from your synthesizer to the audio interface.
- Cables: Depending on your setup, you will need audio cables to connect your synthesizer to the audio interface. Make sure you have the appropriate cables, such as 1/4-inch or XLR cables, to establish the connections.
- Headphones or Studio Monitors: A good pair of headphones or studio monitors are crucial for monitoring and ensuring accurate playback while recording and editing your synthesizer tracks. This will help you hear the nuances of your synthesizer sound and make necessary adjustments.
- Recording Software: You will need recording software, also known as a digital audio workstation (DAW), to record, edit, and process your synthesizer tracks. There are many options available, such as Ableton Live, Logic Pro, Pro Tools, and FL Studio. Choose one that suits your needs and level of expertise.
Once you have gathered all the necessary equipment, you are ready to set up the recording environment. We will discuss this in the next section.
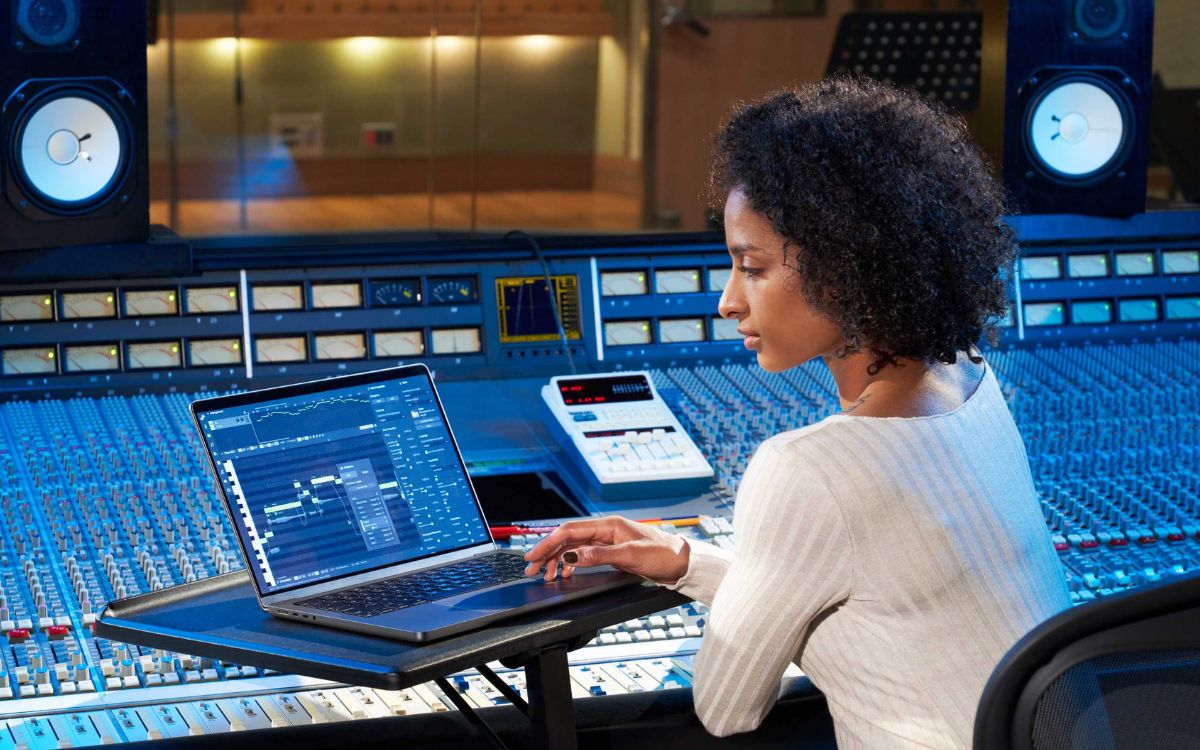
Setting Up the Recording Environment
Creating a suitable recording environment is crucial for capturing high-quality sound from your synthesizer. Here are some steps to follow when setting up your recording space:
- Choose a quiet location: Find a room or area that is free from excessive noise, such as traffic or other sources of distraction. This will help prevent unwanted background noise from being recorded.
- Minimize reflections and echoes: If your recording room has hard surfaces like bare walls or floors, it can cause reflections and echoes in your recordings. To minimize this, consider adding acoustic treatment, such as foam panels or diffusers, to absorb or diffuse sound waves.
- Position your synthesizer: Find a suitable spot for your synthesizer where it is easily accessible and comfortable for playing. Consider any additional equipment or accessories you may need, such as a stand or mounting brackets.
- Arrange your audio interface and computer: Position your audio interface and computer in close proximity to your synthesizer. This will make it easier to connect the cables and monitor your recording while playing.
- Avoid interference: Keep your audio cables away from power sources, such as electrical outlets or power cables. This will help minimize any potential interference or noise that can degrade the recording quality.
- Test for room noise: Before recording, listen carefully to your recording environment to ensure there are no unwanted noises, such as buzzing or humming. You can use headphones to identify any potential issues.
By following these steps, you can create an ideal recording environment that will help you achieve the best possible sound quality when recording your synthesizer.
Next, let’s move on to the process of connecting your synthesizer to the audio interface.
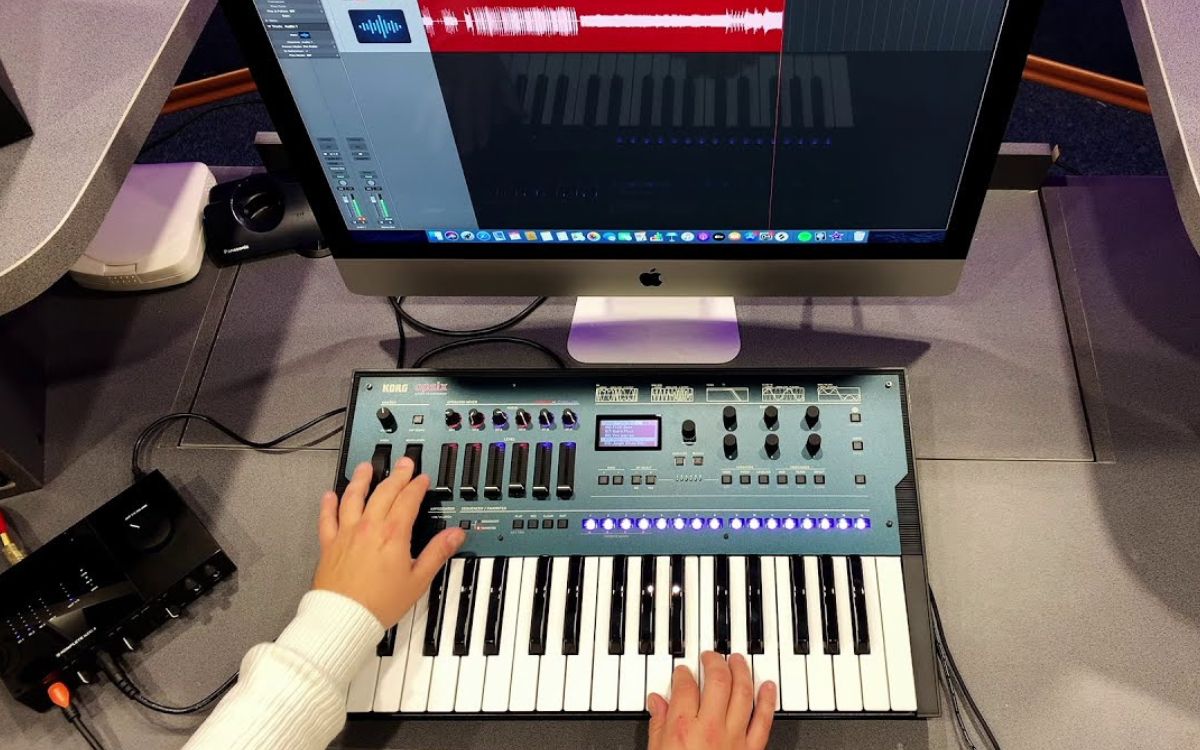
Connecting the Synthesizer to the Audio Interface
Once you have set up your recording environment, it’s time to connect your synthesizer to the audio interface. Follow these steps to establish a proper connection:
- Power off both the synthesizer and the audio interface: Before connecting any cables, make sure both the synthesizer and the audio interface are turned off. This will prevent any accidental power surges or damage to your equipment.
- Identify the audio outputs on your synthesizer: Most synthesizers have dedicated audio outputs, such as 1/4-inch or XLR connectors. These outputs enable you to send the audio signal from your synthesizer to the audio interface.
- Connect the output of your synthesizer to the input of the audio interface: Use the appropriate audio cables to make the connection. If your synthesizer has 1/4-inch outputs, use 1/4-inch cables. If it has XLR outputs, use XLR cables. Plug one end of the cable into the output of your synthesizer and the other end into the corresponding input on your audio interface.
- Ensure a good connection: Make sure the cables are securely and firmly plugged into both the synthesizer and the audio interface. This will prevent any loose connections or signal loss during recording.
- Turn on the audio interface and the synthesizer: Once the cables are connected, power on your audio interface and your synthesizer. Ensure that the audio interface is recognized by your computer and is set as the default audio input device.
- Adjust the gain/volume levels: On your audio interface, there may be gain or volume knobs associated with the input channels. Adjust these levels to ensure a healthy input signal from your synthesizer. Be mindful not to introduce distortion or clipping by setting the levels too high.
By following these steps, you can establish a solid connection between your synthesizer and the audio interface, allowing you to transmit the audio signal from your synthesizer to your computer for recording.
Next, let’s move on to adjusting the audio levels to optimize the recording quality.
Adjusting Audio Levels
Properly adjusting the audio levels is crucial to ensure optimal recording quality and prevent issues like distortion or clipping. Follow these steps to adjust the audio levels for your synthesizer recording:
- Open your recording software: Launch the recording software (DAW) on your computer. Make sure your audio interface is recognized and selected as the input device in the software’s settings.
- Create a new audio track: In your recording software, create a new audio track dedicated to your synthesizer recording. This will allow you to monitor and adjust the audio levels specifically for your synthesizer.
- Arm the track for recording: Arm the audio track for recording by clicking the arm button or selecting the track for recording in your software’s interface. This will enable the track to receive the audio signal from your synthesizer.
- Play a few notes on your synthesizer: Play some notes or chords on your synthesizer while monitoring the audio input levels in your recording software. Keep an eye on the level meters to ensure the audio signal is not peaking or clipping.
- Adjust the gain/volume on the audio interface: If the audio level is too low, increase the gain or volume on your audio interface. If the level is too high and causing distortion or clipping, decrease the gain or volume accordingly.
- Monitor the audio signal: While adjusting the audio levels, monitor the audio signal in real-time. Use headphones or studio monitors to listen to the sound coming from your synthesizer. Aim for a clean and balanced sound without any excessive noise or distortion.
- Make fine adjustments in the software: Use the software’s gain or volume controls for the audio track to make further adjustments if needed. Be cautious not to increase the level too high in the software, as it may introduce digital clipping.
Remember, it’s important to find the right balance when adjusting audio levels to capture the desired sound without any distortion or unnecessary noise. Take your time to experiment and make adjustments until you achieve the best recording quality for your synthesizer.
Next, let’s discuss the different recording methods you can choose from to capture your synthesizer sound.
Selecting the Right Recording Method
When it comes to recording a synthesizer, there are different methods you can choose from, depending on your setup and recording preferences. Let’s take a look at a few common recording methods:
- Direct Recording: This method involves connecting the output of your synthesizer directly to the audio interface using an appropriate cable. It allows you to capture the raw sound of your synthesizer without any external effects or processing. Direct recording is preferred when you want to maintain the original sound of your synthesizer and have more control over the post-processing stage.
- Miking an Amplifier: If you have a hardware synthesizer that produces sound through an amplifier or speakers, you can mic the sound source using a microphone. Position the microphone close to the amplifier speaker to capture the sound. This method adds a touch of natural warmth and color to your synthesizer’s sound, similar to miking a guitar amp or a live instrument.
- Software Recording: If you are using a software synthesizer plugin within your recording software (DAW), you can directly record the MIDI data and virtual instrument output. This method offers flexibility as you can edit and modify the MIDI data later for precise control over your synthesizer’s performance.
Choose the recording method that suits your preferences and the desired outcome for your synthesizer track. Each method has its own unique characteristics and benefits. It’s worth experimenting with different methods to find the one that best suits your musical style and vision.
Next, we will explore the process of configuring your recording software for synthesizer recording.
Configuring Recording Software
Configuring your recording software, also known as a digital audio workstation (DAW), is an essential step in preparing for synthesizer recording. Follow these steps to properly configure your recording software:
- Select the audio interface: In your recording software’s settings or preferences, choose your audio interface as the default input device. This ensures that the software recognizes the audio interface and allows you to record the sound from your synthesizer.
- Set the sample rate and buffer size: Adjust the sample rate and buffer size settings in your recording software. The sample rate determines the number of samples taken per second, while the buffer size determines the amount of audio data processed at once. Finding the right balance between sample rate and buffer size is crucial for achieving low latency and smooth playback while recording.
- Create an audio track: Create a new audio track in your recording software. Make sure it is set to receive the audio input from your synthesizer. Assign the appropriate input source from your audio interface to the track.
- Enable monitoring: Enable monitoring for the audio track so that you can hear the sound of your synthesizer in real-time while recording. This allows you to monitor the sound and make adjustments to the audio levels or effects settings if needed.
- Select the recording format: Choose the desired recording format for your synthesizer track. Common formats include WAV, AIFF, or MP3. Consider the quality and compatibility requirements for your project when selecting the format.
- Configure MIDI settings (if applicable): If you are recording MIDI data from a software synthesizer plugin, configure the MIDI settings in your recording software. Assign the MIDI input from your controller or keyboard to control the virtual instrument.
- Set up any desired effects or processing: If you prefer to apply effects or processing during recording, such as reverb or compression, set them up in your recording software. Experiment and adjust the settings to enhance the sound of your synthesizer.
By properly configuring your recording software, you can ensure a smooth and efficient recording process for your synthesizer. Take your time to explore the different settings and options available in your software to make the necessary adjustments for optimal results.
Next, let’s dive into the actual process of recording your synthesizer and capturing its unique sound.
Recording the Synthesizer
Now that you have your synthesizer set up, connected to the audio interface, and configured the recording software, it’s time to start recording your synthesizer. Follow these steps to capture the unique sound of your synthesizer:
- Prepare for recording: Ensure that your synthesizer is powered on and ready to play. Make any final adjustments to the audio levels and settings on your synthesizer.
- Arm the track for recording: In your recording software, arm the audio track dedicated to your synthesizer recording. This will enable the track to receive and record the audio signal from your synthesizer.
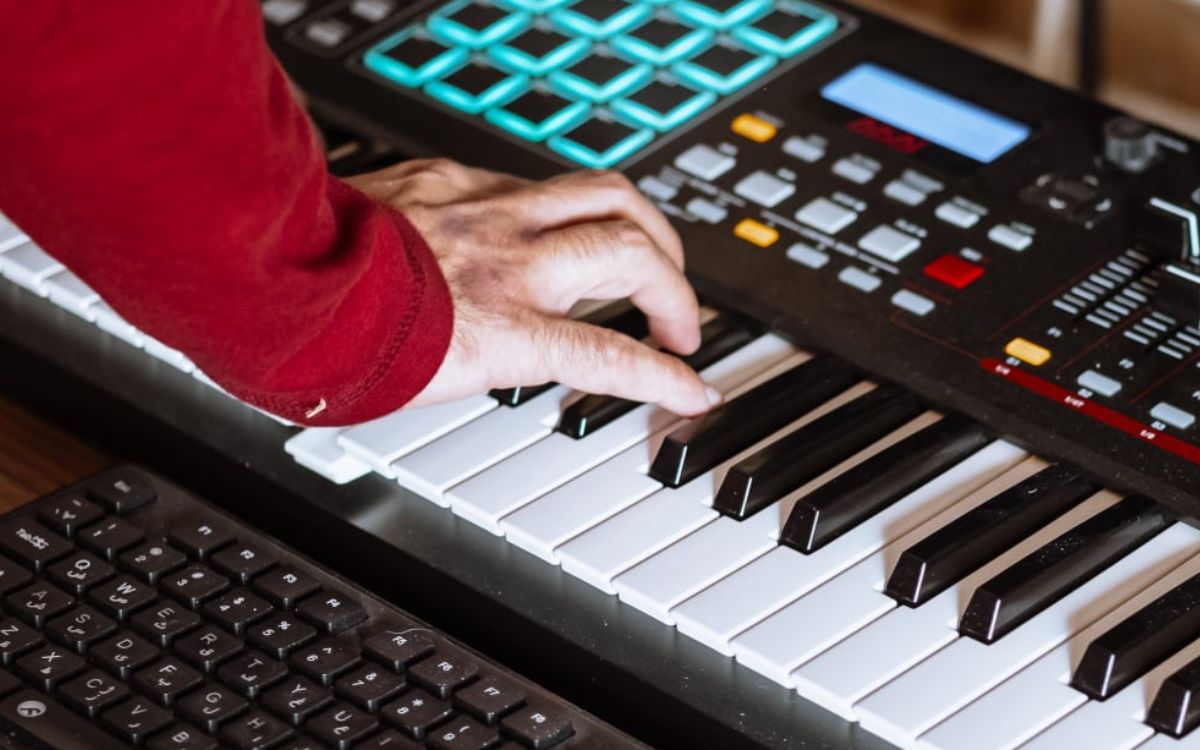
- Position your hands: Find a comfortable position at your synthesizer where you can easily reach the keys or controls while being mindful of minimizing any unwanted noise from your movements.
- Start recording: Press the record button in your recording software to start recording. Begin playing your synthesizer, performing the desired notes or sequence you want to capture. Allow yourself to fully express your musical ideas and experiment with different sounds or techniques.
- Monitor the recording: While recording, keep an eye on the level meters in your recording software. Ensure that the audio signal is not clipping or causing distortion. Continuously monitor the sound in your headphones or studio monitors to make any necessary adjustments during the recording process.
- Record multiple takes if needed: If you’re not satisfied with a particular take, don’t hesitate to record multiple takes. This allows you to select the best performance or mix different takes later during the editing process.
- Experiment with different sounds: Take advantage of the flexibility of your synthesizer and try out different sounds, textures, and effects during the recording. Explore the various parameters and presets to create a unique and expressive performance.
- Stop recording: Once you have completed your desired recording, press the stop button in your recording software to end the recording process.
Remember to enjoy the process of recording your synthesizer and let your creativity flow. Record multiple takes, experiment with different techniques, and explore various sounds to capture the essence of your synthesizer in your recordings.
Next, let’s move on to the post-processing stage where you can edit and enhance the recorded audio of your synthesizer.
Editing and Post-processing the Recorded Audio
After you have recorded your synthesizer, the next step is to edit and post-process the recorded audio. This stage allows you to refine your sound, correct any mistakes, and add creative elements to your synthesizer track. Follow these steps to effectively edit and post-process your recorded audio:
- Import the recorded audio: Open your recording software and import the recorded audio track into your project. It should appear as a waveform representation of the recorded sound.
- Trim and arrange the audio: Use the editing tools in your recording software to trim any unwanted sections, such as silence or mistakes, from the recorded audio. Arrange the remaining sections according to the structure of your composition.
- Correct timing and pitch: If there are any timing or pitch issues in your recorded audio, use the editing capabilities of your recording software to make precise adjustments. You can move or resize audio clips to align them properly or use pitch correction tools if necessary.
- Add effects and processing: Enhance the sound of your synthesizer by adding effects and processing. Experiment with reverb, delay, chorus, or other modulation effects to create depth and spatiality. Use equalization (EQ) and compression to balance and shape the frequency response and dynamics of the recorded audio.
- Layer or duplicate tracks: Consider layering or duplicating your synthesizer tracks to create a richer and fuller sound. This technique can add depth and complexity to your recordings.
- Experiment with automation: Use automation features in your recording software to create dynamic changes in volume, panning, or effects parameters. This can add movement and expression to your synthesizer track.
- Apply additional processing: Depending on your artistic vision, you may want to experiment with additional processing techniques such as saturation, modulation, or creative sound design tools. This can bring your synthesizer recordings to life and make them stand out in your mix.
- Regularly listen and fine-tune: Continuously listen to your edited and processed audio and make any necessary adjustments. A critical ear and attention to detail will help you achieve the desired sound and ensure a polished final result.
By carefully editing and post-processing your recorded audio, you can refine the sound of your synthesizer track and bring out its full potential. Remember to experiment, trust your ears, and have fun exploring different creative possibilities.
Next, let’s discuss the final step of exporting or saving your recorded synthesizer track.
Exporting or Saving the Recorded Synthesizer Track
Once you have finished editing and post-processing your recorded synthesizer track, it’s time to export or save the final audio file. Follow these steps to ensure you preserve the quality and compatibility of your recorded synthesizer track:
- Select the desired file format: Choose the appropriate audio file format for your exported track. Common formats include WAV, AIFF, or MP3. Consider the quality and compatibility requirements for your project and target distribution platform.
- Set the export settings: Configure the export settings in your recording software. Specify the sample rate, bit depth, and any other parameters required for your project. Choose a higher sample rate and bit depth for better quality if the destination platform allows it.
- Specify the export range: Set the start and end points of the exported track to include only the desired portion. If you want to export the entire track, ensure that the entire duration is included.
- Normalize the audio (if necessary): If your track has volume variations or is too quiet, you can apply normalization during the export process. Normalization adjusts the volume level of the track to maximize its peak amplitude without introducing distortion.
- Check the file name and location: Provide a suitable file name for your exported track and choose the desired location to save it on your computer. Organize your files systematically to make them easier to locate in the future.
- Export the track: Initiate the export process in your recording software. The software will process the track according to your specified settings and create the final audio file.
- Listen to the exported track: Once the export is complete, take the time to listen to the exported track. Verify that it sounds as intended and meets your expectations in terms of quality and fidelity.
Once you have exported or saved the recorded synthesizer track, you can use it in your music production, share it with others, or further incorporate it into your creative projects.
Congratulations! You have successfully recorded, edited, and exported your synthesizer track. With these steps, you can confidently capture the unique sound of your synthesizer and unleash your creativity in your musical endeavors.
Keep exploring and experimenting with different techniques and sounds to continue evolving as a synthesizer musician.
Happy synthesizing!
Conclusion
Recording a synthesizer is an exciting journey that allows you to capture the unique sound and creative potential of this versatile instrument. By following the steps outlined in this article, you can confidently record, edit, and optimize the audio quality of your synthesizer tracks.
Starting with the necessary equipment, such as a synthesizer, audio interface, and recording software, you can create a dedicated recording environment that minimizes unwanted noise and reflections. Connecting your synthesizer to the audio interface and adjusting the audio levels ensures a clean and balanced sound for recording.
Choosing the right recording method, whether it’s direct recording, miking an amplifier, or capturing software synthesizer output, allows you to achieve the desired sound and character. Configuring your recording software enables smooth and efficient recording while providing flexibility for further editing and processing.
During the editing and post-processing stage, you can fine-tune your recorded audio, correct any timing or pitch issues, and apply effects and processing to enhance the sound of your synthesizer. Experimenting with different techniques and creative elements adds depth and interest to your recordings.
Finally, exporting or saving your recorded synthesizer track in the appropriate file format preserves the quality and compatibility of the audio file, ready for further use or distribution.
Remember to enjoy the process of recording your synthesizer and let your creativity guide you. Each recorded track is an opportunity to express yourself and create something unique. Whether you are a beginner or an experienced musician, recording your synthesizer opens up a world of possibilities for your musical compositions.
So, dive into your synthesizer’s sonic universe, explore new sounds, and let your creativity soar as you embark on your journey of synthesizer recording!