Home>Instruments>Synthesizer>How To Use Keyboard Synthesizer
Synthesizer
How To Use Keyboard Synthesizer
Modified: February 22, 2024
Learn how to effectively use a synthesizer with this comprehensive guide. Discover the endless possibilities and unleash your creativity with the power of a keyboard synthesizer.
(Many of the links in this article redirect to a specific reviewed product. Your purchase of these products through affiliate links helps to generate commission for AudioLover.com, at no extra cost. Learn more)
Table of Contents
Introduction
Welcome to the exciting world of keyboard synthesizers! Whether you’re an amateur musician, a professional composer, or simply a music lover looking to experiment with electronic sounds, a keyboard synthesizer is an incredibly versatile and powerful tool. In this article, we will guide you through the basics of using a keyboard synthesizer, covering everything from understanding its components to exploring various playing techniques and sound options.
Keyboard synthesizers have come a long way since their inception in the 1960s. Originally designed to replicate traditional acoustic instruments, synthesizers have evolved to offer a wide range of sounds, effects, and possibilities. Today’s synthesizers feature advanced controls, versatile connectivity options, and even built-in sequencing capabilities.
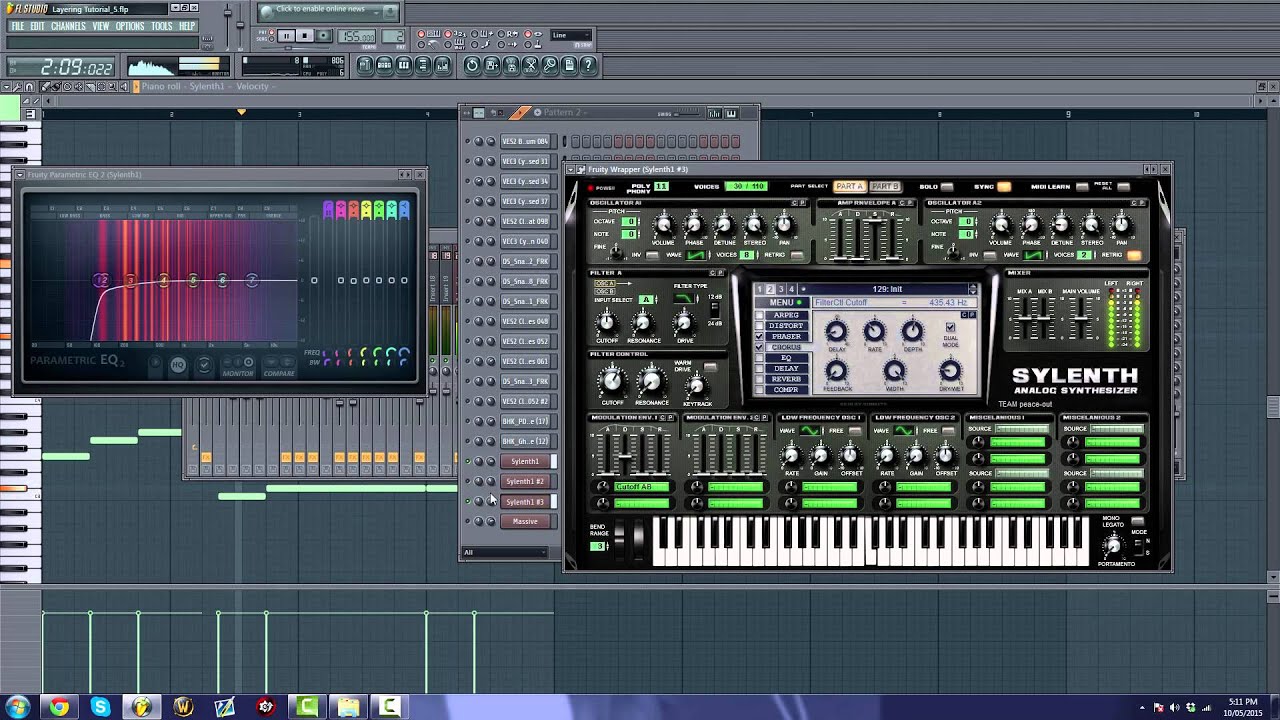
Whether you own a hardware synthesizer or use a software-based virtual synthesizer, the principles discussed in this article apply to both. So, let’s dive in and unravel the secrets of this fascinating instrument!
In the following sections, we will break down the various aspects of using a keyboard synthesizer, starting with understanding its components and how to connect it to other devices. We will then cover the basic functions and controls, providing you with a solid foundation to explore further. Next, we will delve into different playing techniques, allowing you to add nuance and expression to your performances.
But a keyboard synthesizer wouldn’t be complete without its vast sound options. We will show you how to navigate through the different sounds available, tweak parameters, and create your own unique patches. Additionally, we will discuss recording and sequencing, enabling you to capture your musical ideas and arrange them into full compositions.
Finally, we will address common troubleshooting issues that you may encounter along the way, ensuring that your keyboard synthesizer experience is as smooth and enjoyable as possible.
So, are you ready to unlock the full potential of your keyboard synthesizer? Let’s embark on this musical journey together and discover the limitless creative possibilities waiting to be explored!
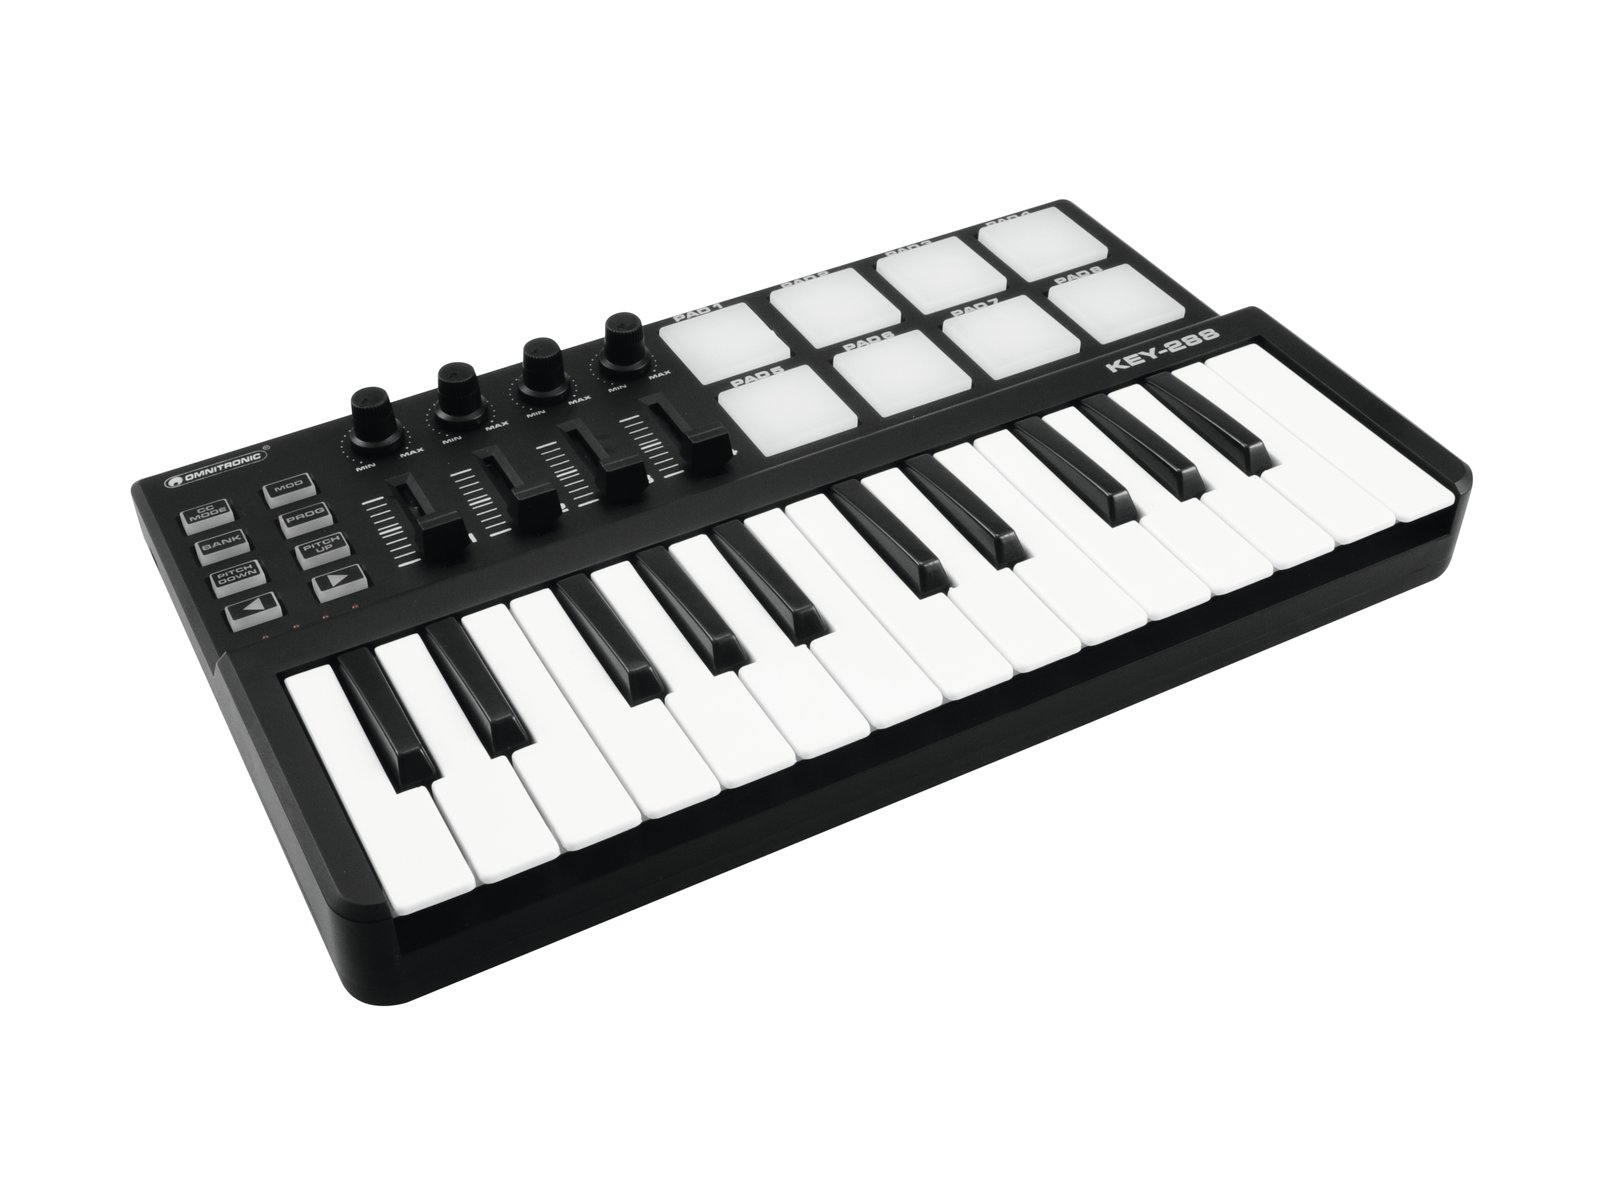
Understanding the Keyboard Synthesizer
Before diving into the intricacies of using a keyboard synthesizer, it’s important to have a basic understanding of its components and how they work together to produce sound. At its core, a synthesizer is an electronic instrument that generates and manipulates sound through various methods.
The main components of a keyboard synthesizer include:
- Oscillators: These are responsible for generating the basic sound waveforms that form the foundation of the sound. Common waveform types include sine, square, triangle, and sawtooth.
- Filters: Filters shape the sound by selectively allowing certain frequencies to pass through while attenuating others. They can add warmth, brightness, or create unique timbres to the sound.
- Amplifiers: Amplifiers control the volume of the sound. They can shape the envelope of each note, controlling the attack, decay, sustain, and release stages, often referred to as ADSR.
- Modulation sources and destinations: Modulation adds movement, depth, and complexity to the sound. LFOs (Low-Frequency Oscillators), envelopes, and various other sources can modulate parameters such as pitch, filter cutoff, or amplitude.
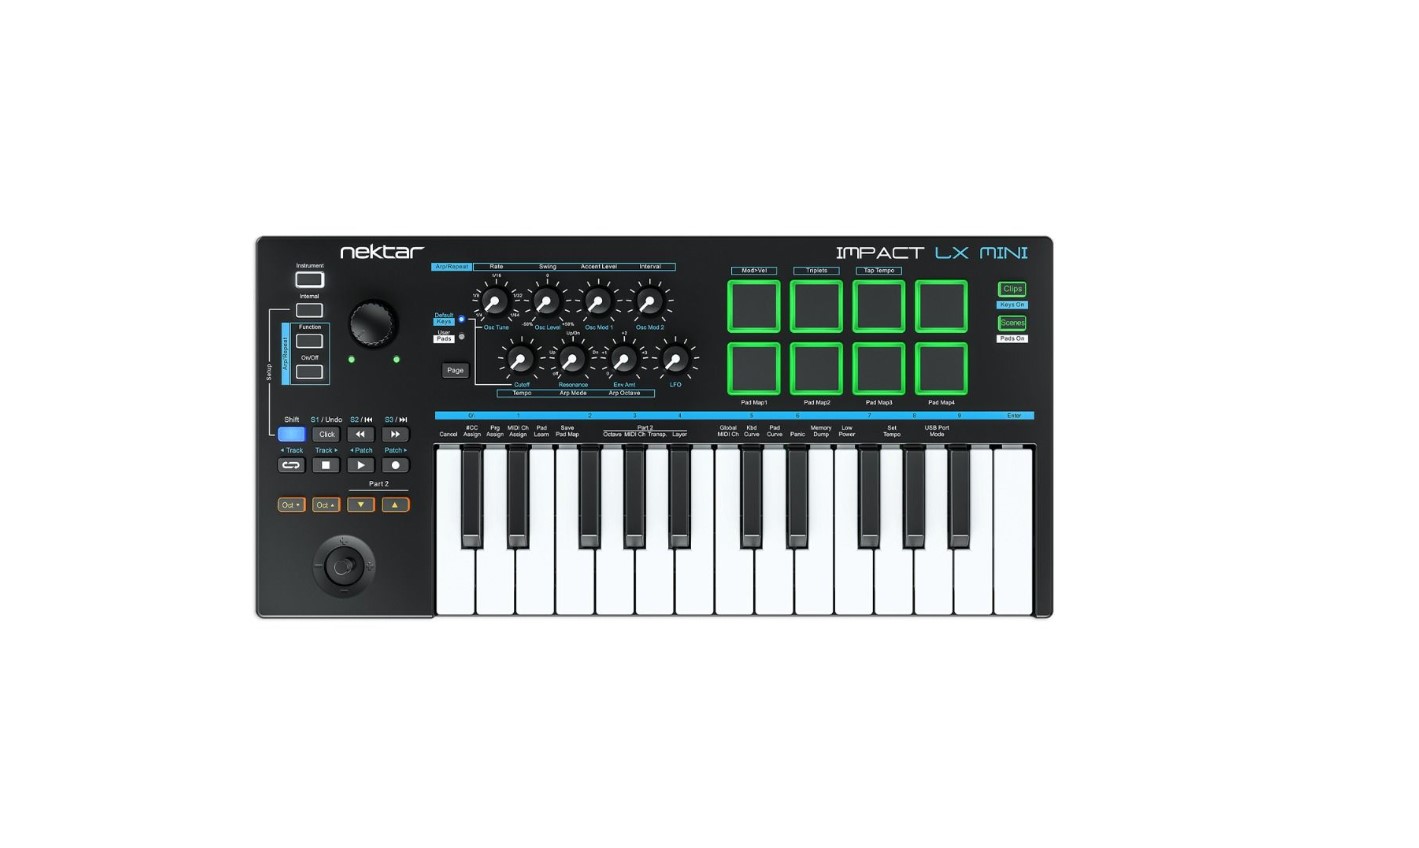
- Keyboard and MIDI: The keyboard provides a way to play the synthesizer like a traditional piano. MIDI (Musical Instrument Digital Interface) allows for communication and control between the synthesizer and other MIDI-compatible devices.
Keyboard synthesizers can have various additional features, such as built-in effects, arpeggiators, sequencers, and connectivity options for external gear.
To understand the workings of your specific keyboard synthesizer, it’s essential to refer to the user manual, as each model may have unique features and controls. By exploring the manual, you’ll gain a comprehensive understanding of the instrument’s capabilities and how to access them.
Now that we have a basic grasp of the components, let’s move on to the next section, where we will discuss how to connect your keyboard synthesizer to other devices and explore its compatibility with software-based synthesizers and virtual instruments.
Connecting the Keyboard Synthesizer
Connecting your keyboard synthesizer to other devices is crucial for expanding its capabilities and integrating it into your music production setup. Whether you want to connect it to a computer for software-based synthesizers or link it with other hardware, understanding the different connectivity options is essential.
Here are some common ways to connect your keyboard synthesizer:
- MIDI: Most keyboard synthesizers have MIDI ports, allowing you to connect the instrument to other MIDI-compatible devices, such as sound modules, sequencers, or even other synthesizers. MIDI can transmit note information, control messages, and synchronization signals between devices.
- USB: Many modern synthesizers have USB ports that can be used for both MIDI communication and audio transfer. This allows you to connect the synthesizer directly to your computer, eliminating the need for a separate MIDI interface.
- Audio Outputs: Keyboard synthesizers typically have audio output connections, such as quarter-inch or XLR outputs. These can be connected to speakers, audio interfaces, or mixers for amplification and recording.
- CV/Gate: Some older or modular synthesizers use CV (Control Voltage) and Gate signals instead of MIDI. These analog signals control pitch, envelopes, and other parameters. If you have a vintage synthesizer or modular setup, you may need to use appropriate CV/Gate connections to integrate it with your keyboard synthesizer.
When connecting your keyboard synthesizer to a computer, you’ll need to install any necessary drivers or software. This ensures proper communication between the synthesizer and your computer’s operating system. Be sure to check the manufacturer’s website for the latest drivers and software updates specific to your synthesizer model.
Additionally, if you’re using a software-based synthesizer or virtual instrument, you can connect your keyboard synthesizer via MIDI or USB to control the virtual instrument’s sounds and parameters. This allows you to take advantage of the vast libraries of sounds and effects available in software synthesizers while still playing on a physical keyboard.
It’s important to keep in mind that each synthesizer model may have different connectivity options and requirements. Always refer to the user manual for detailed instructions on connecting your specific keyboard synthesizer.
Now that your keyboard synthesizer is properly connected, let’s move on to the next section, where we’ll explore the basic functions and controls of the instrument, empowering you to create unique and captivating musical performances.
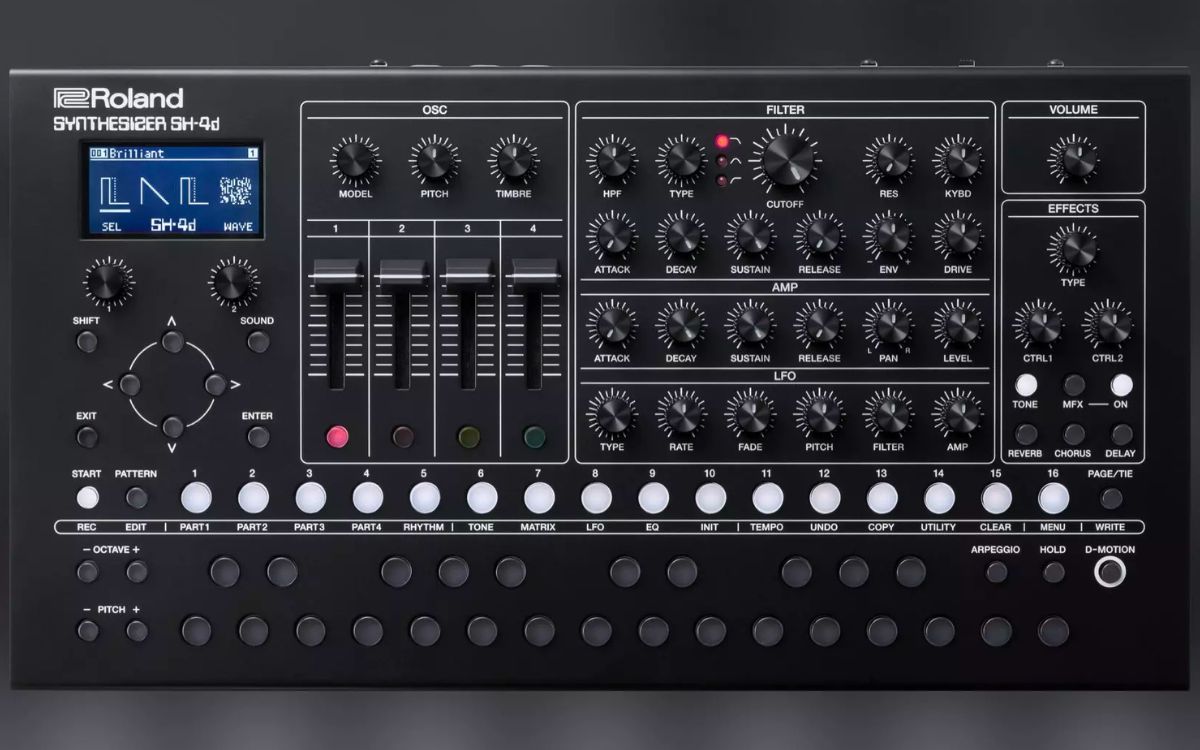
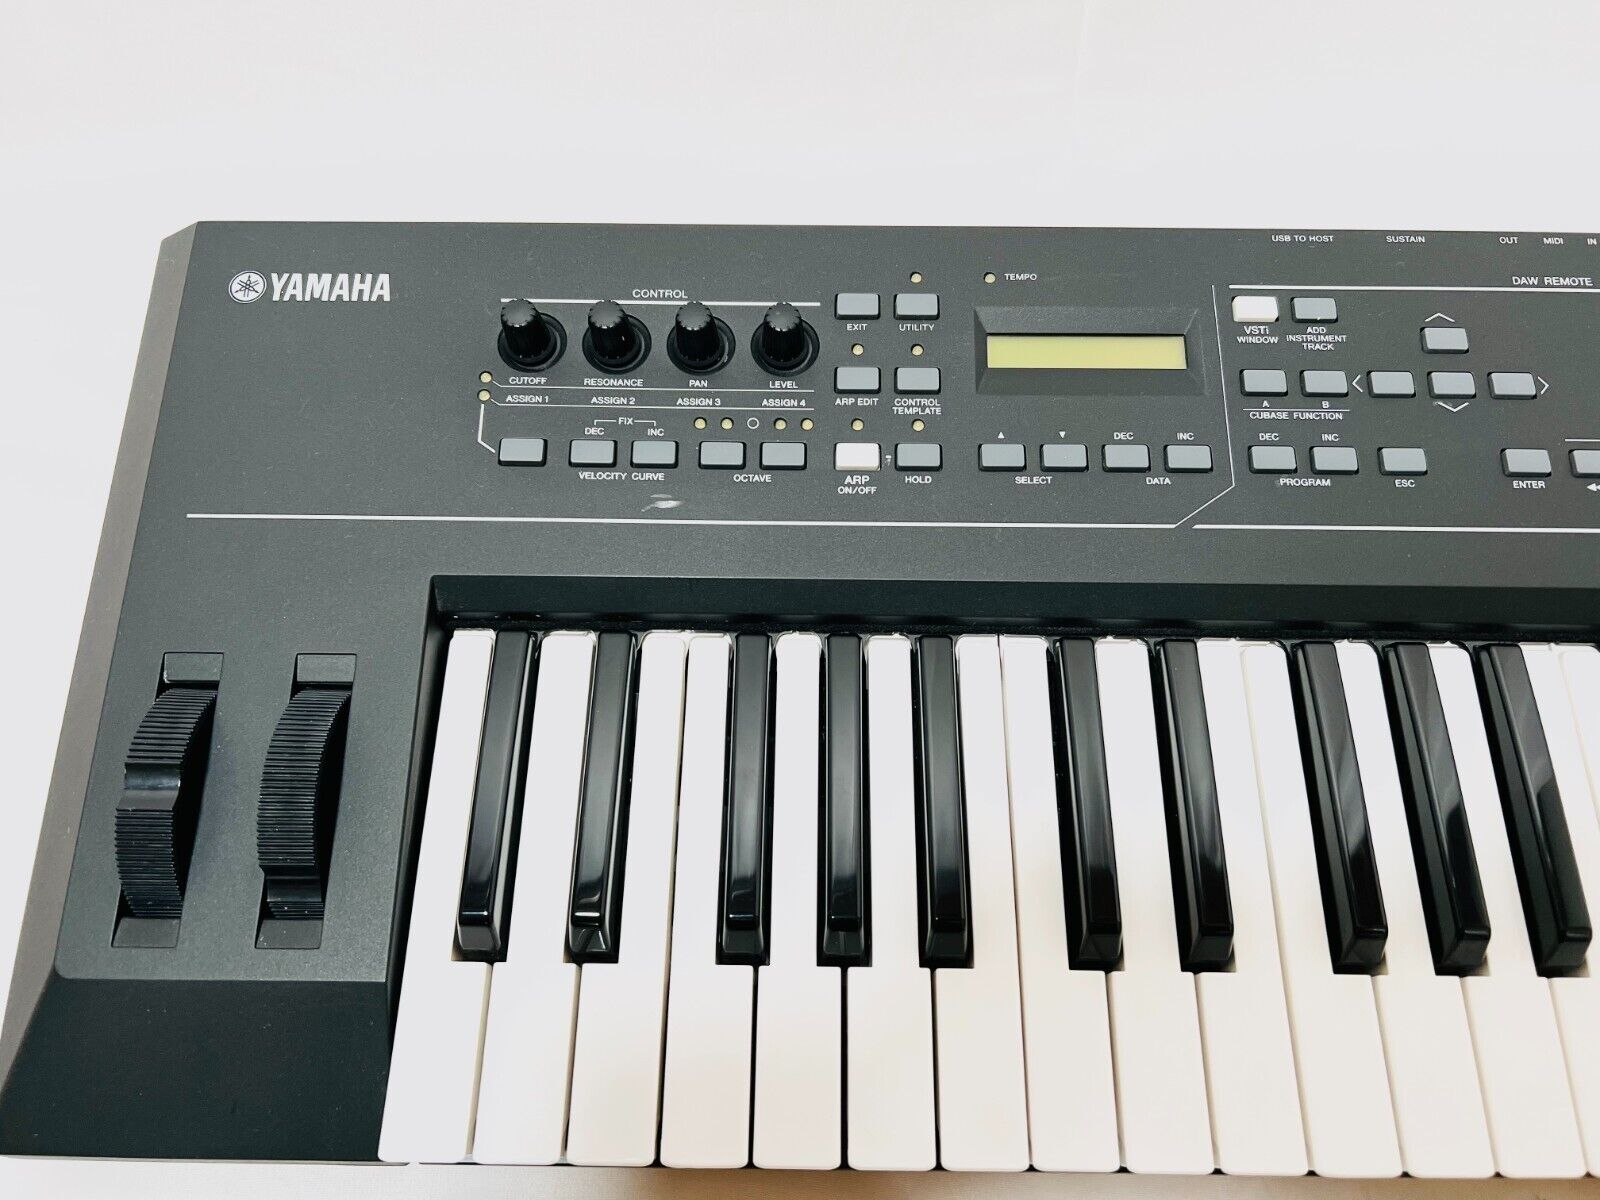
Basic Functions and Controls
Understanding the basic functions and controls of your keyboard synthesizer is crucial for harnessing its full potential. Knowing how to navigate the various features and settings will enable you to shape sounds, create expressive performances, and unlock a world of possibilities.
Here are some essential functions and controls commonly found on a keyboard synthesizer:
- Power On/Off: The power switch turns your synthesizer on and off. It’s important to follow proper power-up and power-down procedures to ensure the longevity of your instrument.
- Volume Control: Usually a knob or slider, the volume control adjusts the overall output level of your synthesizer. It allows you to balance the sound with other instruments in a mix or control the level during live performances.
- Patch/Program Select: Keyboard synthesizers often come with a bank of pre-programmed sounds, referred to as patches or programs. This control allows you to select different sounds from the internal library.
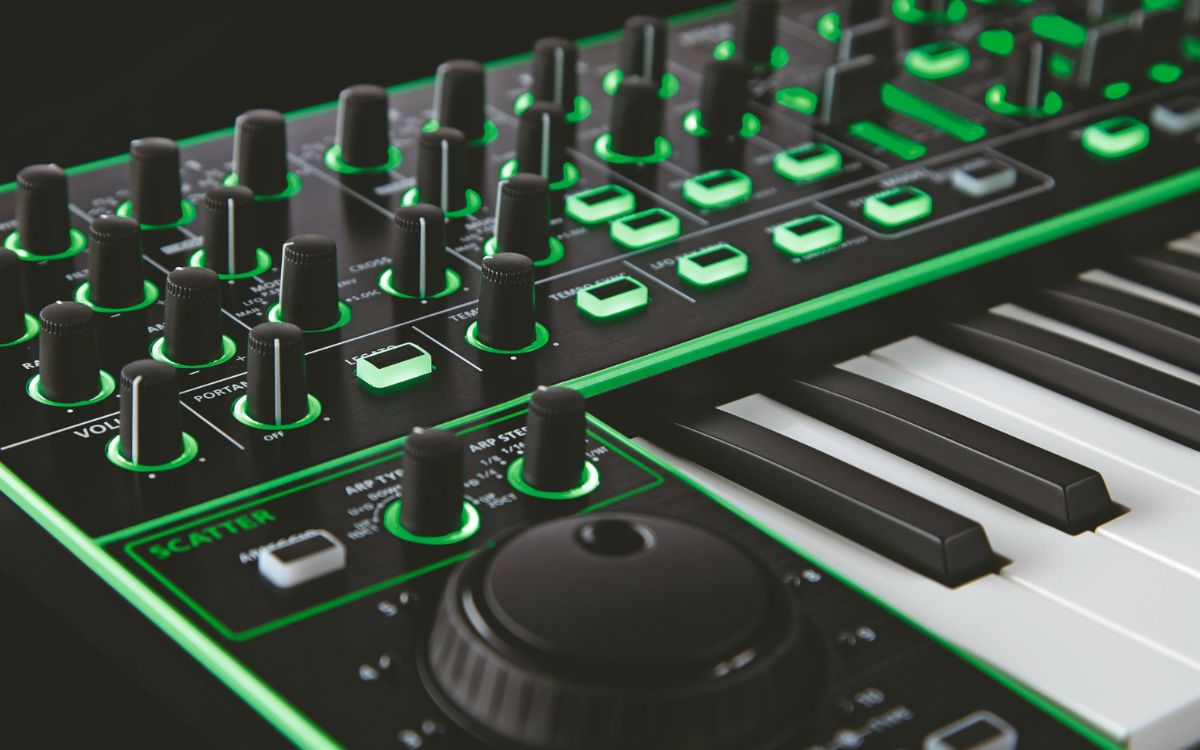
- Parameter Controls: These knobs, sliders, or buttons adjust specific sound parameters like filter cutoff, resonance, envelope settings, or effects parameters. Parameter controls give you precise control over the timbre and character of your sound.
- Modulation Controls: Modulation options provide ways to add movement and variation to your sounds. They typically include modulation wheels, sliders, or assignable controls that can be linked to various parameters, such as pitch, modulation depth, or filter cutoff frequency.
- Keyboard Split and Layering: Some synthesizers allow you to split the keyboard into different zones, assigning different sounds to different sections. Additionally, layering multiple sounds allows you to create rich, complex textures by playing multiple sounds simultaneously.
- Effects: Many synthesizers have built-in effects like reverb, delay, chorus, or distortion. These effects can enhance your sounds and add depth and character to your performances.
- Arpeggiator and Sequencer: Some synthesizers feature built-in arpeggiators and sequencers. An arpeggiator automatically plays a series of notes from a chord you hold down, while a sequencer allows you to record and play back patterns or sequences of notes, rhythms, and parameters.
It’s important to spend time exploring and experimenting with the functions and controls of your specific synthesizer model. This will help you understand its capabilities and develop your unique sound palette.
Additionally, referring to the user manual and online resources will provide you with valuable insights and tips for utilizing the functions and controls effectively. Don’t be afraid to experiment and push the boundaries to create your own unique soundscapes.
Now that you have a grasp of the basic functions and controls, let’s move on to the next section, where we will explore different techniques to elevate your performances and add personal expression to your playing.
Playing Techniques
Mastering various playing techniques is essential for getting the most out of your keyboard synthesizer. These techniques allow you to inject expression, dynamics, and emotion into your playing, resulting in captivating performances. Let’s explore some popular playing techniques that you can incorporate into your musical repertoire.
- Velocity Sensitivity: Most keyboard synthesizers are velocity-sensitive, meaning that the force with which you strike the keys affects the volume and expression of the sound. Experiment with playing softly for a gentle, delicate sound, and playing with force for a more powerful and impactful tone.
- Aftertouch: Aftertouch is an additional level of control that occurs when you press down and hold a key after initially striking it. It allows you to further modulate the sound by affecting parameters like pitch bend, filter cutoff, or vibrato. Explore how aftertouch can add nuance and expressive depth to your performances.
- Pitch Bend: Utilizing the pitch bend wheel or lever, you can subtly or dramatically bend the pitch of a note, creating expressive slides and glides. Experiment with different pitch bend ranges and speeds to add flair and emotion to your playing.
- Modulation: Many synthesizers provide a modulation wheel or assignable control that can modulate parameters like vibrato depth, filter cutoff, or LFO rate. Use modulation to add movement and character to your sounds, creating evolving and dynamic performances.
- Chordal Playing: Explore playing chords and voicings on your keyboard synthesizer. Experiment with different chord progressions and inversions to create rich harmonies. You can also combine chordal playing with other techniques like arpeggiation or layering to add complexity to your compositions.
- Arpeggiation: Activate the arpeggiator function on your synthesizer to automatically play a sequence of notes from a held chord. Adjust the arpeggiator settings to explore different patterns, rhythms, and note lengths. This technique adds rhythmic interest and complexity to your performances.
- Layering and Splitting: Take advantage of your synthesizer’s ability to layer multiple sounds or split the keyboard into different sections. This allows you to create hybrid sounds, combine contrasting timbres, or perform different parts simultaneously.
Remember, these techniques are starting points for your exploration. As you become more familiar with your synthesizer, experiment and develop your unique playing style. Don’t be afraid to push the boundaries and discover new ways to express yourself through your instrument.
In the next section, we’ll dive into the exciting realm of sound options, where you’ll learn how to navigate through different sounds, tweak parameters, and craft your signature sonic palette.
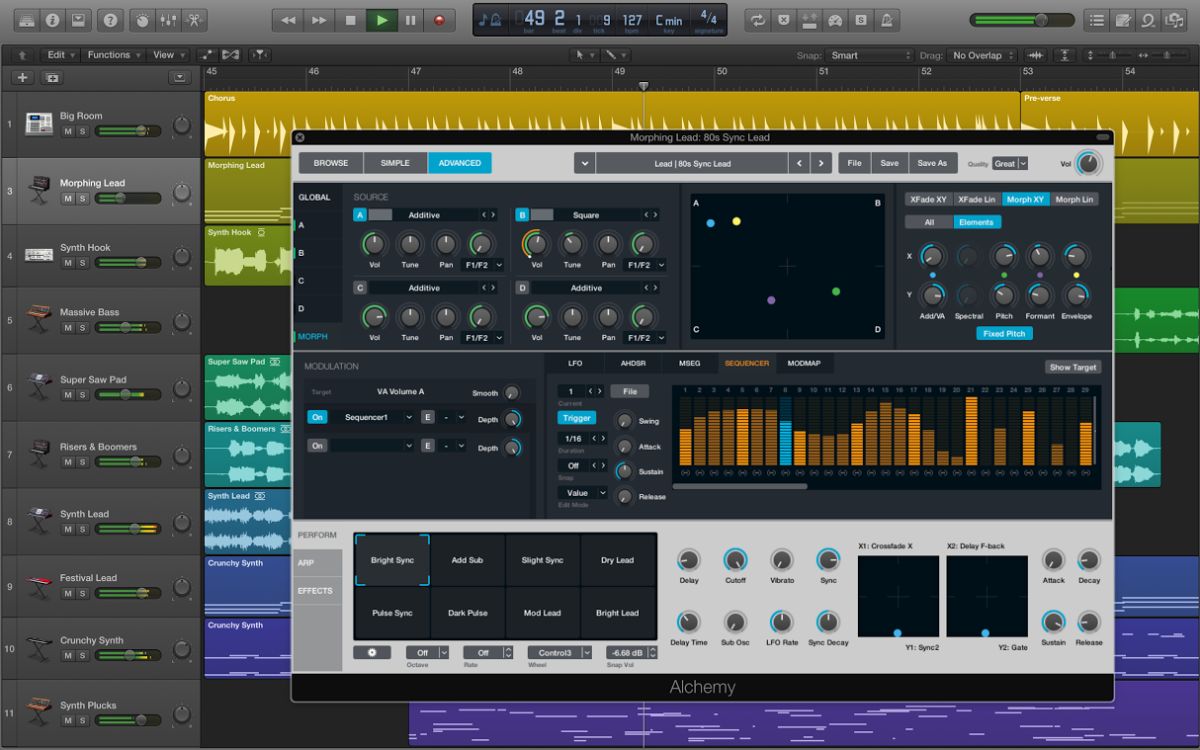
Exploring Sound Options
One of the most exciting aspects of using a keyboard synthesizer is the endless array of sound options at your fingertips. With the ability to shape and manipulate waveforms, apply filters, and modulate parameters, you have the power to create unique and captivating sounds. Let’s dive into the world of sound options and explore how to unleash your creativity.
Here are some ways to explore and customize your keyboard synthesizer’s sound options:
- Pre-Programmed Patches: Many synthesizers come with a variety of pre-programmed patches, offering a range of sounds to suit different musical styles. Dive into the patch library and experiment with different presets to get a feel for the capabilities of your synthesizer.
- Tweaking Parameters: Delve into the various controls on your synthesizer that affect the sound. Adjust the oscillator settings, filters, envelopes, and modulation options to shape the timbre, tone, and movement of the sound. Take the time to understand each parameter and how it contributes to the overall sound.
- Creating Custom Patches: Once you feel comfortable with the parameters, start creating your own custom patches. Tweak the settings to your liking, combining different waveforms, filter types, and modulation sources to craft unique sounds that suit your musical vision.
- Layering and Combining Sounds: Experiment with layering multiple sounds together to create rich and complex textures. Blend different patches or oscillators to achieve unique combinations and harmonies. This technique adds depth and richness to your compositions.
- Effects Processing: Explore the built-in effects or external effects processors connected to your synthesizer. Experiment with reverb, delay, chorus, and other effects to add space, depth, and character to your sounds. Effects can transform a simple sound into something extraordinary.
- Sample and Sample Manipulation: Some synthesizers allow you to import and manipulate samples to create unique textures and timbres. Experiment with loading samples of real-world sounds, vocals, or instruments into your synthesizer and apply various synthesis techniques to transform them into something new.
- Exploring Synthesis Methods: Different synthesizers may offer various synthesis methods, such as subtractive synthesis, additive synthesis, frequency modulation (FM) synthesis, or wavetable synthesis. Take the time to understand the different methods and explore their possibilities to broaden your sonic palette.
Remember, sound exploration is a journey of experimentation and discovery. Take the time to explore your keyboard synthesizer’s capabilities fully, and don’t be afraid to push the boundaries of traditional sound. By embracing curiosity and venturing into uncharted sonic territories, you’ll be able to develop your unique musical voice.
In the next section, we’ll cover recording and sequencing, which will empower you to capture your musical ideas and transform them into fully realized compositions.
Recording and Sequencing
Recording and sequencing your musical ideas is an essential part of the music production process. Luckily, many keyboard synthesizers come equipped with built-in recording and sequencing capabilities, allowing you to capture, arrange, and polish your compositions. Let’s explore how you can make the most of these features.
Recording:
To record your performances on a keyboard synthesizer, follow these steps:
- Connect your synthesizer to a computer audio interface or mixer using the audio outputs.
- Configure your recording software to receive the audio input from your synthesizer.
- Set up your synthesizer to an appropriate level and make sure it’s in tune.
- Arm the recording track in your software and press record.
- Play your performance on the synthesizer, and it will be captured in your recording software.
You can record individual tracks or layer multiple performances to create complex compositions. Experiment with different recording techniques and overdubs to build depth and complexity in your music.
Sequencing:
Many keyboards also feature built-in sequencers, allowing you to create intricate musical patterns and arrangements. Here’s how you can make use of the sequencer:
- Access the sequencer mode on your keyboard synthesizer.
- Set your desired tempo and time signature for your composition.
- Enter notes and rhythms using the keyboard or input pads in the sequencer interface.
- Experiment with different patterns, loops, and variations to create dynamic and evolving sequences.
- Use the sequencer to trigger other devices or sounds via MIDI to expand your sonic possibilities.
Sequencing allows you to compose complex arrangements, automate parameters, and create intricate musical structures with ease. Don’t be afraid to experiment and explore the sequencer’s capabilities to create your own unique musical compositions.
Once you have recorded or sequenced your compositions, you can further refine them using editing tools in your recording software. Adjust individual track levels, add effects, apply EQ and compression, and fine-tune your overall mix to achieve the desired sonic result.
In the final section, we’ll address some common troubleshooting issues that you may encounter when using a keyboard synthesizer and provide solutions to help you overcome them.
Troubleshooting Common Issues
While using a keyboard synthesizer can be an exhilarating experience, it’s not uncommon to encounter some challenges along the way. Here are some common issues you may come across when using a keyboard synthesizer and some troubleshooting tips to help you resolve them.
- No Sound: If you’re not hearing any sound from your synthesizer, check the following:
- Ensure the volume is turned up on your synthesizer and connected audio equipment.
- Check that all cables and connections are securely plugged in.
- Verify that the instrument is powered on and that no muting or soloing functions are active.
- Confirm that the correct audio input/output settings are selected on your audio interface or mixer.
- Unresponsive Keys or Controls: If certain keys or controls are not responding, try the following:
- Clean the affected keys or controls using a soft, lint-free cloth and a mild cleaning solution.
- Check for any physical obstructions or debris that may be interfering with the keys or controls.
- Ensure that the affected keys or controls are not set to a specific MIDI channel or being overridden by external devices.
- Restart your synthesizer to refresh its internal memory.
- MIDI Connectivity Issues: If you’re experiencing problems with MIDI communication, consider the following:
- Verify that the MIDI cables are connected properly and securely.
- Check that the MIDI channels and settings on your synthesizer and external devices are configured correctly.
- Ensure that the MIDI input and output settings in your software or DAW are properly configured.
- Check for conflicting MIDI assignments or settings that may be affecting the communication.
- Limited Sound Quality: If you’re not satisfied with the sound quality of your synthesizer, try the following:
- Experiment with different parameters, such as filter cutoff, resonance, and envelope settings, to shape the sound to your liking.
- Explore the use of effects to enhance and shape your sound.
- Consider using external audio processing gear, such as EQ or compression, to further refine your sound.
- Refer to the user manual and online resources for tips and tutorials specific to your synthesizer model.
- Software Integration Issues: If you’re using software-based synthesizers or virtual instruments, troubleshoot the following:
- Ensure that you have the latest version of the synthesizer software installed.
- Verify that the synthesizer software is compatible with your operating system.
- Check for any conflicting settings or preferences in your software or DAW that may affect the integration of the synthesizer.
- Refer to the software documentation and resources for troubleshooting tips specific to your setup.
If you have exhausted troubleshooting options and the issue persists, reaching out to the manufacturer’s customer support or seeking assistance from a qualified technician may be necessary. They can provide further guidance and help resolve more complex issues with your keyboard synthesizer.
Remember, patience and persistence are key when troubleshooting. With time and experience, you’ll become more adept at resolving issues, allowing you to focus on the joy of creating music with your keyboard synthesizer.
Now that you’re equipped with troubleshooting knowledge, let’s conclude this article and review what we’ve learned.
Conclusion
Congratulations! You’ve now navigated through the exciting world of keyboard synthesizers, gaining a deeper understanding of their components, connecting them to other devices, exploring basic functions and controls, implementing various playing techniques, and unleashing a world of sound possibilities. You’ve also learned the art of recording and sequencing, allowing you to capture and refine your musical ideas into fully realized compositions.
Throughout this journey, we discussed the importance of experimentation, curiosity, and exploration. By taking the time to understand your specific keyboard synthesizer and its capabilities, you have the power to create unique and captivating sounds that reflect your artistic vision.
Remember to refer to the user manual and online resources for your specific synthesizer model. These valuable references provide detailed instructions, additional tips, and specific guidance to further enhance your understanding and creativity.
As you continue to grow and evolve as a keyboard synthesizer enthusiast, keep pushing the boundaries and embracing new techniques and technologies. Network with other musicians and synthesizer enthusiasts to exchange ideas and discover fresh inspiration.
Whether you’re playing live on stage, composing in a studio environment, or simply exploring new sonic landscapes in your own musical space, the keyboard synthesizer provides you with endless possibilities for expression and creativity.
So, seize the opportunity, experiment fearlessly, and let the magic of the keyboard synthesizer guide you on an extraordinary musical journey!