Home>Instruments>Synthesizer>How To Record Synthesizer Lmms
Synthesizer
How To Record Synthesizer Lmms
Published: December 11, 2023
Learn how to record synthesizer with LMMS, a powerful and free music production software. Master the art of creating unique and mesmerizing sounds with the synthesizer.
(Many of the links in this article redirect to a specific reviewed product. Your purchase of these products through affiliate links helps to generate commission for AudioLover.com, at no extra cost. Learn more)
Table of Contents
- Introduction
- Understanding LMMS and its Synthesizer Features
- Setting up Your Synthesizer in LMMS
- Configuring MIDI Input for Recording
- Adjusting Synthesizer Settings for Optimal Recording
- Recording Synthesizer Tracks in LMMS
- Editing and Fine-tuning Recorded Synthesizer Parts
- Exporting and Saving Synthesizer Recordings
- Troubleshooting Common Issues with Synthesizer Recording in LMMS
- Conclusion
Introduction
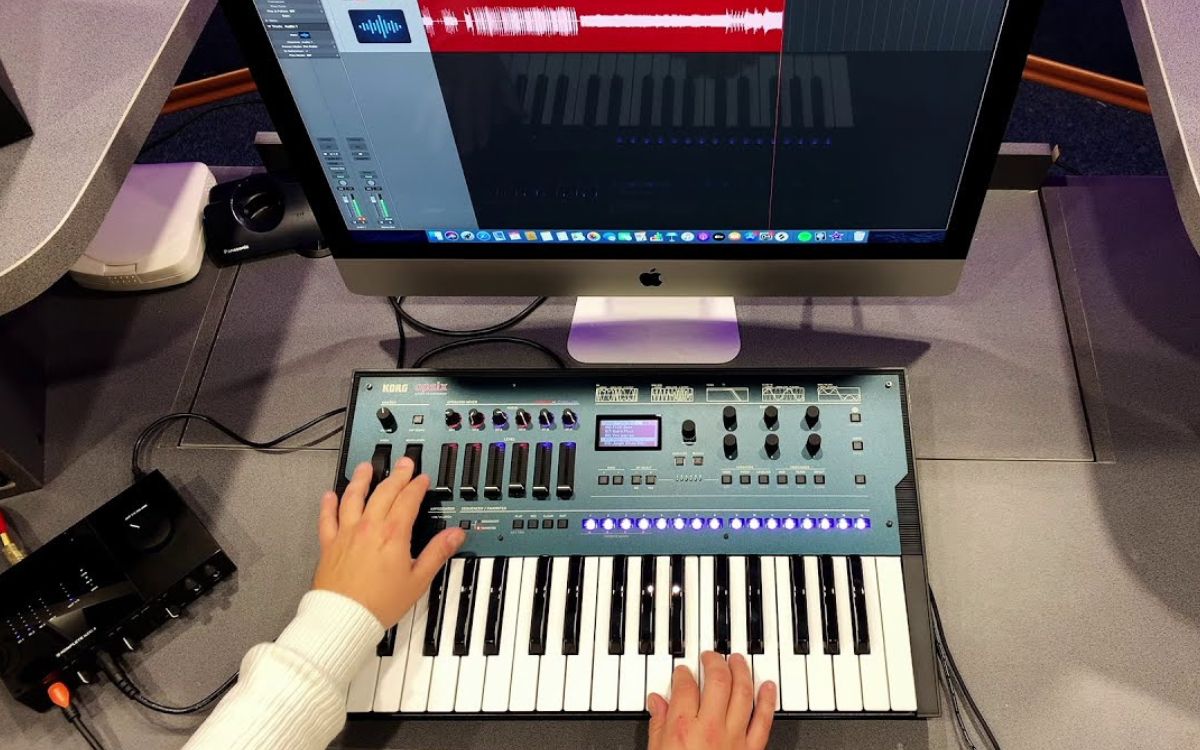
Welcome to the world of synthesizers and electronic music production! If you’re a musician or music enthusiast looking to dive into the fascinating realm of synthesizers, you’ve come to the right place. In this article, we will explore how to record synthesizers using LMMS (Linux MultiMedia Studio) – an open-source digital audio workstation.
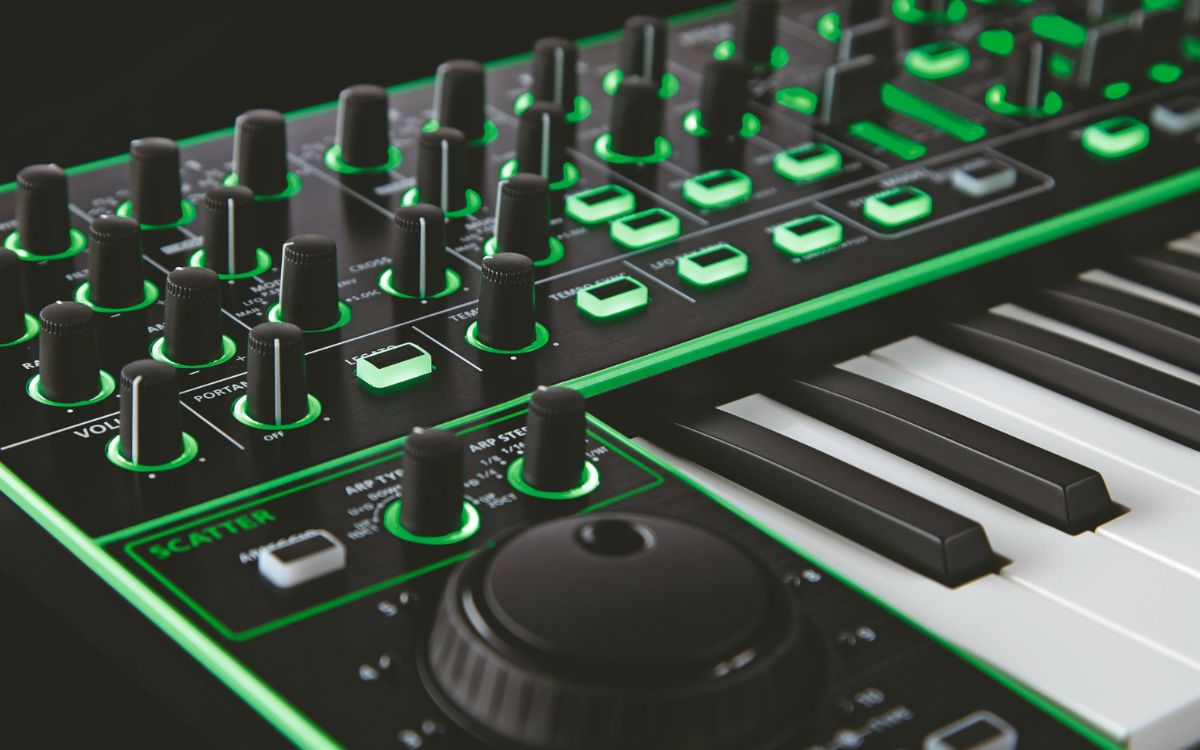
Synthesizers are versatile instruments that produce a wide range of sounds and tones, making them a staple in many genres of music. Whether you’re a beginner or an experienced musician, recording your synthesizer performances allows you to capture your creative ideas and share them with others.
LMMS, a powerful and user-friendly software, provides an excellent platform for recording and producing music. With its synthesizer features and intuitive interface, you can shape and manipulate various sound elements to create captivating compositions.
Before we delve into the recording process, it’s important to note that this article assumes you have a basic understanding of LMMS and its functionalities. If you’re new to LMMS, it’s recommended to familiarize yourself with its interface and features. However, don’t worry if you’re not an expert yet – we’ll guide you through the steps to record your synthesizer effortlessly.
So, let’s get started and unlock the potential of your synthesizer in LMMS. Get ready to unleash your creativity and capture the magic of your synth performances!
Understanding LMMS and its Synthesizer Features
Before we jump into recording our synthesizer in LMMS, let’s take a moment to understand the software and its synthesizer features. LMMS is a free, cross-platform digital audio workstation that allows you to create, edit, and produce music. It offers a wide range of tools and capabilities to help you unleash your musical creativity.
One of the key features of LMMS is its built-in synthesizers. These virtual instruments replicate the sound and functionality of real-life hardware synthesizers, giving you the power to generate unique and captivating tones. LMMS offers various synthesizers, each with its own characteristics and sound parameters:
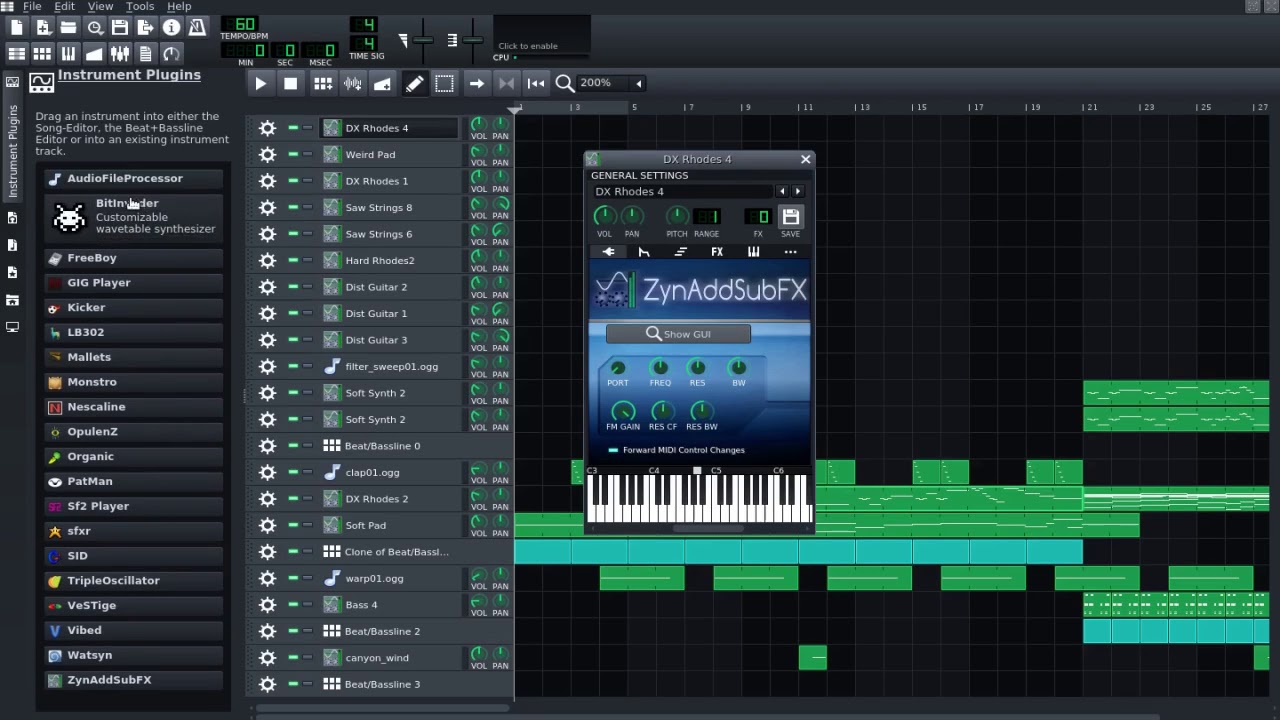
- ZynAddSubFX: This advanced synthesizer offers a wide range of presets and the ability to create complex, layered sounds. It includes oscillators, filters, modulation options, and more.
- SF2 Player: This synthesizer allows you to load and play SoundFont 2 files, which contain samples of real instruments. It’s perfect for adding realistic instrument sounds to your compositions.
- Triple Oscillator: As the name suggests, this synthesizer features three oscillators that can be individually tuned and modulated. It’s great for creating basic waveforms and simple synth sounds.
These are just a few examples of the synthesizers available in LMMS. Each synthesizer has its own unique set of parameters that you can tweak to shape your desired sound. From adjusting envelopes and filters to applying effects and modulation, the possibilities are endless.
In addition to the built-in synthesizers, LMMS also supports external VST (Virtual Studio Technology) plugins. VST plugins expand LMMS’s capabilities by offering additional synthesis options, effects, and sound libraries. This allows you to explore a vast collection of third-party plugins and further enrich your sound palette.
Understanding the range of synthesizer options in LMMS is crucial for recording your performances effectively. It gives you the flexibility to choose the right synthesizer for your desired sound and experiment with different parameters to achieve the perfect tone.
Now that we have a basic understanding of LMMS and its synthesizer features, let’s move on to setting up the software to record our synthesizer.
Setting up Your Synthesizer in LMMS
Before you can start recording your synthesizer in LMMS, you need to make sure it is properly set up and configured within the software. Follow these steps to get your synthesizer ready:
- Connect your synthesizer: Use a MIDI cable or USB cable to connect your synthesizer to your computer. Make sure the connection is secure and the synthesizer is powered on.
- Launch LMMS: Open LMMS on your computer. If you haven’t installed the software yet, download and install it from the official LMMS website.
- Open the settings: In LMMS, go to the “Edit” menu and select “Settings” or use the shortcut “Ctrl + P” to open the settings panel.
- Select the MIDI tab: In the settings panel, click on the “MIDI” tab. This is where you can configure your MIDI devices.
- Add your synthesizer as a MIDI input: In the MIDI devices section, click on the “Add” button. LMMS will detect the connected MIDI devices, including your synthesizer. Select your synthesizer from the list and click “OK.”
- Set the MIDI port: After adding your synthesizer, select it from the list of MIDI devices in the settings panel. Set the MIDI port to the port that corresponds to your synthesizer. This information can usually be found in your synthesizer’s user manual or settings.
- Apply and close the settings: Click “OK” to apply the changes and close the settings panel. Your synthesizer is now set up and ready to be used in LMMS.
By completing these steps, you have successfully connected and configured your synthesizer in LMMS. The software is now able to receive MIDI input from your synthesizer and translate it into sound.
Next, we’ll explore how to configure the MIDI input for recording, allowing you to capture your synthesizer performances in real-time.
Configuring MIDI Input for Recording
Now that your synthesizer is set up in LMMS, it’s time to configure the MIDI input for recording your performances. Here’s how you can do it:
- Create a new project: Open LMMS and create a new project. This will serve as the workspace for your recording.
- Set the project’s tempo and time signature: Before configuring the MIDI input, set the desired tempo and time signature for your project. This will ensure that your recording stays in sync with other elements in your composition.
- Open the Song Editor: In the top-right corner of the LMMS window, click on the “Song Editor” button to open the Song Editor view.
- Click on the MIDI input selector: In the Song Editor view, locate the MIDI input selector on the left side of the window. Click on the drop-down menu to reveal the available MIDI devices.
- Select your synthesizer as the MIDI input: From the drop-down menu, choose your synthesizer as the MIDI input device. This will allow LMMS to receive incoming MIDI signals from your synthesizer.
- Choose the desired channel: If your synthesizer supports multiple channels, select the appropriate channel that you want to use for recording. This ensures that only the desired MIDI data is recorded and played back.
- Arm the recording: To enable recording, click on the red “Record” button in the Song Editor view. This prepares LMMS to capture the incoming MIDI data from your synthesizer.
With the MIDI input configured and recording armed, you’re now ready to capture your synthesizer performances in real-time. As you play your synthesizer, LMMS will record the MIDI data, which can be further manipulated and edited in the editing phase.
It’s important to note that while the MIDI input captures the performance data, it does not record the audio output of your synthesizer. The MIDI data serves as a digital representation of your performance, which can be used to trigger virtual instruments or external hardware synths.
Now that your MIDI input is configured, let’s explore how to adjust the synthesizer settings in LMMS for optimal recording.
Adjusting Synthesizer Settings for Optimal Recording
Before you begin recording your synthesizer in LMMS, there are a few synthesizer settings you should adjust to ensure optimal recording quality. These settings will help you capture the desired sound accurately and minimize any unwanted artifacts or distortions. Here’s how you can fine-tune your synthesizer settings:
- Select the desired synthesizer: In LMMS, choose the synthesizer you want to record with from the available options. Consider the characteristics and features of each synthesizer to find the one that best suits your desired sound.
- Adjust the volume: Pay attention to the volume of your synthesizer. Ensure that it is set at an appropriate level, neither too soft nor too loud. Adjust the volume control on your synthesizer or within LMMS to achieve the desired balance with other elements in your composition.
- Tweak the sound parameters: Explore the sound parameters of your synthesizer. Experiment with the oscillators, filters, envelopes, and modulation options to shape your sound. Adjust the parameters to achieve the desired tonal characteristics, such as brightness, warmth, or depth.
- Enable effects: LMMS offers a range of effects that can be applied to your synthesizer’s sound. Experiment with effects like reverb, delay, chorus, or distortion to add depth and character to your recordings. However, use effects judiciously and avoid overdoing them, as it can result in an unnatural or cluttered sound.
- Configure the polyphony: Consider the polyphony settings of your synthesizer. Polyphony determines how many notes can be played simultaneously. If you want to record complex chord progressions or layered melodies, ensure that the polyphony setting is appropriately adjusted to accommodate them.
- Eliminate unwanted noise: Noise, such as hum or interference, can be introduced into your recordings. Minimize this by ensuring proper grounding and cable connections, as well as locating your synthesizer away from sources of electrical interference.
- Test and refine: Take some time to test your synthesizer’s settings and make adjustments as needed. Play around with different sound combinations, parameter settings, and effects to refine the sound to your liking. Trust your ears and make tweaks until you achieve the desired tone.
By adjusting these synthesizer settings, you can optimize the recording quality and ensure that your synthesizer performances are accurately captured in LMMS. Remember, the goal is to create a well-balanced and cohesive sound that blends harmoniously with other elements in your composition.
Now that your synthesizer settings are optimized, it’s time to start recording your synthesizer tracks in LMMS. We’ll cover the recording process in the next section.
Recording Synthesizer Tracks in LMMS
Now that you have set up your synthesizer and adjusted its settings, it’s time to dive into recording your synthesizer tracks in LMMS. Follow these steps to capture your performances:
- Select a track: In LMMS, choose or create a track where you want to record your synthesizer. You can create a new track by clicking on the “+” icon in the Track Panel. Ensure that the track is assigned to your desired synthesizer.
- Arm the recording: Click on the red “Record” button in the Track Control Panel to arm the recording for the selected track. This enables LMMS to capture the audio output of your synthesizer.
- Set the recording length: Determine the length of the recording by adjusting the “Song Length” in the Transport Panel. You can set it to a specific duration or leave it open-ended if you want to record freely.
- Start the recording: Click on the “Play” button in the Transport Panel to start the playback and recording. As LMMS plays, your synthesizer track will be recorded in real-time according to the MIDI data received from your synthesizer.
- Perform and record: Play your synthesizer along with the backing track or other elements in your composition. Perform your desired melodies, chords, or any other musical ideas you have in mind. LMMS will capture the audio output of your synthesizer onto the track as you play.
- Stop the recording: Once you finish your performance, click on the “Stop” button in the Transport Panel to end the recording. LMMS will automatically stop recording and play back the recorded track.
Congratulations! You have successfully recorded your synthesizer track in LMMS. Now you have a solid foundation to build upon for your composition.
Remember, LMMS records the audio output of your synthesizer, also known as “rendering” or “bouncing down” the tracks. This means that any editing or adjustments you made to the synthesizer’s sound parameters during recording are permanently captured in the recorded track.
With your synthesizer tracks recorded, you can now move on to the next phase – editing and fine-tuning the recorded synthesizer parts to perfect your composition. We’ll cover this process in the following section.
Editing and Fine-tuning Recorded Synthesizer Parts
Now that you have recorded your synthesizer parts in LMMS, it’s time to refine and fine-tune them through the editing process. Editing enables you to adjust the timing, dynamics, and overall performance of your recorded synthesizer tracks. Here’s how you can edit and enhance your recorded synthesizer parts:
- Access the Piano Roll Editor: Double-click on the recorded synthesizer track in the Song Editor or right-click on the track and select “Piano Roll Editor.” This will open the Piano Roll Editor, where you can view and edit the MIDI data of your recorded performance.
- Quantize the MIDI notes: Quantization helps to align the timing and rhythm of the recorded MIDI notes. In the Piano Roll Editor, select the notes you want to quantize, then apply quantization by choosing the desired grid size. This ensures that your synthesizer parts stay in time with the rest of your composition.
- Adjust the velocity of the MIDI notes: MIDI velocity controls the volume and intensity of each note. In the Piano Roll Editor, you can adjust the velocity of individual notes or entire sections to add dynamics and expression to your synthesizer performance. Experiment with different velocity values to find the balance that suits your musical intentions.
- Modify the MIDI data: Use the various editing tools in the Piano Roll Editor to make changes to the recorded MIDI data. This includes moving, copying, deleting, or stretching notes, as well as adjusting their durations or pitch. By manipulating the MIDI data, you can create variations, add embellishments, or correct any mistakes in your performance.
- Add additional MIDI events: Take advantage of the Piano Roll Editor to add extra MIDI events, such as modulation, pitch bend, or expression automation, to enhance your synthesizer parts. These extra touches can add depth and nuance to your recorded performance.
- Apply effects or plugins: If desired, experiment with adding effects or plugins to your recorded synthesizer parts. LMMS offers a variety of effects and plugins that can be applied to individual tracks or the entire composition, allowing you to further shape and enhance the sound of your synthesizer performance.
- Listen and refine: As you make edits and adjustments, take the time to listen to your synthesizer parts within the context of the overall composition. Make refinements as necessary to ensure that your recorded synthesizer tracks blend seamlessly with other elements and achieve the desired sonic balance.
Editing is a crucial step in the music production process, allowing you to polish and perfect your synthesizer performances. With careful editing, you can transform your recorded parts into cohesive, expressive, and professional-sounding tracks.
Once you are satisfied with the edits and fine-tuning of your synthesizer parts, it’s time to share your music with others. In the next section, we’ll explore how to export and save your synthesizer recordings in LMMS.
Exporting and Saving Synthesizer Recordings
After you have recorded, edited, and fine-tuned your synthesizer parts in LMMS, the next step is to export and save your recordings. Exporting allows you to render your synthesizer tracks into a format that can be shared, listened to, or processed further in other audio editing software. Here’s how you can export and save your synthesizer recordings:
- Select the tracks to export: In the Song Editor, choose the specific synthesizer tracks you want to export. You can select multiple tracks by holding down the Ctrl or Shift key while clicking on each track.
- Set the export options: Go to the “File” menu and select “Export” or use the shortcut “Ctrl + E” to open the export options window. Here, you can specify the export settings, including the file format, sample rate, bit depth, and destination folder.
- Choose the file format: Select the desired file format for your synthesizer recordings. Common options include WAV, MP3, FLAC, or OGG. Consider the compatibility and quality requirements of your intended audience or platform.
- Set the export range: Specify the export range if you only want to export a specific section of your composition. You can set the exact start and end points or choose to export the entire song.
- Configure the output settings: Adjust the sample rate and bit depth settings based on your preferences and the requirements of your project. Higher sample rates and bit depths generally result in higher audio quality but produce larger file sizes.
- Choose the destination folder: Select the folder where you want to save your exported synthesizer recordings. You may want to create a dedicated folder to keep your project files organized.
- Export the recordings: Click on the “Export” or “Save” button to initiate the export process. LMMS will render your synthesizer tracks according to the specified settings and save them as audio files in the designated folder.
Once the export process is complete, you now have your synthesizer recordings as standalone audio files. You can listen to them, share them with others, or import them into other digital audio workstations for further processing or mixing.
Remember to save your LMMS project file (.mmpz) separately if you wish to make future edits or modifications to your synthesizer recordings. This allows you to revisit and refine your work in LMMS without losing any of the recorded data or settings.
Now that your synthesizer recordings are exported and saved, you can proudly share your music with the world! Troubleshooting Common Issues with Synthesizer Recording in LMMS
Troubleshooting Common Issues with Synthesizer Recording in LMMS
While recording synthesizer tracks in LMMS is a rewarding process, you may occasionally encounter some issues along the way. Understanding and troubleshooting these common problems can help ensure smooth and successful recording sessions. Here are some solutions to common issues when recording synthesizers in LMMS:
- No MIDI input detected: If LMMS is not detecting your synthesizer as a MIDI input device, double-check the connection between your synthesizer and computer. Ensure that the MIDI cables or USB connections are securely plugged in and that your synthesizer is powered on.
- Incorrect MIDI channel: If your synthesizer has multiple channels, verify that you have selected the correct MIDI channel in LMMS. Make sure the MIDI channel assigned in LMMS matches the channel on your synthesizer that you want to record.
- Latency issues: Latency, or delay, during recording can be frustrating. To minimize latency, try adjusting the audio buffer size in the LMMS settings. Smaller buffer sizes usually reduce latency, but may require more processing power from your computer.
- MIDI timing and synchronization: If you notice timing issues between your synthesizer performance and other tracks in LMMS, ensure that the project’s tempo and time signature are set correctly. Additionally, quantize your MIDI recordings to align the notes precisely with the grid.
- Undesirable noise or interference: External noise or interference can affect the quality of your recordings. Check for proper grounding and cable connections, and keep your synthesizer away from sources of electrical interference, such as radios or power cables.
- Synth sound not recording properly: If your synthesizer’s sound is not being recorded accurately, double-check the audio routing settings. Ensure that the track is properly assigned to the synthesizer and that the synthesizer’s audio output is connected correctly within LMMS.
- Out-of-tune recordings: If your synthesizer recordings sound out of tune, verify that your synthesizer is properly calibrated. Check its tuning settings or use a tuner to ensure accurate pitch. Additionally, check if the MIDI data being played matches the intended pitch of your synthesizer.
- Overall volume imbalance: If you notice volume imbalances between your synthesizer tracks and other elements in your composition, adjust the volume levels within LMMS. Use the track volume controls and the mixer to achieve a proper balance and ensure that your synthesizer tracks blend harmoniously with the rest of your composition.
By troubleshooting these common issues, you can overcome potential obstacles and enjoy a smoother recording experience with your synthesizer in LMMS. Remember, patience and experimentation are key to finding the solutions that work best for your specific setup and requirements.
Now that you’re equipped with troubleshooting knowledge, you can confidently tackle any issues that arise and continue crafting amazing synthesizer recordings in LMMS.
Conclusion
Recording synthesizers in LMMS opens up a world of possibilities for musicians and enthusiasts alike. With its powerful synthesizer features and intuitive interface, LMMS provides a versatile platform for capturing and producing captivating synthesizer performances. Throughout this article, we have explored the necessary steps to set up your synthesizer, configure MIDI input, adjust synthesizer settings, record tracks, edit and fine-tune performances, and export your recordings for sharing.
By understanding the features of LMMS and taking the time to optimize your synthesizer settings, you can ensure high-quality recordings that accurately capture the essence of your performances. The ability to edit and refine your recorded synthesizer parts allows you to polish your compositions and create professional-sounding tracks.
It’s important to be aware of and troubleshoot common issues that may arise during the recording process. By addressing issues such as latency, synchronization, noise, and volume imbalances, you can overcome obstacles and maintain a seamless recording workflow.
As you continue your journey in recording synthesizers with LMMS, don’t forget to experiment, explore, and embrace your creativity. Push the boundaries of sound, try new combinations of synthesizer settings and effects, and let your musical ideas flow.
With LMMS as your companion, you have the tools and knowledge to capture the magic of your synthesizer performances and share them with the world. Get ready to unleash your creativity and embark on an extraordinary musical journey!