Home>Production & Technology>Audio Interface>How To Use Audio Interface In LMMS

Audio Interface
How To Use Audio Interface In LMMS
Modified: February 19, 2024
Learn how to effectively use an audio interface in LMMS to enhance your music production. Discover tips, tricks, and troubleshooting solutions for optimal audio input and output.
(Many of the links in this article redirect to a specific reviewed product. Your purchase of these products through affiliate links helps to generate commission for AudioLover.com, at no extra cost. Learn more)
Table of Contents
- Introduction
- Step 1: Connecting Your Audio Interface
- Step 2: Configuring Your Audio Interface in LMMS
- Step 3: Setting Up Inputs and Outputs in LMMS
- Step 4: Adjusting Audio Interface Settings in LMMS
- Step 5: Recording and Playing Audio with Your Audio Interface
- Step 6: Troubleshooting Tips for Audio Interface Issues
- Conclusion
Introduction
An audio interface is an essential tool for anyone involved in music production, whether you’re a professional producer or an aspiring musician. It serves as the link between your computer and other audio devices such as microphones, instruments, and speakers, allowing you to record and play back high-quality audio.
One popular Digital Audio Workstation (DAW) that musicians and producers often use is LMMS (Linux MultiMedia Studio). LMMS is a free and open-source software that provides a platform for creating music on Linux, Windows, and macOS.
In this article, we will guide you through the process of using an audio interface in LMMS. We’ll cover everything from connecting your audio interface to configuring it within LMMS, to recording and playing back audio, and even troubleshooting common issues that may arise.
By the end of this guide, you’ll have a solid understanding of how to harness the power of your audio interface in LMMS, unlocking a whole new level of creative possibilities in your music production journey.
Step 1: Connecting Your Audio Interface
The first step in using your audio interface with LMMS is to properly connect it to your computer. Here’s how:
- Start by turning off your computer and any audio devices you will be connecting to the interface.
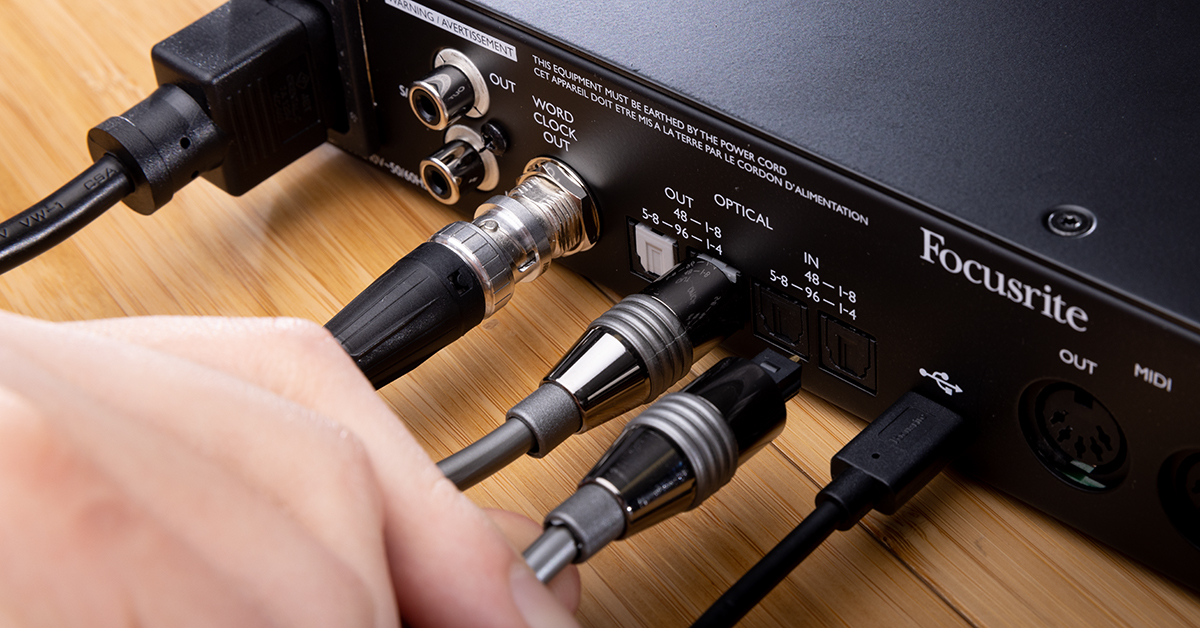
- Locate the USB or Thunderbolt port on your computer and plug in the appropriate cable from your audio interface. Make sure the connection is secure.
- If your audio interface requires additional power, connect it to an electrical outlet using the provided power adapter.
- Next, connect any microphones, instruments, or speakers to the inputs and outputs of your audio interface. Use the appropriate cables for each device.
- Once all the connections are in place, turn on your computer and power up your audio interface and any connected devices.
- Wait for your computer to recognize the audio interface. You may need to install any necessary drivers or software provided by the manufacturer. Follow the instructions provided to complete the installation.
- If prompted, restart your computer to ensure that the audio interface is fully configured.
Now that your audio interface is properly connected, it’s time to configure it within the LMMS software to ensure seamless communication between your computer, audio interface, and other devices.
Step 2: Configuring Your Audio Interface in LMMS
Configuring your audio interface within LMMS is crucial for optimal performance and reliable audio processing. Follow these steps to configure your audio interface:
- Launch LMMS on your computer. If you haven’t installed it yet, visit the official LMMS website and download the appropriate version for your operating system.
- Once LMMS is open, navigate to the “Settings” menu at the top of the interface and select “Audio Settings.”
- In the “Audio Settings” window, you’ll see a drop-down menu for selecting the audio device. Choose your audio interface from the list.
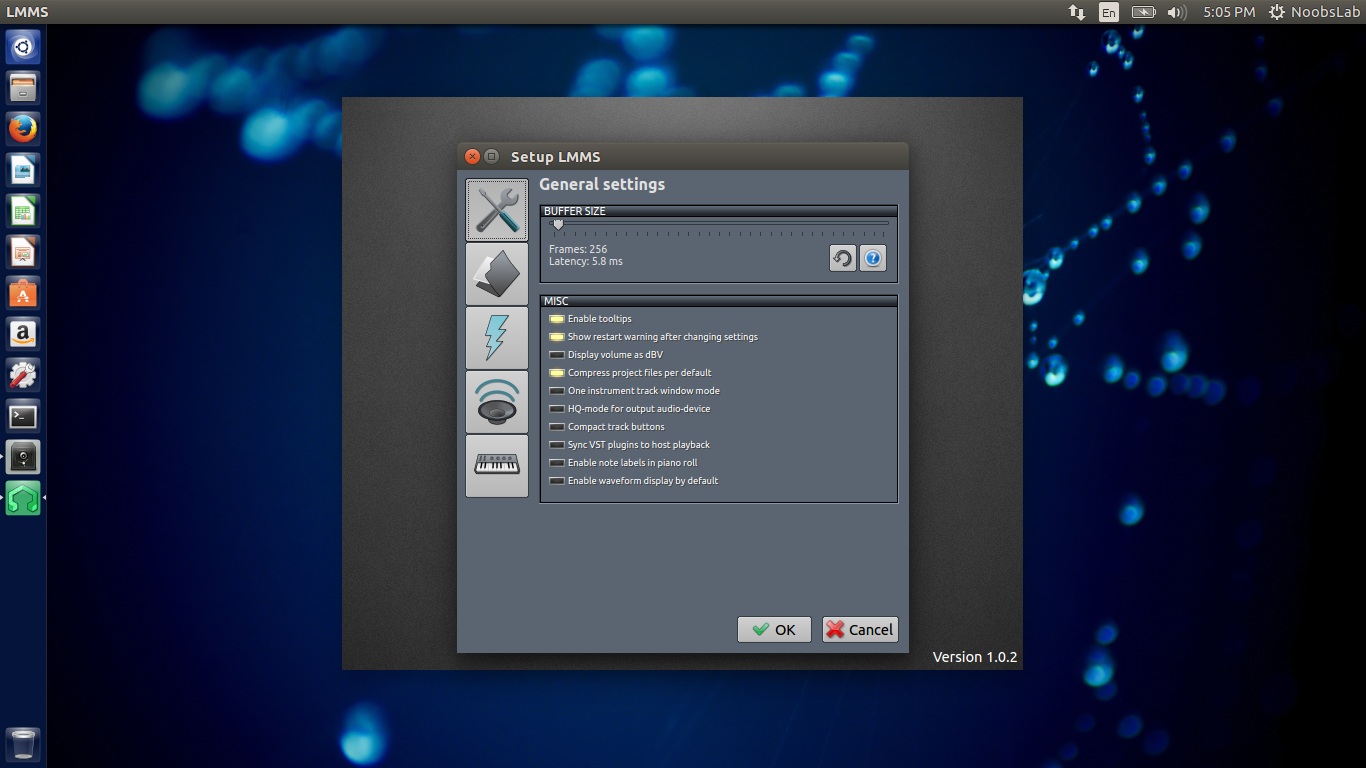
- Next, select the sample rate and buffer size. The sample rate determines the number of audio samples per second, while the buffer size affects the latency. Higher sample rates and smaller buffer sizes offer better audio quality but require more processing power.
- Make sure the audio input and output channels are set correctly. If you’re using a microphone or instrument connected to your audio interface, select the appropriate input channel. If you’re using speakers or headphones connected to your audio interface, select the desired output channel.
- Check for any additional settings specific to your audio interface. Some interfaces may have features such as input gain control or phantom power for microphones that need to be enabled or adjusted within LMMS.
Once you have completed these configuration steps, your audio interface should be set up and ready to use in LMMS. However, it’s important to note that specific settings may vary depending on your audio interface and LMMS version. Take some time to explore the settings and documentation provided by your audio interface manufacturer and reference the LMMS user manual for additional support.
Step 3: Setting Up Inputs and Outputs in LMMS
Now that your audio interface is configured in LMMS, it’s time to set up the inputs and outputs to ensure seamless audio recording and playback. Follow these steps:
- Launch LMMS and open a new or existing project.
- Click on the “Song Editor” button at the top of the LMMS interface to access the song editor window.
- On the left side of the song editor window, you will see the instrument browser. Right-click anywhere within the instrument browser and select “Create new instrument.”
- A window will appear with options to select an instrument and set its properties. Choose the instrument you want to use and click “OK.”
- Once the instrument is created, click on the instrument name to select it.
- Now, look for the “Output” section in the instrument’s properties panel. Click on the drop-down menu and select the output channel corresponding to your audio interface’s output.
- If you want to use multiple instruments, repeat steps 3 to 6 for each instrument and assign them to different output channels if desired.
- To set up the inputs for audio recording, click on the small arrow next to the microphone icon at the top of the LMMS interface. Select “Audio File Processor” from the drop-down menu.
- In the “Audio File Processor” window, click on the “Record” button and choose the input channel you want to use for recording.
By following these steps, you have successfully set up the inputs and outputs in LMMS. Now you can record audio from your audio interface’s input channels and playback audio on the assigned output channels within LMMS.
Step 4: Adjusting Audio Interface Settings in LMMS
After configuring the inputs and outputs in LMMS, it’s important to understand how to adjust the audio interface settings to optimize your recording and playback experience. Here are some key settings to consider:
- Sample Rate: The sample rate determines the number of audio samples taken per second. Higher sample rates typically result in better audio fidelity but require more processing power. Adjust the sample rate in the audio interface settings to meet your specific needs.
- Buffer Size: The buffer size determines the amount of audio data processed in one go. A smaller buffer size decreases latency but can increase the risk of audio glitches. Experiment with different buffer sizes to find the balance between low latency and stable performance.
- Input/Output Latency: Latency refers to the delay between the input signal and its reproduction or processing. It’s crucial to minimize latency for a seamless recording experience. Adjust buffer size, sample rate, and other performance settings to reduce input/output latency as much as possible.
- MIDI Input/Output: If you’re using MIDI instruments, make sure to configure the MIDI input and output settings in LMMS to synchronize them with your audio interface. This allows you to control virtual instruments within LMMS with external MIDI devices.
- Monitoring Options: Some audio interfaces offer direct monitoring capabilities, allowing you to hear your input signals in real time while recording. Explore the monitoring options in LMMS and your audio interface to enable this feature, if available.
Remember to refer to the documentation provided with your audio interface for specific instructions on adjusting these settings. Additionally, always consider the system requirements and limitations of your computer and audio interface when making adjustments.
By fine-tuning these audio interface settings in LMMS, you can enhance the recording and playback experience and ensure optimal performance and audio quality for your projects.
Step 5: Recording and Playing Audio with Your Audio Interface
Now that your audio interface is properly set up and configured in LMMS, you’re ready to start recording and playing audio. Here’s how:
- To record audio, make sure your microphone or instrument is connected to the appropriate input channel on your audio interface.
- In LMMS, select the instrument or track you want to record to. Ensure that the output channel is set to the corresponding input channel of your audio interface.
- Click on the record button in the instrument panel or press the dedicated record button in the LMMS interface.
- Start playing or singing into your microphone or playing your instrument. LMMS will capture the audio signal and record it onto the selected track.
- To play back the recorded audio, simply press the play button in LMMS. You should be able to hear the recorded audio through your speakers or headphones connected to your audio interface.
- If you want to add effects or process the recorded audio, LMMS offers a range of plugins and tools to enhance your sound. Explore the effects, equalizers, and other audio processing options available within LMMS.
- Remember to save your project frequently to avoid losing your recordings or changes.
With these steps, you can now confidently record and play audio using your audio interface within LMMS. Take advantage of the features and tools available in LMMS to unleash your creativity and produce high-quality music and audio recordings.
Step 6: Troubleshooting Tips for Audio Interface Issues
While using an audio interface in LMMS, you may encounter some common issues. Here are a few troubleshooting tips to help you resolve them:
- No Sound or Signal: If you’re not hearing any audio or receiving a signal from your audio interface, double-check the connections between your interface, speakers, and instruments. Ensure that the correct input and output channels are selected in both LMMS and your audio interface’s control panel.
- Audio Glitches or Distortion: If you experience audio glitches or distortion during playback or recording, try adjusting the buffer size and sample rate settings in LMMS. Increasing the buffer size may help reduce the strain on your computer’s processing power.
- Driver Issues: If you’re having trouble with your audio interface, such as unrecognized devices or failed installations, make sure you have the latest drivers installed. Check the manufacturer’s website for driver updates specific to your interface model and operating system.
- Latency Problems: If you’re experiencing significant latency while recording or playing back audio, consider lowering the buffer size in LMMS or adjusting your audio interface’s settings. Refer to the manufacturer’s documentation for guidance on optimizing latency performance.
- Interference or Noise: If you notice unwanted interference or noise in your recordings or playback, check for any grounding issues or electrical interference. Ensure that your audio interface and connected devices are properly grounded and away from potential sources of interference, such as other electronics or power cables.
- Updates and Compatibility: Keep both LMMS and your audio interface’s firmware up to date to ensure compatibility and access to the latest features and bug fixes.
If you’re still experiencing issues with your audio interface after troubleshooting, it may be helpful to consult the LMMS community forums or reach out to the manufacturer’s support for further assistance.
By following these troubleshooting tips, you can overcome common audio interface issues and enjoy a smooth and reliable experience while using your audio interface in LMMS.
Conclusion
Using an audio interface in LMMS can greatly enhance your music production capabilities, allowing you to record and play back high-quality audio with ease. By following the steps outlined in this guide, you have learned how to connect your audio interface, configure it within LMMS, set up inputs and outputs, adjust settings, and troubleshoot common issues.
Remember to refer to the documentation provided by your audio interface manufacturer for specific setup and configuration instructions, as well as any additional features your interface may offer. Additionally, explore the LMMS user manual and community forums for further guidance and support.
With your audio interface properly integrated into LMMS, you have unlocked a world of possibilities for creating and producing music. Whether you’re a beginner just starting out or an experienced producer looking to elevate your sound, the power of your audio interface combined with LMMS’s versatile features will help you craft professional-quality music.
Take the knowledge and techniques you’ve gained from this guide and apply them to your own music productions. Experiment with different instruments, utilize effects and plugins, and explore the vast array of creative options available to you in LMMS.
Now it’s time to let your creativity soar, capture your musical ideas, and bring your compositions to life using the power of your audio interface within LMMS. Happy producing!

