Home>Instruments>Synthesizer>How To Use Create Sounds With A Software Synthesizer
Synthesizer
How To Use Create Sounds With A Software Synthesizer
Modified: February 22, 2024
Learn how to create unique sounds with a software synthesizer. Discover essential tips and techniques to unleash the potential of your synthesizer.
(Many of the links in this article redirect to a specific reviewed product. Your purchase of these products through affiliate links helps to generate commission for AudioLover.com, at no extra cost. Learn more)
Table of Contents
- Introduction
- What is a software synthesizer?
- Choosing the right software synthesizer
- Setting up your software synthesizer
- Understanding the interface
- Creating basic sounds
- Adjusting envelopes and filters
- Modulating parameters
- Adding effects
- Saving and exporting your sounds
- Troubleshooting common issues
- Conclusion
Introduction
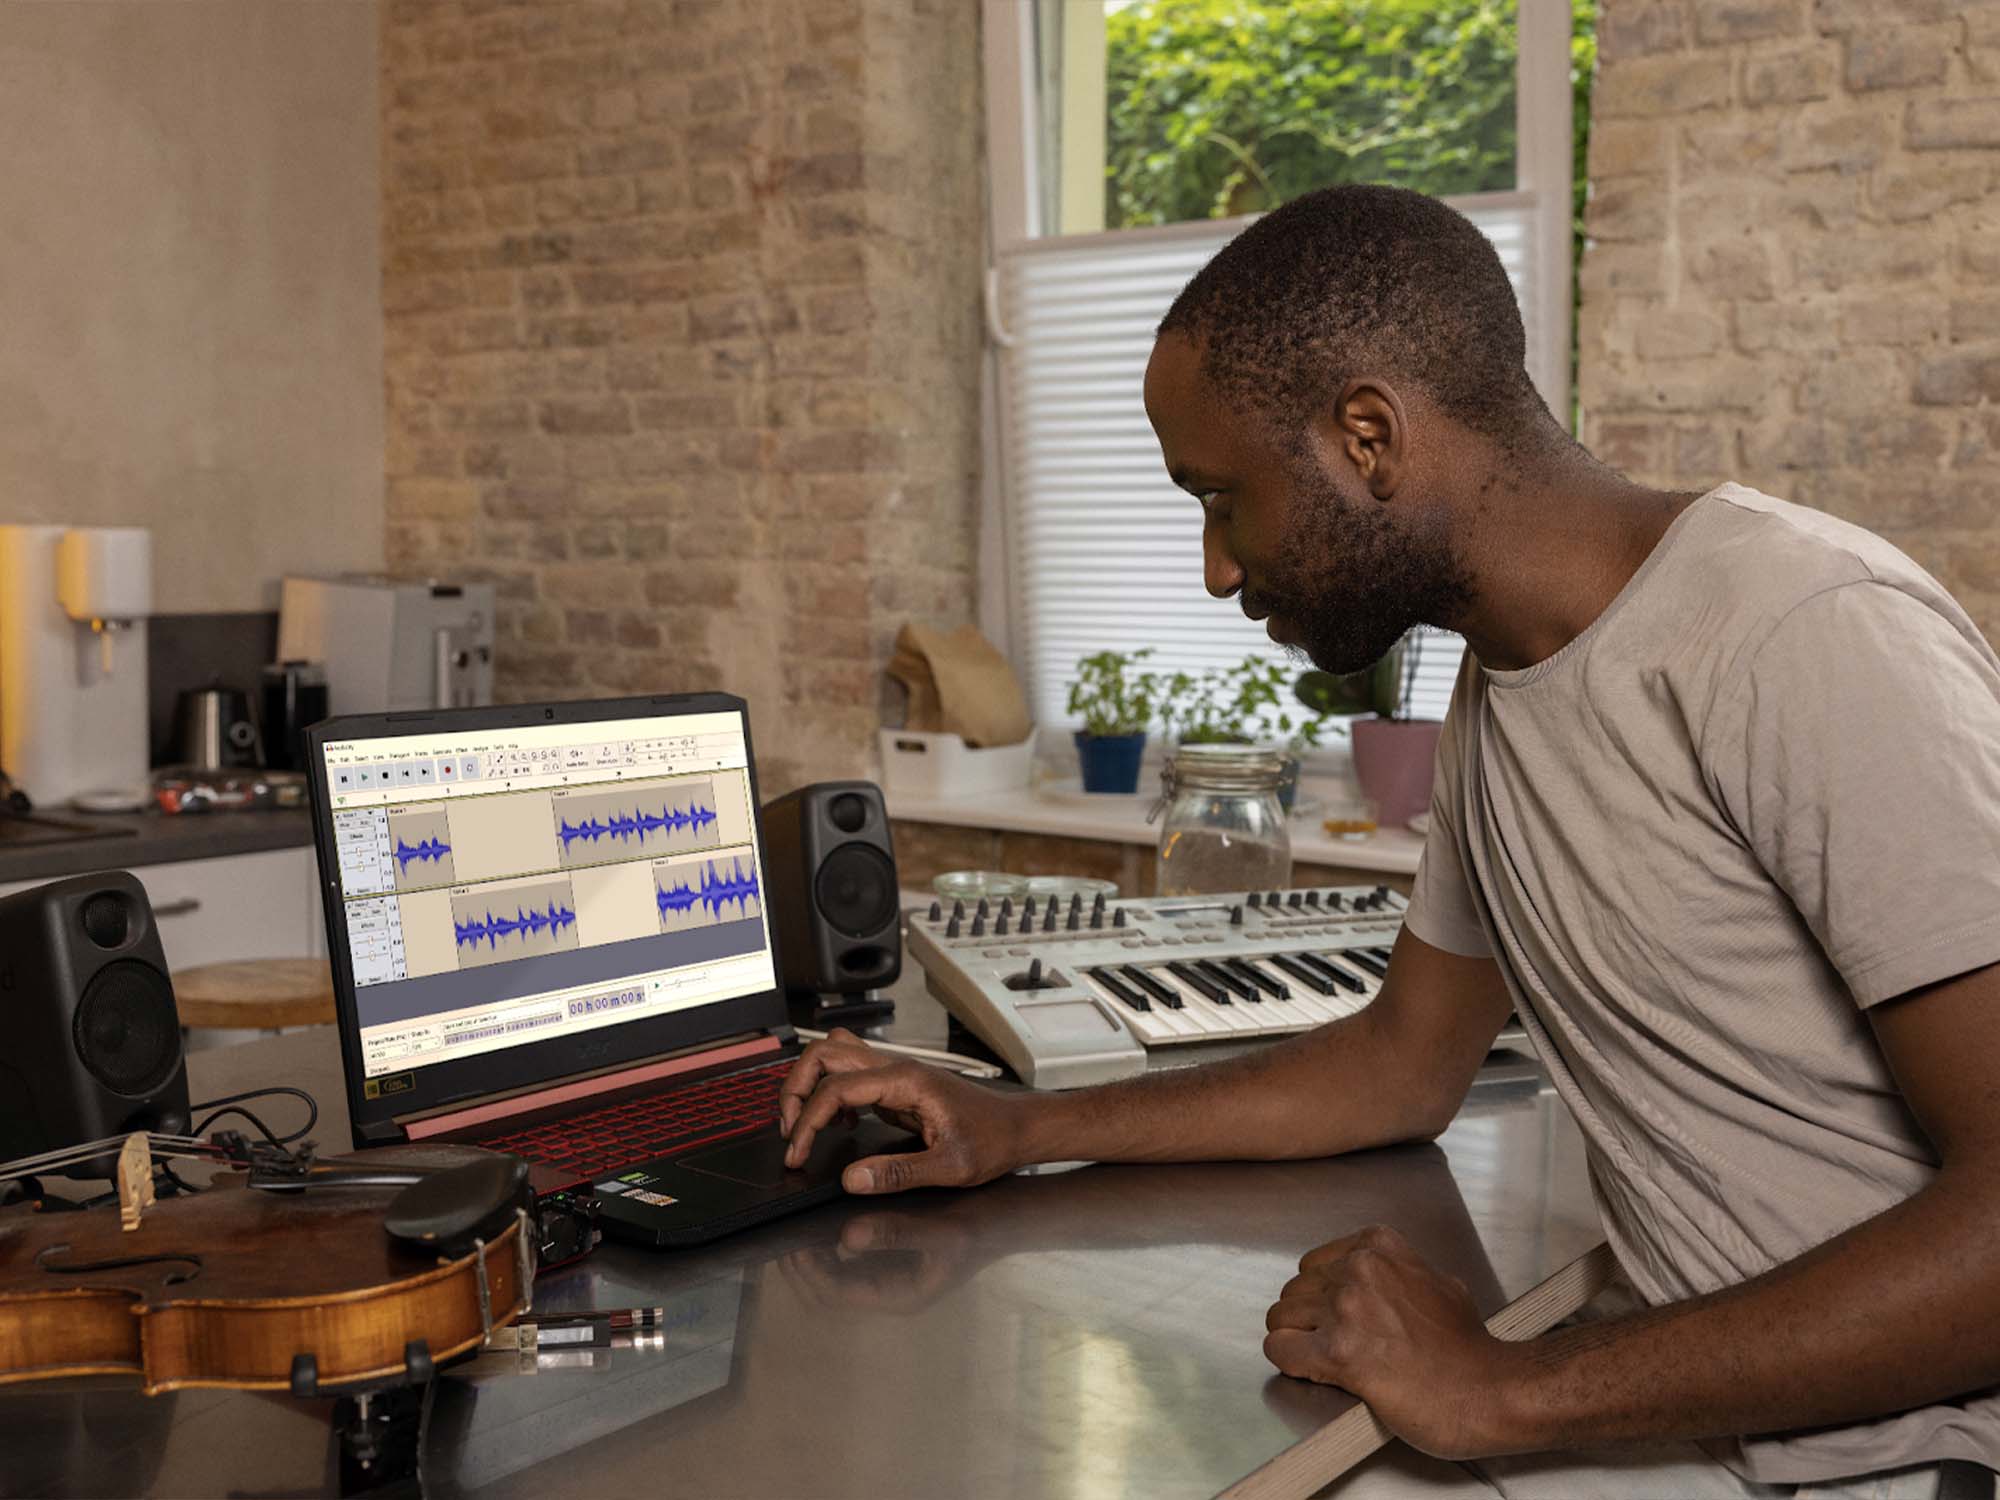
Welcome to the world of software synthesizers! If you’re a music enthusiast or a sound designer looking to create unique and captivating sounds, you’re in the right place. Software synthesizers, also known as virtual synthesizers or VST plugins, have revolutionized the music production industry by offering endless possibilities for creating and manipulating sounds.
Gone are the days when synthesizers were bulky hardware devices that required a significant investment and a dedicated space in your studio. Now, all you need is a computer and a suitable software synthesizer to unleash your creativity and craft professional-grade sounds.
In this article, we will explore the exciting world of software synthesizers, providing you with a comprehensive guide on how to use them to create your own sounds. We will cover everything from choosing the right synthesizer to understanding the interface, adjusting envelopes and filters, modulating parameters, and adding effects.
Whether you’re a beginner just starting to dive into the realm of synthesizers or an experienced producer looking to expand your sonic palette, this article will provide you with the knowledge and techniques to create sounds that are uniquely yours.
So, let’s embark on this sonic adventure and unlock the full potential of software synthesizers!
What is a software synthesizer?
A software synthesizer, also known as a virtual synthesizer or VST plugin, is a digital instrument that emulates the functionality of a hardware synthesizer. It allows musicians, producers, and sound designers to create and manipulate sounds using software-based algorithms and virtual components.
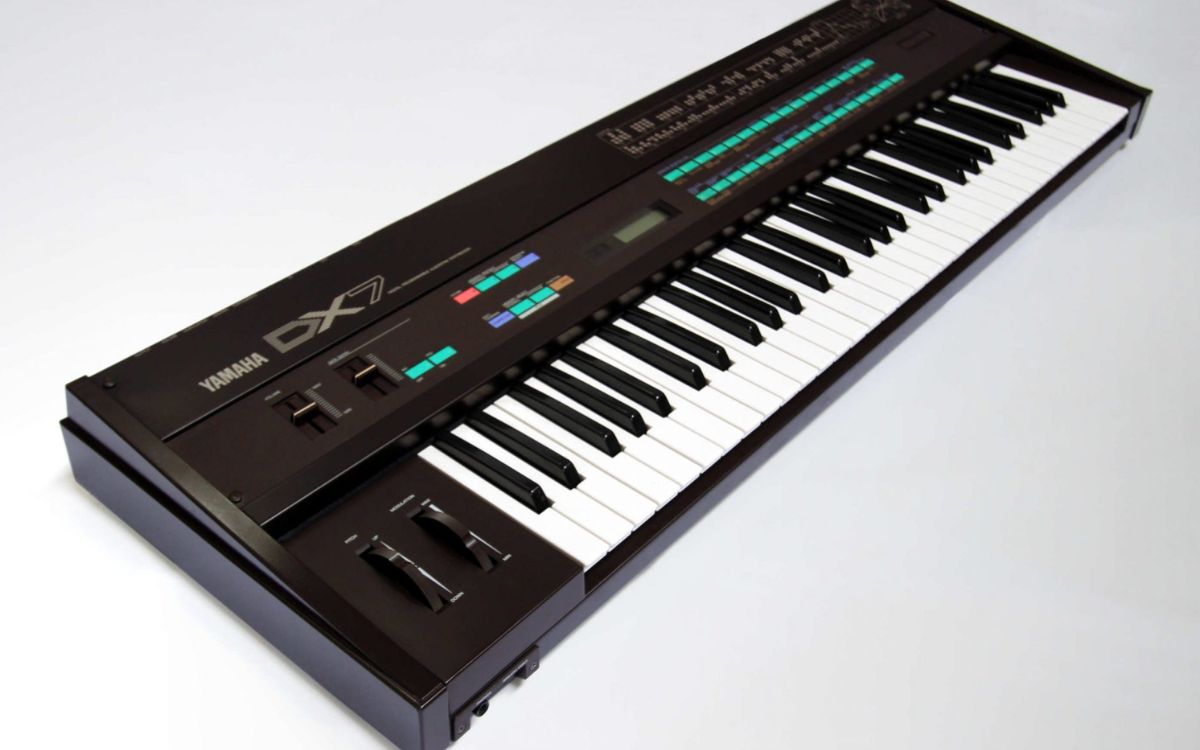
Unlike hardware synthesizers, which are physical devices with dedicated circuitry and controls, software synthesizers exist entirely within the digital realm. They can be installed on a computer and accessed through popular digital audio workstations (DAWs) or standalone software applications.
Software synthesizers offer a wide range of capabilities, from emulating classic analog synthesizers to incorporating cutting-edge digital synthesis techniques. They provide users with a vast selection of virtual instruments, including keyboards, drums, basses, leads, pads, and more, all with customizable parameters and sound-shaping options.
One of the key advantages of software synthesizers is their versatility and flexibility. With a hardware synthesizer, you are limited to the specific set of features and sounds it offers. Software synthesizers, on the other hand, can be expanded with additional presets, soundbanks, and third-party plugins, allowing for endless sonic possibilities.
Furthermore, software synthesizers often come equipped with advanced features such as modulation matrices, multiple oscillators, various filter types, and extensive effects processing. This level of control and manipulation empowers users to create complex and unique sounds that push the boundaries of traditional synthesis.
Another significant advantage of software synthesizers is their portability. Instead of carrying around bulky and expensive hardware, you can simply load your favorite software synthesizer onto your laptop and take it with you wherever you go. This convenience makes software synthesizers a popular choice for live performances, studio work, and music production on the go.
Overall, software synthesizers have revolutionized the way music is created, offering an accessible and affordable means of exploring the world of synthesis. Whether you’re a beginner learning the basics of sound design or a seasoned professional seeking new sonic horizons, a software synthesizer is an essential tool in your creative arsenal.
Choosing the right software synthesizer
With the vast array of software synthesizers available on the market, choosing the right one for your needs can be a daunting task. To ensure you make an informed decision, consider the following factors when selecting a software synthesizer:
- Sound Quality: The sound quality of a software synthesizer is of utmost importance. Look for synthesizers that offer a wide range of high-quality presets and soundbanks. Additionally, check if the synthesizer supports sample-based or synthesis-based sounds, as this can affect the authenticity and versatility of the instrument.
- User Interface: A user-friendly and intuitive interface is crucial for seamless sound creation. Consider the layout and design of the synthesizer, as well as the ease of navigation and parameter control. Some software synthesizers offer visual representations of parameters, which can be helpful in understanding and manipulating the sound.
- Compatibility: Ensure that the software synthesizer is compatible with your operating system and digital audio workstation (DAW). Most synthesizers support major platforms such as Windows and macOS, as well as popular plugin formats like VST, AU, and AAX. Verify the compatibility before making a purchase.
- Features and Functionality: Assess the features and functionality provided by the synthesizer. Does it offer multiple oscillators, filters, and modulation options? Does it have built-in effects or the ability to integrate with external effects plugins? Consider your specific needs and the level of flexibility required for your sound design endeavors.
- Community and Support: Research the reputation of the software synthesizer and the developer. Look for a strong user community, active forums, and regular software updates. Good documentation and responsive customer support are also important factors to consider when choosing a software synthesizer.
It’s also worth mentioning that many software synthesizers offer free trial versions, allowing you to test-drive the instrument before committing to a purchase. Take advantage of these trial versions to get a feel for the synthesizer’s sound and workflow, and to determine if it fits well with your creative process.
By carefully considering these factors, you’ll be able to choose a software synthesizer that aligns with your style, preferences, and technical requirements. Remember, the right synthesizer can greatly enhance your sound design capabilities and expand your sonic palette, so take your time to explore and find the perfect fit for you.
Setting up your software synthesizer
Before you start creating sounds with your software synthesizer, it’s essential to set it up correctly. Follow these steps to ensure a smooth and optimized setup:
- Installation: Begin by downloading and installing the software synthesizer on your computer. Follow the instructions provided by the developer to complete the installation process. Make sure to choose the appropriate plugin format for your digital audio workstation (DAW).
- Plugin Scanning: Once the installation is complete, launch your DAW and scan for new plugins. This step ensures that the software synthesizer is detected and available for use within your DAW. Refer to your DAW’s documentation for specific instructions on how to scan for plugins.
- Assigning MIDI: Connect your MIDI controller or keyboard to your computer. In your DAW, assign the MIDI input and output to the software synthesizer. This allows you to play and control the synthesizer using your external MIDI device. Consult your DAW’s user manual for detailed instructions on MIDI setup.
- Audio Routing: Set up the audio routing within your DAW. Ensure that the audio output of the software synthesizer is directed to the desired audio output channels or buses. This enables you to monitor and record the sound of the synthesizer in your DAW. Adjust the audio routing settings according to your specific setup and preferences.
- Latency Adjustment: Address any latency issues that may arise. Latency refers to the delay between hitting a key on your MIDI controller and hearing the sound. Adjust the audio buffer size in your DAW’s settings to minimize latency. Keep in mind that smaller buffer sizes reduce latency but increase the strain on your computer’s CPU.
- Preferences and Settings: Take the time to explore the software synthesizer’s preferences and settings. Customize the interface, MIDI mapping, and any additional options according to your workflow and preferences. Some synthesizers offer advanced options for optimizing CPU usage, voice allocation, and performance settings. Familiarize yourself with these settings to get the best performance from the synthesizer.
Once you’ve completed these setup steps, your software synthesizer is ready to be used in your music production workflow. Be sure to save your project or template in your DAW, ensuring that the software synthesizer settings and routing are preserved for future use.
Remember, each software synthesizer may have its own unique setup process, so refer to the documentation or user manual provided by the developer for specific instructions. By setting up your software synthesizer correctly, you’ll be able to fully unleash its capabilities and dive into the world of sound design and musical creativity.
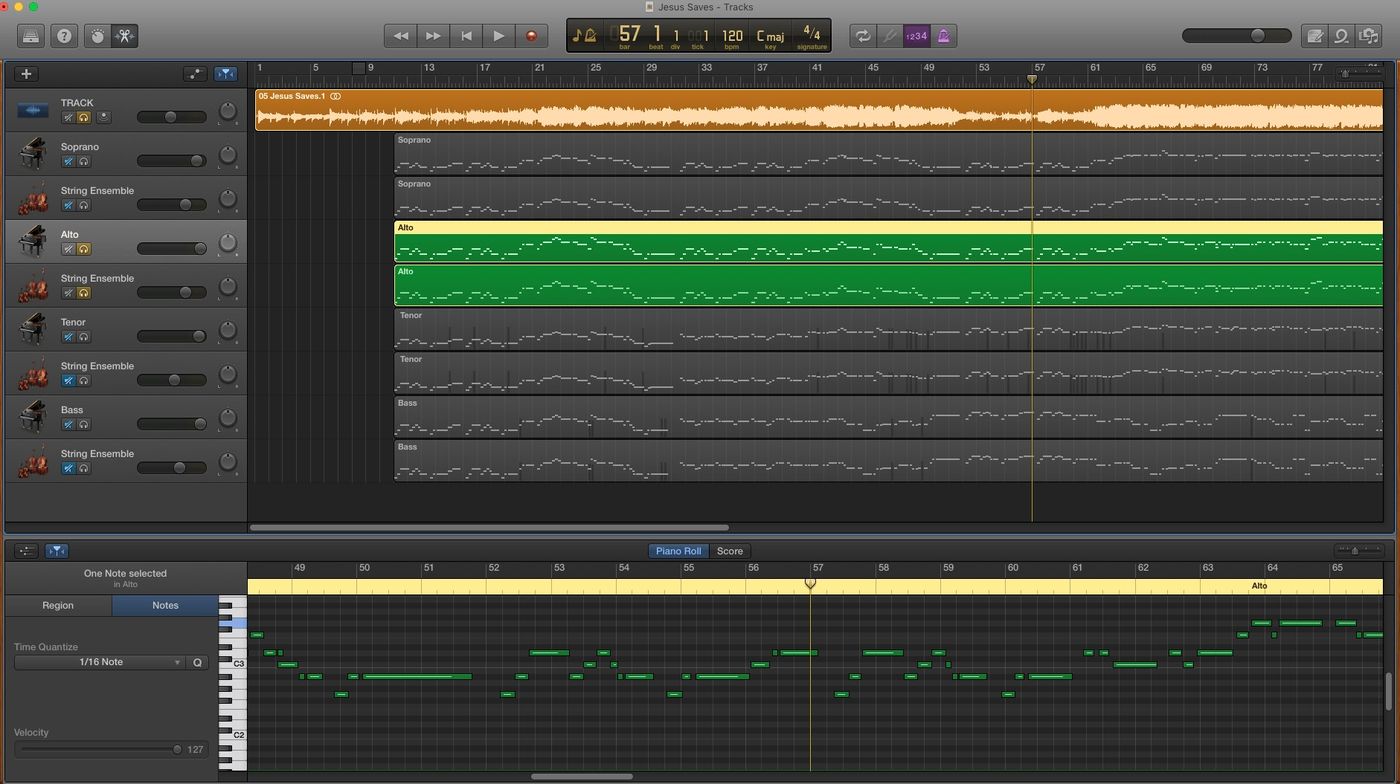
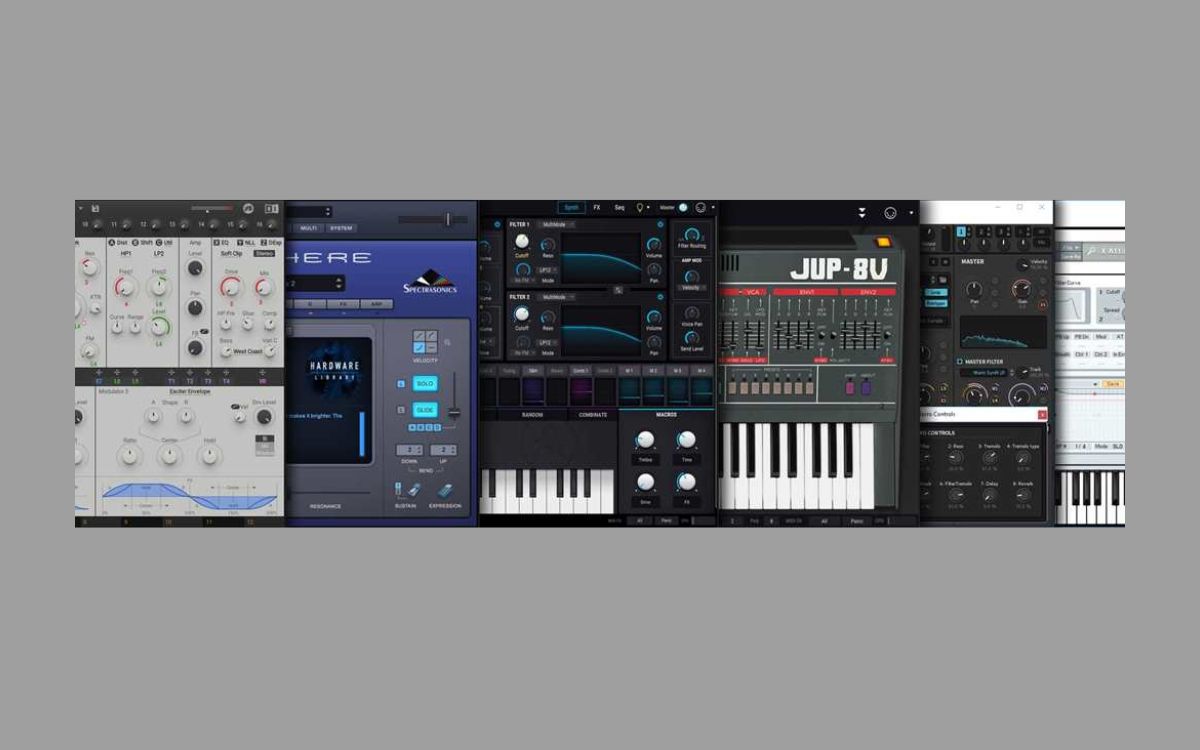
Understanding the interface
The interface of a software synthesizer plays a crucial role in shaping your sound design experience. By understanding the various elements and controls, you can navigate the synthesizer with ease and make precise adjustments to create the desired sounds. Let’s explore the key components commonly found in a software synthesizer’s interface:
- Oscillators: Oscillators generate the core sound waveforms of your synthesizer. They produce basic waveforms such as sine, square, sawtooth, and triangle. Some synthesizers offer additional oscillators, allowing layering and blending of multiple waveforms to create rich and complex sounds.
- Filters: Filters shape the frequency content of your sound. They allow you to attenuate or boost specific frequency ranges, giving you control over the brightness, warmth, or darkness of your sound. Common types of filters include low-pass, high-pass, band-pass, and notch filters.
- Envelopes: Envelopes control how various aspects of your sound evolve over time. Typically, there are four envelope stages: attack, decay, sustain, and release (ADSR). The envelope determines how quickly or slowly a sound fades in, sustains, and fades out. Adjusting envelope parameters can drastically alter the character of a sound.
- LFOs: Low-Frequency Oscillators (LFOs) modulate specific parameters of your sound over time at a slower rate compared to the audible range. They can create rhythmic variations, vibrato, tremolo, or subtle modulation effects. LFOs add movement and depth to your sounds.
- Modulation Matrix: Some synthesizers feature a modulation matrix or mod matrix, allowing you to assign various modulation sources (such as LFOs or envelopes) to control different parameters of the synthesizer. This matrix provides extensive flexibility for creating more complex and evolving sounds.
- Effects: Effects processors are often included within software synthesizers, offering a range of audio processing tools to further shape your sounds. Common effects include reverb, delay, chorus, and distortion. Adding effects can add depth, ambiance, and character to your sounds.
- Presets and Soundbanks: Many software synthesizers come loaded with a wide range of presets and soundbanks. These pre-designed sound settings serve as starting points for your sound design process. They can be tweaked and modified to suit your creative vision or used as inspiration for creating your own sounds.
It’s worth noting that the layout and design of the interface can vary significantly between different synthesizers. Some interfaces may be more minimalistic and streamlined, while others may offer a wealth of visual feedback and advanced control options. Familiarize yourself with the specific interface of the synthesizer you’re using by referring to the documentation provided by the developer.
By understanding the various elements of a software synthesizer’s interface, you can harness its power to create unique sounds that match your artistic vision. Experiment with different controls, explore modulation possibilities, and leverage effects to take your sound design to new heights.
Creating basic sounds
Creating basic sounds with a software synthesizer is an exciting journey into the realm of sound design. By understanding the fundamental components and parameters, you can craft a wide range of sounds to suit your musical genre or artistic vision. Here are the essential steps to create basic sounds:
- Select an initial waveform: Start by choosing a wave shape for your oscillator. Experiment with sine, square, sawtooth, or triangle waves to hear the different tonal characters they produce.
- Adjust the octave and pitch: Use the octave controls to change the pitch of the oscillator. Lower octaves create deeper and bass-heavy sounds, while higher octaves produce brighter and higher-pitched tones.
- Shape the sound with filters: Apply a filter to your sound to shape its frequency content. Start with a low-pass filter to remove higher frequencies and create a softer, warmer sound. Adjust the cutoff frequency and resonance to achieve the desired effect.
- Employ envelopes for dynamics: Utilize envelopes to control the volume, tone, and other parameters of your sound over time. Adjust the attack, decay, sustain, and release stages to shape the envelope’s behavior. For example, a longer attack time can create a gradual fade-in effect.
- Experiment with modulation: Explore modulation options to add movement and depth to your sound. Use an LFO to modulate parameters such as pitch, filter cutoff, or waveform selection. Adjust the LFO rate and depth to achieve the desired modulation effect.
- Add effects for enhancement: Enhance your sound by applying effects such as reverb, delay, or chorus. Experiment with different effect settings to add spatiality, depth, and character to your sound. Be mindful of the effect levels to maintain a balanced and pleasing final result.
- Tweak and refine: Fine-tune the various parameters to shape your sound further. Experiment with different combinations of waveforms, filter settings, envelopes, and modulation sources. Don’t be afraid to push boundaries and explore unconventional settings to create unique and interesting sounds.
Remember, the key to creating basic sounds lies in experimentation. Trust your ears and delve into the sonic possibilities offered by your software synthesizer. As you gain more experience, you will intuitively understand how different parameters interact and how to achieve the desired sonic results.
Additionally, take advantage of the presets and soundbanks provided with your software synthesizer. They can serve as excellent starting points and sources of inspiration for your sound design. Modify the presets to match your musical style or use them as a foundation to build upon and create your own signature sounds.
Creating basic sounds with a software synthesizer is an iterative process. Don’t be discouraged if the results are not immediately what you envisioned. The more you explore and experiment, the closer you will get to crafting sounds that reflect your artistic vision and creativity.
Adjusting envelopes and filters
Envelopes and filters are essential tools in shaping the dynamics and tonal characteristics of your sounds. By understanding how to adjust envelopes and filters in your software synthesizer, you have the power to create expressive, evolving, and unique sonic textures. Here’s a step-by-step guide on how to work with envelopes and filters:
- Envelopes: Envelopes control different aspects of your sound over time, such as volume, modulation, or filter cutoff. Understanding the four stages of an envelope (attack, decay, sustain, release) is crucial:
- Attack: Controls how quickly the sound reaches its maximum level from the initial onset of a note.
- Decay: Determines the speed at which the sound transitions from the maximum level to the sustain level.
- Sustain: Determines the level at which the sound remains as long as the note is held or sustained.
- Release: Controls the speed at which the sound fades away after releasing the note.
- Filter: Filters shape the frequency content of your sound by attenuating or emphasizing certain frequency ranges. Common types of filters include:
- Low-pass filter: Allows frequencies below the cutoff point to pass through while attenuating higher frequencies.
- High-pass filter: Allows frequencies above the cutoff point to pass through while attenuating lower frequencies.
- Band-pass filter: Allows frequencies within a specific range to pass through, attenuating frequencies outside that range.
- Notch filter: Attenuates a narrow band of frequencies within a certain range while allowing frequencies outside that range to pass through.
- Adjusting the envelope: Start by adjusting the envelope parameters such as attack, decay, sustain, and release to shape the dynamics of your sound. A longer attack can create a gradual fade-in effect, while a shorter decay results in a snappier sound. Adjust the sustain level to control how long the sound stays at a particular volume. The release parameter affects the length of the fade-out after the note is released. Experiment with these settings to create dynamic and expressive sounds.
- Modulating envelopes: Many synthesizers allow you to assign envelopes to modulate various parameters. For example, you can use an envelope to modulate filter cutoff, creating a sweeping or pulsating effect. Explore the modulation matrix or modulation options provided by your synthesizer to take advantage of the envelope’s expressive capabilities.
- Tweaking filters: Experiment with different filter types and adjust the cutoff frequency and resonance settings to sculpt the tone of your sound. Lower the cutoff frequency for a darker sound or raise it for a brighter tone. Increasing resonance can emphasize certain frequencies, adding richness or a distinctive character to your sound. Don’t hesitate to automate or modulate these parameters over time to create movement and evolving textures.
Keep in mind that the specific controls and parameters for envelopes and filters may vary between different software synthesizers. Consult the documentation or user manual for your chosen synthesizer to understand the available options and how to access and manipulate them.
By mastering the art of adjusting envelopes and filters in your software synthesizer, you can bring your sounds to life, adding depth, expressiveness, and unique sonic qualities to your compositions. Take the time to experiment, explore different combinations, and let your creativity soar.
Modulating parameters
Modulating parameters in a software synthesizer is a powerful technique that adds movement, complexity, and expression to your sounds. By varying and manipulating different parameters over time, you can create evolving textures, dynamic effects, and unique sonic landscapes. Here’s a step-by-step guide on how to modulate parameters in your software synthesizer:
- Choose a modulation source: Most synthesizers offer multiple modulation sources such as LFOs (Low-Frequency Oscillators), envelopes, and even external MIDI controllers. Select the modulation source that best suits your sound design goals.
- Select a target parameter: Identify the parameter you want to modulate, such as pitch, filter cutoff, or amplitude. Different synthesizers may have different modulation destinations, so refer to your synthesizer’s documentation to understand the available options.
- Set the modulation depth or amount: Adjust the modulation depth to control the intensity or range of modulation. This determines how much the modulation source affects the target parameter. Higher depth values create more noticeable and pronounced modulation effects, while lower values result in subtler variations.
- Adjust the modulation rate or frequency: Determine the speed at which the modulation source affects the target parameter by adjusting the modulation rate or frequency. Higher rates create faster and more rapid variations, while lower rates produce slower and smoother modulations.
- Experiment with waveform shapes: If using an LFO as the modulation source, explore different waveform shapes, such as sine, triangle, square, or sample and hold. Each waveform imparts a distinct rhythmic or tonal quality to the modulation, allowing for a wide range of creative possibilities.
- Apply modulation to multiple parameters: Many software synthesizers offer modulation matrices or routing options, allowing you to modulate multiple parameters simultaneously. Experiment with modulating different parameters to create complex and evolving sounds. For example, you can modulate the filter cutoff and resonance simultaneously for a sweeping and expressive filter effect.
- Automate modulation over time: Instead of having static modulation effects, you can automate the modulation depth, rate, or even the modulation source itself over time. This creates dynamic and evolving soundscapes that change and morph as your composition progresses.
Modulating parameters in your software synthesizer adds depth, movement, and interest to your sounds. It allows you to introduce variations, create rhythmic patterns, and shape your sound to fit your composition. Keep in mind that the specific modulation options and capabilities may vary between different synthesizers, so refer to your synthesizer’s documentation for detailed instructions.
By mastering the art of parameter modulation, you can unlock new creative possibilities and take your sound design to the next level. Let your imagination run wild as you explore the vast potential of modulation and infuse your compositions with expressive and evolving sonic textures.
Adding effects
Adding effects to your sounds in a software synthesizer can transform them from raw and simple to rich and professional. Effects help to shape the spatial characteristics, add depth, and enhance the overall sonic quality of your compositions. Here’s a step-by-step guide on how to add effects to your software synthesizer:
- Understand effect types: Familiarize yourself with common effect types such as reverb, delay, chorus, flanger, phaser, distortion, and EQ. Each effect has its own sonic characteristics and purpose, so understanding their functions can help in choosing the right effects for your sound.
- Select the desired effect(s): Choose the effect(s) that will enhance your sound. Consider the mood, genre, and style of your composition, and select effects that complement and bring out the desired qualities in your sound. For example, use reverb to create a sense of space or delay to add depth and ambiance.
- Adjust effect parameters: Each effect has specific parameters that can be adjusted to tailor the sound to your liking. Parameters like wet/dry mix, decay time, feedback, modulation depth, and frequency controls offer you control over the effect’s intensity, duration, and tonal characteristics. Play around with these parameters to achieve the desired effect.
- Experiment with effect routing: Synthesizers often provide options for routing effects. You can apply effects directly to the oscillator or filter output, or to the overall output of the synthesizer. Try different routing options to find the most pleasing and unique results. Additionally, some synthesizers offer options to apply effects to specific layers or frequency bands, opening up more possibilities for sound shaping.
- Automate effect parameters: To add movement and variation to your sounds, consider automating effect parameters over time. This can be done within your software synthesizer or your DAW. For example, you can automate the reverb mix to gradually increase or decrease throughout a section of your composition, creating a sense of space that evolves over time.
- Combine multiple effects: Don’t limit yourself to using just one effect. Experiment with layering multiple effects to achieve unique and complex sonic textures. For instance, combining delay, reverb, and chorus can create a spacious and ethereal sound. Be mindful of maintaining a balance between effects so that they enhance the overall sound without overwhelming it.
- Save and recall effect settings: Once you’ve achieved a desirable effect sound, save the settings as a preset or take note of the parameter values. This way, you can easily recall and reuse the effect settings in future projects without starting from scratch.
Remember that the specific effects available and their parameters may vary between different software synthesizers. Refer to your synthesizer’s documentation to understand the available effects and their controls.
By adding effects to your software synthesizer, you can transform ordinary sounds into something extraordinary. The right combination of effects can bring out the desired emotions, add depth, and create a professional and polished sound. Experiment, be adventurous, and let your creativity flow as you explore the vast sonic possibilities that effects offer.
Saving and exporting your sounds
Once you’ve created a sound that you’re happy with in your software synthesizer, it’s important to save and export it properly so that you can use it in your music production or share it with others. Here’s a step-by-step guide on how to save and export your sounds:
- Save within your software synthesizer: Most software synthesizers allow you to save your custom sounds as presets or patches within the synthesizer itself. Consult the documentation or user manual of your synthesizer to learn how to save your sound. Giving your sound a descriptive name can help you easily identify and recall it in the future.
- Save within your digital audio workstation (DAW): If you’re using a DAW to compose your music, you can save your custom sound as a preset or track preset within your DAW. This allows you to recall the entire sound setup, including the software synthesizer settings and any accompanying effects, within your project.
- Export as audio: If you want to use your sound as an audio file outside of your software synthesizer or DAW, you can export it as audio. To do this, create a MIDI track in your DAW and route the output of your software synthesizer to that track. Then, simply record the sound as audio by playing the MIDI pattern or notes. Once recorded, you can export the recorded audio as a WAV, MP3, or any other audio format of your choice.
- Export as a MIDI file: If you want to use your sound in a different software synthesizer or share it with others as a MIDI sequence, you can export your MIDI data. In your DAW, export the MIDI track corresponding to the sound you created as a MIDI file. This file can be imported into other DAWs or software synthesizers, allowing others to use your sound or use it as a starting point for their own sound design.
- Share your presets: If you’ve created a particularly unique or interesting sound, you may want to share it with others or contribute it to the sound design community. Many software synthesizers have online platforms or forums where users share their custom presets. In addition, some synthesizer developers provide dedicated websites or marketplaces where users can upload and sell their sound presets. Consider sharing your sounds to inspire and collaborate with other musicians and sound designers.
Remember, maintaining a well-organized library of your custom sounds not only saves you time and effort but also allows for consistency in your music production. It enables you to recall and use your favorite sounds easily, giving your compositions a cohesive sonic signature.
Whether you’re saving your sounds as presets, exporting them as audio, or sharing them with others, the key is to ensure that you have a clear and efficient workflow that suits your needs. Take the time to organize and document your sounds properly so that you can fully leverage your custom creations in your music production journey.
Troubleshooting common issues
While working with software synthesizers, you may encounter some common issues that can disrupt your workflow or affect the quality of your sound. By understanding these issues and knowing how to troubleshoot them, you can quickly resolve any problems that arise. Here are some common issues and their troubleshooting steps:
- No sound: If you’re not hearing any sound from your software synthesizer, first check your system sound settings to ensure the correct audio output device is selected. Verify that the volume settings are appropriately adjusted within both the software synthesizer and your operating system. Additionally, check that the MIDI input and output are correctly configured in your DAW or MIDI settings.
- Latency: Latency refers to the delay between playing a note or triggering a sound and hearing the resulting sound. If you’re experiencing significant latency, adjust your audio buffer size in your DAW’s settings. Larger buffer sizes may increase latency but can help avoid audio dropouts and glitches. Alternatively, consider using a lower-latency driver or optimizing your computer’s performance by closing unnecessary applications or processes.
- CPU overload: Software synthesizers can be resource-intensive, which may lead to CPU overload and audio dropouts. To alleviate CPU load, try increasing the buffer size, freezing or bouncing tracks with heavy synthesizer usage, or disabling any unnecessary effects or processes. It may also help to increase your computer’s RAM if it is capable of being upgraded.
- Audio artifacts: If you’re experiencing unwanted clicks, pops, or distortion in your audio, it could be caused by factors such as sample rate mismatch or buffer underruns. Ensure that your sample rate settings are consistent across your DAW, audio interface, and software synthesizer. Increasing the buffer size can also help eliminate audio artifacts by providing your system with more processing time.
- Unresponsive controls: If the controls or parameters in your software synthesizer are not responding, check for any MIDI mapping conflicts or issues. Ensure that your MIDI controller or keyboard is properly connected and recognized by your computer. Refer to your software synthesizer’s documentation to troubleshoot any specific control issues or conflicts.
- Plugin compatibility: Occasionally, compatibility issues may arise between your software synthesizer and your DAW. Ensure that you have the latest versions of both the synthesizer and the DAW installed, as updates often address compatibility issues. If problems persist, contact the support team of your software synthesizer or the DAW developer for further assistance.
It’s important to note that troubleshooting steps may vary depending on your specific software synthesizer, DAW, operating system, and hardware setup. Always refer to the documentation provided with your software synthesizer and consult relevant online resources or user forums for additional troubleshooting guidance.
By understanding and troubleshooting common issues that may arise while working with software synthesizers, you can ensure a smooth and uninterrupted sound design process. With resolved issues, you can fully focus on your creative endeavors and explore the vast sonic possibilities that software synthesizers offer.
Conclusion
Software synthesizers have revolutionized the world of sound design, offering music enthusiasts, producers, and sound designers the ability to create unique and captivating sounds. In this comprehensive guide, we have explored the various aspects of using a software synthesizer to create your own sounds.
We began by understanding the concept of a software synthesizer and how it differs from its hardware counterparts. We then delved into selecting the right software synthesizer for your needs, considering factors like sound quality, user interface, and compatibility.
Once you have chosen the ideal software synthesizer, we discussed setting it up correctly within your digital audio workstation (DAW), including MIDI routing and audio configuration. Understanding the interface of the software synthesizer was another crucial aspect covered, as it allows you to navigate and manipulate the various elements and controls effectively.
We then explored the step-by-step process of creating basic sounds, adjusting envelopes and filters to shape your sound’s dynamics and tonal characteristics. Modulating parameters and adding effects were discussed in detail, as they add movement, depth, and expressiveness to your sound design.
When you have crafted your perfect sound, we provided guidance on saving and exporting it, whether as presets, audio files, or MIDI sequences. Additionally, we addressed common troubleshooting issues that may arise during your sound design process and provided troubleshooting steps to overcome them.
As you continue to explore and experiment with software synthesizers, remember that sound design is an art form that requires both technical knowledge and creative intuition. Don’t be afraid to let your imagination guide you as you sculpt unique soundscapes and push the boundaries of what is possible.
With your newfound understanding and skills in using software synthesizers, you have the tools to unlock a world of sonic possibilities. Whether you’re producing music, scoring for films, or simply exploring sound design for your own enjoyment, software synthesizers empower you to create sounds that are truly your own.
So, embrace your passion for sound, dive into the realm of software synthesizers, and unleash the full potential of your creativity. Happy sound designing!