Home>Production & Technology>Sound Effects>How To Create Sound Effects In Audacity
Sound Effects
How To Create Sound Effects In Audacity
Modified: February 16, 2024
Learn how to create impressive sound effects in Audacity with our step-by-step guide. Explore various techniques and unleash your creativity for stunning audio enhancements!
(Many of the links in this article redirect to a specific reviewed product. Your purchase of these products through affiliate links helps to generate commission for AudioLover.com, at no extra cost. Learn more)
Table of Contents
Introduction
Welcome to the world of sound effects! Whether you’re a filmmaker, game developer, podcaster, or just someone looking to add some flair to your audio projects, sound effects can take your creations to the next level. From the subtle sound of footsteps to the explosive roar of a rocket launch, sound effects bring life and depth to our auditory experiences.
In this article, we will explore the fascinating realm of sound effects and how you can create them using Audacity, a popular and free audio editing software. Audacity provides a powerful set of tools and features that allow you to record, edit, and manipulate sound to produce professional-quality effects.
But before we dive into the world of Audacity and sound effects creation, let’s take a moment to understand what sound effects are and why they are important.
What are Sound Effects?
Sound effects are artificially created or enhanced sounds that are used to accompany and enhance various types of media. They can be natural sounds, like the sound of rain or birds chirping, or they can be synthetic sounds, like laser blasts or spaceship engines. Sound effects are used in a wide range of media, including films, TV shows, video games, podcasts, and even live performances.
The primary purpose of sound effects is to provide a more immersive and engaging experience for the audience. They help to create a sense of realism, heighten emotions, and set the mood for a particular scene or moment. For example, the sound of a creaking door can create suspense in a horror film, while the sound of cheering and applause can enhance the excitement of a live concert recording.
Why Create Your Own Sound Effects?
While there are countless pre-recorded sound effects available online, creating your own sound effects offers several advantages. Firstly, it gives you complete control over the sound and allows you to tailor it to suit your specific needs. You can adjust the timing, intensity, and other parameters to match the desired effect.
Secondly, creating your own sound effects adds a personal touch to your projects. It helps to differentiate your work and can make it more unique and memorable. Additionally, by creating your own sound effects, you avoid copyright issues that may arise from using pre-existing sound effects without proper licensing.
Now that we understand the basics of sound effects and the benefits of creating our own, let’s dive into the exciting and creative process of making sound effects using Audacity.
Getting Started with Audacity
Before we can start creating sound effects, we need to ensure that we have the necessary tools and software. Audacity is a free and open-source audio editing software that provides all the features and functionality you need to create professional-quality sound effects.
Downloading and Installing Audacity
First, you’ll need to download Audacity from the official website (www.audacityteam.org) and install it on your computer. Audacity is available for Windows, Mac, and Linux platforms, making it accessible to a wide range of users.
Once you have downloaded the installation file, simply follow the instructions provided to install Audacity on your system. It is a straightforward process that should only take a few minutes.
Setting up Your Audio Device
After installing Audacity, it’s important to configure your audio device properly to ensure optimal recording and playback quality. Go to the “Edit” menu, select “Preferences,” and navigate to the “Devices” tab. Here, you can choose your input and output devices, adjust the sample rate and buffer size, and set other audio preferences to suit your needs.
Make sure you select the appropriate audio interface or microphone for recording sound effects. If you’re using an external microphone, ensure that it is properly connected to your computer.
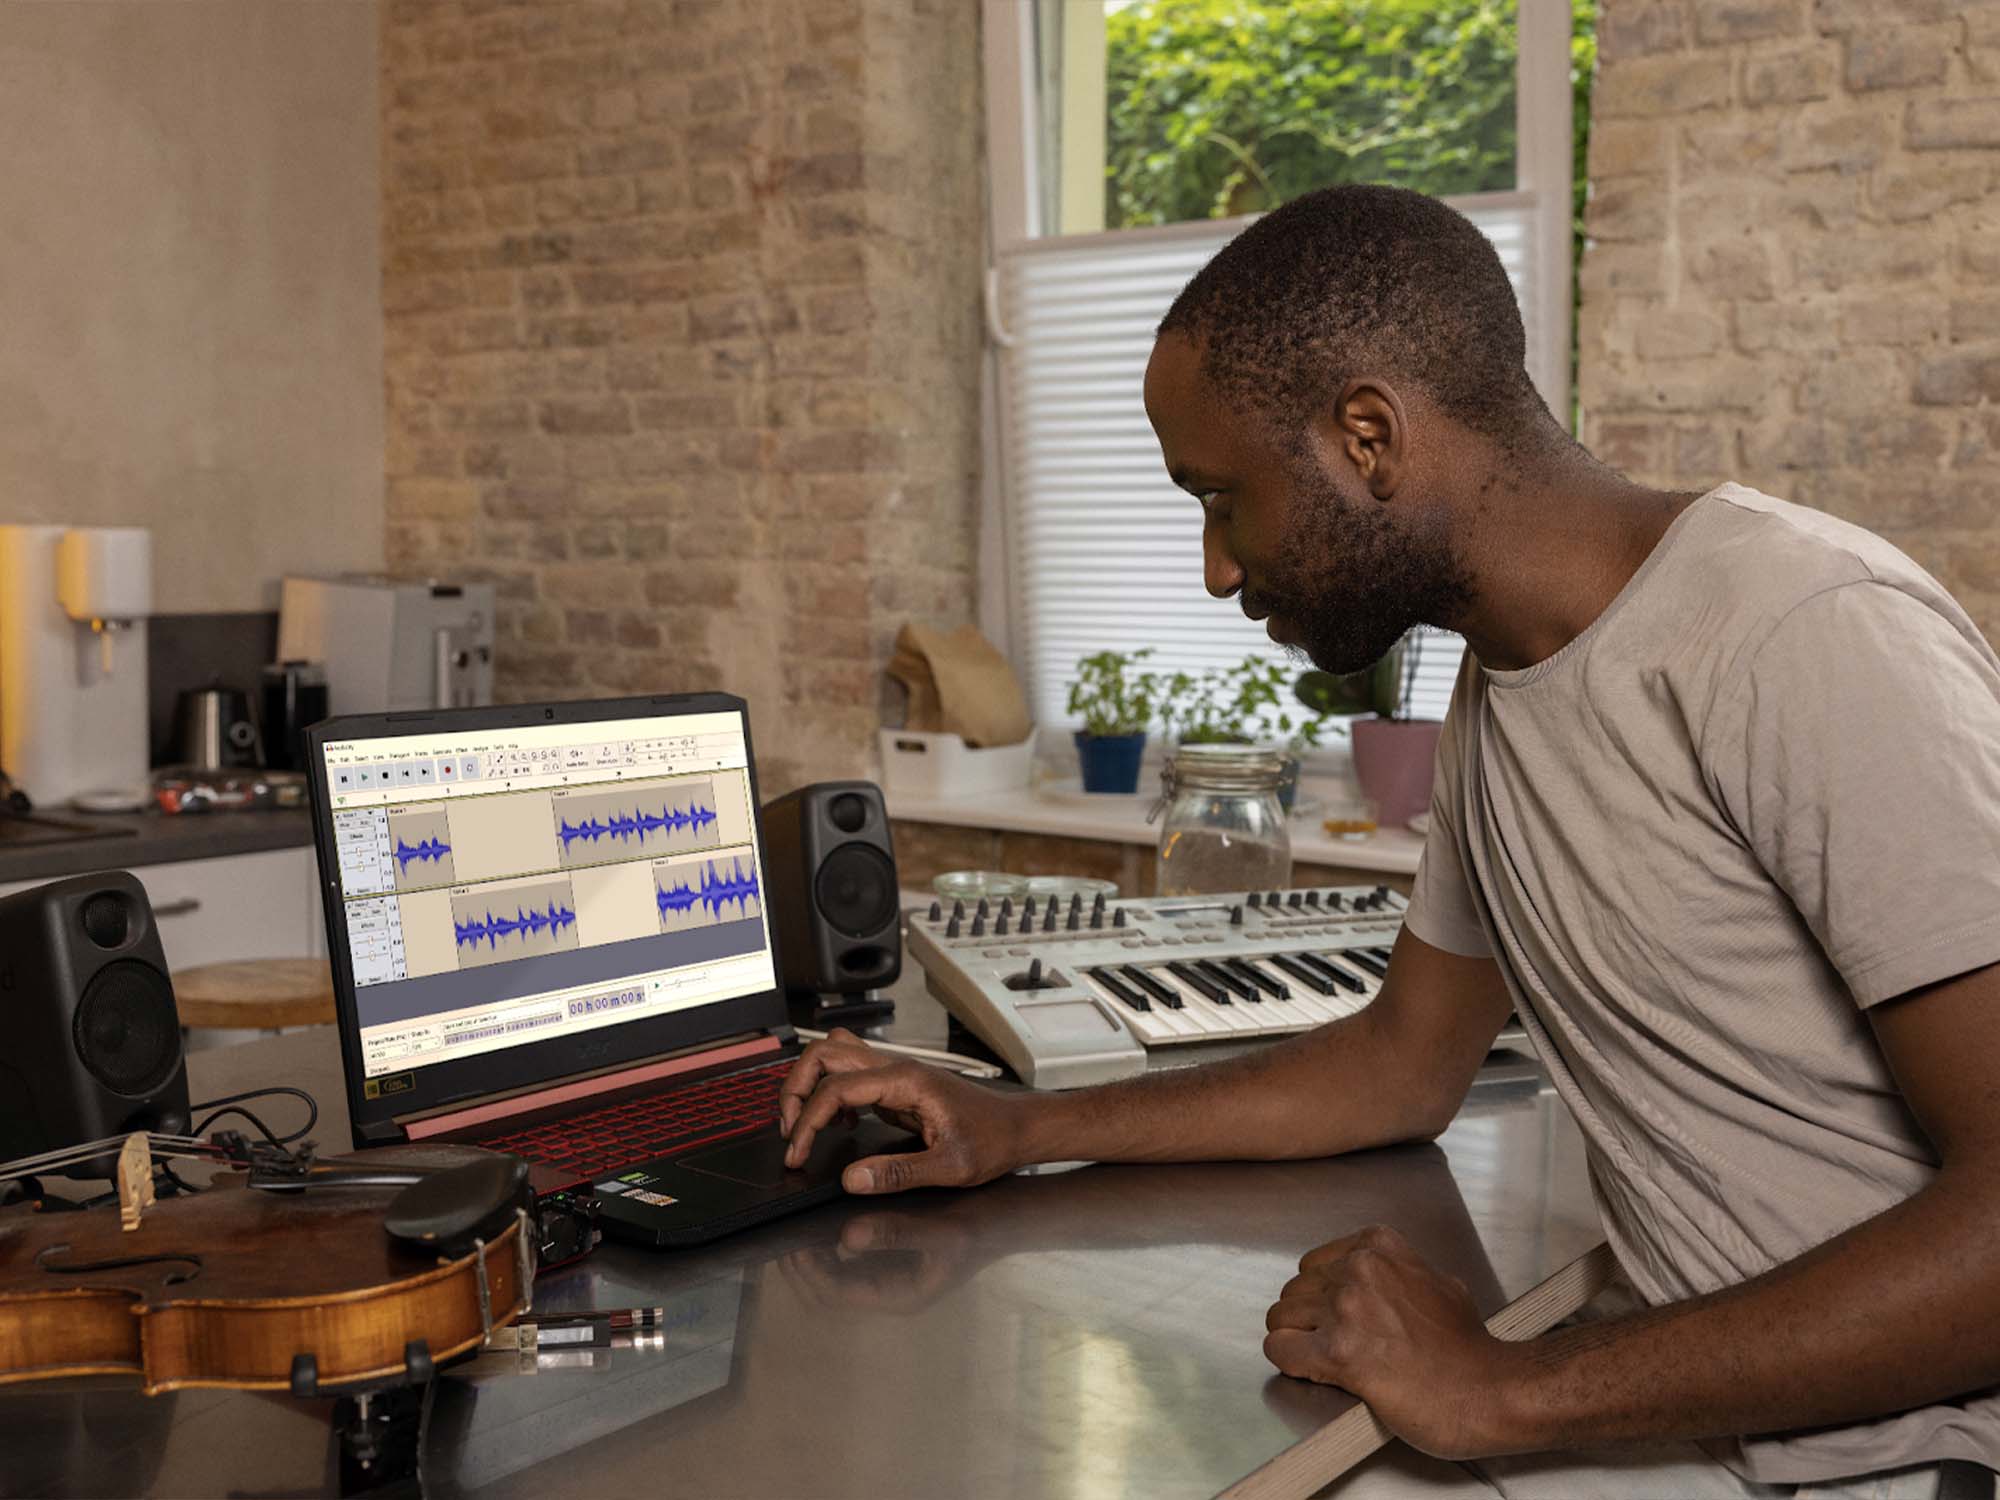
Navigating the Audacity Interface
Once you have Audacity set up and running, familiarize yourself with the interface. Audacity has a clean and intuitive interface that allows for easy navigation and accessibility.
The main area of the interface is the “Track Area,” where you will find your audio tracks. You can have multiple tracks in a project, each representing a different sound effect or audio element. The toolbar at the top contains various tools and functions for editing and manipulating your audio.
Below the Track Area, you will find the “Transport Toolbar,” which includes controls for playing, pausing, and navigating through your audio tracks. You can also find buttons for recording and adjusting the input/output levels.
On the left side of the interface, there is the “Tool Palette” with various tools for selecting, zooming, cutting, and more. And on the right side, you can find the “Effects” menu, where you can apply various audio effects and filters to your sound effects.
Now that you have Audacity installed and have familiarized yourself with the interface, you’re ready to start creating your own sound effects. In the next section, we’ll explore the fundamentals of sound effects and how to record them using Audacity.
Understanding Sound Effects
Before we dive into the process of creating sound effects in Audacity, it’s essential to have a good understanding of the different types of sound effects and how they can be used to enhance your projects.
Categories of Sound Effects
Sound effects can be broadly categorized into several types, each serving a specific purpose and creating a particular impact. Let’s explore some of the most common categories:
- Foley Effects: Foley effects are everyday sounds created by a Foley artist to mimic real-world actions and objects. They include footsteps, door squeaks, glass breaking, and any other sound produced by physical interactions. Foley effects add a sense of realism to your projects.
- Environmental Effects: Environmental effects are sounds that represent specific locations or settings. They create a sense of ambiance and help to immerse the audience in the environment portrayed, such as a bustling city, a serene forest, or a crowded stadium.
- Impact Effects: Impact effects are sounds that emphasize powerful actions or events, such as explosions, crashes, or heavy object impacts. They add intensity and drama to your projects, creating a strong emotional impact on the audience.
- Musical Effects: Musical effects are musical elements or motifs used to enhance specific moments or transitions in your projects. They can include stings, musical cues, or short musical phrases that help to convey the mood, emotion, or narrative of the scene.
- Sci-Fi Effects: Sci-Fi effects are futuristic and otherworldly sounds that are commonly used in science fiction or fantasy projects. They include laser blasts, robot voices, spaceship engines, and various other sound elements that create a sense of the extraordinary.
- Dialogue Effects: Dialogue effects are sounds that complement spoken lines or voiceovers. They can include phone ringing, doorbells, or any other sound related to the dialogue in your projects. Dialogue effects help to make the dialogue more engaging and realistic.
The Role of Sound Effects
Sound effects play a crucial role in storytelling, setting the mood, and engaging the audience. They have the power to evoke emotions, create tension, enhance action sequences, and convey important information. Sound effects can make a scene feel more immersive, transport the audience to different locations, and breathe life into your projects.
By understanding the different types of sound effects and how they can be used, you can strategically incorporate them into your projects to enhance the overall impact and create a memorable auditory experience for your audience.
Now that we have a solid understanding of sound effects, let’s move on to the practical aspect of creating them using Audacity.
Recording Sound Effects
Now that we have a good understanding of sound effects, it’s time to dive into the exciting process of recording your own sound effects using Audacity.
Choosing the Right Equipment
The first step in recording sound effects is to ensure you have the right equipment. While professional-grade microphones and audio interfaces can yield higher-quality recordings, you can achieve great results with even a basic USB microphone or the built-in microphone on your computer or smartphone.
Consider the type of sound effects you want to capture and choose a microphone that is suitable for the task. For example, a dynamic microphone can be great for recording impact sounds, while a condenser microphone is ideal for capturing more nuanced and detailed sounds.
It’s also a good idea to have a pop filter or windscreen to minimize plosive sounds and wind noise. Additionally, using a microphone stand or a shock mount can help reduce handling noise during recordings.
Selecting a Recording Location
When it comes to recording sound effects, choosing the right location is crucial. Consider the type of sound you want to capture and find a space that provides the desired acoustic environment.
If you’re recording indoor sound effects, a quiet room with minimal background noise is ideal. You can also experiment with different room sizes and materials to achieve specific reverberation or echo effects.
For outdoor sound effects, find a location that suits the desired atmosphere. It could be a park, a street, or even a secluded area in nature, depending on the sounds you want to capture.
Recording Techniques
Now that you’re ready to start recording, keep in mind a few essential techniques to ensure high-quality sound:
- Close-miking: Position the microphone close to the sound source to capture clear and focused recordings. This is especially important for capturing subtle details and minimizing unwanted background noise.
- Variety of angles and distances: Experiment with different microphone positions, angles, and distances to capture variations of the sound effect. This will give you more options during the editing process and allow for more creativity in mixing and layering sounds.
- Perform and experiment: If you’re recording movement or action-based sound effects, try physically performing the action yourself or experiment with various objects to create unique and interesting sounds. Sometimes, the most unexpected sources can yield incredible results.
- Record in high-quality formats: Use a lossless audio format, such as WAV or AIFF, to capture the highest quality recordings. These formats retain all the details and dynamics of the sound, providing more flexibility during the editing and processing stages.
Recording and Importing into Audacity
Once you have set up your equipment and chosen an appropriate recording location, it’s time to start capturing your sound effects. Connect your microphone to your computer and open Audacity.
In Audacity, click the red record button to start recording. Perform the action or generate the sound effect you want to capture. Experiment with different variations and techniques to capture a wide range of options.
After recording, you can listen to the captured sound and edit it if necessary. Audacity provides various editing tools, such as cutting, trimming, and noise reduction, to refine your recordings and remove any unwanted elements.
Once you’re satisfied with the results, you can save your sound effects as individual audio files or continue editing and processing them further in Audacity, applying effects and mixing multiple tracks to achieve the desired outcome.
Recording your own sound effects allows you to unleash your creativity and produce unique and personalized audio content for your projects. So go out, explore, and start capturing the world of sound around you!
Editing Sound Effects
Once you have recorded your sound effects in Audacity, it’s time to dive into the editing process. Editing allows you to refine and enhance your recordings, ensuring they are polished and ready to be used in your projects.
Importing and Organizing Tracks
Start by importing your recorded sound effects into Audacity. Simply go to the “File” menu and select the “Import” option. Navigate to the location where your audio files are saved and select them to import into Audacity.
Once imported, you can see your sound effects represented as individual tracks in the Audacity interface. It’s a good practice to organize your tracks by labeling them and arranging them in a logical order.
Cutting and Trimming
One of the basic editing techniques is cutting and trimming. This allows you to remove any unwanted sections or silence from your recordings. Use the “Selection Tool” in Audacity to highlight the portion you want to remove, then click “Delete” to eliminate it from the track.
Trimming is used to remove any excess audio from the beginning or end of a sound effect. Simply select the portion you want to trim and go to the “Edit” menu, then click “Trim” to remove the selected area.
Noise Removal
In some cases, background noise or unwanted artifacts may have been captured during the recording process. Audacity provides a powerful “Noise Removal” tool that can help eliminate or reduce these unwanted sounds.
To use the Noise Removal tool, first, select a small portion of the track that contains only the background noise. Then, go to the “Effect” menu, choose “Noise Removal,” and click on “Get Noise Profile.” Audacity will analyze the selected area and create a noise profile.
Next, select the entire track or the portions you want to apply noise removal to. Again, go to the “Effect” menu, choose “Noise Removal,” and click “OK” to apply the noise removal effect based on the previously created noise profile.
Applying Effects
Audacity offers a wide range of built-in audio effects that can enhance and transform your sound effects. From equalization and reverb to distortion and modulation, these effects allow you to shape the sound and add creative elements.
To apply an effect, select the portion of the track you want to modify or the entire track, and choose the desired effect from the “Effect” menu. Adjust the parameters and settings of the effect to achieve the desired result.
Remember that moderation is key when applying effects. Be mindful of not overdoing it and ensuring that the effects enhance rather than overwhelm the sound effect.
Layering and Mixing
Another powerful technique in sound effects editing is layering and mixing multiple tracks. This allows you to combine different sound elements to create more complex and dynamic effects.
In Audacity, you can easily mix multiple tracks by adjusting the volume levels or using the “Fade In” and “Fade Out” effects to create smooth transitions between tracks. Experiment with different combinations and panning techniques to create a spatial and immersive audio experience.
Exporting the Final Sound Effects
Once you have edited your sound effects to perfection, it’s time to export them for use in your projects. Go to the “File” menu and select the “Export” option. Choose the desired audio format and quality settings, and specify the location where you want to save the exported sound effect.
Choose a lossless audio format like WAV or AIFF for the best quality, but keep in mind the compatibility with your intended usage platform.
With your edited sound effects exported and ready to use, you can now incorporate them into your film, game, podcast, or any other multimedia project, adding an extra layer of depth and immersion.
Editing sound effects in Audacity allows you to refine and sculpt your recordings into professional-quality assets. By utilizing the various editing tools and effects available, you can unleash your creativity and bring your sound effects to life.
Applying Effects in Audacity
One of the great features of Audacity is its ability to apply various effects to your sound effects, allowing you to manipulate and enhance them creatively. Whether you want to add a touch of reverb, create a robotic voice effect, or apply equalization for tonal adjustments, Audacity offers a wide range of built-in effects to explore.
Selecting and Modifying Effects
To apply an effect in Audacity, select the portion of the track you want to modify or the entire track. Then, navigate to the “Effect” menu and choose from the available options. Each effect has its own set of parameters that can be adjusted to achieve the desired result.
For example, if you want to add reverb to a sound effect to create a sense of spaciousness, you can use the built-in “Reverb” effect in Audacity. By adjusting parameters such as room size, decay time, and pre-delay, you can customize the reverb effect to fit the specific needs of your sound effect.
Similarly, you can experiment with other effects like chorus, delay, distortion, or equalization to add character and complexity to your sound effects. Don’t be afraid to try different combinations or tweak the parameters to achieve unique and interesting results.
Presets and Customization
Audacity also offers presets for some effects, which are predefined settings that can be applied with a single click. Presets are a great starting point and can save you time by providing instant access to popular effect configurations. However, don’t be afraid to customize and tweak the parameters to make the effect truly your own.
If you find yourself using certain effect configurations frequently, you can even create your own custom presets in Audacity. This allows you to save your preferred settings for future use, providing a consistent and efficient workflow.
Automation and Envelope Tool
Audacity’s Automation and Envelope Tool can be particularly useful when applying effects to specific sections of your sound effects. With this tool, you can create fades, volume adjustments, or even complex parameter changes over time.
For example, if you want to gradually increase the pitch of a sound effect, you can use the Envelope Tool to draw a line that represents the desired pitch change. This allows you to have precise control over how the effect evolves throughout the duration of the sound effect.
Layering and Mixing Effects
Don’t limit yourself to applying just one effect to a sound effect. By layering and mixing effects, you can create more complex and unique sounds. For instance, you can combine equalization with delay or reverb to add depth and texture to your sound effects.
When layering effects, be mindful of the order in which you apply them. Effects applied earlier in the chain will affect the subsequent effects. Experiment with different combinations and sequencing to find the right balance and achieve the desired result.
Real-Time Preview and Undo/Redo
To ensure that your applied effects sound just right, Audacity provides a real-time preview feature. This allows you to listen to the effect while adjusting its parameters in real-time, making it easier to fine-tune the effect to your liking.
Additionally, Audacity allows you to undo and redo any changes you make. This flexibility allows you to experiment with different effect settings without the fear of losing your original sound effect.
Applying effects in Audacity opens up a world of possibilities for transforming your sound effects. With the wide range of effects available, customizable parameters, and the ability to layer and mix effects, you can truly unleash your creativity and elevate your sound effects to a whole new level.
Exporting Sound Effects
Once you have applied all the necessary effects to your sound effects in Audacity, it’s time to export them in a format that is compatible with your intended use or platform. Exporting your sound effects allows you to save them as standalone audio files that can be easily imported into your projects.
Choosing the Right Export Format
Audacity provides a range of export options to suit different needs. When choosing an export format, consider the compatibility requirements of your project and the platform on which the sound effects will be used.
For maximum quality and compatibility, a lossless audio format like WAV or AIFF is recommended. These formats preserve the original audio data without any compression, ensuring the highest fidelity. However, they result in larger file sizes.
If you need to reduce file size without significant loss of quality, consider using a compressed format like MP3 or AAC. These formats use lossy compression, which means some audio data is discarded, resulting in smaller file sizes. However, be aware that repeated compressions and decompressions can degrade the audio quality over time.
The Export Process in Audacity
Exporting your sound effects in Audacity is a straightforward process. Simply go to the “File” menu and select the “Export” option. From the dropdown menu, choose the desired format for your export.
In the export dialog, you can specify the file name, location, and other export settings depending on the chosen format. Pay attention to options like sample rate, bit depth, and quality settings, as they can affect the final audio output.
It’s generally recommended to use the same sample rate and bit depth as your original recordings to maintain the highest quality. However, if you need to convert the sample rate or bit depth, Audacity provides options to do so during the export process.
Final Checks and Listening
Before finalizing the export, take a moment to listen to your sound effects to ensure they are exported exactly as you intended. Use headphones or quality speakers to get an accurate representation of the audio. It’s always a good practice to perform a thorough quality check to catch any potential issues or artifacts before using the sound effects in your projects.
Naming and Organizing Exported Sound Effects
When naming your exported sound effects, choose descriptive and informative names that reflect their content and purpose. This will make it easier to locate and use them in your projects. Consider adding relevant keywords or tags in the file name to improve organization and searchability.
It’s also a good idea to create a dedicated folder or directory to store your exported sound effects. This will help keep your files organized and easily accessible when you need them in the future.
Backup and Archive
Once your sound effects are exported, it’s important to make regular backups and keep an organized archive of your files. This ensures that you have multiple copies of your work in case of data loss or system failures. Consider using cloud storage or external drives to store your sound effects securely.
Having a well-organized backup and archive system enables quick access to your sound effects and allows for easy retrieval whenever you need them for future projects or revisions.
By following these steps and best practices, you can confidently export your sound effects from Audacity, ensuring they are ready to be used in your films, games, podcasts, or any other creative projects.
Conclusion
Congratulations! You have now learned the essential steps and techniques for creating and editing sound effects in Audacity. By understanding the different types of sound effects, recording them with the right equipment and techniques, applying effects, and exporting them in the appropriate formats, you have the tools to bring your audio projects to life.
Creating your own sound effects not only allows you to have full control over the sound design of your projects but also adds a personal and unique touch. It gives you the ability to tailor the sound effects to perfectly suit your creative vision and effectively convey the desired emotion and impact.
Remember to experiment and think outside the box when it comes to sound effects. Creative thinking and exploring unconventional sound sources can lead to surprising and innovative results. Additionally, taking the time to organize and label your sound effects can save you valuable time in future projects.
As you continue to develop your skills in sound effects creation, explore more advanced techniques and tools in Audacity. Don’t hesitate to explore additional plugins and software that can further expand your capabilities and enhance your sound effects library.
Finally, always keep the end user or audience in mind. Sound effects are not just about making noise; they play a critical role in evoking emotions, enhancing storytelling, and adding depth to the overall audio experience. With careful attention to detail and thoughtful sound design, your sound effects will captivate and immerse your audience, enhancing the impact of your creative projects.
Now, armed with your newfound knowledge, it’s time to unleash your creativity, experiment, and have fun as you create captivating sound effects using Audacity!