Home>Production & Technology>Audio Interface>How To Make Your Computer Come Through Your Audio Interface
Audio Interface
How To Make Your Computer Come Through Your Audio Interface
Published: February 5, 2024
Learn how to connect your computer to an audio interface and enhance your sound quality. Follow our step-by-step guide to set up your audio interface for optimal performance.
(Many of the links in this article redirect to a specific reviewed product. Your purchase of these products through affiliate links helps to generate commission for AudioLover.com, at no extra cost. Learn more)
Table of Contents
Introduction
Welcome to the world of audio interfaces! If you’re an aspiring musician, podcaster, or content creator, understanding how to connect your computer to an audio interface is essential for achieving professional-level sound quality. In this guide, we’ll walk you through the process of setting up your audio interface and optimizing your computer’s audio settings.
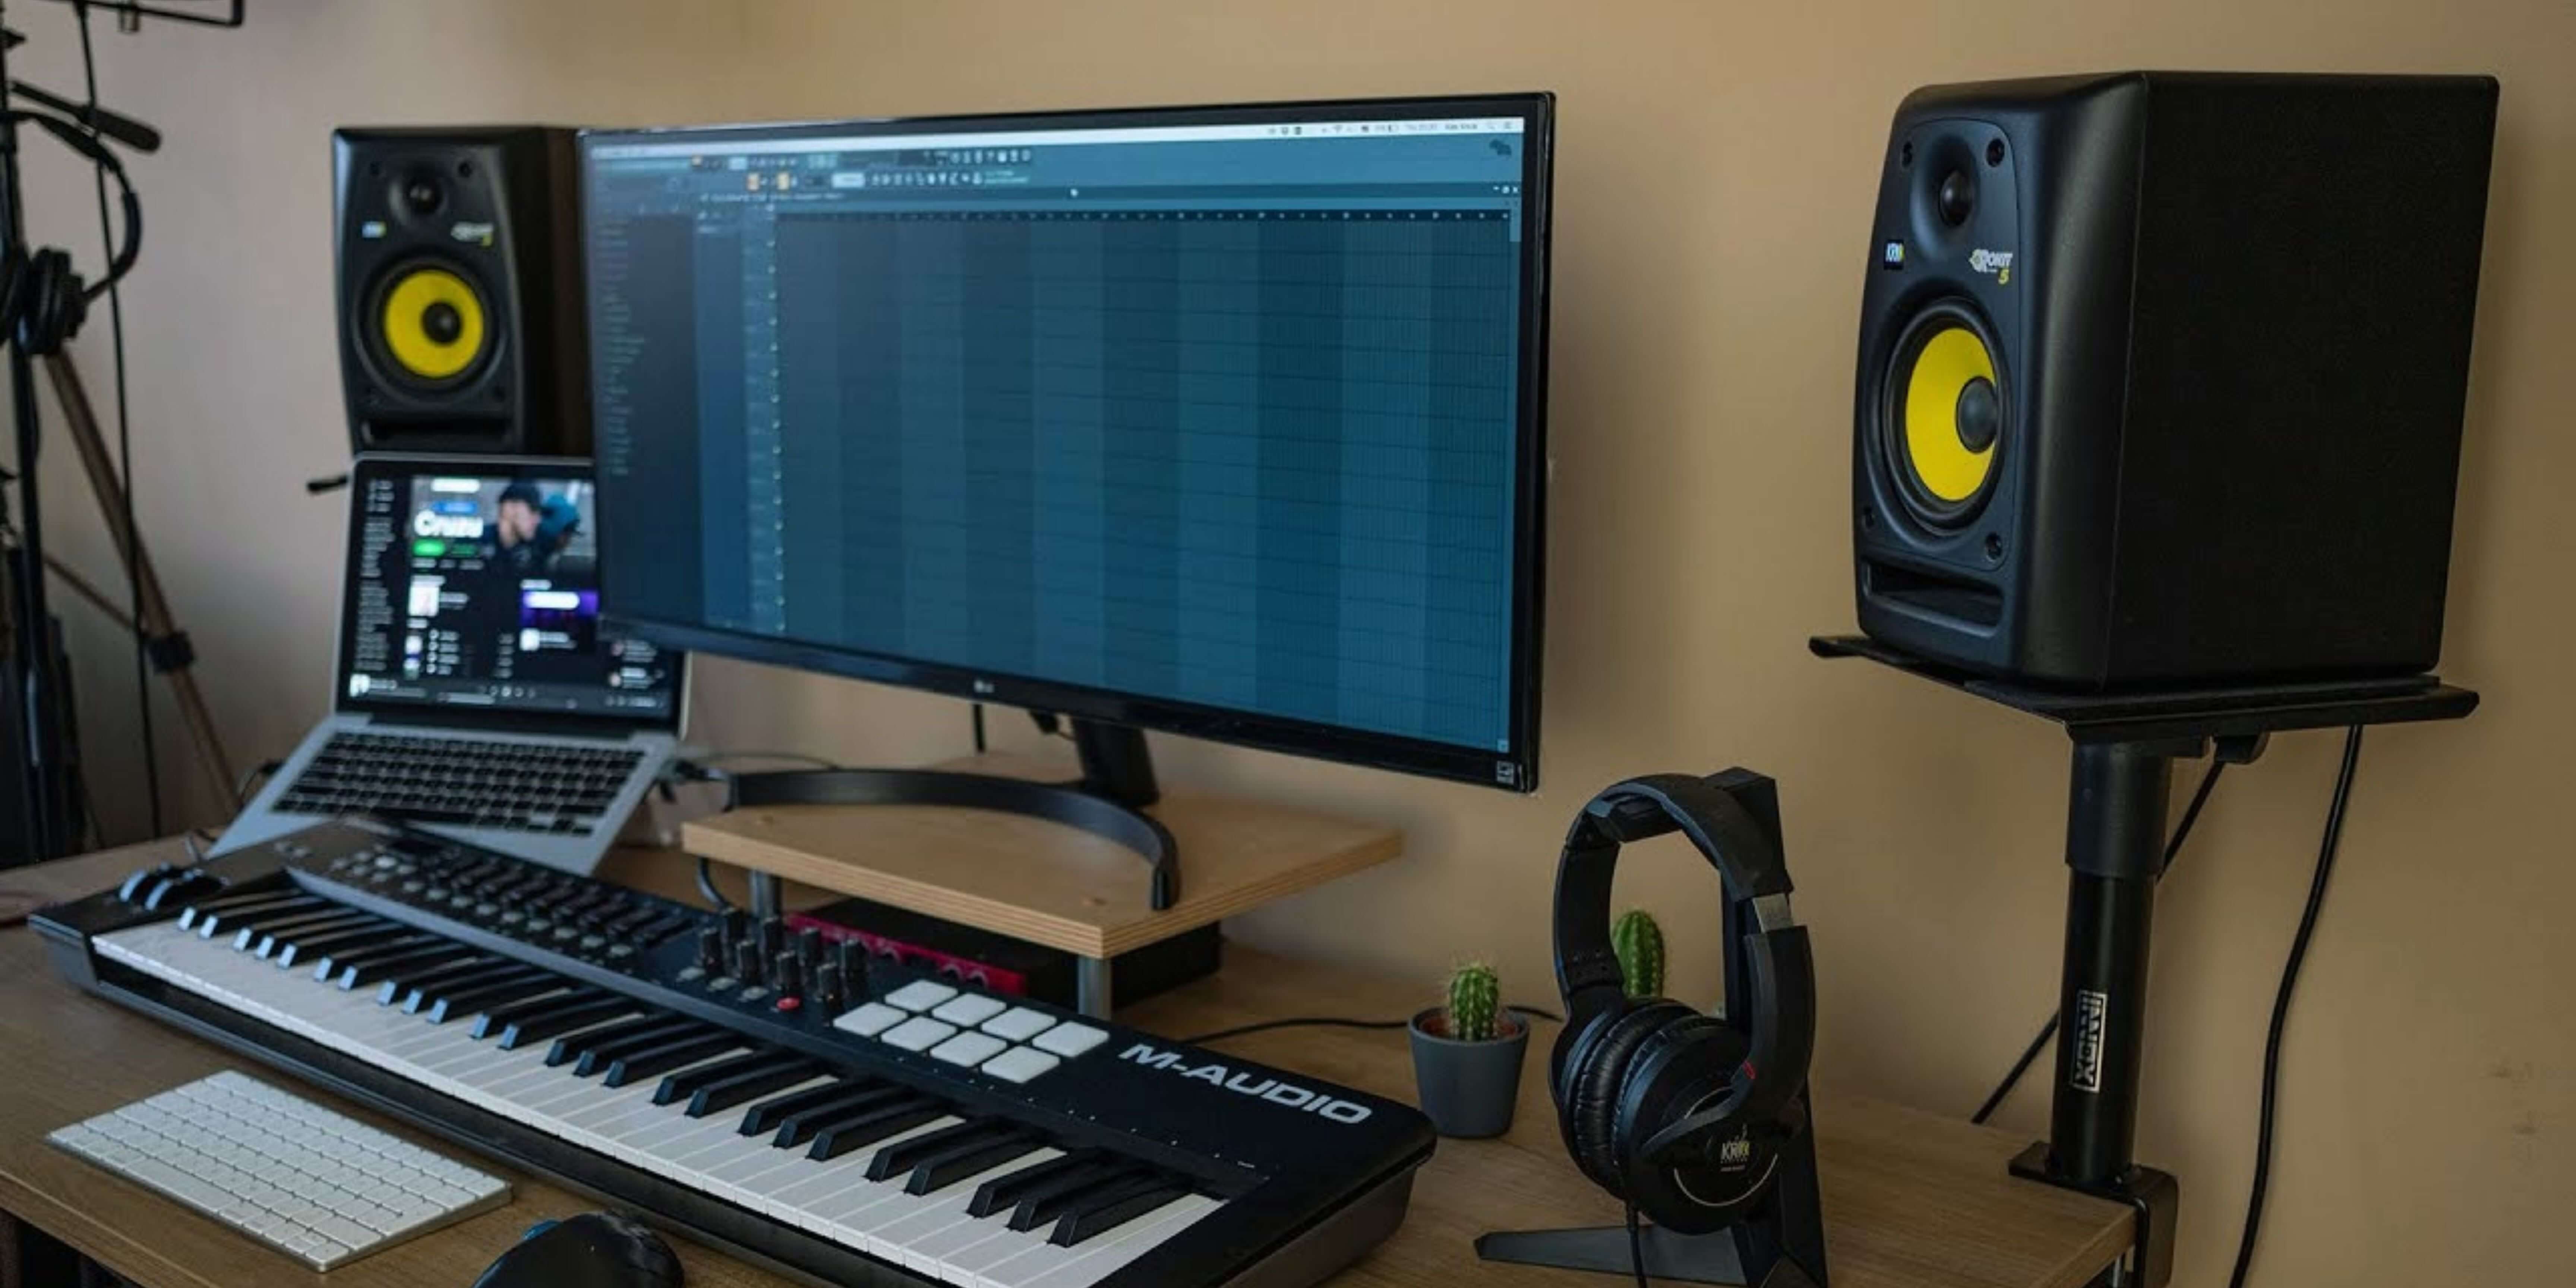
An audio interface is a device that acts as the bridge between your computer and your audio equipment. It allows you to record and playback audio signals with high fidelity. Whether you’re recording vocals, instruments, or podcasts, an audio interface ensures that the sound is captured accurately and without any latency issues.
By connecting your computer to an audio interface, you can enjoy several benefits. First and foremost, you’ll have access to higher-quality audio recordings. Compared to the built-in sound card on most computers, audio interfaces offer superior analog-to-digital and digital-to-analog conversion, resulting in cleaner and more detailed sound.
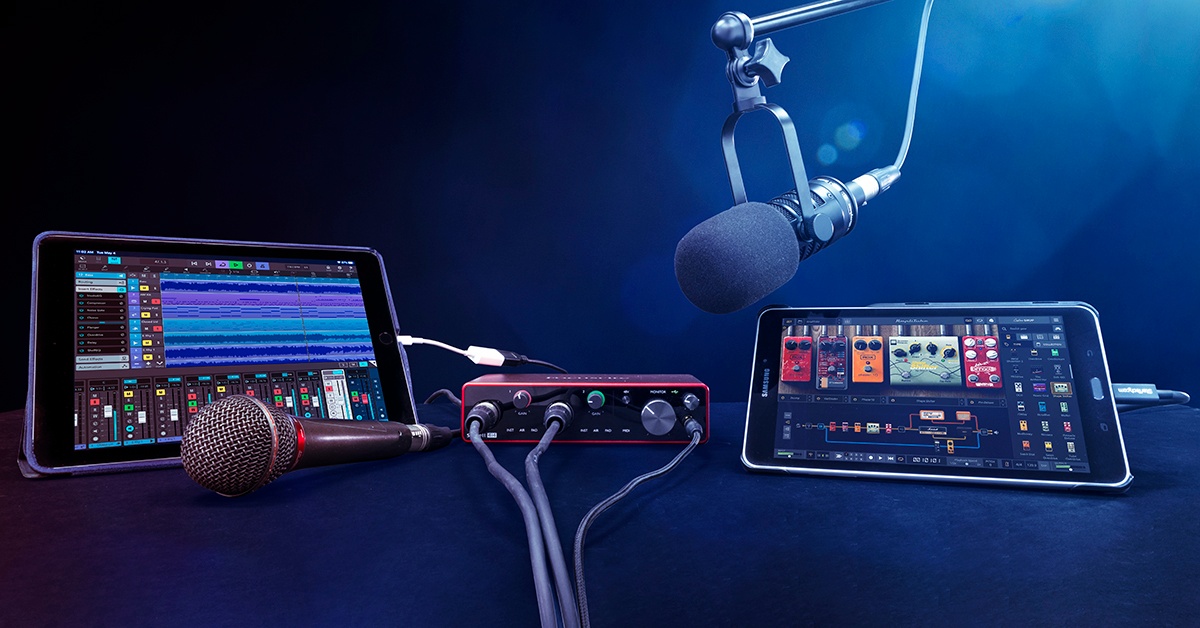
Furthermore, audio interfaces typically come with a range of input and output options, such as XLR, 1/4″ jacks, and MIDI connections. This versatility allows you to connect a wide range of microphones, instruments, and other audio devices to your computer.
Whether you’re a professional or a beginner, it’s important to understand the basics of connecting your computer to an audio interface and configuring your audio settings. In the following sections, we’ll guide you through the step-by-step process of setting up your audio interface and optimizing your computer for the best audio performance.
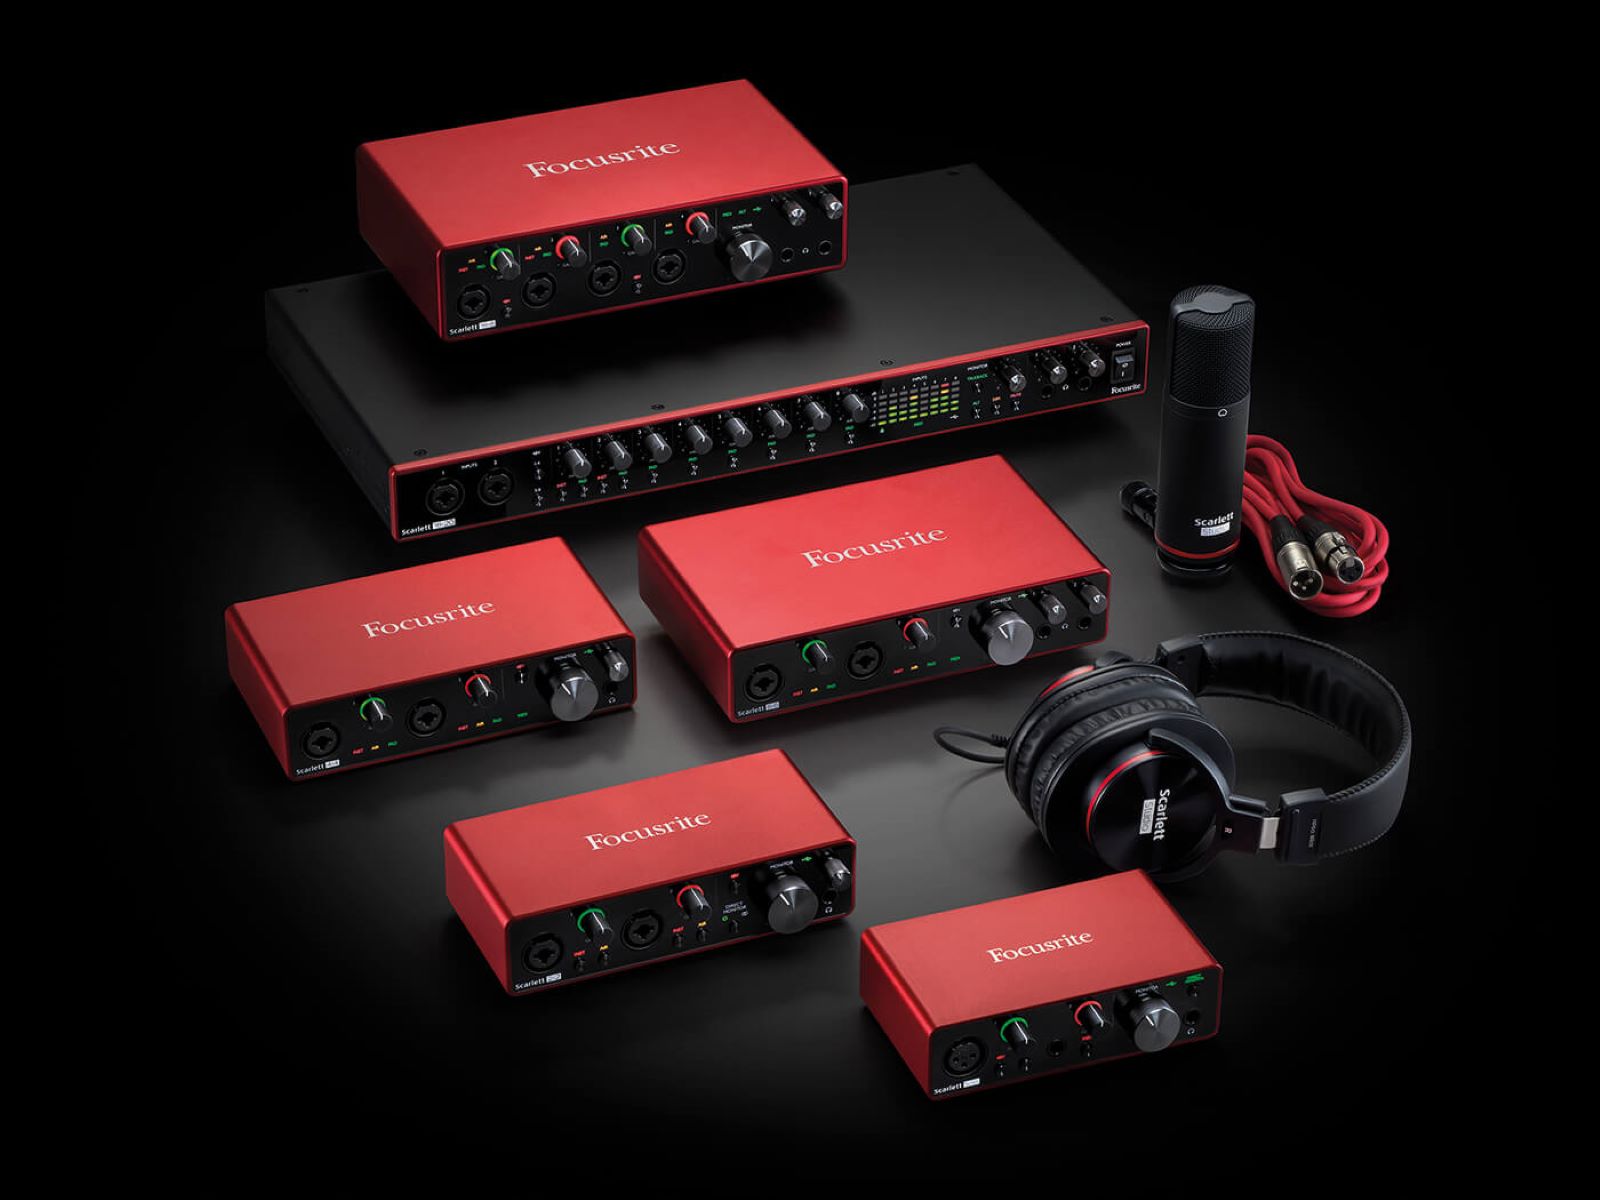
Understanding Audio Interfaces
Before we dive into the technical aspects of connecting your computer to an audio interface, let’s take a moment to understand the key features and functionality of audio interfaces.
At its core, an audio interface is a device that converts analog audio signals into digital data that your computer can process, and vice versa. This conversion process is crucial for ensuring accurate and high-quality audio recordings.
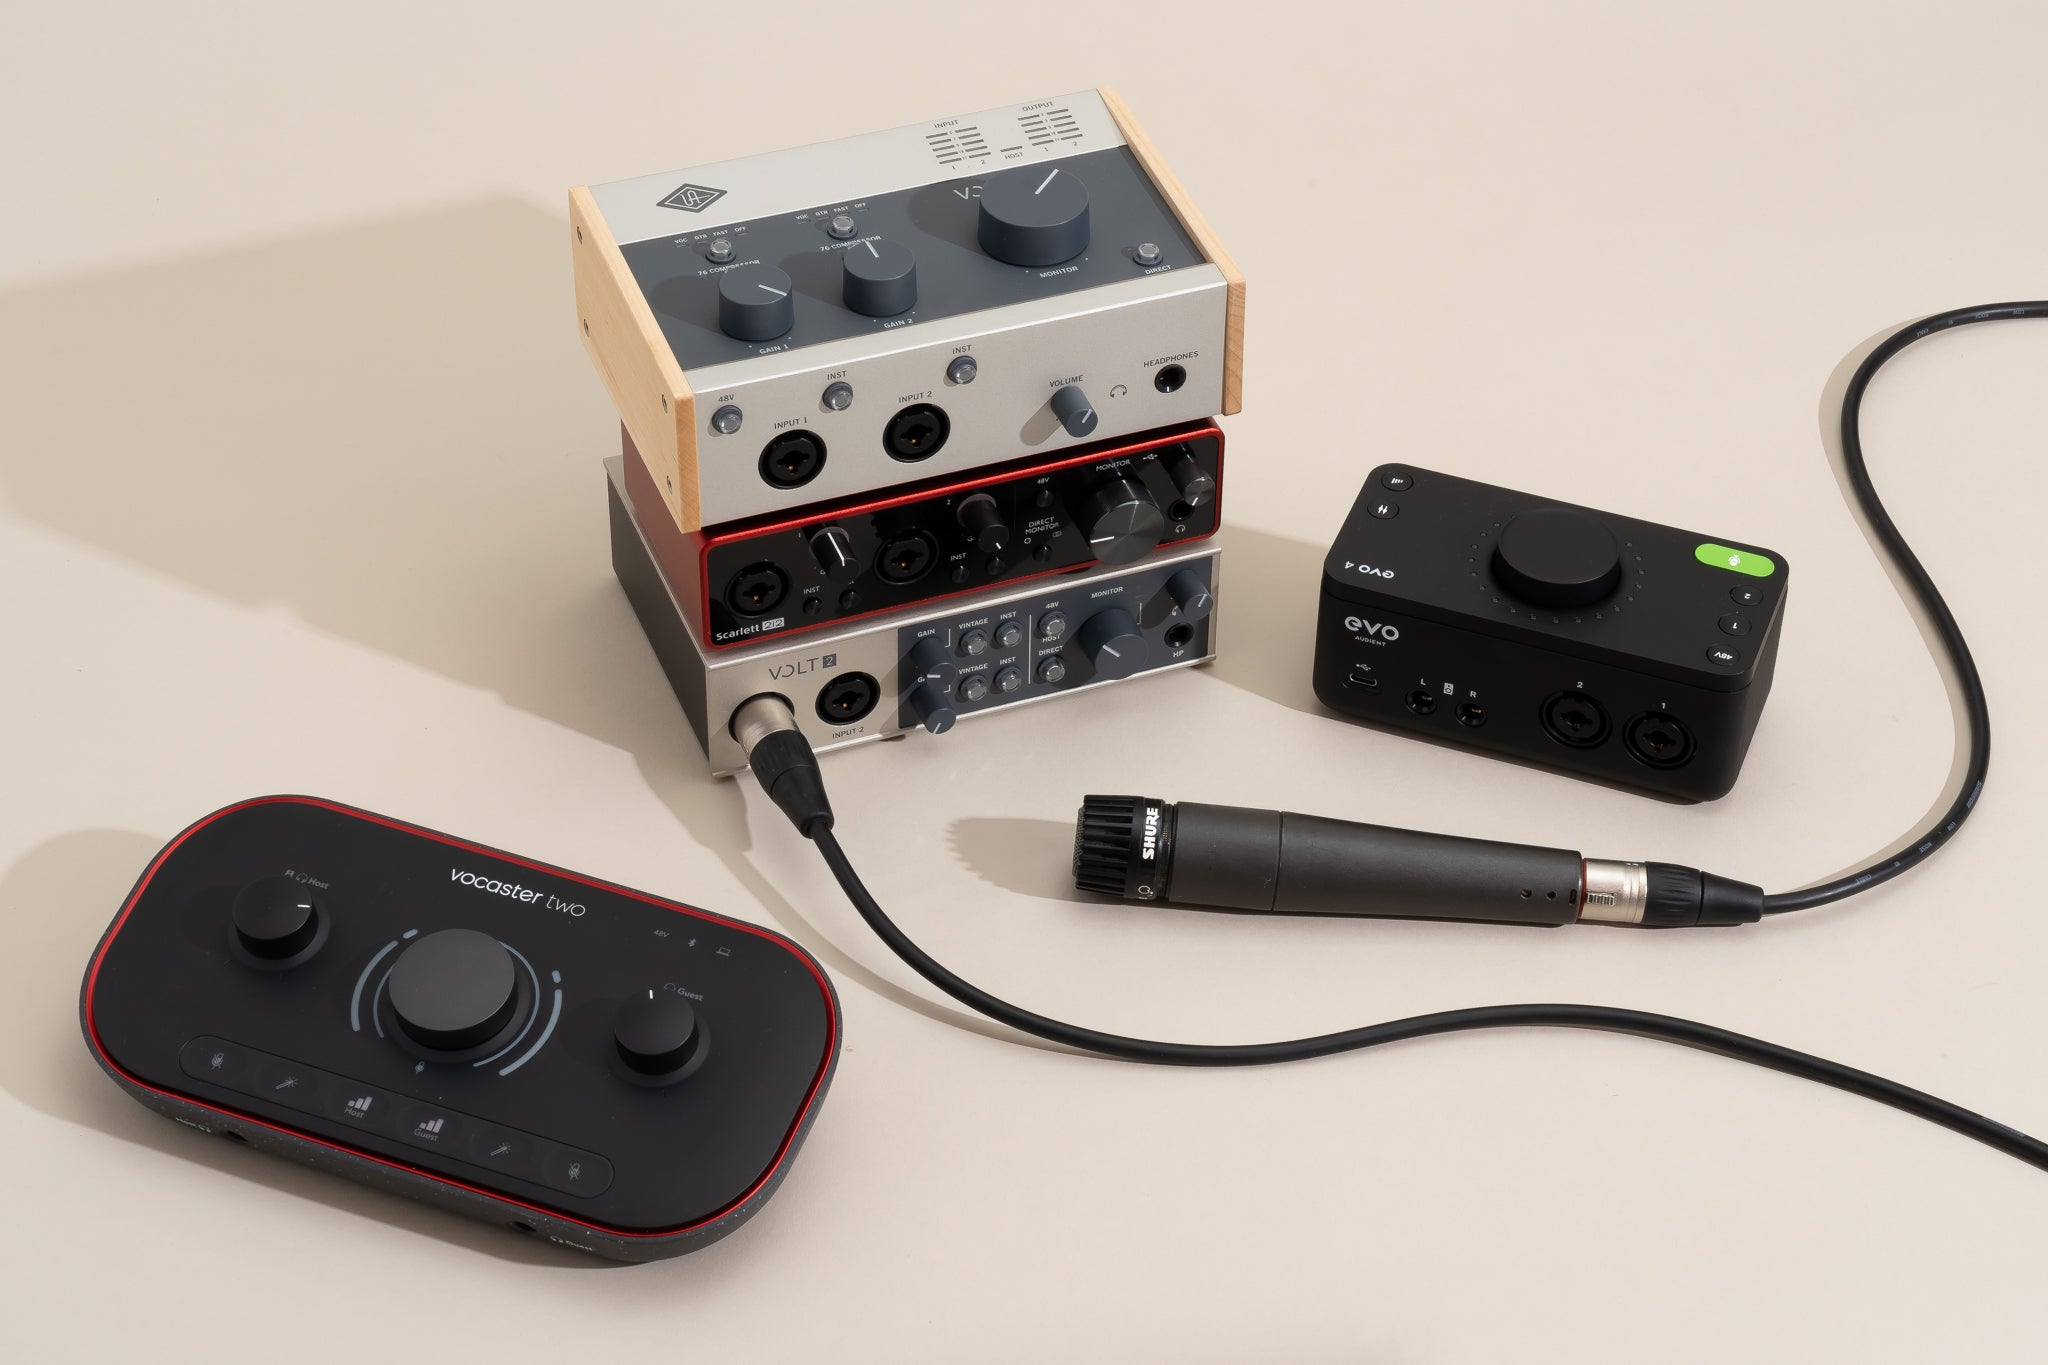
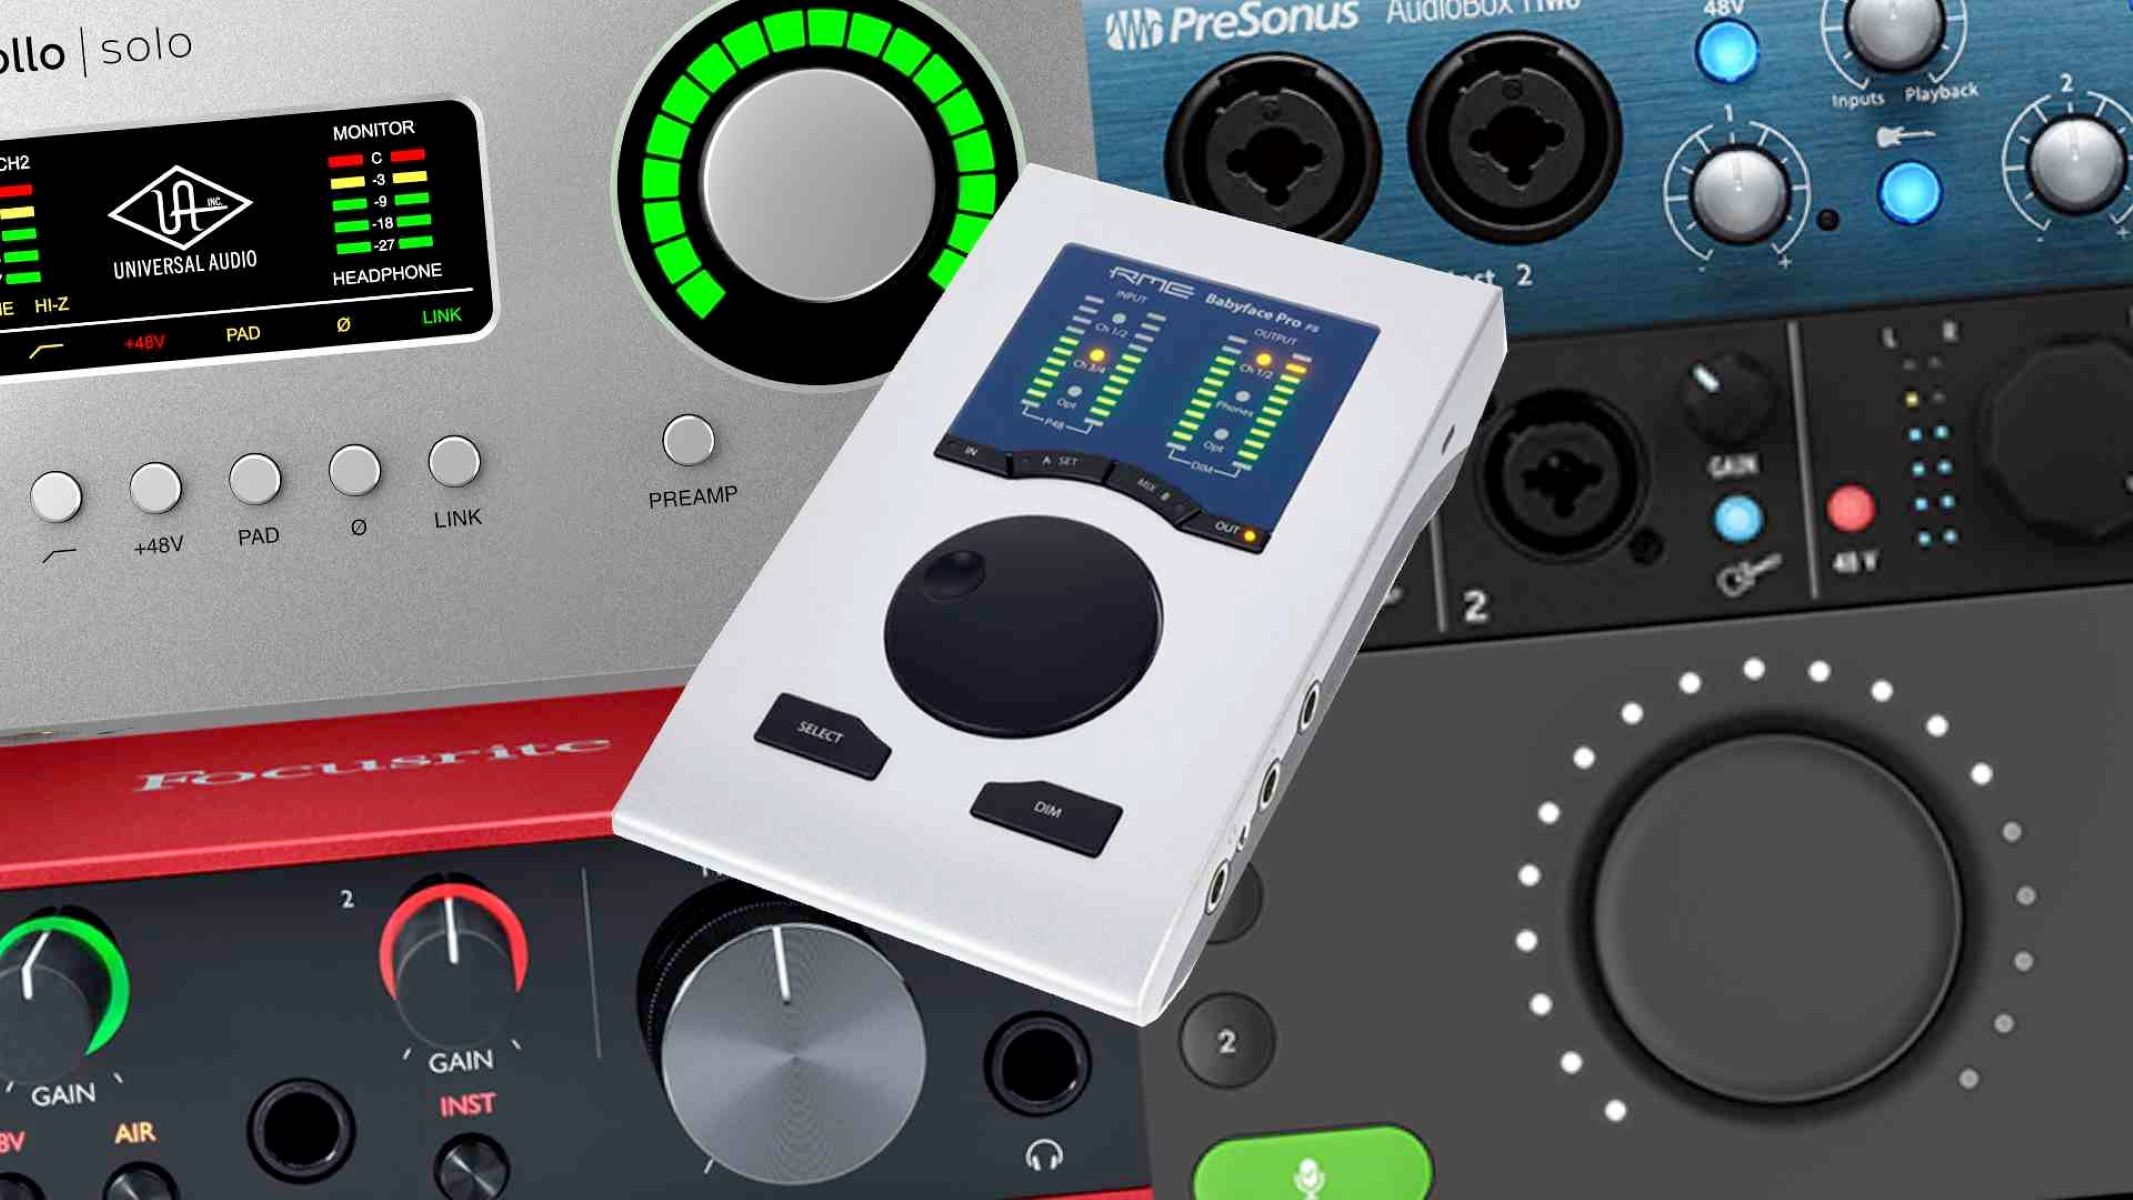
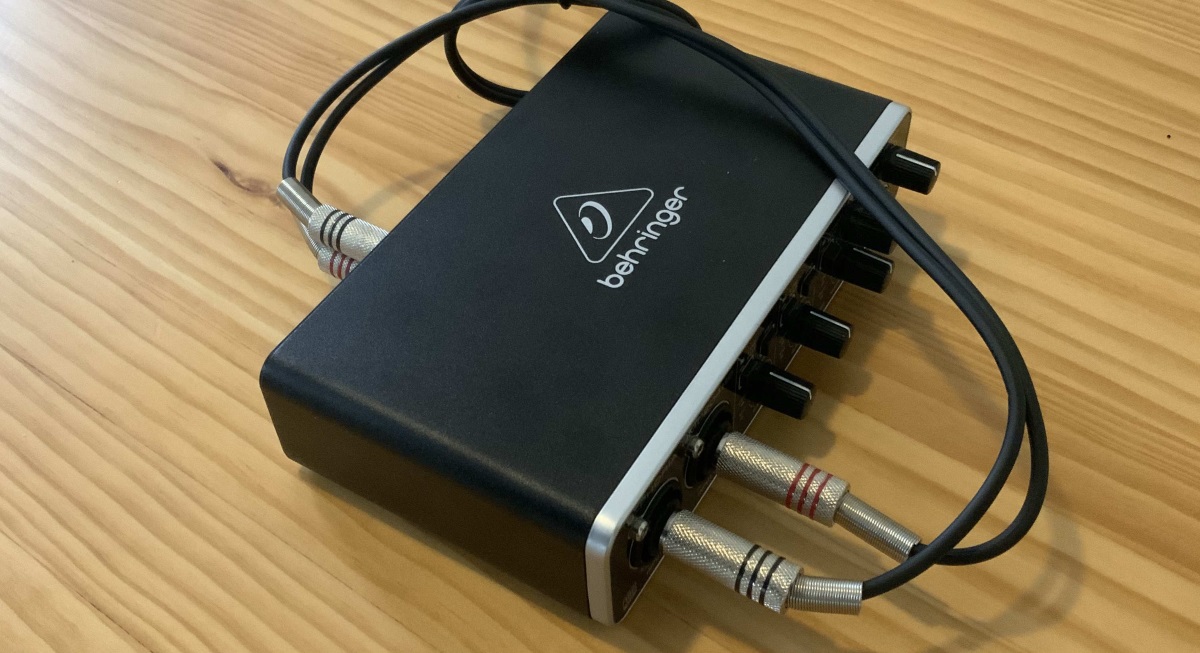
Audio interfaces come in various shapes and sizes, ranging from compact USB interfaces designed for home studios to rack-mounted interfaces for professional recording studios. The main factors to consider when choosing an audio interface are the number and type of inputs and outputs you require, the quality of the preamps, and the connectivity options.
Inputs on an audio interface are used for connecting microphones, instruments, and other audio sources. The most common input type is the XLR connector, which is used for professional microphones. Additionally, audio interfaces may feature 1/4″ jacks for line-level signals and MIDI ports for connecting MIDI instruments and controllers.
Outputs on an audio interface allow you to connect your speakers or headphones for monitoring purposes. Most interfaces include both balanced TRS outputs for studio monitors and a headphone output for personal monitoring.
One important aspect of audio interfaces is the quality of their preamps. Preamps amplify the weak signal from microphones or instruments and are crucial for capturing a clean and accurate audio signal. Higher-end interfaces often have better preamps, resulting in lower noise and improved sound quality.
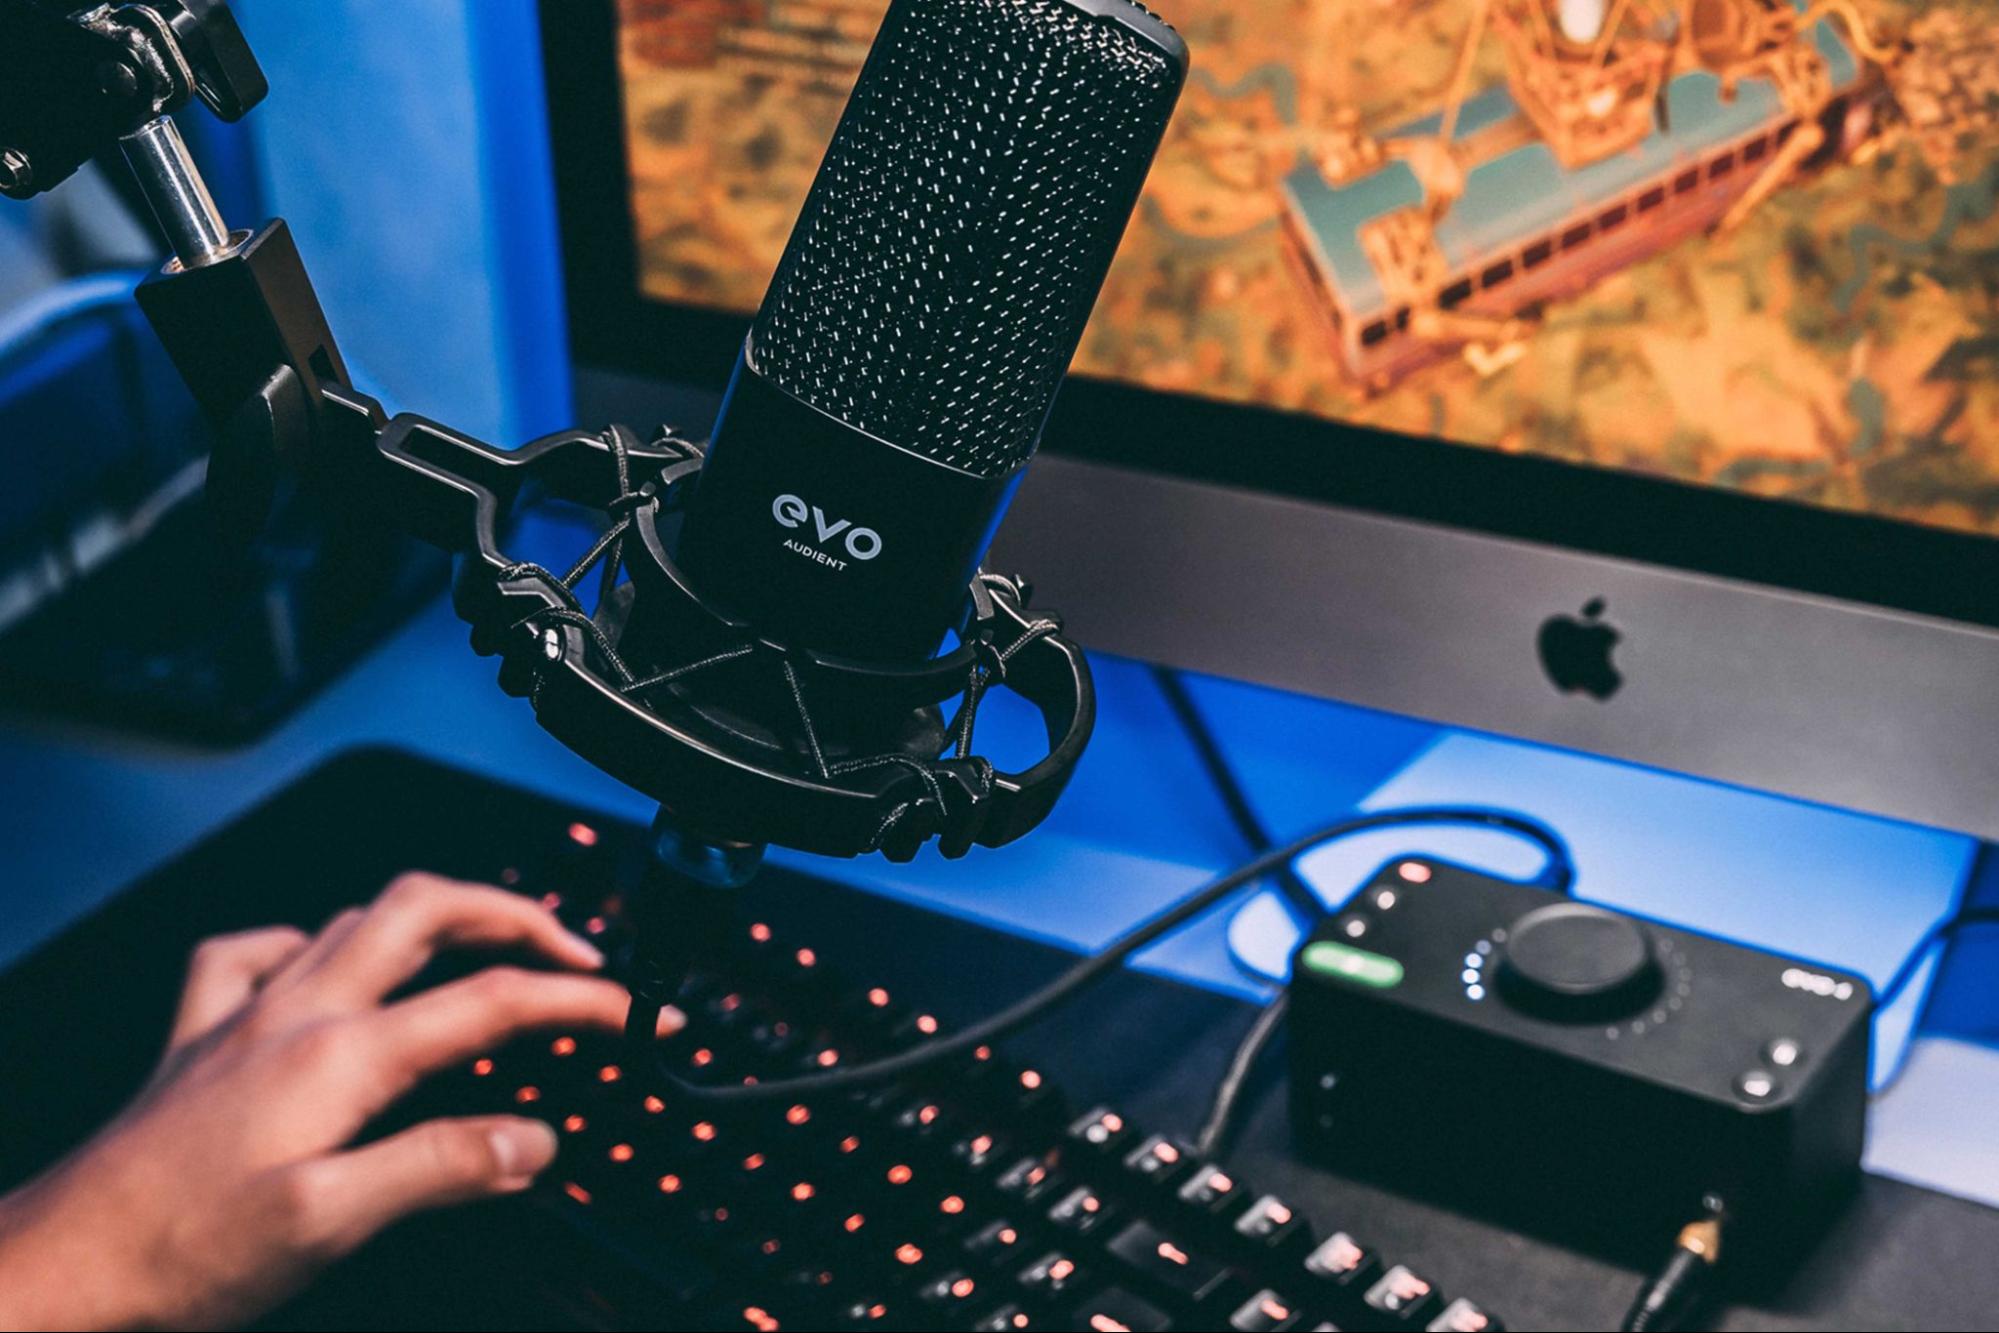
Furthermore, audio interfaces offer various connectivity options, such as USB, Thunderbolt, or PCIe. USB is the most common and versatile option, allowing you to connect the interface to your computer quickly and easily. Thunderbolt and PCIe interfaces provide even faster data transfer rates and are preferred by professional users who require ultra-low latency and high track counts.
Now that we have a basic understanding of audio interfaces, let’s move on to the next section, where we’ll explore how to connect your computer to the audio interface.
Connecting Your Computer to the Audio Interface
Connecting your computer to an audio interface is a straightforward process. Follow these steps to ensure a proper connection:
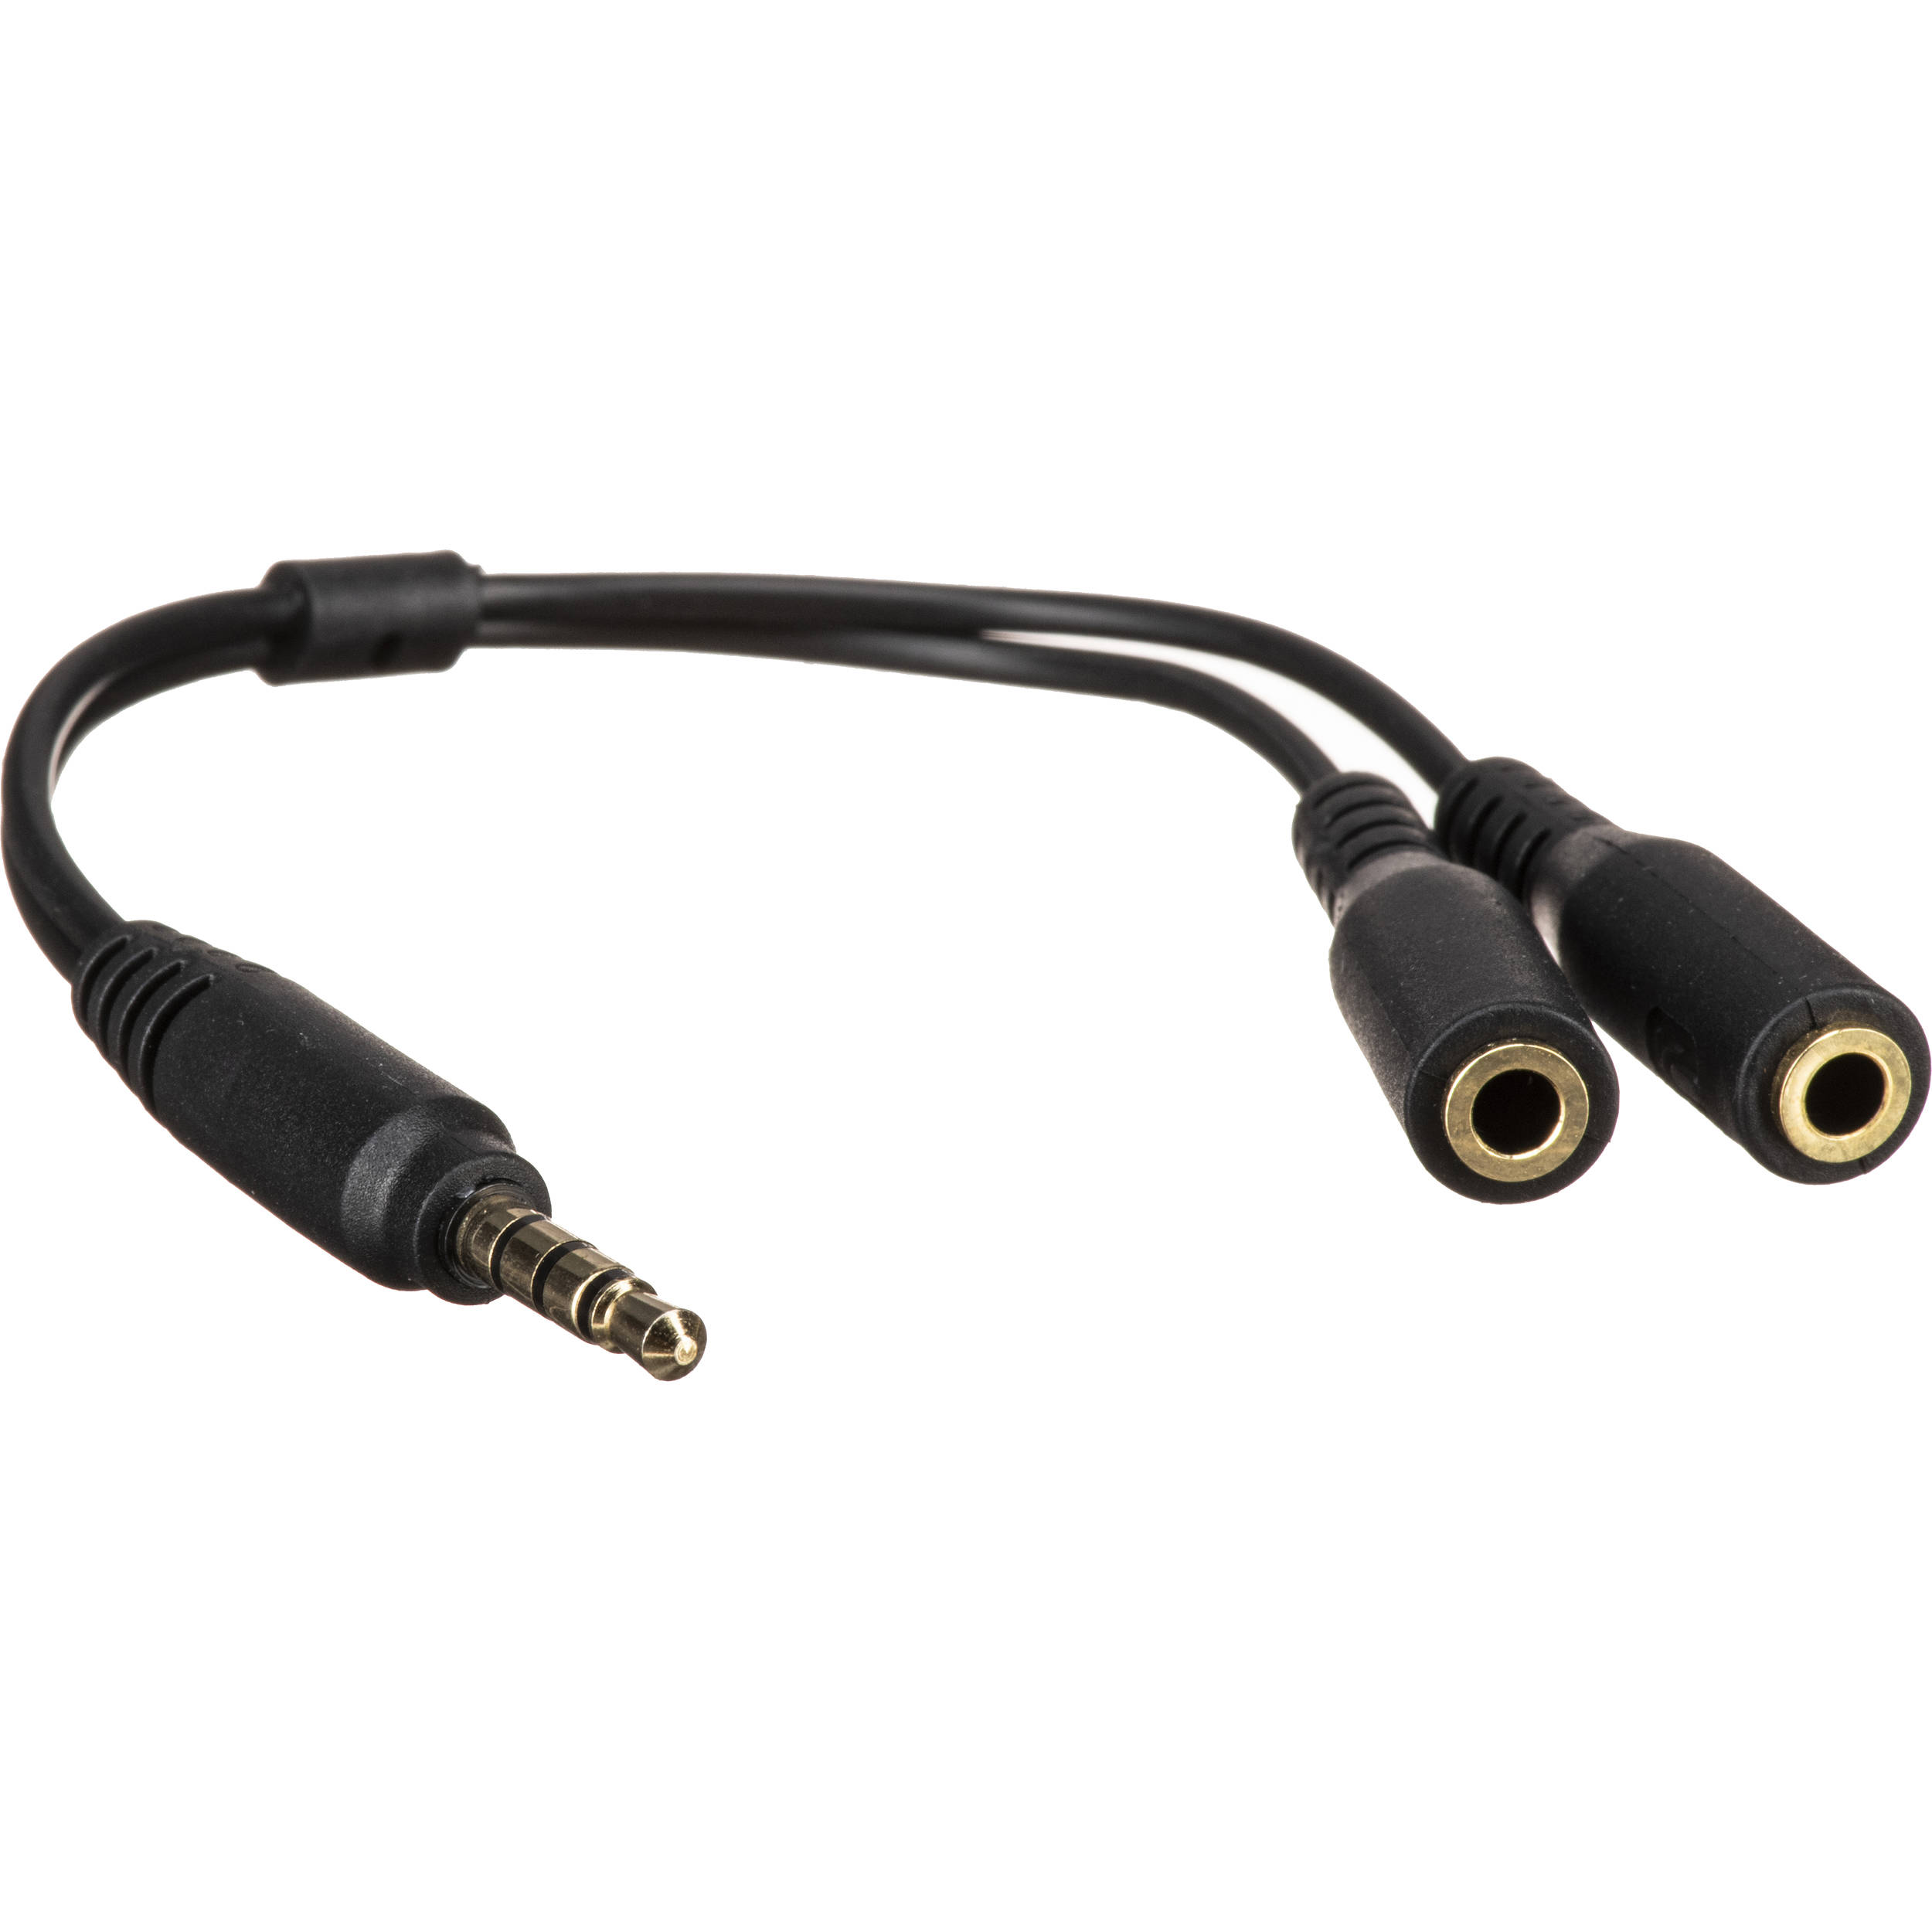
- Choose the appropriate cables: Before you begin, make sure you have the necessary cables to connect your audio interface to your computer. The most common connection is via a USB cable, but depending on your interface and computer, you may need a Thunderbolt, Firewire, or PCIe cable.
- Power off your computer and the audio interface: It’s always a good idea to power off both your computer and the audio interface before making any connections.
- Connect the audio interface to your computer: Connect one end of the cable to the appropriate port on your audio interface and the other end to the corresponding port on your computer. Ensure a secure connection by firmly plugging in the cable on both ends.
- Power on the audio interface: Once the connection is made, power on your audio interface. Many interfaces have indicator lights that will illuminate once the device is powered on.
- Power on your computer: After the audio interface is powered on, turn on your computer. It should detect the newly connected audio interface and automatically install any necessary drivers. If prompted, follow the on-screen instructions to complete the driver installation.
- Configure audio settings: Once the audio interface is connected and the drivers are installed, you may need to configure the audio settings on your computer. This will vary depending on your operating system and audio software. Consult the documentation for your specific interface and software for guidance on setting the correct sample rate, buffer size, and input/output routing.
After following these steps, your computer should be successfully connected to the audio interface, allowing you to record and playback audio using the interface’s inputs and outputs.
It’s worth noting that some audio interfaces require external power sources, such as an AC adapter. In such cases, make sure to connect and power on the interface accordingly.
Now that you have successfully connected your computer to the audio interface, let’s move on to the next section where we’ll explore how to configure the audio settings on your computer for optimal performance.
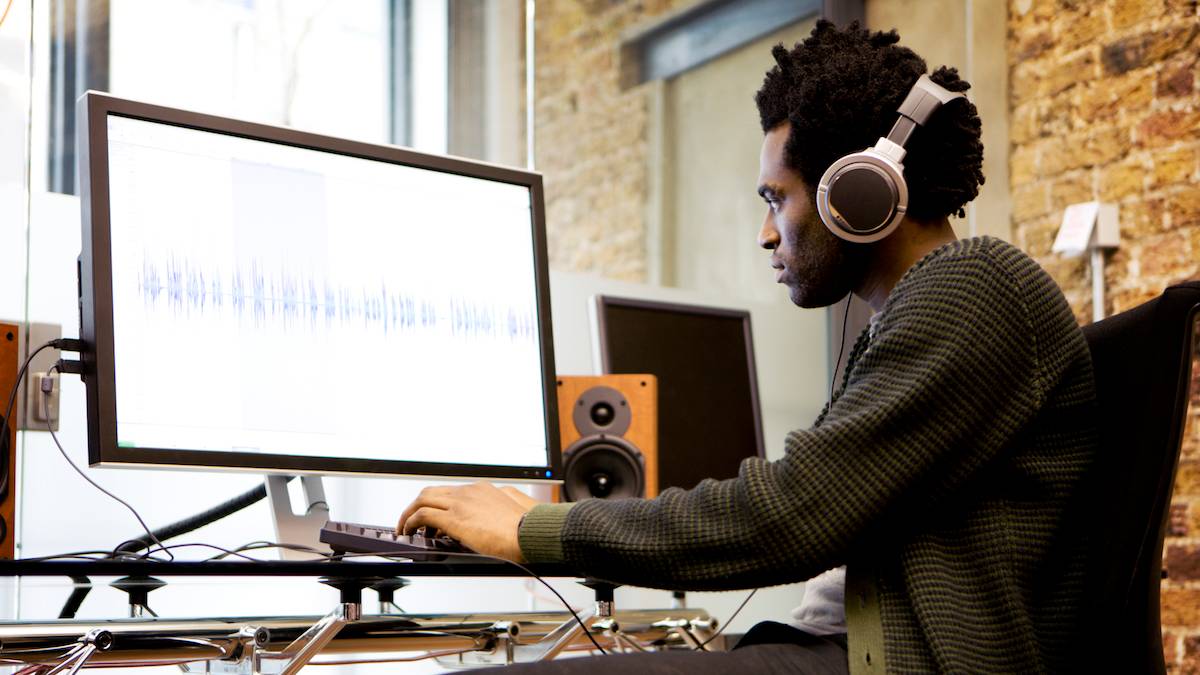
Configuring Audio Settings on Your Computer
Once you’ve connected your computer to the audio interface, it’s crucial to properly configure the audio settings to ensure optimal performance. The specific steps may vary depending on your operating system and audio software, but the following general guidelines will help you get started:
- Open the audio settings: Access the audio settings on your computer by navigating to the system preferences or control panel. Look for the audio or sound settings.
- Select the audio interface: In the audio settings, you should see a list of available audio devices. Select your audio interface as the default input and output device. This ensures that all audio will be routed through the interface.
- Set the sample rate and bit depth: Choose an appropriate sample rate and bit depth for your project. Higher sample rates and bit depths offer better audio quality but require more processing power. It’s best to match the settings of your audio interface to avoid any potential issues.
- Adjust the buffer size: The buffer size determines the amount of audio data processed by the computer at once. A smaller buffer size results in lower latency but may put a strain on the CPU. Experiment with different buffer sizes to find the optimal balance between latency and CPU performance.
- Enable monitoring: If you’re recording vocals or instruments, make sure to enable monitoring. This allows you to hear the audio in real-time without any latency. Check the preferences of your audio software to enable monitoring and adjust the input/output routing as needed.
Additionally, it’s a good practice to keep your computer’s operating system and audio software updated to ensure compatibility with the audio interface. Regular updates often include bug fixes and performance improvements.
If you’re experiencing any issues with audio latency, dropouts, or other anomalies, adjusting the buffer size, sample rate, or updating the audio drivers may help resolve the issue. Consult the documentation of your audio interface and audio software for more specific troubleshooting tips.
Now that you have configured the audio settings on your computer, you’re ready to start recording and producing high-quality audio through your audio interface. In the next section, we’ll discuss some common issues that you may encounter and how to troubleshoot them.
Troubleshooting Common Issues
While setting up and using an audio interface is generally a smooth process, you may encounter some common issues along the way. Here are a few troubleshooting tips for resolving these issues:
- No audio signal: If you’re not getting any audio signal through your audio interface, double-check that all the cables are securely connected. Ensure that the input and output settings are correctly configured in both the audio interface and your computer’s audio settings. Also, make sure that the audio software you’re using is set to use the correct audio interface.
- Audio latency: Latency refers to the delay between when you play or sing into the microphone and when you hear the sound through your speakers or headphones. Adjusting the buffer size in your audio settings can help reduce latency. Additionally, closing any unnecessary applications or processes running in the background can free up system resources and improve performance.
- Crackling or distorted audio: If you’re experiencing crackling or distorted audio, this may be due to an issue with the buffer size or incompatible sample rate settings. Try increasing the buffer size or adjusting the sample rate to see if it improves the audio quality. If the issue persists, check for any driver updates for your audio interface and ensure that your computer’s operating system is up to date.
- Driver conflicts: In some cases, conflicts between audio drivers can cause issues with your audio interface. Make sure you have the latest drivers installed for your audio interface and check for any conflicts with other hardware or software drivers on your computer. It may be necessary to uninstall and reinstall the drivers or contact the manufacturer for support.
- Recording or playback issues: If you’re having trouble recording or playing back audio, double-check that the input and output settings are correctly configured in your audio software. Ensure that you have selected the correct audio interface and that the proper input and output channels are selected. It’s also a good idea to check the signal levels on your audio interface to ensure they’re not too low or too high.
If you’re still experiencing issues after trying these troubleshooting tips, it’s best to consult the documentation for your specific audio interface or contact the manufacturer’s support team for further assistance.
With these troubleshooting tips in mind, you should be able to overcome common issues and enjoy a seamless audio production experience with your audio interface.
Now let’s wrap up this guide and summarize the key points we’ve covered.
Conclusion
Congratulations! You’ve now learned how to connect your computer to an audio interface and configure the audio settings for optimal performance. By following the steps outlined in this guide, you can enjoy professional-level sound quality when recording and playing back audio.
Audio interfaces are essential tools for musicians, podcasters, content creators, and anyone who values high-quality audio recordings. They provide improved sound fidelity, versatile connectivity options, and low-latency monitoring capabilities.
We started by understanding the basics of audio interfaces, including their function, input and output options, and the importance of preamps. We then moved on to the process of connecting your computer to the audio interface, ensuring a secure and proper connection.
Next, we explored how to configure the audio settings on your computer, including selecting the audio interface, setting the sample rate and buffer size, and enabling monitoring. These settings play a crucial role in achieving the desired sound quality and performance.
In the event that you encounter common issues, we provided troubleshooting tips to help resolve them. From troubleshooting no audio signal and audio latency to addressing crackling or distorted audio, these tips will assist you in overcoming obstacles and maintaining a smooth audio production workflow.
Remember to keep your audio interface drivers and computer’s operating system up to date for optimal compatibility and performance.
With all the knowledge and tools at your disposal, you’re now well-equipped to unlock the full potential of your audio interface. So go ahead, unleash your creativity, and enjoy the pristine sound quality your equipment and setup deserve!
Thank you for reading, and happy producing!