Home>Production & Technology>MIDI>How To Use Yamaha Keyboard As MIDI
MIDI
How To Use Yamaha Keyboard As MIDI
Modified: February 22, 2024
Learn how to use your Yamaha keyboard as a MIDI controller to create, record, and edit music with ease. Explore step-by-step instructions and tips for seamless MIDI integration.
(Many of the links in this article redirect to a specific reviewed product. Your purchase of these products through affiliate links helps to generate commission for AudioLover.com, at no extra cost. Learn more)
Table of Contents
Introduction
If you're a music enthusiast, chances are you're familiar with the Yamaha brand. Renowned for producing top-quality musical instruments, Yamaha has a wide range of keyboards that are not only great for playing music but also for integrating with digital audio workstations (DAWs) through the magic of MIDI (Musical Instrument Digital Interface). MIDI allows for seamless communication between musical instruments and computers, enabling you to control and manipulate sounds with precision and creativity.
In this article, we'll delve into the fascinating world of using a Yamaha keyboard as a MIDI controller. Whether you're a seasoned musician or a budding producer, understanding how to harness the power of MIDI with your Yamaha keyboard can significantly elevate your music production capabilities. We'll cover everything from setting up the keyboard to troubleshooting common issues, providing you with a comprehensive guide to maximize your musical potential.
So, grab your Yamaha keyboard, unleash your creativity, and let's embark on this MIDI adventure together. By the end of this article, you'll be equipped with the knowledge and skills to seamlessly integrate your Yamaha keyboard into your digital music production workflow, opening up a world of sonic possibilities. Let's dive in and explore the exciting realm of MIDI with your trusted Yamaha keyboard as your companion.
Setting up the Yamaha Keyboard
Setting up your Yamaha keyboard for MIDI use is the crucial first step in unlocking its potential as a versatile music production tool. Whether you have a Yamaha digital piano, synthesizer, or workstation keyboard, the process of preparing it for MIDI connectivity follows a similar pattern. Here's a detailed guide to help you seamlessly set up your Yamaha keyboard for MIDI functionality.
1. Power Up and Check Connections
Begin by powering up your Yamaha keyboard and ensuring that it is in good working condition. Check that the power supply is connected securely, and if your keyboard operates on batteries, ensure they are fresh and fully charged. It's essential to have a reliable power source to avoid any interruptions during the setup process.
2. Familiarize Yourself with Ports
Take a moment to familiarize yourself with the various ports on your Yamaha keyboard. Look for the MIDI ports, typically labeled as "MIDI In" and "MIDI Out." These ports are essential for establishing a connection between your keyboard and the external devices, such as a computer or MIDI interface.
3. Gather Necessary Cables
To connect your Yamaha keyboard to a computer or MIDI interface, you'll need MIDI cables. These cables have distinctive 5-pin connectors, with one end labeled "MIDI Out" and the other "MIDI In." Ensure you have the appropriate cables and that they are in good condition to facilitate seamless data transmission.
4. Positioning and Accessibility
Choose a suitable location for your Yamaha keyboard, ensuring that it is within reach of your computer or MIDI interface. Accessibility is key, as you'll need to connect the MIDI cables from the keyboard to the computer or MIDI interface without any strain or tautness in the cables.
5. Prepare the Workspace
Clear the area around your keyboard and computer to create a conducive workspace for setting up the MIDI connection. Removing any clutter or obstructions will make the process more manageable and minimize the risk of accidental damage to the equipment.
By following these steps, you'll be well-prepared to move on to the next phase of the setup process, which involves connecting the Yamaha keyboard to a computer or MIDI interface, as we'll explore in the next section.
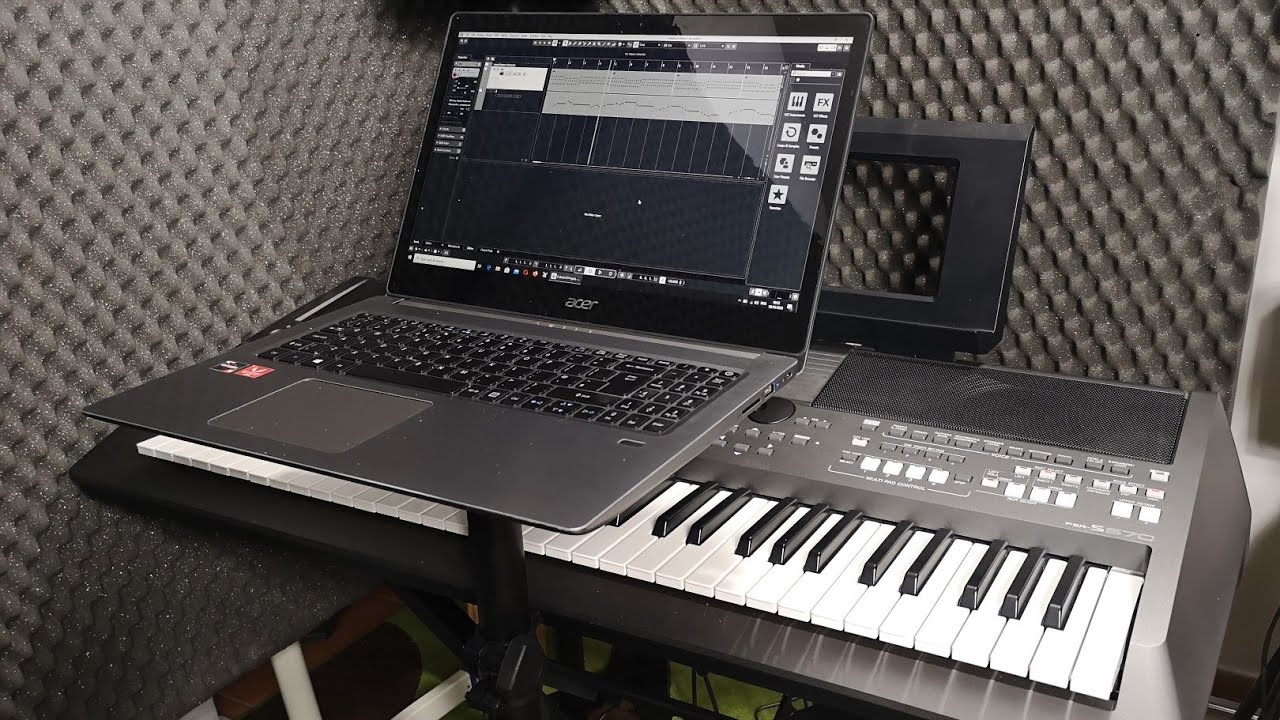
Connecting the Keyboard to a Computer
Connecting your Yamaha keyboard to a computer is a pivotal step in harnessing its MIDI capabilities. This process enables seamless communication between the keyboard and your digital audio workstation (DAW), opening up a realm of creative possibilities for music production. Here's a detailed guide to help you establish a solid connection between your Yamaha keyboard and a computer.
-
Locate the MIDI Ports: Begin by identifying the MIDI ports on your Yamaha keyboard. These ports are typically labeled as "MIDI In" and "MIDI Out." The "MIDI Out" port on the keyboard should be connected to the "MIDI In" port on the computer or MIDI interface, and vice versa. This unidirectional flow ensures that MIDI data is transmitted accurately between the devices.
-
Use MIDI Cables: Once you've located the MIDI ports, it's time to connect the keyboard to the computer using MIDI cables. Ensure that the MIDI Out port on the keyboard is connected to the MIDI In port on the computer or MIDI interface, and vice versa. The 5-pin connectors on the MIDI cables should be inserted securely into the respective ports, establishing a stable connection for data transmission.
-
Check Connection Quality: After connecting the MIDI cables, it's essential to verify the quality of the connection. Ensure that the cables are not tangled or strained, as this can lead to data transmission issues. A secure and well-aligned connection is crucial for the accurate transfer of MIDI data between the keyboard and the computer.
-
Power On and Test Connectivity: Once the physical connection is established, power on your Yamaha keyboard and the computer. Open your preferred DAW or MIDI software on the computer and test the connectivity by playing a few notes on the keyboard. If the connection is successful, you should see MIDI input signals registering on the DAW, indicating that the keyboard is successfully communicating with the computer.
-
Adjust Settings if Necessary: Depending on your DAW or MIDI software, you may need to configure the MIDI input settings to recognize your Yamaha keyboard. Refer to the software's documentation or preferences to ensure that the keyboard is selected as the MIDI input device. This step is crucial for seamless integration and accurate MIDI data capture within your music production environment.
By following these steps, you can confidently connect your Yamaha keyboard to a computer, paving the way for a harmonious synergy between your musical creativity and digital production tools. With the MIDI connection established, you're now poised to explore the boundless potential of using your Yamaha keyboard as a MIDI controller within your music production endeavors.
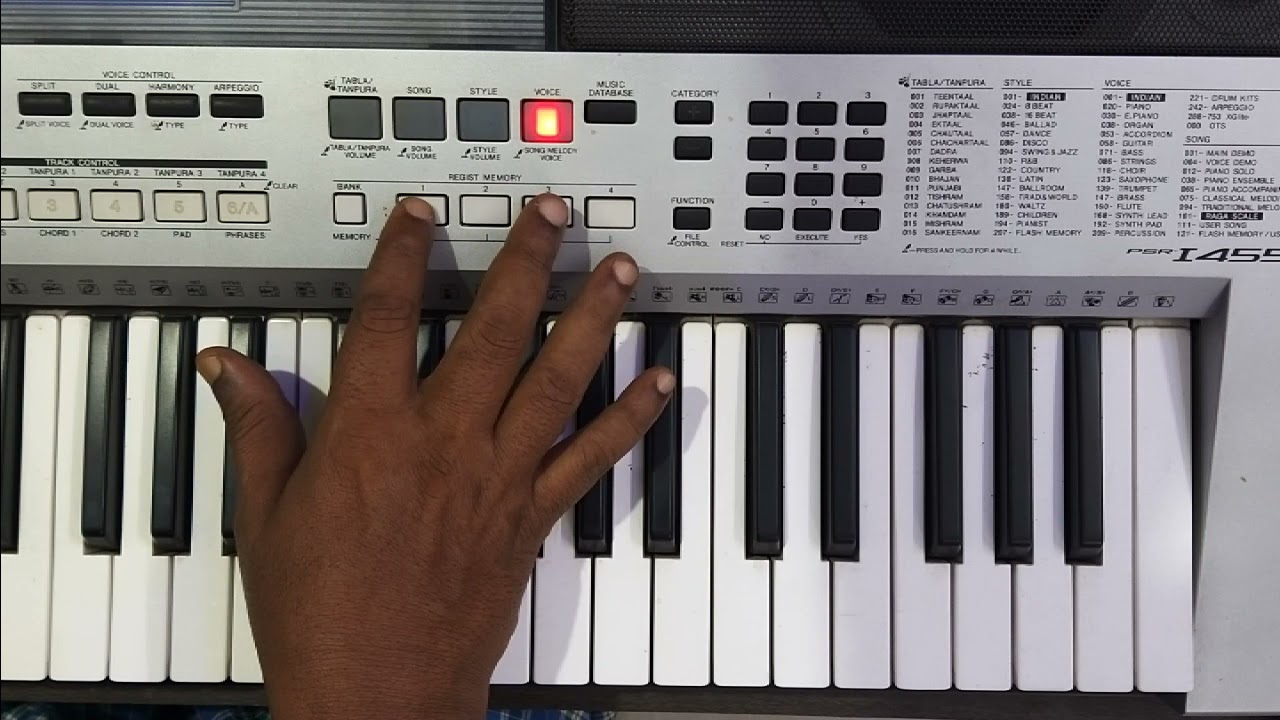
Configuring MIDI Settings
Configuring MIDI settings is a pivotal aspect of optimizing the functionality of your Yamaha keyboard as a MIDI controller. By fine-tuning the MIDI settings, you can ensure seamless communication between the keyboard and your digital audio workstation (DAW), enabling precise control over virtual instruments, recording, and playback. Here's a comprehensive guide to help you navigate the process of configuring MIDI settings with your Yamaha keyboard.
1. MIDI Input and Output Selection
Within your DAW or MIDI software, navigate to the MIDI settings or preferences menu. Locate the section where MIDI input and output devices are configured. In this interface, you should be able to select your Yamaha keyboard as the MIDI input device. Similarly, ensure that the MIDI output from your DAW is directed to the Yamaha keyboard. This bidirectional configuration establishes a clear pathway for MIDI data to flow between the keyboard and the computer, facilitating seamless interaction.
2. MIDI Channel Assignment
MIDI channels play a crucial role in facilitating communication between different MIDI devices. Your Yamaha keyboard likely supports multiple MIDI channels, allowing you to control and trigger various virtual instruments and software parameters. In the MIDI settings of your DAW or MIDI software, assign MIDI channels to correspond with the functionalities you wish to control on the keyboard. For example, you can designate specific channels for playing different instrument sounds or activating effects, providing you with versatile control over your music production environment.
3. Velocity and Aftertouch Sensitivity
Many Yamaha keyboards feature velocity-sensitive keys, capable of detecting the force with which they are played. Additionally, some models may include aftertouch functionality, enabling further expressive control over MIDI parameters. In the MIDI settings, you can calibrate the velocity sensitivity and aftertouch response to align with your playing style. Adjusting these parameters ensures that your keyboard accurately translates your playing dynamics into MIDI data, enhancing the expressiveness and realism of your virtual performances.
4. Control Change (CC) Mapping
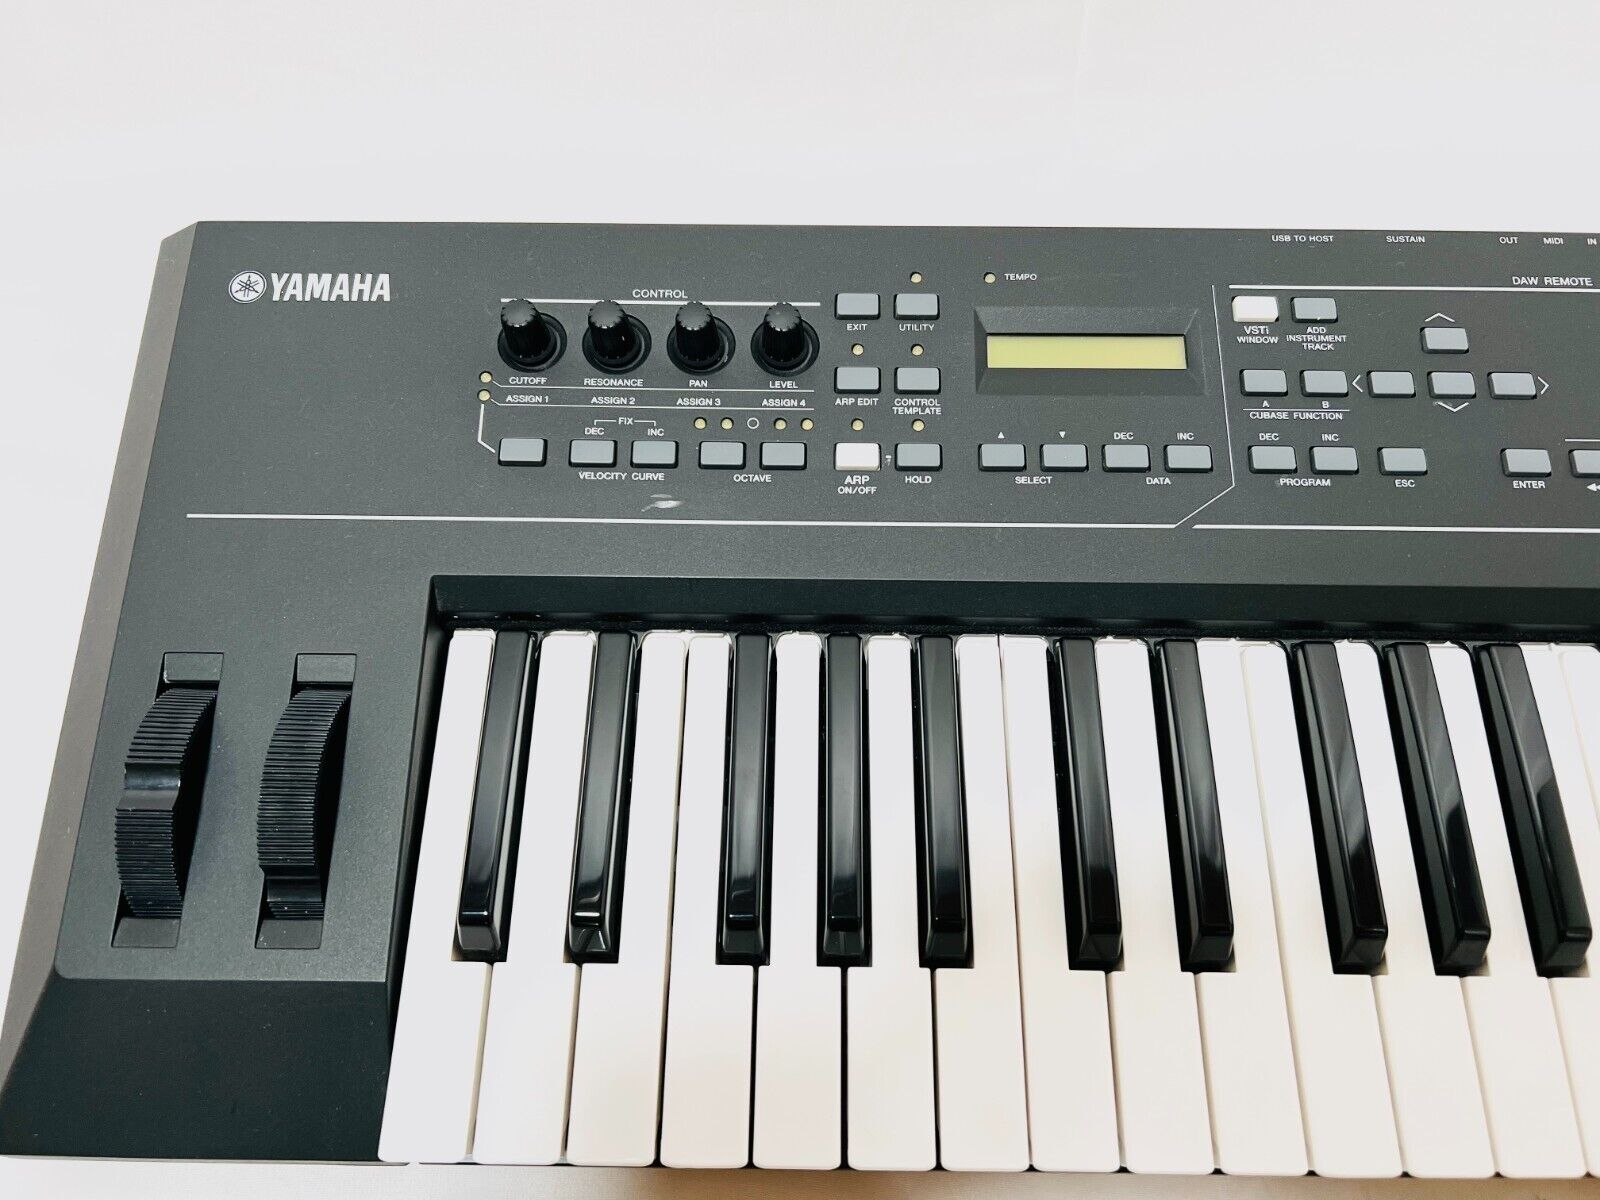
Control Change messages, commonly referred to as CC messages, allow you to manipulate a wide range of parameters within your DAW or virtual instruments. These parameters can include modulation, volume, pan, and various other MIDI-controllable attributes. In the MIDI settings, you can map specific knobs, sliders, or buttons on your Yamaha keyboard to send CC messages to your DAW. This customization empowers you to tailor the keyboard's physical controls to directly influence the parameters of your virtual instruments, providing a tactile and intuitive music production experience.
5. Synchronization and Latency Adjustment
Synchronization is critical for ensuring that your Yamaha keyboard and the DAW operate in perfect harmony. Within the MIDI settings, you can configure synchronization options to align the timing of MIDI events with the tempo and playback position of your music project. Additionally, you may need to address latency, which refers to the delay between triggering a MIDI event on the keyboard and hearing the corresponding sound from the DAW. Fine-tuning these settings minimizes latency and optimizes the overall timing accuracy of your MIDI performances.
By meticulously configuring these MIDI settings, you can unleash the full potential of your Yamaha keyboard as a MIDI controller. This level of customization empowers you to tailor the keyboard's behavior to suit your unique musical workflow, fostering a deeply immersive and expressive music production experience.
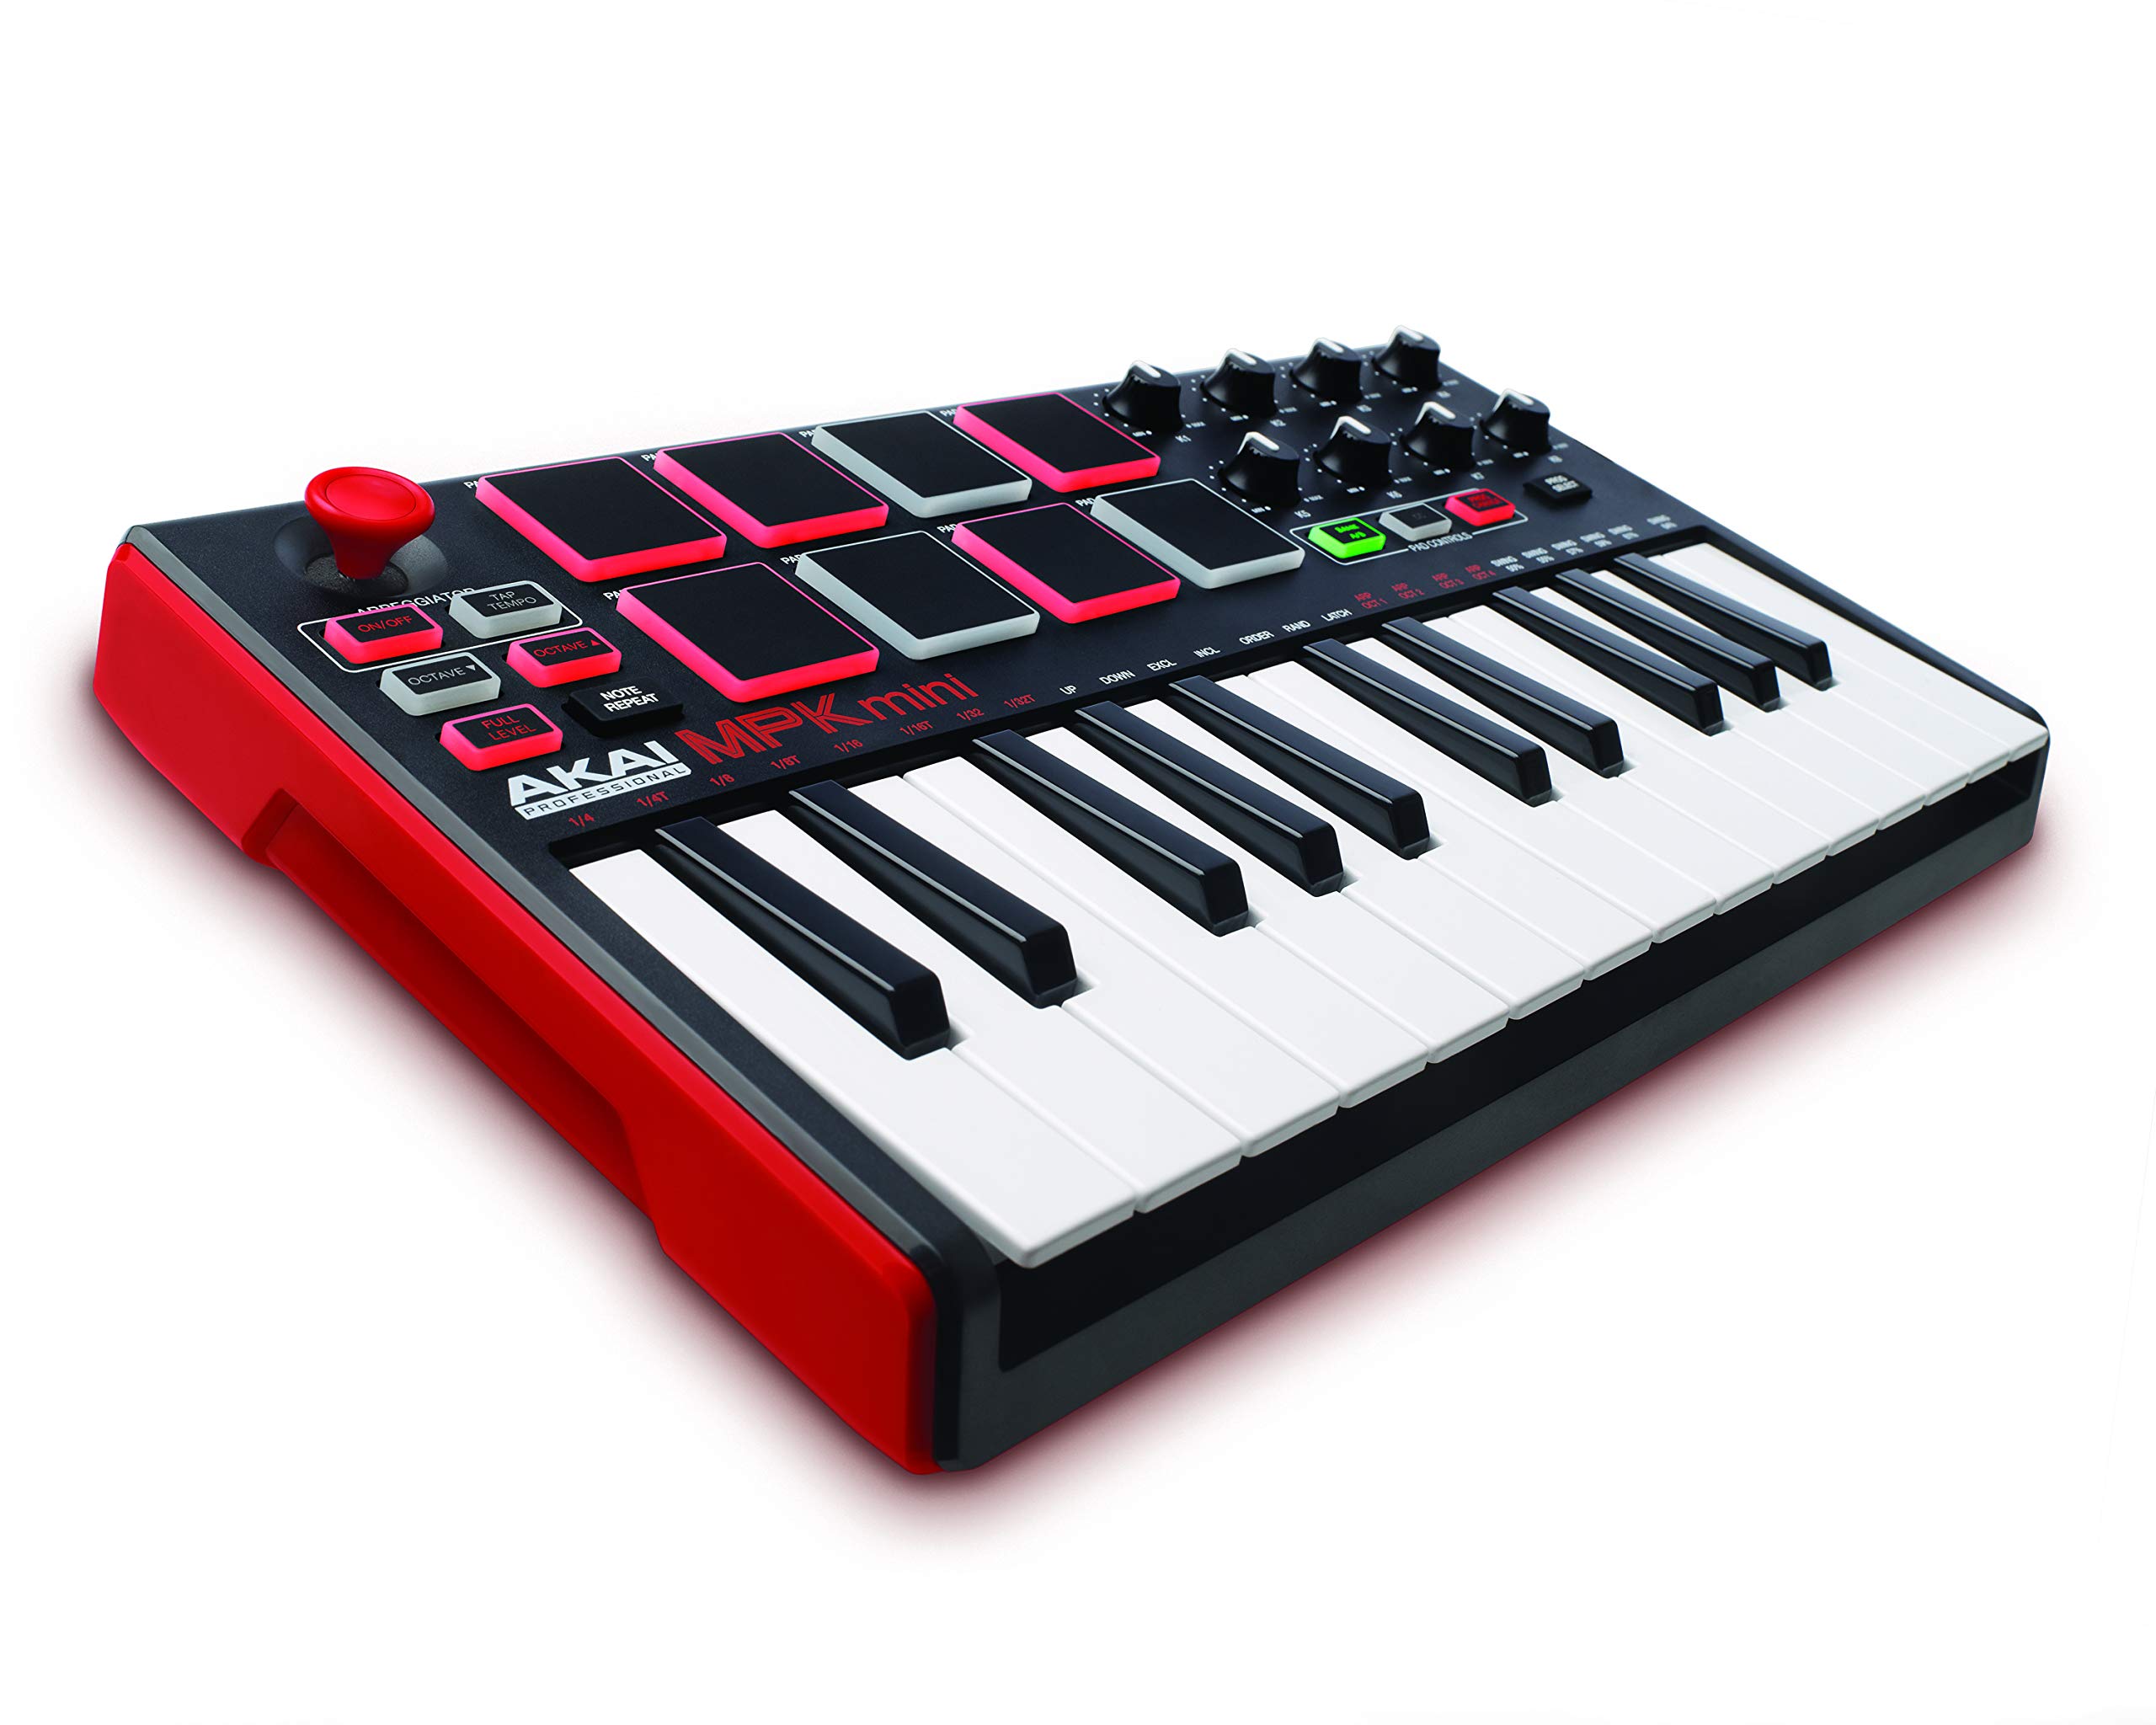
Using the Keyboard as a MIDI Controller
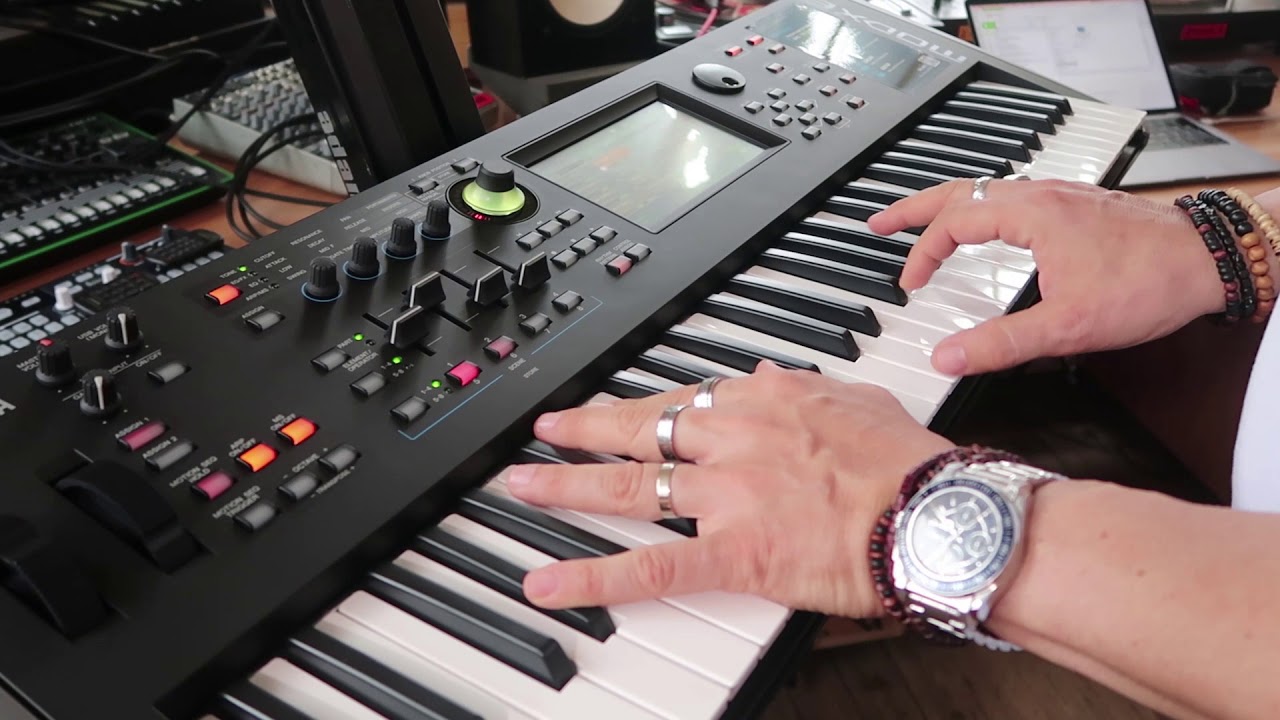
Harnessing the full potential of your Yamaha keyboard as a MIDI controller opens a world of creative possibilities in music production. As a MIDI controller, your keyboard serves as a versatile interface for manipulating virtual instruments, recording MIDI performances, and shaping the sonic landscape of your compositions. Let's explore the myriad ways in which you can leverage your Yamaha keyboard as a MIDI controller to elevate your music production endeavors.
1. Playing Virtual Instruments
One of the primary functions of a MIDI controller is to trigger and play virtual instruments within your digital audio workstation (DAW). With your Yamaha keyboard connected via MIDI, you can access an extensive array of virtual pianos, synthesizers, orchestral instruments, and drum kits. The responsive keys of your keyboard enable nuanced and expressive performances, allowing you to infuse your virtual instruments with lifelike dynamics and emotion. Whether you're crafting melodic phrases, laying down rhythmic patterns, or exploring rich harmonies, your Yamaha keyboard serves as a conduit for translating your musical ideas into captivating virtual performances.
2. Recording and Editing MIDI Data
As a MIDI controller, your Yamaha keyboard facilitates the recording and editing of MIDI data with precision and flexibility. Whether capturing a delicate piano melody, intricate synth arpeggios, or intricate drum patterns, the keyboard's tactile interface empowers you to capture the nuances of your performances with remarkable detail. Furthermore, the ability to edit MIDI data directly from the keyboard provides a seamless workflow for refining note velocities, adjusting timing, and shaping musical articulations. This hands-on approach to MIDI recording and editing fosters a deeply immersive and intuitive music production experience, enabling you to sculpt your compositions with finesse and artistry.
3. Real-time Parameter Control
Beyond note input, your Yamaha keyboard offers extensive real-time control over a myriad of MIDI parameters within your DAW and virtual instruments. From modulating synthesizer parameters and adjusting filter cutoffs to manipulating effects and articulations, the physical controls on your keyboard, such as knobs, sliders, and wheels, serve as dynamic conduits for shaping the sonic characteristics of your music. This direct interaction with MIDI parameters adds a tactile dimension to your music production process, allowing for spontaneous experimentation and expressive manipulation of sound elements.
4. Expressive Performance Techniques
The expressive capabilities of your Yamaha keyboard as a MIDI controller extend beyond traditional note input. Many Yamaha keyboards feature advanced performance features, such as aftertouch, pitch bend, and modulation wheels, which enable nuanced and emotive control over MIDI expression. Leveraging these performance techniques, you can imbue your virtual performances with subtle nuances, dynamic swells, and expressive flourishes, elevating the emotive impact of your music.
5. Seamless Integration with DAW Workflow
Integrating your Yamaha keyboard as a MIDI controller seamlessly aligns with your DAW workflow, providing a cohesive and intuitive environment for music production. The ability to map MIDI controls, customize key response settings, and tailor the keyboard's behavior to suit your specific production requirements fosters a deeply personalized and efficient workflow. This integration empowers you to focus on musical creativity, knowing that your Yamaha keyboard seamlessly interfaces with your digital production environment.
In essence, leveraging your Yamaha keyboard as a MIDI controller transcends traditional note input, offering a multifaceted platform for musical expression, performance, and production. By embracing the full potential of your keyboard as a MIDI controller, you can unlock a realm of creative exploration, shaping your musical visions with unparalleled depth and artistry.
Troubleshooting and Tips
When working with MIDI connectivity and utilizing your Yamaha keyboard as a MIDI controller, encountering technical hiccups or seeking optimization strategies is not uncommon. Here are some troubleshooting tips and valuable insights to streamline your MIDI experience with your Yamaha keyboard.
-
Check Cable Connections: If you encounter issues with MIDI communication, verify that the MIDI cables are securely connected to both the keyboard and the computer or MIDI interface. Loose connections can disrupt data transmission, leading to erratic behavior or non-responsive MIDI control.
-
Verify MIDI Channel Settings: In instances where MIDI input or output seems inconsistent, double-check the MIDI channel settings on both the keyboard and your DAW or MIDI software. Mismatched MIDI channels can result in unresponsive or unintended MIDI control, so ensuring alignment is crucial.
-
Update Firmware and Drivers: Keeping your Yamaha keyboard's firmware and drivers up to date is essential for optimal MIDI performance. Check for any available updates on the official Yamaha website to address potential compatibility issues and benefit from enhanced functionality.
-
Latency Adjustment: If you notice perceptible latency between triggering MIDI events on the keyboard and their corresponding sound output from the DAW, consider adjusting the latency settings within your DAW. Lowering the latency can significantly improve the responsiveness of MIDI control, enhancing the real-time interaction with virtual instruments.
-
Calibrate Velocity Sensitivity: If you find that the velocity sensitivity of the keys on your Yamaha keyboard does not accurately reflect your playing dynamics in the DAW, explore the velocity calibration options within the MIDI settings. Fine-tuning the velocity response ensures that your virtual performances align with your expressive intentions.
-
Optimize Control Assignments: Take advantage of the customizable MIDI control assignments on your Yamaha keyboard to tailor the physical controls to suit your workflow. Mapping knobs, sliders, and buttons to relevant MIDI parameters in your DAW enhances the tactile control over virtual instruments and effects, fostering a more intuitive music production experience.
-
Experiment with Aftertouch: If your Yamaha keyboard supports aftertouch functionality, delve into the expressive possibilities it offers. Experimenting with aftertouch allows you to infuse your MIDI performances with nuanced expression and dynamic control, adding a layer of emotive depth to your music.
-
Backup and Restore Settings: Consider backing up your customized MIDI settings and control mappings on the Yamaha keyboard. Having a backup ensures that you can quickly restore your preferred configurations in the event of a reset or unexpected changes, preserving your personalized MIDI control environment.
By implementing these troubleshooting tips and optimization strategies, you can navigate potential challenges and elevate the seamless integration of your Yamaha keyboard as a MIDI controller into your music production workflow. Embracing these insights empowers you to harness the full potential of MIDI connectivity, unlocking a world of expressive and immersive music creation possibilities.