Home>Production & Technology>Acoustic>How To Lower The Action On An Acoustic Guitar


Acoustic
How To Lower The Action On An Acoustic Guitar
Published: March 11, 2024
Learn how to lower the action on your acoustic guitar with our step-by-step guide. Improve playability and sound quality for your acoustic guitar.
(Many of the links in this article redirect to a specific reviewed product. Your purchase of these products through affiliate links helps to generate commission for AudioLover.com, at no extra cost. Learn more)
Table of Contents
Introduction
When it comes to playing the acoustic guitar, the action, or the distance between the strings and the fretboard, plays a crucial role in determining the instrument's playability and sound quality. A high action can make fretting notes and chords challenging, leading to finger fatigue and a less enjoyable playing experience. On the other hand, a low action can make the guitar easier to play, allowing for smoother transitions between chords and notes.
Lowering the action on an acoustic guitar is a common adjustment sought by many guitarists, whether they are beginners or seasoned players. Fortunately, with the right tools, materials, and a step-by-step approach, it is possible to achieve a lower action and optimize the playability of your acoustic guitar.
In this comprehensive guide, we will delve into the process of lowering the action on an acoustic guitar, providing detailed instructions and insights to help you achieve the desired results. From understanding the factors that influence the action to the practical steps involved in making adjustments, this guide aims to empower guitar enthusiasts with the knowledge and confidence to enhance their instrument's performance.
Whether you are looking to address a high action that hinders your playing or simply seeking to customize your guitar's setup to better suit your playing style, the following steps will equip you with the necessary skills to lower the action on your acoustic guitar. By following these guidelines, you can take proactive measures to optimize your instrument's playability and unlock its full potential, ultimately enhancing your musical journey.
Understanding Action on an Acoustic Guitar
The action of an acoustic guitar refers to the distance between the strings and the fretboard. It is a critical factor that significantly influences the playability, tone, and overall performance of the instrument. Understanding the nuances of action is essential for guitarists seeking to optimize their playing experience and achieve the desired sound.
The action of an acoustic guitar is determined by several key components, including the nut, the saddle, and the neck. The height of the nut, located at the top of the fretboard, and the saddle, situated at the bridge, directly impacts the action. Additionally, the curvature of the neck, controlled by the truss rod, plays a crucial role in shaping the action of the guitar.
A high action, where the strings are positioned further away from the fretboard, can make fretting notes and chords challenging. This can lead to increased finger fatigue and discomfort during extended playing sessions. Moreover, a high action may result in a less responsive instrument, affecting the overall tone and playability.
Conversely, a low action, characterized by closer string-to-fretboard proximity, facilitates easier fretting and smoother transitions between notes and chords. A lower action can enhance the playability of the guitar, allowing for greater control and precision in playing techniques. It can also contribute to a more resonant and vibrant tone, enriching the overall sound of the instrument.
When evaluating the action of an acoustic guitar, it is essential to consider the player's preferences and playing style. Different genres and playing techniques may benefit from varying action heights. For instance, fingerstyle players often prefer a lower action to facilitate intricate fingerpicking patterns, while strummers may find a slightly higher action more suitable for their playing dynamics.
By comprehending the significance of action and its impact on playability and tone, guitarists can make informed decisions when adjusting their instrument's setup. Whether aiming to lower the action for enhanced comfort and agility or seeking a balanced action to accommodate diverse playing styles, a deeper understanding of action empowers guitarists to tailor their instrument to their specific musical needs.
Tools and Materials Needed
Before embarking on the process of lowering the action on an acoustic guitar, it is essential to gather the necessary tools and materials to facilitate a smooth and effective adjustment. Having the right equipment at your disposal will ensure that you can make precise and controlled changes to your guitar's setup, ultimately achieving the desired action height with confidence and accuracy.
Tools:
-
Truss Rod Wrench: This specialized tool is essential for adjusting the curvature of the guitar's neck, allowing for precise control over the neck relief, which directly influences the action.
-
Saddle Adjustment Tools: Depending on the type of bridge on your acoustic guitar, you may require specific tools to adjust the saddle height. For guitars with traditional acoustic bridges, a saddle adjustment tool or a set of files designed for this purpose will be necessary.
-
Feeler Gauge: This thin, precise measuring tool is invaluable for assessing the current action height at the nut and saddle, enabling you to make incremental adjustments with accuracy.
-
Capo: A capo is useful for temporarily securing the strings and facilitating easier access to the saddle and nut during the adjustment process.
-
Tuner: A reliable tuner is essential for accurately measuring the pitch of the strings and ensuring they are properly tuned throughout the adjustment process.
-
String Winder and Cutter: These tools are helpful for efficiently loosening and trimming the strings when necessary, particularly when adjusting the saddle and nut heights.
Materials:
-
Guitar Polish and Cloth: Keeping your guitar clean and free from debris is important, especially when making adjustments. A gentle guitar polish and a soft cloth will help maintain the instrument's condition.
-
Sandpaper or Files: Depending on the type of saddle adjustment required, having fine-grit sandpaper or files on hand can aid in carefully shaping and lowering the saddle to achieve the desired action height.
-
Small Screwdriver: This tool may be needed for certain types of saddle adjustments or for accessing the truss rod adjustment mechanism, depending on the guitar's design.
-
Pen and Paper: Keeping track of the adjustments made to the truss rod, saddle, and nut heights is crucial for maintaining a systematic approach and ensuring consistent results.
By ensuring that you have these tools and materials readily available, you can approach the process of lowering the action on your acoustic guitar with confidence and precision. With the right equipment at your disposal, you can navigate each step of the adjustment process effectively, ultimately optimizing your guitar's playability and performance to align with your musical preferences and playing style.
Step 1: Loosen the Strings
Before making any adjustments to the action of your acoustic guitar, it is crucial to start by loosening the strings. This initial step is essential as it relieves the tension on the neck and allows for safe and controlled modifications to the guitar's setup.
To begin, place your guitar on a stable surface, ensuring it is secure and won't shift during the process. Using a string winder, carefully unwind each string in a consistent and gradual manner. It is important to loosen the strings evenly to prevent any sudden release of tension, which could potentially cause damage to the guitar's neck or bridge.
As you loosen the strings, pay attention to the gradual decrease in tension and the corresponding slackening of the strings. Once the strings are sufficiently loose, you can gently remove them from the bridge and the tuning pegs, ensuring that they are free from any obstructions or entanglements.
Loosening the strings not only facilitates safe adjustments to the truss rod and saddle but also allows for easier access to the nut for potential height modifications. Additionally, it reduces the risk of undue stress on the guitar's components during the action-lowering process, promoting a smoother and more controlled adjustment experience.
As you proceed with this step, it is important to handle the strings with care, avoiding any abrupt movements that could lead to tangling or potential damage. By taking the time to loosen the strings methodically and evenly, you set the stage for the subsequent adjustments with a well-prepared and responsive instrument.
With the strings effectively loosened and removed, you are now ready to move on to the next crucial steps in the process of lowering the action on your acoustic guitar. This initial preparatory phase sets the foundation for a systematic and effective approach to achieving the desired action height, ultimately enhancing the playability and performance of your instrument.
Step 2: Adjust the Truss Rod
The truss rod of an acoustic guitar plays a pivotal role in maintaining the instrument's neck relief, which directly influences the action. Adjusting the truss rod allows for precise control over the curvature of the neck, ensuring optimal playability and overall performance.
To begin the truss rod adjustment process, locate the truss rod adjustment mechanism on your guitar. This is typically accessible through the soundhole or the headstock, depending on the guitar's design. Using a truss rod wrench that matches the specific size and type of your truss rod, carefully insert the tool into the adjustment mechanism.
When adjusting the truss rod, it is crucial to proceed with caution and make incremental changes. Turning the truss rod wrench clockwise will tighten the truss rod, effectively straightening the neck and reducing the amount of relief. Conversely, turning the wrench counterclockwise will loosen the truss rod, allowing for more neck relief.
As you make adjustments, it is important to monitor the changes in the neck relief carefully. A general guideline is to aim for a slight amount of relief, typically in the range of 0.010 to 0.012 inches, measured at the 7th fret. This subtle curvature ensures that the strings have adequate clearance over the frets, promoting comfortable playability without causing fret buzz or intonation issues.
Throughout the truss rod adjustment process, it is essential to proceed gradually, making small turns of the wrench and periodically assessing the neck relief. This systematic approach minimizes the risk of over-adjusting the truss rod, which could lead to structural damage to the neck or adversely affect the guitar's playability.
After each adjustment, it is advisable to re-tune the guitar and perform a thorough check of the neck relief, ensuring that the changes are aligned with the desired action height. By maintaining a methodical and attentive approach to adjusting the truss rod, you can effectively tailor the neck relief to complement the lowered action, ultimately optimizing the playability and responsiveness of your acoustic guitar.
With the truss rod adjustment completed, you have taken a significant step towards achieving the desired action height on your acoustic guitar. This foundational adjustment sets the stage for the subsequent steps, as you continue to refine the instrument's setup to align with your playing preferences and musical aspirations.
Step 3: Lower the Bridge Saddle
The bridge saddle of an acoustic guitar plays a pivotal role in determining the action height and overall playability of the instrument. Lowering the bridge saddle allows for a more precise adjustment of the string height, directly influencing the action and facilitating a smoother playing experience.
To initiate the process of lowering the bridge saddle, carefully remove the saddle from the bridge slot, ensuring gentle handling to prevent any damage to the saddle or the guitar's bridge. Depending on the type of saddle and bridge design, specialized tools such as sandpaper or files may be required to gradually reduce the height of the saddle.
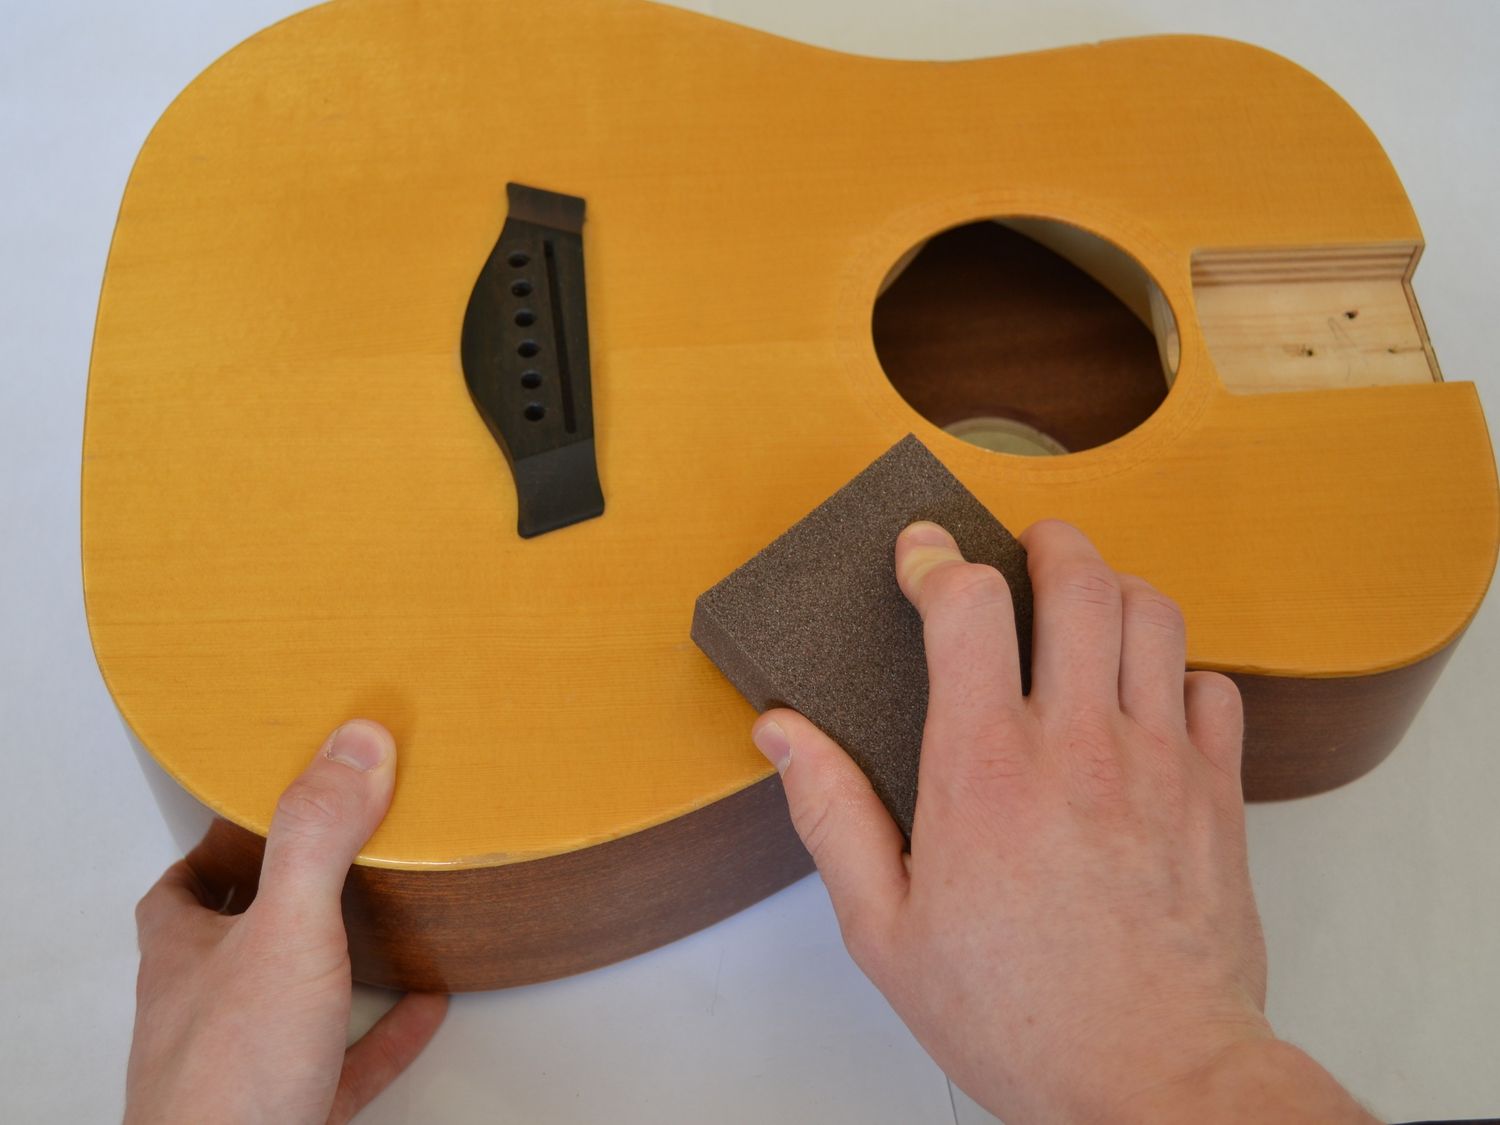
When lowering the bridge saddle, it is essential to maintain a systematic and controlled approach, making incremental adjustments to achieve the desired action height. By carefully sanding or filing the bottom of the saddle, you can gradually reduce its height, ensuring even and consistent modifications to promote balanced string clearance across the fretboard.
Throughout the saddle lowering process, it is crucial to periodically assess the action height and test the playability of the guitar. This hands-on evaluation allows for real-time adjustments, ensuring that the action is tailored to your specific playing style and preferences. Additionally, maintaining a keen focus on the saddle's positioning within the bridge slot is essential to guarantee stability and proper intonation.
As you lower the bridge saddle, it is important to prioritize precision and attention to detail, aiming for a harmonious balance between string height and playability. By taking a measured approach and periodically re-evaluating the action, you can fine-tune the saddle height to achieve optimal playability and responsiveness.
Once the saddle has been meticulously adjusted to lower the action, carefully reposition it in the bridge slot, ensuring a secure and snug fit. With the saddle back in place, restring the guitar and proceed to the next crucial step in the action-lowering process.
Lowering the bridge saddle represents a significant milestone in the journey to optimize the action of your acoustic guitar. By approaching this step with patience and precision, you can effectively tailor the instrument's setup to align with your musical aspirations, ultimately enhancing the playability and performance of your guitar.
Step 4: Check and Adjust Nut Height
The nut of an acoustic guitar plays a crucial role in determining the action height and overall playability of the instrument. Checking and, if necessary, adjusting the nut height is a fundamental step in achieving a balanced and optimized action for your guitar.
To begin the process, carefully inspect the nut to assess its current height and the clearance it provides for the strings. Using a feeler gauge, measure the distance between the bottom of the strings and the top of the first fret. This measurement serves as a baseline for evaluating the nut height and identifying any potential adjustments needed to achieve the desired action.
If the nut height requires modification, specialized nut files or sandpaper can be utilized to carefully lower the slots, ensuring even and precise adjustments for each string. It is essential to approach this task with meticulous attention to detail, as the nut height directly impacts the ease of fretting notes and chords, as well as the overall intonation of the instrument.
As you make incremental adjustments to the nut height, periodically recheck the clearance using the feeler gauge and perform test fretting to gauge the playability of the guitar. Striking a balance between optimal string clearance and comfortable fretting is paramount, as it directly contributes to the overall responsiveness and performance of the instrument.
Maintaining consistent slot depths and ensuring uniform nut height across the strings is essential for achieving a balanced action and promoting uniform playability across the fretboard. By adhering to a systematic and attentive approach, you can fine-tune the nut height to complement the adjustments made to the truss rod and bridge saddle, ultimately harmonizing the action of your acoustic guitar.
Once the nut height has been meticulously evaluated and adjusted as needed, the guitar is ready for the final steps in the action-lowering process. With the nut height optimized to facilitate comfortable fretting and precise string clearance, the instrument is poised to deliver enhanced playability and responsiveness, aligning with your musical preferences and playing style.
Lowering the nut height represents a pivotal stage in the journey to optimize the action of your acoustic guitar. By approaching this step with precision and a keen focus on playability, you can effectively tailor the instrument's setup to elevate its performance, ultimately enhancing your musical experience.
Step 5: Re-tune and Test the Action
With the adjustments to the truss rod, bridge saddle, and nut height completed, the next crucial step in the process of lowering the action on an acoustic guitar involves re-tuning the instrument and thoroughly testing the action to ensure optimal playability and performance.
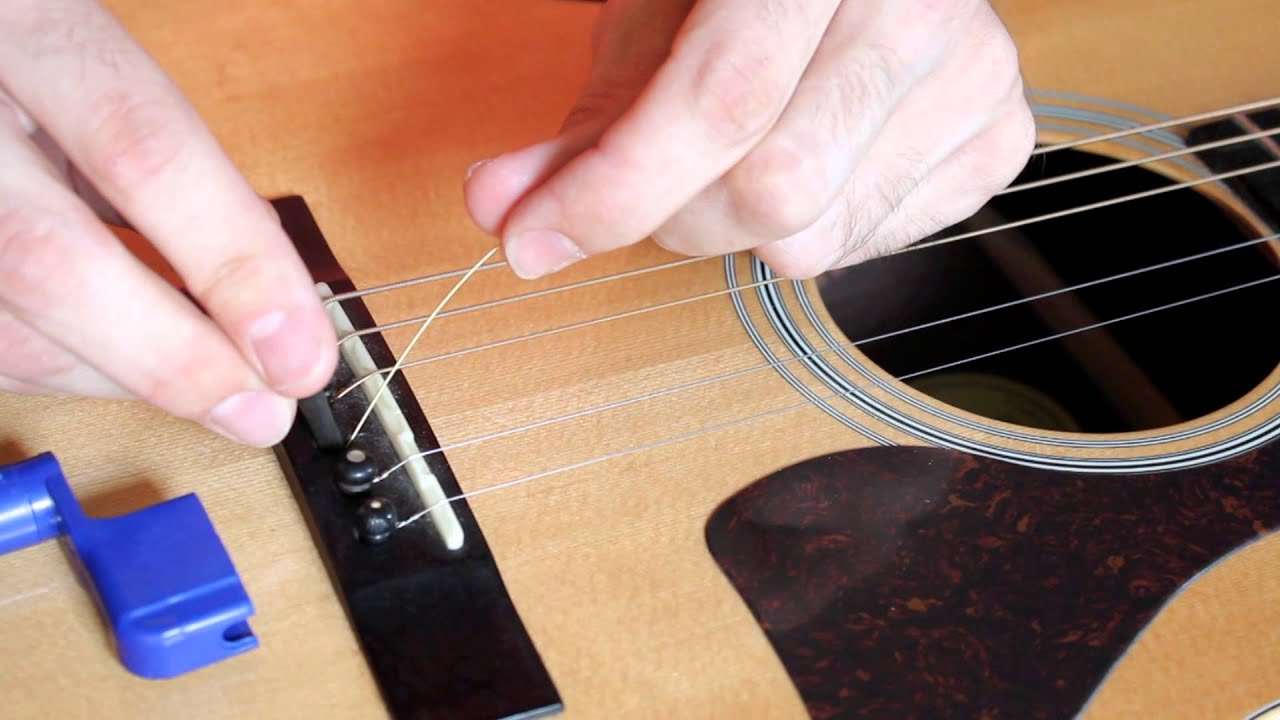
Begin by carefully restringing the guitar, ensuring that each string is securely attached to the bridge and properly wound around the tuning pegs. As you restring the guitar, pay close attention to the winding technique, ensuring that the strings are firmly secured and properly seated in the nut and bridge slots.
Once the guitar is restrung, proceed to tune each string to the desired pitch using a reliable tuner. It is essential to achieve accurate tuning, as it provides a baseline for assessing the playability and responsiveness of the instrument following the action-lowering adjustments.
After tuning the guitar, take the time to thoroughly test the action across the fretboard. Fret each string at various positions along the neck, assessing the ease of fretting and the clarity of the notes. Pay attention to any instances of fret buzz or string rattle, as these may indicate areas that require further adjustment.
As you test the action, evaluate the overall playability of the guitar, focusing on the smoothness of chord transitions, the clarity of individual notes, and the comfort of fretting across different playing styles. Additionally, assess the intonation of the instrument by playing chords and notes at different positions, ensuring that the guitar maintains consistent pitch and tonal quality.
Throughout the testing process, make note of any specific areas where the action may require fine-tuning or additional adjustments. It is important to approach this step with a discerning ear and a keen sense of touch, as subtle nuances in playability and tone can provide valuable insights into the effectiveness of the action-lowering modifications.
By re-tuning and thoroughly testing the action, you can gain a comprehensive understanding of the guitar's playability and responsiveness following the adjustment process. This hands-on evaluation allows you to identify any remaining areas for refinement and ensures that the action is tailored to your specific musical preferences and playing style.
As you complete the re-tuning and testing phase, you have successfully navigated the essential steps involved in lowering the action on an acoustic guitar. With a systematic and attentive approach, you have optimized the instrument's setup, ultimately enhancing its playability and performance to align with your musical aspirations.
Conclusion
In conclusion, the process of lowering the action on an acoustic guitar encompasses a series of meticulous adjustments aimed at enhancing the instrument's playability, responsiveness, and overall performance. By delving into the intricacies of action and its influence on the guitar's setup, guitarists can embark on a transformative journey to tailor their instrument to their specific musical needs and playing style.
Throughout this comprehensive guide, we have explored the fundamental components that contribute to the action of an acoustic guitar, including the nut, saddle, and truss rod. Understanding the interplay of these elements is essential for guitarists seeking to optimize their instrument's playability and achieve a balanced action height that aligns with their musical aspirations.
The step-by-step approach outlined in this guide provides a roadmap for guitar enthusiasts to navigate the action-lowering process with confidence and precision. From loosening the strings and adjusting the truss rod to lowering the bridge saddle and fine-tuning the nut height, each step is imbued with a sense of purpose and attention to detail, culminating in a harmonious and responsive instrument.
By gathering the necessary tools and materials and approaching each adjustment with patience and care, guitarists can take proactive measures to optimize their acoustic guitar's setup, ultimately elevating its performance and playability. The emphasis on systematic evaluation and hands-on testing underscores the commitment to achieving a tailored action that enhances the overall musical experience.
As guitarists re-tune and thoroughly test the action, they gain valuable insights into the instrument's responsiveness and playability, allowing for real-time adjustments and refinements. This holistic approach ensures that the action is finely tuned to complement diverse playing styles and musical genres, empowering guitarists to express themselves with greater ease and precision.
In essence, the journey to lower the action on an acoustic guitar is a transformative endeavor that goes beyond technical adjustments. It is a process that invites guitarists to forge a deeper connection with their instrument, fine-tuning its nuances to resonate with their musical identity. By embracing this journey, guitarists can unlock the full potential of their acoustic guitar, fostering a more immersive and rewarding musical experience.
Ultimately, the pursuit of a lower action is a testament to the dedication and artistry of guitarists, as they strive to create an instrument that not only sounds exceptional but also feels inherently connected to their musical expression. Through the thoughtful adjustments and meticulous refinements outlined in this guide, guitarists can embark on a journey of sonic discovery, shaping an acoustic guitar that resonates with their unique voice and artistic vision.


