Home>Production & Technology>Audio Cable>How To Connect Optical Audio Cable To Stereo Aux
Audio Cable
How To Connect Optical Audio Cable To Stereo Aux
Modified: January 22, 2024
Learn how to easily connect an optical audio cable to your stereo aux input. Enhance your audio experience with this simple step-by-step guide.
(Many of the links in this article redirect to a specific reviewed product. Your purchase of these products through affiliate links helps to generate commission for AudioLover.com, at no extra cost. Learn more)
Table of Contents
Introduction
Audio cables play a crucial role in delivering high-quality sound from one device to another. When it comes to connecting audio devices, there are various types of cables available, each serving a specific purpose. Optical audio cables, also known as TOSLINK or digital audio cables, are a popular choice for transmitting digital audio signals.
In this article, we will explore the world of optical audio cables and how to connect them to stereo aux inputs. Whether you’re looking to connect your DVD player to a sound system or hook up your gaming console to external speakers, understanding the process of connecting optical audio cables to stereo aux inputs will help you achieve a seamless audio experience.
Optical audio cables utilize fiber optic technology to transmit digital audio signals in the form of light pulses. This method ensures a high-quality and interference-free audio transmission, making optical cables ideal for applications that require pristine sound reproduction, such as home theater systems and professional audio setups.
On the other hand, stereo aux inputs, also referred to as analog inputs, are commonly found on various audio devices like speakers, amplifiers, and car stereos. They are typically used to connect devices that output analog audio signals, such as smartphones, MP3 players, and laptops.
Now that we have a basic understanding of optical audio cables and stereo aux inputs, let’s dive into the steps involved in connecting these two technologies to create a seamless audio experience.
Understanding Optical Audio Cables
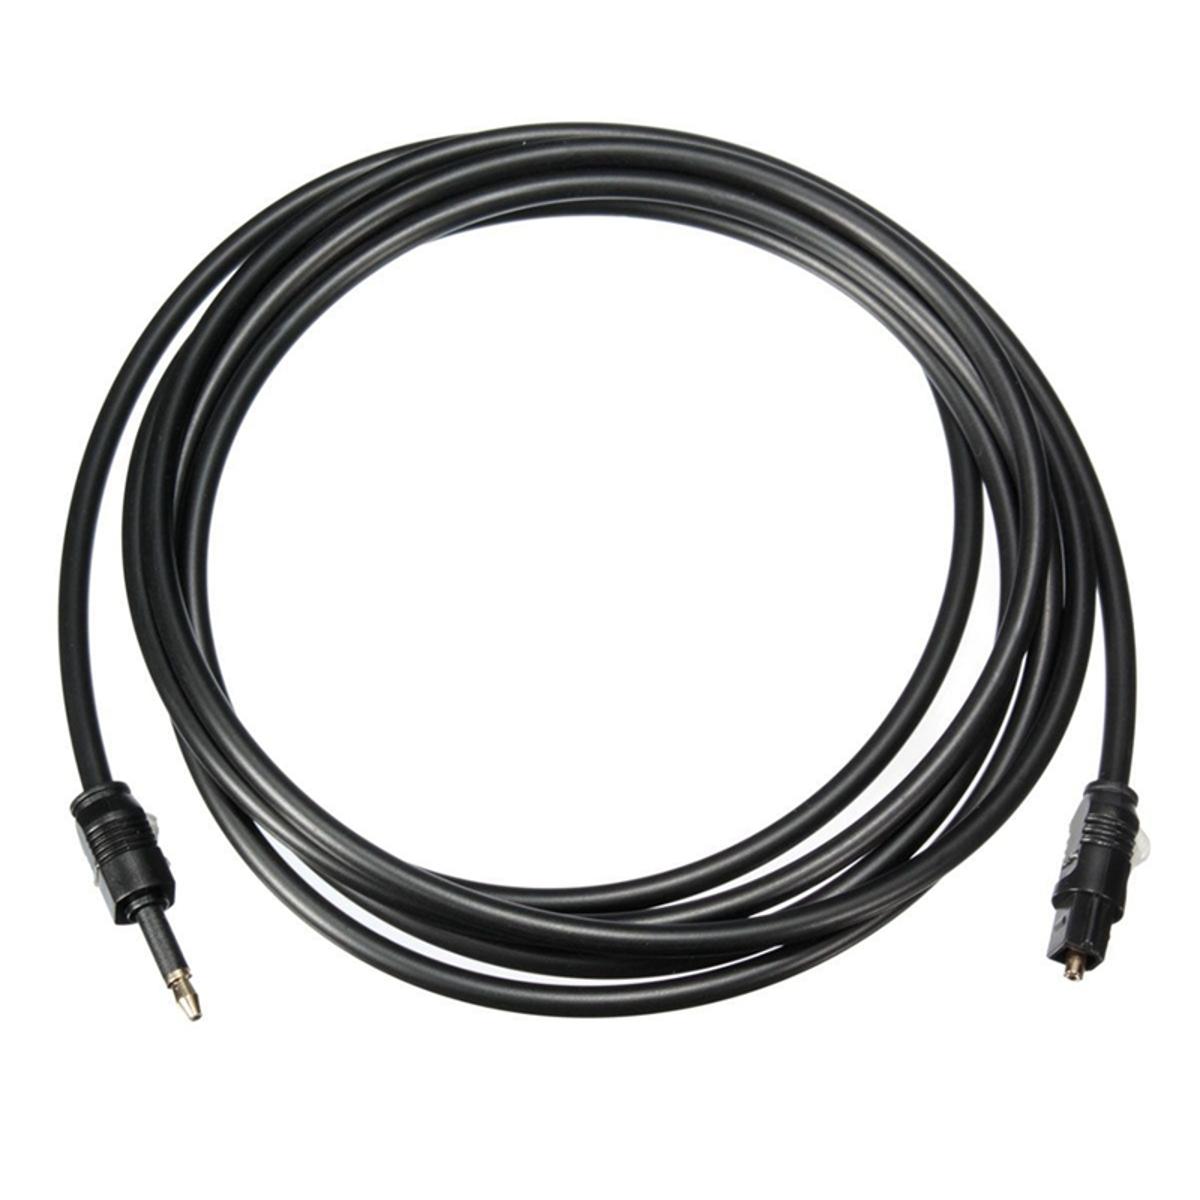
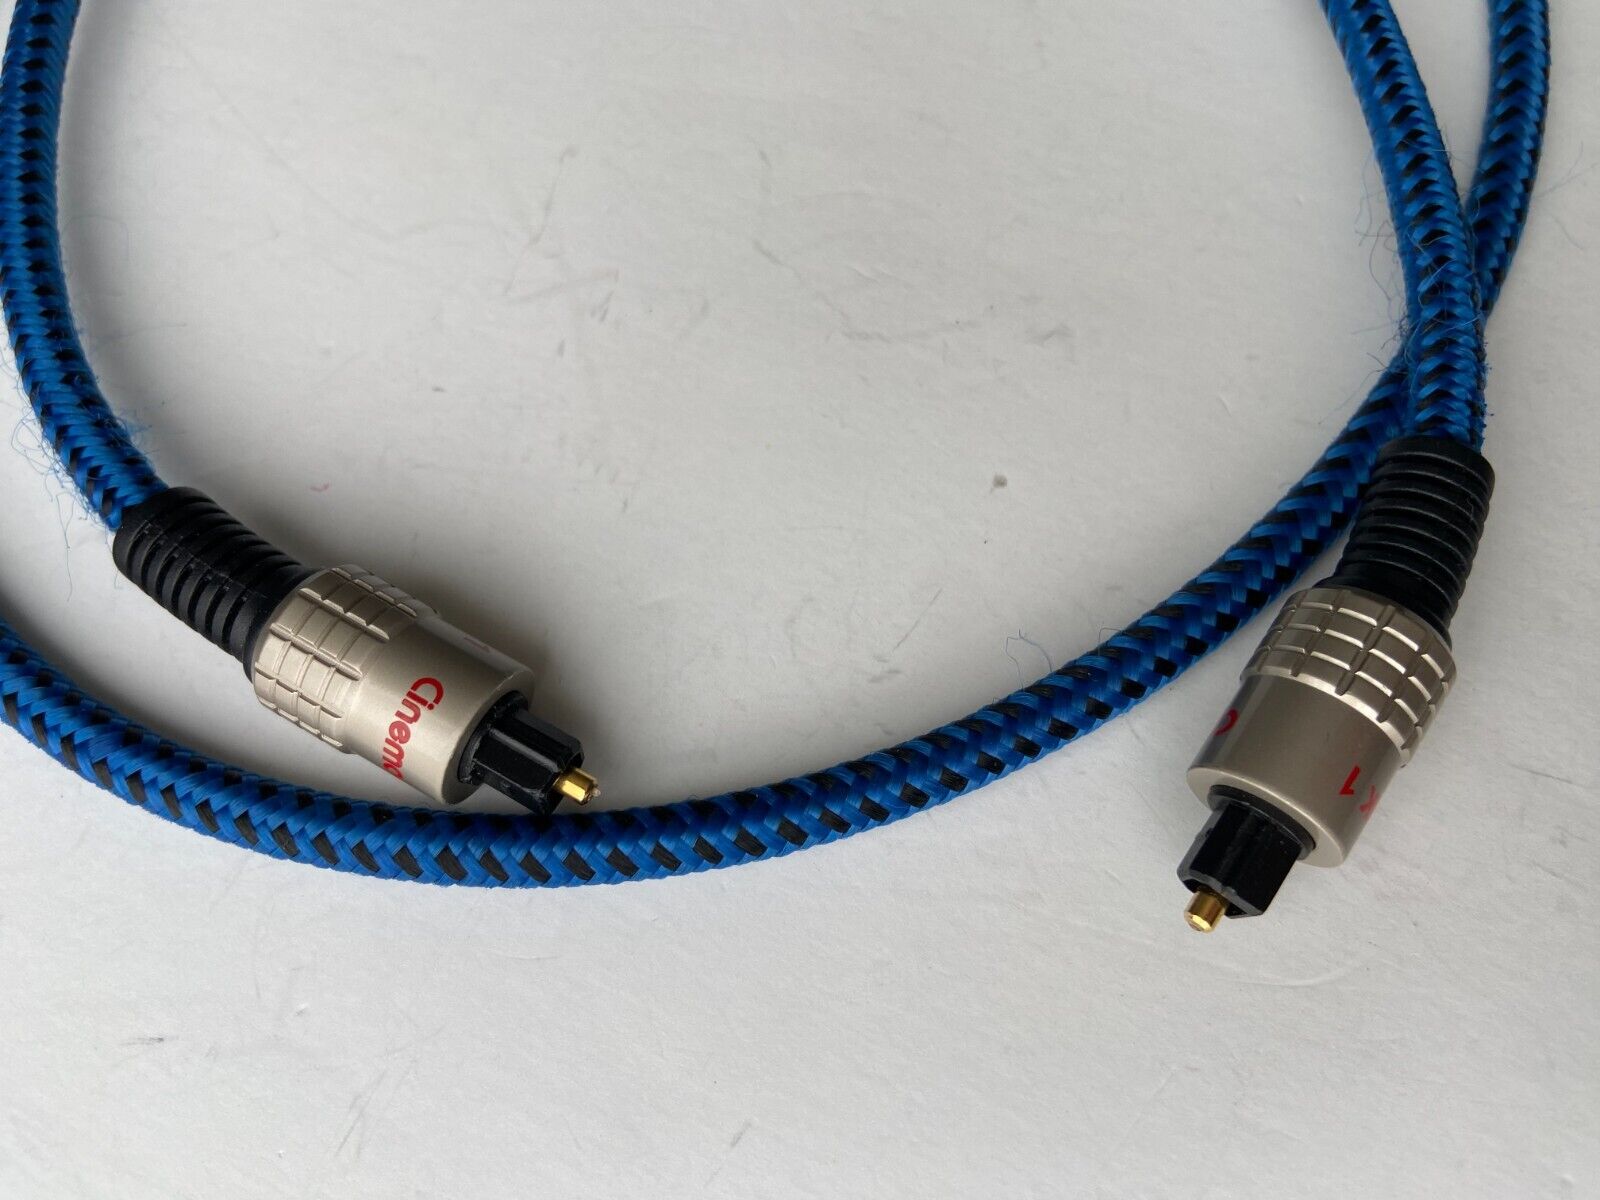
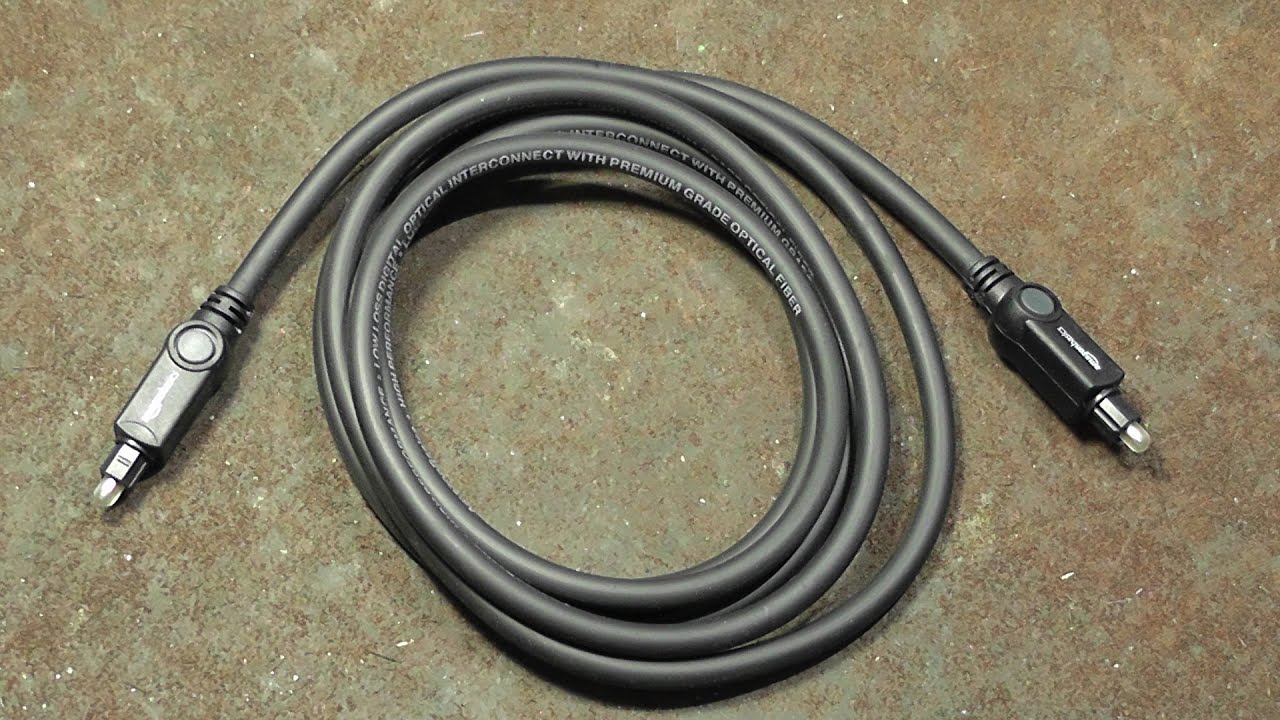
Optical audio cables, also known as TOSLINK cables, are used for transmitting digital audio signals. They utilize fiber optic technology to convert electrical audio signals into light pulses, which are then transmitted through a thin fiber optic cable. This method of transmission ensures a high-quality audio signal without any loss or interference.
One of the key advantages of optical audio cables is their ability to transmit uncompressed audio signals. Unlike other types of audio cables that may compress the audio data to fit within their bandwidth limitations, optical cables can transmit the full digital audio stream without any loss of quality.
Another advantage of optical audio cables is their immunity to electromagnetic interference (EMI) and radio frequency interference (RFI). Since the audio signals are transmitted as light pulses, they are not affected by external electrical or magnetic fields. This makes optical cables ideal for use in environments with high levels of electromagnetic interference, such as near power cables or electronic devices.
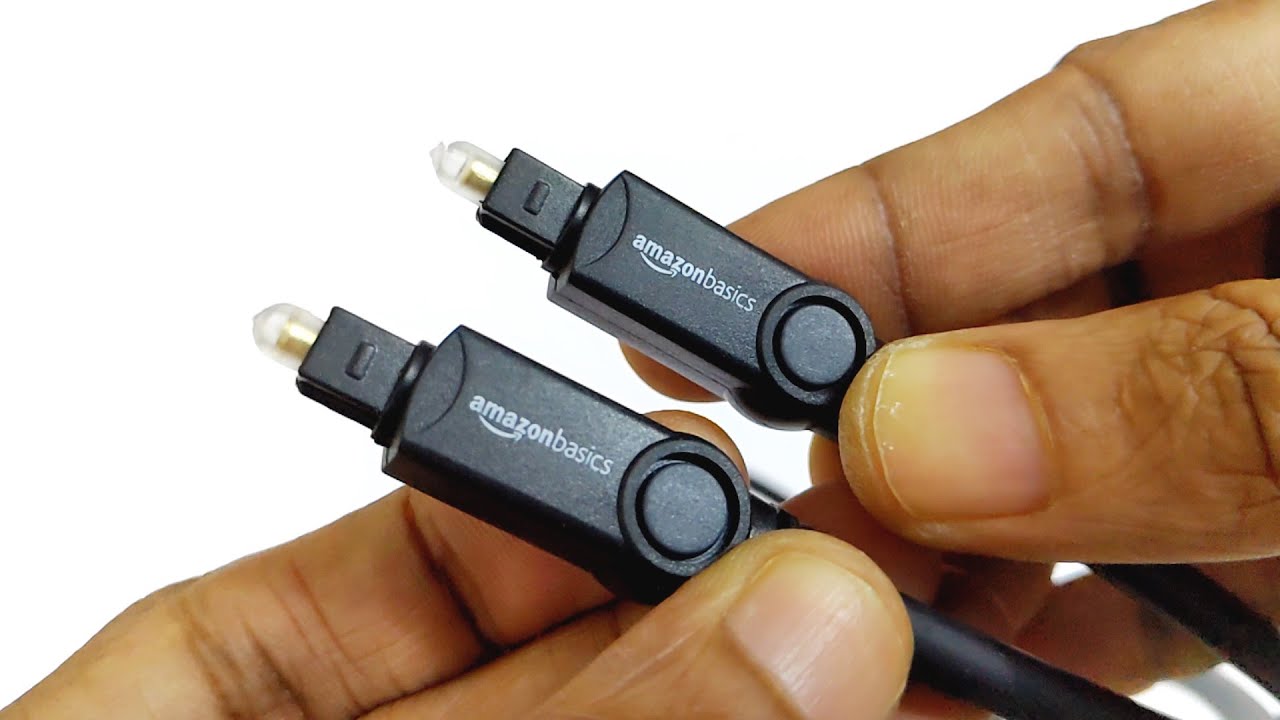
The connection process for optical audio cables is simple. Both ends of the cable feature a square-shaped connector with a removable protective cap. To connect the cable, align the connector with the corresponding port on your audio device, ensuring that the connector is inserted straight and aligned properly. Once the connector is inserted, tighten the screw mechanism (if present) to ensure a secure connection.
It’s worth noting that optical audio cables support a variety of digital audio formats, including Dolby Digital, DTS, and PCM. This versatility allows you to connect a wide range of audio devices, such as Blu-ray players, game consoles, soundbars, and AV receivers, to your audio system using optical cables.
As with any audio cable, it’s important to handle optical audio cables with care to prevent damage to the fiber optic elements. Avoid bending the cable beyond its recommended bend radius and protect the connectors from dust and debris. By properly maintaining your optical audio cables, you can ensure a long lifespan and reliable audio transmission.
Now that we have a better understanding of optical audio cables, let’s explore the concept of stereo aux inputs and how they can be used in conjunction with optical cables to enhance your audio setup.
Understanding Stereo Aux Inputs
Stereo aux inputs, also known as auxiliary inputs, are commonly found on audio devices like speakers, amplifiers, and car stereos. These inputs are designed to accept analog audio signals from external devices such as smartphones, MP3 players, and laptops.
Stereo aux inputs typically use a 3.5mm or 1/8-inch audio jack, which is a small, round connector that carries both the left and right audio channels. This type of input is commonly referred to as a “mini-jack” or “headphone jack.” The analog audio signals transmitted through this input are in contrast to the digital audio signals transmitted by optical audio cables.
The main advantage of stereo aux inputs is their versatility. They allow you to connect a wide range of audio devices, including portable music players, smartphones, tablets, and laptops, to your audio system. This makes stereo aux inputs a popular choice for casual listening or when digital audio connections are not available.
Connecting an audio device to a stereo aux input is a straightforward process. You simply need to insert the 3.5mm audio jack into the corresponding input port on your audio device. Make sure the connector is fully inserted to ensure a secure connection and reliable audio transmission. Some audio devices may require you to adjust the volume or input settings to activate the aux input.
It’s important to note that stereo aux inputs are typically designed to accept analog audio signals. Therefore, if you want to connect a device that outputs digital audio signals, such as a DVD player, you will need to use a different type of connection, such as an optical audio cable.
Now that we have a good understanding of stereo aux inputs, let’s move on to the steps involved in connecting optical audio cables to stereo aux inputs to create a seamless audio connection.
Steps to Connect Optical Audio Cable to Stereo Aux
Connecting an optical audio cable to a stereo aux input requires the use of a digital-to-analog converter (DAC) to convert the digital audio signal from the optical cable into an analog signal that can be processed by the stereo aux input. Follow these steps to connect the two:
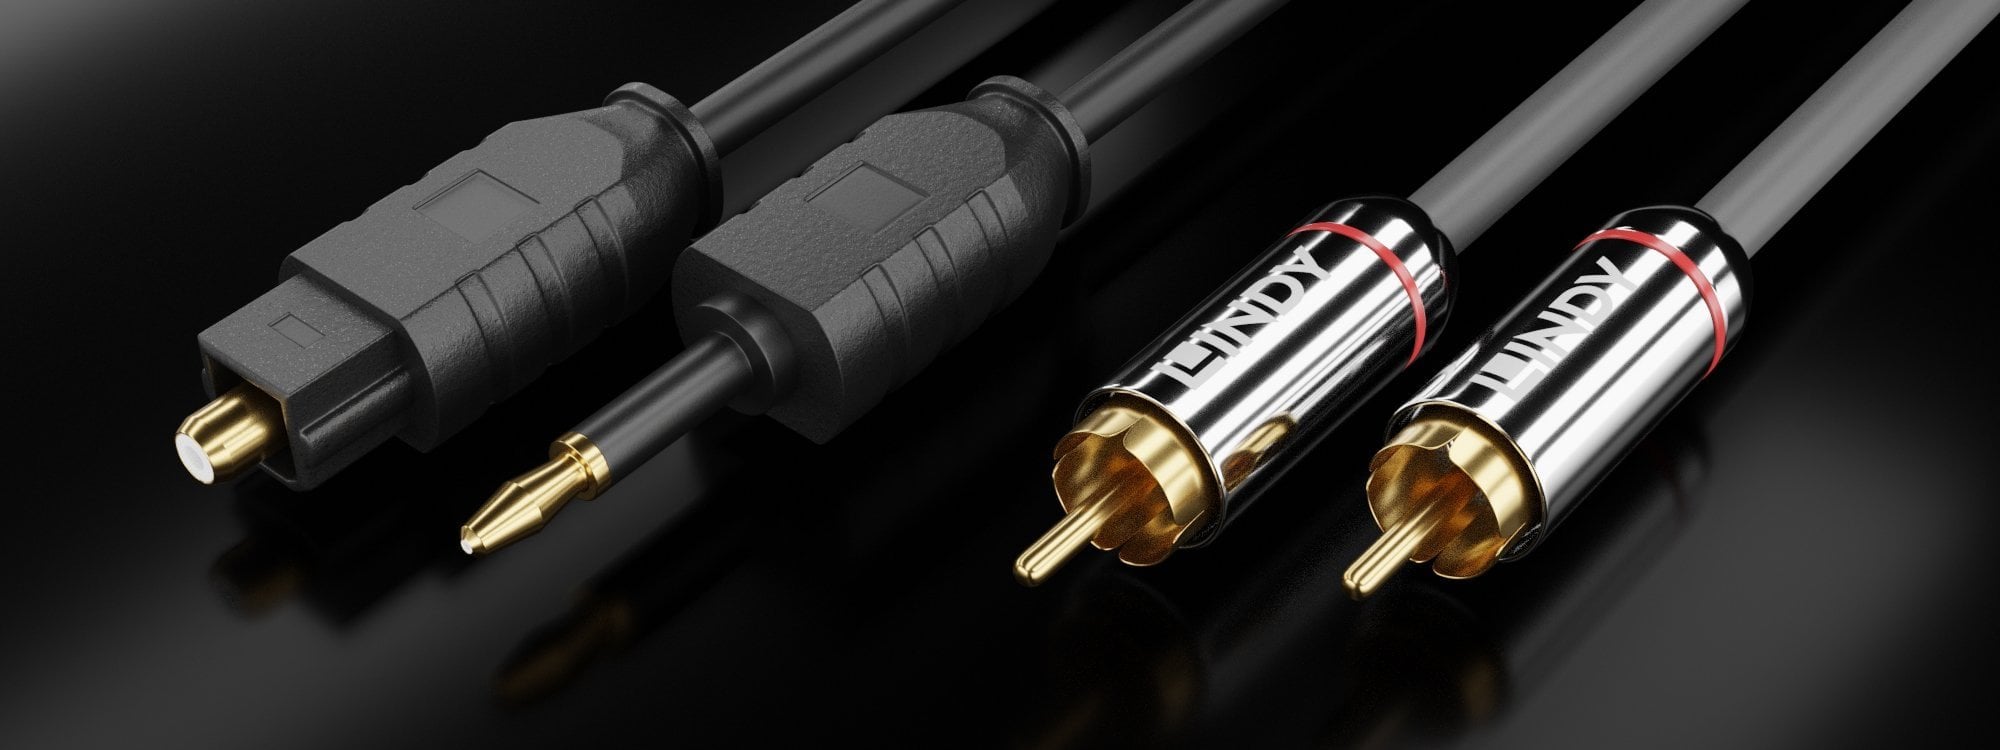
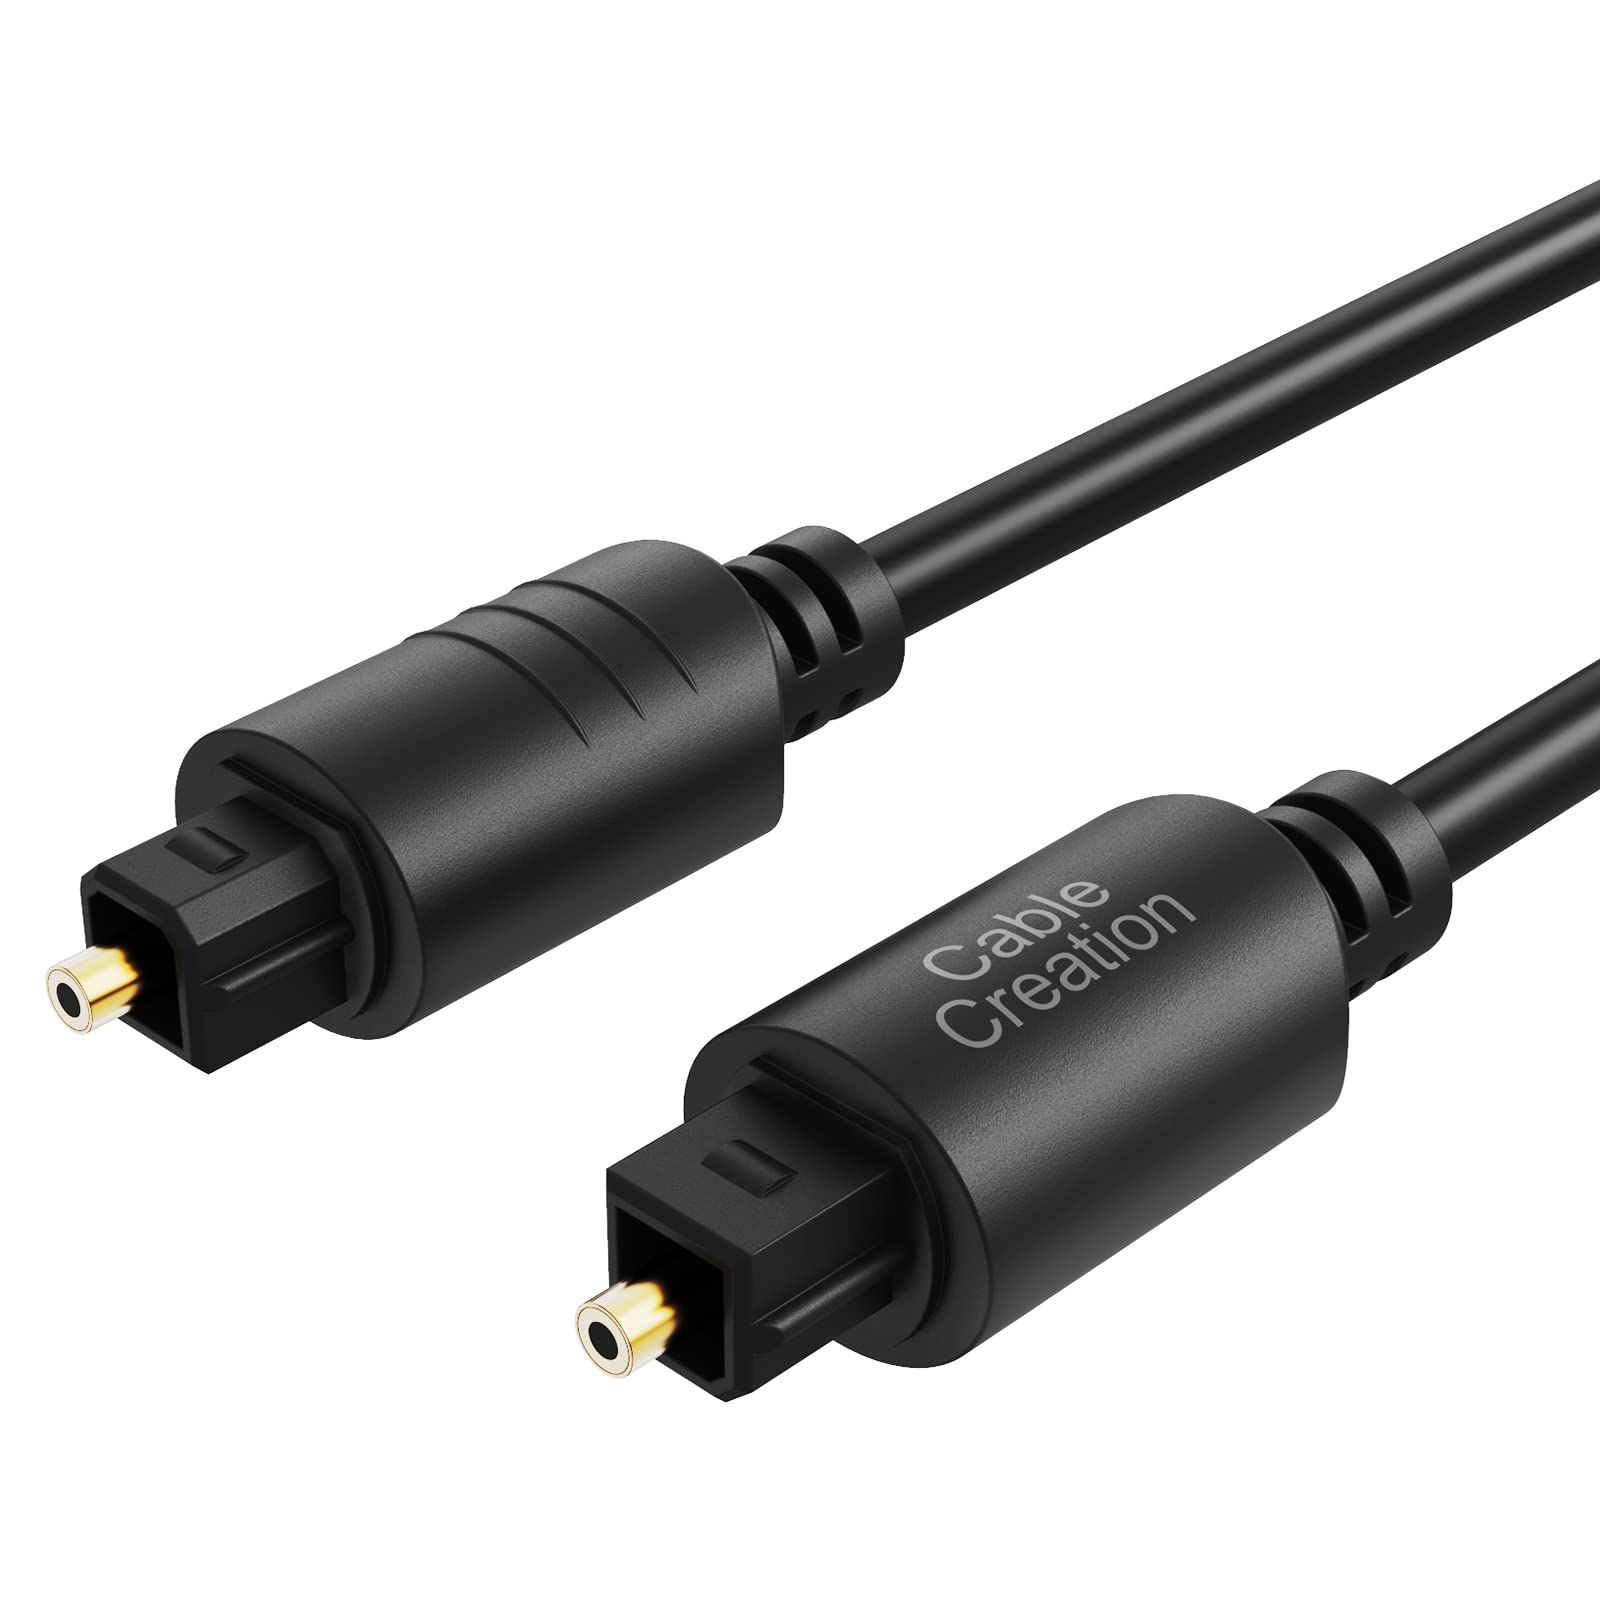
- Ensure that you have an optical audio cable with the appropriate connectors for your devices. One end of the cable should have a TOSLINK connector, which looks like a square with rounded corners, and the other end should have a 3.5mm mini-jack connector.
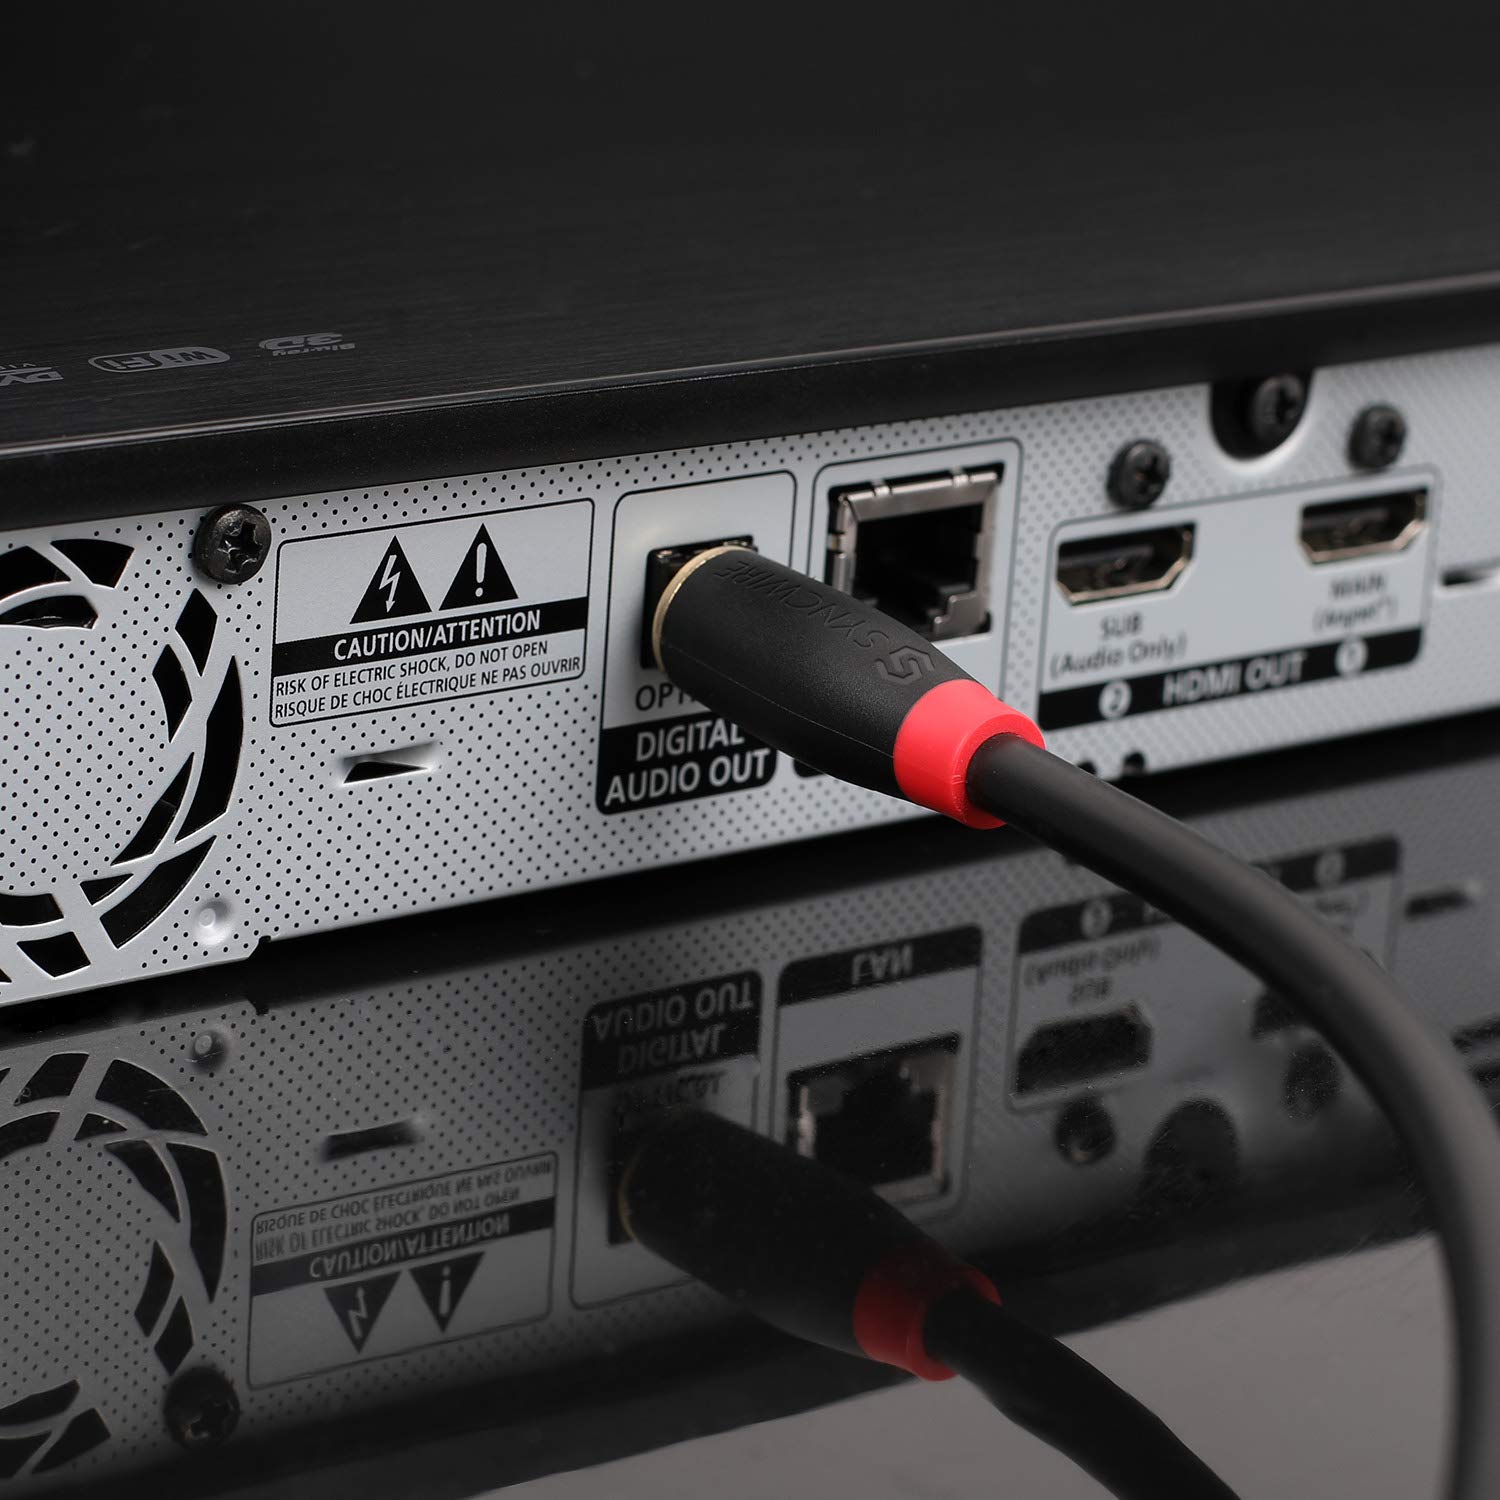
- Locate the optical audio output on your audio source device. This is usually labeled as “Optical Out” or “Digital Out.” Insert one end of the optical audio cable into this port, ensuring a secure connection.
- Connect the other end of the optical cable to the input of the digital-to-analog converter (DAC). Ensure that it is firmly inserted into the port.
- Connect the 3.5mm end of the DAC to the stereo aux input on your audio receiving device. Make sure the connector is fully inserted into the aux input.
- Power on both the audio source device and the receiving device.
- Adjust the volume levels on both devices to a suitable level.
- Select the aux input on your receiving device. This may involve pressing a button or selecting an option from the device’s menu.
- Test the audio connection by playing a sound or music from your audio source device. You should hear the audio through the stereo speakers connected to the stereo aux input.
It’s important to note that not all stereo aux inputs are capable of handling digital audio signals. Make sure your audio receiving device has a DAC or supports digital audio before attempting this connection. Additionally, the quality of the DAC can affect the audio performance, so investing in a high-quality DAC can result in better sound reproduction.
With the steps above, you can successfully connect an optical audio cable to a stereo aux input, allowing you to enjoy high-quality digital audio through your audio system or speakers.
Conclusion
Understanding how to connect an optical audio cable to a stereo aux input can greatly enhance your audio experience. Optical audio cables provide high-quality, uncompressed digital audio transmission, while stereo aux inputs offer versatility in connecting various analog audio devices. By combining these two technologies, you can enjoy the best of both worlds.
In this article, we explored the world of optical audio cables, their advantages, and how they work by transmitting digital audio signals through light pulses. We also discussed stereo aux inputs and their ability to accept analog audio signals from devices like smartphones and laptops. Understanding the differences between these two types of connections is crucial in choosing the appropriate method for your audio setup.
When connecting an optical audio cable to a stereo aux input, a digital-to-analog converter (DAC) is required to convert the digital audio signal into an analog signal that the aux input can process. Following the step-by-step process outlined in this article will enable you to make this connection successfully and enjoy high-quality audio through your stereo speakers or audio system.
It’s important to note that the quality of both the optical audio cable and the DAC can impact the overall audio performance. Investing in high-quality cables and a reliable DAC can result in better sound reproduction and a more immersive audio experience.
Now that you have a comprehensive understanding of how to connect an optical audio cable to a stereo aux input, you can confidently set up your audio system and enjoy the benefits of both digital and analog audio connections. Whether you’re watching movies, playing games, or listening to music, a seamless audio connection will enhance your overall entertainment experience.
Remember to handle your audio cables with care and keep them clean and free from dust and debris. With the right setup and proper maintenance, you’ll be able to enjoy exceptional audio quality for years to come.