Home>Production & Technology>Audio Cable>How To Connect Audio Cable To TV Without Yellow
Audio Cable
How To Connect Audio Cable To TV Without Yellow
Modified: January 22, 2024
Learn how to connect an audio cable to your TV without using the yellow port. Follow these simple steps to enjoy your audio experience.
(Many of the links in this article redirect to a specific reviewed product. Your purchase of these products through affiliate links helps to generate commission for AudioLover.com, at no extra cost. Learn more)
Table of Contents
Introduction
When it comes to enhancing your home theater system or enjoying high-quality audio, having the right audio cable is crucial. However, there may be situations where you need to connect an audio cable to your TV without using the yellow port. This could be due to compatibility issues, a faulty port, or simply not having the correct audio cable on hand.
In this article, we will guide you through the process of connecting an audio cable to your TV without relying on the yellow port. We will cover the necessary steps and provide helpful tips to ensure a successful connection. Whether you are a tech enthusiast or a novice, this guide will help you get the audio connection you want without any hassle.
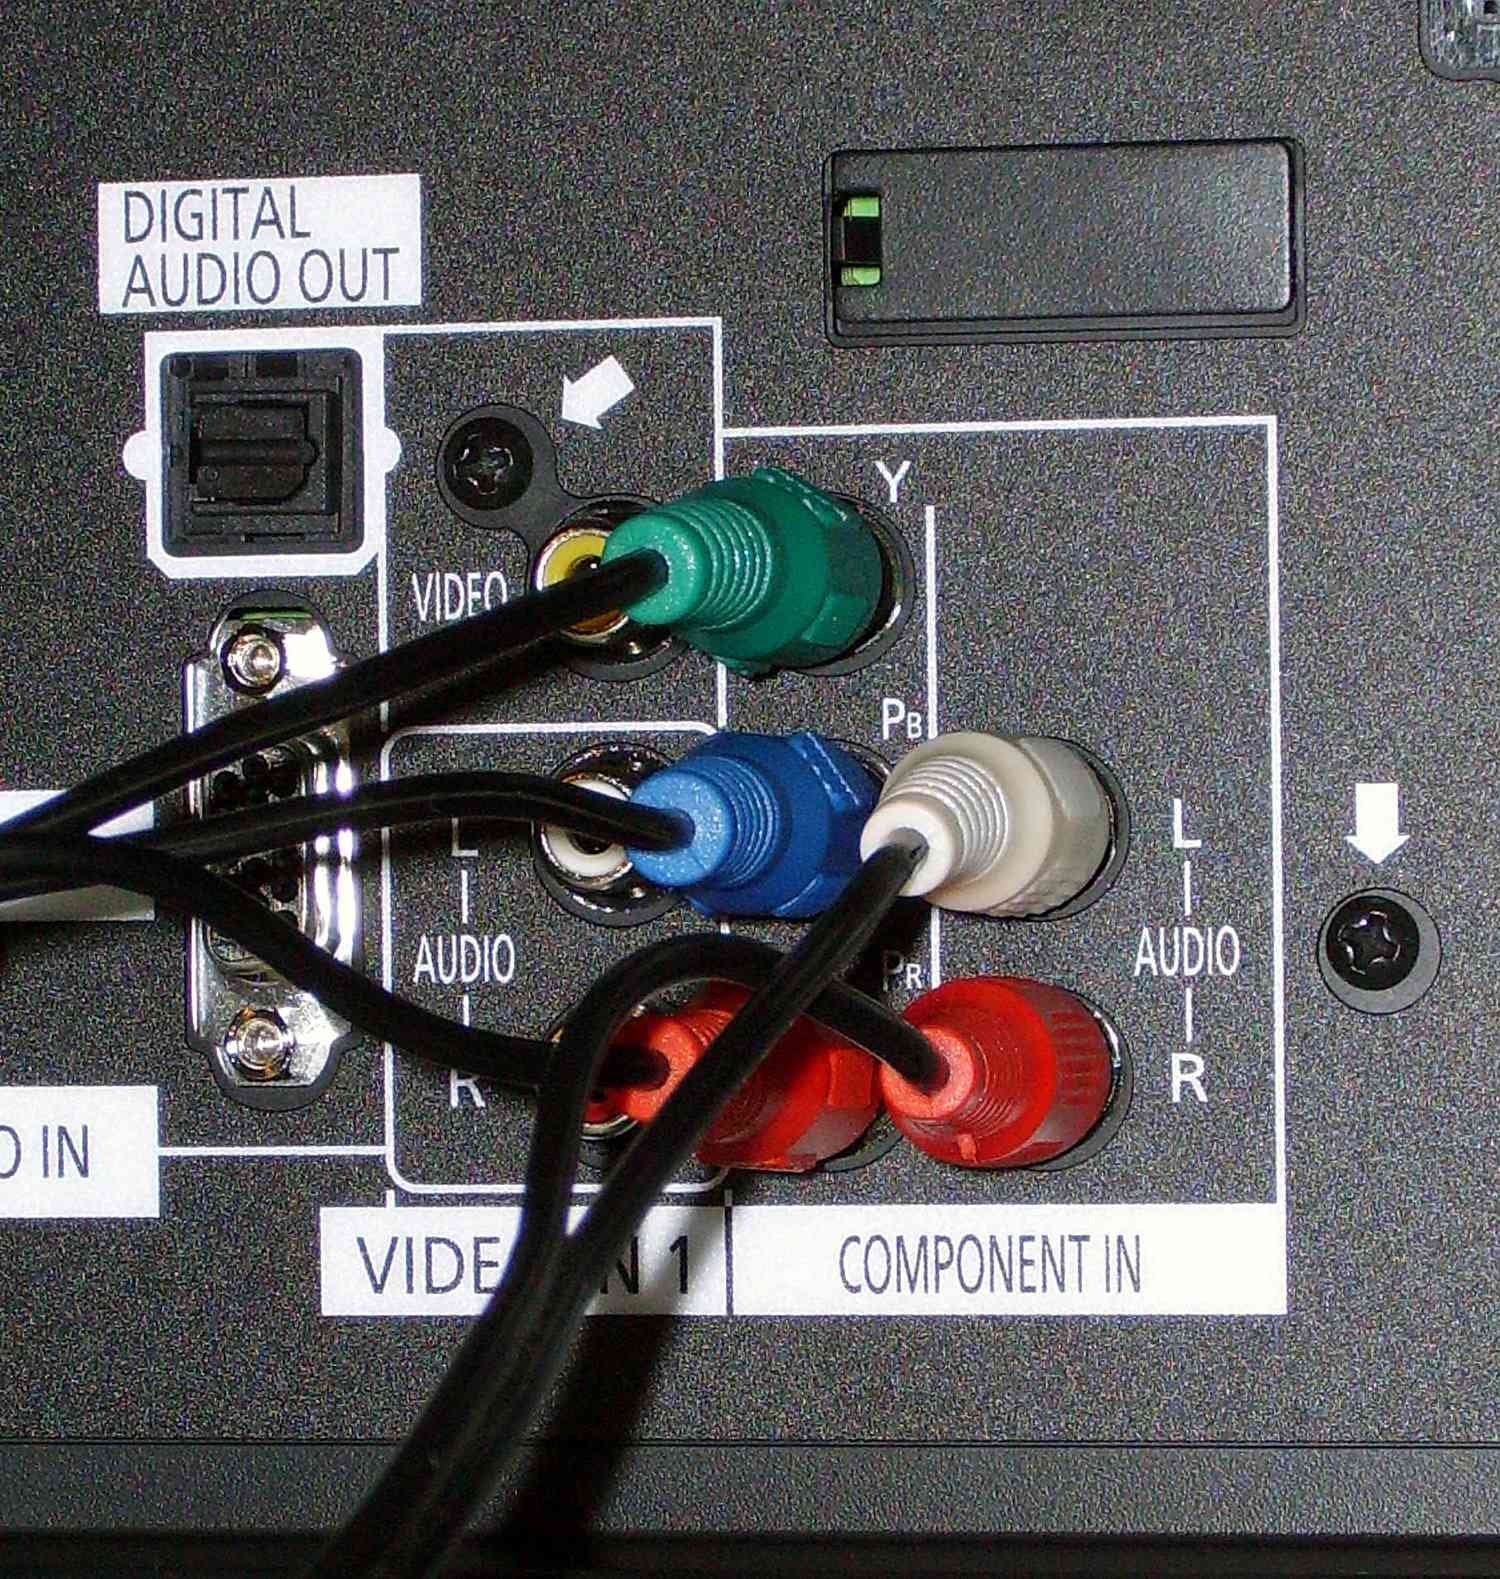
Before we dive into the steps, let’s briefly discuss the significance of the yellow port. In most audio-visual setups, the yellow port is typically associated with composite video signals. It is commonly found alongside the red and white ports, which are used for audio signals. While these ports are often grouped together, it is important to note that the yellow port is not directly responsible for audio transmission.
Now that we have established the importance of audio cables and the yellow port’s role in video signals, let’s proceed with the steps to connect an audio cable to your TV without using the yellow port. Whether you have a smart TV, a gaming console, or a traditional TV, we have got you covered. Let’s get started!
Step 1: Determine the audio output ports on your TV
Before you begin connecting the audio cable to your TV, it’s important to identify the audio output ports available on your TV. Different TVs may have different types of audio output ports, so knowing which ones your TV has will help you choose the appropriate cable for the connection.
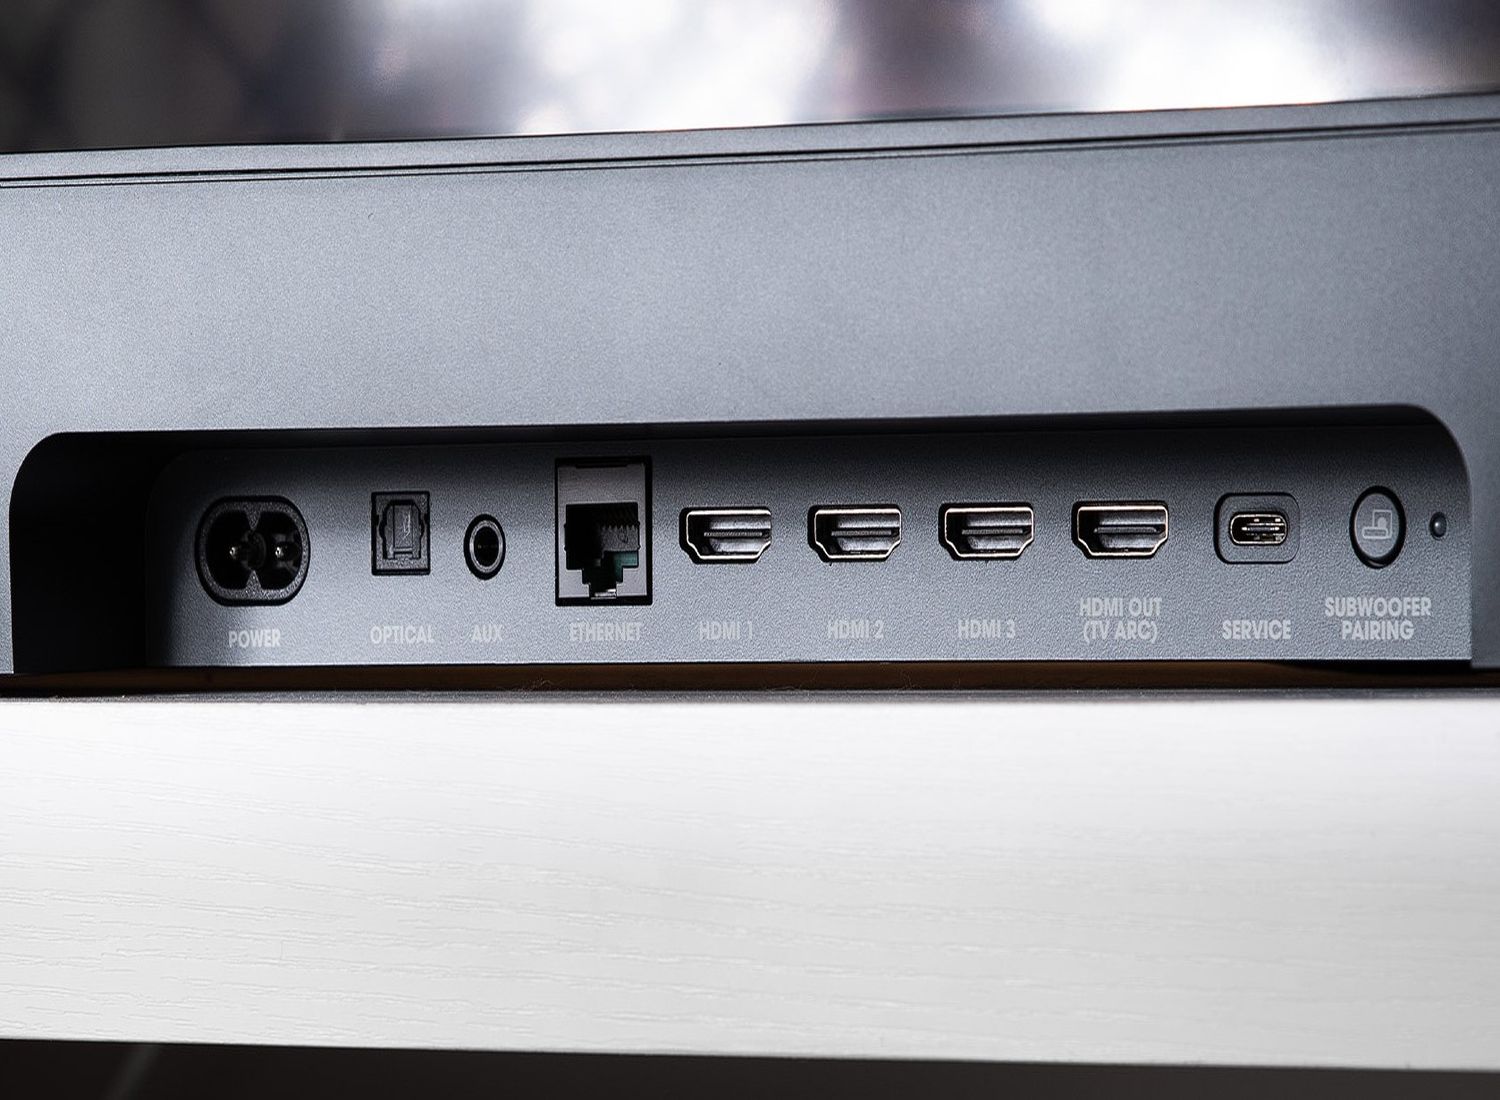
Here are some common audio output ports you might find on your TV:
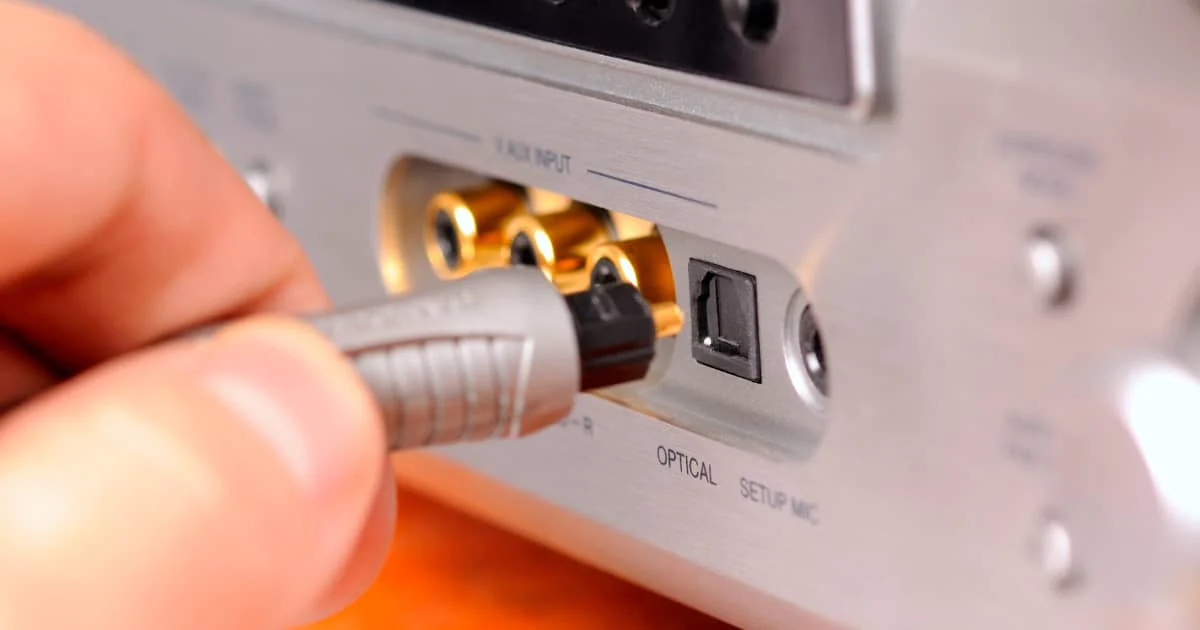
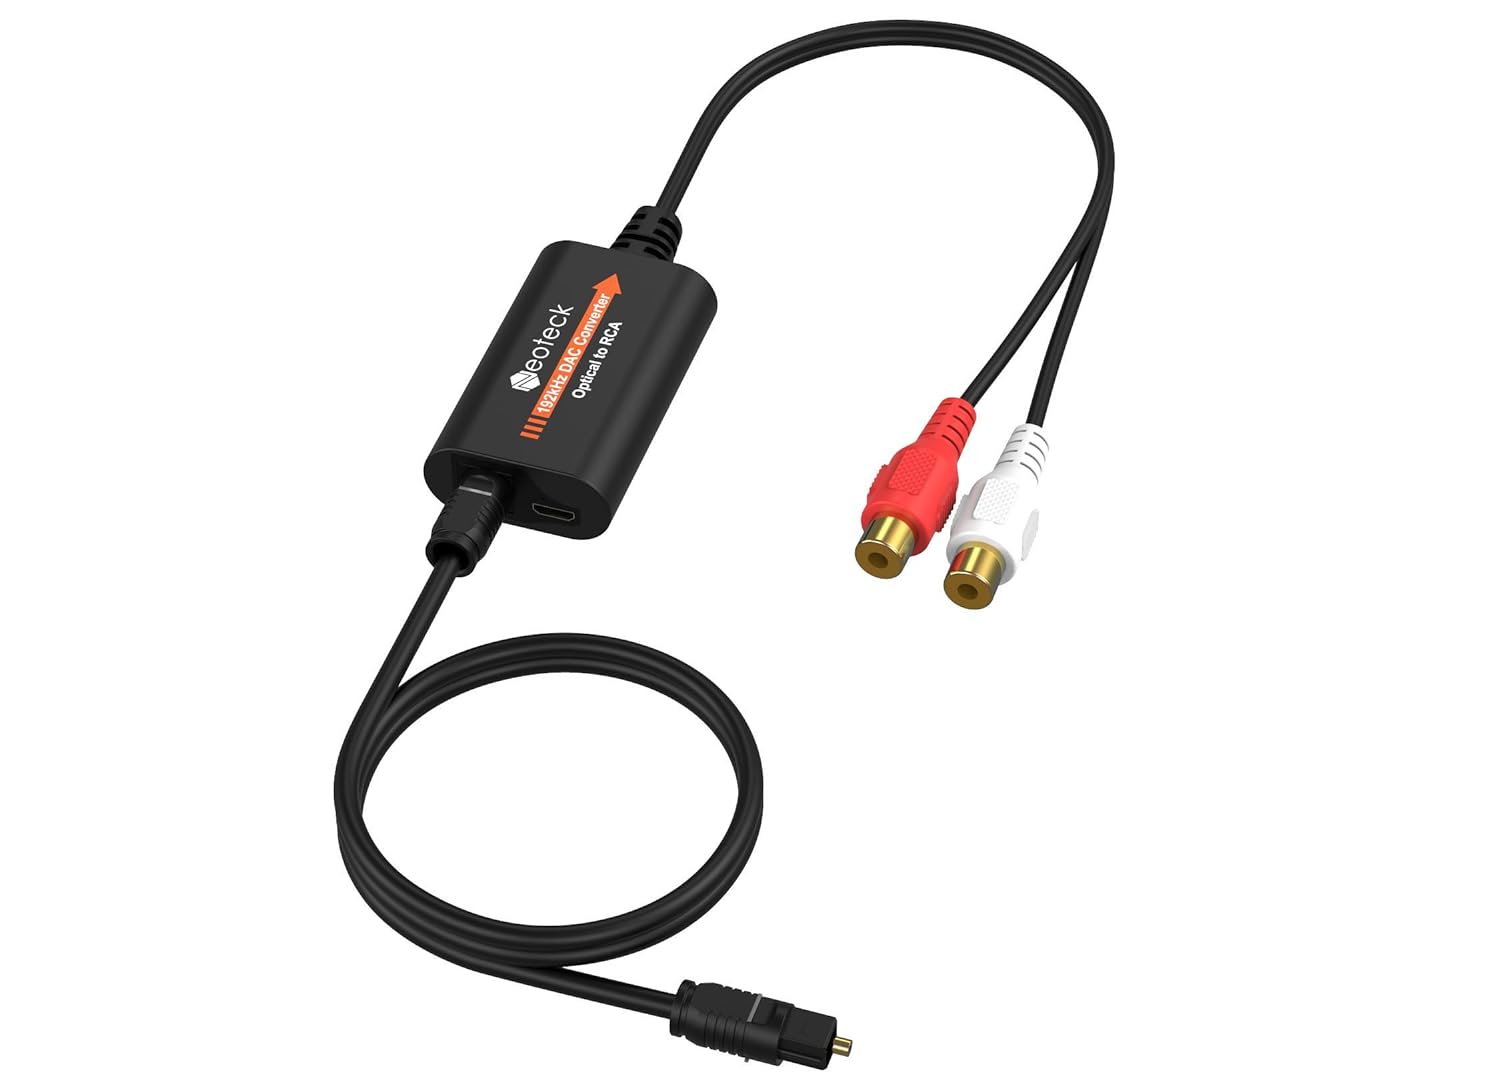
- Optical Audio Port: This port, also known as the Toslink or S/PDIF port, uses a fiber optic cable to transmit digital audio signals. It is capable of delivering high-quality audio and is commonly found on modern TVs.
- HDMI ARC: HDMI ARC stands for Audio Return Channel. It allows you to send audio from your TV to another device, such as a soundbar or AV receiver, using an HDMI cable. Not all TVs have this port, so check if your TV supports HDMI ARC.
- 3.5mm Headphone Jack: Some TVs may have a headphone jack that can be used as an audio output. This is a common port found on many electronic devices, and you can connect a 3.5mm audio cable to it for analog audio transmission.
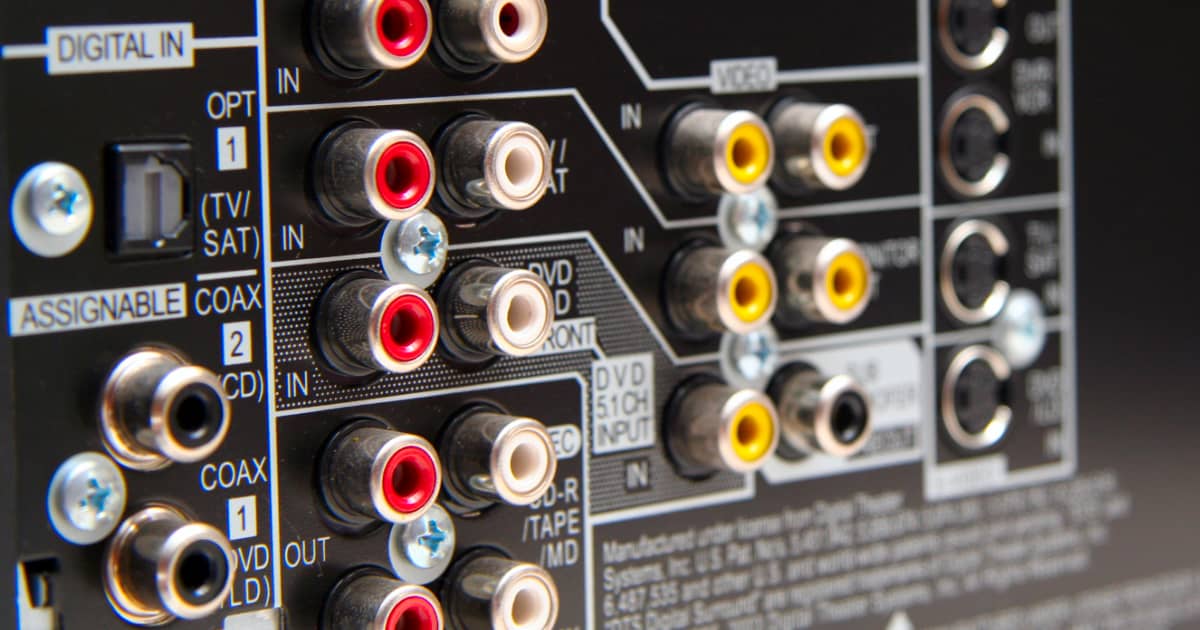
- RCA Audio Output: The RCA audio output ports, also known as the red and white ports, are typically used for analog audio transmission. These ports are commonly found on older TVs and can be used to connect to external audio devices.
Once you have identified the available audio output ports on your TV, you can proceed with selecting the appropriate audio cable for the connection. The type of cable you choose will depend on the specific audio output port on your TV and the audio input port on the device you want to connect.
Now that you know how to determine the audio output ports on your TV, let’s move on to the next step to check the available audio cables for the connection.
Step 2: Check the available audio cables
Once you have identified the audio output ports on your TV, the next step is to check the available audio cables that can be used for the connection. The type of cable you will need depends on the audio output port on your TV and the audio input port on the device you wish to connect.
Here are some common types of audio cables:
- Optical Cable: If your TV has an optical audio output port, you will need an optical cable. This cable has a square-shaped connector with a round opening, which fits perfectly into the optical audio port. Optical cables are capable of transmitting high-quality digital audio signals.
- HDMI Cable: If your TV supports HDMI ARC, you can use an HDMI cable to connect it to another device, such as a soundbar or AV receiver. HDMI cables not only transmit audio but also support video signals.
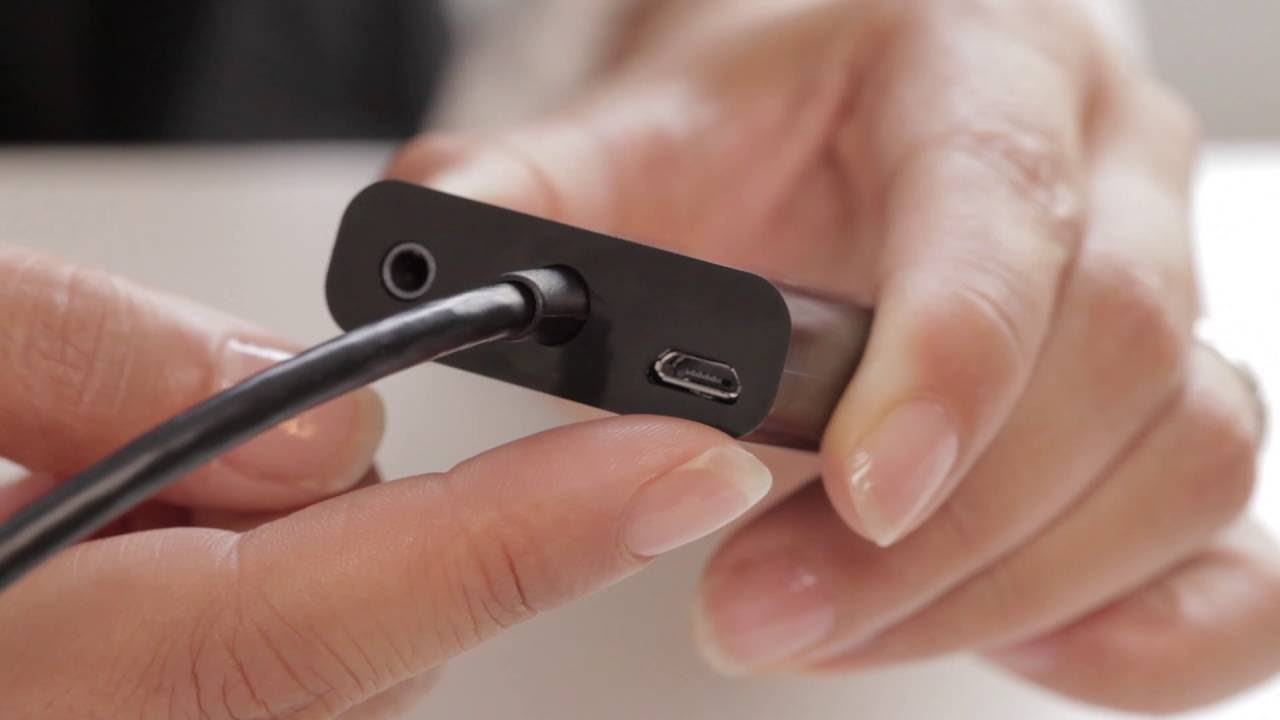
- 3.5mm Audio Cable: For TVs that have a 3.5mm headphone jack as the audio output port, you can use a 3.5mm audio cable. This cable has a small connector on both ends, which fits into the headphone jack of the TV and the audio input port of the device you want to connect.
- RCA Audio Cables: If your TV has RCA audio output ports (red and white ports), you will need RCA audio cables. These cables have two connectors on each end, which correspond to the red and white ports. RCA cables are commonly used for analog audio transmission.
It’s important to ensure that the audio cable you choose matches the audio output port on your TV and the audio input port on the device you want to connect. Additionally, consider the length of the cable, as you may need to measure the distance between the TV and the device to determine the appropriate cable length.
Now that you have checked the available audio cables, you can move on to the next step to connect the audio cable to your TV without using the yellow port.
Step 3: Connect the audio cable to the TV without using the yellow port
Now that you have identified the audio output port on your TV and selected the appropriate audio cable, it’s time to connect the cable to your TV without using the yellow port. Follow these steps to make the connection:
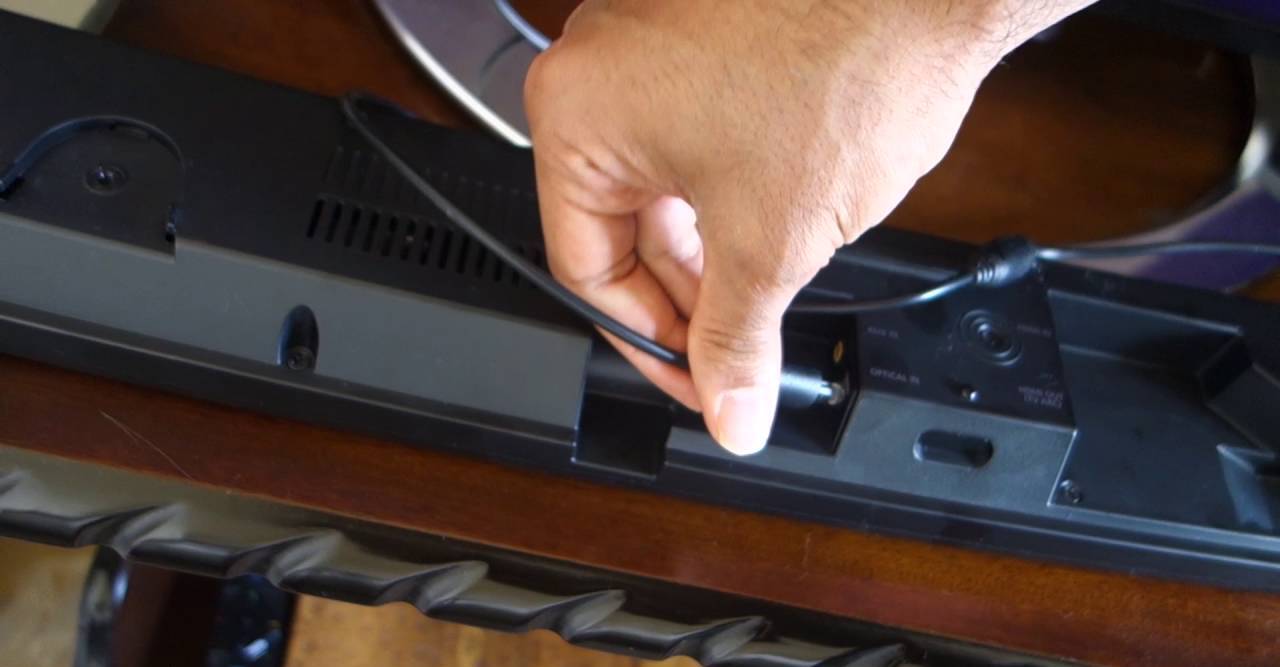
- Locate the audio output port on your TV. It could be an optical audio port, HDMI ARC port, 3.5mm headphone jack, or RCA audio output ports.
- Take one end of the audio cable and ensure that it matches the audio output port on your TV. Connect the appropriate end of the cable into the audio output port firmly.
- If you are using an optical cable, be careful to align the shape of the connector with the port, and gently push it in until it clicks into place.
- For HDMI cables, insert one end of the cable into the HDMI ARC port on your TV. Remember to check if your specific TV model has a designated HDMI ARC port.
- If you are using a 3.5mm audio cable, insert the small connector into the headphone jack on your TV.
- For RCA audio cables, match the red and white connectors on the cable with the corresponding red and white ports on your TV.
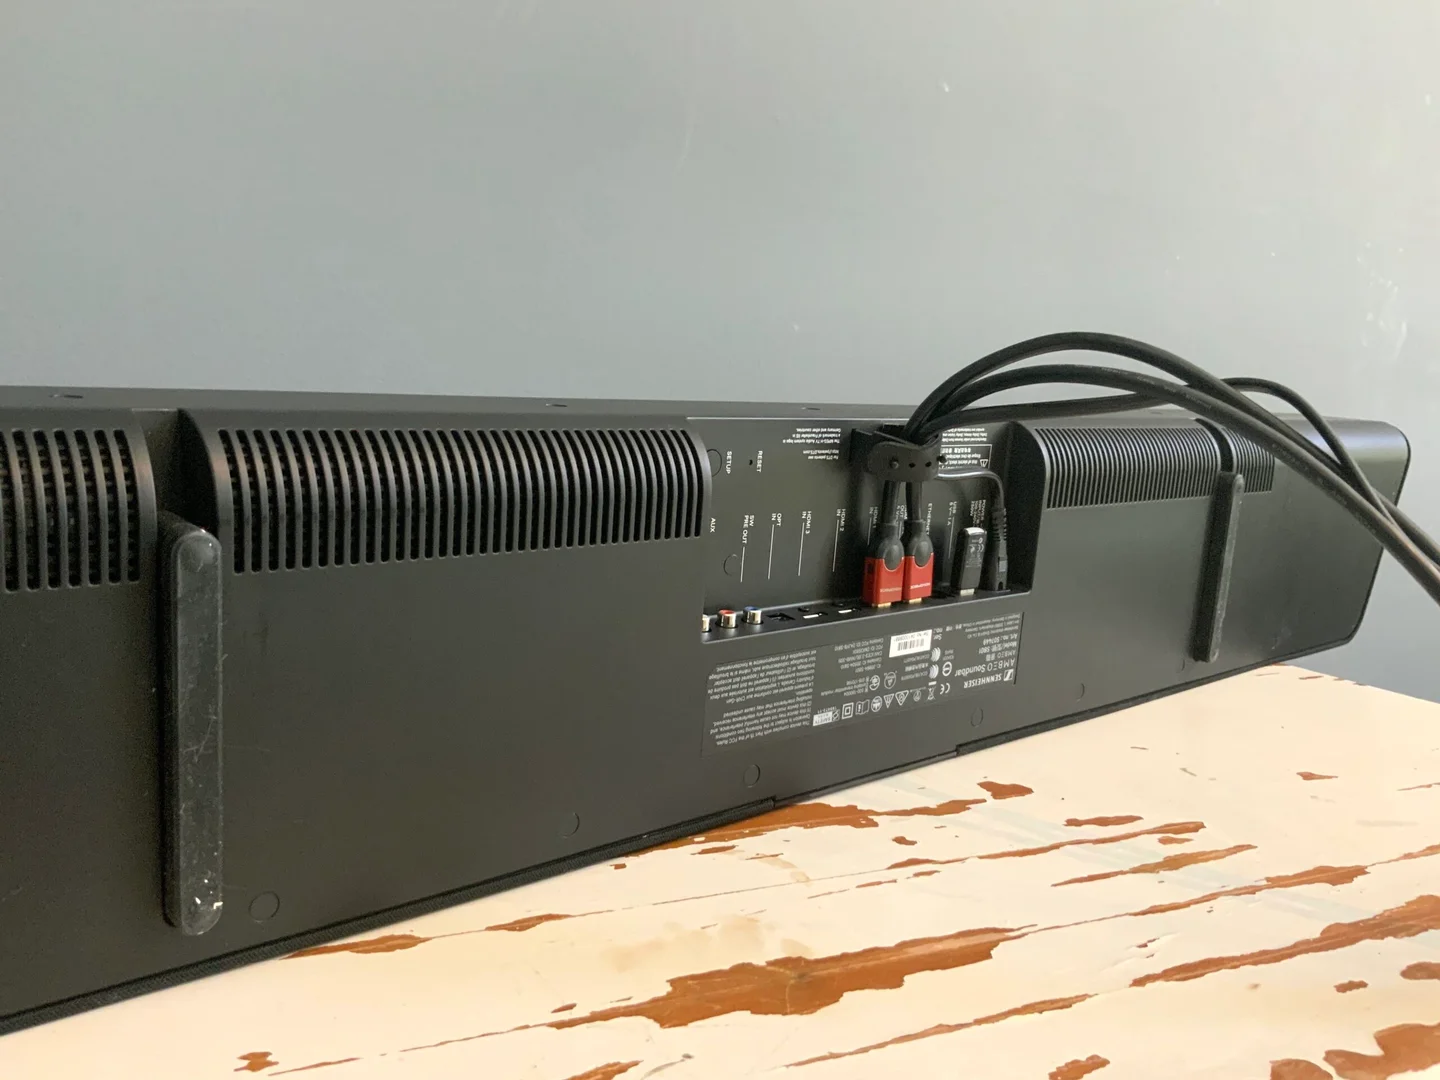
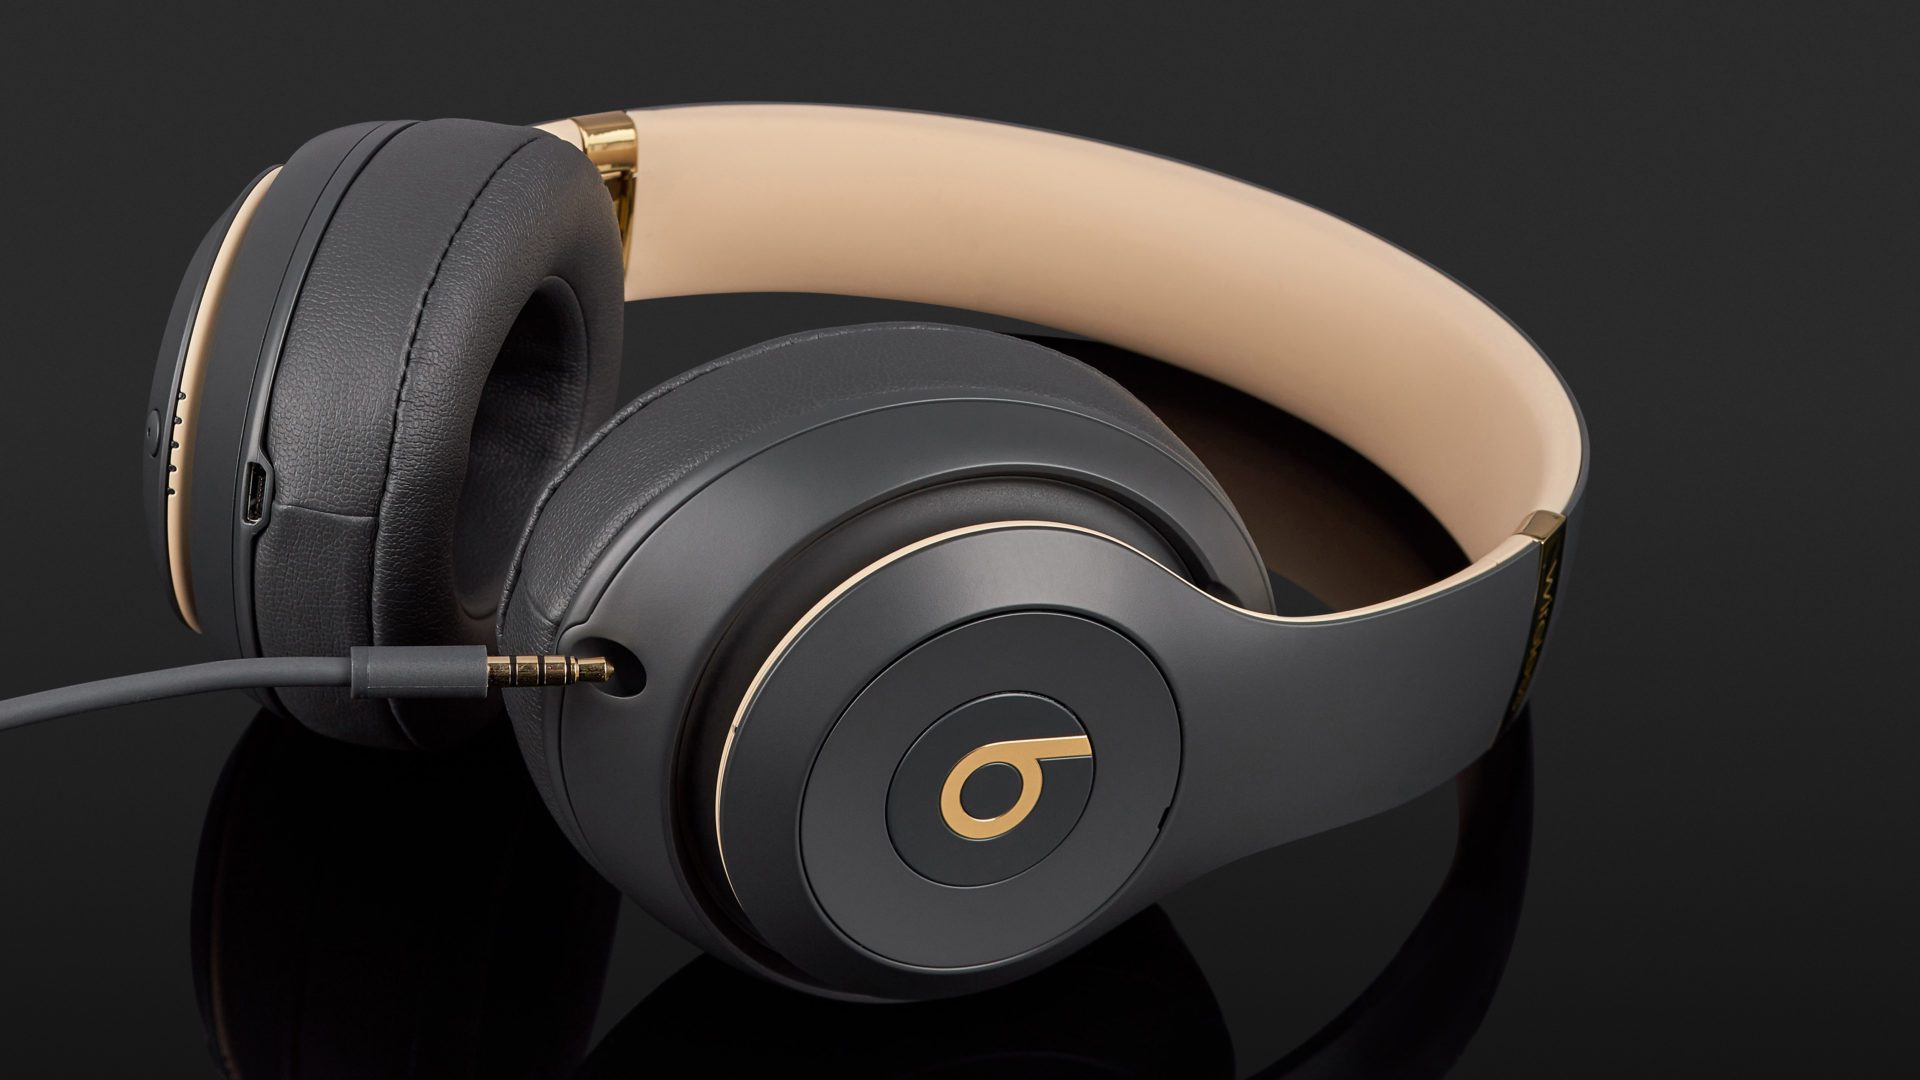
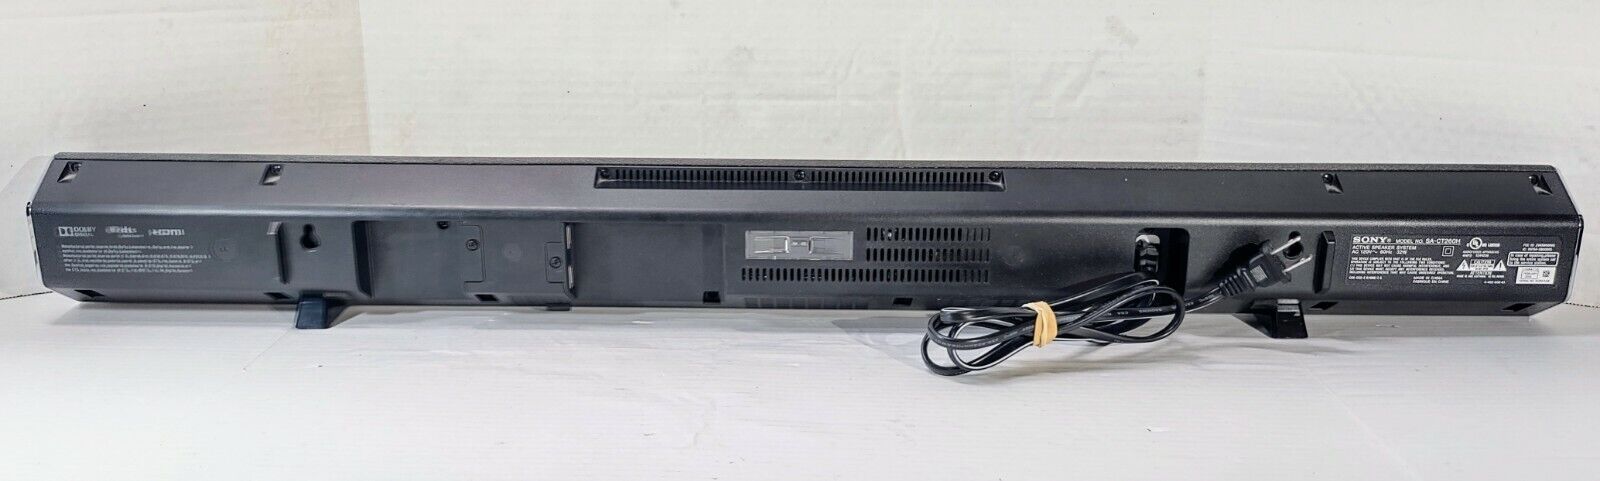
- Once you have connected the audio cable to your TV, take the other end of the cable and connect it to the audio input port on the device you want to connect, such as a soundbar, AV receiver, or speakers.
- Ensure that the cable is securely connected to both the TV and the device, making sure there are no loose connections or cables dangling.
It’s important to handle the cables with care and avoid applying excessive force when connecting them. Also, refer to the user manual of your TV and the device you are connecting to for any specific guidelines or considerations.
Now that you have successfully connected the audio cable to your TV without using the yellow port, let’s proceed to the final step, which is to test the audio connection.
Step 4: Test the audio connection
After connecting the audio cable to your TV without using the yellow port, it’s important to test the audio connection to ensure that it is working properly. Follow these steps to test the audio connection:
- Turn on your TV and the device you have connected the audio cable to, such as a soundbar or speakers.
- Access the audio settings on your TV and make sure the audio output is set to the appropriate option. For example, if you connected an optical cable, select the optical audio output as the default audio source.
- Play a video or audio file on your TV to test the audio output. You can try different sources, such as a streaming service, DVD player, or gaming console, to ensure that the audio is working across various platforms.
- Adjust the volume on both your TV and the connected device to ensure that the sound is clear and at the desired level.
- If you are using an HDMI ARC connection, verify that the sound is coming from the external device, such as the soundbar or AV receiver, rather than the TV speakers. You may need to adjust the settings on the external device to ensure the audio is routed correctly.
- Listen for any audio distortions, static, or inconsistencies. If you notice any problems, double-check the connections and ensure that the cables are inserted properly. You may also need to adjust the settings on your TV and the connected device to troubleshoot the audio issues.
By following these testing steps, you can ensure that the audio connection between your TV and the external device is functioning as expected. If you encounter any persistent audio issues, consult the user manual of your TV and the connected device for troubleshooting tips or consider seeking technical assistance.
Now that you have tested the audio connection, you’re ready to enjoy high-quality sound and fully experience your home theater setup!
Conclusion
Connecting an audio cable to your TV without using the yellow port may seem intimidating at first, but with the right guidance, it can be a straightforward process. By following the steps outlined in this guide, you can successfully connect audio cables to your TV and enjoy high-quality sound.
Remember, start by determining the available audio output ports on your TV and selecting the appropriate audio cable. Check if your TV has an optical audio port, HDMI ARC, headphone jack, or RCA audio output ports, and choose the corresponding cable.
Next, connect the audio cable to your TV without relying on the yellow port. Ensure that the cable is securely connected to both the TV and the device you are connecting, such as a soundbar or speakers. Take care not to force the connection or handle the cables roughly.
Once the connection is made, it’s essential to test the audio to ensure a successful connection. Adjust the audio settings on your TV and connected device, play audio or video content, and listen for any issues. Troubleshoot any audio problems by adjusting settings and verifying the cable connections.
By following these steps, you can connect audio cables to your TV without using the yellow port and enjoy high-quality sound from your home theater system or external audio devices.
Remember, every TV and device may have slightly different audio ports and settings, so it’s always recommended to consult the user manuals for specific instructions. If you encounter any persistent audio issues or require technical support, don’t hesitate to reach out to the manufacturer or a professional for assistance.
Now, go ahead and enjoy your favorite movies, shows, and music with an enhanced audio experience on your TV!