Home>Production & Technology>Audio Cable>How To Connect DVR To TV With HDMI Digital Audio Cable
Audio Cable
How To Connect DVR To TV With HDMI Digital Audio Cable
Modified: January 22, 2024
Learn how to easily connect your DVR to your TV using an HDMI digital audio cable. Enjoy high-quality audio and video with this simple setup.
(Many of the links in this article redirect to a specific reviewed product. Your purchase of these products through affiliate links helps to generate commission for AudioLover.com, at no extra cost. Learn more)
Table of Contents
Introduction
Welcome to our comprehensive guide on how to connect a DVR to a TV using an HDMI digital audio cable. If you’re someone who loves to record your favorite TV shows or movies, a DVR (Digital Video Recorder) is an essential device for you. It allows you to save and watch your favorite content at your convenience. However, to fully enjoy the recorded content, it is important to have a seamless connection between your DVR and your TV.
An HDMI (High-Definition Multimedia Interface) digital audio cable is the simplest and most effective way to connect your DVR to your TV. It not only transmits high-quality audio but also delivers stunning visual output. With this setup, you can experience your recorded shows with immersive sound and crystal-clear picture quality.
In this guide, we will walk you through the step-by-step process of connecting your DVR to your TV using an HDMI digital audio cable. We will also provide tips on how to configure the audio settings and test the connection to ensure everything is working perfectly.
Before we dive into the steps, let’s quickly go over the equipment you’ll need for this setup.
Step 1: Gather the necessary equipment
Before you begin connecting your DVR to your TV using an HDMI digital audio cable, it’s important to gather all the necessary equipment. Here’s a list of items you’ll need:
- DVR: Ensure that you have a working DVR with HDMI output. Most modern DVRs come equipped with HDMI ports, but it’s always good to double-check.
- TV: Make sure you have a TV with HDMI input. This is typically found on the back or side of the TV. Again, most newer TVs have HDMI ports, but older models may not.
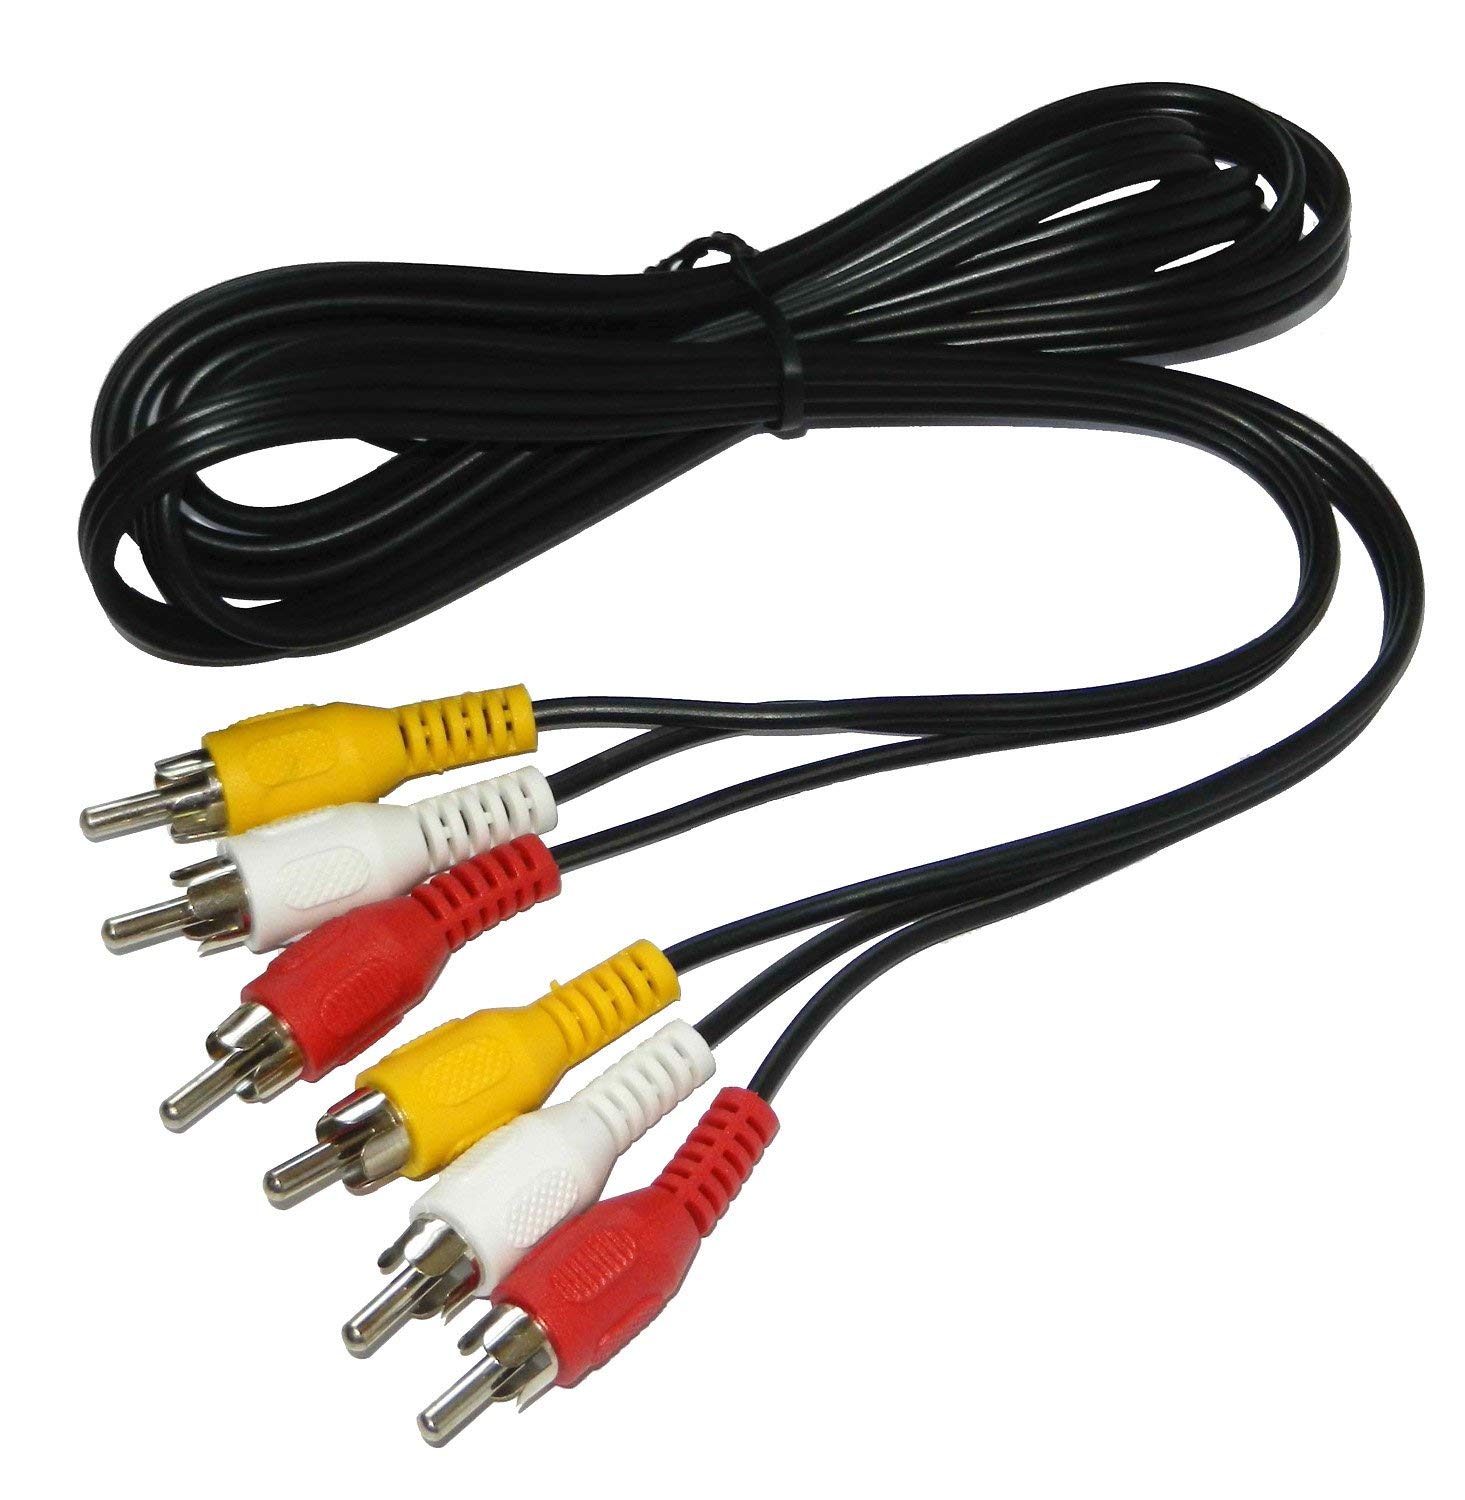
- HDMI digital audio cable: This is the main component of the setup. The length of the cable will depend on the distance between your DVR and TV.
- Power cables: You’ll need the power cables for both your DVR and TV to ensure they have a power source.
- Remote control: Keep the remote control handy for your DVR and TV. You may need to access certain settings during the setup process.
Once you have gathered all the necessary equipment, you’re ready to move on to the next step. Remember, it’s important to have all the components in place before attempting the setup to avoid any unnecessary delays or frustration.
Step 2: Connect the DVR to the TV
Now that you have all the necessary equipment ready, it’s time to connect your DVR to the TV using an HDMI digital audio cable. Follow these steps:
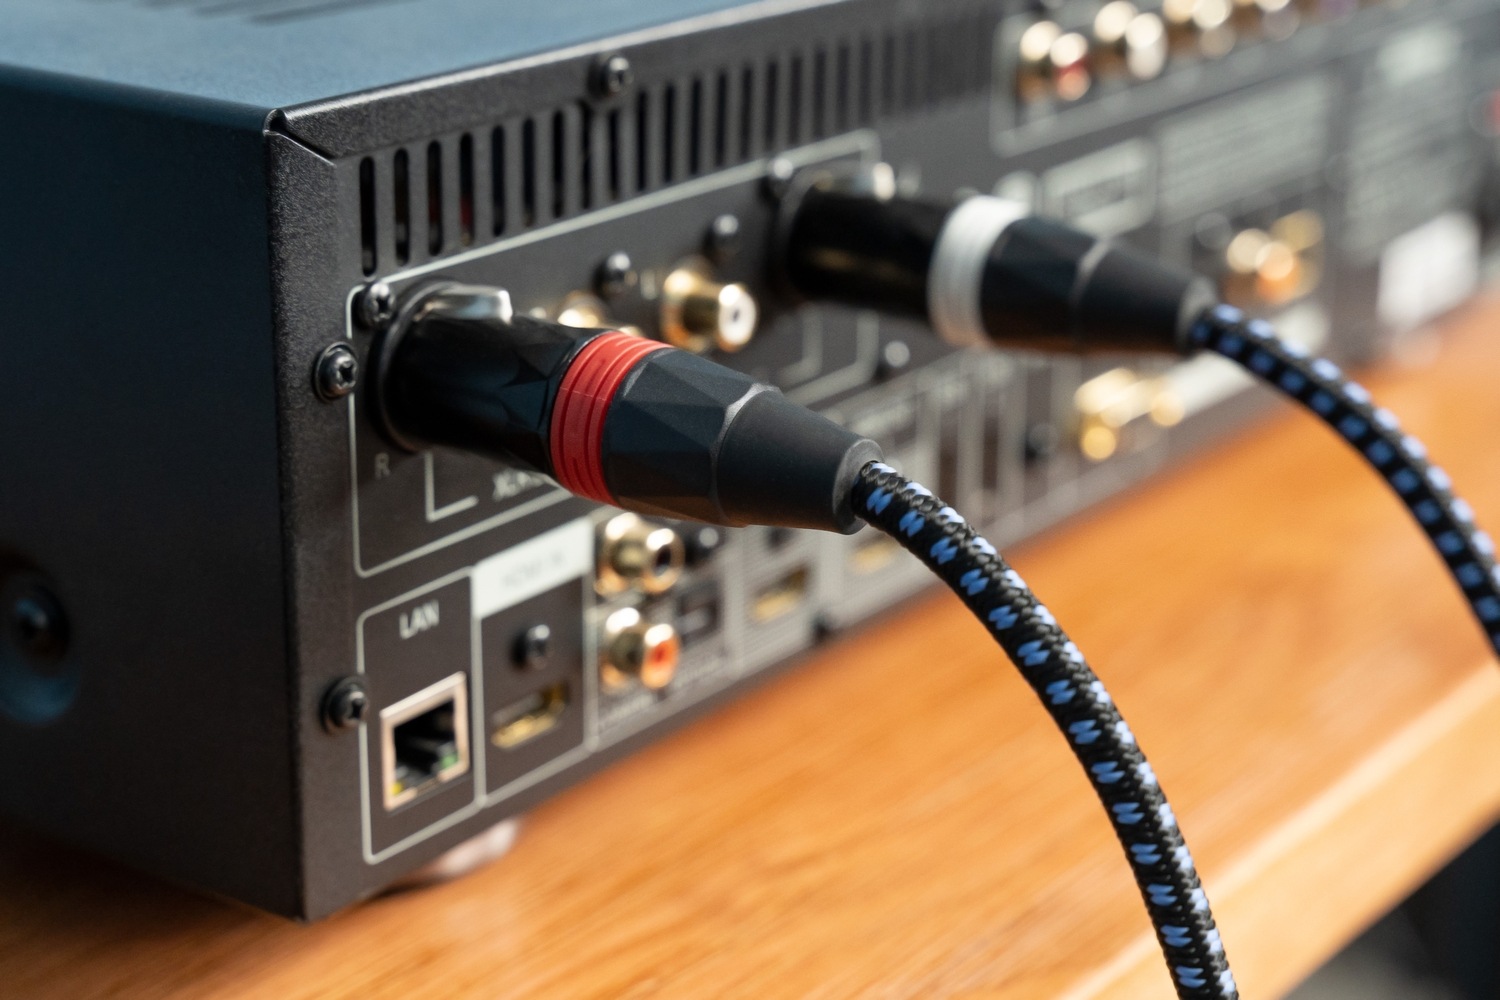
- Locate the HDMI output port on your DVR. It is usually labeled as “HDMI Out” or “HDMI Output.”
- Connect one end of the HDMI digital audio cable to the HDMI output port on your DVR.
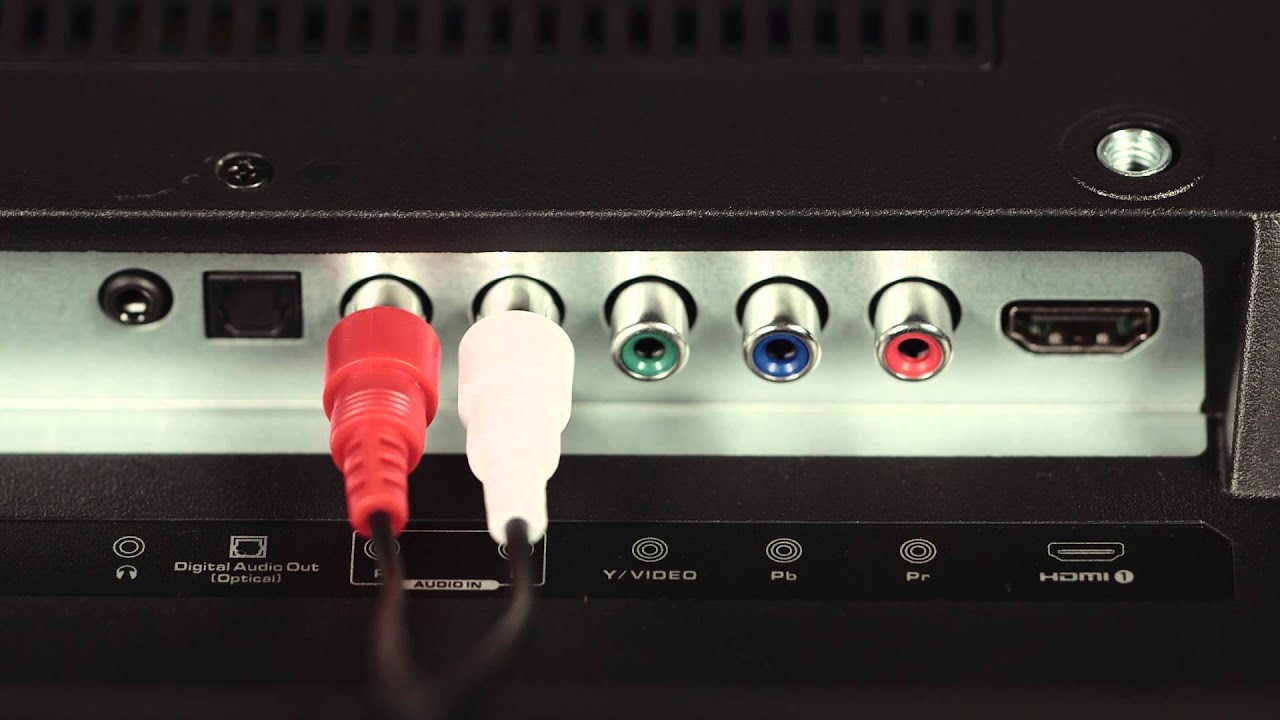
- Locate the HDMI input port on your TV. It is typically labeled as “HDMI In” or “HDMI Input.” Note the port number if your TV has multiple HDMI inputs.
- Connect the other end of the HDMI digital audio cable to the HDMI input port on your TV. Make sure to match the port on the TV with the output port on the DVR.
- Ensure that both ends of the cable are securely plugged in. A loose connection can result in poor audio or video quality.
Once you have successfully connected the DVR to the TV using the HDMI digital audio cable, move on to the next step to configure the audio settings.
Step 3: Configure the audio settings
After connecting your DVR to the TV using an HDMI digital audio cable, it’s important to configure the audio settings to ensure optimal sound quality. Follow these steps to configure the audio settings:
- Turn on both your DVR and your TV. Use the remote control for each device or the power buttons located on the front or side.
- On your TV, navigate to the input source or input selection menu. Look for the option that corresponds to the HDMI input port used to connect your DVR. If your TV has multiple HDMI inputs, select the one that matches the port number.
- On your DVR, access the settings menu using the remote control. Look for the audio settings or audio output options.
- In the audio settings menu, select the HDMI audio output option. This will ensure that the audio signal is transmitted through the HDMI cable to your TV.
- Adjust the audio settings to your preference. You can control the volume, bass, treble, and other audio parameters if available on your DVR.
Once you have configured the audio settings, you may also want to check if your TV has any additional audio settings that you can adjust. Some TVs have specific audio modes or equalizer settings that can enhance the sound experience.
With the audio settings properly configured, you’re now ready to test the connection between your DVR and TV.
Step 4: Test the connection
Testing the connection between your DVR and TV is crucial to ensure everything is functioning properly. Here’s how you can test the connection:
- Select a recorded show or movie on your DVR that you want to watch.
- Using the remote control for your DVR, play the selected recording.
- On your TV, make sure the correct HDMI input source is selected. If necessary, switch to the HDMI input that your DVR is connected to.
- Observe the TV screen and listen for audio. If you can see the content playing on the screen and hear the sound coming from the TV speakers, the connection has been successful.
- If you’re not getting any video or audio, first check the connection between the DVR and TV. Ensure that the HDMI cable is securely plugged in on both ends.
- If the connection is secure and you’re still not getting any output, try using a different HDMI cable or connecting to a different HDMI input port on the TV.
If you find that the video or audio quality is not up to your expectations, you can go back to the audio settings menu on your DVR and make further adjustments. Experiment with the volume, audio modes, and equalizer settings to find the optimal audio setup for your preferences.
By following these steps and testing the connection, you can ensure a seamless and enjoyable viewing experience with your DVR and TV.
Conclusion
Connecting your DVR to your TV using an HDMI digital audio cable is a straightforward process that can greatly enhance your viewing experience. By following the steps outlined in this guide, you can enjoy your recorded content with high-quality audio and stunning visuals.
Remember to gather all the necessary equipment, including your DVR, TV, HDMI digital audio cable, power cables, and remote controls. Ensure that both your DVR and TV have HDMI ports, and that you have the right cable length for your setup.
Once you have connected the DVR to the TV, take the time to properly configure the audio settings. Access the settings menu on your DVR and select the HDMI audio output option. You can also adjust the audio parameters to suit your preferences. Don’t forget to check if your TV has additional audio settings that can further enhance the sound.
Finally, test the connection by playing a recorded show or movie. Make sure you select the appropriate HDMI input source on your TV and confirm that both the video and audio are working as expected. If there are any issues, double-check the connections and try different troubleshooting methods.
With a successfully connected DVR and optimized audio settings, you can enjoy your favorite content with immersive sound and dazzling picture quality. Whether you’re watching movies, TV shows, or sports events, a properly configured DVR-to-TV connection can make all the difference in your entertainment experience.
So, go ahead and start connecting your DVR to your TV using an HDMI digital audio cable. Sit back, relax, and get ready to enjoy your favorite shows and movies like never before!