Home>Production & Technology>Audio Cable>How To Extend Audio Cable
Audio Cable
How To Extend Audio Cable
Published: December 21, 2023
Learn how to extend your audio cable easily with our step-by-step guide. No more limitations with our helpful tips and tricks. Get the best audio experience!
(Many of the links in this article redirect to a specific reviewed product. Your purchase of these products through affiliate links helps to generate commission for AudioLover.com, at no extra cost. Learn more)
Table of Contents
- Introduction
- Why Extend Audio Cables?
- Factors to Consider Before Extending Audio Cables
- Methods for Extending Audio Cables
- Method 1: Using Audio Cable Extenders
- Method 2: Soldering Audio Cables
- Method 3: Using Audio Cable Connectors
- Method 4: Using Wireless Audio Extenders
- Tips for Extending Audio Cables Effectively
- Conclusion
Introduction
Audio cables are an essential component of any sound system, connecting audio devices like speakers, amplifiers, and headphones to audio sources. However, there may be instances where the provided length of an audio cable falls short, requiring an extension to reach the desired location. Whether you’re setting up a DJ booth, creating a home theater system, or simply need to extend your headphone cord, knowing how to extend audio cables can be incredibly useful.
Extending audio cables allows you to have more flexibility in arranging your audio setup and ensures optimal sound quality. By effectively extending your audio cables, you can enjoy high-fidelity audio without any signal loss or degradation.
However, it’s important to approach the process of extending audio cables with care and knowledge, as any mistakes can result in poor sound quality, interference, or even damage to your equipment. In this article, we’ll explore different methods for extending audio cables, including the use of audio cable extenders, soldering, and audio cable connectors. We’ll also discuss wireless audio extenders as an alternative for certain situations. By the end, you’ll have a comprehensive understanding of how to extend audio cables and be able to select the method that best suits your needs.
Why Extend Audio Cables?
There are several reasons why you may need to extend audio cables. Let’s explore the most common scenarios where extending audio cables becomes necessary:
- Flexibility in positioning: When setting up audio equipment, you may want to position speakers, amplifiers, or other devices in specific locations to optimize sound distribution. However, the provided length of the audio cables may not allow for this. By extending the cables, you can position your equipment exactly where you want it, creating the ideal audio setup.
- Accessibility: In certain situations, such as connecting headphones to a television or computer, the original cable length may not be long enough to provide comfortable access. By extending the audio cable, you can position yourself at a comfortable distance from the audio source while still being able to enjoy high-quality sound.
- Versatility: Extending audio cables allows you to have a more adaptable audio system. Whether you’re hosting a party, setting up a home theater, or working in a professional studio, being able to extend audio cables gives you the freedom to arrange your equipment in the most efficient and effective way.
- Cost-saving: Rather than purchasing new, longer audio cables, extending the ones you already have can save you money. This is especially useful when you have high-quality or specialized cables that you want to use in different setups. By extending these cables, you can utilize them in various scenarios without the need to invest in additional cabling.
- Reduced signal loss: Extending audio cables properly ensures minimal signal loss. By avoiding the use of multiple connectors or adapters, you can maintain the integrity and quality of the audio signal. This is particularly important for professional audio setups where every bit of signal fidelity matters.
In summary, extending audio cables provides you with the flexibility, accessibility, versatility, and cost-saving benefits necessary for creating an optimal sound system. Now that we understand why extending audio cables is important, let’s explore the factors to consider before extending them.
Factors to Consider Before Extending Audio Cables
Before you start extending your audio cables, there are a few essential factors to consider. These factors will help ensure that you achieve the best results and maintain audio quality:
- Cable type and gauge: It’s important to know the type and gauge of your audio cables. Different types of audio cables, such as RCA, XLR, or TRS, have different impedance and signal characteristics. Additionally, the gauge of the cable determines its thickness and ability to carry signals over longer distances. Make sure the extension cables you use match the type, gauge, and quality of the existing cable.
- Cable length limitations: Each type of audio cable has specific limitations on how long it can be without signal degradation. It is generally recommended to keep audio cable lengths under 100 feet for optimal signal quality. If you need to extend beyond this limit, choosing the right extension method becomes even more critical.
- Environment and interference: Consider the environment in which the extended audio cables will be used. Are there any potential sources of electrical interference nearby, such as power lines or other electronic devices? This interference can degrade the audio signal quality. Consider using shielded cables or taking other precautions to minimize interference.
- Connector compatibility: Ensure that the connectors on the original audio cable and the extension cables are compatible. Different types of connectors, such as male/female RCA, XLR, or TRS connectors, may require specific adapters or connectors to successfully extend the audio cables.
- Quality of connectors and cables: The quality of the connectors and cables used for the extension can play a significant role in maintaining audio quality. High-quality connectors and cables with proper shielding and insulation can minimize signal loss and interference. Invest in reliable and reputable brands to ensure long-lasting and reliable audio connections.
By keeping these factors in mind, you can make informed decisions about how to extend your audio cables effectively. Now, let’s explore different methods for extending audio cables.
Methods for Extending Audio Cables
There are several methods available for extending audio cables, each with its own advantages and considerations. Let’s explore some common methods:
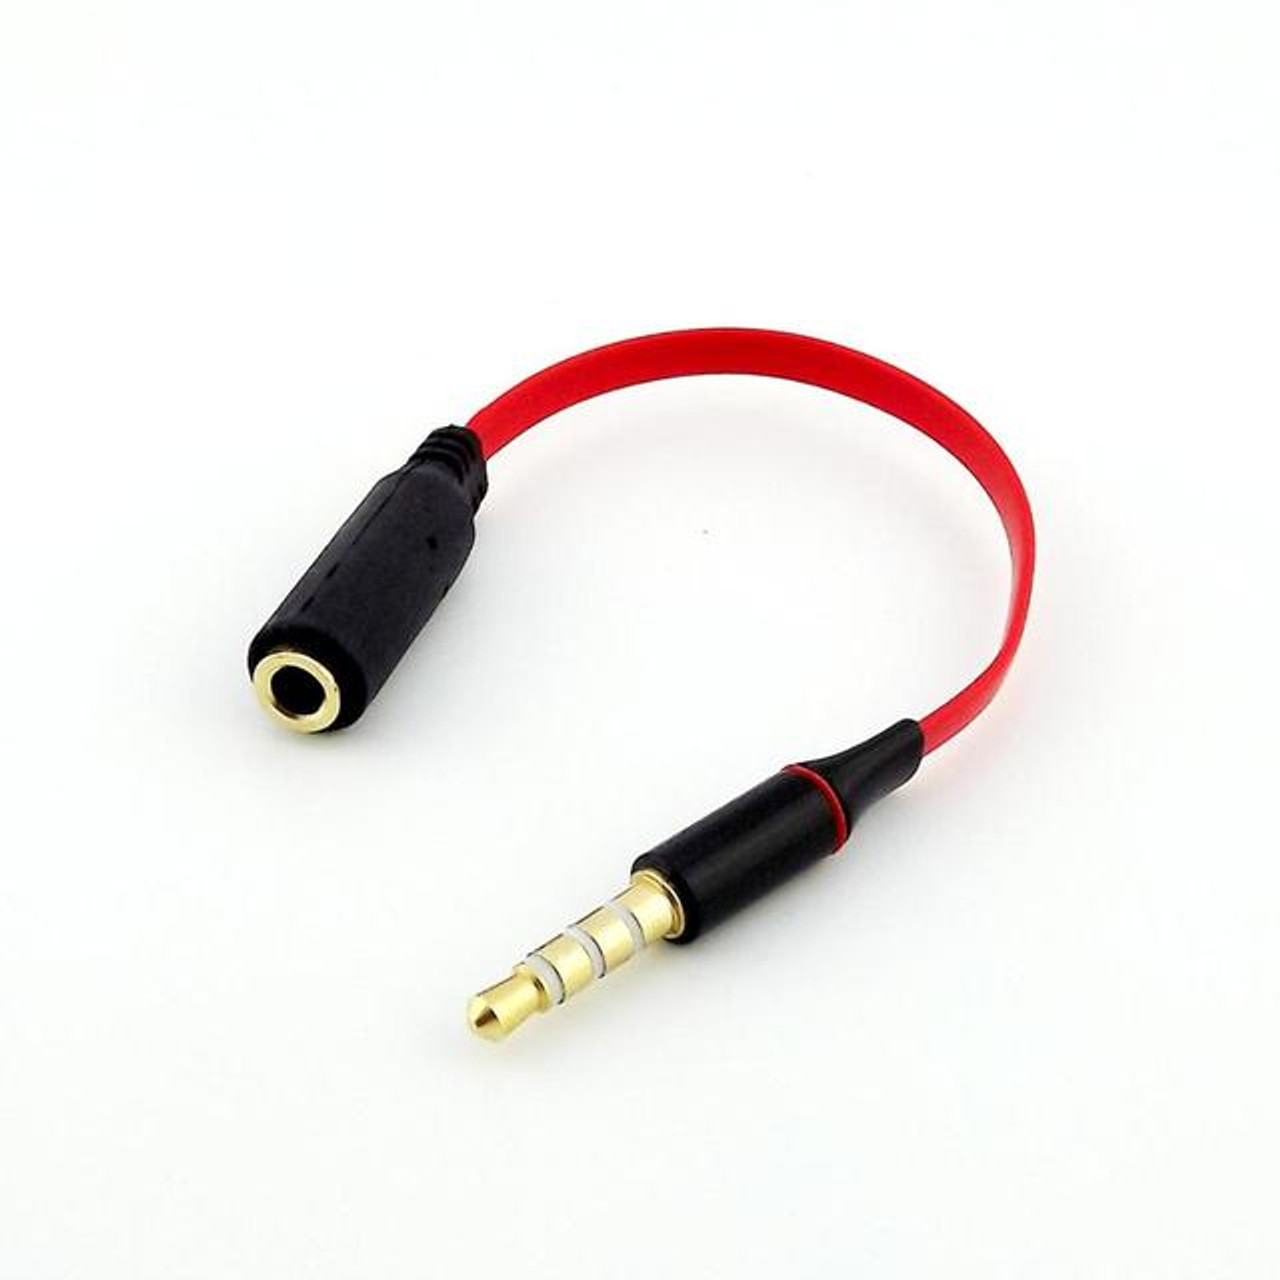
- Method 1: Using audio cable extenders: Audio cable extenders are simple and convenient devices that allow you to connect two audio cables together seamlessly. They come in various forms, such as male-to-male or female-to-female connectors, and are typically available for different types of audio cables like RCA, XLR, or TRS. Audio cable extenders are an easy and hassle-free solution, but make sure to use quality extenders to minimize signal loss.
- Method 2: Soldering audio cables: Soldering involves physically connecting two audio cables by melting solder onto the wires and joining them together. This method requires a bit more skill and equipment, such as a soldering iron and solder, but it provides a secure and permanent connection. Soldering is a preferred option for professional audio setups where signal integrity is crucial.
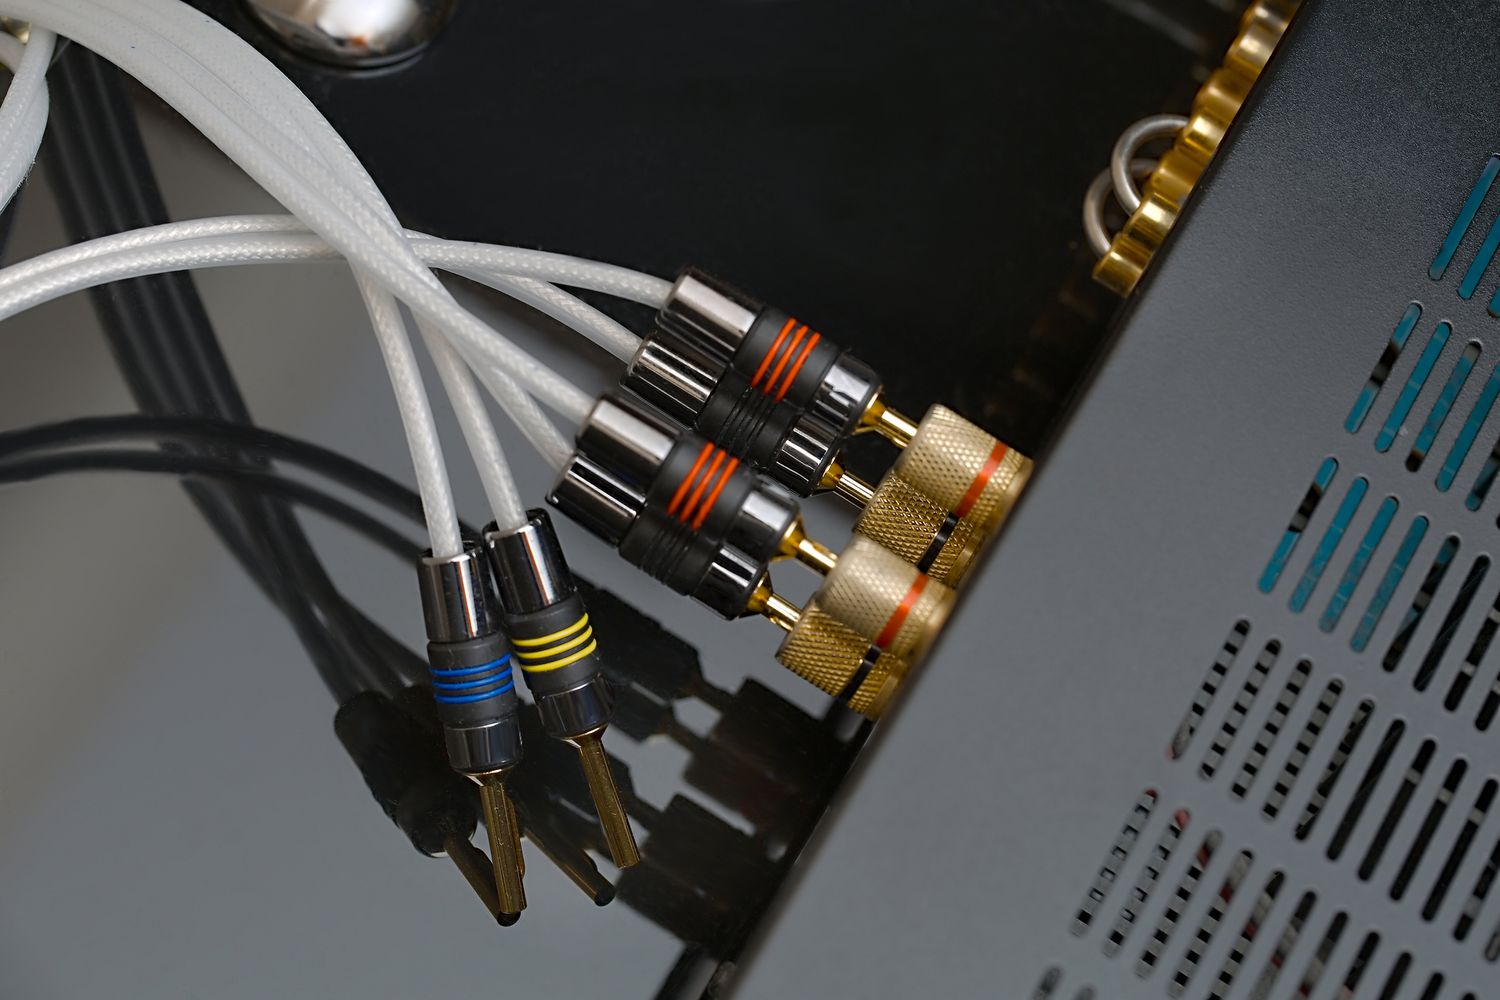
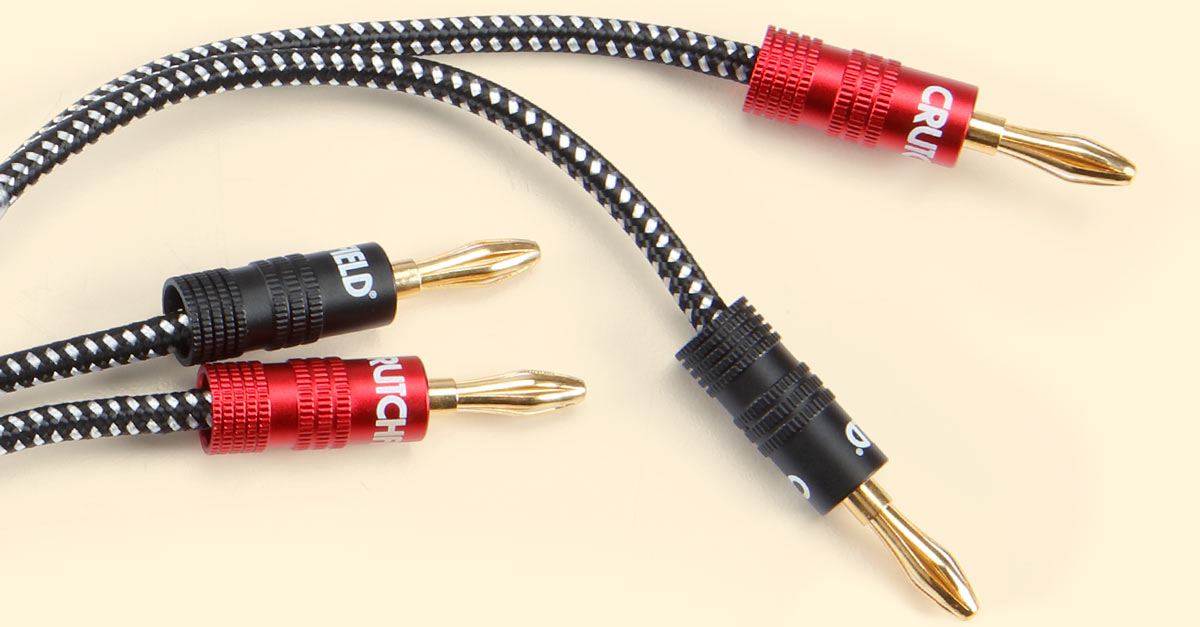
- Method 3: Using audio cable connectors: Audio cable connectors provide a versatile way to extend audio cables. They typically have male and female ends, allowing you to connect different audio cables with ease. This method is convenient and provides flexibility in adjusting cable lengths as needed. However, it’s important to use high-quality connectors to avoid signal degradation.
- Method 4: Using wireless audio extenders: Wireless audio extenders are an innovative solution, especially for situations where running cables is not feasible. These devices use wireless technology to transmit audio signals from the source to the output device without the need for physical cables. Wireless extenders can provide convenience and flexibility, but keep in mind that they may introduce latency or signal compression.
It’s essential to consider the specific requirements of your audio setup when selecting the appropriate method for extending audio cables. Factors such as infrastructure, budget, signal quality, and ease of installation should guide your decision. Now that we have explored different methods for extending audio cables, let’s move on to some tips for extending audio cables effectively.
Method 1: Using Audio Cable Extenders
Using audio cable extenders is one of the simplest and most straightforward methods for extending audio cables. These extenders are designed to connect two audio cables together seamlessly, providing the extra length you need. Here’s how to use audio cable extenders effectively:
- Choose the right extender: Audio cable extenders come in various forms, such as male-to-male or female-to-female connectors. Make sure to select the extender that matches the connectors on your audio cables. For example, if you have two male RCA cables, you’ll need a female-to-female RCA extender.
- Ensure high-quality extenders: It’s crucial to use high-quality audio cable extenders to minimize signal loss and interference. Look for extenders made with reliable materials and connectors that provide a secure and stable connection.
- Connect the audio cables: Plug one end of the audio cable into the extender’s connector, ensuring a secure fit. Then, connect the other end of the audio cable into the opposite connector of the extender. Make sure to push the connectors fully into place to establish a proper and stable connection.
- Check for signal quality: Once the audio cables and the extender are connected, test the signal quality. Listen for any distortion, noise, or drop in sound quality. If you experience any issues, double-check the connections and consider using higher-quality extenders.
- Secure the connection: To ensure the extended audio cables stay securely connected, you can use cable ties or adhesive clips to fasten the cables and the extender together. This helps prevent accidental disconnection and reduces strain on the connectors.
- Minimize cable length: Whenever possible, try to keep the total cable length to a minimum. The longer the cable, the more susceptible it is to signal degradation. If you need a significant extension, consider using other methods like soldering or audio cable connectors.
By following these steps and using high-quality audio cable extenders, you can easily extend your audio cables without sacrificing signal quality. However, for more permanent or specialized setups, other methods like soldering or using audio cable connectors may be more appropriate. Now, let’s move on to the next method: soldering audio cables.
Method 2: Soldering Audio Cables
Soldering audio cables is a more advanced method for extending cables, but it provides a secure and permanent connection. This method is commonly used in professional audio setups where signal integrity is critical. Here’s a step-by-step guide on how to solder audio cables:
- Gather the necessary tools and materials: To solder audio cables, you will need a soldering iron, solder wire, wire strippers, heat shrink tubing, and electrical tape. Ensure that you have the appropriate gauge of solder and the correct size of the heat shrink tubing for your cables.
- Prepare the audio cables: Start by stripping off around half an inch of the outer insulation from each end of the audio cables. Then, reveal the inner conductors by stripping off a small amount of insulation from each wire using wire strippers.
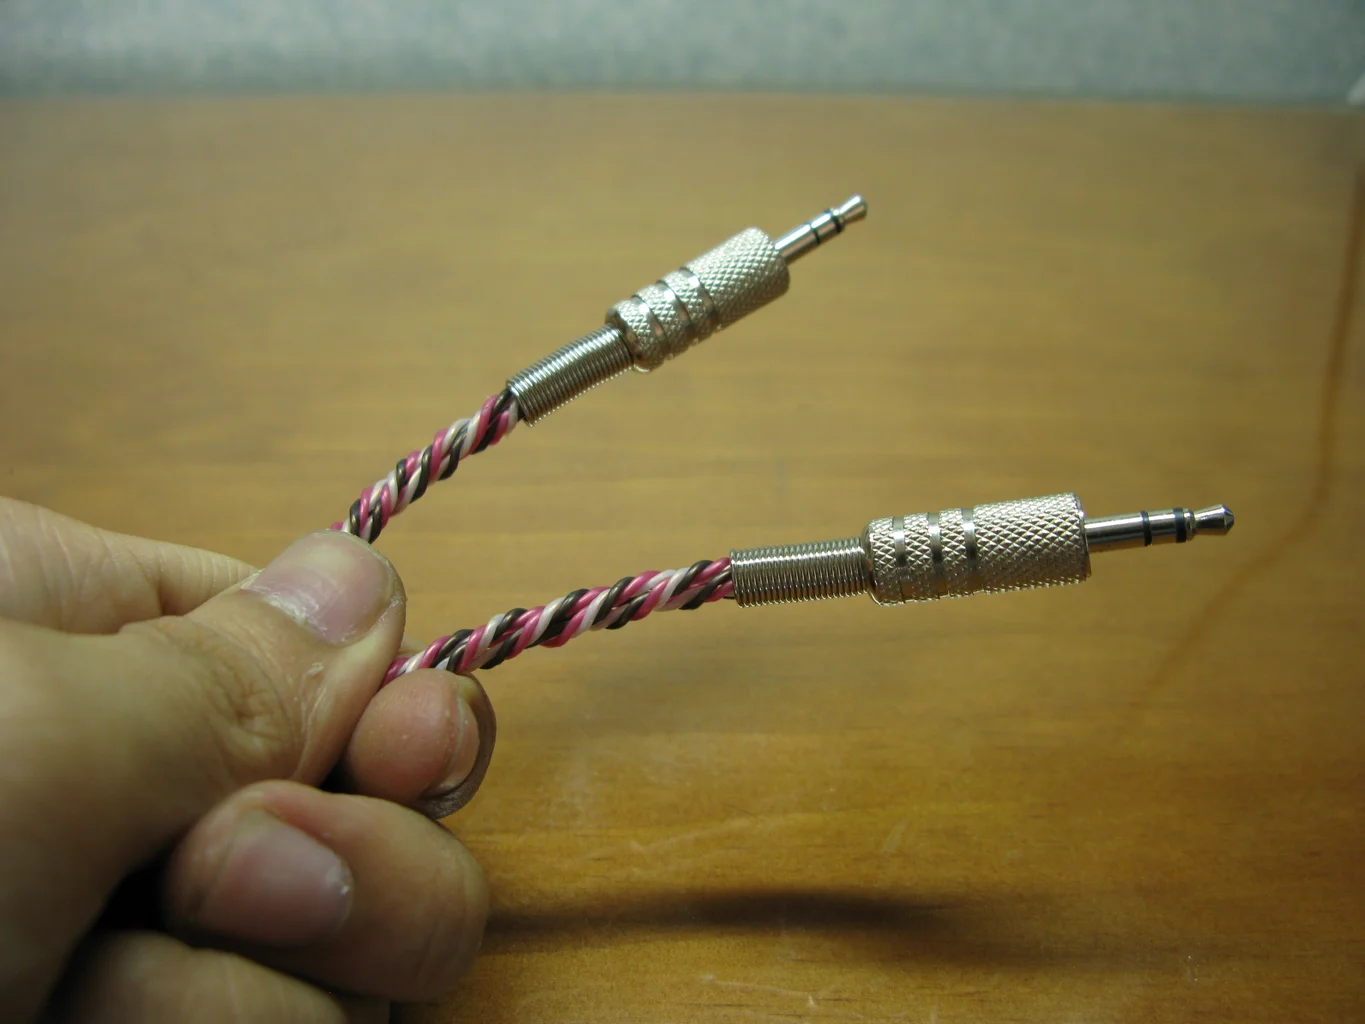
- Twist the wires together: Once the inner conductors are exposed, twist the corresponding wires from each cable together. For example, twist the positive wire from the first cable with the positive wire from the second cable and do the same for the negative wires.
- Apply heat shrink tubing: Slide a piece of heat shrink tubing onto each wire connection. Position the heat shrink tubing over the twisted wires, making sure it covers the exposed metal. Use a heat gun or a lighter carefully to heat the tubing until it shrinks and creates a tight seal around the connection. This provides insulation and reinforces the joint.
- Solder the connections: Heat up the soldering iron and apply a small amount of solder to the heated tip. Touch the tip of the soldering iron to the twisted wire connection and apply solder, allowing it to melt and flow evenly over the joint. Be careful not to apply an excessive amount of solder, as it can create a messy connection and potential signal issues.
- Insulate the connections: After soldering, use electrical tape or additional heat shrink tubing to insulate and protect the soldered connections. Ensure that the exposed metal and the soldered joint are completely covered to prevent any short circuits or signal interference.
It’s important to note that soldering audio cables should be done with caution and precision. If you are not confident in your soldering skills, it’s always best to seek assistance from a professional to ensure a secure and high-quality connection. Soldering provides a reliable and long-lasting extension for audio cables, making it an excellent choice for permanent installations or setups that require meticulous signal integrity. Now, let’s move on to the next method: using audio cable connectors.
Method 3: Using Audio Cable Connectors
Using audio cable connectors is a versatile method for extending audio cables. This method allows you to connect different types of audio cables together, providing the flexibility to extend and adapt your audio setup as needed. Here’s a step-by-step guide on how to use audio cable connectors:
- Select the appropriate connectors: Begin by selecting the audio cable connectors that match the type of cables you are extending. Ensure that you have the correct male and female connectors for your specific audio cables, such as RCA, XLR, or TRS connectors.
- Prepare the audio cables: Start by stripping off a small amount of the outer insulation from each end of the audio cables using wire strippers. This exposes the inner conductors and prepares them for connection to the audio cable connectors.
- Insert the cables into the connectors: Depending on the type of connector, you may need to unscrew or slide off a part of the connector to reveal the connection terminals. Insert the exposed inner conductors of one end of the audio cable into the corresponding terminals of the connector, ensuring a secure and stable connection.
- Tighten or secure the connectors: Once the audio cables are inserted into the connectors, tighten or secure the connectors according to their design. This may involve turning the connectors clockwise to secure them or using screws to fasten them in place. Ensure that the connection is tight and stable to prevent any signal loss or interference.
- Repeat for the other end of the cables: Follow the same steps to connect the other end of the audio cables to the opposite connectors. Make sure to maintain the correct polarity, such as connecting the positive terminal of one cable to the positive terminal of the other cable.
- Test the connections: Once the audio cables are connected to the connectors, test the audio signal quality. Listen for any distortion, noise, or drop in audio quality. If you notice any issues, double-check the connections and ensure they are secure.
Using audio cable connectors provides a convenient and flexible way to extend audio cables. It allows you to adapt different types of cables to suit your audio setup and simplifies the process of extending cables without compromising signal quality. However, it’s important to use high-quality connectors to ensure a reliable and stable connection. Now that we’ve covered this method, let’s move on to the final method: using wireless audio extenders.
Method 4: Using Wireless Audio Extenders
Wireless audio extenders provide a convenient and flexible solution for extending audio cables without the need for physical connections. This method is particularly useful in scenarios where running cables is not practical or feasible. Here’s how to use wireless audio extenders:
- Select the right wireless audio extender: There are various types of wireless audio extenders available, such as Bluetooth or Wi-Fi-based systems. Choose the extender that is compatible with your audio devices and suits your specific needs.
- Pair the transmitter and receiver: Start by pairing the transmitter unit with the audio source, such as a TV, computer, or audio system. Follow the manufacturer’s instructions to establish the wireless connection between the audio source and the wireless extender’s transmitter unit. Then, pair the receiver unit with the output device, such as speakers, headphones, or a sound system.
- Position the transmitter and receiver: Place the transmitter unit near the audio source and ensure a clear line of sight between the transmitter and the receiver unit. Avoid obstructions or interference sources that may disrupt the wireless signal. Position the receiver unit close to the output device while maintaining proper signal reception.
- Test the audio signal: Once the transmitter and receiver units are properly positioned and connected, test the audio signal quality. Make sure there are no issues with the audio transmission, such as latency, dropouts, or signal compression. Adjust the positioning of the units if necessary to optimize the signal quality.
- Consider additional features: Some wireless audio extenders offer additional features like multi-room audio streaming or the ability to connect multiple receivers to a single transmitter unit. Explore these features and consider if they add value to your audio setup.
- Ensure power supply and battery life: Depending on the wireless audio extender, it may require a power supply or battery operation. Ensure that the units are powered appropriately to maintain uninterrupted audio transmission. Check the battery life of portable units and recharge or replace them as needed.
While wireless audio extenders offer convenience and flexibility, it’s important to note that they may introduce latency or compression to the audio signal. For critical listening or professional applications where precise synchronization is required, other methods like audio cable extenders or soldering may be preferred. However, wireless audio extenders are excellent options for casual listening, home theater setups, or situations where running cables is impractical. With wireless audio extenders, you can enjoy the benefits of extended audio cables without the limitations of physical connections. Now that we’ve explored all the methods for extending audio cables, let’s move on to some general tips for extending audio cables effectively.
Tips for Extending Audio Cables Effectively
Extending audio cables requires careful consideration and attention to detail to ensure optimal sound quality and performance. Here are some tips to help you extend audio cables effectively:
- Use high-quality cables: Investing in high-quality audio cables minimizes signal loss and interference. Look for cables with proper shielding and insulation to maintain excellent audio fidelity.
- Avoid excessive cable length: Keep the total length of your extended audio cables as short as possible. Longer cables are more prone to signal degradation. If you need a significant extension, consider using other methods like soldering or audio cable connectors.
- Ensure proper cable management: Proper cable management helps prevent tangling, strain, and accidental disconnections. Use cable ties, adhesive clips, or cable channels to organize and secure the extended audio cables.
- Minimize interference: Keep the extended audio cables away from potential sources of interference such as power lines, electrical equipment, or radios. This helps reduce the chances of signal degradation or unwanted noise in your audio system.
- Avoid excessive connectors: Each connector in the audio chain introduces the potential for signal loss or interference. Minimize the number of connectors used when extending audio cables to maintain the highest signal quality possible.
- Test the audio signal: After extending your audio cables, thoroughly test the audio signal quality. Listen for any distortions, noise, or drop in sound quality. If you encounter issues, double-check the connections, cable integrity, and consider using higher-quality components or alternative extension methods.
- Maintain proper polarity: When extending audio cables, ensure that the positive and negative terminals are connected correctly. Maintaining the proper polarity helps preserve audio phase and ensures accurate sound reproduction.
- Consider cable management systems: If you frequently need to extend audio cables, consider investing in cable management systems such as retractable reels or cable looms. These systems provide easy and organized cable extension and retraction, minimizing the need for frequent cable adjustments.
- Label your cables: To avoid confusion and ensure easy identification, label your extended audio cables. Use markers, tape, or cable tags to label the cables at both ends with clear descriptions, such as the source and destination or the specific audio devices they are connected to.
- Regularly check and maintain connections: Periodically inspect the connectors and connections of extended audio cables to ensure they are secure and in good condition. Tighten any loose connectors and replace any damaged or worn-out cables to prevent audio signal issues.
By following these tips, you can extend your audio cables effectively while maintaining optimal sound quality and performance. Remember to always prioritize quality components, proper cable management, and thorough testing to achieve the best results. With the right approach, your extended audio cables will provide you with the flexibility and versatility you need for an exceptional audio experience.
Conclusion
Extending audio cables is a valuable skill for anyone looking to create a flexible and optimized sound system. Whether you need to adjust the positioning of your audio equipment, improve accessibility, or have a more versatile setup, knowing how to extend audio cables effectively is essential.
In this article, we explored various methods for extending audio cables, including using audio cable extenders, soldering, audio cable connectors, and wireless audio extenders. Each method has its advantages and considerations, allowing you to choose the approach that best suits your specific needs and preferences.
Before extending your audio cables, it’s important to consider factors such as cable type and gauge, cable length limitations, surrounding environment for potential interference, connector compatibility, and the quality of connectors and cables. Keeping these factors in mind ensures successful and reliable audio cable extension.
Whether you opt for audio cable extenders for a quick and convenient solution, soldering for a secure and permanent connection, audio cable connectors for versatility, or wireless audio extenders for flexibility, each method offers unique benefits. Remember to prioritize high-quality components, proper cable management, and thorough testing to maintain optimal audio signal quality.
By following the tips provided in this article, you can extend your audio cables effectively while minimizing signal loss, ensuring proper connections, and optimizing sound performance. With the ability to extend your audio cables confidently, you can create the audio setup you desire, whether it’s for personal enjoyment, professional use, or a special event.
Now, armed with the knowledge and techniques necessary, you can confidently extend your audio cables and enjoy the benefits of a well-arranged and immersive audio experience.