Home>Production & Technology>Audio Cable>Which Camera Port Does The Audio Cable Go
Audio Cable
Which Camera Port Does The Audio Cable Go
Published: December 21, 2023
Find out which camera port the audio cable goes and ensure a seamless connection for high-quality audio capture.
(Many of the links in this article redirect to a specific reviewed product. Your purchase of these products through affiliate links helps to generate commission for AudioLover.com, at no extra cost. Learn more)
Table of Contents
Introduction
Welcome to the world of audio cables! If you are a videographer or someone who is just starting to explore the realm of cameras and audio recording, understanding how audio cables connect to cameras is crucial. The audio cable serves as the lifeline for capturing crisp and clear sound, whether it’s for interviews, documentaries, or any other type of video production.
Knowing which camera port the audio cable goes into is essential for ensuring proper audio recording. In this article, we will delve into the various camera audio ports and the types of audio cables commonly used. We will also guide you through the process of connecting the audio cable to your camera and offer troubleshooting tips for any audio connection issues you may encounter.
Whether you are using a professional-grade camera or a consumer camera, understanding the audio connection will elevate the quality of your audio recordings and enhance the overall production value of your videos.
So, let’s dive in and explore the fascinating world of audio cables and their connections to cameras!
Understanding Audio Cable Connections
Before we jump into the specifics of camera audio ports and cables, let’s first understand the basics of audio cable connections. Audio cables are used to transmit analog audio signals from one device to another. They are essential for capturing high-quality audio and ensuring clear communication between different audio equipment.
Audio cables typically consist of two main components: the connector and the cable. The connector is the metallic plug or socket at the end of the cable that allows for the physical connection between devices. The cable itself is responsible for transmitting the audio signals from one end to the other.
There are various types of audio cables, including XLR cables, 1/4″ cables (also known as TRS or TS cables), RCA cables, and mini-jack cables. Different devices may require different types of cables, so it’s important to understand which cables are compatible with your camera and audio equipment.
It’s also essential to consider the length of the audio cable required. Longer cables may be necessary for situations where the camera needs to be physically separated from the audio source, such as when recording an interview or capturing audio in a live event.
Additionally, audio cables can be unbalanced or balanced. Unbalanced cables have two conductors, a signal conductor, and a ground conductor. Balanced cables, on the other hand, have three conductors: two carrying the audio signal in opposite polarity and one serving as the ground. Balanced cables are commonly used in professional audio setups as they offer better noise rejection, resulting in cleaner audio signals.
Now that we have a basic understanding of audio cables, let’s explore the different audio ports found on cameras and how the audio cable connects to them.
Camera Audio Ports
Camera audio ports are the designated connection points on cameras where you can plug in your audio cables. These ports are essential for capturing external audio sources, such as microphones or audio recorders, and integrating them into your video recordings.
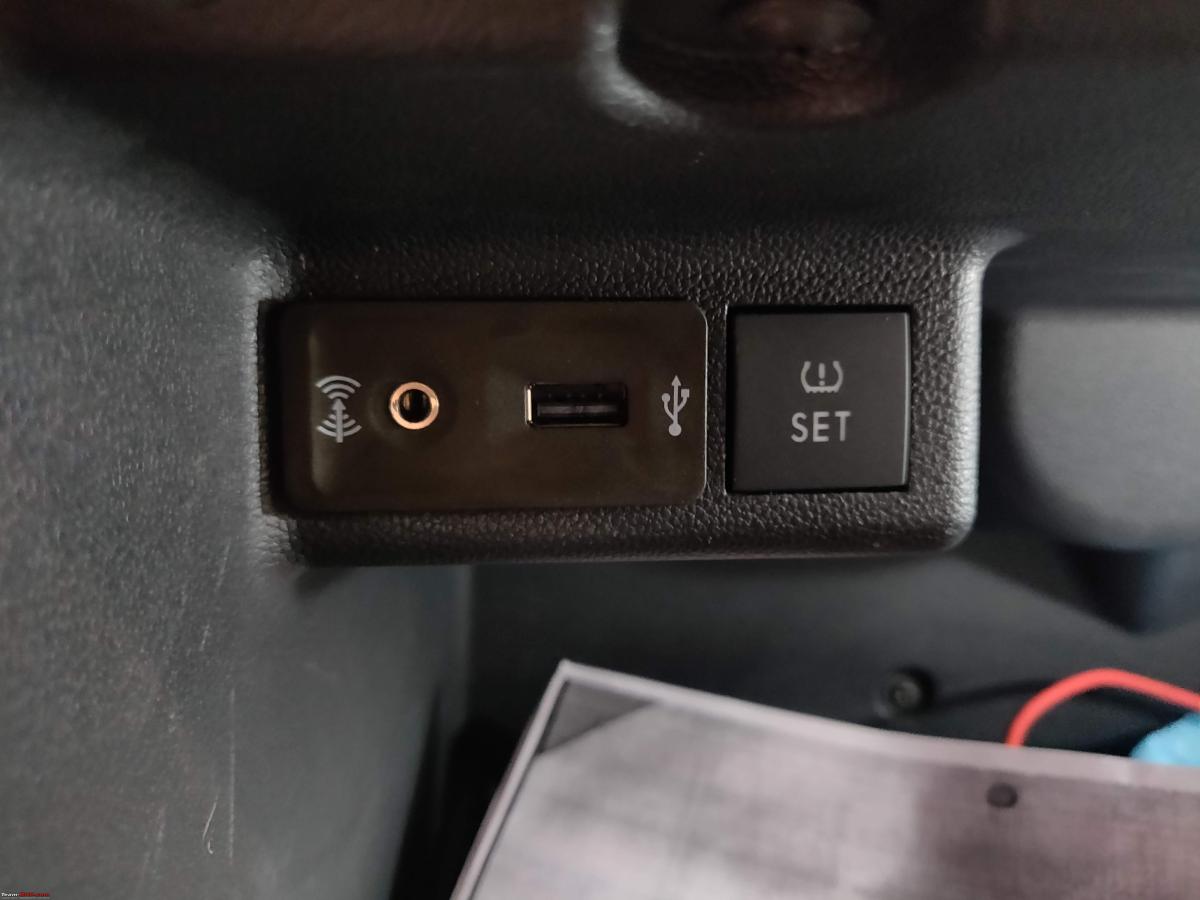
The most common audio port found on cameras is the 3.5mm mini-jack port. This port is often labeled as the “mic input” or “audio in” and is a standard feature on many consumer-grade cameras. It is designed to receive audio signals from external microphones or audio devices with a compatible mini-jack cable.
If you are using a professional-grade camera or need more advanced audio capabilities, you may come across XLR ports. XLR ports are larger and more robust compared to mini-jack ports and are typically found on higher-end cameras. They offer a more secure and balanced audio connection and are commonly used in professional audio recording setups.
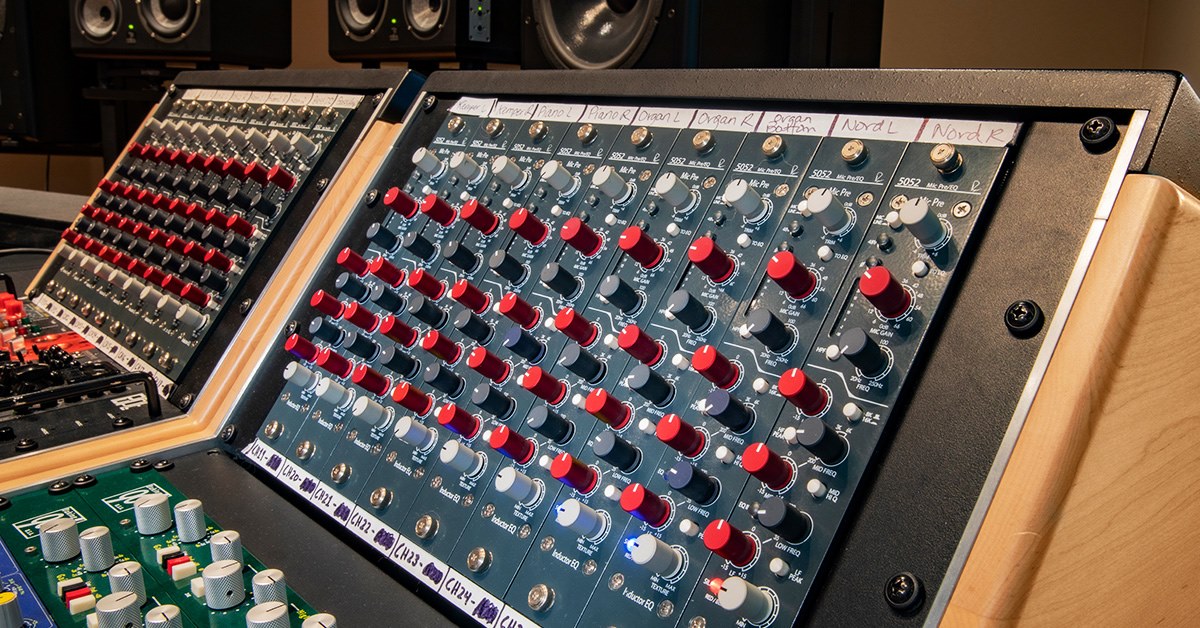
In addition to the main audio input ports, some cameras may also have auxiliary audio ports. These ports come in various formats, such as RCA, 1/4″ TRS, or digital audio ports. They are typically used for connecting additional audio devices, such as mixers or external audio recorders, to further enhance the audio recording capabilities.
When examining your camera, look for ports labeled specifically for audio input or microphone connection. Refer to your camera’s user manual or documentation to identify the type of audio ports it has and their compatibility with different audio cables.
Now that we have a better understanding of the camera audio ports, let’s explore the different types of audio cables commonly used in audio recording setups.
Types of Audio Cables
Audio cables come in various types, each with their own specific uses and compatibility with different audio equipment. Understanding the different types of audio cables will help you choose the right cable for connecting your audio source to your camera.
1. XLR Cables: XLR cables are commonly used in professional audio setups. They have three-pin connectors and offer a balanced audio signal transmission, making them ideal for long cable runs and environments with potential electrical interference. XLR cables are often used to connect microphones and audio mixers to cameras with XLR ports.
2. 1/4″ Cables: 1/4″ cables, also known as TRS (Tip-Ring-Sleeve) or TS (Tip-Sleeve) cables, are commonly used for instrument connections and audio equipment with 1/4″ jacks. These cables are typically used when connecting guitars, keyboards, or audio mixers to cameras or audio interfaces that have 1/4″ input ports.
3. RCA Cables: RCA cables are recognizable by their red and white connectors. They are commonly used for stereo audio connections and can be used to connect audio devices with RCA outputs, such as DVD players or audio receivers, to cameras that have RCA input ports.
4. Mini-Jack Cables: Mini-jack cables, also known as 3.5mm cables, are one of the most common audio cables used in consumer-grade cameras. These cables have a small, cylindrical connector that fits into the 3.5mm mini-jack port found on many cameras. They are often used when connecting external microphones or audio recorders to cameras for improved audio quality.
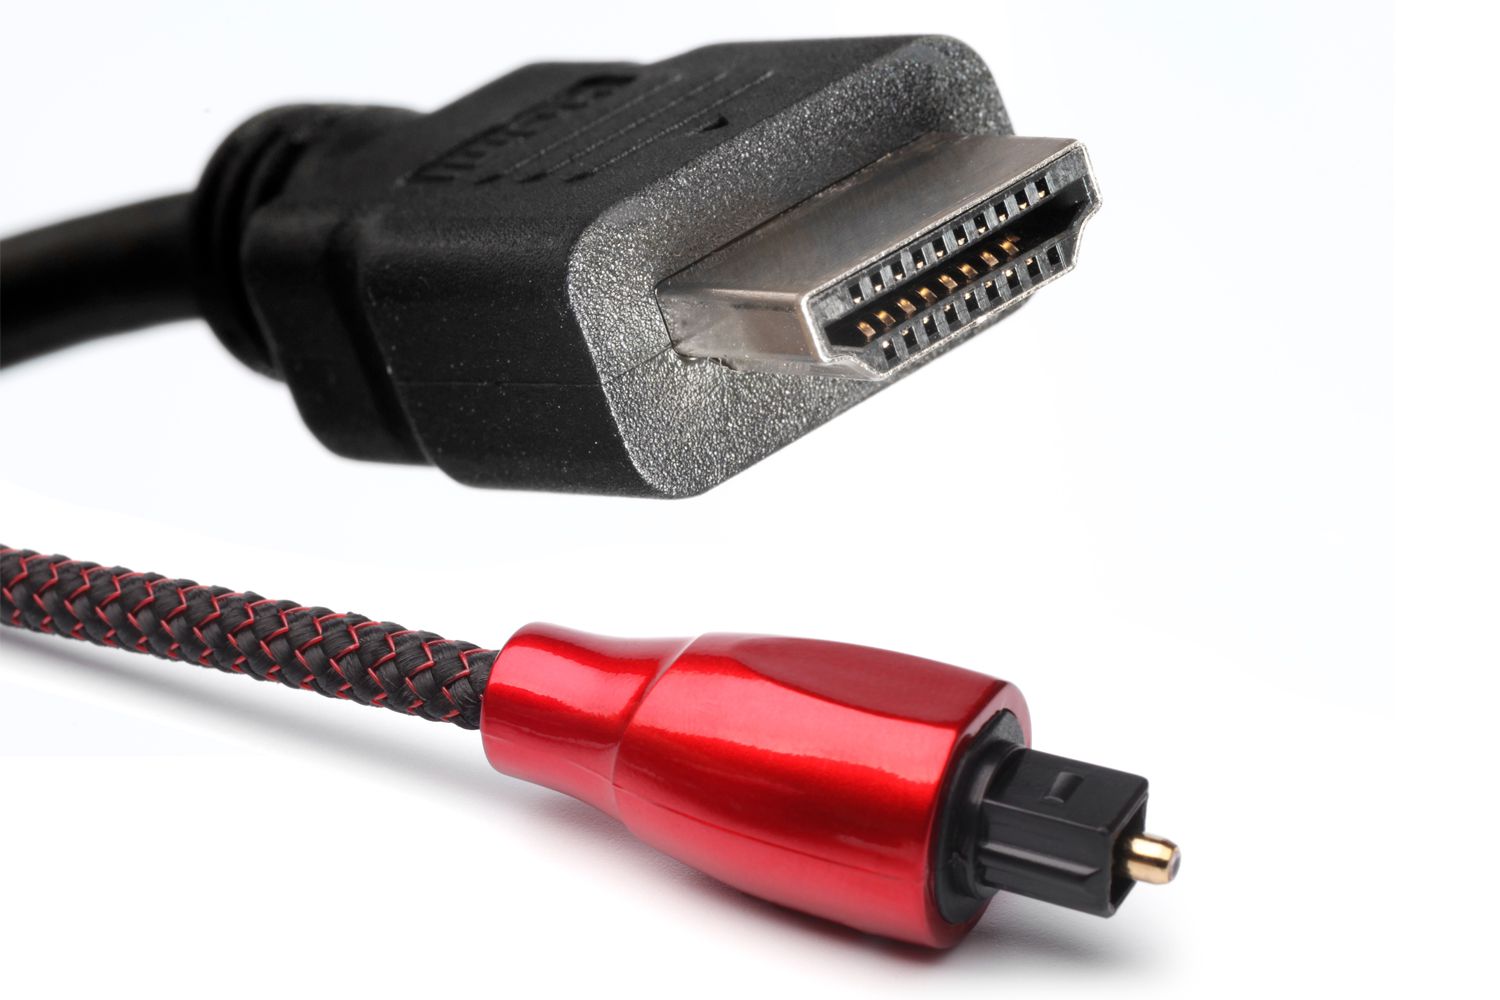
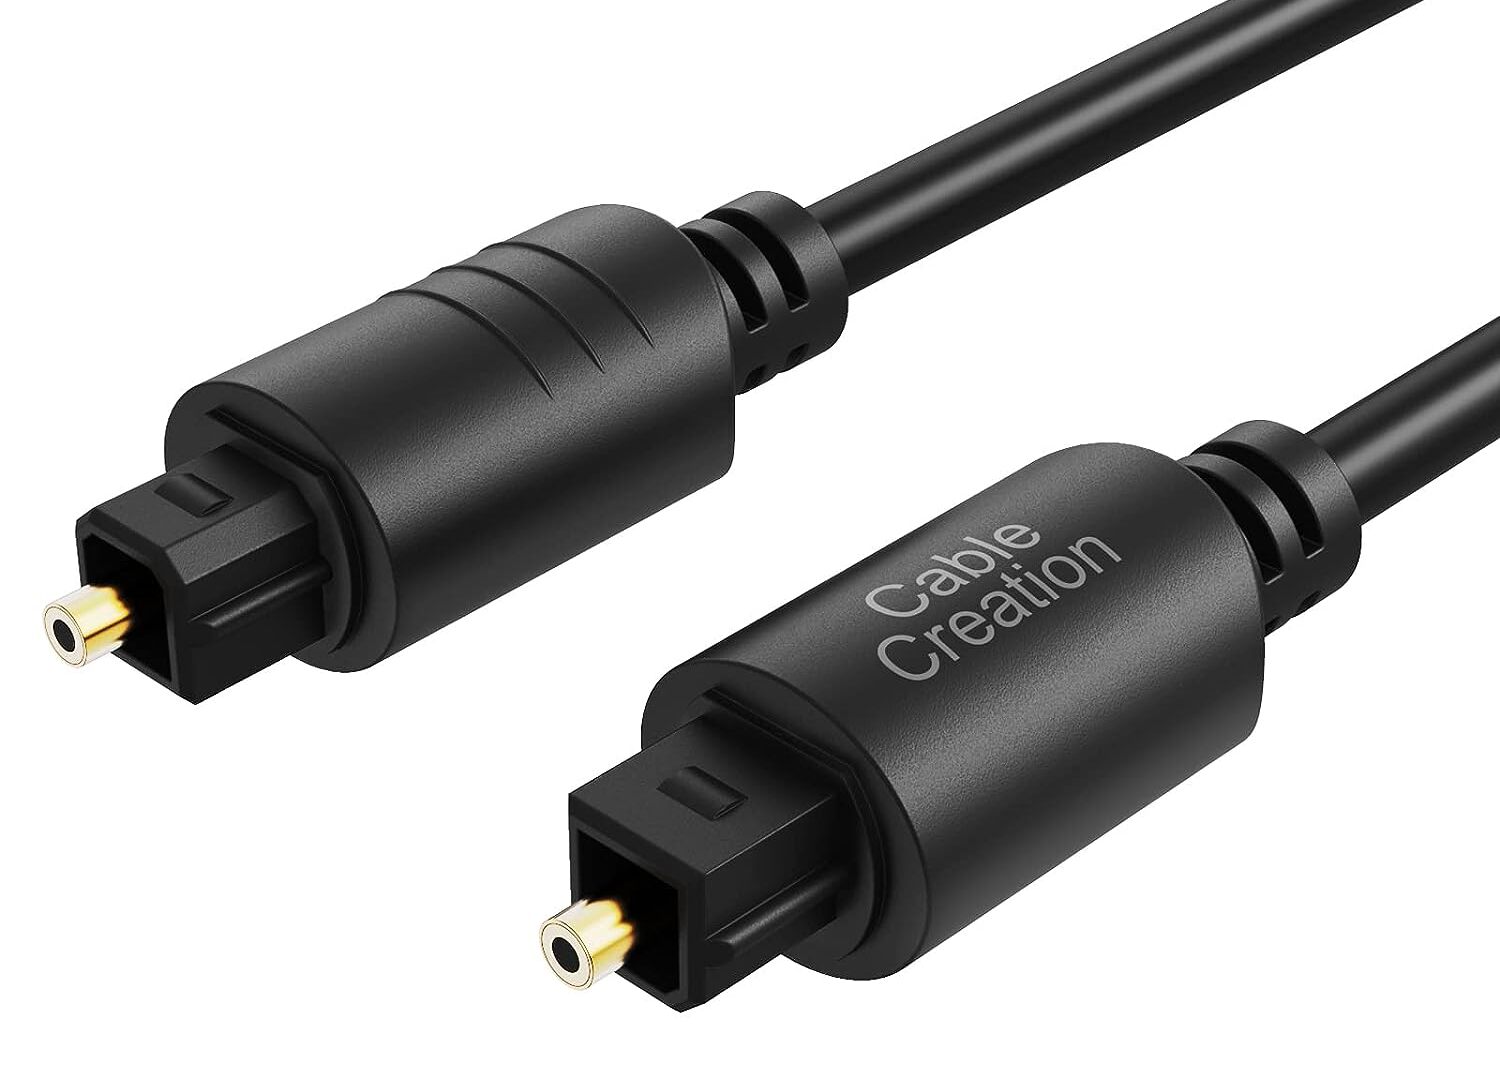
5. HDMI Cables: HDMI cables are primarily used for transmitting high-definition video and audio signals. Some cameras may have HDMI ports that support audio transmission as well. HDMI cables can be used to connect cameras to external devices such as monitors or recorders for capturing both video and audio signals simultaneously.
When selecting an audio cable, ensure that it is compatible with both your camera’s audio input port and the audio source you are connecting. Consider factors such as cable length, quality, and whether you need a balanced or unbalanced connection based on your specific audio recording needs.
Now that we know the different types of audio cables, let’s explore how to properly connect the audio cable to your camera.
Connecting the Audio Cable to the Camera
Now that you have identified the audio port on your camera and selected the appropriate audio cable, it’s time to connect them together. Follow these steps to ensure a proper and secure connection:
- Turn off the camera: Before connecting or disconnecting any cables, make sure your camera is turned off to avoid any potential damage to the equipment.
- Identify the correct port: Locate the audio input port on your camera. It may be labeled as “mic input,” “audio in,” or have a microphone symbol next to it. Ensure that you are connecting the audio cable to the correct port.
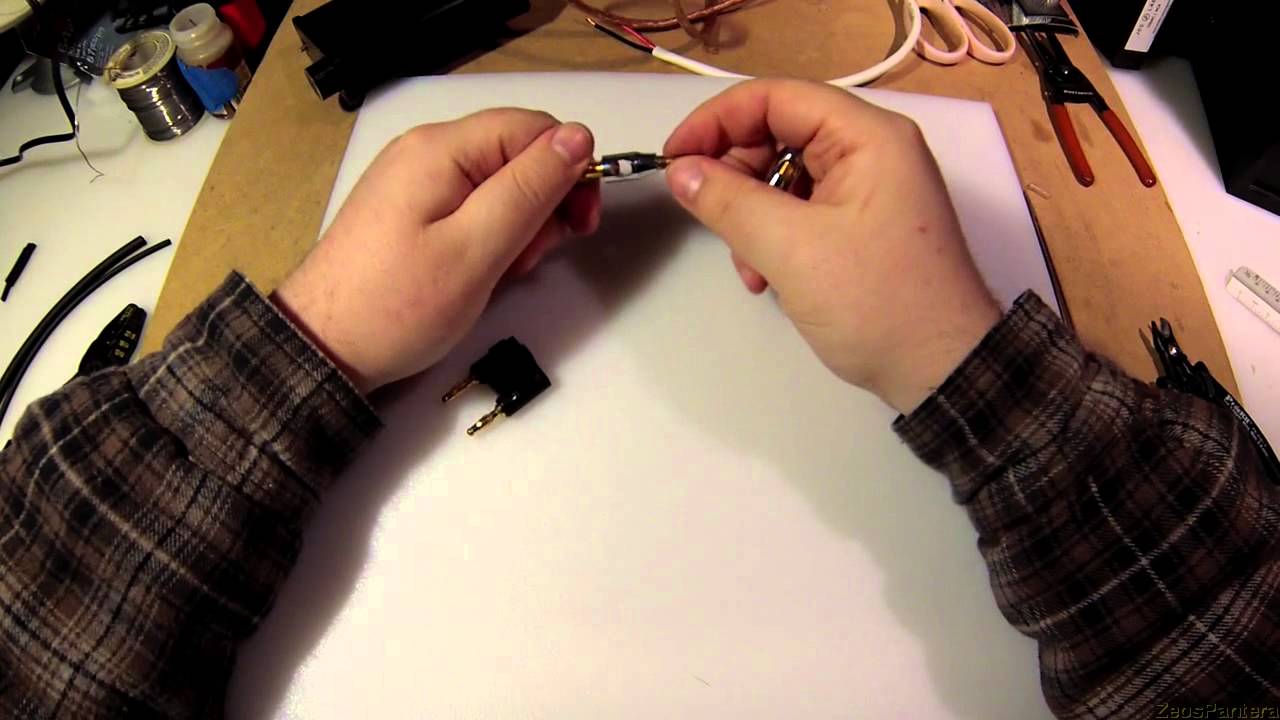
- Prepare the audio cable: Check the connectors on your audio cable. If it has a male connector, insert it into the audio input port on your camera. For cables with female connectors, insert the male end into the camera’s audio input port.
- Secure the connection: Once the connectors are properly aligned, gently push the audio cable connector into the camera’s audio input port until it fits snugly. Give it a slight twist to ensure a secure connection.
- Test the audio: After connecting the audio cable, it’s essential to test the audio recording to verify that the connection is working correctly. Turn on your camera and perform a quick audio test by speaking into the external microphone or audio source connected to the camera. Monitor the audio levels on your camera’s display or through headphones to ensure the audio is clear and at the desired level.
Remember, always follow the manufacturer’s instructions and guidelines when connecting audio cables to your camera. Improper connections or rough handling can lead to damaged ports, connectors, or equipment.
If you are experiencing any audio connection issues or if the recorded audio sounds distorted or noisy, refer to the troubleshooting tips in the next section.
Troubleshooting Audio Connection Issues
While connecting audio cables to your camera is usually a straightforward process, you may encounter some issues along the way. Here are a few troubleshooting tips to help you address common audio connection problems:
- Check the cable and connectors: Ensure that the audio cable is in good condition and that the connectors are clean and free from dirt or debris. Sometimes, a loose or damaged cable or connector can cause audio issues.
- Verify the compatibility: Double-check that the audio cable you are using is compatible with both your camera and the audio source. Using an incompatible cable can result in poor audio quality or no audio signal at all.
- Confirm the input settings: Check the audio input settings on your camera to ensure that it is set to the correct source, such as an external microphone or audio input. Adjust the input sensitivity or level as needed to optimize the audio recording.
- Watch out for phantom power: If you’re using a microphone that requires phantom power, ensure that you have enabled this feature in your camera’s settings. Phantom power is necessary to power certain types of microphones, such as condenser microphones, and without it, the microphone may not produce any sound.
- Eliminate electrical interference: Electrical interference can cause buzzing or humming sounds in your audio recordings. To reduce interference, keep audio cables away from power cables and other electrical sources. Additionally, using balanced cables or audio isolation transformers can help minimize unwanted noise.
- Try a different cable or port: If you’re still experiencing audio issues, try using a different audio cable or connecting the cable to a different port on your camera. This can help identify whether the issue is related to a faulty cable or a specific camera port.
- Consult the camera manual: If the above troubleshooting steps do not resolve the issue, consult your camera’s user manual or contact the manufacturer’s support for further assistance. They can provide specific troubleshooting steps or offer guidance tailored to your camera model.
Remember, troubleshooting audio connection issues can sometimes be a process of trial and error. Stay patient and systematic in your approach to identify and resolve any issues you encounter.
By following these troubleshooting tips, you’ll be on your way to capturing clear and high-quality audio recordings with your camera.
Conclusion
Understanding audio cable connections is essential for anyone involved in video production or audio recording with cameras. Knowing which camera port the audio cable goes into ensures that you can capture clear and professional-quality audio to complement your videos.
In this article, we explored the different types of camera audio ports, including the common mini-jack, XLR, and auxiliary ports. We also discussed the various types of audio cables, such as XLR cables, 1/4″ cables, RCA cables, mini-jack cables, and HDMI cables, and their compatibility with different audio equipment.
You learned how to properly connect the audio cable to the camera, following step-by-step instructions to ensure a secure connection. We also provided troubleshooting tips to help you address any audio connection issues you may encounter, such as checking the cable and connectors, verifying compatibility, adjusting input settings, and reducing electrical interference.
By following these guidelines, you can enhance your audio recording capabilities and produce videos with crisp, high-quality sound. Whether you’re a videographer, content creator, or someone exploring audio recording, understanding audio cable connections will take your productions to the next level.
Remember, always refer to your camera’s user manual for specific instructions and consult professional audio engineers or equipment manufacturers for further guidance.
So, go ahead and confidently connect your audio cables to your camera, capture stunning visuals, and complement them with crystal-clear audio for an immersive and captivating multimedia experience!