Home>Production & Technology>Audio Interface>How To Go To Preamp To Audio Interface
Audio Interface
How To Go To Preamp To Audio Interface
Published: February 5, 2024
Learn how to connect your audio interface to a preamp for enhanced sound quality and seamless recording. Discover step-by-step instructions with expert tips and tricks.
(Many of the links in this article redirect to a specific reviewed product. Your purchase of these products through affiliate links helps to generate commission for AudioLover.com, at no extra cost. Learn more)
Table of Contents
Introduction
Welcome to a comprehensive guide on how to connect a preamp to an audio interface! If you are an audio enthusiast, musician, or sound engineer, you probably understand the importance of having high-quality equipment for recording and producing music. A preamp and an audio interface are two crucial components in this process.
Before we dive into the details, let’s establish a basic understanding of what a preamp and an audio interface are and why they are important.
A preamp, short for preamplifier, is a device designed to amplify low-level microphone or instrument signals to a line level appropriate for recording or mixing. It boosts the weak signals coming from microphones, electric guitars, or other sound sources and prepares them for further processing.
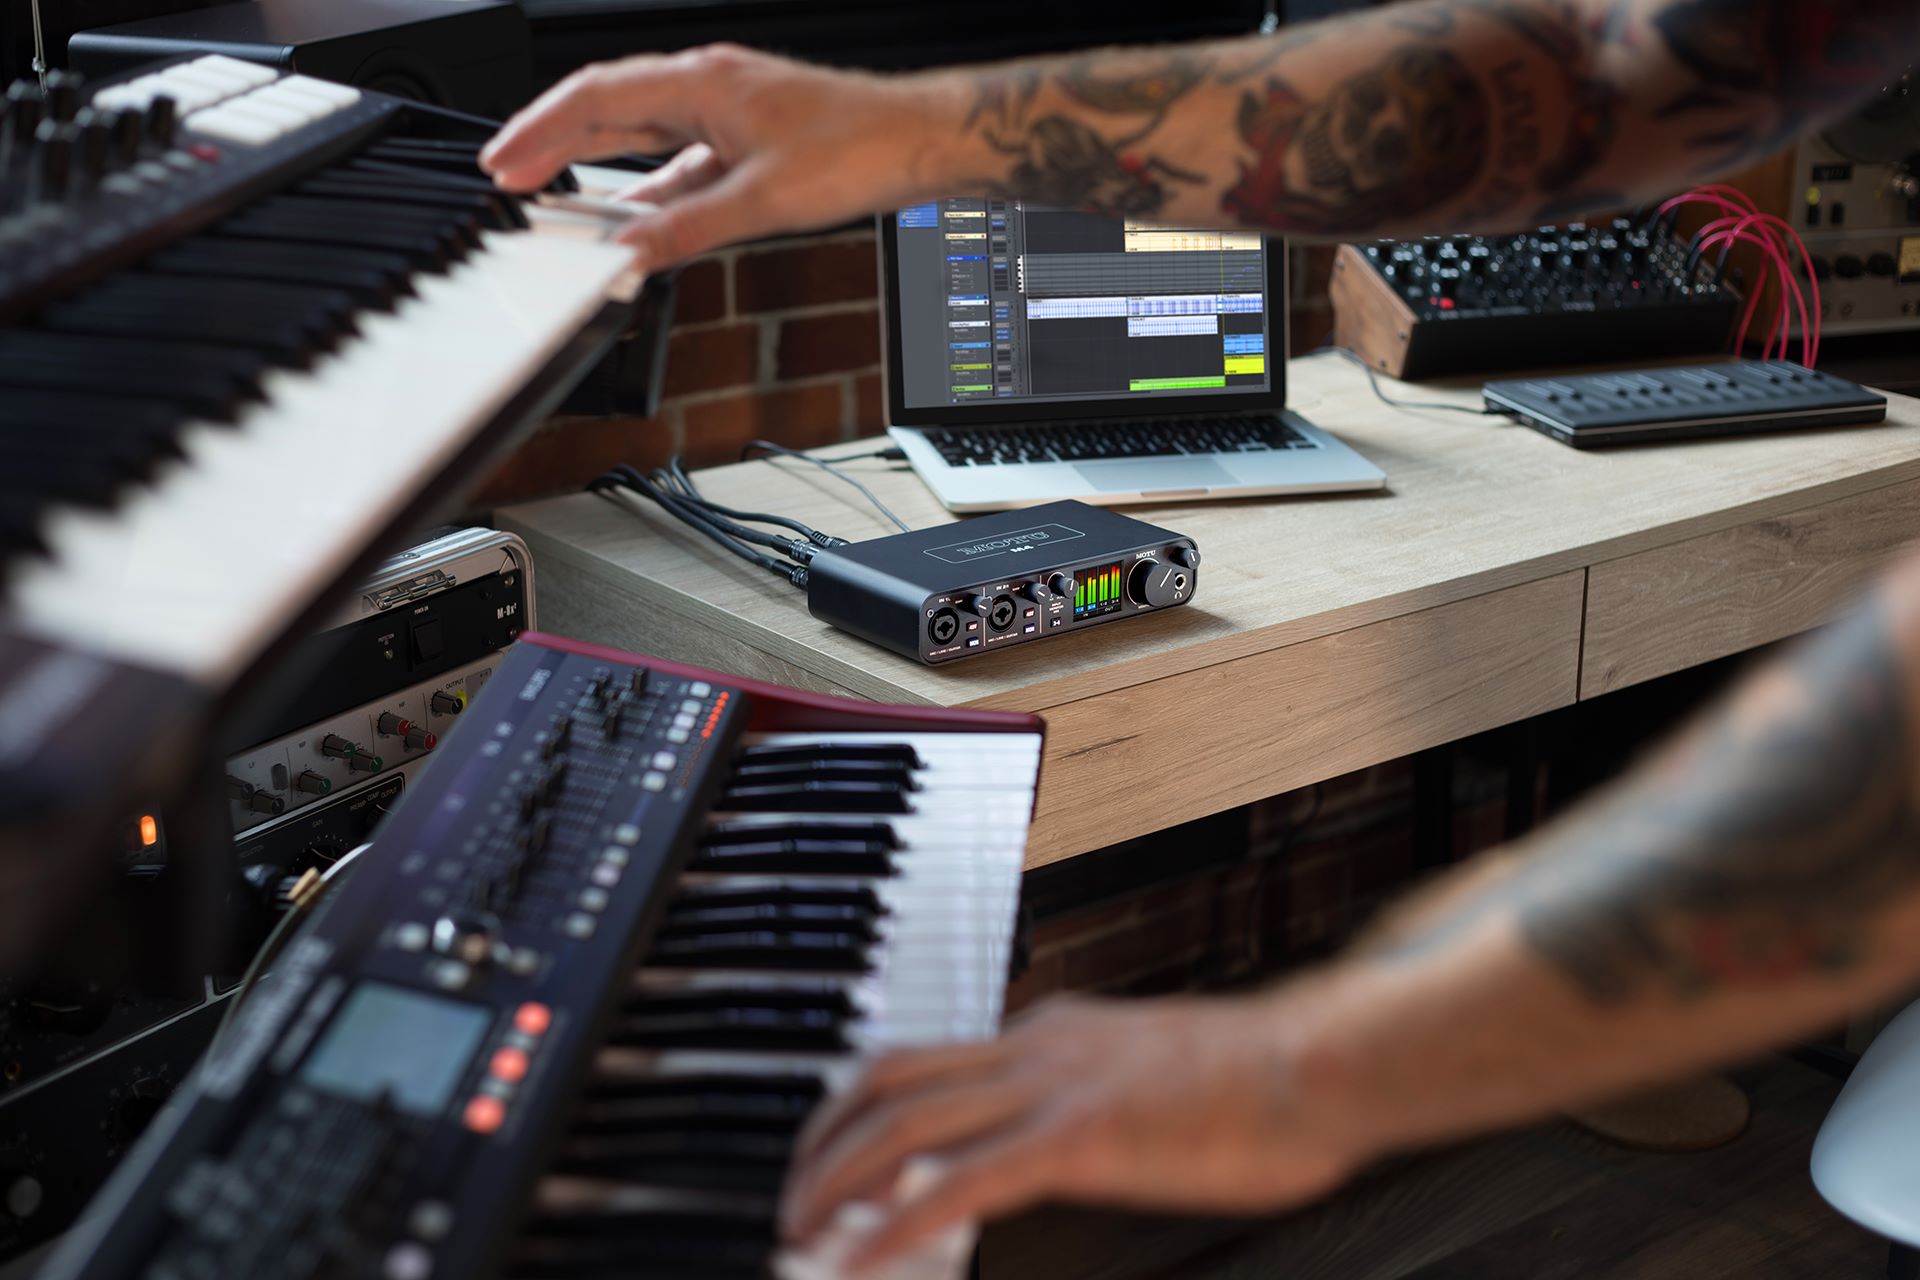
An audio interface, on the other hand, acts as the bridge between your preamp and your computer. It converts the analog audio signals from the preamp into digital data that your computer can process and record. Additionally, it provides input and output options, control knobs, and connectivity features to enhance your recording or production workflow.
Now that we have a basic understanding of these components, it’s time to learn how to properly connect a preamp to an audio interface. The connection process is straightforward, but it requires attention to detail to ensure optimal signal quality and recording performance.
In the next sections, we will discuss the steps involved in connecting and setting up the preamp and audio interface, adjusting input levels, and troubleshooting common issues. So, let’s jump right in and start exploring the world of preamps and audio interfaces!
Understanding Preamp and Audio Interface
Before we delve into the process of connecting a preamp to an audio interface, it’s important to have a solid understanding of these two components and their roles in audio recording and production.
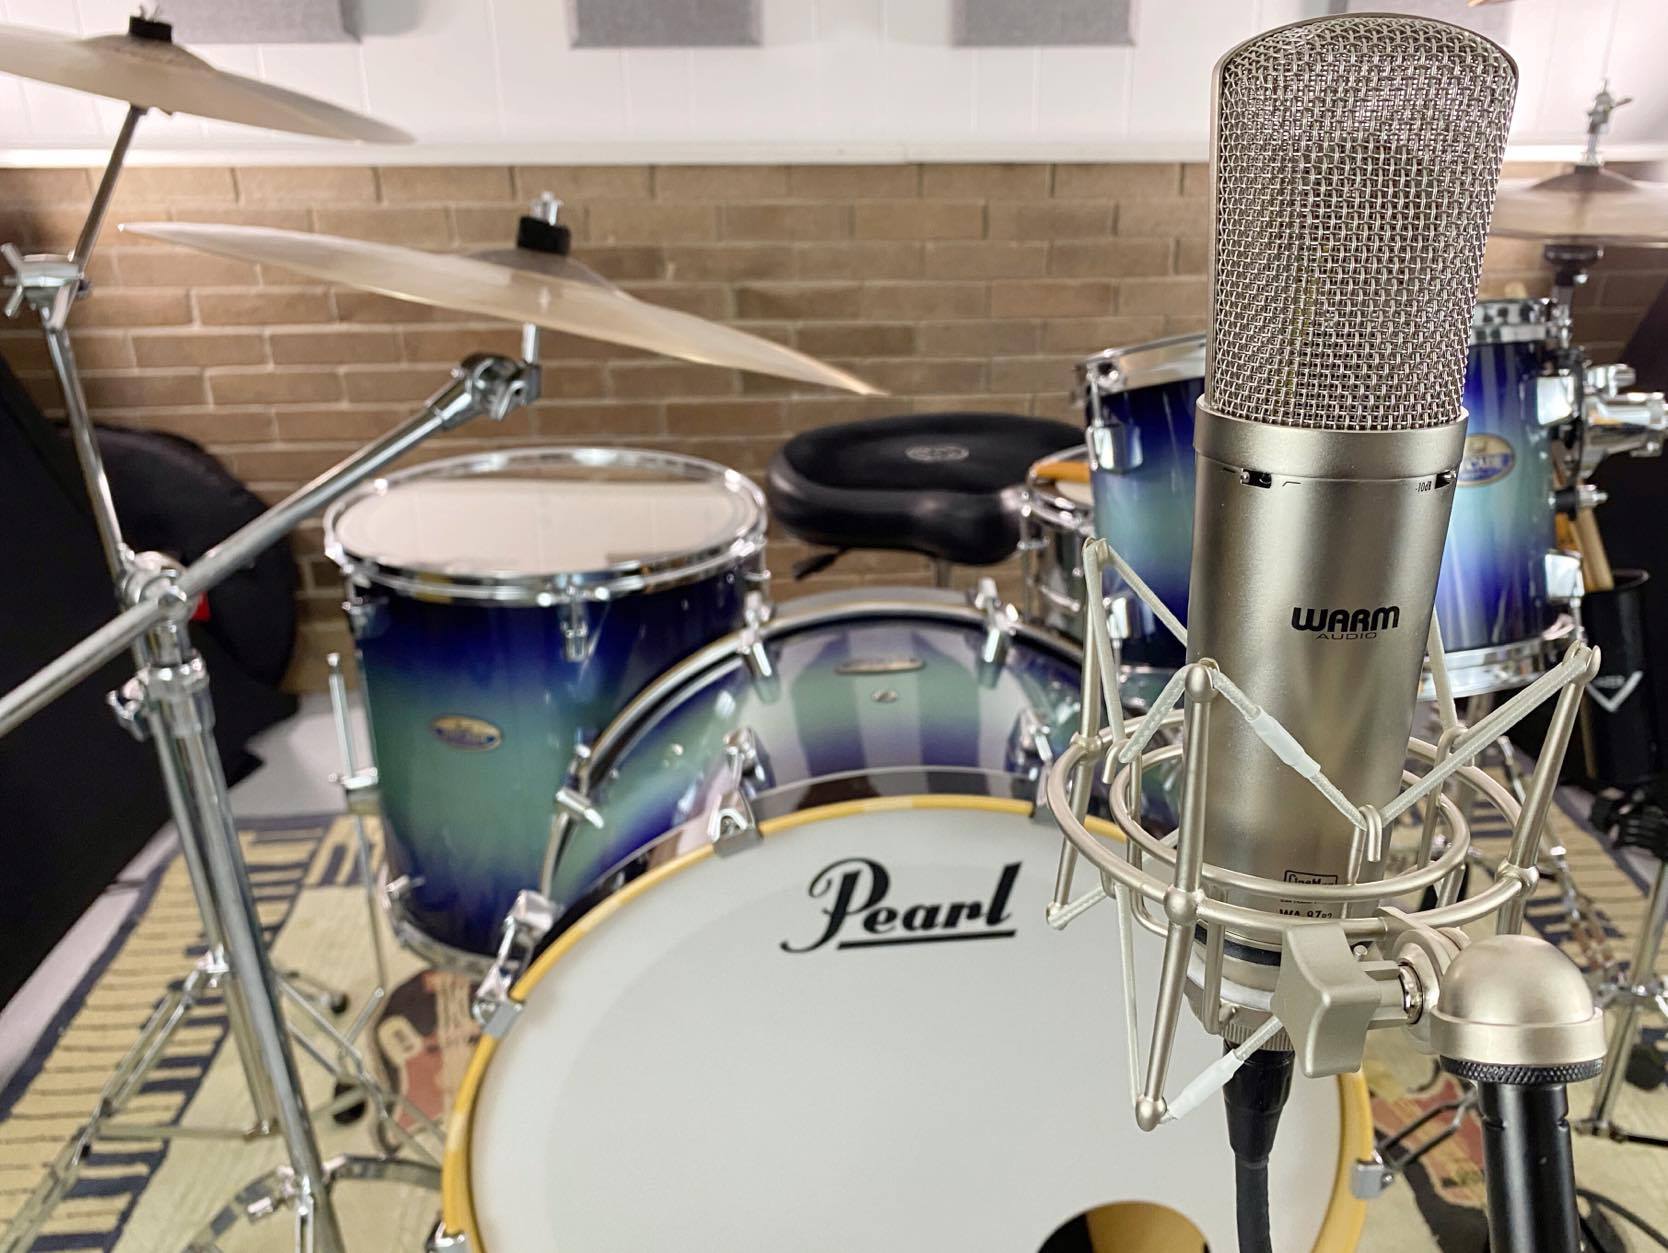
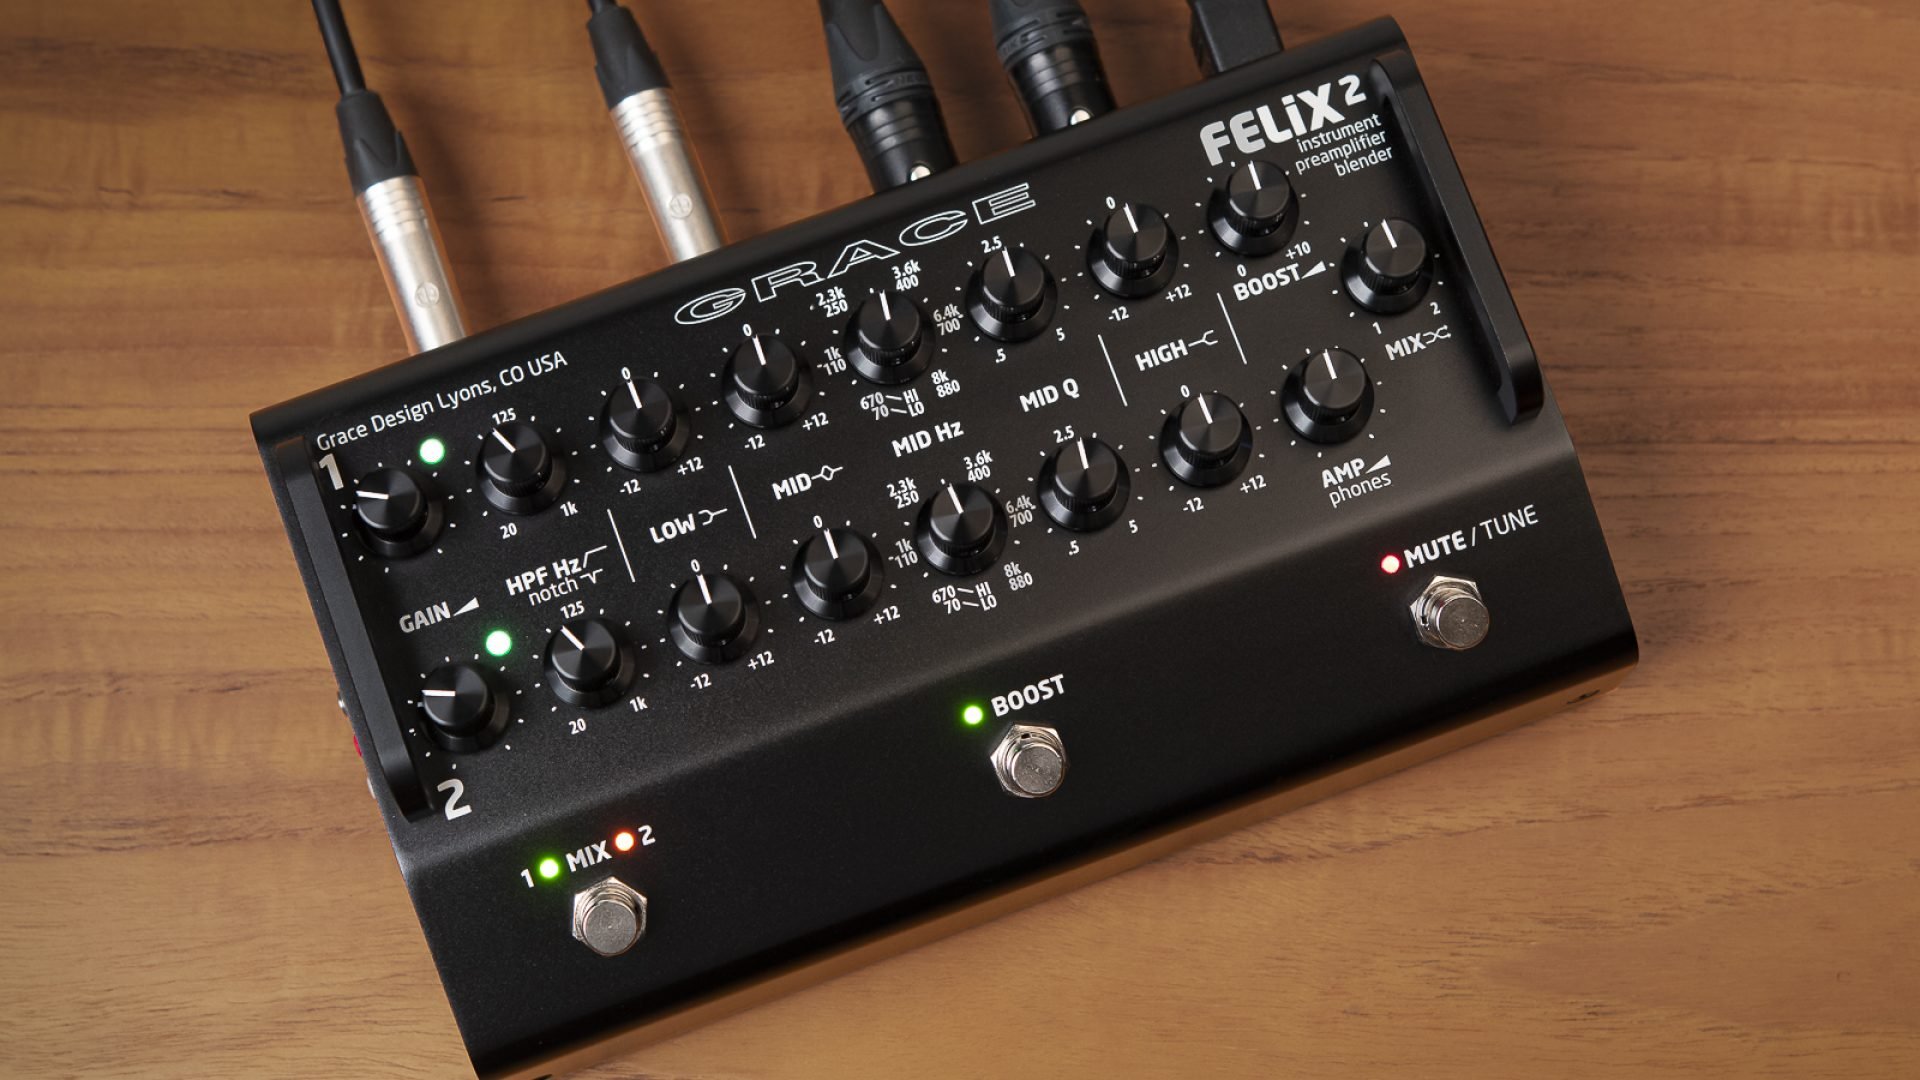
A preamp, short for preamplifier, is the device responsible for amplifying weak audio signals from microphones, instruments, or other sound sources. It boosts the signal to a level that is suitable for further processing or recording. Preamps are essential for capturing clean and professional-quality audio, as they help mitigate noise and ensure proper signal strength.
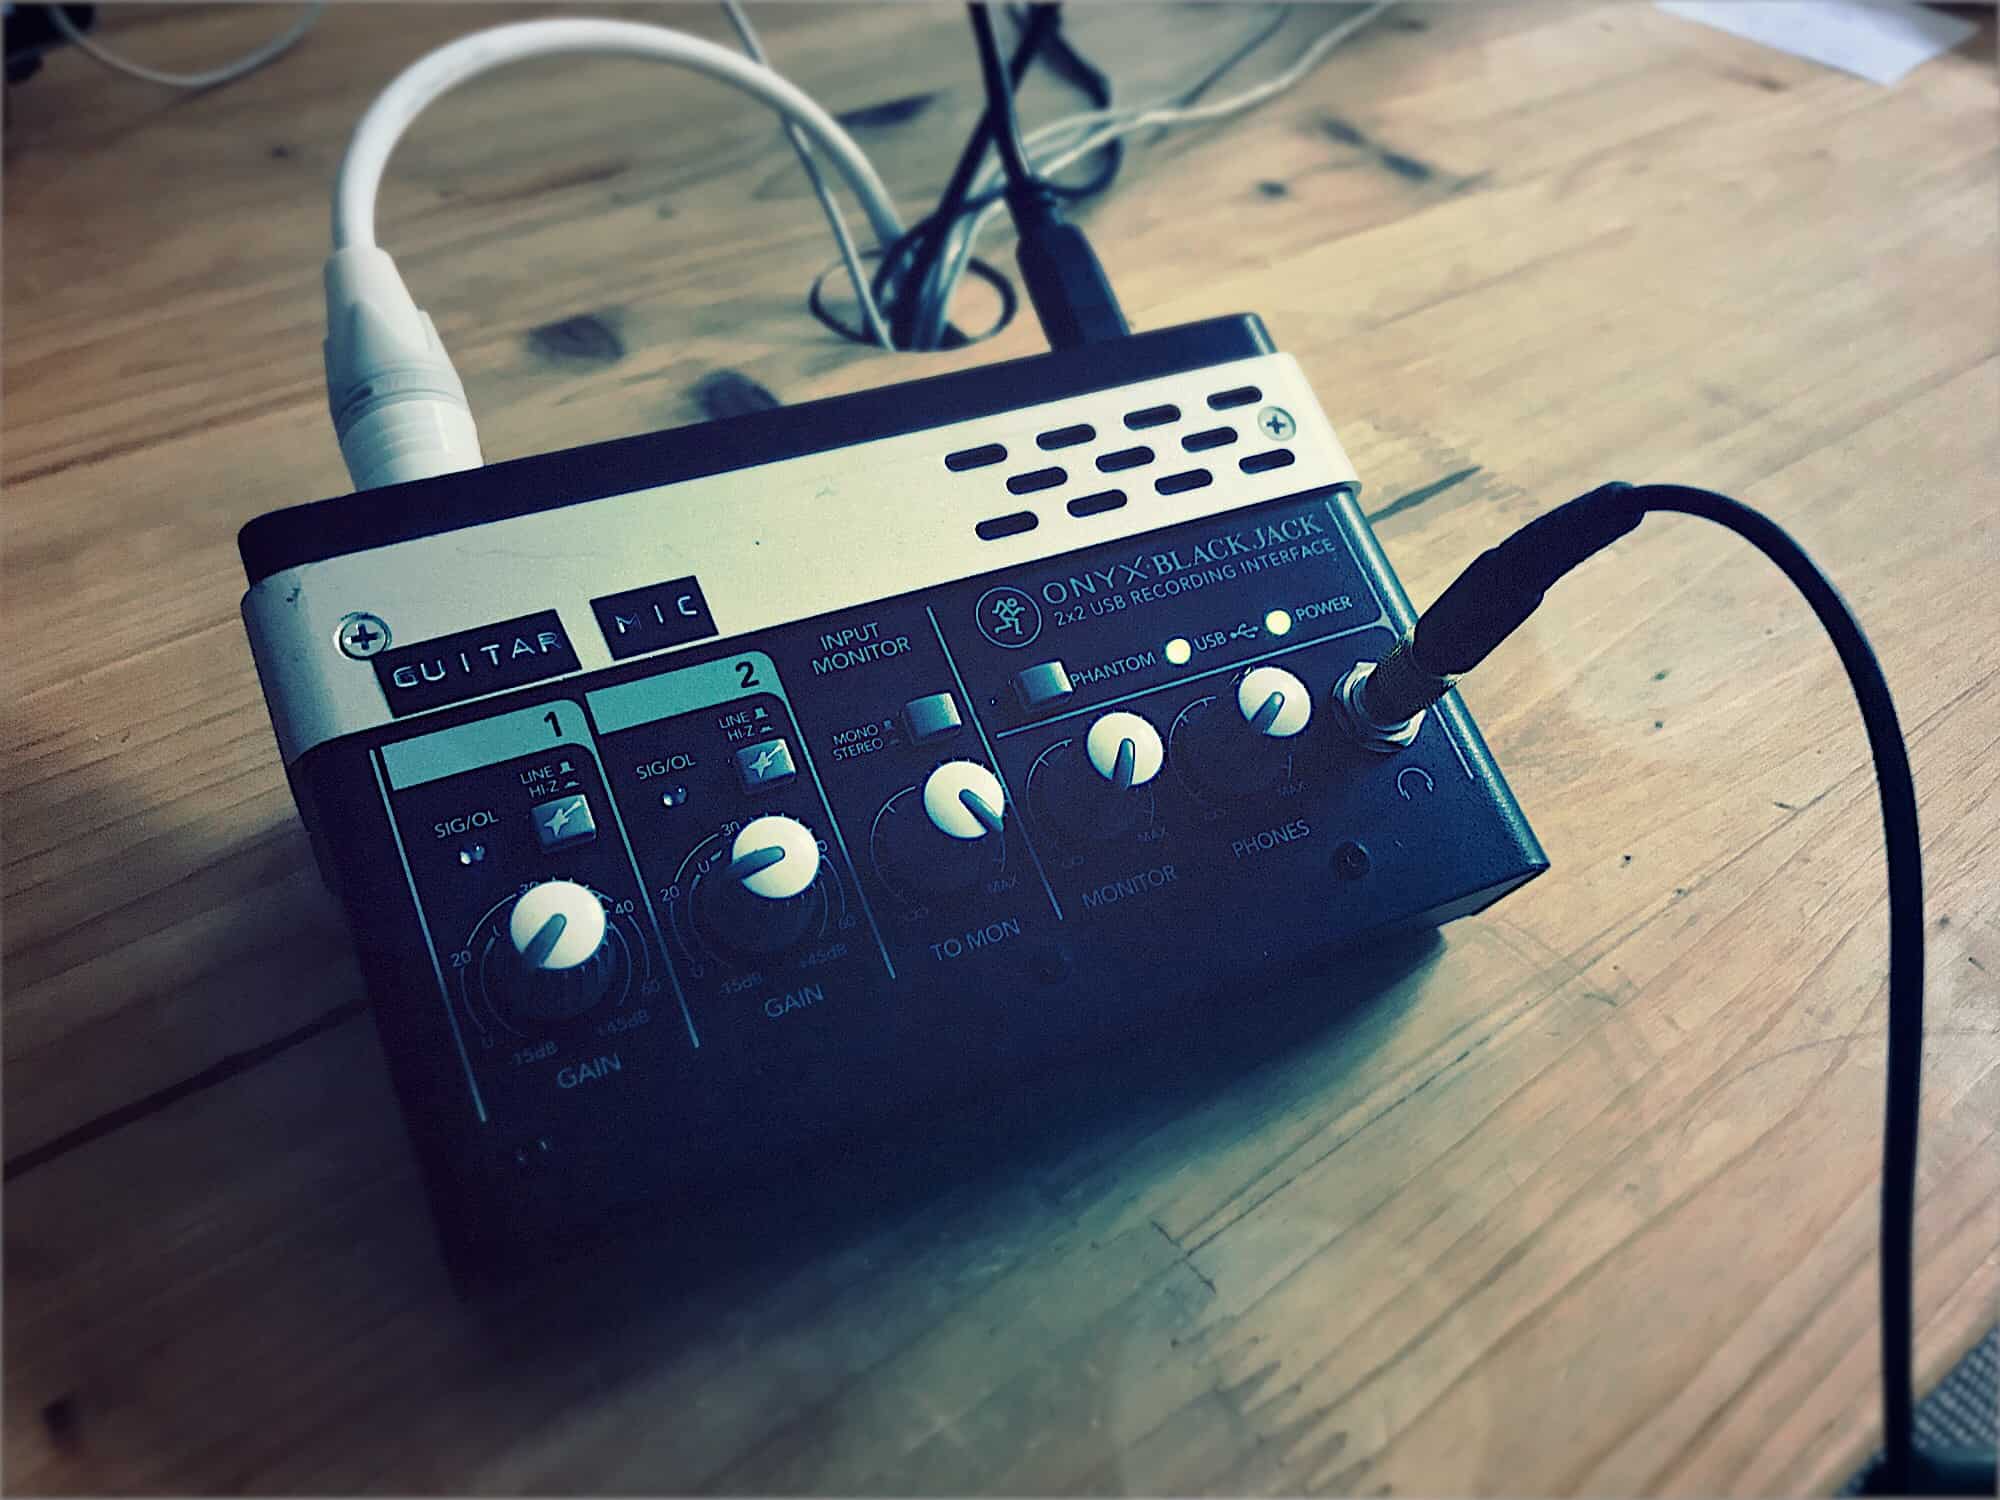
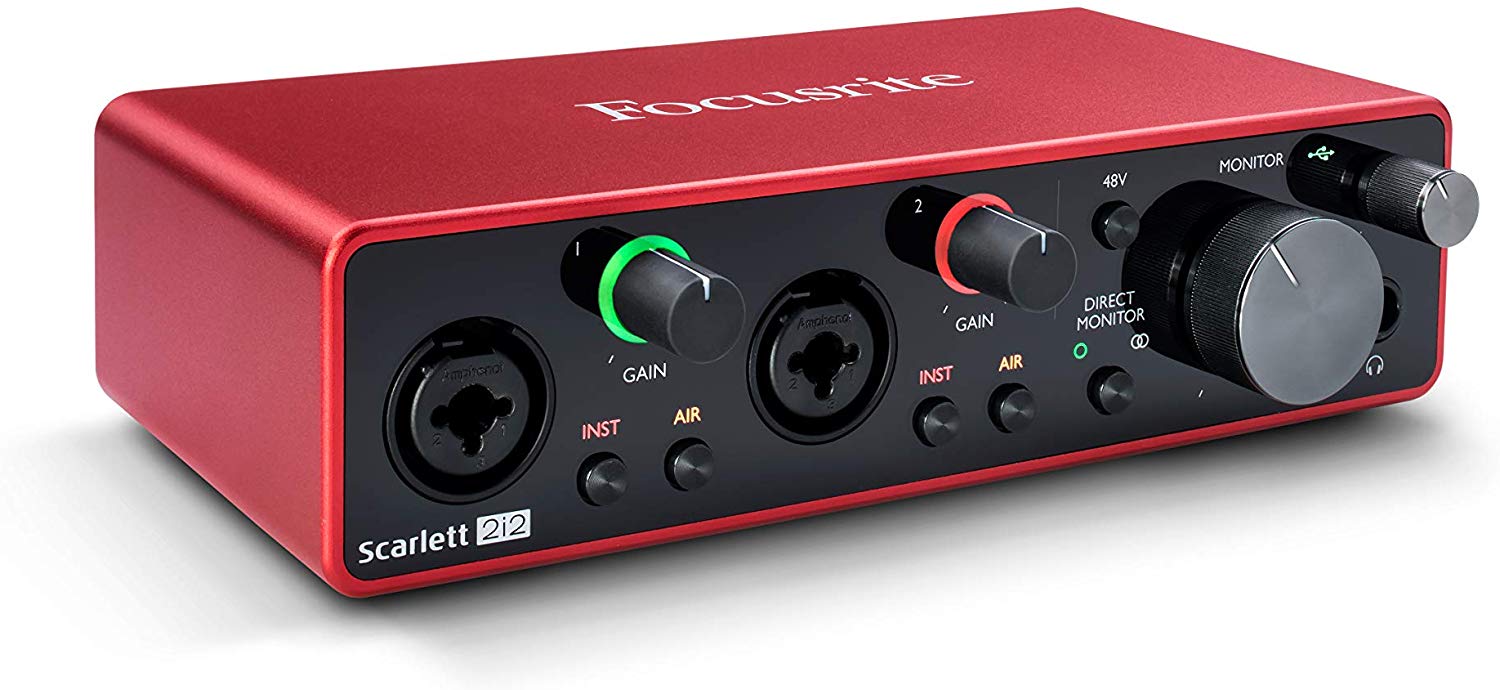
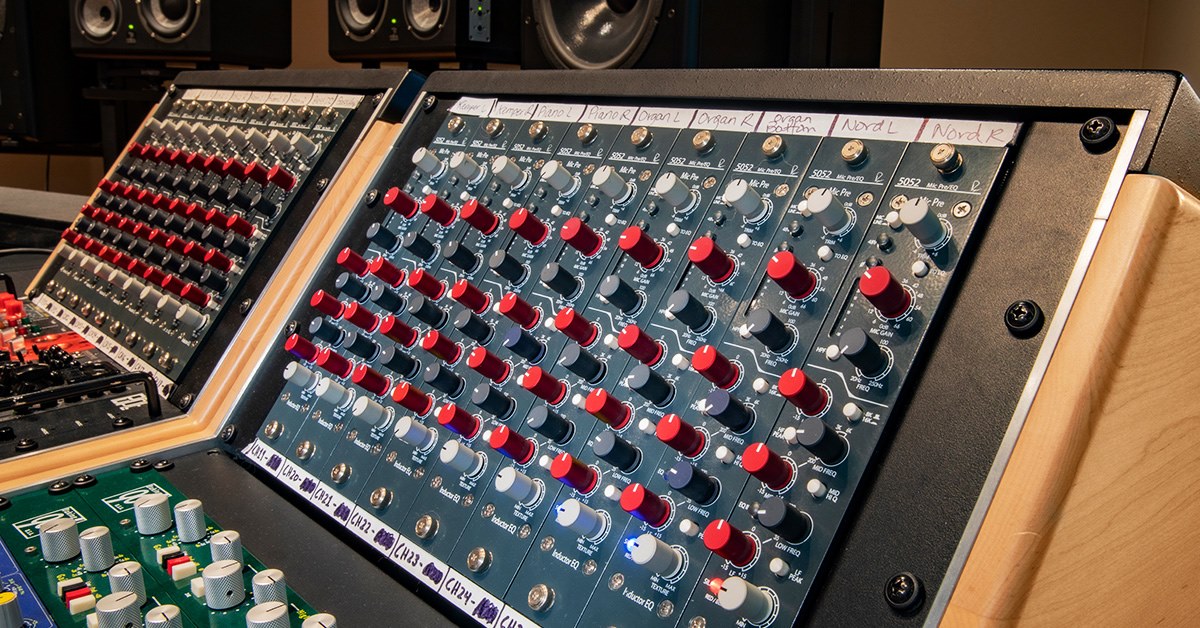
On the other hand, an audio interface serves as the intermediary between your preamp and your computer. It converts analog audio signals from the preamp into digital data that can be processed and stored on your computer. The audio interface provides essential connectivity options, such as XLR or TRS inputs, phantom power for microphones, headphone outputs, and more.
Audio interfaces come in various shapes and sizes, with different input and output options to suit different recording needs. Some interfaces may have a single preamp built-in, while others may offer multiple preamps for simultaneous recording of multiple sources.
When choosing a preamp and audio interface, it’s crucial to consider factors like the type of recording you’ll be doing, the number of inputs you require, and the quality of the preamps and converters. High-quality preamps and converters will ensure accurate sound reproduction and capture the nuances of your recordings.
Both preamps and audio interfaces can vary in terms of price, features, and audio fidelity. Depending on your budget and specific needs, you can find options ranging from entry-level units to professional-grade equipment. It’s essential to do your research and read reviews to make an informed decision.
Now that we have a solid understanding of preamps and audio interfaces, let’s move on to the next section to learn how to connect them in a proper setup, ensuring optimal signal flow and recording quality.
Connecting the Preamp to the Audio Interface
Now that we understand the basic functions of a preamp and an audio interface, let’s move on to the process of connecting them together. Connecting your preamp to the audio interface is relatively straightforward, but it’s important to follow the correct steps to ensure optimal signal flow and audio quality.
- Check the connections: Start by checking the available input and output options on both your preamp and audio interface. Common input types include XLR, TRS, or TS connectors. Ensure that you have the appropriate cables to connect your preamp’s outputs to the inputs of the audio interface.
- Power off and unplug the equipment: Before making any connections, it’s crucial to turn off and unplug both your preamp and audio interface. This prevents any accidental shorts or damage to the equipment.
- Connect the outputs: Take the appropriate cables and connect the line-level outputs of your preamp to the line-level inputs of your audio interface. Depending on the connections available, you may need XLR, TRS, or TS cables. Make sure to match the cable plugs with the corresponding inputs and outputs.
- Secure the connections: Once the cables are plugged in, ensure that they are securely connected. A loose connection can result in signal loss or unwanted noise. Double-check that the connectors are tightened and locked in place.
- Power on and configure: After making the physical connections, it’s time to power on your preamp and audio interface. Follow the manufacturer’s instructions for proper power-up procedures.
- Configure the audio interface: Once your devices are powered up, you may need to configure the audio interface settings on your computer. This may involve installing drivers or selecting the appropriate input and output settings in your recording software or operating system.
- Test the connection: Before starting your recording or production session, it’s important to test the connection and ensure that the signal is passing through correctly. Play a sound source through your preamp and monitor the input levels on your audio interface. Adjust the gain knobs on both devices as needed to achieve a healthy signal level.
By following these steps, you can easily connect your preamp to your audio interface and ensure a seamless and reliable signal flow. The next section will explore the process of setting up your preamp and audio interface for optimal performance.
Setting up the Preamp and Audio Interface
After connecting your preamp to your audio interface, the next step is to set them up properly for optimal performance. This involves adjusting settings, configuring software, and fine-tuning the input levels. Let’s explore the necessary steps to ensure everything is properly set up:
- Gain staging: Start by setting the gain levels on your preamp. The gain controls on your preamp determine the level of amplification applied to the input signal. It’s important to strike a balance between capturing a strong, clean signal without introducing unnecessary noise or distortion. Start with the gain set to a minimum and gradually increase it until you achieve an optimal signal level.
- Check phantom power: If you’re using condenser microphones or certain active DI boxes, you may need to enable phantom power. Phantom power provides the necessary voltage to power these devices. However, not all microphones or instruments require phantom power, so double-check the specifications of your equipment before enabling it.
- Configure software settings: Open your recording software or digital audio workstation (DAW) and make sure the correct audio interface is selected as the input and output device. You may need to access the preferences or settings menu to configure these options. Additionally, ensure that you’ve set the sample rate and buffer size according to your needs and system capabilities.
- Monitor on headphones or speakers: Connect your headphones or studio monitors to the audio interface outputs to monitor the audio during recording or playback. Make sure the volume levels are appropriate and that you can hear the audio without distortion or excessive noise. Adjust the volume control on your audio interface or monitor controller as needed.
- Test the signal flow: Before you start recording, it’s important to test the signal flow and monitor the input levels. Play some test audio through your preamp and monitor the signal on your recording software or DAW’s level meters. Ensure that the signal is coming through without any issues, and adjust the input gain controls and levels as necessary.
- Save your setup: Once you have everything set up to your liking, it’s a good idea to save your settings as a preset in your recording software or audio interface software. This makes it easier to recall your preferred settings for future sessions.
Taking the time to properly set up your preamp and audio interface will result in enhanced audio quality and a more efficient recording or production process. With everything configured correctly, you’re ready to start capturing high-quality audio. In the next section, we will discuss some tips for adjusting input levels to achieve the best recording results.
Adjusting Input Levels
When recording audio, it’s crucial to adjust the input levels on your preamp and audio interface to ensure optimal signal quality and prevent distortion. The goal is to capture a strong, clean signal without clipping or overloading the input.
Here are some tips for adjusting input levels:
- Use the peak meter: Most preamps and audio interfaces have a peak meter or level indicator that shows the input signal level. When adjusting the input levels, keep an eye on this meter to ensure that the signal doesn’t reach the maximum threshold. Aim for a level that peaks around -12 dB to -6 dB for optimal recording quality.
- Start low and gradually increase: Begin with the input gain at a low setting and gradually increase it while monitoring the level meter. You want to find the sweet spot where the signal is strong and clear but not too hot. Avoid excessive gain, as it can introduce noise and distortion into your recordings.
- Watch out for clipping: If the input level goes into the red zone or if you see the peak meter hitting 0 dB or above, it means your signal is clipping. Clipping distorts the sound and results in an unpleasant, distorted recording. If you see clipping, reduce the input gain until the signal is within a safe range.
- Consider the dynamics of the source: Different sound sources have different dynamic ranges, from whisper-quiet vocals to booming drums. Adjust the input levels accordingly to capture the nuances of each source. It’s better to have a slightly lower input level and boost it in post-production than to have a clipped or distorted recording.
- Use headphones for monitoring: When adjusting input levels, it’s important to monitor the sound through headphones or studio monitors. This allows you to accurately hear the signal and make precise adjustments. Pay attention to any distortion, noise, or unwanted artifacts and adjust the gain accordingly.
- Keep an eye on the output level: While adjusting the input levels, also pay attention to the output level on your audio interface. Make sure it’s not too low or too high to avoid any issues downstream in your signal chain or during mixing and mastering.
By following these tips and employing a bit of trial and error, you can achieve optimal input levels and maintain the integrity of your recordings. Remember, it’s always better to err on the side of caution and have a slightly lower input level than risking clipped or distorted audio.
In the next section, we will discuss some troubleshooting tips that can help you address common issues that may arise when connecting and using a preamp and audio interface.
Troubleshooting Tips
When working with a preamp and audio interface setup, it’s not uncommon to encounter some common issues. Fortunately, most of these problems can be easily resolved with a few troubleshooting steps. Let’s explore some troubleshooting tips to help you address any issues that may arise:
- Check your cables: If you’re experiencing strange or intermittent signals, the first step is to check your cables. Ensure that they are plugged in securely and that there are no visible signs of damage or wear. Try using different cables to see if the issue persists.
- Verify power sources: Make sure both your preamp and audio interface are receiving proper power. Check all power connections and ensure they are plugged in securely. If you’re using an external power supply, verify that it is functioning correctly. Sometimes, a simple power cycle can resolve power-related issues.
- Update drivers and firmware: If you’re experiencing compatibility issues or strange behavior, it’s worth checking for driver or firmware updates for your audio interface. Visit the manufacturer’s website, download the latest updates, and follow the installation instructions carefully.
- Check software settings: If you’re encountering issues with input or output, check your software settings. Make sure the correct audio device is selected, and double-check that the input and output levels are properly configured. Adjust buffer sizes or latency settings if needed to address any latency or audio dropout issues.
- Test with different sources: If you’re experiencing issues with a specific sound source, such as a microphone or instrument, try connecting a different source to your preamp and audio interface. This will help you determine if the problem lies with the equipment or the specific source.
- Restart your computer: Sometimes, a simple restart of your computer can resolve various issues. It helps clear any temporary glitches or conflicts that may be affecting the performance of your preamp and audio interface.
- Consult the user manual or manufacturer’s support: If you’ve exhausted all troubleshooting options and the issue persists, consult the user manual for your preamp or audio interface. Manufacturers often provide troubleshooting guides or FAQs to help users troubleshoot common issues. If necessary, reach out to the manufacturer’s support team for further assistance.
By following these troubleshooting tips, you can overcome common issues and ensure a smooth and trouble-free recording or production experience with your preamp and audio interface.
As we conclude this guide, let’s summarize what we have learned so far.
Conclusion
Congratulations! You have reached the end of this comprehensive guide on how to connect a preamp to an audio interface. By now, you should have a solid understanding of these essential components in the audio recording and production process.
We started by understanding the roles of a preamp and an audio interface. The preamp amplifies low-level signals, while the audio interface converts analog signals to digital for recording on your computer. We then explored the process of connecting the preamp to the audio interface, emphasizing the importance of proper cable connections and power management.
Next, we discussed the steps involved in setting up the preamp and audio interface. This included adjusting gain levels, configuring software settings, and testing the signal flow to ensure optimal performance. We also provided tips on adjusting input levels to avoid distortion and clipping while capturing clean and professional audio.
Lastly, we covered troubleshooting tips to help you address common issues that may arise during the setup or usage of a preamp and audio interface. By checking cables, verifying power sources, updating drivers, and consulting user manuals or manufacturer support, you can overcome most challenges and ensure a seamless recording or production experience.
Remember, the key to success lies in practice and experimentation. Take the time to familiarize yourself with your specific preamp and audio interface, and explore different settings to find your desired sound. With patience and dedication, you’ll be well on your way to creating high-quality audio recordings and productions.
We hope this guide has provided you with the knowledge and confidence to effectively connect your preamp to your audio interface. Happy recording!