Home>Production & Technology>Audio Cable>How To Make Computer Sound Go Through TV With Audio Cable
Audio Cable
How To Make Computer Sound Go Through TV With Audio Cable
Modified: January 22, 2024
Learn how to connect your computer audio to your TV using an audio cable. Enhance your viewing experience with crystal clear sound.
(Many of the links in this article redirect to a specific reviewed product. Your purchase of these products through affiliate links helps to generate commission for AudioLover.com, at no extra cost. Learn more)
Table of Contents
- Introduction
- Step 1: Gather the necessary equipment
- Step 2: Connect one end of the audio cable to the computer
- Step 3: Connect the other end of the audio cable to the TV
- Step 4: Adjust the audio settings on your computer
- Step 5: Set the TV input to the correct audio source
- Step 6: Test the audio connection
- Conclusion
Introduction
Welcome to the world of audio cables! In this article, we will explore the fascinating realm of connecting your computer to your TV using an audio cable. Whether you want to enjoy a movie with surround sound or play video games with enhanced audio, this guide will walk you through the process step by step.
With the advancement of technology, audio cables have become an essential component for transmitting high-quality audio signals between devices. They are widely used in various audio setups, including home theaters, music systems, and, of course, connecting computers to TVs.
Nowadays, computers are more than just devices for work and browsing the internet. They serve as multimedia centers, allowing us to enjoy movies, TV shows, music, and games on a large screen. While most computers have built-in speakers, their audio output may not always provide the immersive experience we desire.
That’s where audio cables come into play. By connecting your computer to your TV, you can harness the power of your TV’s speakers or sound system to amplify the audio and truly elevate your entertainment experience. No longer will you have to rely on your computer’s built-in speakers or settle for subpar sound quality.
The process of connecting your computer to your TV with an audio cable may seem daunting at first, especially if you’re not tech-savvy. But fear not! In the following steps, we will break down the process into simple and easy-to-follow instructions, ensuring that you can enjoy the captivating sound from your computer through your TV quickly and effortlessly.
Step 1: Gather the necessary equipment
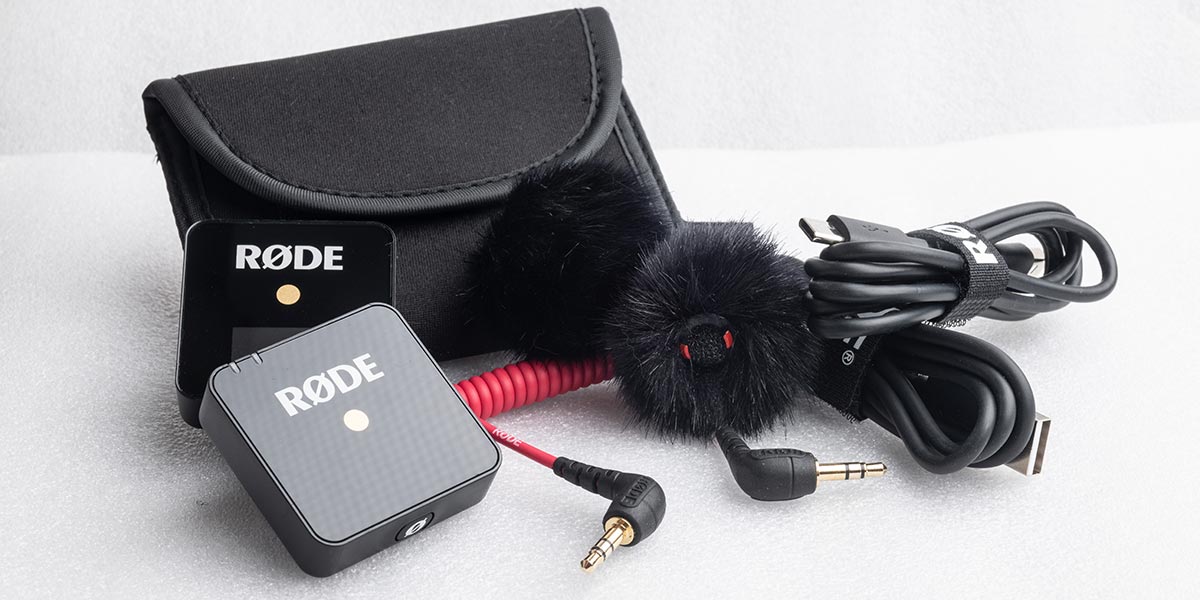
Before you dive into connecting your computer to your TV using an audio cable, it’s essential to gather all the necessary equipment. Here’s what you’ll need:
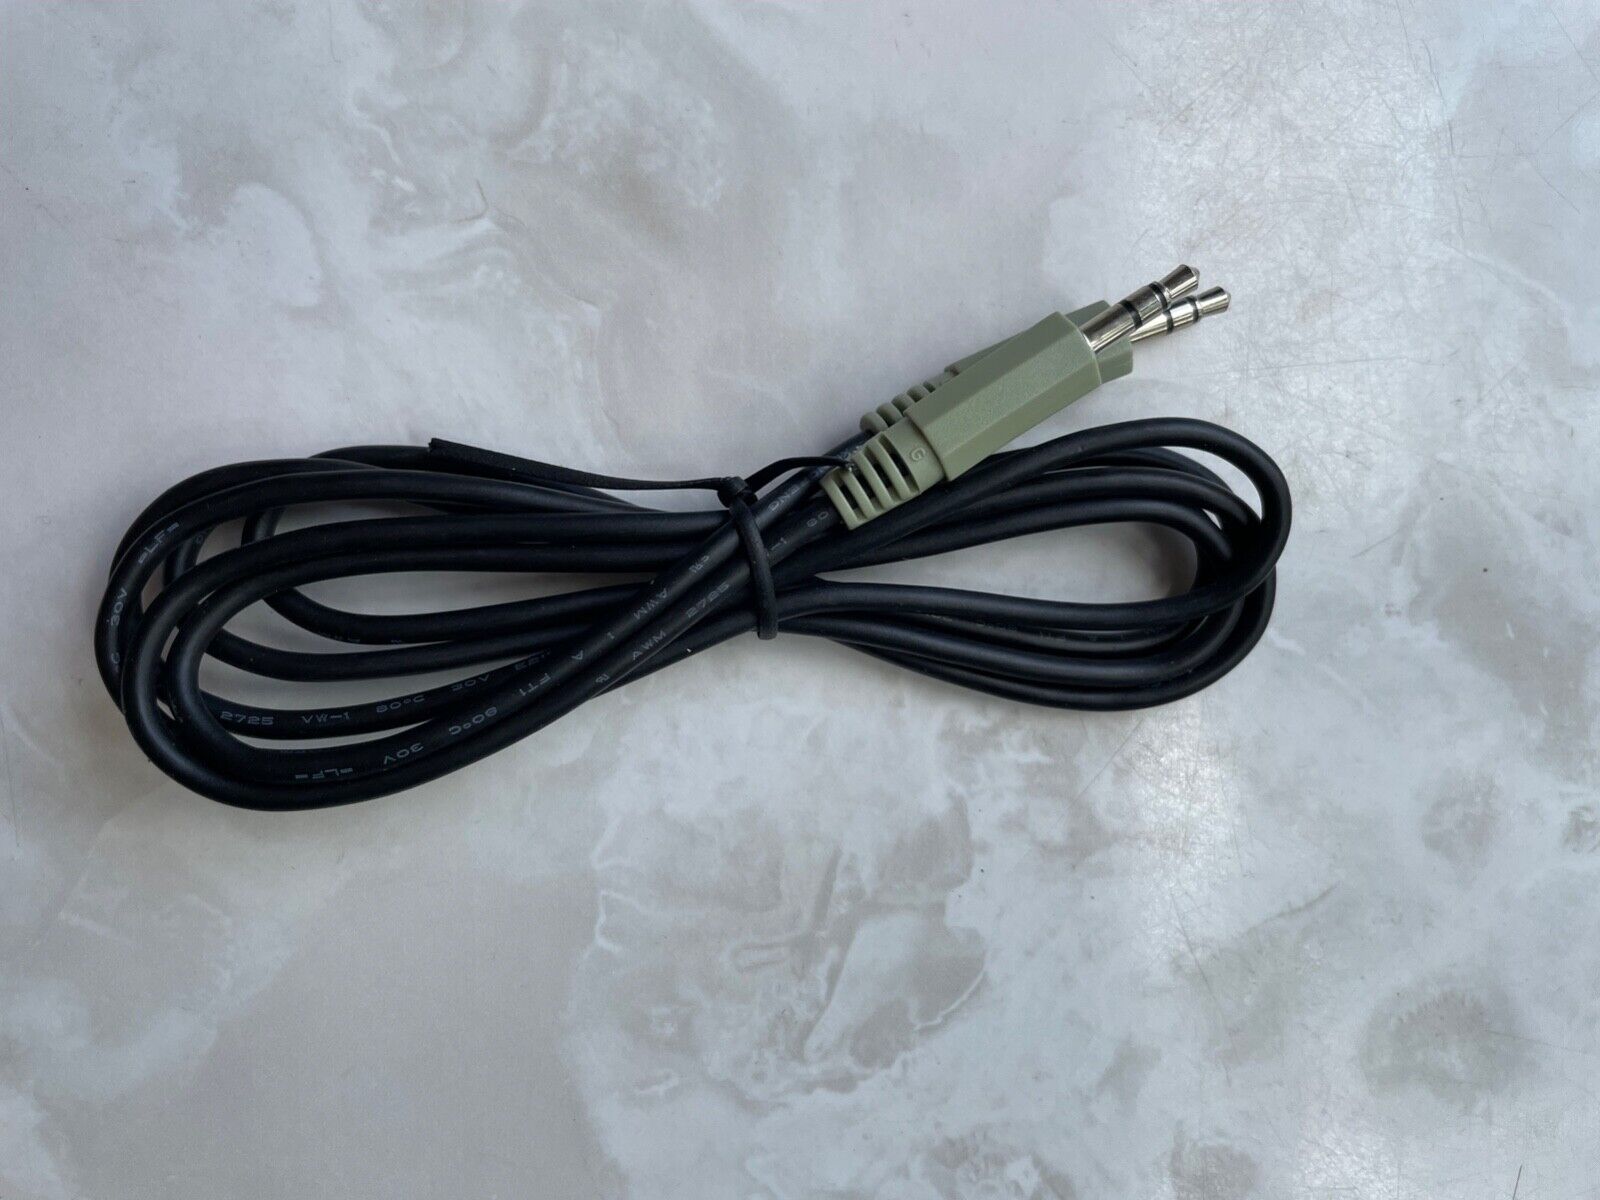
- Audio cable: Choose an audio cable that is compatible with both your computer and your TV. The most common type of audio cable is the 3.5mm stereo jack, which has a small headphone-like connector on both ends. However, depending on the audio output options available on your computer and the audio input options on your TV, you may need a different type of cable, such as an RCA or HDMI cable.
- Computer: Ensure that your computer has an available audio output port. Most modern computers come with a 3.5mm audio jack, but some may have different types of audio outputs, such as optical or HDMI. Check the specifications or user manual of your computer to determine the type of audio output it supports.
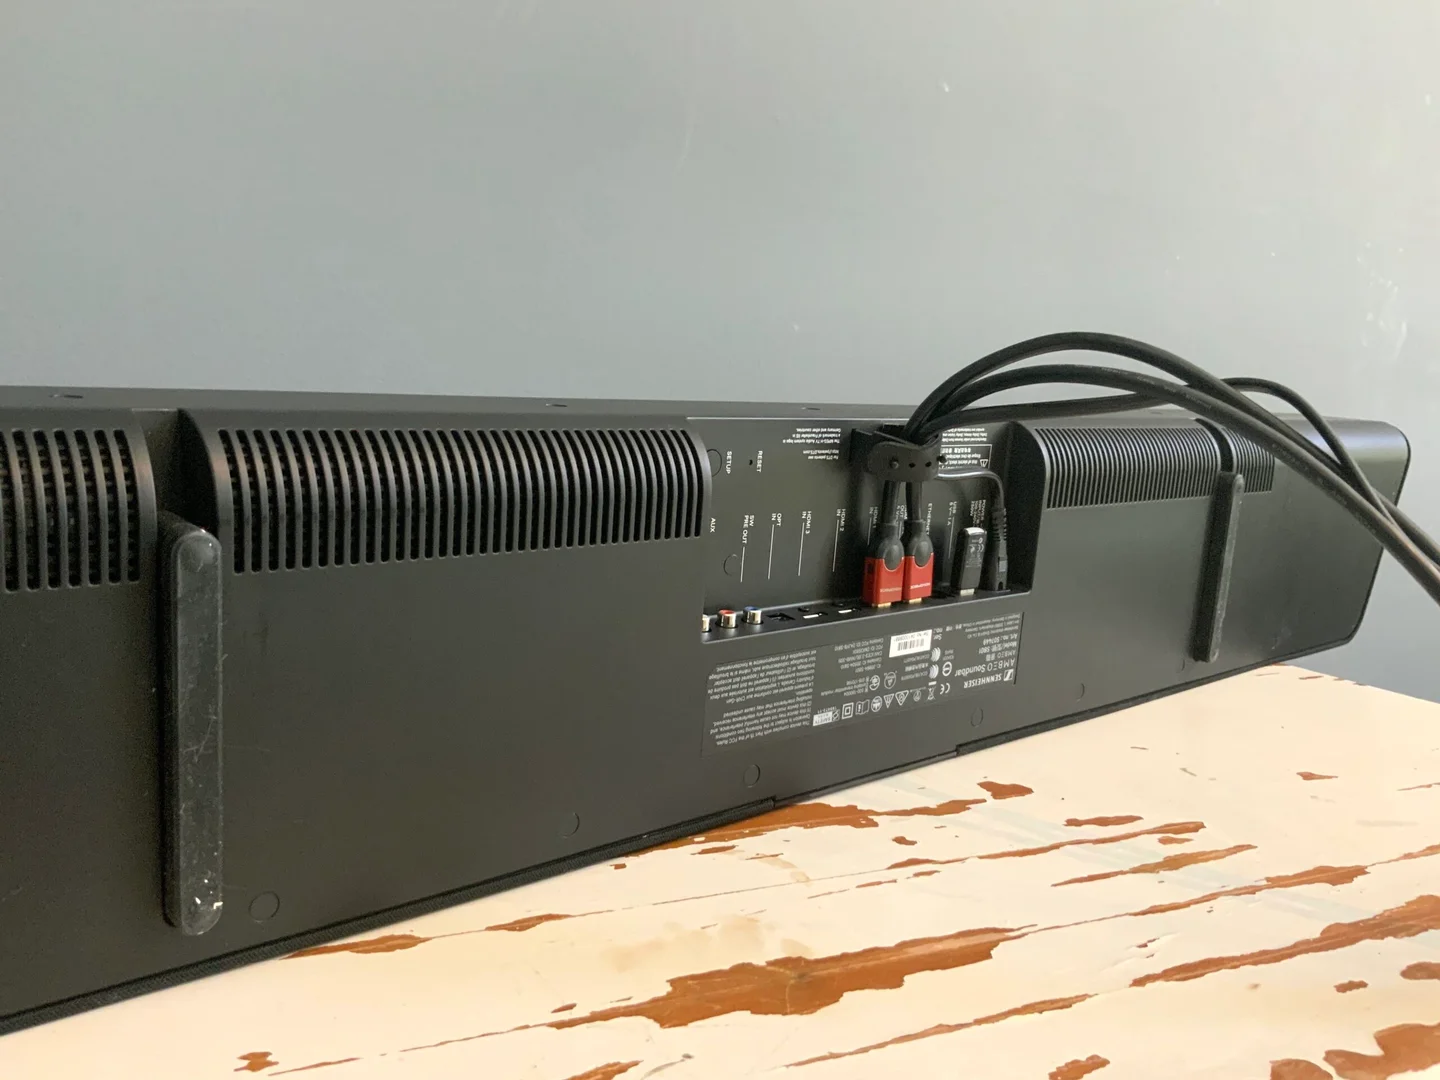
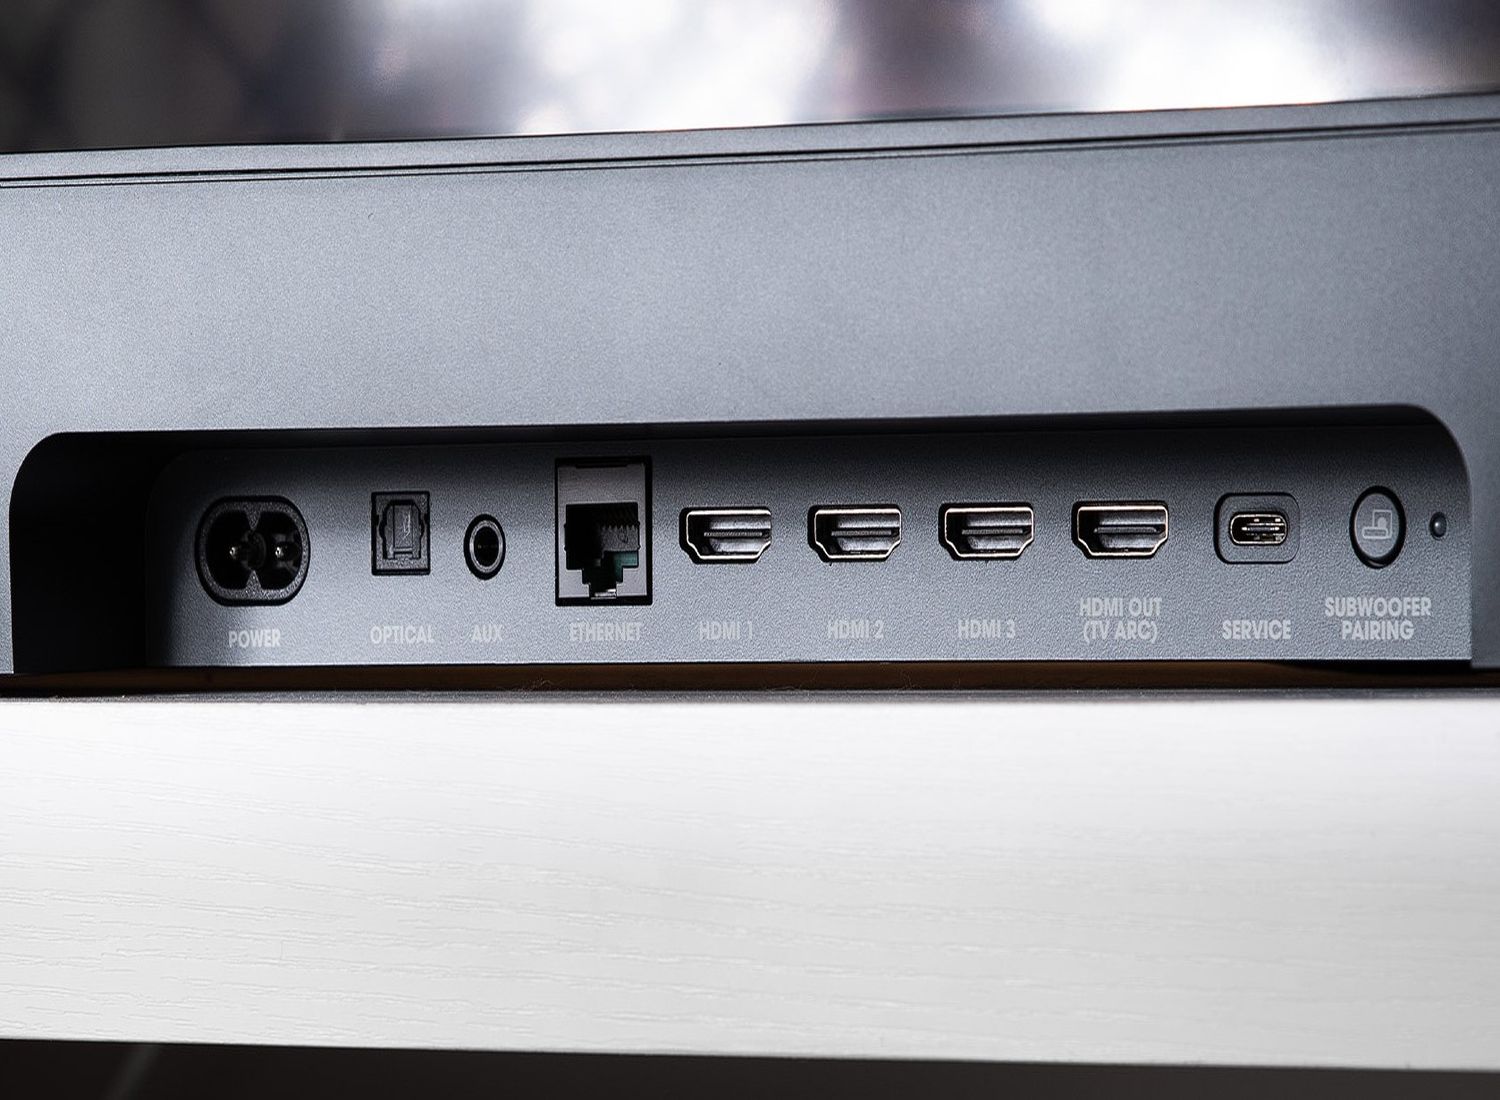
- TV: Verify that your TV has an available audio input port. Again, the most common audio input on TVs is the 3.5mm audio jack, but depending on the model and age of your TV, it may also have RCA, optical, or HDMI inputs. Consult the user manual or specifications of your TV to identify the available audio input options.
Once you gather all the necessary equipment, you’re ready to move on to the next step. Remember to check the compatibility of the audio cable with your computer and TV to ensure a seamless connection.
Step 2: Connect one end of the audio cable to the computer
Now that you have all the required equipment, it’s time to connect one end of the audio cable to your computer. Follow these simple steps:
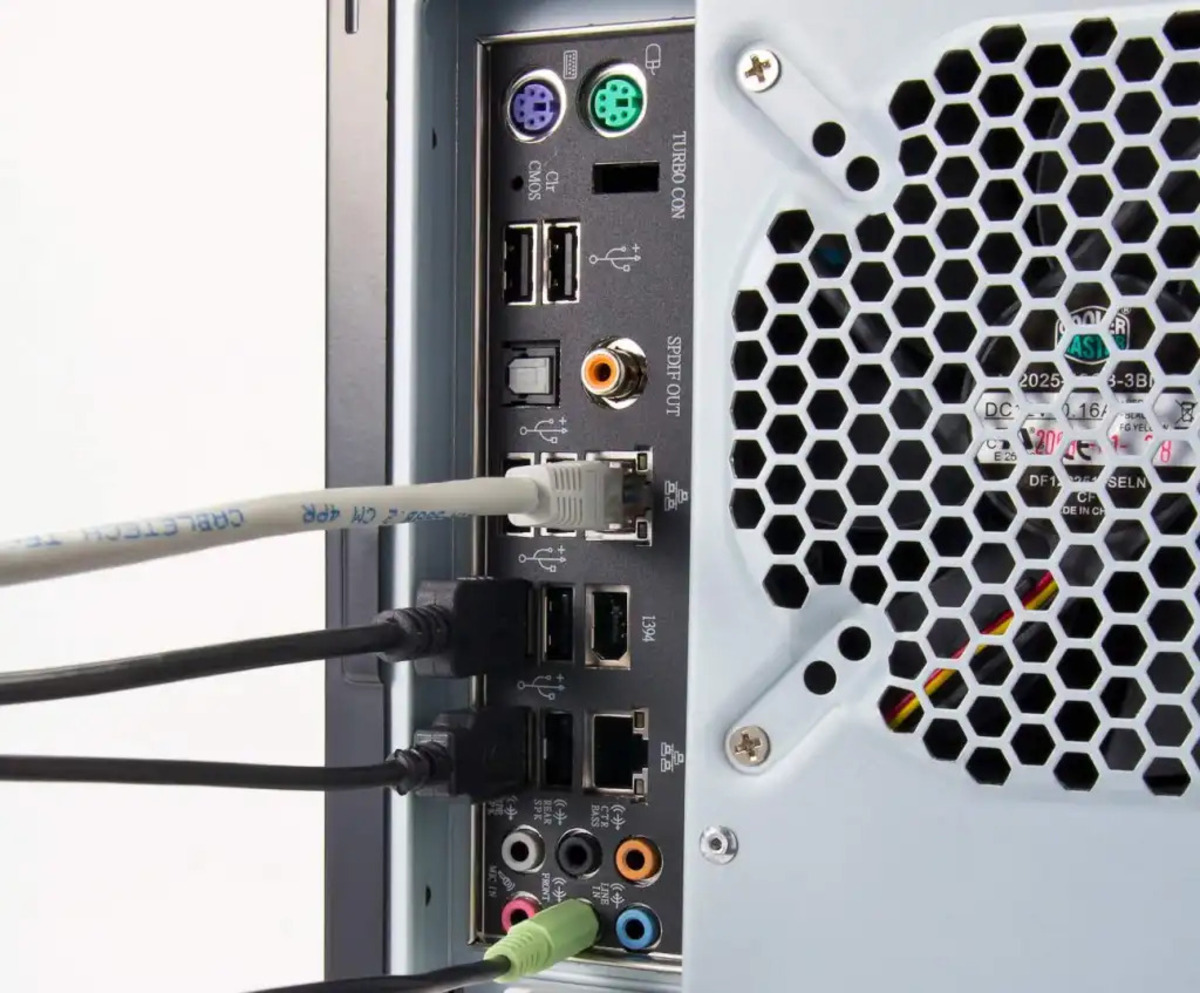
- Locate the audio output port on your computer. It is typically represented by a small headphone-like symbol.
- Insert one end of the audio cable into the audio output port on your computer. Ensure a secure and snug connection.
- If you’re using a 3.5mm audio cable, make sure you plug it into the correct port. Some computers have separate audio output and microphone input jacks, so double-check that you’re connecting it to the audio output port.
- If you’re using a different type of audio cable, such as an RCA or HDMI cable, make sure to connect it to the appropriate audio output port on your computer, following the specifications or user manual of your computer.
Once you have successfully connected one end of the audio cable to your computer, proceed to the next step to connect the other end of the cable to your TV.
Step 3: Connect the other end of the audio cable to the TV
With one end of the audio cable securely connected to your computer, it’s time to connect the other end to your TV. Follow these steps:
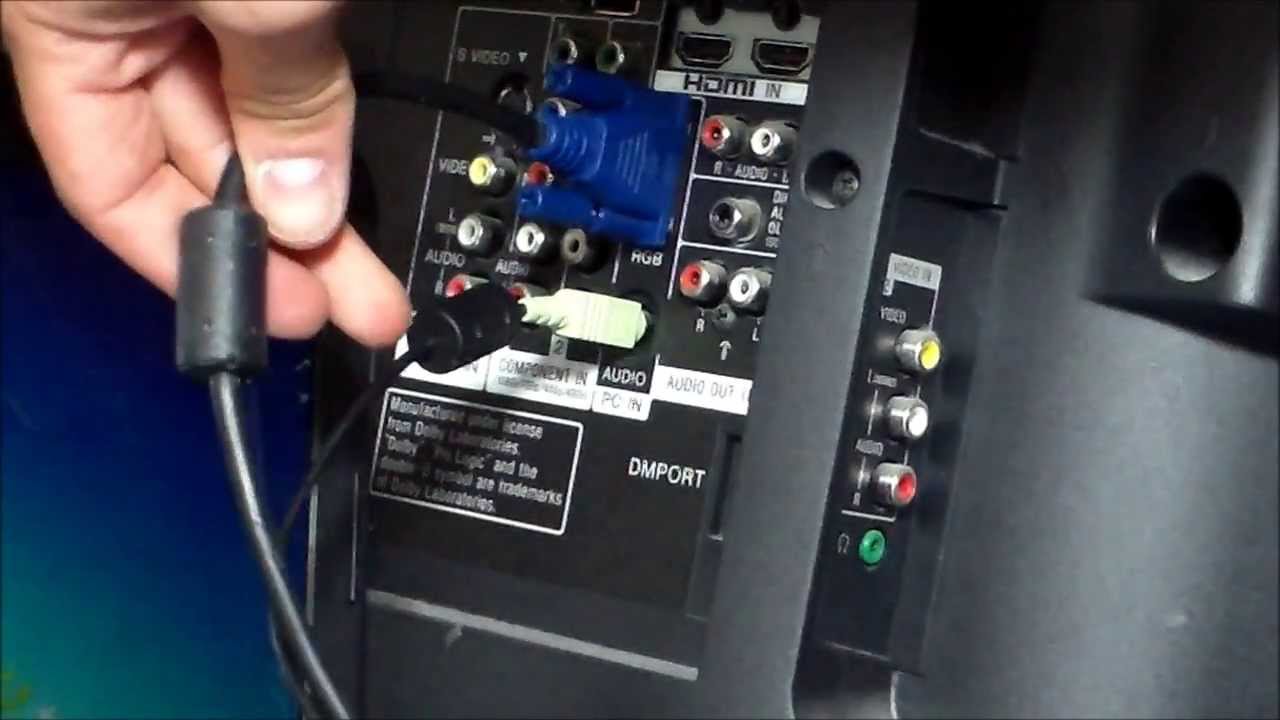
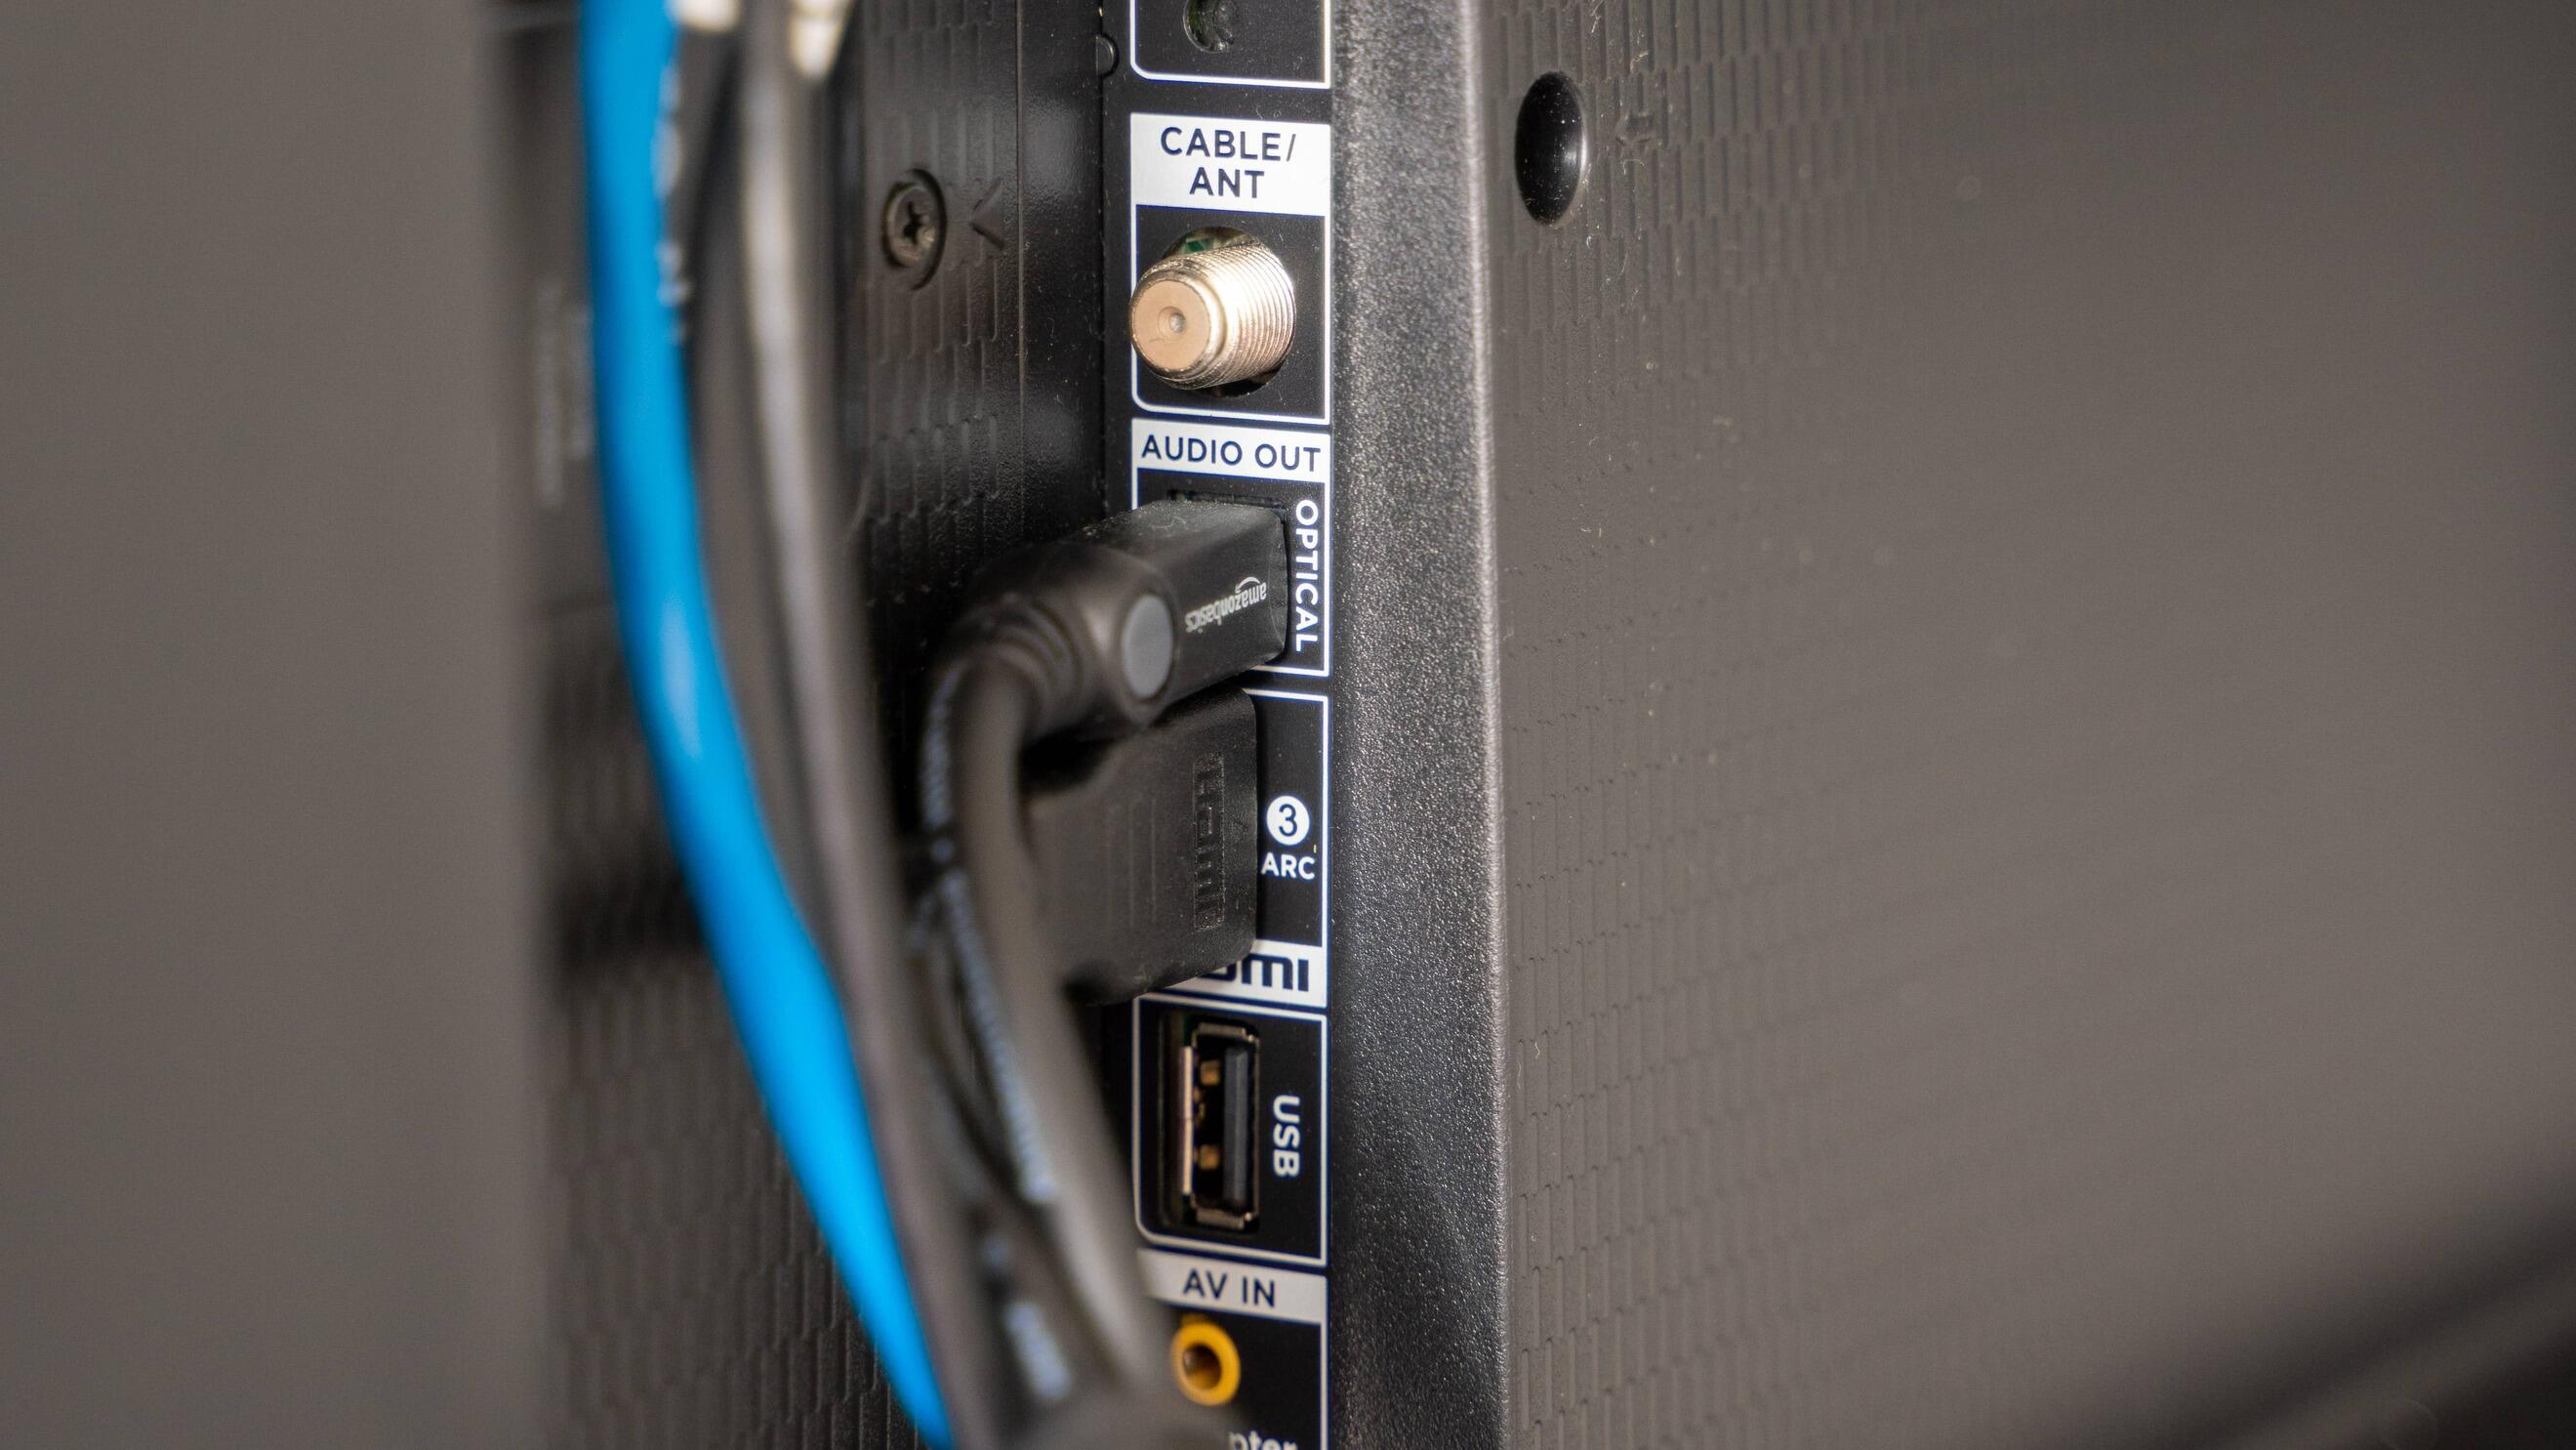
- Locate the audio input port on your TV. It is usually labeled as “Audio In” or indicated by a similar symbol.
- Depending on the type of audio cable you’re using, insert the corresponding end into the audio input port on your TV. Ensure a firm connection.
- If you’re using a 3.5mm audio cable, simply plug it into the audio input port on your TV.
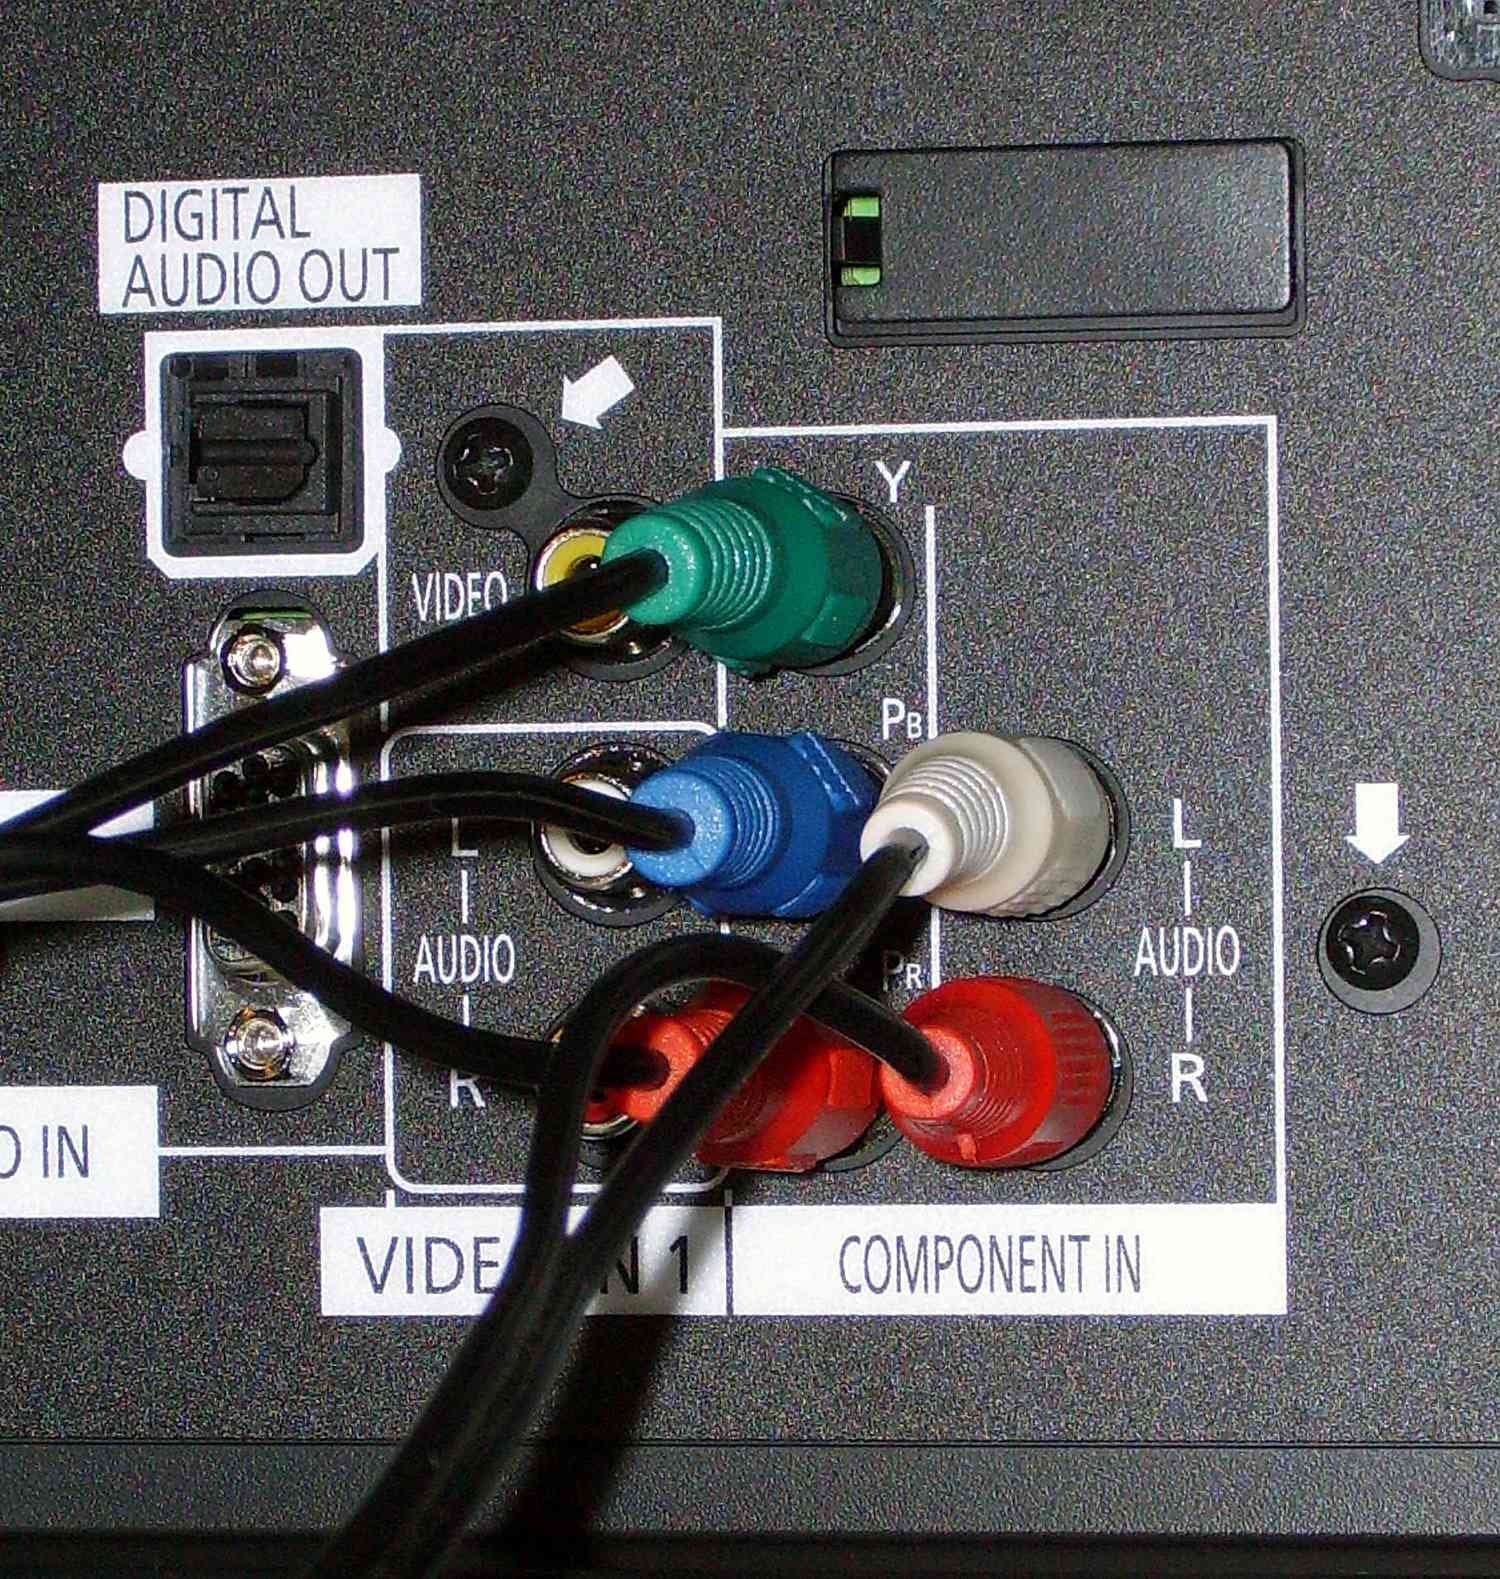
- If your TV has RCA audio inputs, make sure to match the colors of the cables to the corresponding ports. The red cable should be plugged into the red input and the white (or black) cable into the white (or black) input.
- If you’re using an HDMI cable, connect one end of the cable to your computer’s HDMI output port and the other end to an available HDMI input port on your TV. HDMI carries both audio and video signals, so you won’t need a separate audio cable.
Once you have successfully connected the audio cable to your TV, proceed to the next step to adjust the audio settings on your computer.
Step 4: Adjust the audio settings on your computer
Now that you have connected the audio cable between your computer and TV, it’s time to adjust the audio settings on your computer. Follow these steps to ensure proper audio output:
- On your computer, locate the sound settings. This can usually be found in the control panel or system settings.
- Open the sound settings and look for the audio output options. Select the audio output device that corresponds to the audio cable connection. It may be listed as “external speakers,” “headphones,” or something similar.
- If you’re using a Windows computer, right-click on the audio icon in the taskbar and select “Playback Devices.” From the list of available devices, choose the one that represents your TV or audio cable connection.
- If you’re using a Mac computer, go to “System Preferences,” then click on “Sound.” Navigate to the “Output” tab and select the audio output device corresponding to your TV or audio cable connection.
- Make sure to set the volume to an appropriate level. Start with a moderate volume and adjust it according to your preference. You can fine-tune the volume using the volume controls on your computer or TV.
With the audio settings adjusted on your computer, you’re ready to move on to the next step, where you will set the TV input to the correct audio source.
Step 5: Set the TV input to the correct audio source
After adjusting the audio settings on your computer, the next step is to set the TV input to the correct audio source. This will ensure that the audio signal from your computer is properly received and played through your TV’s speakers. Follow these steps to select the correct audio source on your TV:
- Turn on your TV and grab the TV remote control.
- Look for the “Input” or “Source” button on your TV remote. Press this button to access the input source menu.
- Using the arrow keys or navigation buttons on the remote control, navigate through the list of input sources until you find the one corresponding to the audio cable connection. It may be labeled as “Aux,” “Line In,” “Audio In,” or have a similar designation.
- Once you have selected the correct input source, press the “OK” or “Enter” button on your remote to confirm the selection.
At this point, your TV is ready to receive the audio signal from your computer. Proceed to the next step to test the audio connection and ensure that everything is working correctly.
Step 6: Test the audio connection
Now that you have completed all the necessary steps to connect your computer to your TV using an audio cable, it’s time to test the audio connection. Follow these steps to ensure that the audio is properly transmitted and played through your TV’s speakers:
- On your computer, play any audio or video file that contains sound. It could be a music track, a movie, or a YouTube video.
- Make sure the volume on your computer is turned up and not muted.
- On your TV, set the volume to a reasonable level.
- Listen for the sound coming from your TV’s speakers. If everything is connected correctly, you should hear the audio playing through the TV.
- Adjust the volume on your computer or TV as needed to achieve the desired sound level.
- If you don’t hear any sound or encounter any issues, double-check that all the connections are secure and that the audio settings on both your computer and TV are correctly configured.
If you are still experiencing problems, try using a different audio cable or consult the user manual or support resources for your computer and TV. They may provide troubleshooting tips specific to your devices.
Congratulations! You have successfully connected your computer to your TV using an audio cable and tested the audio connection. Now you can enjoy your favorite movies, music, and games with enhanced sound quality through your TV’s speakers.
Remember, if you want to switch back to using your computer’s built-in speakers, simply unplug the audio cable from both your computer and TV.
With this guide, you have unlocked a whole new level of audio experience. Sit back, relax, and immerse yourself in the captivating sound that fills your living room, thanks to the power of audio cables.
Conclusion
Connecting your computer to your TV using an audio cable opens up a world of possibilities for enhancing your entertainment experience. By harnessing the power of your TV’s speakers or sound system, you can enjoy immersive sound while watching movies, listening to music, or playing games.
In this guide, we covered the step-by-step process of connecting your computer to your TV using an audio cable. We discussed gathering the necessary equipment, connecting the cable to your computer and TV, adjusting the audio settings, setting the TV input to the correct source, and testing the audio connection.
Throughout the process, it’s crucial to ensure that the audio cable is securely connected, the audio settings on your computer are properly configured, and the TV input is set to the correct audio source. Testing the audio connection allows you to verify that the sound is being transmitted and played through your TV’s speakers.
Remember, troubleshooting any issues you encounter may involve double-checking the connections, consulting user manuals or support resources, or even trying different cables. Persistence and attention to detail will help you achieve the desired audio setup.
Now, sit back, relax, and enjoy the crisp and immersive sound that fills your TV room. Whether you’re watching a blockbuster movie, grooving to your favorite tunes, or embarking on epic gaming adventures, the audio cable connection will undoubtedly enhance your overall entertainment experience.
So grab some popcorn, turn up the volume, and let the audio cable transport you to a whole new level of audio bliss!