Home>Production & Technology>Audio Interface>What Is Direct Monitoring Audio Interface
Audio Interface
What Is Direct Monitoring Audio Interface
Published: February 4, 2024
Discover what a direct monitoring audio interface is and how it can enhance your recording experience. Explore the benefits of using an audio interface for high-quality sound production.
(Many of the links in this article redirect to a specific reviewed product. Your purchase of these products through affiliate links helps to generate commission for AudioLover.com, at no extra cost. Learn more)
Table of Contents
Introduction
Welcome to the world of audio interfaces, where high-quality sound recording and playback are made possible. If you’re a musician, podcaster, or audio enthusiast, you’ve probably heard the term “audio interface” before. But what exactly is an audio interface, and why is it an essential tool for anyone working with audio?
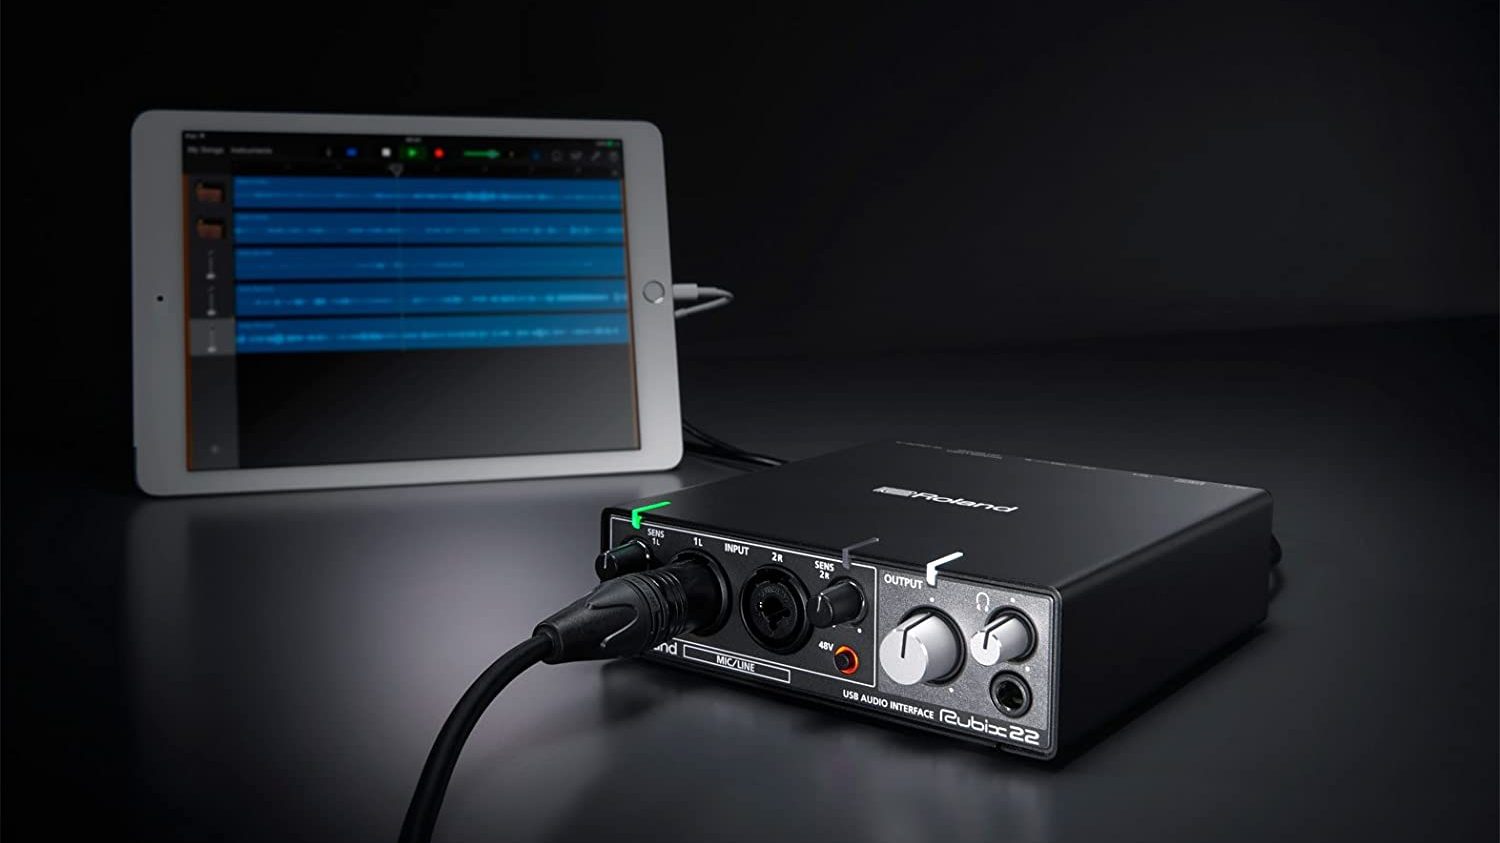
Put simply, an audio interface is a device that connects your audio equipment, such as microphones, instruments, and speakers, to your computer or recording device. It serves as the bridge between the analog and digital realms, allowing you to capture and manipulate sound with ease.
One of the key features that sets certain audio interfaces apart from others is direct monitoring. This functionality enables you to monitor the audio signal in real-time, with near-zero latency. In other words, you can listen to your input sources directly, as they are being recorded, without any delay.
Direct monitoring is a game-changer for musicians and recording artists, as it allows for a more immersive and natural recording experience. Whether you’re laying down tracks in a professional studio or creating content at home, understanding and utilizing direct monitoring can greatly enhance your audio production process.
In this article, we will delve deeper into the concept of direct monitoring and explore the benefits it offers. We will also discuss how direct monitoring works, factors to consider when choosing an audio interface with direct monitoring capabilities, and how to set up direct monitoring on your device. By the end, you’ll have a comprehensive understanding of direct monitoring and be equipped to take full advantage of this feature in your audio projects.
Understanding Direct Monitoring
Direct monitoring is a crucial feature found in many audio interfaces that allows you to listen to the input signal of your audio sources in real-time. Unlike software monitoring, which involves routing the audio signal through your computer’s processing and then back out to your headphones or speakers, direct monitoring bypasses this loop and provides a direct path from the inputs to the outputs.
The main purpose of direct monitoring is to eliminate latency, which is the delay that occurs when you’re monitoring audio through your computer’s software. Latency can be an issue, especially when recording vocals or playing virtual instruments, as the delay can be distracting and affect your performance.
By using direct monitoring, you can hear your audio sources directly, without any noticeable delay, making it easier to stay in sync with your music and maintain a natural flow. This real-time monitoring also enables you to hear any effects or processing applied to the input signal instantly, allowing for better control and adjustments during the recording process.
Direct monitoring is especially useful for musicians who need to monitor their performance while recording. For example, a guitarist can plug their instrument directly into the audio interface and hear the sound coming out of their amplifier in real-time, without the need for software processing. This immediate feedback allows for a more responsive and expressive performance.
Podcasters and content creators also benefit from direct monitoring. It allows them to monitor their voices or interviews directly, ensuring they sound clear and professional, without any distracting latency.
Additionally, direct monitoring can be particularly helpful when working with multiple microphones. Instead of relying on software monitoring that can introduce phase issues or synchronization problems, direct monitoring ensures that each microphone input is heard without any processing delays, preserving the integrity of the recorded signal.
Overall, direct monitoring provides a seamless and low-latency monitoring solution, enabling you to stay focused on your performance and make real-time adjustments. It is a fundamental feature to consider when choosing an audio interface, as it greatly enhances the recording experience for musicians, podcasters, and audio enthusiasts alike.
Benefits of Direct Monitoring
Direct monitoring offers several key benefits that greatly improve the recording and monitoring process. Let’s explore some of the advantages of using direct monitoring with your audio interface:
1. Low Latency: One of the primary benefits of direct monitoring is the elimination of latency. By bypassing the computer processing loop, you can monitor your audio sources in real-time, without any noticeable delay. This allows for a more natural and immersive recording experience, particularly when playing instruments or recording vocals.
2. Improved Performance: Direct monitoring enables musicians to hear their performance directly, without the interference of software processing. This immediate feedback allows for better timing and rhythm, resulting in more accurate and expressive recordings. It also helps maintain focus and concentration during the recording process.
3. No Distractions: With direct monitoring, you can avoid the distractions caused by software monitoring latency. This is especially important when recording vocals or working with virtual instruments, as any delay or latency can be disruptive and impact the quality of your performance. Direct monitoring ensures you can stay in the zone without any distractions.
4. Real-time Effects Monitoring: When using direct monitoring, you can hear the effects and processing applied to your audio sources in real-time. This allows for instant adjustments and fine-tuning, ensuring that you achieve the desired sound during the recording process. Whether it’s adding reverb to your vocals or applying effects to your guitar, direct monitoring enables you to hear the results immediately.
5. Clear and Accurate Monitoring: Direct monitoring provides a clear and accurate representation of your audio sources. Since you’re bypassing any software processing, you can hear the true and unaltered sound of your instruments or microphones. This ensures that you can make informed decisions during the recording process and achieve the best possible sound quality.
6. Flexible Signal Routing: With direct monitoring, you have more flexibility in signal routing. You can choose which inputs to monitor and adjust the levels accordingly. This is especially useful when working with multiple microphones or capturing audio from different sources simultaneously. Direct monitoring allows you to monitor specific channels or blend multiple inputs together for monitoring purposes.
7. Compatibility and Stability: Direct monitoring is compatible with various audio recording software and digital audio workstations (DAWs). It ensures stability and reliability during the recording process, as it reduces the strain on your computer’s processing power. This allows for smoother recording sessions and minimizes the likelihood of audio dropouts or glitches.
In summary, direct monitoring significantly enhances the recording experience by providing low latency, improved performance, real-time effects monitoring, accurate sound representation, flexible signal routing, and compatibility with various recording software. It is a valuable feature that allows musicians, podcasters, and content creators to achieve professional and high-quality recordings with ease.
How Direct Monitoring Works
To understand how direct monitoring works, let’s take a look at the internal workings of an audio interface. An audio interface consists of two main components: the analog-to-digital converter (ADC) and the digital-to-analog converter (DAC).
When an audio signal enters the interface through a microphone or instrument input, the analog-to-digital converter converts the analog signal into a digital format that can be processed and recorded by your computer. This digital signal is then sent to the recording software or digital audio workstation (DAW), where it can be edited, mixed, and processed.
On the other hand, the digital-to-analog converter converts the digital signal from your computer back into an analog format. This analog signal is then sent to the headphone or line outputs of the audio interface, where it can be heard through headphones or speakers.
Direct monitoring comes into play by creating a parallel path in the audio interface. It allows the audio signal from the microphone or instrument to be routed directly to the headphone or line outputs, bypassing the computer processing.
This means that the analog signal from your microphone or instrument is split into two paths: one path goes to the analog-to-digital converter for recording and processing by your computer, while the other path goes directly to the headphone or line outputs for monitoring purposes.
The direct monitoring signal is mixed with the playback audio from your computer so that you can hear both the incoming audio source and any pre-recorded tracks or playback from your software. This allows for seamless monitoring and immediate feedback while recording.
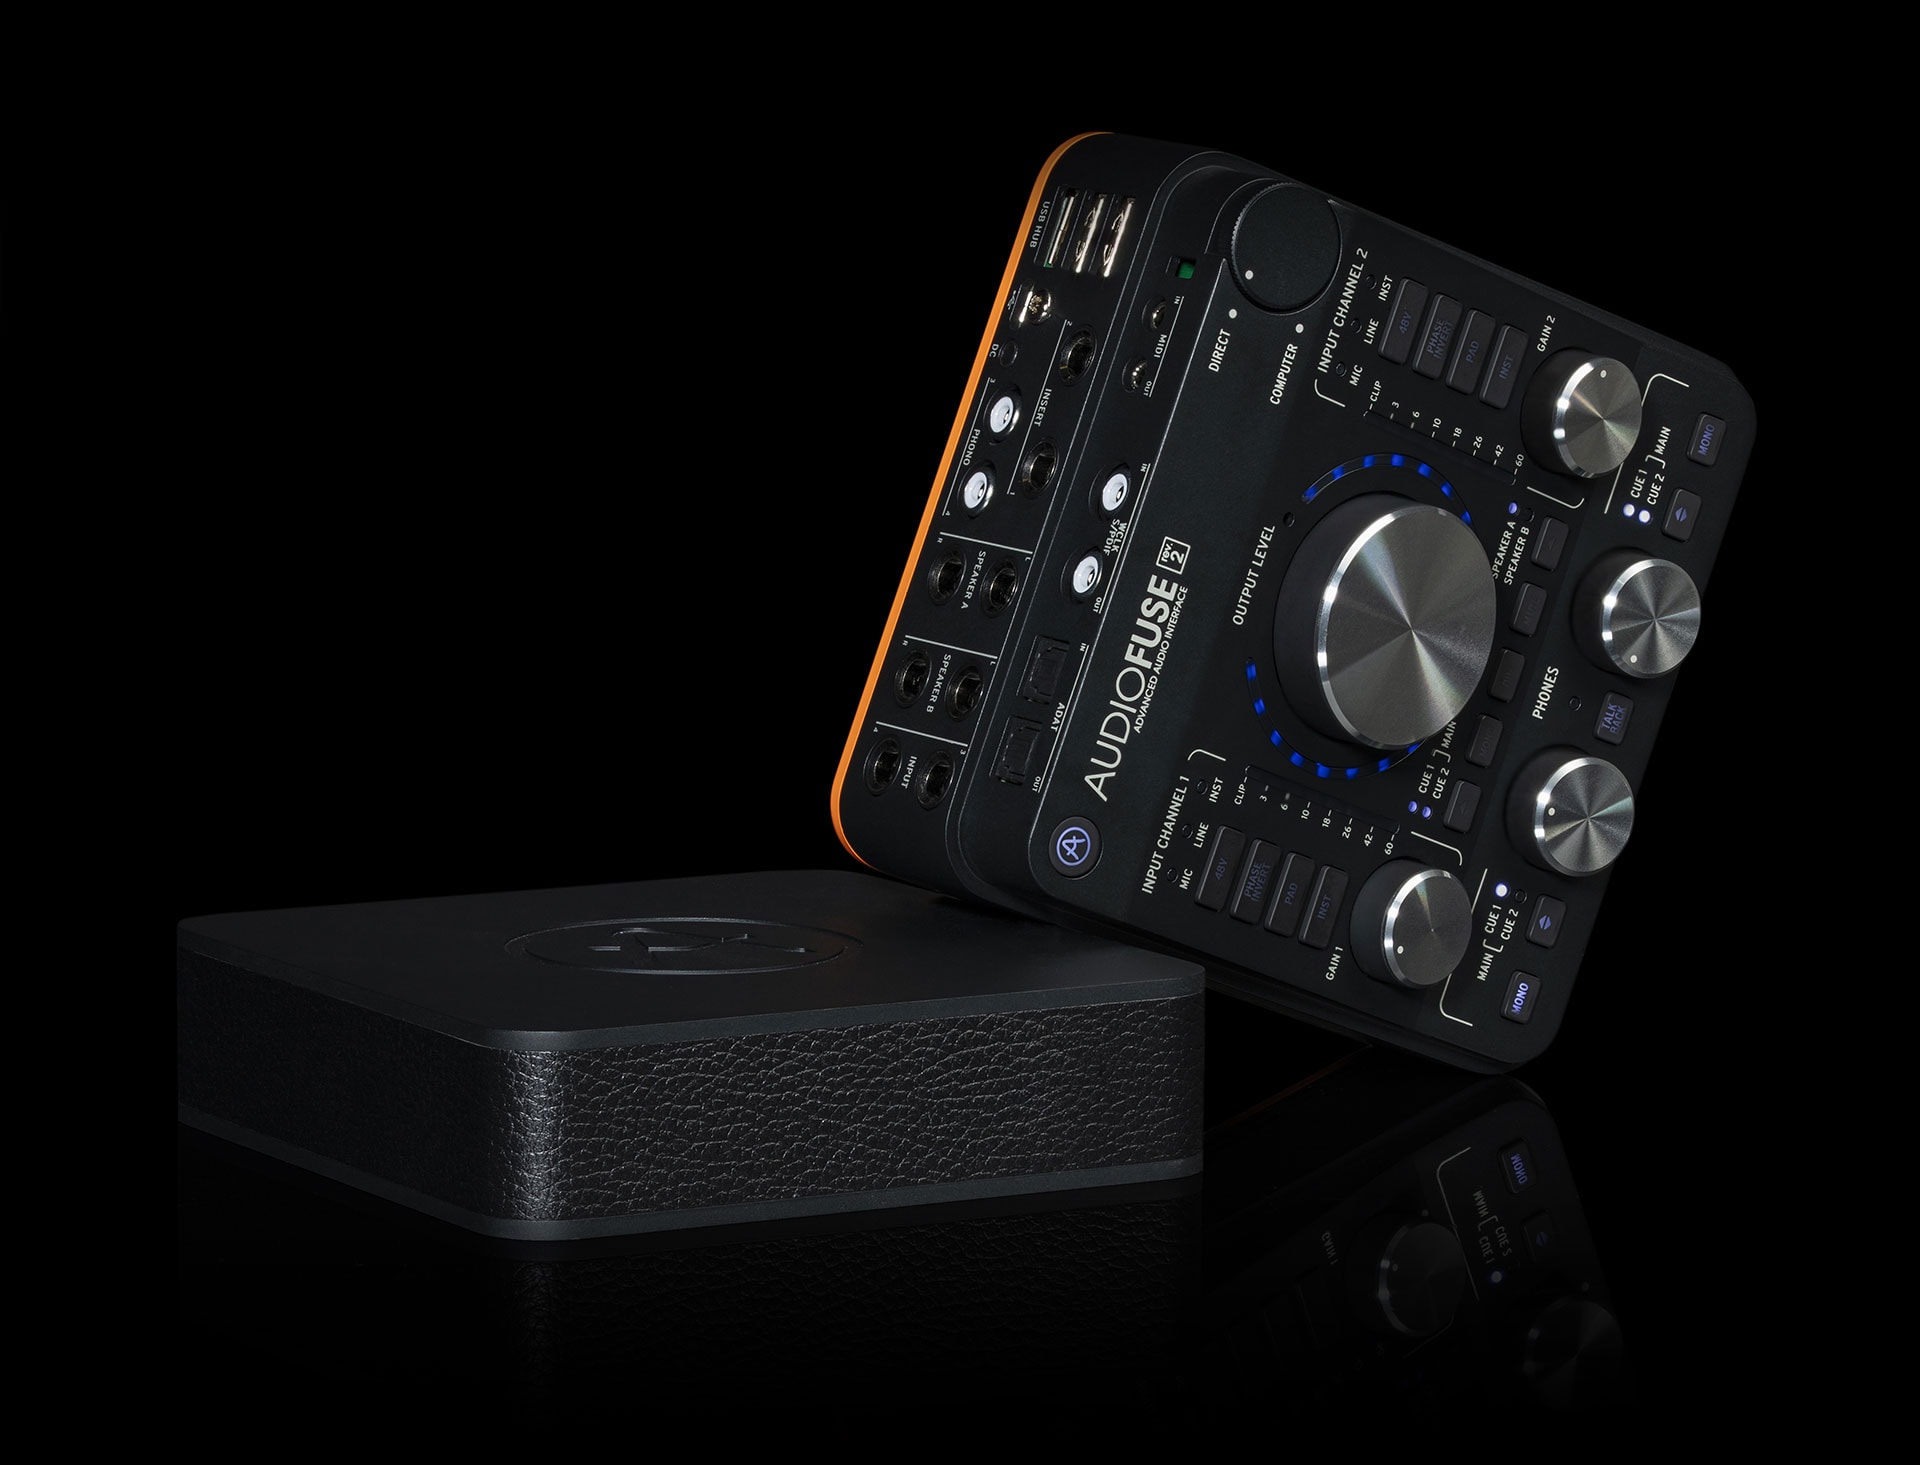
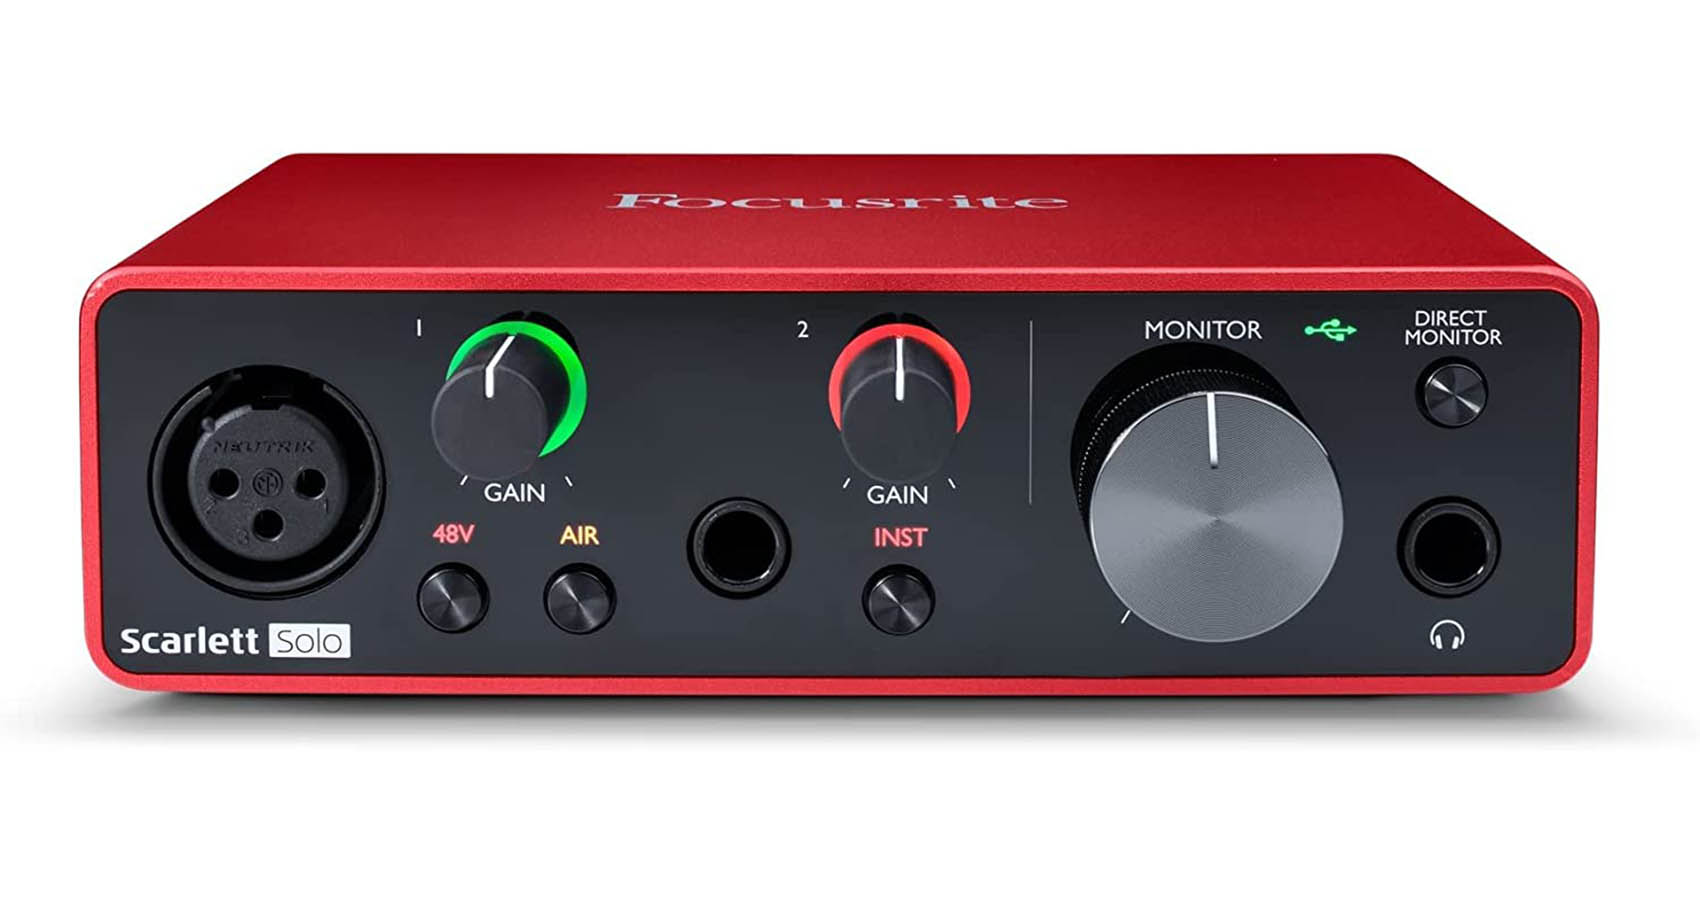
Most audio interfaces have a dedicated direct monitoring knob or switch that allows you to control the balance between the direct monitoring signal and the playback audio from your computer. This gives you the flexibility to monitor at a level that suits your preferences and needs.
It’s important to note that the direct monitoring signal is typically unprocessed, meaning it does not include any effects or processing applied through your recording software or DAW. However, some audio interfaces offer hardware-based DSP (Digital Signal Processing) effects that can be applied to the direct monitoring signal in real-time, giving you the option to hear effects while recording.
By utilizing direct monitoring, you can monitor your audio sources in real-time, with low latency and without the interference of software processing, resulting in a more responsive and natural recording experience.
Factors to Consider when Choosing a Direct Monitoring Audio Interface
When selecting an audio interface with direct monitoring capabilities, there are several factors to consider to ensure that you choose the right device for your specific needs. Let’s explore some key factors to keep in mind:
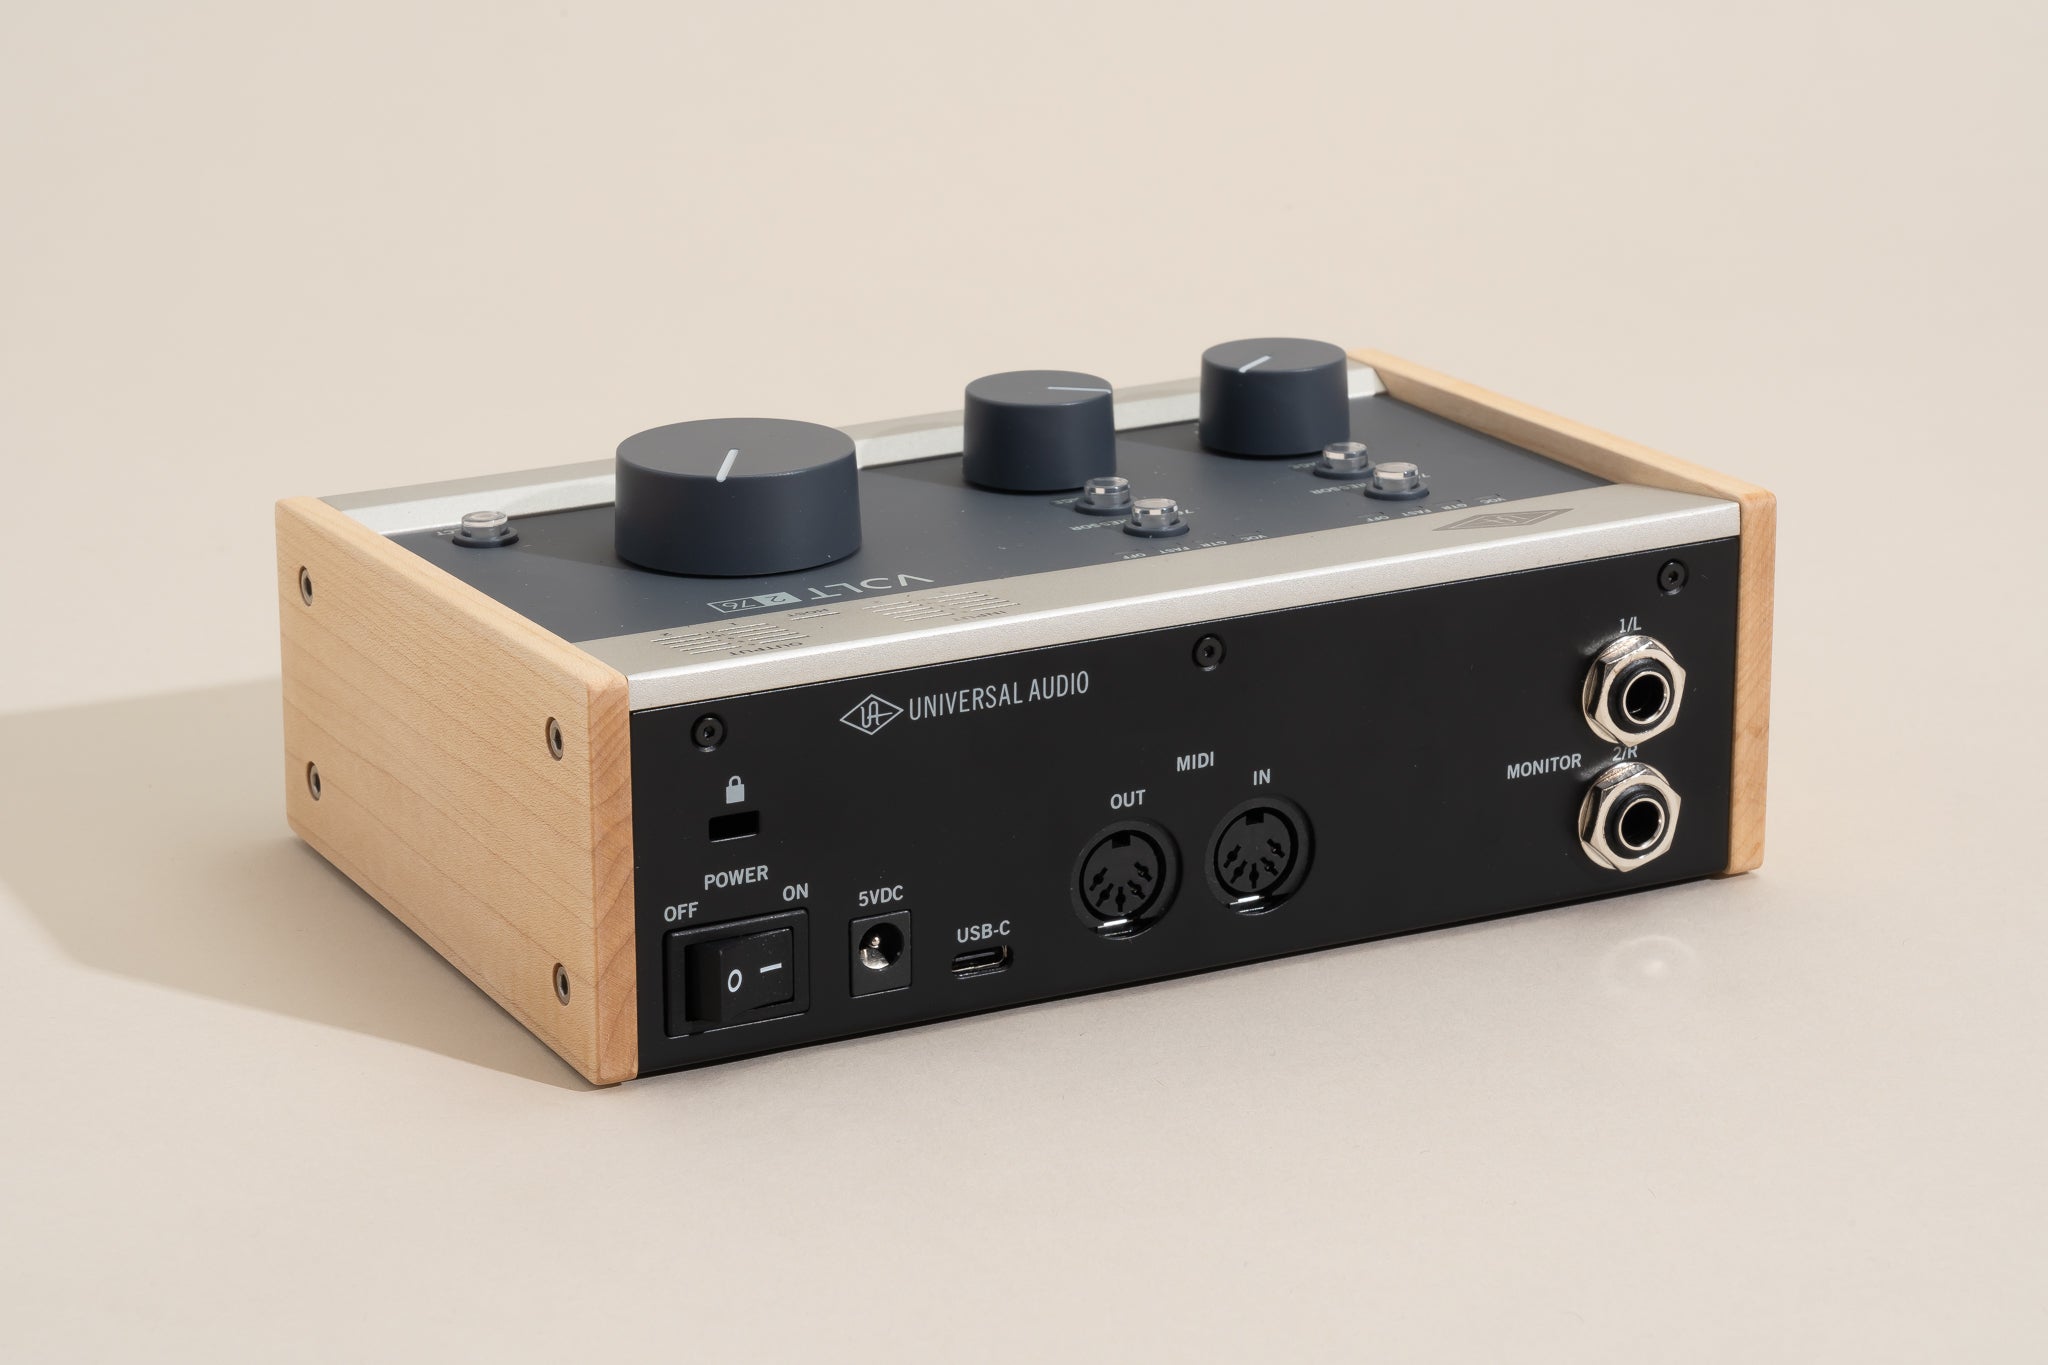
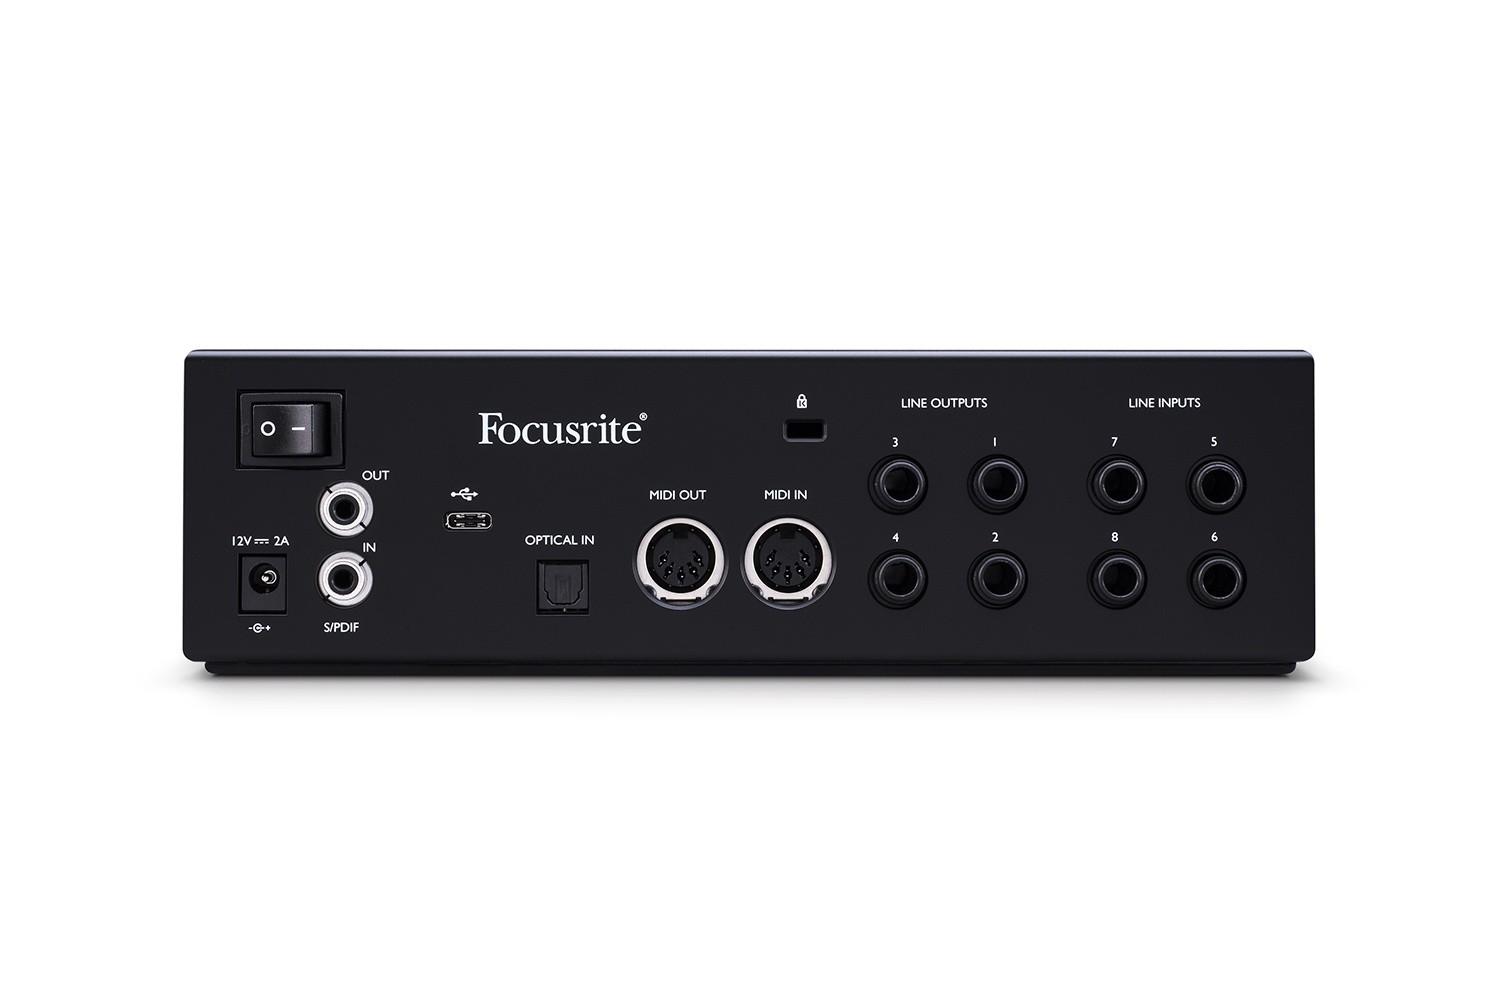
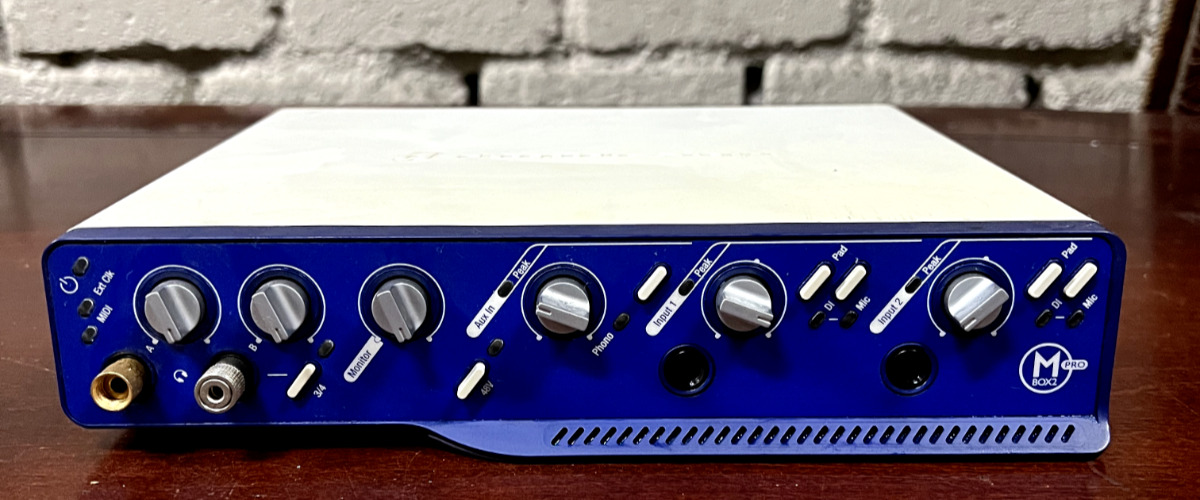
1. Interface Type and Connectivity: Consider the type of audio interface that suits your setup. Common options include USB, Thunderbolt, and PCIe interfaces. Additionally, check the connectivity options available, such as XLR inputs for microphones, instrument inputs, MIDI ports, and line outputs.
2. Number of Inputs and Outputs: Determine how many simultaneous inputs and outputs you require for your recordings. If you plan to record multiple sources simultaneously, such as a band, ensure that the interface has enough inputs to accommodate all your audio sources.
3. Audio Quality and Resolution: Look for an audio interface that supports high-quality recording and playback. Consider the audio resolution and sample rates supported by the device to ensure optimal sound quality and compatibility with your recording needs.
4. Preamp Quality: The quality of the preamps in an audio interface is crucial, as they amplify the microphone or instrument signals. Look for interfaces with high-quality preamps that provide clean and transparent gain, ensuring accurate audio capture.
5. Direct Monitoring Options: Check the direct monitoring capabilities of the audio interface. Look for features like dedicated direct monitoring knobs or switches, adjustable monitoring levels, and the ability to blend direct monitoring with playback audio.
6. Low Latency Performance: Consider the interface’s ability to provide low-latency monitoring. Look for devices that are designed to minimize latency, ensuring that there is minimal delay between your performance and the audio you hear.
7. Software Compatibility: Ensure that the audio interface is compatible with your chosen recording software or DAW. Check for compatibility with both your operating system and specific software requirements to avoid any compatibility issues.
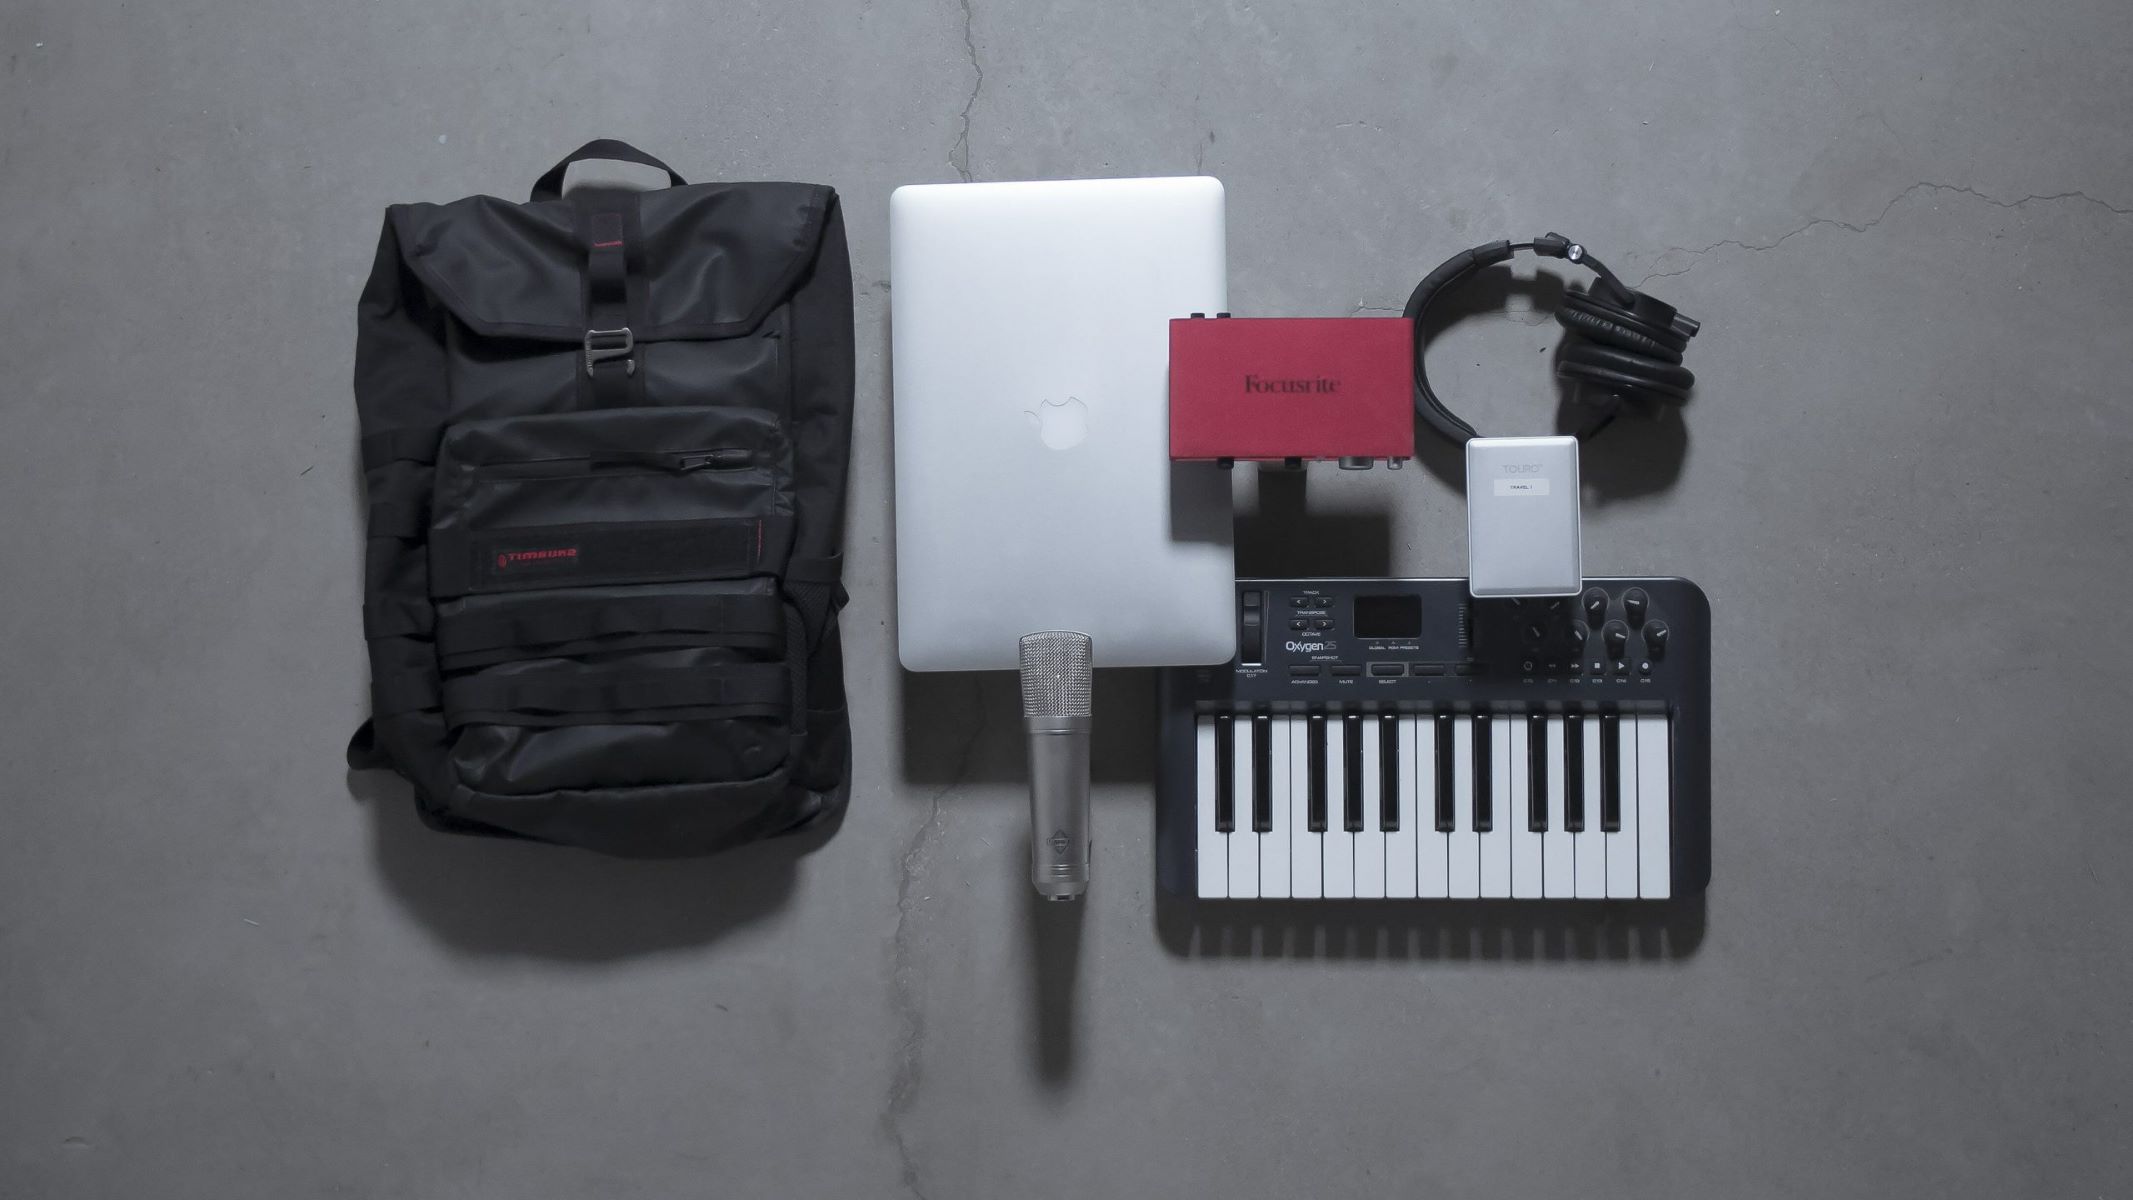
8. Portability and Design: If you plan to use the audio interface for mobile recording or live performances, consider its portability and overall design. Look for compact and sturdy interfaces that can withstand travel and provide convenience during on-the-go recordings.
9. Budget: Set a budget for your audio interface and consider options within your price range. It’s essential to strike a balance between features, audio quality, and your budget to ensure you get the best value for your investment.
10. User Reviews and Recommendations: Take the time to read user reviews and seek recommendations from fellow musicians, producers, and audio professionals. Real-world experiences and feedback can provide valuable insights when choosing the right audio interface.
By considering these factors, you can find an audio interface with direct monitoring capabilities that best suits your specific recording needs, ensuring a seamless and enjoyable recording experience while maintaining high-quality sound capture and playback.
Setting Up Direct Monitoring on Your Audio Interface
Setting up direct monitoring on your audio interface is a straightforward process that may vary slightly depending on the interface model and software you are using. Here are the general steps to follow:
1. Connect your audio sources: Begin by connecting your microphones, instruments, or other audio sources to the appropriate inputs on your audio interface. Use XLR cables for microphones and 1/4-inch cables for instruments, ensuring a secure connection.
2. Connect your headphones or speakers: Next, connect your headphones or speakers to the audio interface’s headphone or line outputs. Use the appropriate cable types for your specific equipment.
3. Install drivers and software: Install any necessary drivers and software for your audio interface on your computer. These drivers ensure proper communication between your interface and computer. Follow the manufacturer’s instructions for installation.
4. Launch your recording software or DAW: Open your recording software or digital audio workstation (DAW) on your computer. Ensure that your audio interface is selected as the audio device within the software settings.
5. Access the audio interface control panel: Some audio interfaces have dedicated control panels or mixer software that allow you to adjust settings, including direct monitoring. Locate and open the control panel for your specific interface.
6. Enable direct monitoring: Within the control panel, look for the direct monitoring option or feature. Enable or activate direct monitoring for the desired inputs. This may involve toggling a switch, adjusting a knob, or selecting specific channels to monitor.
7. Adjust monitoring levels: Use the direct monitoring controls to adjust the levels of your audio sources. Balance the levels between the direct monitoring signal and the playback audio from your recording software to your preference.
8. Test and fine-tune: Test the setup by playing your audio sources and monitoring the output through your headphones or speakers. Make any necessary adjustments to the monitoring levels or audio settings to achieve a balanced and clear sound.
9. Record and monitor: Once you have set up direct monitoring, you can now start recording while monitoring the audio in real-time. Monitor your performance using the direct monitoring signal, ensuring a low-latency and responsive experience.
10. Adjust settings as needed: As you work on your recording project, you may need to make adjustments to the direct monitoring settings. This could include adjusting the levels, toggling between mono and stereo monitoring, or applying any available hardware-based DSP effects.
Remember to consult the user manual or documentation provided with your audio interface for specific instructions tailored to your device. The process may differ slightly, but the general principles of connecting your equipment, enabling direct monitoring, and adjusting the settings remain consistent.
By following these steps, you can effectively set up direct monitoring on your audio interface and enjoy the benefits of real-time, low-latency monitoring during your recording sessions.
Troubleshooting Direct Monitoring Issues
While direct monitoring is a valuable feature, there may be instances where you encounter issues or challenges. Here are some common troubleshooting techniques to help you resolve direct monitoring issues:
1. No audio or low volume: If you’re not hearing any audio or experiencing low volume when using direct monitoring, check the following:
– Ensure that the audio interface is properly connected to your computer and power source.
– Verify that the input sources are correctly connected to the appropriate inputs on the interface.
– Check the monitoring levels on your audio interface and adjust them accordingly.
– Make sure that the direct monitoring feature is enabled in the audio interface control panel or software.
2. Latency or delay: If you’re experiencing latency or noticeable delay while using direct monitoring, consider the following:
– Verify that your audio interface drivers and software are up to date. Outdated drivers can cause latency issues.
– Adjust the buffer size in your recording software or DAW. Increasing the buffer size can help reduce latency, but it may also increase overall system latency.
– Ensure that your computer meets the necessary system requirements for your recording software or DAW. Insufficient processing power or memory can contribute to latency issues.
– Test with different USB ports or cables. Sometimes, using a different port or cable can improve data transfer and reduce latency.
3. Monitor mix imbalance: If you’re having trouble balancing the levels between the direct monitoring signal and playback audio, try the following:
– Check the monitor mix settings in your audio interface control panel or software. Adjust the levels to achieve the desired balance between direct monitoring and playback audio.
– Double-check the pan settings for each input channel. Ensure that the inputs are panned appropriately to create a balanced monitor mix.
– Use the solo or mute functions in your recording software or DAW to isolate specific audio sources and adjust their levels independently.
4. Interference or noise: If you hear unwanted noise or interference while using direct monitoring, consider these troubleshooting steps:
– Check the cables and connections. Ensure that all cables are properly connected and free from damage or interference.
– Keep your audio interface away from sources of electromagnetic interference, such as power adapters, Wi-Fi routers, or mobile devices.
– Use balanced cables (XLR) instead of unbalanced cables (TRS or RCA) whenever possible. Balanced cables are less susceptible to noise interference.
5. Software compatibility: If you’re experiencing issues with direct monitoring, make sure that your recording software or DAW is compatible with your audio interface. Check for any software updates or patches that may address compatibility issues.
If you’re still experiencing issues with direct monitoring after troubleshooting, consult the user manual for your audio interface or reach out to customer support for further assistance. They can provide specialized guidance based on your specific hardware and software configuration.
By following these troubleshooting steps and seeking assistance when needed, you can overcome common issues and ensure a smooth and effective direct monitoring experience with your audio interface.
Conclusion
Direct monitoring is a powerful feature that enhances the recording experience for musicians, podcasters, and audio enthusiasts. By providing low-latency, real-time monitoring of audio sources, direct monitoring allows for more natural performances, improved timing, and better control during the recording process.
In this article, we explored the concept of direct monitoring and its benefits. We discussed how direct monitoring works by creating a parallel path in the audio interface, allowing the audio signal to bypass computer processing and be monitored directly. This ensures a seamless, responsive, and immersive recording experience, free from the distractions and latency associated with software monitoring.
We also highlighted the importance of considering several factors when choosing an audio interface with direct monitoring capabilities. These factors include interface type and connectivity, the number of inputs and outputs, audio quality, preamp quality, and software compatibility, among others.
Additionally, we provided a step-by-step guide on how to set up direct monitoring on your audio interface, including connecting audio sources, installing drivers and software, and adjusting monitoring levels. We also offered troubleshooting suggestions for common direct monitoring issues, such as latency, volume, monitor mix imbalance, interference, and software compatibility.
In conclusion, direct monitoring revolutionizes the recording process, providing musicians, podcasters, and content creators with a more natural, responsive, and high-quality monitoring experience. By understanding and utilizing direct monitoring, you can elevate your audio productions and achieve professional results with ease.
So, whether you’re a musician looking to capture the perfect take, a podcaster aiming for clear and professional recordings, or an audio enthusiast seeking optimal sound quality, direct monitoring is an indispensable tool to incorporate into your audio interface setup.