Home>Production & Technology>Audio Interface>How Does Audio Interface Work With Adobe Audition
Audio Interface
How Does Audio Interface Work With Adobe Audition
Modified: March 7, 2024
Discover how audio interfaces work seamlessly with Adobe Audition for professional-quality recording and editing. Enhance your audio production with ease using an audio interface.
(Many of the links in this article redirect to a specific reviewed product. Your purchase of these products through affiliate links helps to generate commission for AudioLover.com, at no extra cost. Learn more)
Table of Contents
Introduction
Welcome to the fascinating world of audio interfaces and their seamless integration with Adobe Audition. In today’s digital age, where audio production and recording have become increasingly accessible, it is essential to understand the role of audio interfaces in achieving professional-level results.
An audio interface acts as the bridge between your computer and various audio devices, such as microphones, instruments, and speakers. It converts analog signals into digital data that can be processed by your computer and vice versa. With an audio interface, you can capture high-quality audio recordings, control the input and output levels, and monitor your audio in real-time, all while maintaining low latency.
Adobe Audition, a powerful digital audio workstation, offers an array of features that enable professionals and enthusiasts alike to edit, mix, and master audio recordings. When used in conjunction with an audio interface, the capabilities of Adobe Audition are enhanced, providing a seamless workflow and professional-grade audio production.
In this article, we will delve into the intricacies of audio interfaces and explore how they work in harmony with Adobe Audition. We’ll discuss the various types of audio connectivity options, guide you through the setup process, and provide tips for configuring audio input and output. Additionally, we’ll explore advanced features, troubleshoot common issues, and offer insights into maximizing your audio production potential.
Whether you’re a musician, podcaster, sound engineer, or simply passionate about audio production, understanding the functionality and integration of audio interfaces with Adobe Audition will elevate your creative endeavors.
Understanding Audio Interfaces
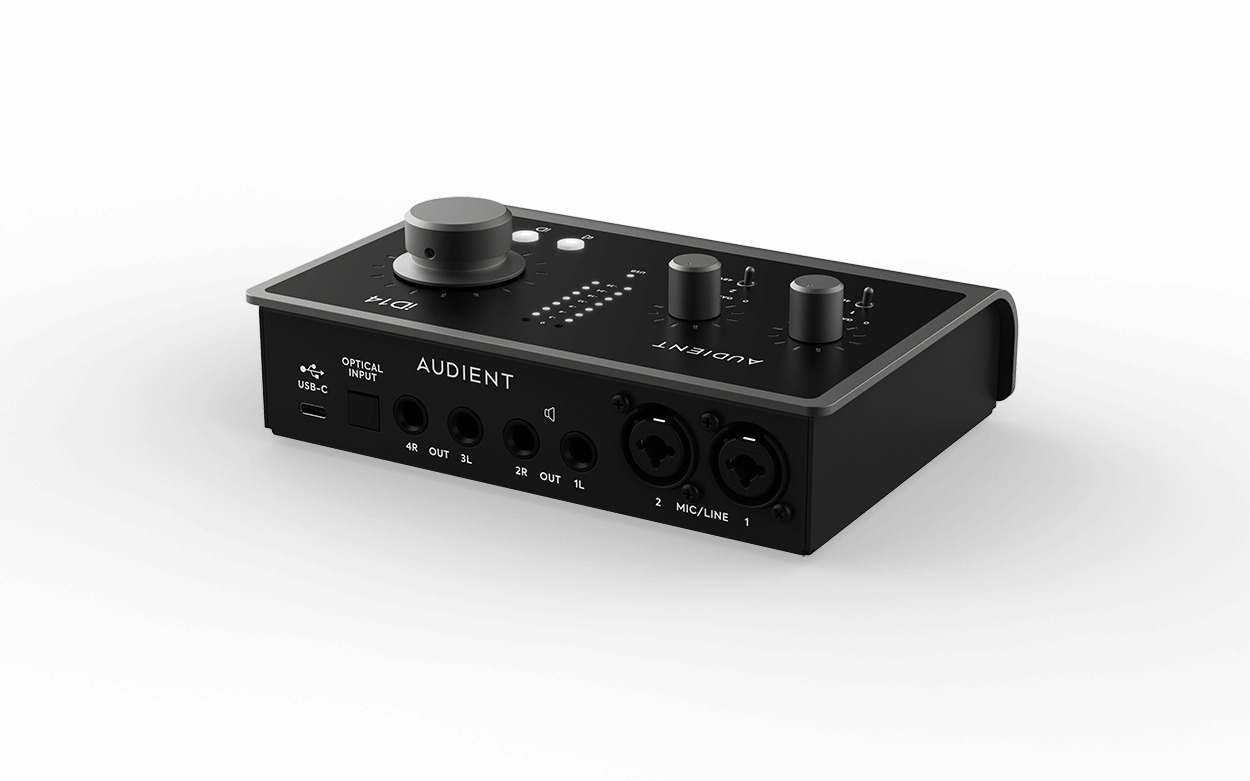
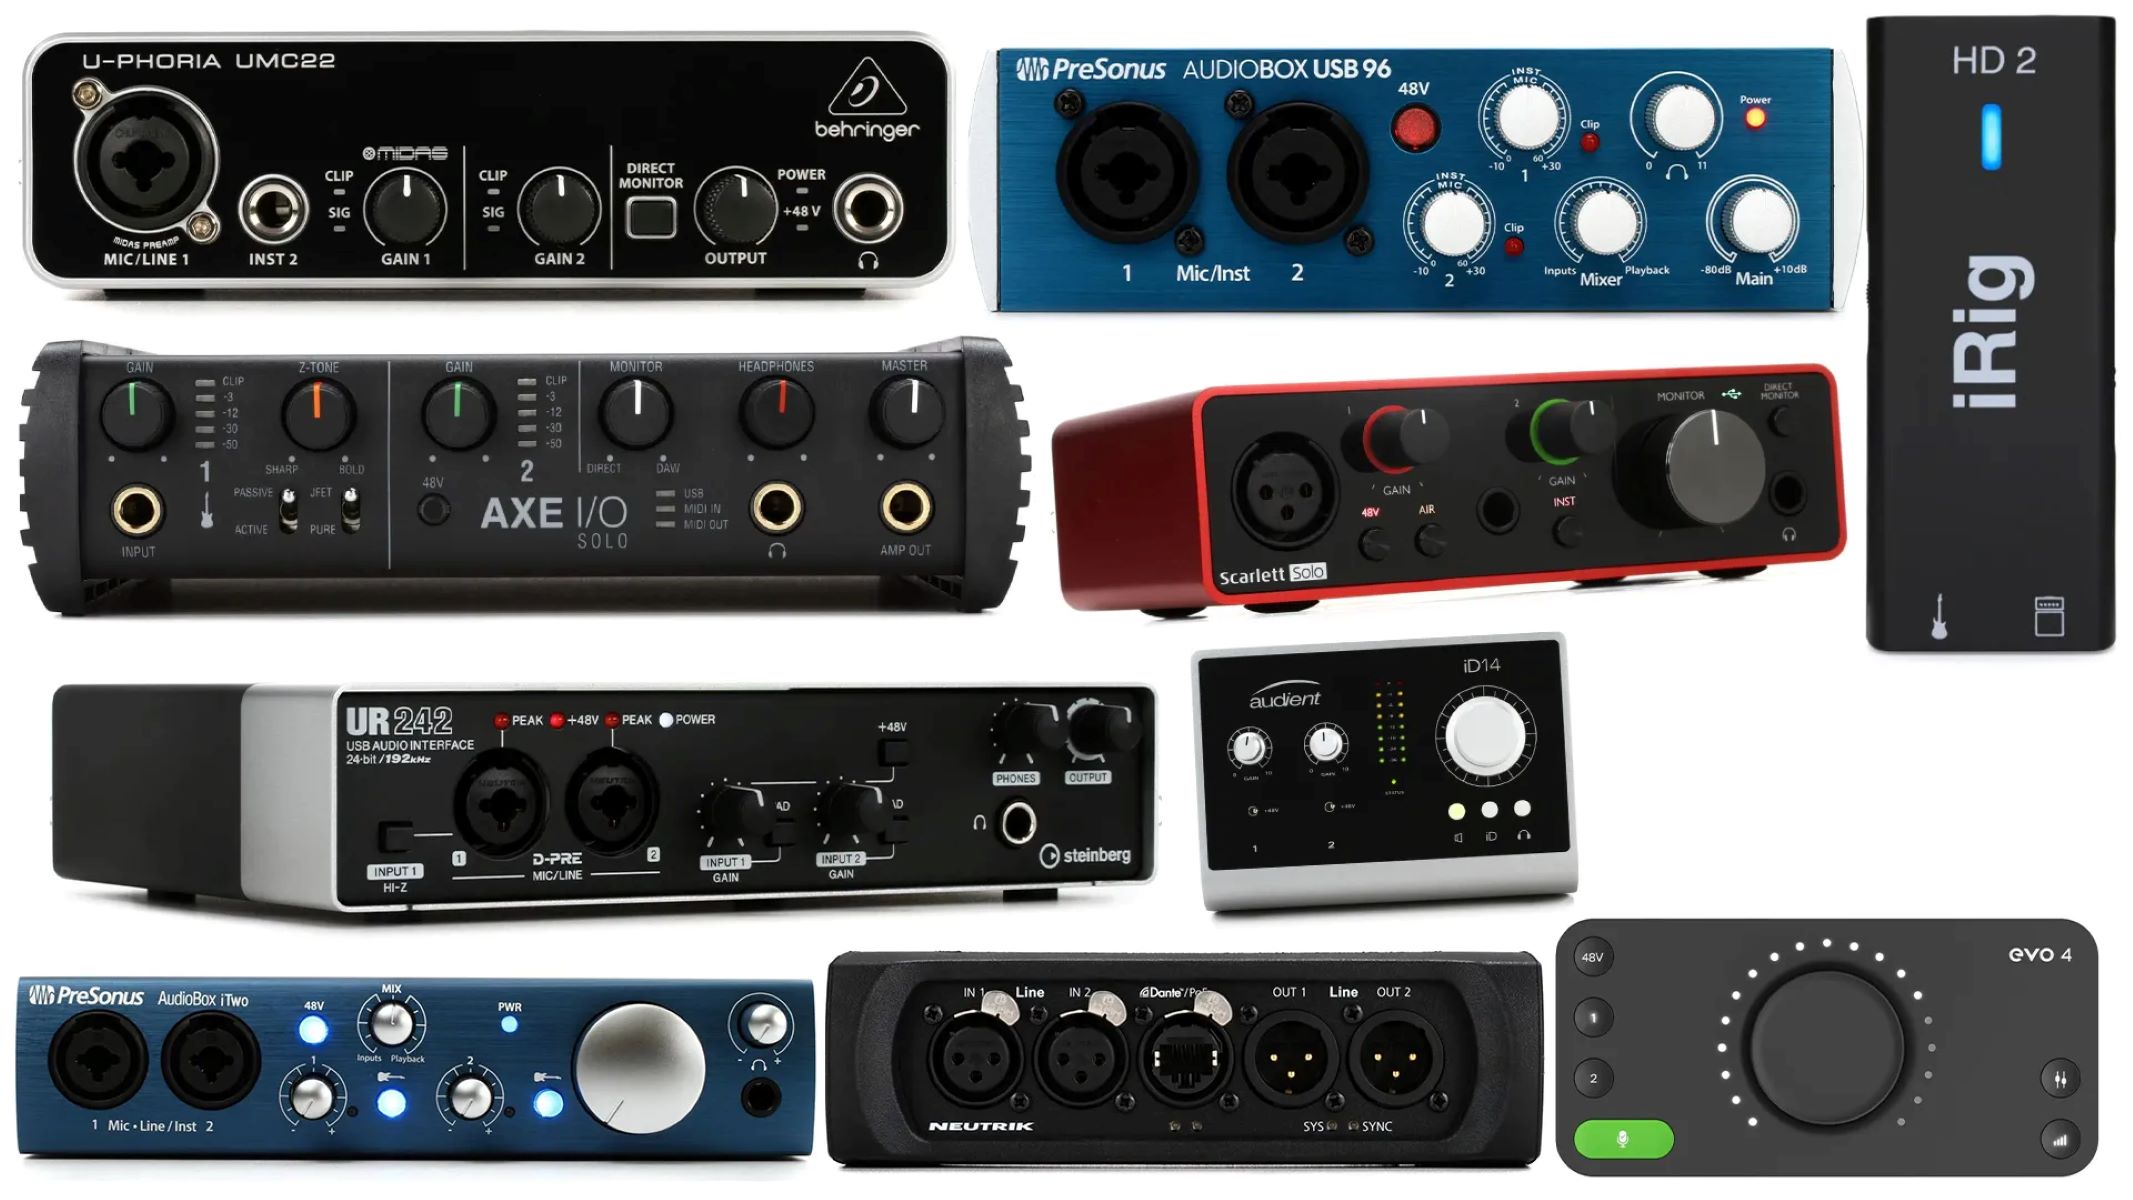
An audio interface is a piece of hardware that serves as the intermediary between your computer and various audio devices. It allows you to connect microphones, instruments, and speakers to your computer, enabling you to record, monitor, and edit audio with high fidelity. To understand how audio interfaces work, let’s explore their components and functionality.
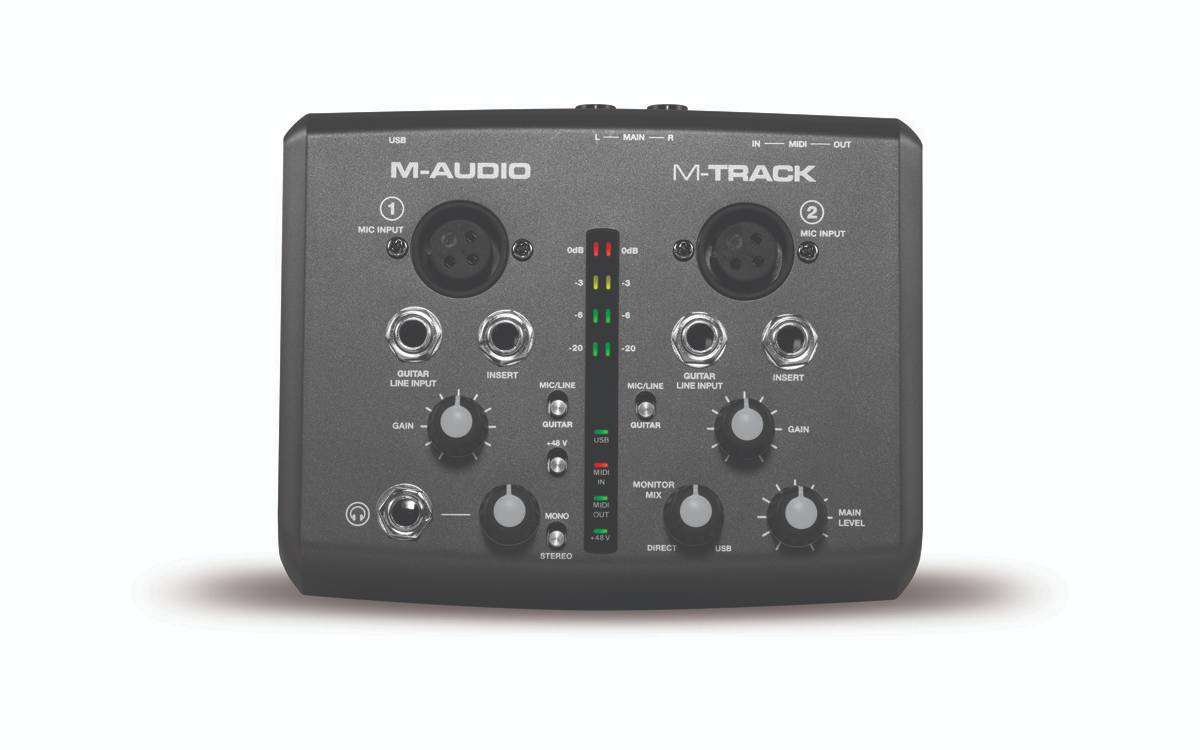
Input and Output
Audio interfaces typically include multiple inputs and outputs. Inputs are used to connect microphones, instruments, or other audio sources, while outputs are used to connect speakers or headphones for audio playback. The number of inputs and outputs can vary depending on the model and purpose of the audio interface.
Converters
An essential component of an audio interface is its converters. These are responsible for converting analog audio signals from microphones or instruments into digital data that can be processed by your computer. Similarly, converters transform digital audio data from your computer into analog signals for playback through speakers or headphones.
Sample Rate and Bit Depth
The sample rate and bit depth are two crucial aspects of audio quality. The sample rate determines how frequently the audio is digitized, while the bit depth determines the level of detail in each sample. Common sample rates for audio interfaces are 44.1 kHz and 48 kHz, with higher rates offering better audio fidelity. Bit depths can range from 16 bits to 24 bits or higher, with higher values representing greater accuracy and dynamic range.
Preamps
Many audio interfaces come equipped with built-in preamps. Preamps amplify the low-level analog signals from microphones or instruments to a level that can be appropriately processed by the interface’s converters. Having high-quality preamps can significantly impact the clarity and quality of your recordings.
Connectivity
Audio interfaces offer various connectivity options to connect to your computer. USB is the most common connection type, offering plug-and-play convenience. Thunderbolt, FireWire, and PCIe connections are also available, offering faster data transfer rates for more demanding audio production needs.
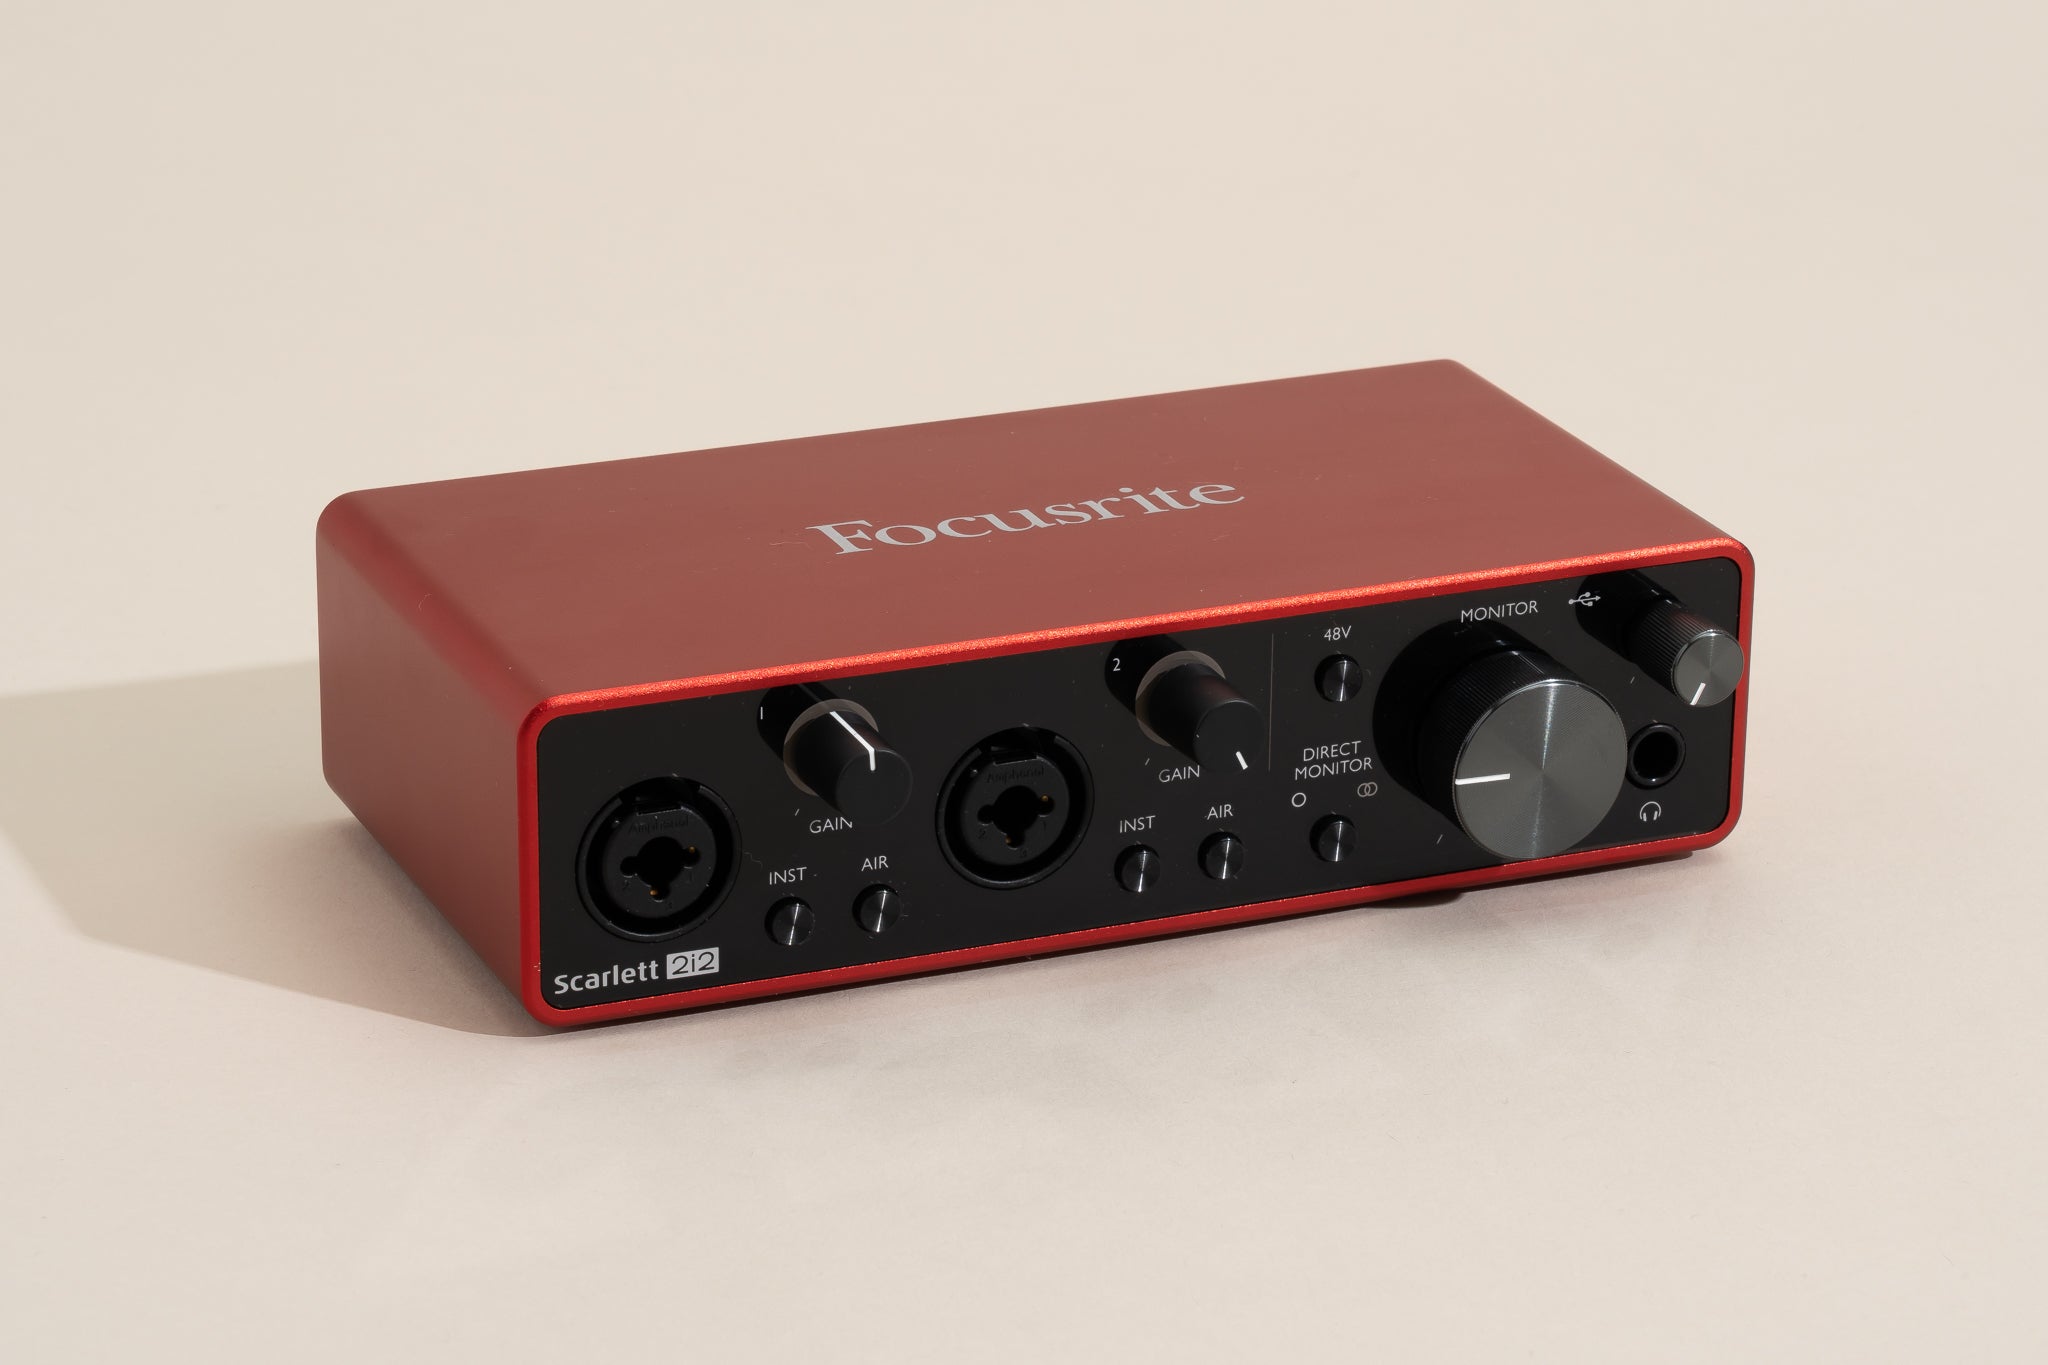
Control and Monitoring
Audio interfaces often feature control knobs or buttons to adjust input and output levels, headphone volume, and other settings. They also provide monitoring capabilities, allowing you to listen to your audio in real-time while recording or mixing without any perceptible latency.
By understanding the components and functionality of audio interfaces, you can make informed decisions when choosing the right interface for your needs. Whether you’re a beginner or a professional, having a clear understanding of how audio interfaces work will help you achieve the best audio quality and streamline your creative process.
Audio Connectivity
When it comes to audio connectivity, audio interfaces offer a range of options to connect your devices to your computer. Let’s explore the different types of audio connectivity and their benefits.
USB
USB (Universal Serial Bus) is the most common and widely used connection type for audio interfaces. USB interfaces are convenient and easy to use, as they are plug-and-play compatible with most computers. They provide reliable data transfer and power the interface, eliminating the need for an external power source. USB 2.0 and USB 3.0 interfaces are prevalent in the market, with USB 3.0 offering faster data transfer rates for more demanding audio tasks.
Thunderbolt
Thunderbolt connectivity is becoming increasingly popular, particularly among professional audio producers. Thunderbolt interfaces offer ultra-fast data transfer rates and extremely low latency, making them ideal for demanding audio applications. They can handle high track counts and process data at lightning speed, resulting in smoother audio recording and production workflows. However, Thunderbolt interfaces require compatible Thunderbolt ports on your computer.
FireWire
Although less common nowadays, FireWire interfaces were once widely used in audio production. FireWire offers fast data transfer rates and low latency, making it suitable for multitrack recording and processing. However, as newer computers phase out FireWire ports, compatibility can be a concern when choosing a FireWire audio interface.
PCIe
PCIe (Peripheral Component Interconnect Express) is a high-speed interface commonly found in desktop computers. PCIe audio interfaces offer exceptional performance and low latency due to the direct connection to the computer’s internal bus. These interfaces are often chosen by professional audio producers who require maximum processing power and track counts.
MIDI
In addition to audio connectivity, many audio interfaces also include MIDI (Musical Instrument Digital Interface) functionality. MIDI allows you to connect keyboards, controllers, and other MIDI-compatible devices to your audio interface for music production purposes. This capability enables you to record MIDI data, control virtual instruments, and synchronize external MIDI devices with your audio recordings.
When selecting an audio interface, it is essential to consider the audio connectivity that best suits your specific needs. The choice depends on factors such as your computer’s available ports, your desired data transfer rates, and the level of performance required for your audio tasks. By understanding the different connectivity options, you can make an informed decision and ensure seamless integration between your audio devices and computer.
Setting Up Adobe Audition with an Audio Interface
Setting up Adobe Audition to work seamlessly with your audio interface is a crucial step in achieving optimal audio recording and production. Let’s walk through the process of connecting and configuring Adobe Audition with your audio interface.
Step 1: Connecting Your Audio Interface
Start by connecting your audio interface to your computer using the appropriate cable or connection type. Ensure that your audio interface is powered on and ready to be detected by your computer.
Step 2: Launching Adobe Audition
Open Adobe Audition on your computer. Once launched, navigate to the Preferences or Settings menu, which can typically be found under the Edit or Audition dropdown menu. Select the audio hardware or devices section within the preferences.
Step 3: Selecting Your Audio Interface
In the audio hardware or devices section, you will see options to select your audio input and output devices. From the dropdown menus, choose your audio interface as the default input and output device. This will ensure that Adobe Audition uses your audio interface for recording and playback.
Step 4: Configuring Sample Rate and Buffer Size
Next, configure the sample rate and buffer size for your audio interface. The sample rate determines the frequency at which audio is captured, while the buffer size affects the latency and processing performance. Choose a sample rate that matches your audio interface’s capabilities and a buffer size that balances low latency and stable performance.
Step 5: Testing and Calibrating
Once your audio interface is selected and the settings are configured, it’s essential to test and calibrate the input and output levels. Connect a microphone or instrument to your audio interface and verify that the input levels are appropriately set in Adobe Audition. Additionally, ensure that the output levels from the interface are correctly routed to your speakers or headphones.
Step 6: Monitoring and Recording
With your audio interface properly set up in Adobe Audition, you are now ready to monitor and record audio. Enable the monitoring option in Adobe Audition to listen to your audio in real-time while recording or playing back previously recorded tracks. Take advantage of the low-latency and high-quality monitoring capabilities of your audio interface to achieve accurate sound reproduction.
Remember to save your preferences and settings in Adobe Audition so that they are preserved for future use. It is also beneficial to consult the user manual or documentation provided with your audio interface for any specific setup instructions or advanced features.
By following these steps, you can set up Adobe Audition with your audio interface and ensure a smooth and efficient workflow for your audio recording and production needs.
Configuring Audio Input and Output
Configuring the audio input and output settings in Adobe Audition is essential for achieving optimal recording and playback quality. Let’s explore the steps to configure the audio input and output in Adobe Audition with your audio interface.
Step 1: Accessing the Preferences
In Adobe Audition, navigate to the Preferences or Settings menu, typically found under the Edit or Audition dropdown menu. Within the preferences, locate the audio hardware or devices section.
Step 2: Selecting Input and Output Devices
In the audio hardware or devices section, you will see options to select the input and output devices. Use the dropdown menus to choose your audio interface as the default input and output device.
Step 3: Configuring Input Settings
Once your audio interface is selected as the input device, you can further configure the input settings. Adjust the input levels to ensure that your recordings are neither too quiet nor distorted. It is recommended to perform a test recording and monitor the input levels to achieve optimal recording quality without clipping or distortion.
You may also have additional options to adjust the input gain or sensitivity in the hardware settings of your audio interface. Consult the user manual or documentation provided with your audio interface to understand and utilize these settings effectively.
Step 4: Setting up Output Routing
Configure the output routing options to ensure playback through your audio interface. Choose the appropriate output channels for your speakers or headphones connected to the audio interface. This allows you to monitor your recordings and playback with the best possible audio quality.
Step 5: Checking Latency Settings
Latency refers to the delay between the input signal reaching the computer and the output sound being produced. In the preferences menu, locate the latency or buffer settings section and adjust the buffer size to achieve a balance between low latency and stable performance. Smaller buffer sizes reduce latency but require more processing power from your computer.
Step 6: Testing and Adjustment
After configuring the audio input and output settings, perform a test recording and playback to ensure that everything is working as intended. Monitor the input levels, adjust the output volume, and listen for any distortion or noise. Make any necessary adjustments in the preferences menu to achieve the desired recording and playback quality.
Remember to save your preferences so that they are retained for future use. Regularly check and update the settings if you change your audio interface or modify your recording setup.
Properly configuring the audio input and output in Adobe Audition with your audio interface is crucial for capturing high-quality recordings and achieving accurate sound reproduction. By following these steps and making necessary adjustments, you can optimize your audio production workflow and enjoy a seamless recording and playback experience.
Monitoring and Recording with Adobe Audition and an Audio Interface
Monitoring and recording are key aspects of audio production, and with Adobe Audition and an audio interface, you can achieve professional-level results. Let’s explore how you can effectively monitor and record audio using Adobe Audition and an audio interface.
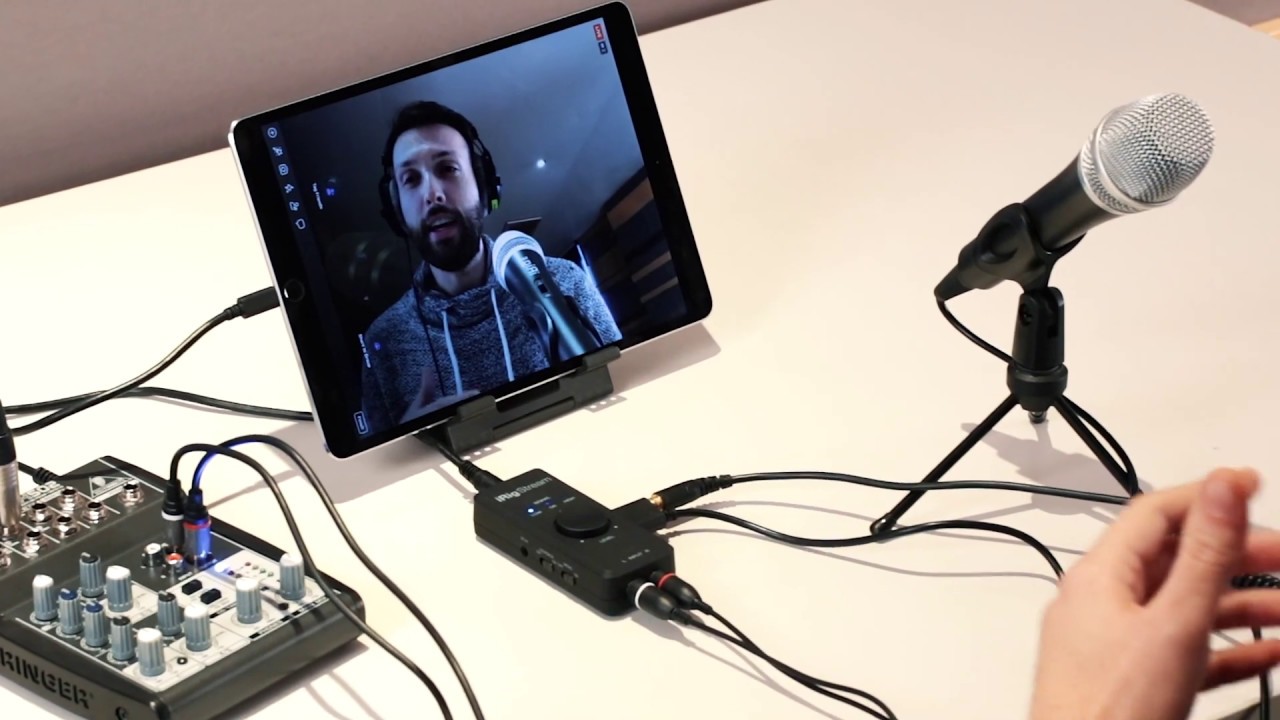
1. Monitoring
When it comes to monitoring your audio, an audio interface plays a crucial role. It allows you to listen to your recordings in real-time, ensuring accurate sound reproduction and enabling you to make informed decisions during the recording and mixing process.
With Adobe Audition, you can enable the monitoring function to listen to the live input signal or the playback of previously recorded tracks. This can be done by enabling the monitoring option in the software and selecting the appropriate input and output routing settings that correspond to your audio interface.
Monitoring through an audio interface provides several benefits, including:
- Low Latency: Audio interfaces offer low-latency monitoring that allows you to hear your audio in real-time without any significant delay, ensuring a more natural recording and playback experience.
- Accurate Sound Representation: By monitoring through your audio interface, you can hear your audio with higher quality and fidelity, as audio interfaces are designed to provide accurate sound reproduction.
- Control and Adjustments: An audio interface often includes dedicated control knobs or buttons for adjusting the input and output levels, headphone volume, and other settings. This gives you precise control over your monitoring experience.
2. Recording
When it comes to recording audio, Adobe Audition provides a range of powerful tools and features that, when coupled with an audio interface, enhance the recording process. Here’s how you can optimize your recording setup:
- Mic Placement and Input Levels: Position your microphone correctly and set the appropriate input level on your audio interface to capture clear and distortion-free recordings. Monitor the input levels in Adobe Audition to ensure that you’re capturing audio at an optimal level.
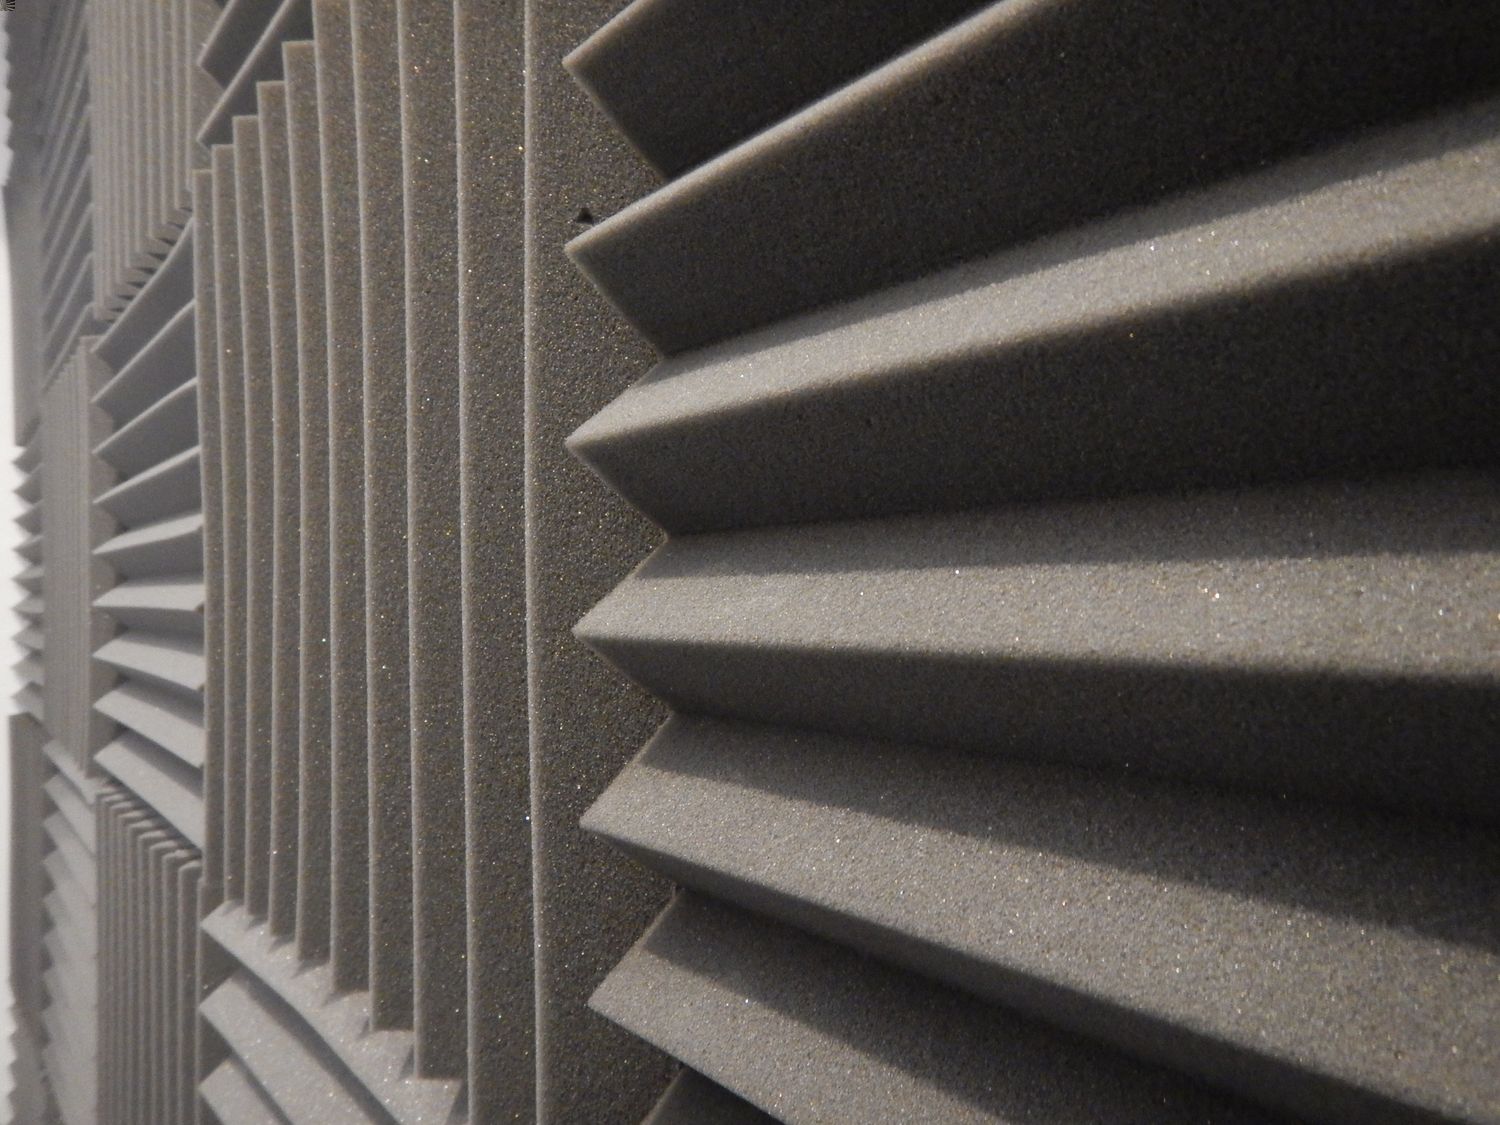
- Room Acoustics: Consider the acoustic environment in which you’re recording. Minimize background noise, echo, and reflections to achieve cleaner and more focused recordings.
- Multi-track Recording: Adobe Audition allows for multi-track recording, enabling you to record multiple audio sources simultaneously on separate tracks. This flexibility is particularly useful for recording a band or capturing audio from multiple microphones or instruments.
- Editing and Mixing: Once your recordings are complete, Adobe Audition provides a wide range of editing and mixing tools. You can remove unwanted noise, polish the audio, adjust levels, apply effects, and create a well-balanced mix.
By utilizing the monitoring capabilities of your audio interface and harnessing the features of Adobe Audition, you can capture professional-quality recordings and have greater control over your audio production process.
Remember to regularly monitor your recordings and make adjustments as needed during the recording and editing process. Experiment with different techniques, microphone placements, and processing effects to achieve the desired audio results.
With the combination of Adobe Audition and an audio interface, you have the tools to take your audio production to new heights, whether you’re recording music, podcasts, voiceovers, or any other audio content.
Advanced Features and Settings
Adobe Audition offers a range of advanced features and settings that can enhance your audio production workflow when used in conjunction with an audio interface. Let’s explore some of these advanced features and how they can be utilized.
Multitrack Editing
One of the standout features of Adobe Audition is its powerful multitrack editing capabilities. With your audio interface, you can record multiple tracks simultaneously, capturing vocals, instruments, and other audio sources in real-time. Adobe Audition allows you to arrange and edit these tracks independently, facilitating precise control over your audio mix. Use the advanced editing tools to trim, fade, crossfade, and apply effects to individual tracks, creating a well-balanced and professional-sounding final product.
Effects and Processing
Adobe Audition provides an extensive library of audio effects and processing tools. From basic EQ and compression to advanced reverb and modulation effects, you can shape and enhance your audio in creative ways. Utilize these effects alongside your audio interface to add depth, character, and professional polish to your recordings. Experiment with different combinations and settings to achieve the desired sonic result. Remember to apply effects in moderation, ensuring they complement the overall sound without overwhelming it.
MIDI Integration
If your audio interface supports MIDI connectivity, Adobe Audition can integrate seamlessly with MIDI devices. This allows you to control virtual instruments, trigger sound samples, and manipulate MIDI data within your audio productions. With MIDI, you can add expressive performances, intricate melodies, and dynamic soundscapes to your recordings. Explore the MIDI settings in Adobe Audition to configure the routing and behavior of your MIDI devices, opening up endless creative possibilities.
Time Stretching and Pitch Correction
Audio interfaces paired with Adobe Audition provide advanced time stretching and pitch correction capabilities. You can adjust the tempo and timing of audio clips without affecting the pitch, allowing for precise synchronization and alignment. Additionally, pitch correction tools enable you to correct vocal performances or instrument recordings that may be slightly out of tune. These features are especially useful in post-production scenarios or when working with samples and loops.
Automation and Mixing
Automation is a powerful tool that allows you to control various parameters over time. With Adobe Audition and your audio interface, you can automate volume levels, panning, effects, and other settings to create dynamic mixes. This feature is particularly valuable when working on intricate soundscapes, film or game soundtracks, or podcasts with complex editing requirements. By utilizing automation in your mix, you can bring depth, movement, and a professional touch to your audio productions.
Remember to take the time to explore and experiment with these advanced features and settings in Adobe Audition. Combine them with the capabilities of your audio interface to unlock your creativity and elevate your audio production to new levels. Familiarize yourself with the user manual and online resources for Adobe Audition to learn more about these advanced features and how to leverage them effectively.
By leveraging the power of Adobe Audition and your audio interface’s advanced features and settings, you can achieve professional-grade audio productions that stand out from the crowd.
Troubleshooting Common Issues
While working with Adobe Audition and an audio interface, you may encounter common issues that can hinder your audio production workflow. Let’s explore some troubleshooting tips for resolving these issues and ensuring smooth operation.
1. No Sound or Audio Playback
If you are not hearing any sound or experiencing a lack of audio playback, check the following:
- Ensure that your audio interface is powered on, connected correctly, and selected as the default output device in Adobe Audition’s preferences.
- Check the volume settings on your audio interface, speakers, and in Adobe Audition to ensure they are not muted or set too low.
- Verify that your audio files or tracks are not muted or soloed in the editing or mixing window of Adobe Audition.
2. Latency or Delay Issues
If you are experiencing noticeable latency or delay during recording or monitoring, try the following:
- Check the buffer size settings in your audio interface’s control panel or in Adobe Audition’s preferences. Decreasing the buffer size can reduce latency, but it may increase the likelihood of audio glitches or dropouts.
- Ensure that you are using an appropriate audio driver for your audio interface. ASIO (Audio Stream Input/Output) drivers are often recommended for low-latency performance.
- If using a USB audio interface, try using a USB port directly on your computer rather than a hub, as hubs can introduce additional latency.
3. Driver or Firmware Issues
If you are experiencing issues with drivers or firmware, follow these steps:
- Ensure that you have installed the latest drivers or firmware updates for your audio interface. Check the manufacturer’s website for the most up-to-date software.
- If you have recently updated your computer’s operating system, make sure that your audio interface is compatible with the new OS version, and if necessary, install any corresponding driver updates.
- If you encounter persistent issues with a specific driver or firmware version, consider rolling back to a previous version that was stable.
4. Noise or Distortion
If you are hearing unwanted noise or distortion in your recordings, consider the following troubleshooting steps:
- Ensure that your audio interface is receiving a clean and stable power source. Avoid using the same power strip or outlet as other high-powered devices that may introduce electrical interference.
- Check your cables for any damage or loose connections. Sometimes, faulty cables can introduce noise or distortion into the audio signal.
- Inspect your audio interface’s input gain settings. If the input level is set too high, it can cause clipping and distortion. Adjust the input gain accordingly, ensuring that the signal remains in the optimal range.
5. Software Configurations
If you are experiencing issues specific to Adobe Audition’s software configurations, consider these troubleshooting strategies:
- Verify that you are using the latest version of Adobe Audition. Updating the software can often resolve compatibility issues or bugs that may be causing problems.
- Reset Adobe Audition’s preferences to default settings. Corrupted preferences can sometimes cause unexpected behavior.
- If specific features or effects are not functioning correctly, reinstall Adobe Audition to ensure a clean installation.
If troubleshooting doesn’t resolve the issue, consult the user manual or contact the manufacturer of your audio interface for assistance. They may provide specific guidelines or further troubleshooting steps tailored to your interface model.
Remember, patience and persistence are key when troubleshooting audio issues. By systematically addressing the common problems and seeking guidance when necessary, you can overcome obstacles and maximize the performance of Adobe Audition and your audio interface.
Conclusion
Partnering Adobe Audition with an audio interface opens up a world of possibilities for audio recording and production. By understanding the fundamentals of audio interfaces, configuring the settings, and leveraging the advanced features, you can achieve professional-grade results with ease.
In this article, we explored how audio interfaces work as the bridge between your computer and audio devices, converting analog signals to digital and vice versa. We discussed the importance of selecting the appropriate audio connectivity options and provided guidance on setting up Adobe Audition with your audio interface.
We also delved into configuring audio input and output settings, monitoring your audio, and capturing recordings with precision. Additionally, we explored advanced features such as multitrack editing, effects processing, MIDI integration, and automation, which can take your audio productions to new heights.
Throughout our exploration, we addressed common troubleshooting issues such as latency, driver/firmware problems, noise/distortion, and software configurations. Emphasizing the importance of troubleshooting, we provided practical tips to overcome these challenges and ensure a smooth audio production workflow.
In conclusion, Adobe Audition and an audio interface offer a powerful combination for capturing, editing, and producing professional-quality audio. By understanding the capabilities of your audio interface and leveraging the features of Adobe Audition, you can unleash your creativity and reach new levels of audio production excellence.
Remember to explore and experiment with different techniques, settings, and effects to find your unique sound signature. Stay curious, learn from experts, and continue to refine your skills to create audio content that inspires and captivates audiences.