Home>Production & Technology>Audiobook>How To Burn Audiobook Onto CD

Audiobook
How To Burn Audiobook Onto CD
Modified: January 22, 2024
Learn how to burn your favorite audiobooks onto CD with this step-by-step guide. Preserve your audiobooks in a physical format for easy listening anytime.
(Many of the links in this article redirect to a specific reviewed product. Your purchase of these products through affiliate links helps to generate commission for AudioLover.com, at no extra cost. Learn more)
Table of Contents
Introduction
With the rise in popularity of audiobooks, many avid readers and listeners are looking for ways to enjoy their favorite stories on various platforms. While digital downloads and streaming have become the norm, there are still those who prefer the simplicity and tangibility of a physical CD. In this guide, we will explore the process of burning an audiobook onto a CD, allowing you to enjoy your favorite stories in a traditional format.
Burning an audiobook onto a CD not only provides a convenient way to listen to your favorite titles, but it also allows for easy sharing and gifting to friends and family. Whether you prefer to listen in your car, at home, or while on the go, having your audiobooks on CDs adds versatility to your listening experience.
While the process of burning an audiobook onto a CD may seem intimidating to some, it is actually a straightforward process that requires just a few steps. In this article, we will guide you through each step, from gathering the necessary materials to organizing and labeling the final CD.
Before we begin, it is important to note that the specific instructions may vary depending on the software and equipment you are using. However, the general process remains the same. Now, let’s dive in and learn how to burn an audiobook onto a CD!
Step 1: Gathering the Materials
Before you can begin the process of burning an audiobook onto a CD, you will need to gather a few essential materials. Here is a list of what you will need:
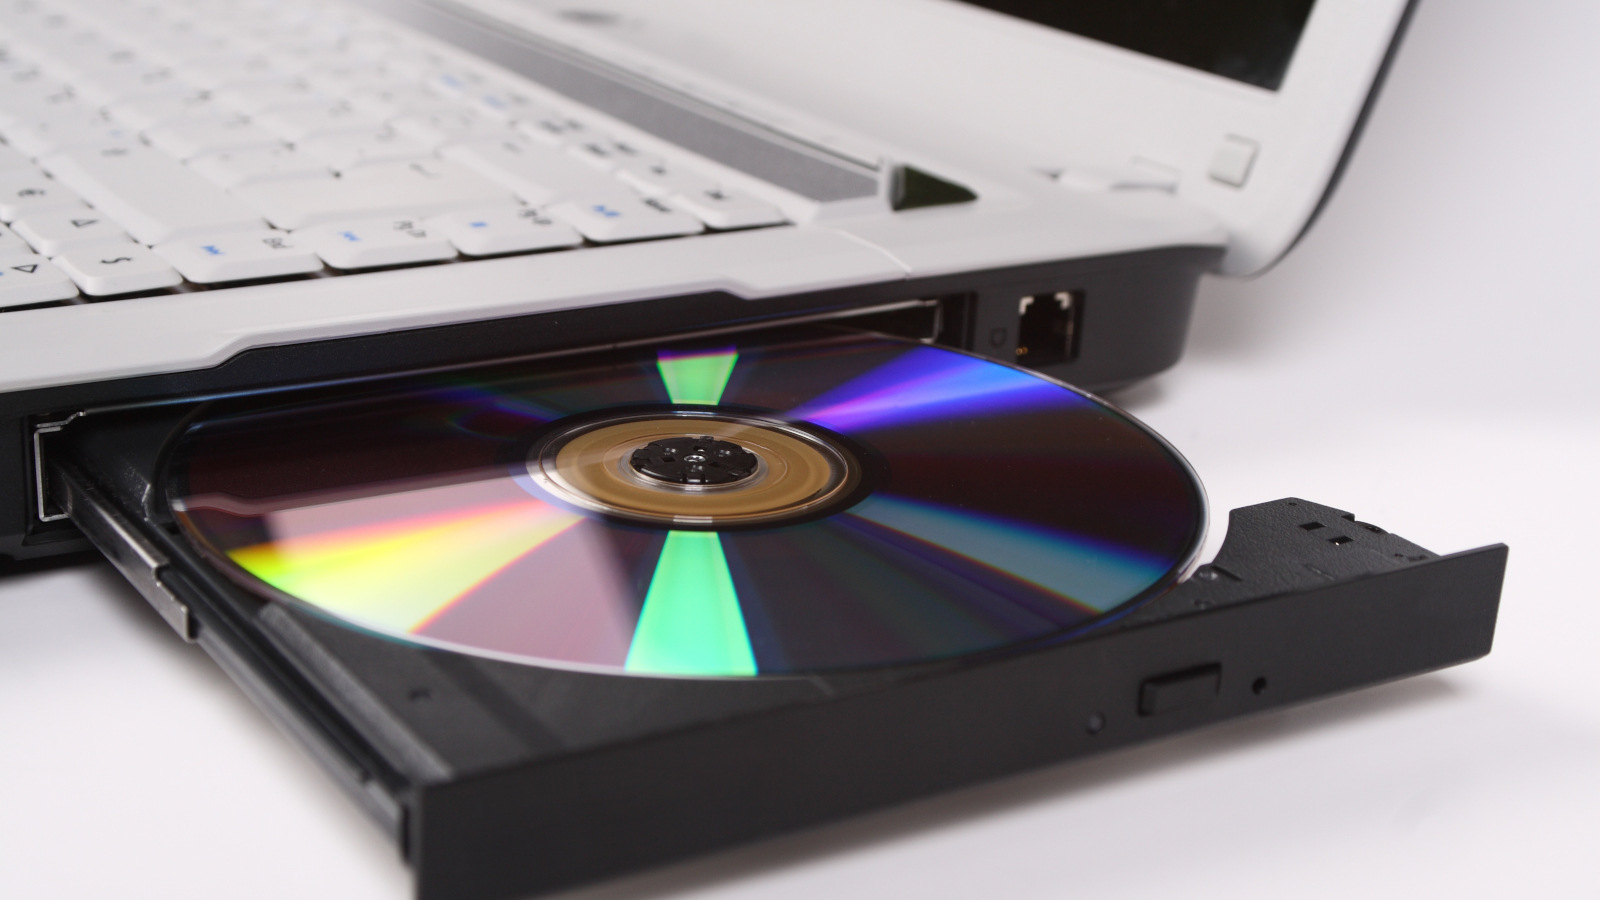
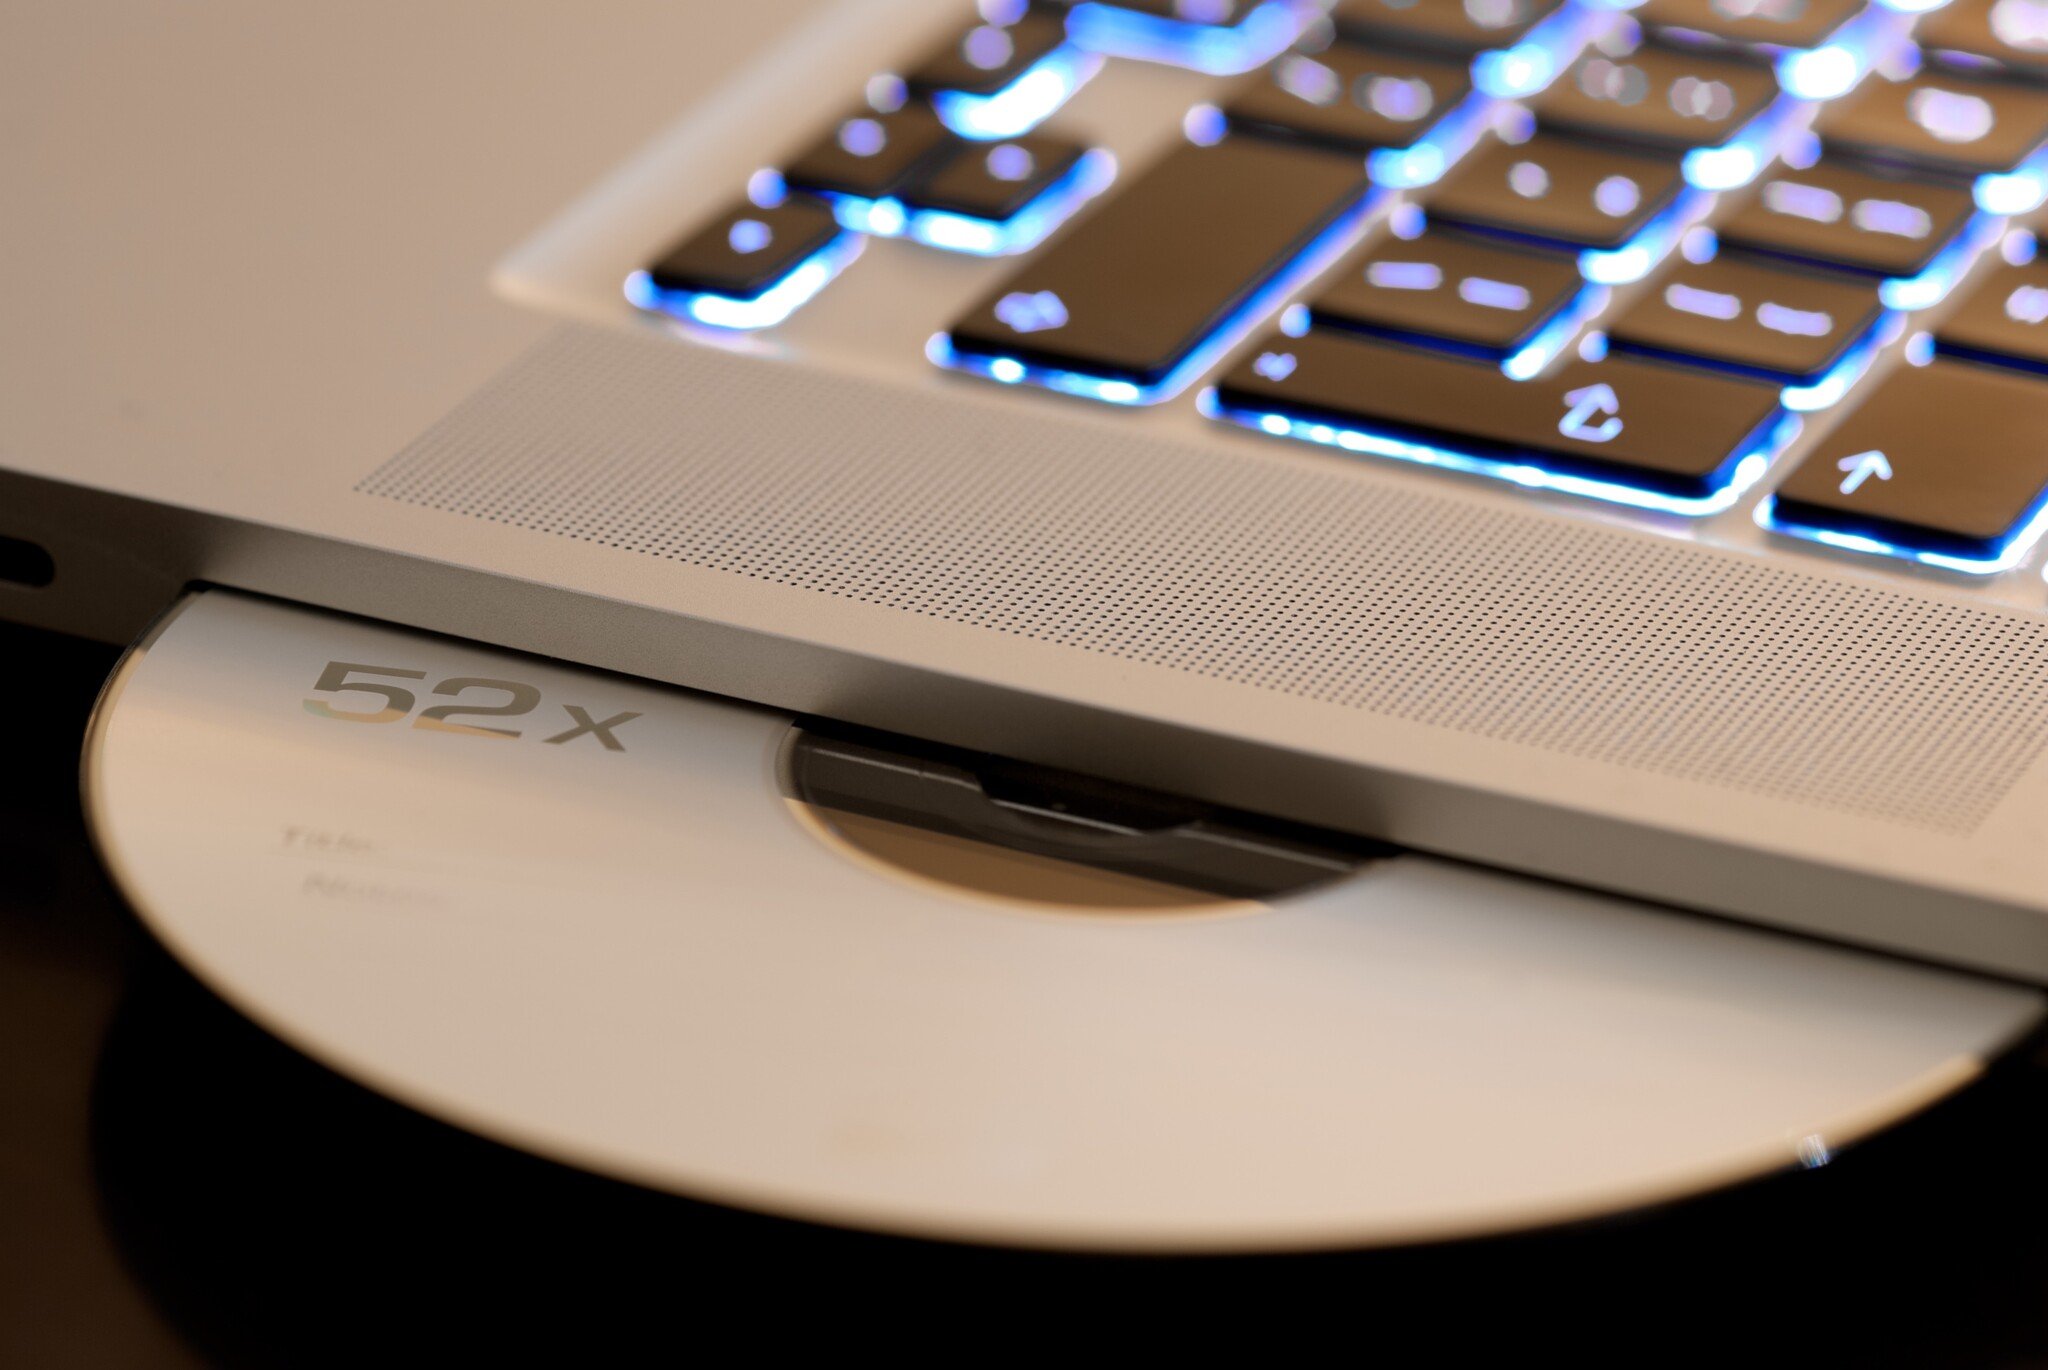
- Computer with a CD burner: You will need a computer that has a built-in CD burner or an external CD burner connected to it. Most modern computers come with CD burning capabilities.
- Audiobook files: Ensure that you have the digital audiobook files stored on your computer. These files can be in various formats, such as MP3, AAC, or WMA, depending on the source from which you obtained them.
- Blank CDs: Make sure you have a stack of blank CDs ready for the burning process. Choose high-quality CDs to ensure better audio quality and longevity.
- Burning software: You will need CD burning software installed on your computer to facilitate the burning process. There are several software options available, both free and paid, such as Nero, Roxio, and Windows Media Player.
- CD labeling materials (optional): If you wish to label your burned CDs, you can have writable or printable CD labels, markers, or CD label design software on hand.
Once you have gathered all of these materials, you will be ready to proceed to the next step. It is essential to have everything prepared beforehand to ensure a smooth and efficient burning process.
Now that we have our materials ready, let’s move on to the next step: choosing the right CD burner software.
Step 2: Choosing the Right CD Burner
When it comes to choosing the right CD burner software for burning your audiobooks, there are several options available in the market. The choice of software will depend on your specific needs, preferences, and the features you require. Here are a few factors to consider when selecting CD burner software:
- User-Friendly Interface: Look for software that is easy to navigate and understand. A user-friendly interface ensures a smoother and more enjoyable experience.
- Compatibility: Ensure that the CD burner software you choose is compatible with your computer’s operating system. Whether you are using Windows, macOS, or Linux, make sure the software supports it.
- Burning Speed: Take into account the burning speed options offered by the software. If you prefer faster burning times, choose software that supports higher speeds.
- Audio Format Support: Check if the CD burner software supports the specific audio file formats of your audiobooks. Most commonly used formats include MP3, AAC, and WMA.
- Additional Features: Some CD burner software may offer advanced features such as audio editing, CD ripping, and customization options. Consider whether these features are necessary for your needs.
It is also worth noting that many modern operating systems, such as Windows 10 and macOS, come with built-in CD burning capabilities. These built-in tools can serve as basic CD burner software, eliminating the need to install third-party applications.
Take your time to research and compare different CD burner software options before making a decision. Read user reviews, check for compatibility, and determine which software best suits your requirements. Once you have chosen the right CD burner software, you can move on to the next step: preparing the audiobook files.
Step 3: Preparing the Audiobook Files
Before you can begin the process of burning your audiobook onto a CD, you need to ensure that the audiobook files are properly prepared. Here are the steps to follow:
- Organize the Audiobook Files: Make sure that all the audiobook files are properly organized and located in one folder on your computer. This will ensure easy access and a smooth burning process.
- Check the Format: Verify the format of the audiobook files. Most CD burning software supports common audio file formats like MP3, AAC, and WMA. If your files are in a different format, you may need to convert them using a file conversion tool.
- Check the File Size: Ensure that the total size of the audiobook files is within the capacity of the blank CD you will be using. A standard CD has a capacity of 700 MB, so make sure the total size of the files does not exceed this limit. If needed, you can compress the audio files to reduce their size.
- Arrange the Track Order: If your audiobook is divided into multiple tracks, it is important to arrange them in the correct order before burning them onto the CD. You can do this by renaming the files or by using the CD burner software’s track rearrangement feature.
- Quality Check: Take a moment to listen to a few segments of the audiobook files and ensure that they play smoothly without any issues or distortions. This will help you identify any corrupted files that may affect the quality of the burned CD.
By following these steps, you can ensure that your audiobook files are properly prepared for the burning process. Once you have organized and checked the files, you are ready to move on to the next step, which is burning the audiobook onto a CD.
Step 4: Burning the Audiobook onto a CD
Now that you have gathered the materials, chosen the right CD burner software, and prepared the audiobook files, it’s time to proceed with the burning process. Follow these steps to burn the audiobook onto a CD:
- Launch the CD Burning Software: Open the CD burner software on your computer. If you are using built-in software, such as Windows Media Player or iTunes, ensure that it is updated to the latest version.
- Select the Burning Mode: Choose the appropriate burning mode. Most CD burner software provides options like “Audio CD” or “MP3 CD.” For audiobooks, select the “Audio CD” option, as it ensures compatibility with standard CD players.
- Add the Audiobook Files: Use the software’s interface to add the audiobook files to the burning project. You can typically drag and drop the files from the folder where they are stored into the software window.
- Arrange the Track Order: If the audiobook files are not arranged in the correct order, use the software’s track rearrangement feature to organize them. Simply click and drag the files to the desired order.
- Set Burning Options: Configure the burning options according to your preferences. You can typically choose the burning speed (e.g., 4x, 8x, maximum), adjust the volume level, and enable other settings like gapless playback.
- Insert a Blank CD: Insert a blank CD into your computer’s CD burner. Ensure that the CD is compatible with your burner and has enough capacity to hold the audiobook files.
- Start the Burning Process: Once everything is set, click on the “Burn” or “Start” button within the CD burner software to initiate the burning process. Depending on the size of the audiobook files and the speed of your CD burner, it may take a few minutes to complete.
- Wait for the Burning to Finish: Leave your computer undisturbed until the burning process is complete. The software will indicate when the burning is finished, and you can safely eject the newly burned CD.
By following these steps, you can successfully burn your audiobook onto a CD. Once the burning process is complete, you can move on to the next step, which is verifying the burned CD for any errors or issues.
Step 5: Verifying the Burned CD
After you have burned the audiobook onto a CD, it is important to verify the integrity and quality of the burned CD. This step ensures that the CD is playable, and the audio files have been successfully transferred. Follow these steps to verify the burned CD:
- Eject the Burned CD: Once the burning process is complete, safely eject the burned CD from your computer’s CD burner.
- Insert the Burned CD: Insert the burned CD into a CD player or computer with a CD drive to test its playability. Ensure that the device you are using is capable of playing audio CDs.
- Listen to the Audiobook: Play the audiobook on the CD player or computer and listen to it carefully. Make sure that the audio plays smoothly without any glitches, skips, or distortions.
- Check the Track Order: Confirm that the audiobook tracks are arranged in the correct order and play seamlessly from one track to the next. If you find any issues with the track order, you may need to rearrange the files and burn a new CD.
- Listen for Audio Quality: Pay attention to the audio quality, ensuring that it remains clear and consistent throughout the audiobook. If you notice any inconsistency or degradation in sound quality, it may indicate a problem with the burning process or the CD itself.
If you encounter any issues during the verification process, such as skipping tracks or poor audio quality, you may need to recheck your burning settings and repeat the burning process. It is also worth considering using a different brand or type of blank CD, as low-quality CDs can sometimes result in playback issues.
Once you are satisfied with the playback and quality of the burned CD, you can move on to the final step: organizing and labeling the CD for easy identification.
Step 6: Organizing and Labeling the CD
After successfully burning the audiobook onto a CD and verifying its quality, it’s time to organize and label the CD for easy identification. Follow these steps to ensure your burned CDs are well-organized:
- Choose a Storage Case: Select a suitable storage case for your burned CD. This can be a jewel case, CD wallet, or CD sleeve depending on your preference and storage needs.
- Print or Write a CD Label: If you want to label your CD, you have a couple of options. You can use printable CD labels and design software to create a professional-looking label. Alternatively, you can write directly on the CD with a CD marker or pen. Be sure to mention the audiobook title, author, and any other relevant information.
- Organize CDs by Author or Series: If you have multiple audiobooks burned onto CDs, consider organizing them by author or series. This will make it easier to locate a specific audiobook when you want to listen to it.
- Create a Catalog: To keep track of your burned CDs, you can create a catalog or inventory list. Include details such as the audiobook title, author, CD number, and any additional notes or comments.
- Store the CDs Properly: To maintain the quality of the burned CDs, store them in a cool, dry place away from direct sunlight. Avoid exposing the CDs to extreme temperatures, as this can cause damage and reduce their lifespan.
- Consider Digital Backups: While physical CDs offer a tangible listening experience, it’s a good idea to create digital backups of your audiobooks as well. Store the digital files on a computer or cloud storage for easy access and as a backup in case of loss or damage to the CDs.
By organizing and labeling your burned CDs, you can easily locate and enjoy your favorite audiobooks whenever you want. Take the time to set up a system that works best for you and ensure that your CDs are stored safely for long-term preservation.
With that, you have successfully completed the process of burning an audiobook onto a CD and organizing it for future enjoyment. Now you can sit back, relax, and immerse yourself in the captivating world of audiobooks wherever you go.
Conclusion
As the world of audiobooks continues to grow, the desire to enjoy them in various formats remains strong. Burning an audiobook onto a CD provides a nostalgic and tangible way to listen to your favorite stories. With the right materials, CD burner software, and a few simple steps, you can easily create your own audiobook CDs.
In this guide, we’ve learned how to gather the necessary materials, choose the right CD burner software, prepare the audiobook files, burn the audiobook onto a CD, verify the burned CD’s quality, and organize and label the CD for easy identification.
Remember, the specific instructions may vary depending on the software and equipment you are using, but the general process remains the same. Take your time, follow each step carefully, and enjoy the process of creating your very own audiobook CD collection.
By burning audiobooks onto CDs, you not only gain the convenience of listening to stories on different platforms but also the ability to share and gift physical copies to friends and family. Whether you’re listening in your car, at home, or on the go, having your audiobooks on CDs adds versatility to your listening experience.
Now that you have the knowledge and steps to burn audiobooks onto CDs, it’s time to explore your favorite stories in a traditional format. So, gather your materials, choose the right CD burner software, and start your journey into the world of audiobooks on CDs!

