Home>Production & Technology>MP3>How To Burn MP3 CD On Itunes
MP3
How To Burn MP3 CD On Itunes
Modified: January 22, 2024
Learn how to burn MP3 CD on iTunes and enjoy your favorite music on the go. Follow our step-by-step guide and create your own MP3 CDs effortlessly.
(Many of the links in this article redirect to a specific reviewed product. Your purchase of these products through affiliate links helps to generate commission for AudioLover.com, at no extra cost. Learn more)
Table of Contents
Introduction
In today’s digital age, MP3 files have become the go-to format for storing and playing music. With their small file sizes and high audio quality, MP3s are incredibly popular and widely used. However, there are times when you may want to enjoy your MP3 collection in a more traditional way, such as burning them onto a CD.
Burning an MP3 CD allows you to create a compilation of your favorite songs and play them in standard CD players or car stereo systems that do not have built-in MP3 support. Whether you want to create a mixtape, preserve your music for the long term, or simply enjoy a customized playlist on the go, knowing how to burn an MP3 CD can be a valuable skill.
In this step-by-step guide, we will show you how to burn an MP3 CD using iTunes, a popular media player and library management software. iTunes is available for both Mac and Windows platforms and offers a straightforward process for burning MP3 CDs.
Before we dive into the steps, there are a few things you’ll need:
- A computer with iTunes installed
- A collection of MP3 files that you want to burn onto the CD
- A blank CD-R or CD-RW disc (make sure it is compatible with your computer’s CD/DVD drive)
It’s important to note that the term “burning” refers to the process of writing data onto a CD or DVD. When you burn an MP3 CD, you’re essentially converting your digital music files into a format that can be read by standard CD players.
Now that you have everything you need, let’s move on to the step-by-step process of burning an MP3 CD using iTunes.
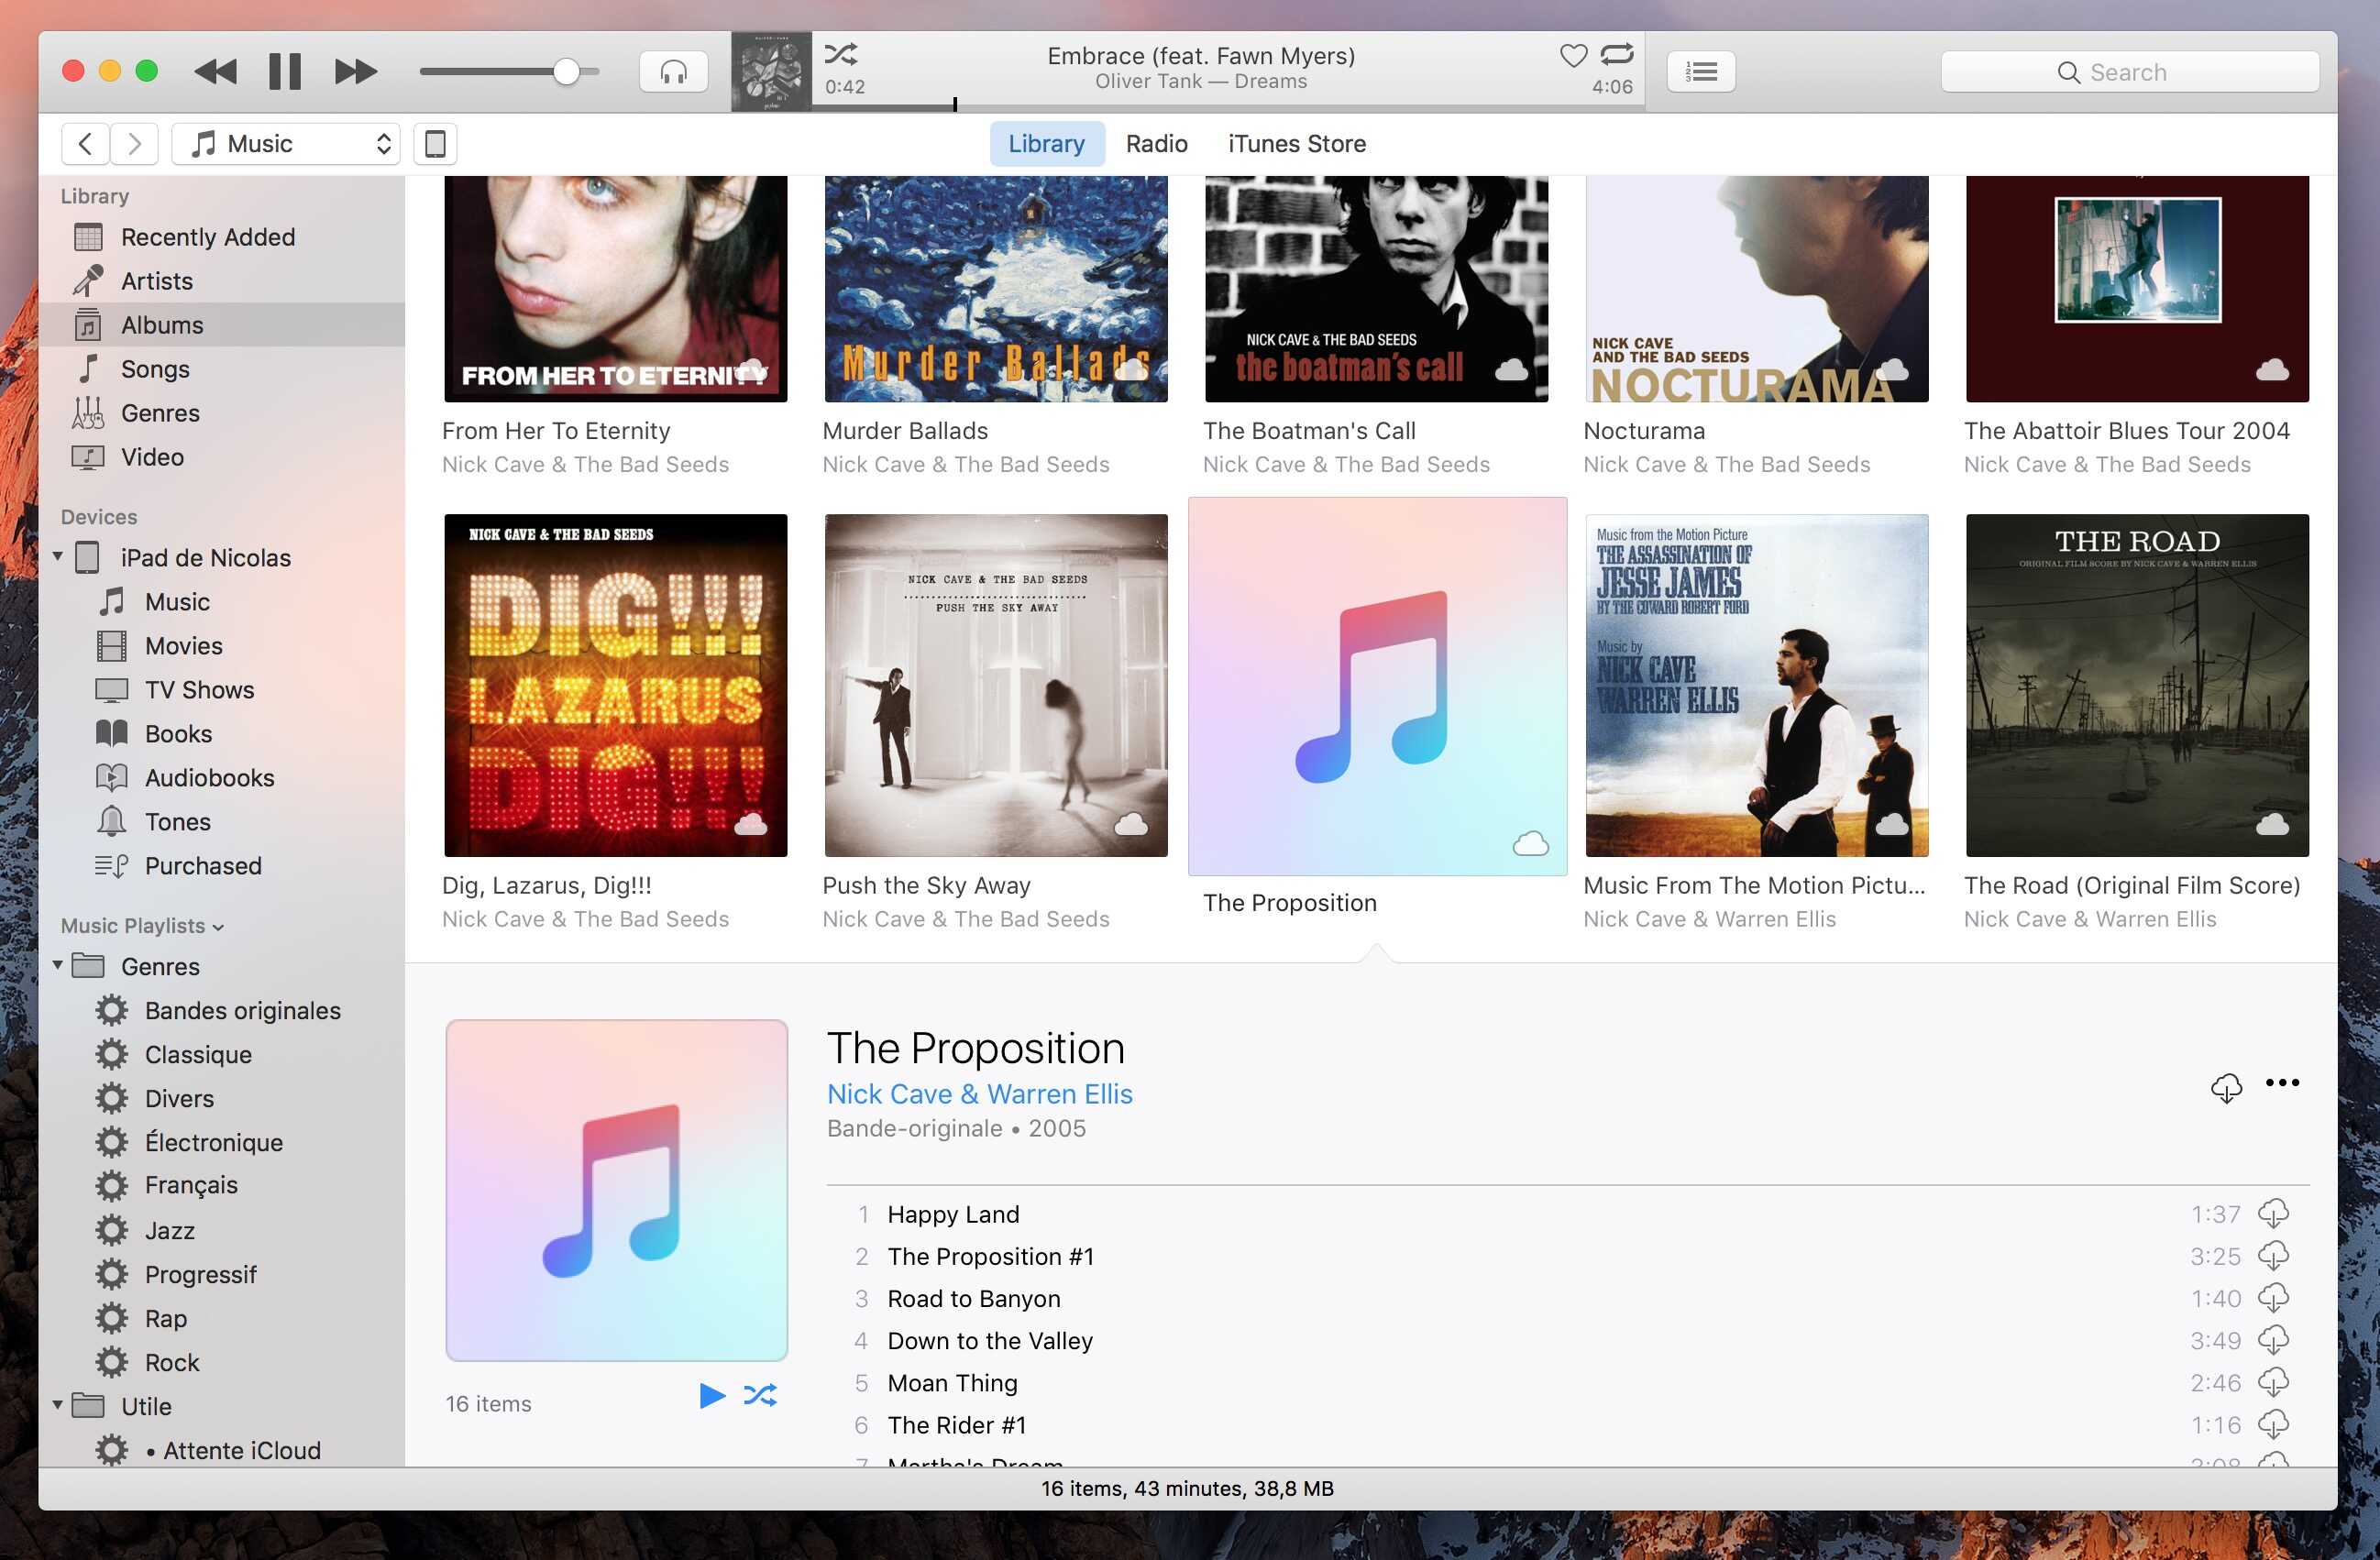
Step 1: Create a New Playlist
The first step in burning an MP3 CD on iTunes is to create a new playlist. A playlist is a collection of songs that you want to include on the CD. To create a new playlist, follow these simple steps:
- Open iTunes on your computer.
- In the top-left corner, click on the “File” menu.
- From the drop-down menu, select “New” and then click on “Playlist.”
- A new playlist will appear in the left sidebar of the iTunes window, with the title “Untitled Playlist.” You can rename it by right-clicking on it and selecting “Rename” from the context menu.
Once you have created the playlist and given it a fitting name, you can proceed to the next step of adding MP3 files to the playlist.
The playlist serves as a container for the songs you want to include on the MP3 CD. It allows you to organize your music and choose the order in which the songs will be burned onto the disc. You can also create multiple playlists if you want to burn different sets of songs onto separate CDs.
Creating a playlist ensures that you have full control over the songs that will be included on the MP3 CD. You can easily add or remove songs from the playlist before burning the disc, allowing you to make any last-minute adjustments or changes to the selection.
Now that you have created a new playlist, it’s time to add your desired MP3 files to it.
Step 2: Add MP3 files to Playlist
After creating a new playlist, the next step in burning an MP3 CD using iTunes is to add the MP3 files you want to include on the disc. Follow the instructions below to add MP3 files to your playlist:
- Make sure you have the MP3 files you want to include on the CD saved on your computer. You can either have them in a specific folder or scattered throughout your computer’s storage.
- In the iTunes window, locate your new playlist in the left sidebar and click on it to select it. The playlist should be highlighted.
- From the iTunes menu, go to “File” and select “Add File to Library” (for individual files) or “Add Folder to Library” (for multiple files within a folder).
- Browse your computer to find the MP3 files you want to add to your playlist. Select the files and click “Open.”
- iTunes will import the MP3 files and add them to your playlist. You will see the songs listed within the playlist window.
Adding MP3 files to your playlist allows you to curate a selection of songs that will be burned onto the MP3 CD. This step gives you the flexibility to choose your favorite songs, create themed playlists, or arrange the songs in a specific order for a cohesive listening experience.
Remember, you can add as many MP3 files as you want to your playlist, as long as they fit within the CD’s storage capacity. It’s a good idea to check the total size of the files before proceeding to the next step to ensure they can all fit on the CD.
Once you have added the MP3 files to your playlist, you’re ready to move on to the next step of arranging the playlist order (if desired) before burning the CD.
Step 3: Arrange Playlist Order (Optional)
Arranging the order of your playlist is an optional step in the process of burning an MP3 CD using iTunes. This step allows you to customize the sequence in which the songs will be played on the CD. Follow these steps to rearrange the playlist order:
- In the iTunes window, locate your playlist in the left sidebar and click on it to select it.
- The songs within the playlist will be displayed in the main window. To rearrange the order, simply click and drag the MP3 files up or down within the playlist.
- As you move the songs, you will see a visual indicator of their new position within the playlist.
- Continue rearranging the songs until you are satisfied with the playlist order.
Rearranging the playlist order provides you with the opportunity to create a smooth and enjoyable listening experience. You can organize the songs based on their genre, mood, or any other criteria that you prefer. It’s a chance to curate a personalized sequence of songs that fits your preferences and enhances your enjoyment of the MP3 CD.
Keep in mind that the order you set in the playlist will be the order in which the songs are burned onto the CD. So, take your time to arrange the songs in a way that flows well and creates a cohesive journey.
If you don’t wish to rearrange the playlist order, you can proceed to the next step of the process, which involves inserting the blank CD into your computer’s CD/DVD drive.
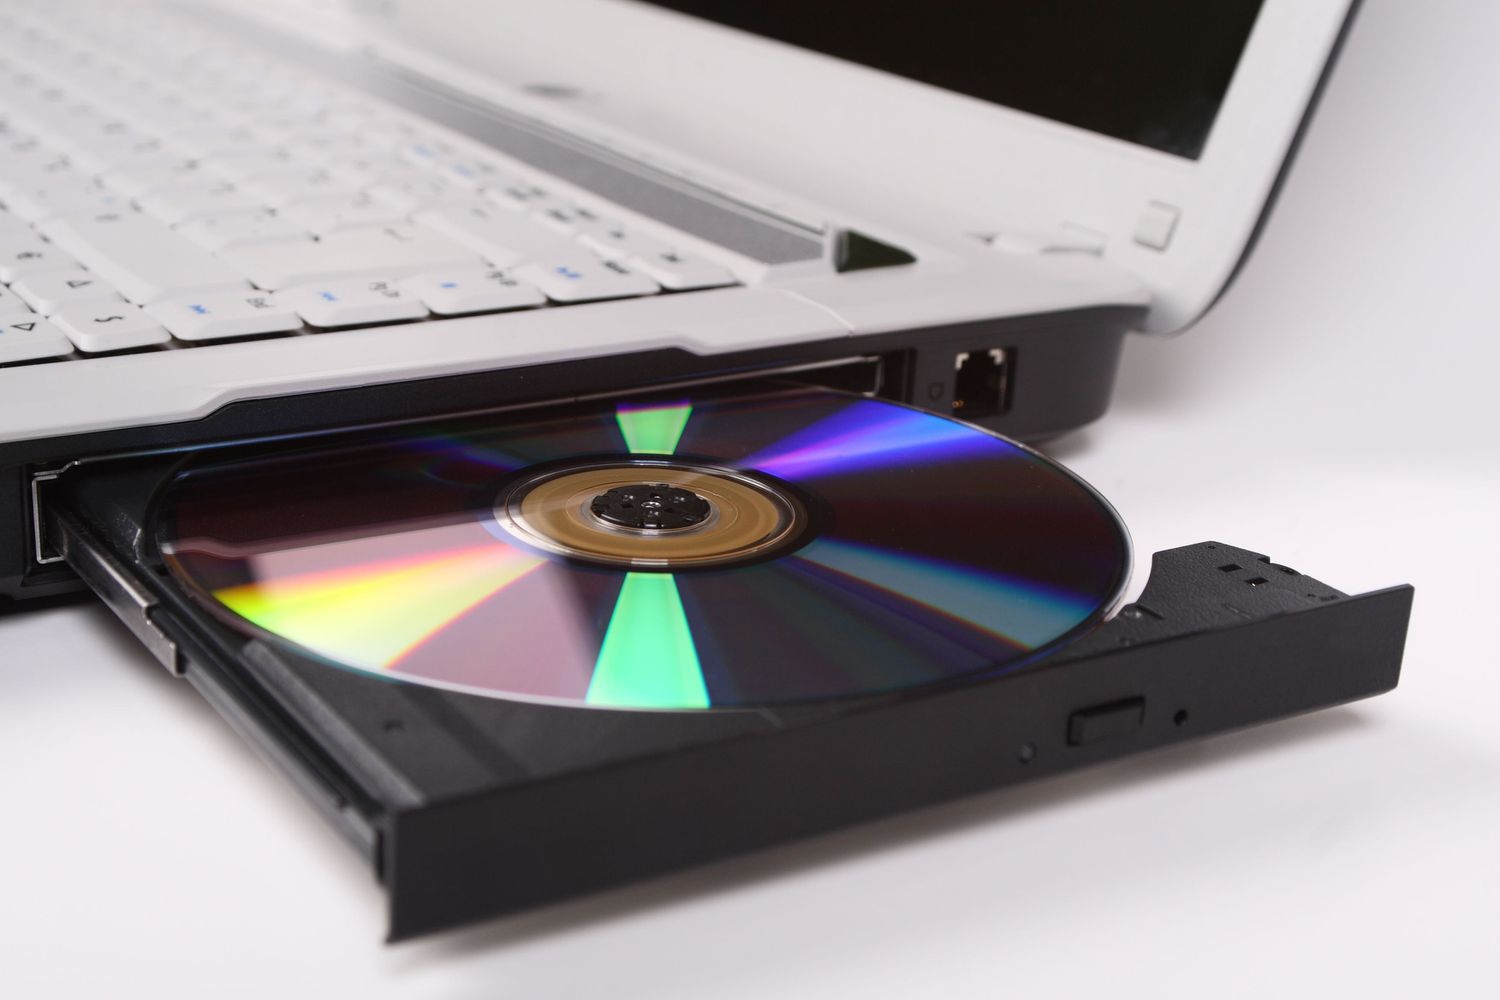
Step 4: Insert Blank CDs
Once you have created a playlist and arranged the songs in the desired order (if applicable), it’s time to insert a blank CD into your computer’s CD/DVD drive. Follow these steps to insert the blank CD:
- Locate the CD/DVD drive on your computer. It is usually located on the front panel of a desktop computer or on the side of a laptop.
- Press the eject button on the CD/DVD drive to open the tray.
- Take a blank CD-R or CD-RW disc and place it gently in the tray with the shiny side facing down. Make sure the disc is positioned properly and sits flat.
- Close the CD/DVD drive tray by pushing it in until it clicks or by pressing the eject button again.
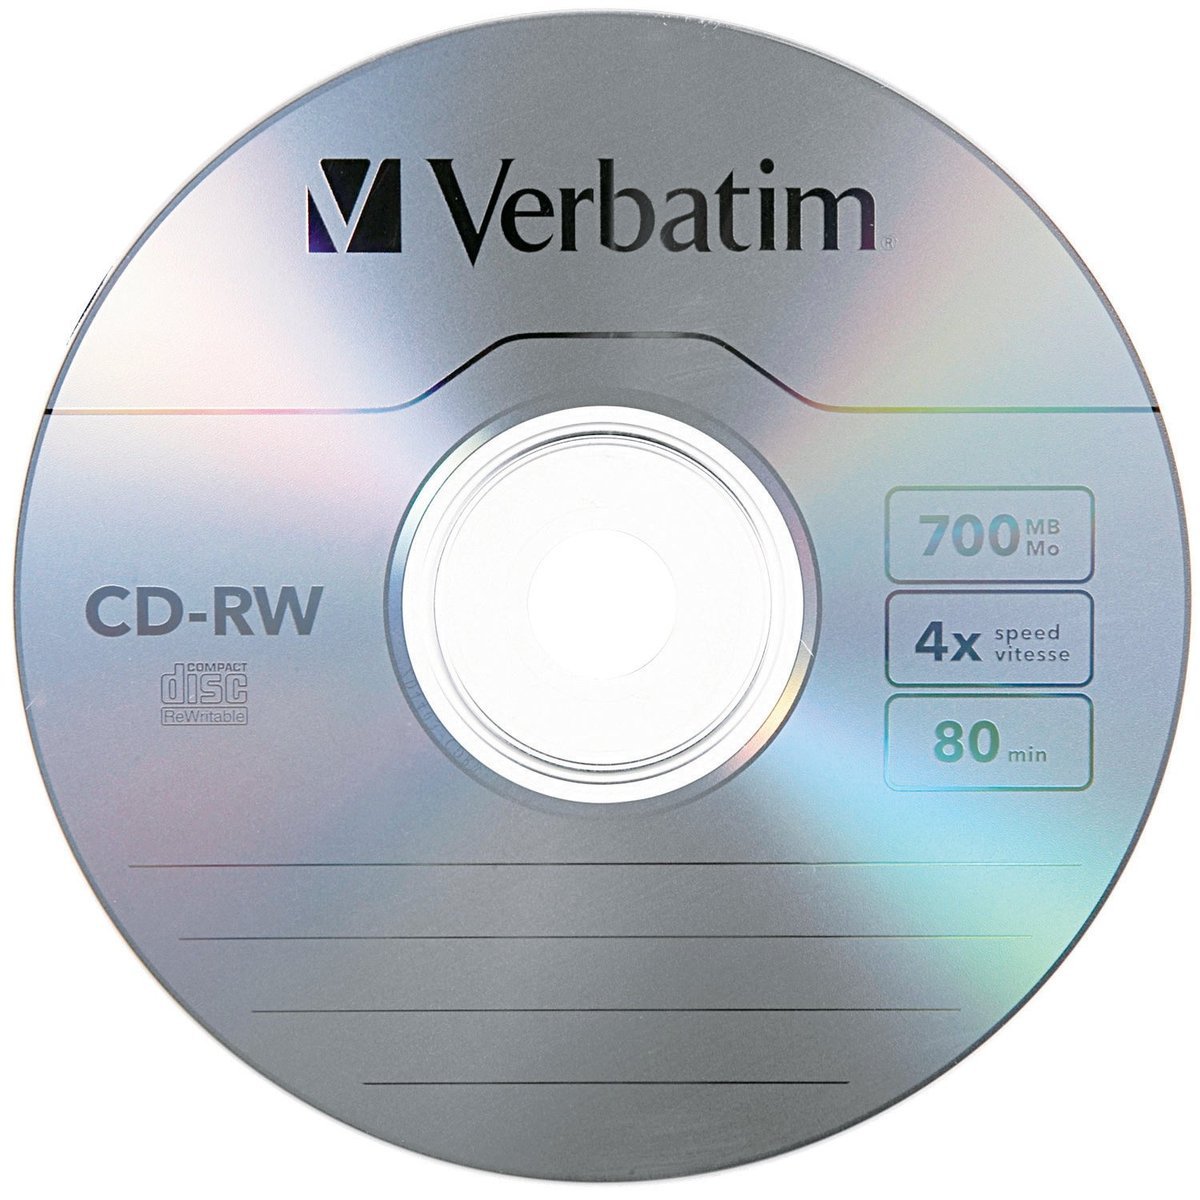
Ensure that the blank CD you are using is compatible with your computer’s CD/DVD drive. CD-R discs are write-once discs, meaning once the data is burned onto them, it cannot be erased. CD-RW discs, on the other hand, can be erased and rewritten multiple times.
It’s essential to use a blank CD with enough storage capacity to accommodate the size of the MP3 files in your playlist. Check the total size of the files in your playlist and verify if it fits within the CD’s capacity. Generally, standard CDs can hold up to 700MB (80 minutes) of data, while extended capacity CDs can hold up to 800MB (90 minutes) of data.
Once you have successfully inserted the blank CD, you’re ready to move on to the next step of burning the MP3 CD using iTunes.
Step 5: Burn MP3 CD
After preparing the playlist and inserting the blank CD, it’s time to burn the MP3 CD using iTunes. Follow these steps to burn the MP3 CD:
- In the iTunes window, locate your playlist in the left sidebar and click on it to select it.
- Click on the “File” menu at the top-left corner of the iTunes window.
- From the drop-down menu, select “Burn Playlist to Disc.”
- A dialog box will appear, allowing you to configure the burning options. Ensure that the “Audio CD” option is selected for MP3 CDs.
- Click on the “Burn” button to start the burning process.
- iTunes will begin converting the selected MP3 files into an audio format and writing them onto the blank CD.
- The progress of the burning process will be displayed in the iTunes window. Once the process is complete, you will be notified.
It’s important to note that during the burning process, iTunes converts the MP3 files into an audio format that is compatible with standard CD players. This allows you to play the MP3 CD on any CD player, even those without built-in MP3 support.
While the burning process is underway, make sure not to remove the CD or disturb the computer. This can lead to errors and affect the quality of the burned CD. It’s best to let iTunes complete the process without interruptions.
Once the burning process is finished, you can eject the CD from your computer’s CD/DVD drive and enjoy your newly created MP3 CD filled with your favorite songs. You can now play it in any CD player or car stereo system that supports audio CDs.
Step 6: Finalize the Disc
After burning your MP3 CD using iTunes, it’s a good practice to finalize the disc. Finalizing the disc ensures that it can be read by other CD players, as well as preserving the integrity of the burned data. Follow these steps to finalize the disc:
- Eject the burned CD from your computer’s CD/DVD drive.
- Re-insert the CD back into the CD/DVD drive.
- Wait for a prompt to appear on your screen, asking if you want to finalize the disc.
- Click on the option to finalize the disc.
- Allow the finalization process to complete. This may take a few minutes, depending on the speed of your computer.
- Once the finalization is finished, you can safely remove the CD from the computer.
The finalization process is crucial to ensure compatibility with other CD players. When a disc is finalized, the necessary information is written to the disc’s Table of Contents (TOC), allowing it to be recognized as a playable audio CD on any CD player. Without finalizing, some CD players may not be able to read the disc properly, resulting in playback issues.
It’s recommended to finalize the disc if you plan on playing it on different CD players or sharing it with others. This ensures that your MP3 CD will work consistently across various devices.
With the disc finalized, you can now enjoy your MP3 CD to the fullest, listening to your favorite songs wherever you go.
Conclusion
Congratulations! You’ve successfully learned how to burn an MP3 CD using iTunes. Creating an MP3 CD allows you to enjoy your favorite songs in a more traditional format on CD players or car stereos that don’t have built-in MP3 support. With just a few simple steps, you can curate a personalized playlist and convert your digital music files into a format that can be easily played on standard CD players.
Throughout this guide, we covered the essential steps to burn an MP3 CD on iTunes. We started by creating a new playlist and adding your desired MP3 files to it. You also had the option to arrange the playlist order to create a cohesive listening experience. Then, we discussed the importance of using a blank CD and how to properly insert it into your computer’s CD/DVD drive. Once the blank CD was in place, we walked through the process of burning an MP3 CD using iTunes, converting the files into an audio format that can be read by CD players. Finally, we emphasized the significance of finalizing the disc to ensure compatibility with different devices.
Now you can enjoy your custom MP3 CD filled with your favorite songs wherever you go. Whether you’re on a road trip, relaxing at home, or sharing music with friends, your MP3 CD will provide a convenient and versatile way to enjoy your curated playlist.
Remember, the process outlined in this guide pertains specifically to iTunes, but there may be other software options available for burning MP3 CDs, depending on your operating system and personal preferences. Explore different tools and techniques to find the one that works best for you.
So go ahead, gather your favorite MP3 files, create a playlist, and start burning your personalized MP3 CDs to enjoy your music collection in a whole new way.