Home>Production & Technology>Audiophile>How To Build Hi-Fi Audiophile Music Server

Audiophile
How To Build Hi-Fi Audiophile Music Server
Modified: March 8, 2024
Learn how to build your own hi-fi audiophile music server and experience unparalleled audio quality. Discover the best components and setup tips for a premium audio experience.
(Many of the links in this article redirect to a specific reviewed product. Your purchase of these products through affiliate links helps to generate commission for AudioLover.com, at no extra cost. Learn more)
Table of Contents
- Introduction
- Step 1: Choosing the Right Hardware
- Step 2: Setting up the Operating System
- Step 3: Installing Music Server Software
- Step 4: Organizing and Managing Your Music Library
- Step 5: Configuring Network and Audio Settings
- Step 6: Enhancing Audio Quality with DACs and Amplifiers
- Step 7: Remote Access and Control
- Step 8: Tips for Optimizing Performance
- Conclusion
Introduction
Welcome to the world of audiophiles, where music is not simply listened to, but experienced on a whole new level. Audiophiles are passionate about obtaining the highest quality sound reproduction, and one way to achieve this is by building a hi-fi audiophile music server.
A music server is a device or computer software that stores and manages your digital music collection. It allows you to access and play your music with uncompromised audio quality. By building your own music server, you have the flexibility to customize every aspect of the system, ensuring optimal performance and the ability to adapt to the ever-changing technology landscape.
In this guide, we’ll take you through the step-by-step process of building your own hi-fi audiophile music server. From selecting the right hardware and setting up the operating system to installing music server software and enhancing audio quality, we’ve got you covered. Whether you’re an audiophile looking to take your music listening experience to the next level or someone who simply wants to enjoy high-quality sound, this guide is for you.
Before we dive in, it’s important to note that building a music server requires a certain level of technical expertise. If you’re not familiar with computer hardware, software installation, or networking, don’t worry! We’ll explain everything in a clear and concise manner, making it accessible even for beginners.
So, get ready to embark on a journey of sonic bliss as we guide you through the process of building your very own hi-fi audiophile music server. Let’s start with step one: choosing the right hardware.
Step 1: Choosing the Right Hardware
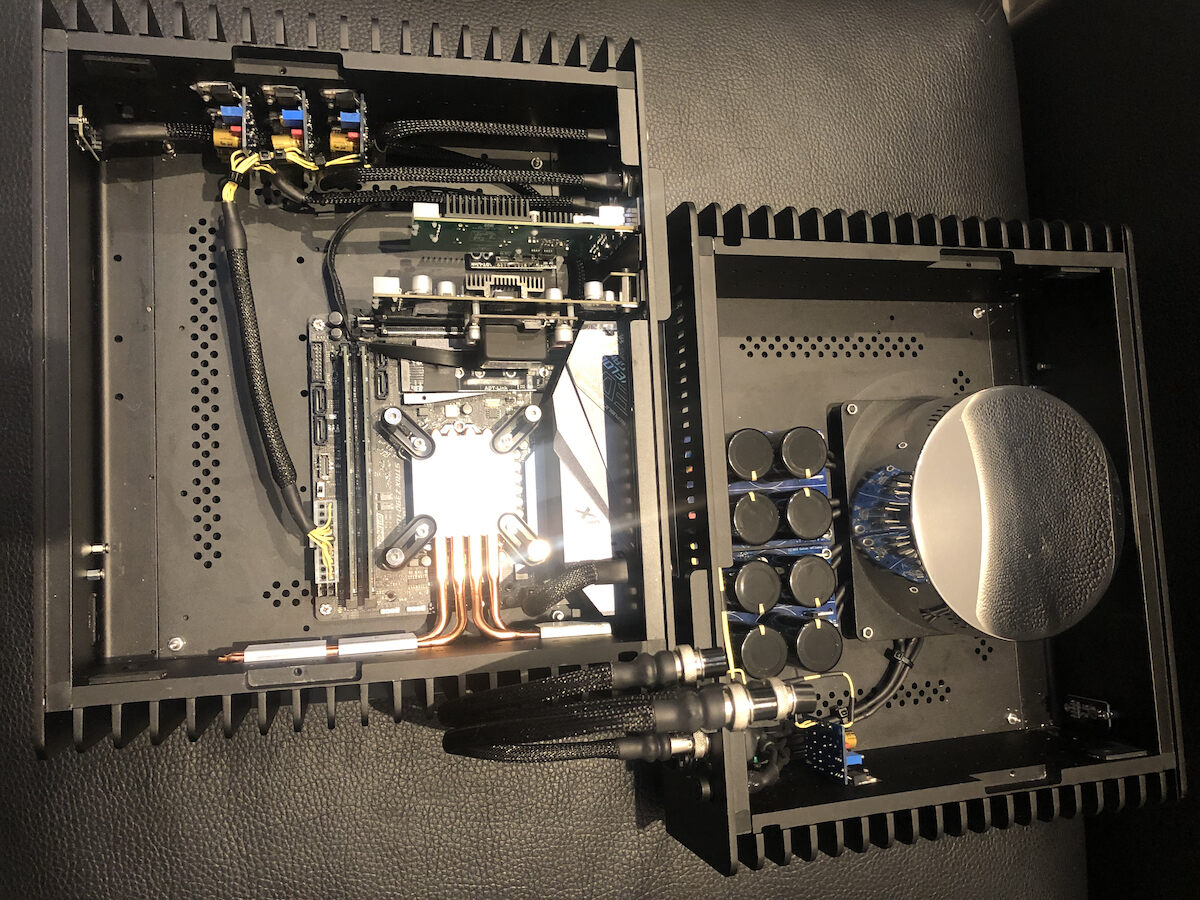
When it comes to building a hi-fi audiophile music server, selecting the right hardware is crucial. The components you choose will directly impact the performance and audio quality of your music server. Here are some factors to consider:
- Processor: Look for a powerful processor that can handle the demands of high-resolution audio files and music streaming software. A multi-core processor with a high clock speed is recommended for smooth performance.
- Memory (RAM): Opt for a sufficient amount of RAM to ensure smooth playback and fast loading times. At least 8GB of RAM is recommended, but if you plan to run other applications simultaneously, consider going for 16GB or more.
- Storage: Choose storage options that can accommodate your music library. Solid State Drives (SSDs) are ideal for quick access to files and reducing latency. Consider the capacity based on the size of your music collection.
- Network Connectivity: A reliable and fast internet connection is essential for streaming music and accessing online services. Look for a motherboard with built-in Ethernet or Wi-Fi capabilities, or consider adding a dedicated network card.
- Audio Output: Depending on your setup, you may opt for a motherboard with high-quality integrated audio or invest in a separate sound card or digital-to-analog converter (DAC) for enhanced audio performance.
- Power Supply: Choose a power supply unit (PSU) that can deliver stable power to all the components. Look for a PSU with high efficiency and sufficient wattage to meet the demands of your hardware.
- Form Factor: Consider the size and form factor of your hardware, especially if you have limited space or plan to build a compact music server. Mini-ITX motherboards and small form factor cases are popular choices for a compact setup.
Remember to check compatibility between the chosen components to ensure they work seamlessly together.
It’s worth noting that the hardware requirements may vary depending on your specific needs and budget. If you’re on a tight budget, you can still build a capable music server by carefully selecting components that offer a good balance between performance and cost.
Once you have chosen the right hardware, it’s time to move on to step two: setting up the operating system.
Step 2: Setting up the Operating System
After selecting the hardware for your hi-fi audiophile music server, the next step is to set up the operating system (OS) that will serve as the foundation for your server. Here are the key considerations:
- Linux-based OS: Linux is highly recommended for music servers due to its stability, flexibility, and low resource requirements. Popular Linux distributions for music servers include Ubuntu, Debian, and Arch Linux.
- Headless Setup: A headless setup means running the server without a monitor, keyboard, or mouse. This allows the music server to operate silently in a secluded area. You can manage it remotely via SSH or use a web-based interface.
- Server Edition: Opt for a server edition of your chosen Linux distribution. Server editions typically come with a minimal installation, meaning fewer unnecessary software packages that could potentially affect performance.
- Security: Implement basic security measures by enabling a firewall and regularly applying security updates. Configure access credentials for remote access, such as SSH, to prevent unauthorized access to your music server.
- Control Software: Explore different control software options that allow you to manage and control your music server remotely. Popular choices include MPD (Music Player Daemon) and LMS (Logitech Media Server).
- Networking: Configure your network settings, such as setting a static IP address for your music server or enabling port forwarding if you plan to access it remotely from outside your home network.
Setting up the operating system may involve downloading the ISO image of your chosen Linux distribution, creating a bootable USB drive, and then installing it on your music server. Follow the installation instructions provided by the Linux distribution to ensure a smooth setup process.
Once the operating system is installed, you will have a stable and secure foundation for your hi-fi audiophile music server. In the next step, we will delve into the installation of music server software, so you can begin enjoying your digital music collection with pristine audio quality.
Step 3: Installing Music Server Software
With the operating system set up, it’s time to install the music server software that will allow you to manage and play your digital music collection. Here are the key steps:
- Research: Before jumping into installation, research different music server software options available. Consider factors such as user interface, compatibility with your operating system, and supported audio formats. Popular choices include Plex, Roon, foobar2000, and Kodi.
- Download the Software: Visit the official website of the selected music server software and download the appropriate version for your operating system. Make sure to download from trusted sources to avoid malware or other security risks.
- Installation: Follow the installation instructions provided by the music server software. The process may involve running an installer or extracting files from the downloaded package. Pay attention to any additional software dependencies that need to be installed.
- Configuration: Once the installation is complete, launch the music server software and proceed with the initial configuration. This may involve selecting the desired music folder or library location, scanning for music files, and setting up user preferences such as metadata retrieval and playback settings.
- Importing Music: Depending on the music server software, you may have different options to import your music library. This can include manual scanning of folders, automated scanning based on file structure, or utilizing metadata tags for organization purposes.
- Metadata Management: Take the time to ensure your music library has accurate and comprehensive metadata. This includes album artwork, track names, artist information, and genre tags. Use specialized music software or tag editors to organize and edit metadata if needed.
- Testing: Once your music library is imported and organized, test the playback and functionality of your music server software. Ensure that your audio output devices are properly configured and that you can browse and play your music collection without any issues.
It’s worth noting that each music server software may have its own unique installation and configuration process. Refer to the software’s documentation or community forums for guidance if you encounter any challenges during installation or setup.
Now that you have successfully installed your music server software, it’s time to move on to step four: organizing and managing your music library.
Step 4: Organizing and Managing Your Music Library
Now that you have your music server software installed, it’s time to organize and manage your music library. A well-organized music library will improve your overall listening experience and make it easier to find and play your favorite tracks. Here are some key steps to consider:
- Folder Structure: Establish a logical folder structure for your music library. Consider organizing your music by artist, album, and genre. This will make it easier to navigate and locate specific tracks.
- Metadata: Ensure that your music files have accurate and consistent metadata. This includes information such as track names, album titles, artists, and genre tags. Utilize music software or tag editors to edit and update metadata if necessary.
- Album Artwork: Add album artwork to your music files. Album artwork enhances the visual experience and provides a more immersive music browsing experience.
- Playlists: Create playlists based on your music preferences or for specific moods or occasions. This allows you to easily group and access your favorite tracks for continuous playback.
- Removal of Duplicates: Scan your music library for duplicate tracks and remove them to keep your collection clean and clutter-free. There are software tools available that can help you identify and remove duplicates.
- Music Tagging: Consider using advanced tagging features provided by your music server software or dedicated tag editing tools to further enhance the organization and categorization of your music library. This can include adding additional metadata fields or custom tags.
- Backup: Regularly backup your music library to protect against data loss. Consider using an external hard drive, cloud storage, or a network-attached storage (NAS) device to store your backups. Automated backup solutions can simplify the process.
Organizing and managing your music library is an ongoing process, especially if you continuously add new music to your collection. Dedicate time periodically to maintain and update your music library to ensure it remains organized and easy to navigate.
Now that your music library is well-organized, it’s time to move on to step five: configuring network and audio settings to optimize your music server’s performance.
Step 5: Configuring Network and Audio Settings
Configuring the network and audio settings of your hi-fi audiophile music server is crucial to ensure optimal performance and audio quality. Here are the key steps to follow:
- Network Connection: Ensure that your music server is connected to a stable network connection. If using a wired connection, connect your server to a router or switch using an Ethernet cable. If using a wireless connection, make sure you have a strong and reliable Wi-Fi signal.
- Port Forwarding: If you plan to access your music server remotely, consider setting up port forwarding on your router to allow external access to the server. Consult your router’s manual or online resources for instructions on how to configure port forwarding.
- Audio Output: Configure the audio output settings to match your audio setup. Whether you’re using integrated audio, a sound card, or a DAC, make sure the correct audio device is selected and that the audio settings are optimized for your setup, such as sample rate and bit depth.
- Streaming Quality: Adjust the streaming quality settings based on your network bandwidth and personal preferences. Higher quality settings may require a faster network connection, so be mindful of your network limitations and choose the streaming quality accordingly.
- Remote Access: If you want to access your music server remotely, configure remote access settings. This may involve setting up a Dynamic DNS service, enabling VPN access, or utilizing a remote desktop application to connect to your server securely.
- Buffering and Playback: Adjust the buffering settings in your music server software to minimize playback interruptions and ensure smooth playback. Higher buffer settings can reduce the chances of audio dropouts, particularly when streaming over a network.
- Post-Processing Effects: Explore post-processing options within your music server software to enhance the audio playback experience. This can include features such as equalizers, audio enhancements, and room correction.
Take the time to experiment with different settings to find the configuration that suits your preferences and audio setup the best. Additionally, regular monitoring and troubleshooting of network and audio settings will ensure continued optimal performance.
Now that your network and audio settings are configured, you can move on to step six: enhancing audio quality with DACs and amplifiers to truly take your audiophile experience to the next level.
Step 6: Enhancing Audio Quality with DACs and Amplifiers
To elevate your audio listening experience on your hi-fi audiophile music server, consider enhancing the audio quality with Digital-to-Analog Converters (DACs) and amplifiers. These components play a crucial role in converting digital audio signals into high-fidelity analog sound. Here’s what you need to know:
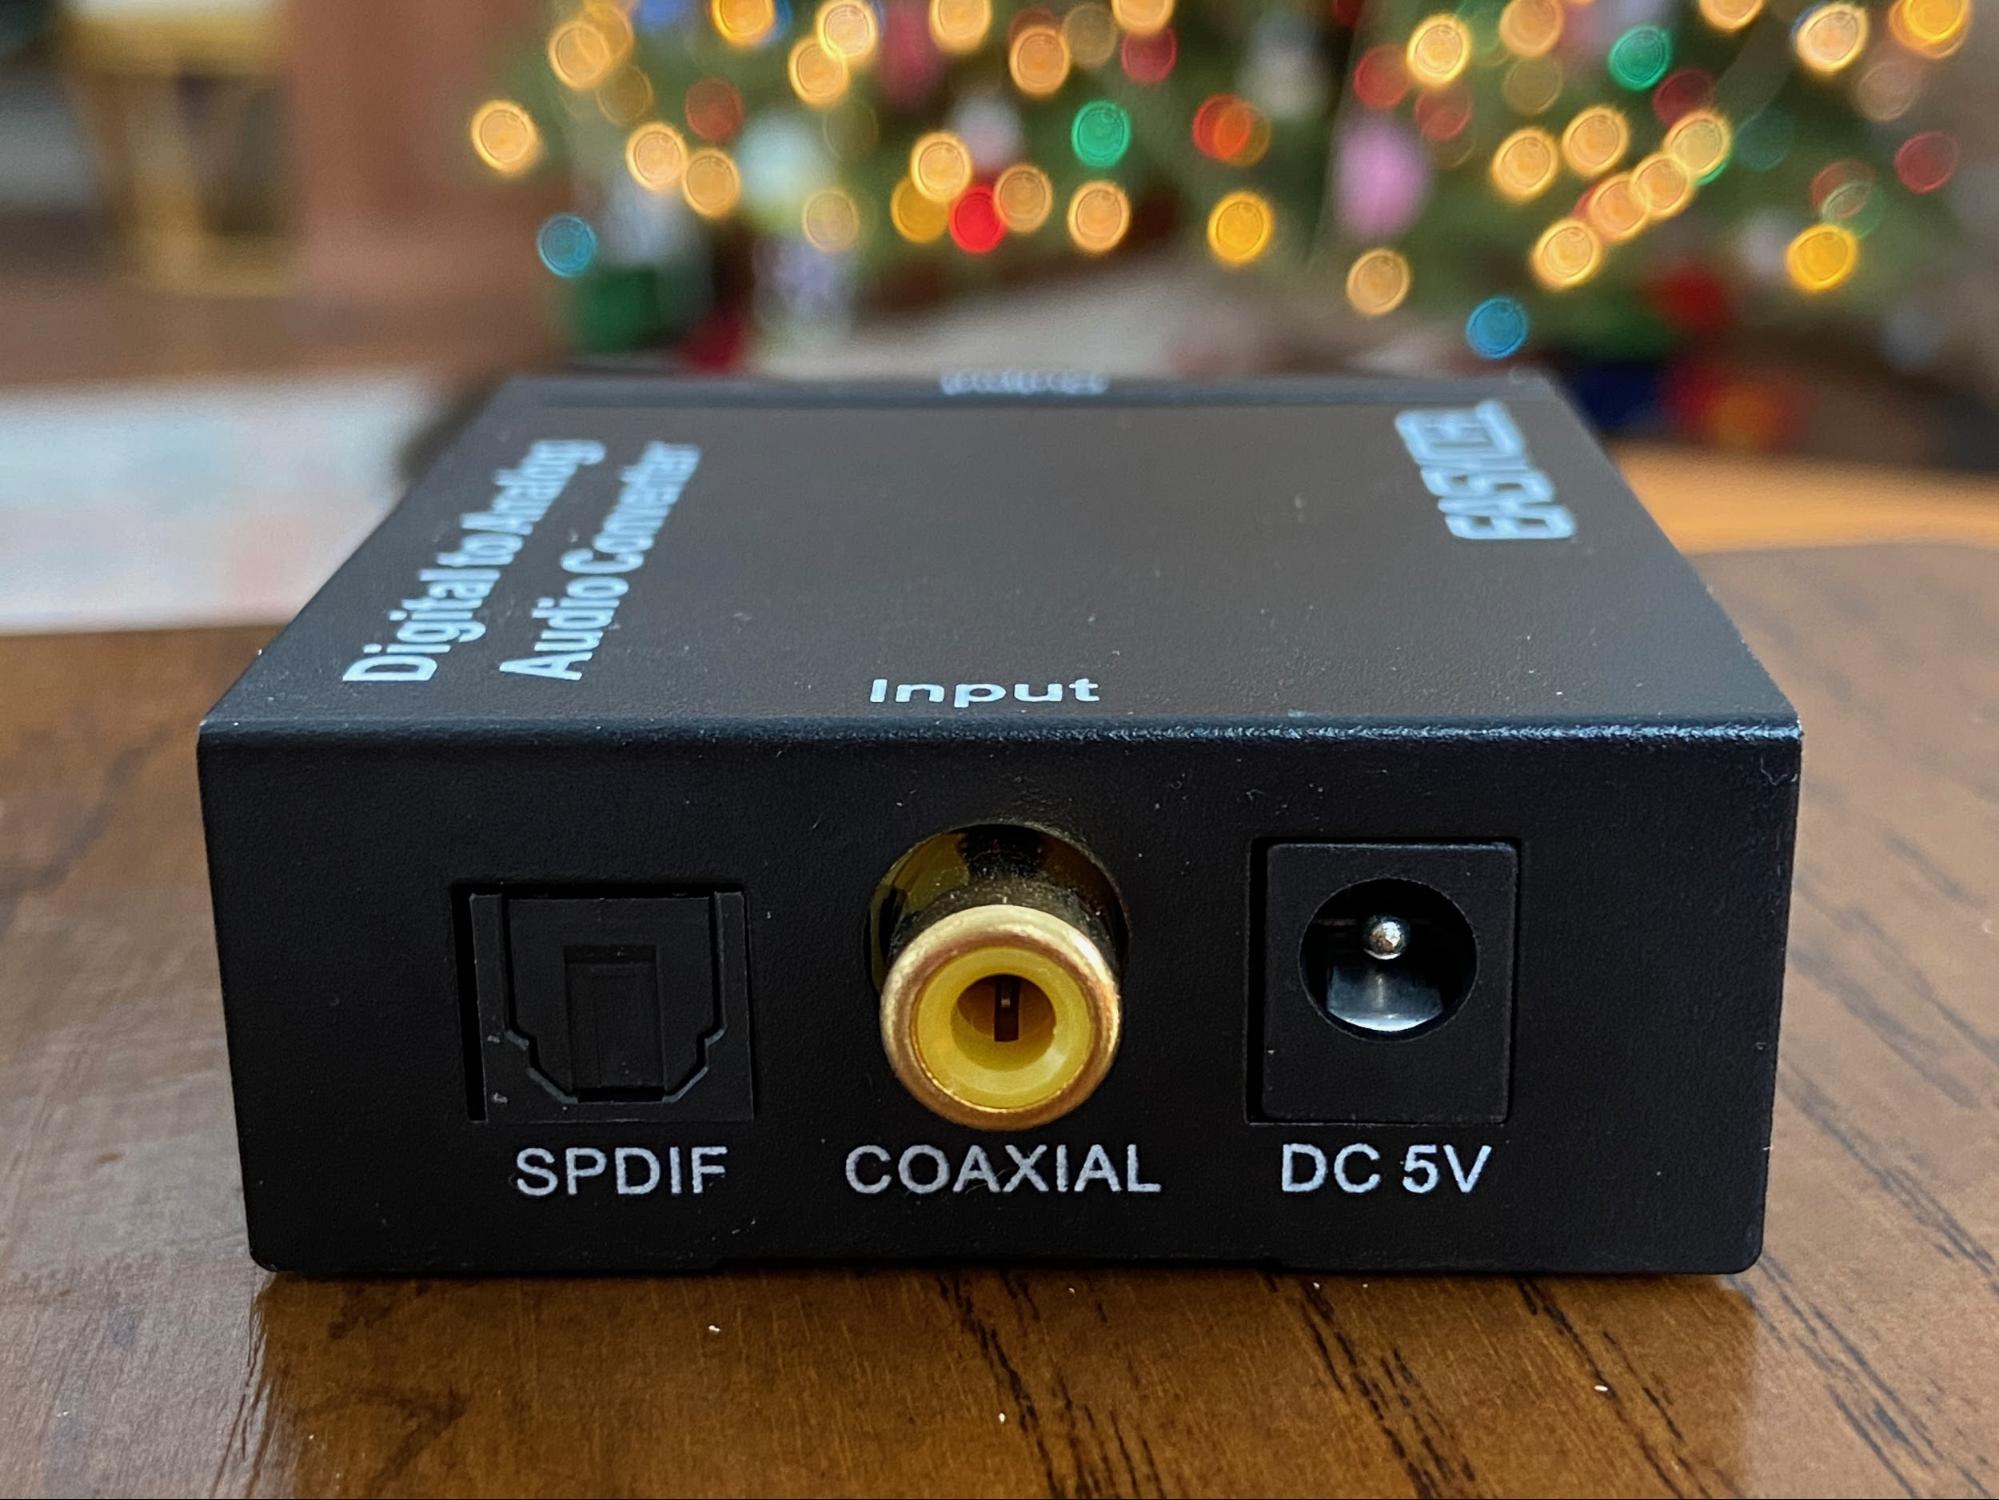
- DACs: A DAC is responsible for converting the digital audio signal from your music server into an analog signal that can be amplified and played through your speakers or headphones. Look for a high-quality DAC that supports high-resolution audio formats and has low distortion and noise levels.
- Amplifiers: An amplifier amplifies the analog audio signal from the DAC to adequately power your speakers or headphones. Choose an amplifier that provides enough power for your specific audio setup and offers clean and transparent amplification.
- External DACs and Amplifiers: Consider external DACs and amplifiers for improved audio quality. These external components often provide superior sound reproduction and have better signal-to-noise ratios compared to the built-in DACs and amplifiers found in consumer-grade devices.
- Connectivity: Ensure compatibility between your DAC and amplifier with your music server and audio equipment. Common connectivity options include USB, optical, coaxial, or balanced XLR connections.
- Power Supply: Consider the power supply quality of your DAC and amplifier. Dedicated power supplies or power conditioners can help reduce electrical noise interference and provide cleaner power, resulting in improved audio performance.
- Headphone Amplification: If you primarily use headphones for audio listening, consider a dedicated headphone amplifier to power your headphones efficiently and maximize their potential. Look for headphone amplifiers that match the impedance and sensitivity of your headphones.
- Speaker Setup: If you have a speaker setup, ensure proper speaker placement and room acoustics to optimize sound reproduction. Experiment with speaker positioning and room treatments to minimize unwanted reflections and resonances.
Investing in high-quality DACs and amplifiers can significantly enhance the audio quality and bring out the finer details in your music. The improved clarity, dynamics, and fidelity can make a noticeable difference in your audio listening experience.
Once you have your DACs and amplifiers set up, you’re ready to explore the next step: remote access and control, allowing you to manage your music server from anywhere.
Step 7: Remote Access and Control
Remote access and control allow you to manage your hi-fi audiophile music server from anywhere, giving you the flexibility to control and stream your music collection even when you’re not at home. Here’s how you can set it up:
- Dynamic DNS: Set up a Dynamic DNS (DDNS) service to assign a consistent domain name to your home network, even if your internet service provider assigns a dynamic IP address. This allows you to access your music server using a consistent URL.
- Port Forwarding: Configure port forwarding on your router to redirect incoming connections to your music server. This enables access to your server from outside your home network.
- Virtual Private Network (VPN): Consider setting up a VPN to create a secure connection between your remote device and your home network. This adds an extra layer of security when accessing your music server remotely.
- Remote Desktop Software: Utilize remote desktop software or apps to connect to your music server’s operating system remotely. This enables you to have full control of the server as if you were physically present.
- Web-Based Control Interface: Many music server software options offer web-based control interfaces that allow you to access and control your server through a web browser. Enable this feature for convenient and user-friendly remote management.
- Mobile Apps: Install mobile apps provided by your music server software on your smartphone or tablet. These apps enable you to control and stream music from your server without the need for a computer.
- Security Considerations: Ensure that you follow best practices for remote access security. This includes setting up secure passwords, enabling two-factor authentication, and keeping your music server software and operating system up to date with the latest security patches.
Remote access and control open up a world of possibilities, allowing you to enjoy your music server even when you’re away from home. Stream your favorite tracks, create and manage playlists, and have full control over your music library with ease.
Now that you have set up remote access and control for your music server, let’s move on to step eight: tips for optimizing performance to ensure the best possible audio quality and user experience.
Step 8: Tips for Optimizing Performance
To ensure the best possible performance and audio quality from your hi-fi audiophile music server, here are some tips to optimize its performance:
- Organize and Optimize Metadata: Regularly review and optimize the metadata of your music files. Ensure that track names, album titles, and artist information are accurate and consistent. This helps with quick and accurate search results.
- Use Lossless Audio Formats: Whenever possible, use lossless audio formats like FLAC instead of compressed formats like MP3. Lossless formats preserve the original audio quality, resulting in better sound reproduction.
- Minimize Background Processes: Close unnecessary background processes and applications on your music server to free up system resources. This ensures that your server can dedicate more processing power to audio playback and improves overall performance.
- Hardwire Network Connection: If possible, use a wired Ethernet connection instead of relying solely on Wi-Fi. Wired connections tend to be more stable and offer better network performance, reducing the chances of audio dropouts during playback.
- Optimize Network Settings: Configure your network settings for optimal performance. This can include setting the appropriate MTU (Maximum Transmission Unit) size, adjusting buffer sizes, and optimizing router QoS (Quality of Service) settings for prioritizing audio traffic.
- Ensure Proper Cooling: Pay attention to the cooling of your music server to prevent overheating and potential performance issues. Ensure good airflow by keeping the server in a well-ventilated area or consider adding additional fans or cooling solutions if needed.
- Regularly Update Software: Keep your music server software, operating system, and drivers up to date with the latest updates. New versions often include bug fixes, performance improvements, and security patches that can enhance the overall performance of your music server.
- Consider Hardware Upgrades: If you find that your current hardware is struggling to meet your audio streaming needs, consider upgrading specific components such as the CPU, RAM, or storage to accommodate larger music libraries or higher quality audio formats.
- Test and Experiment: Take the time to test different settings and configurations to find the optimal setup for your specific audio preferences. This can include experimenting with buffer settings, sample rates, equalizer settings, and other audio parameters.
By implementing these tips, you can ensure that your hi-fi audiophile music server performs at its best, delivering outstanding audio quality and an enjoyable user experience.
Congratulations! You have successfully gone through all the steps to build and optimize your hi-fi audiophile music server. Now it’s time to sit back, relax, and immerse yourself in the joys of high-quality music streaming.
If you have any further questions or need assistance, feel free to reach out. Enjoy your music!
Conclusion
Congratulations on completing the journey of building your hi-fi audiophile music server! By following these steps, you have transformed your digital music collection into a high-fidelity audio experience that can be enjoyed at its fullest. Let’s recap what you have accomplished:
1. You chose the right hardware components to ensure optimal performance and audio quality.
2. The operating system is set up, providing a stable foundation for your music server.
3. Music server software has been installed and configured, allowing you to manage and play your music collection with ease.
4. Your music library has been organized and managed, making it easier to navigate and find your favorite tracks.
5. Network and audio settings have been configured for optimal performance and connectivity.
6. Audio quality has been enhanced with the use of DACs and amplifiers, bringing out the best in your music.
7. Remote access and control have been set up, allowing you to manage your music server from anywhere.
8. Performance has been optimized with various tips and techniques to ensure the best possible audio experience.
With your hi-fi audiophile music server up and running, you can indulge in the immersive world of high-quality music streaming. Immerse yourself in the intricate details of each track, experience the depth and breadth of the soundstage, and rediscover your favorite songs in a whole new light.
Remember, building a music server is a continuous journey of exploration and refinement. As your music collection expands and technology advances, there will always be opportunities to upgrade and further enhance your setup.
So, sit back, relax, and enjoy the unparalleled satisfaction of listening to music in its purest form. From the warmth of vinyl to the pristine clarity of high-resolution digital files, your hi-fi audiophile music server is your gateway to sonic bliss.
If you need further assistance or have any questions, never hesitate to seek out experts and the vibrant audiophile community. Happy listening!


