Home>Production & Technology>DJ>How To Connect DJ Controller To Speakers
DJ
How To Connect DJ Controller To Speakers
Published: March 2, 2024
Learn how to connect your DJ controller to speakers with our step-by-step guide. Get the best sound for your next gig and elevate your DJ setup.
(Many of the links in this article redirect to a specific reviewed product. Your purchase of these products through affiliate links helps to generate commission for AudioLover.com, at no extra cost. Learn more)
Table of Contents
Introduction
Connecting a DJ controller to speakers is a crucial step in the setup process for any aspiring or experienced DJ. Whether you're preparing for a live performance, a private event, or simply enjoying a practice session, establishing a seamless connection between your DJ controller and speakers is essential for delivering high-quality sound. By understanding the necessary steps and equipment required for this process, you can ensure that your audience experiences the full impact of your music.
In the following guide, we will walk you through the step-by-step process of connecting your DJ controller to speakers. This comprehensive tutorial will cover everything from gathering the necessary cables and adapters to testing the connection to guarantee a flawless audio experience. Whether you're a novice or a seasoned DJ, mastering this fundamental aspect of DJ setup will empower you to unleash your creativity and musical prowess with confidence.
So, let's dive into the world of audio connectivity and ensure that your DJ controller becomes seamlessly integrated with your speakers, allowing you to share your passion for music with the world.
Step 1: Gather the Necessary Cables and Adapters
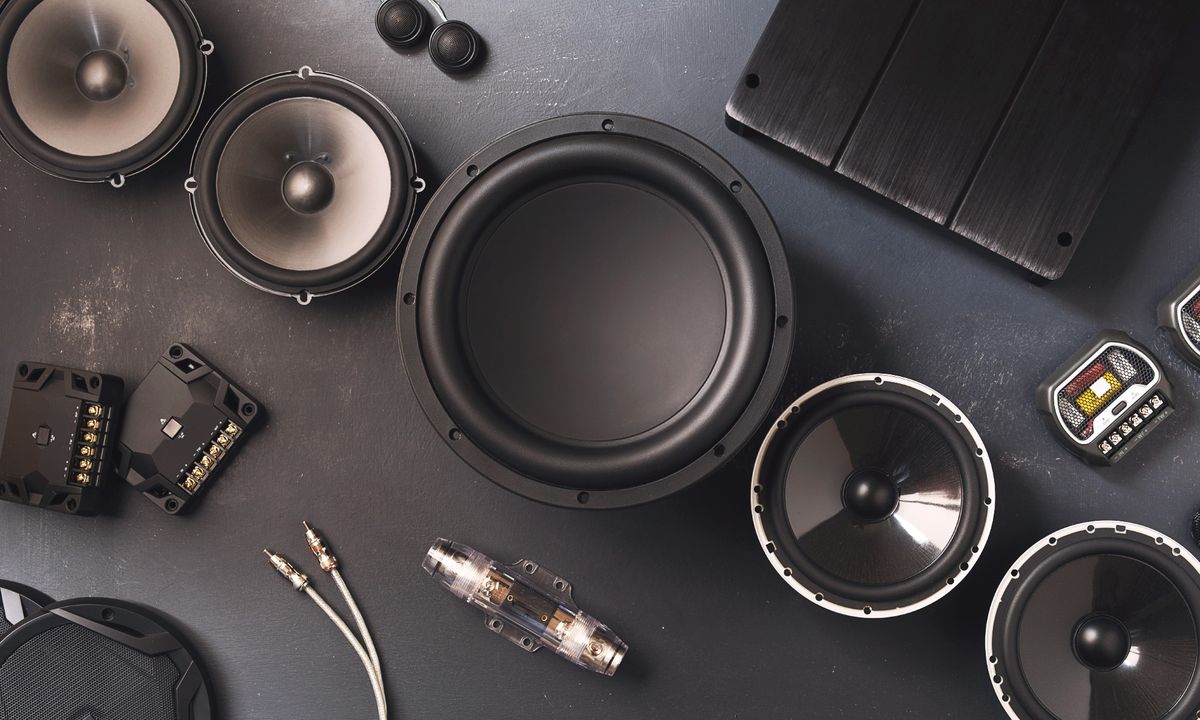
Before embarking on the process of connecting your DJ controller to speakers, it is essential to gather the requisite cables and adapters to facilitate a smooth and efficient setup. The following components are crucial for establishing a seamless audio connection:
-
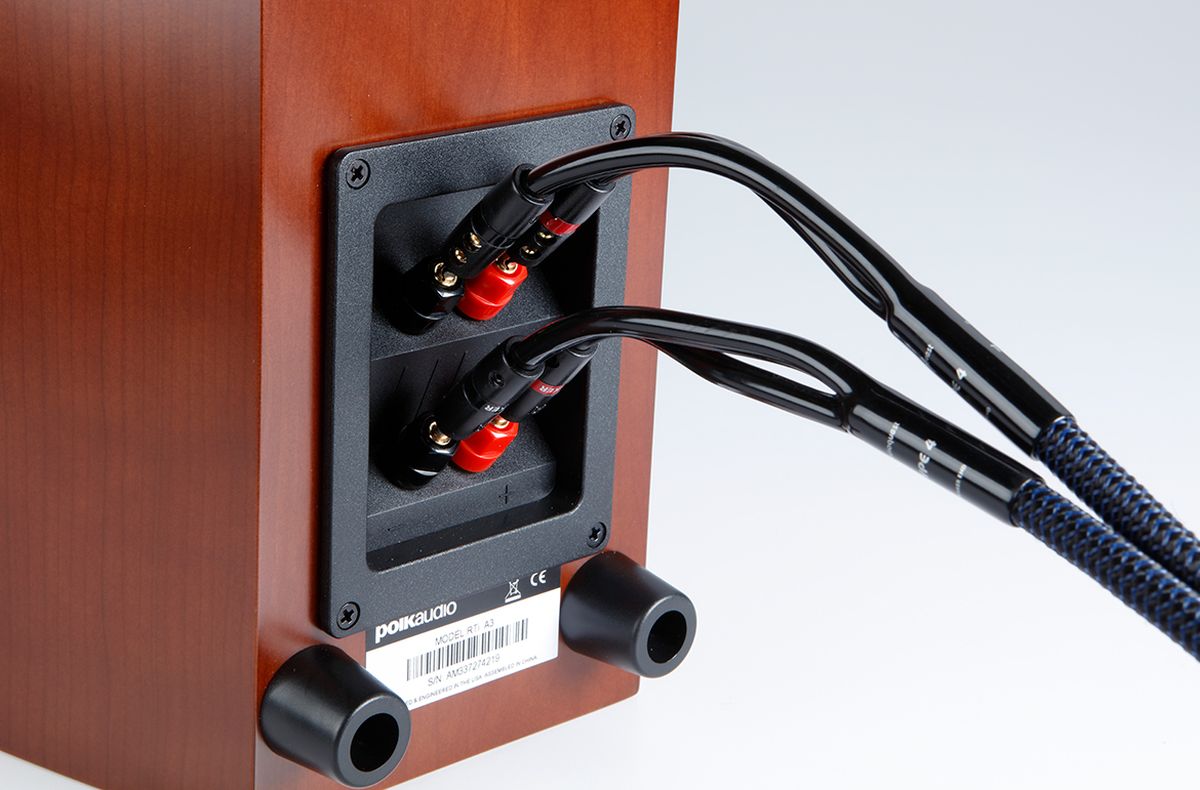
RCA Cables: These cables are a staple in DJ setups, as they facilitate the transmission of audio signals from the DJ controller to the speakers. Typically, RCA cables are color-coded, with red and white connectors representing the right and left audio channels, respectively. Ensure that you have an adequate length of RCA cables to comfortably bridge the distance between your DJ controller and speakers.
-
XLR Cables: If your speakers are equipped with XLR inputs, it is imperative to have XLR cables on hand. These cables are renowned for their balanced audio transmission, minimizing interference and delivering pristine sound quality. Verify the compatibility of your speakers and procure the appropriate length of XLR cables for the connection.
-
TRS Cables: In the event that your speakers feature TRS (Tip-Ring-Sleeve) inputs, acquiring TRS cables becomes imperative. These cables are distinguished by their versatility and compatibility with a wide range of audio devices, making them an indispensable asset in your DJ setup arsenal.
-
Adapters: Depending on the specific input and output configurations of your DJ controller and speakers, it may be necessary to have adapters on standby. Common adapters include RCA to XLR, RCA to TRS, and XLR to TRS adapters, enabling you to bridge any connectivity gaps that may arise during the setup process.
By ensuring that you have a comprehensive array of cables and adapters at your disposal, you can preemptively address any compatibility issues and seamlessly integrate your DJ controller with the speakers. This proactive approach not only streamlines the setup process but also instills confidence in the reliability and stability of the audio connection, setting the stage for an immersive and captivating auditory experience.
With the necessary cables and adapters in hand, you are primed to proceed to the next pivotal step: connecting the DJ controller to the speakers. This transition marks a crucial juncture in the setup process, as it lays the foundation for unleashing the full sonic potential of your DJ setup.
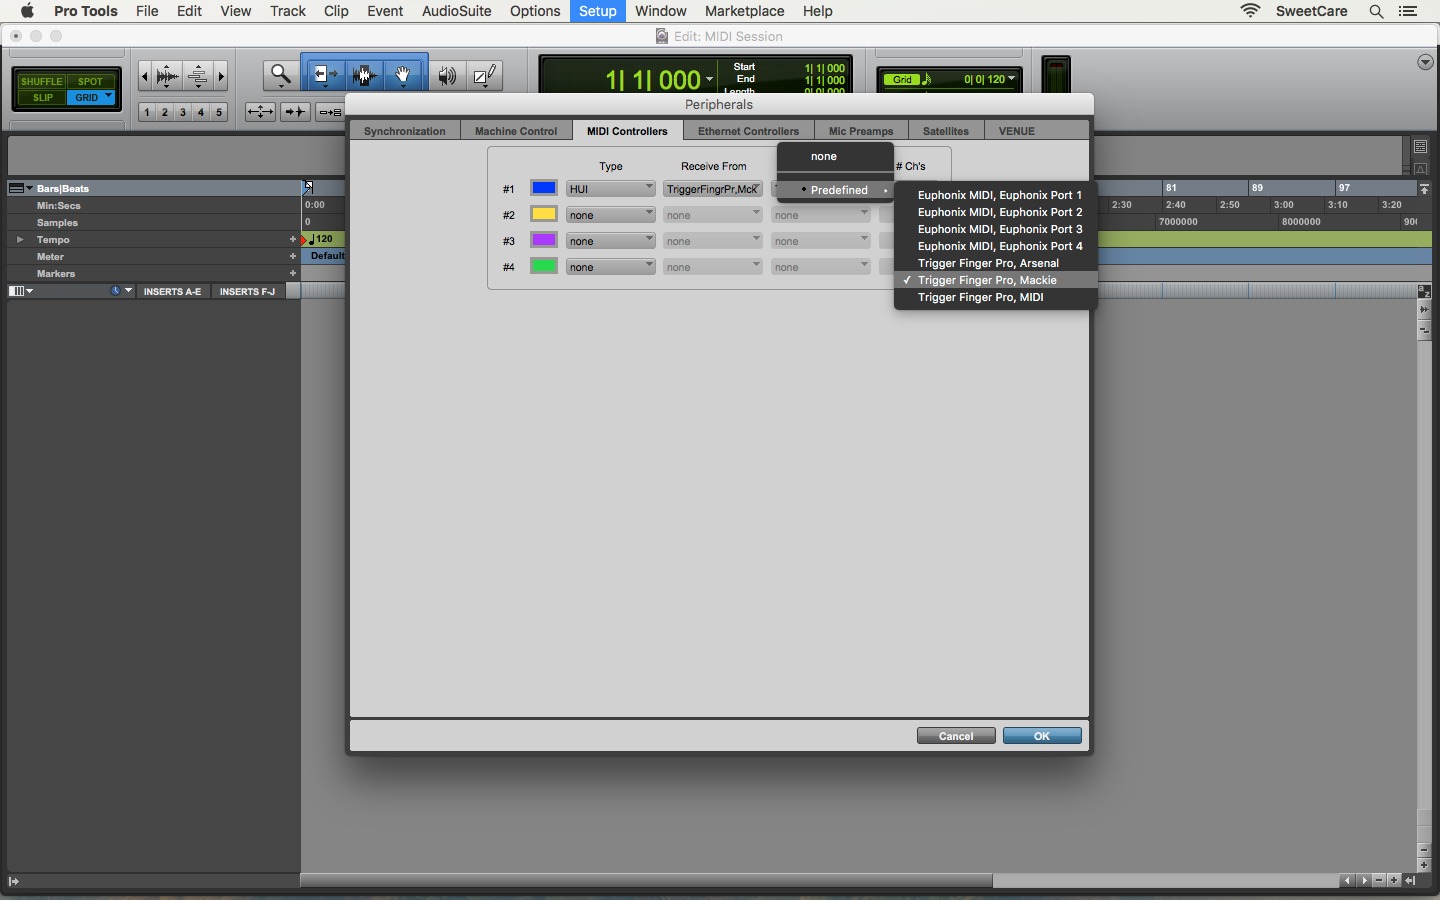
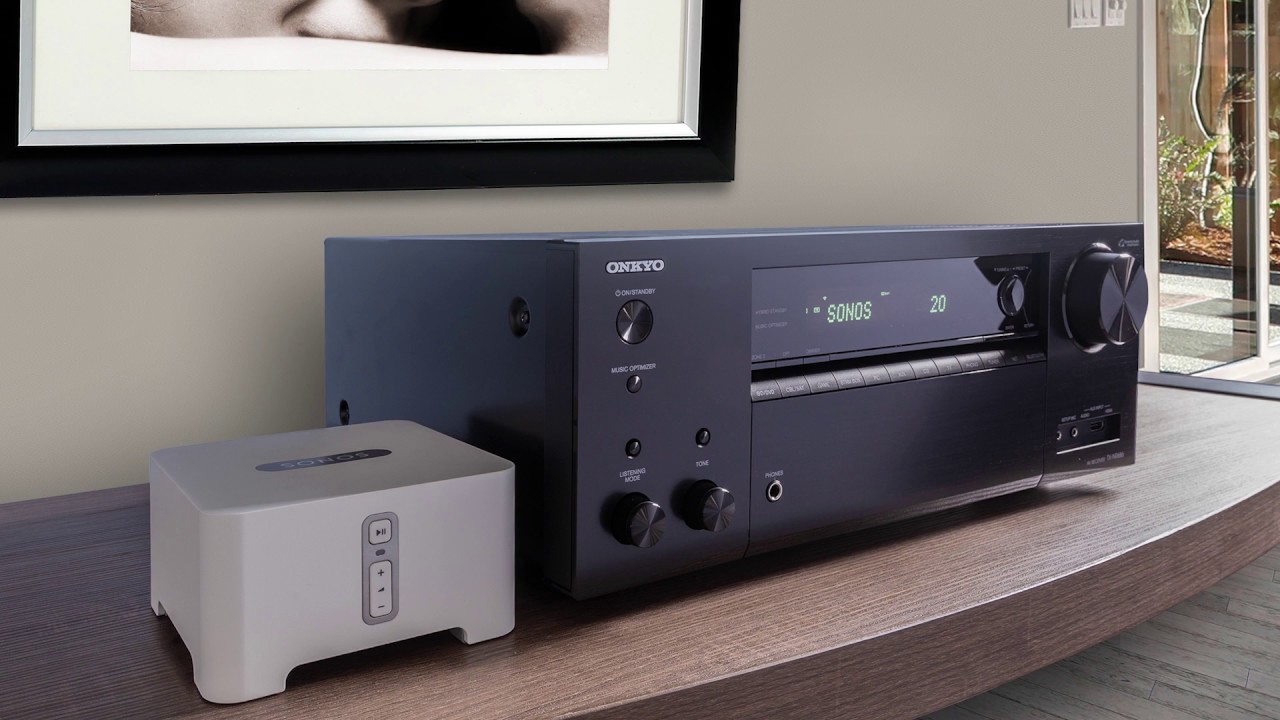
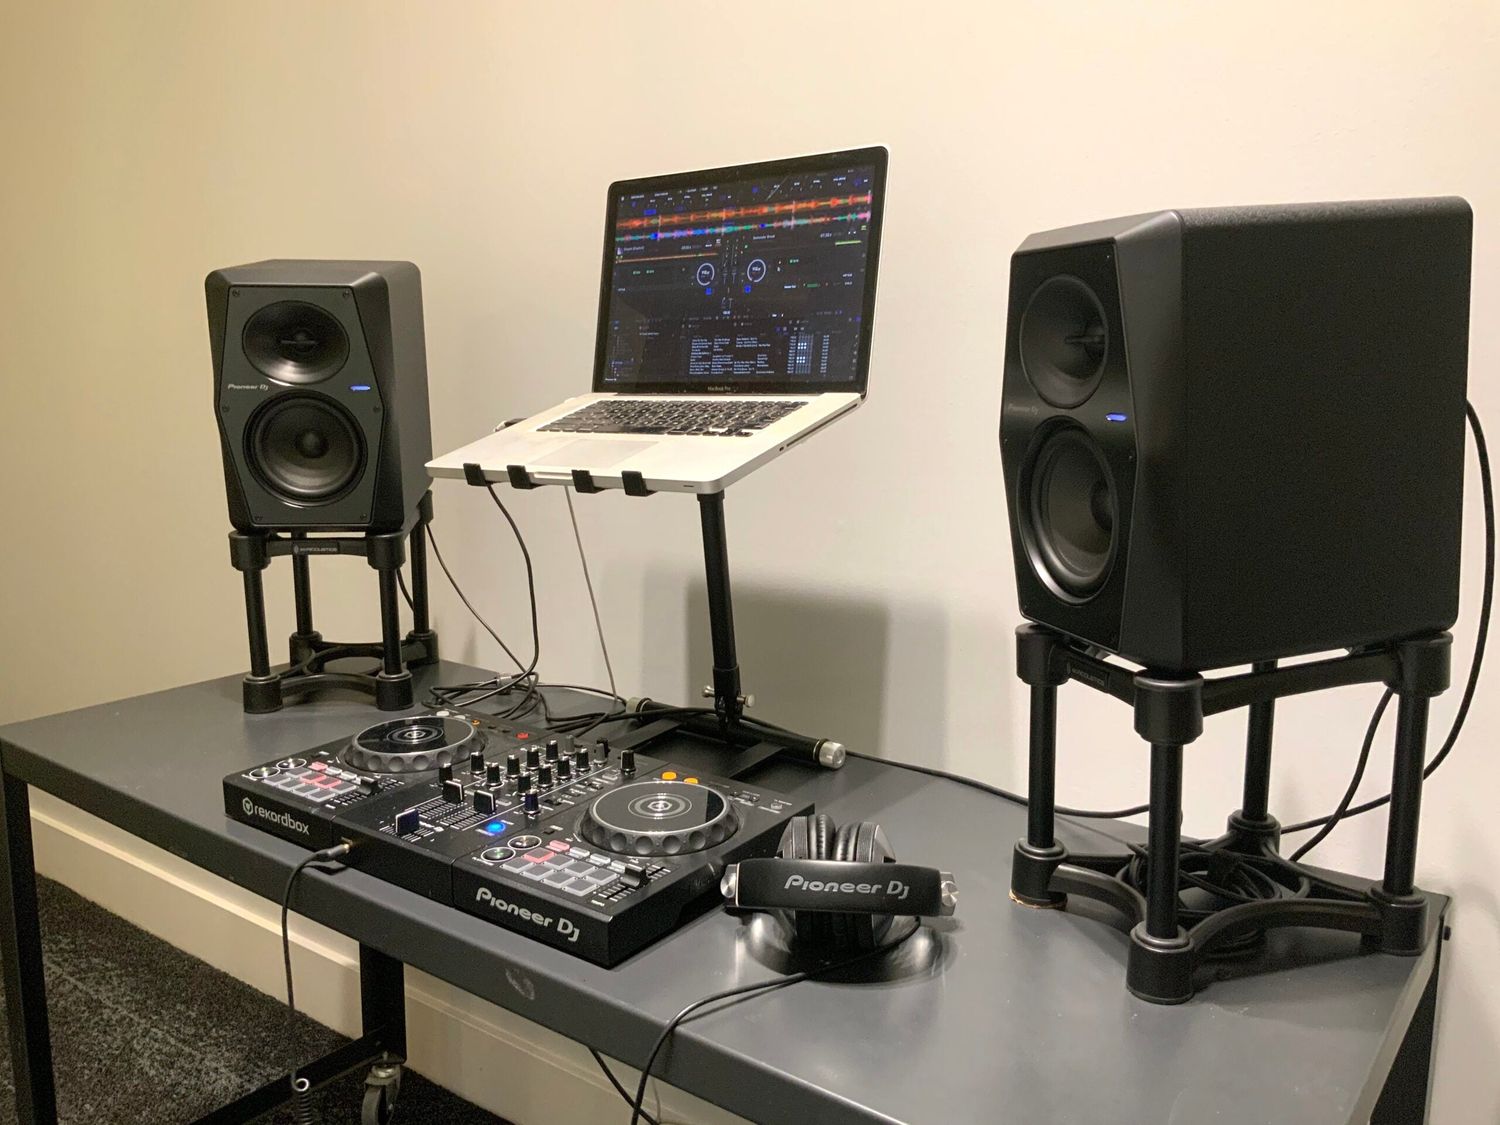
Step 2: Connect the DJ Controller to the Speakers
With the essential cables and adapters at your disposal, the next phase entails the pivotal task of connecting your DJ controller to the speakers. This process is integral to the seamless transmission of audio signals, culminating in a cohesive and immersive auditory experience. Follow these steps to ensure a successful connection:
-
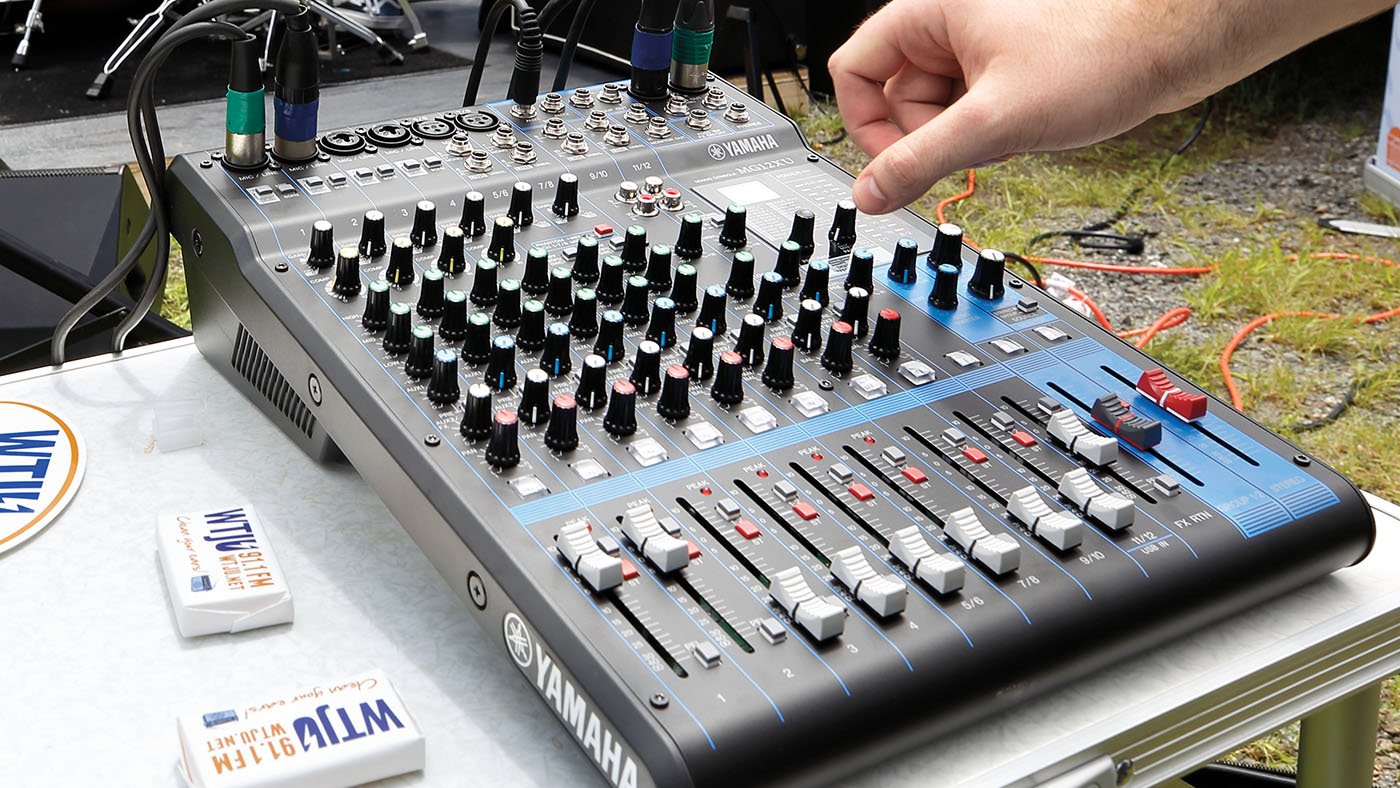
Identify the Input and Output Ports: Begin by locating the respective input and output ports on your DJ controller and speakers. The DJ controller typically features RCA, XLR, or TRS output ports, while the speakers may be equipped with corresponding input ports. Familiarize yourself with the specific configurations of your equipment to facilitate a streamlined connection process.
-
Select the Appropriate Cables: Based on the output ports of your DJ controller and the input ports of the speakers, select the suitable cables for the connection. If your DJ controller utilizes RCA outputs and your speakers feature RCA inputs, use the RCA cables to establish the connection. Similarly, if XLR or TRS connections are employed, ensure that the corresponding cables are utilized for a compatible link.
-
Establish the Connection: Carefully plug one end of the selected cables into the output ports of the DJ controller, ensuring a secure and snug fit. Subsequently, connect the other end of the cables to the input ports of the speakers, maintaining a firm connection to minimize signal interference and audio disruptions.
-
Verify the Channel Configuration: If your DJ controller supports dual-channel output, ensure that the right and left audio channels are correctly aligned with the corresponding input channels on the speakers. This meticulous attention to channel configuration is pivotal in preserving stereo sound integrity and optimizing the audio distribution across the speakers.
-
Secure the Cables: Once the connections are established, take the necessary precautions to secure the cables and prevent inadvertent disconnection during operation. Utilize cable management solutions such as Velcro straps or cable clips to neatly organize and fasten the cables, mitigating the risk of tripping hazards and cable entanglement.
By meticulously adhering to these steps, you can effectively connect your DJ controller to the speakers, forging a robust and reliable audio link that forms the backbone of your DJ setup. This seamless integration lays the groundwork for delivering captivating performances and immersive sonic experiences, empowering you to unleash your creative prowess with confidence and finesse.
With the audio connection successfully established, proceed to the next phase of the setup process: testing the connection to validate the functionality and quality of the audio transmission. This pivotal step serves as a litmus test for the efficacy of the connection, ensuring that your DJ controller and speakers operate in harmonious synergy, ready to amplify your musical endeavors.
Step 3: Test the Connection
After successfully connecting your DJ controller to the speakers, it is imperative to conduct a comprehensive test to validate the functionality and quality of the audio transmission. This critical phase serves as a litmus test for the efficacy of the connection, ensuring that your DJ setup operates in seamless harmony, poised to deliver an immersive and captivating auditory experience.
To rigorously evaluate the connection, follow these essential steps:
-
Power On the Equipment: Begin by powering on the DJ controller and speakers, allowing the audio components to initialize and synchronize. Verify that all devices are receiving adequate power and are in operational mode, ready to facilitate the audio transmission.
-
Play Test Tracks: Select a diverse array of test tracks that encompass various genres and audio dynamics. This eclectic selection enables you to assess the fidelity and tonal accuracy of the audio output across different musical styles, ensuring a comprehensive evaluation of the connection's performance.
-
Monitor Audio Output: As the test tracks play, attentively monitor the audio output from the speakers. Gauge the clarity, richness, and spatial distribution of the sound, paying particular attention to the presence of any distortions, anomalies, or irregularities in the audio reproduction.
-
Adjust Volume and Equalization: Experiment with adjusting the volume levels and equalization settings on the DJ controller to ascertain the responsiveness and precision of the audio adjustments. Fine-tune the sound parameters to optimize the sonic characteristics and tailor the audio output to your preferences.
-
Evaluate Stereo Imaging: Assess the stereo imaging and spatial localization of the sound, discerning the delineation of instruments and vocals across the stereo field. This critical evaluation ensures that the stereo soundstage is faithfully preserved, enriching the auditory experience with depth and dimensionality.
-
Verify Channel Balance: Validate the channel balance by confirming that the right and left audio channels are accurately reproduced, maintaining equilibrium and coherence in the stereo sound distribution. This meticulous scrutiny safeguards against channel imbalance and ensures symmetrical audio delivery.
-
Test Signal Integrity: Introduce deliberate signal stressors, such as abrupt volume adjustments and transient audio peaks, to assess the robustness and resilience of the connection. This stress testing validates the signal integrity and stability under dynamic audio conditions, affirming the reliability of the audio link.
By meticulously executing these steps, you can methodically test the connection between your DJ controller and speakers, affirming the seamless integration and optimal functionality of the audio transmission. This rigorous evaluation instills confidence in the reliability and performance of your DJ setup, empowering you to embark on captivating performances and immersive sonic journeys with unwavering assurance.
With the successful validation of the connection, you have effectively orchestrated a harmonious union between your DJ controller and speakers, culminating in a cohesive and dynamic audio ecosystem. This robust audio infrastructure forms the bedrock of your musical endeavors, poised to elevate your performances and enrapture audiences with the transformative power of music.
Conclusion
In conclusion, the process of connecting a DJ controller to speakers is a pivotal undertaking that underpins the seamless transmission of audio signals, culminating in captivating performances and immersive sonic experiences. By meticulously adhering to the steps outlined in this comprehensive guide, you have equipped yourself with the knowledge and proficiency to establish a robust and reliable audio connection, empowering you to unleash your creative prowess with confidence and finesse.
The journey commenced with the imperative task of gathering the necessary cables and adapters, ensuring that you are well-prepared to preemptively address any compatibility issues and seamlessly integrate your DJ controller with the speakers. This proactive approach not only streamlined the setup process but also instilled confidence in the reliability and stability of the audio connection, setting the stage for an immersive and captivating auditory experience.
Subsequently, the meticulous process of connecting the DJ controller to the speakers unfolded, marking a pivotal juncture in the setup process. By identifying the input and output ports, selecting the appropriate cables, and meticulously establishing the connection, you forged a robust and reliable audio link that forms the backbone of your DJ setup. This seamless integration laid the groundwork for delivering captivating performances and immersive sonic experiences, empowering you to unleash your creative prowess with confidence and finesse.
The culmination of the setup journey involved the rigorous evaluation of the connection through comprehensive testing. By rigorously assessing the functionality and quality of the audio transmission, you validated the seamless integration and optimal functionality of the connection. This rigorous evaluation instilled confidence in the reliability and performance of your DJ setup, empowering you to embark on captivating performances and immersive sonic journeys with unwavering assurance.
In essence, the successful orchestration of a harmonious union between your DJ controller and speakers has culminated in a cohesive and dynamic audio ecosystem. This robust audio infrastructure forms the bedrock of your musical endeavors, poised to elevate your performances and enrapture audiences with the transformative power of music. With a steadfast commitment to excellence and a thorough understanding of audio connectivity, you are primed to embark on a musical odyssey, enriching lives and transcending boundaries through the universal language of music.