Home>Production & Technology>Audio Cable>How To Connect Audio Cable To Speaker
Audio Cable
How To Connect Audio Cable To Speaker
Modified: January 22, 2024
Learn how to easily connect an audio cable to your speaker. Our step-by-step guide will help you successfully set up your audio system.
(Many of the links in this article redirect to a specific reviewed product. Your purchase of these products through affiliate links helps to generate commission for AudioLover.com, at no extra cost. Learn more)
Table of Contents
Introduction
Welcome to our comprehensive guide on how to connect an audio cable to a speaker. If you’re unfamiliar with audio cables and connections, don’t worry – we’ve got you covered. Whether you’re setting up a home theater system, connecting speakers to a stereo system, or simply trying to plug in your headphones, understanding how to properly connect audio cables is essential.
An audio cable is a vital component in the transmission of audio signals from one device to another. It allows you to enjoy clear and high-quality sound by ensuring a secure and reliable connection between your audio source and the speaker. By following the steps outlined in this article, you’ll be able to confidently connect your audio cable and start enjoying your favorite music, movies, or podcasts in no time.
Before we dive into the steps, it’s important to note that there are various types of audio cables available, each suited for different purposes. Common audio cable types include RCA cables, 3.5mm aux cables, quarter-inch cables, XLR cables, and optical cables. The type of cable you’ll need depends on the specific audio devices you’re connecting. But don’t worry – we’ll help you determine the right type of cable for your setup.
Now, let’s get started on the journey to connecting your audio cable to your speaker. Whether you’re a beginner or have some experience in audio setup, this guide will walk you through the process step by step. So sit back, relax, and let’s turn up the volume!
Step 1: Determine the type of audio cable needed
Before you can connect your audio cable to the speaker, it’s important to determine the correct type of cable needed for your setup. As mentioned earlier, there are various types of audio cables available, and each serves a specific purpose.
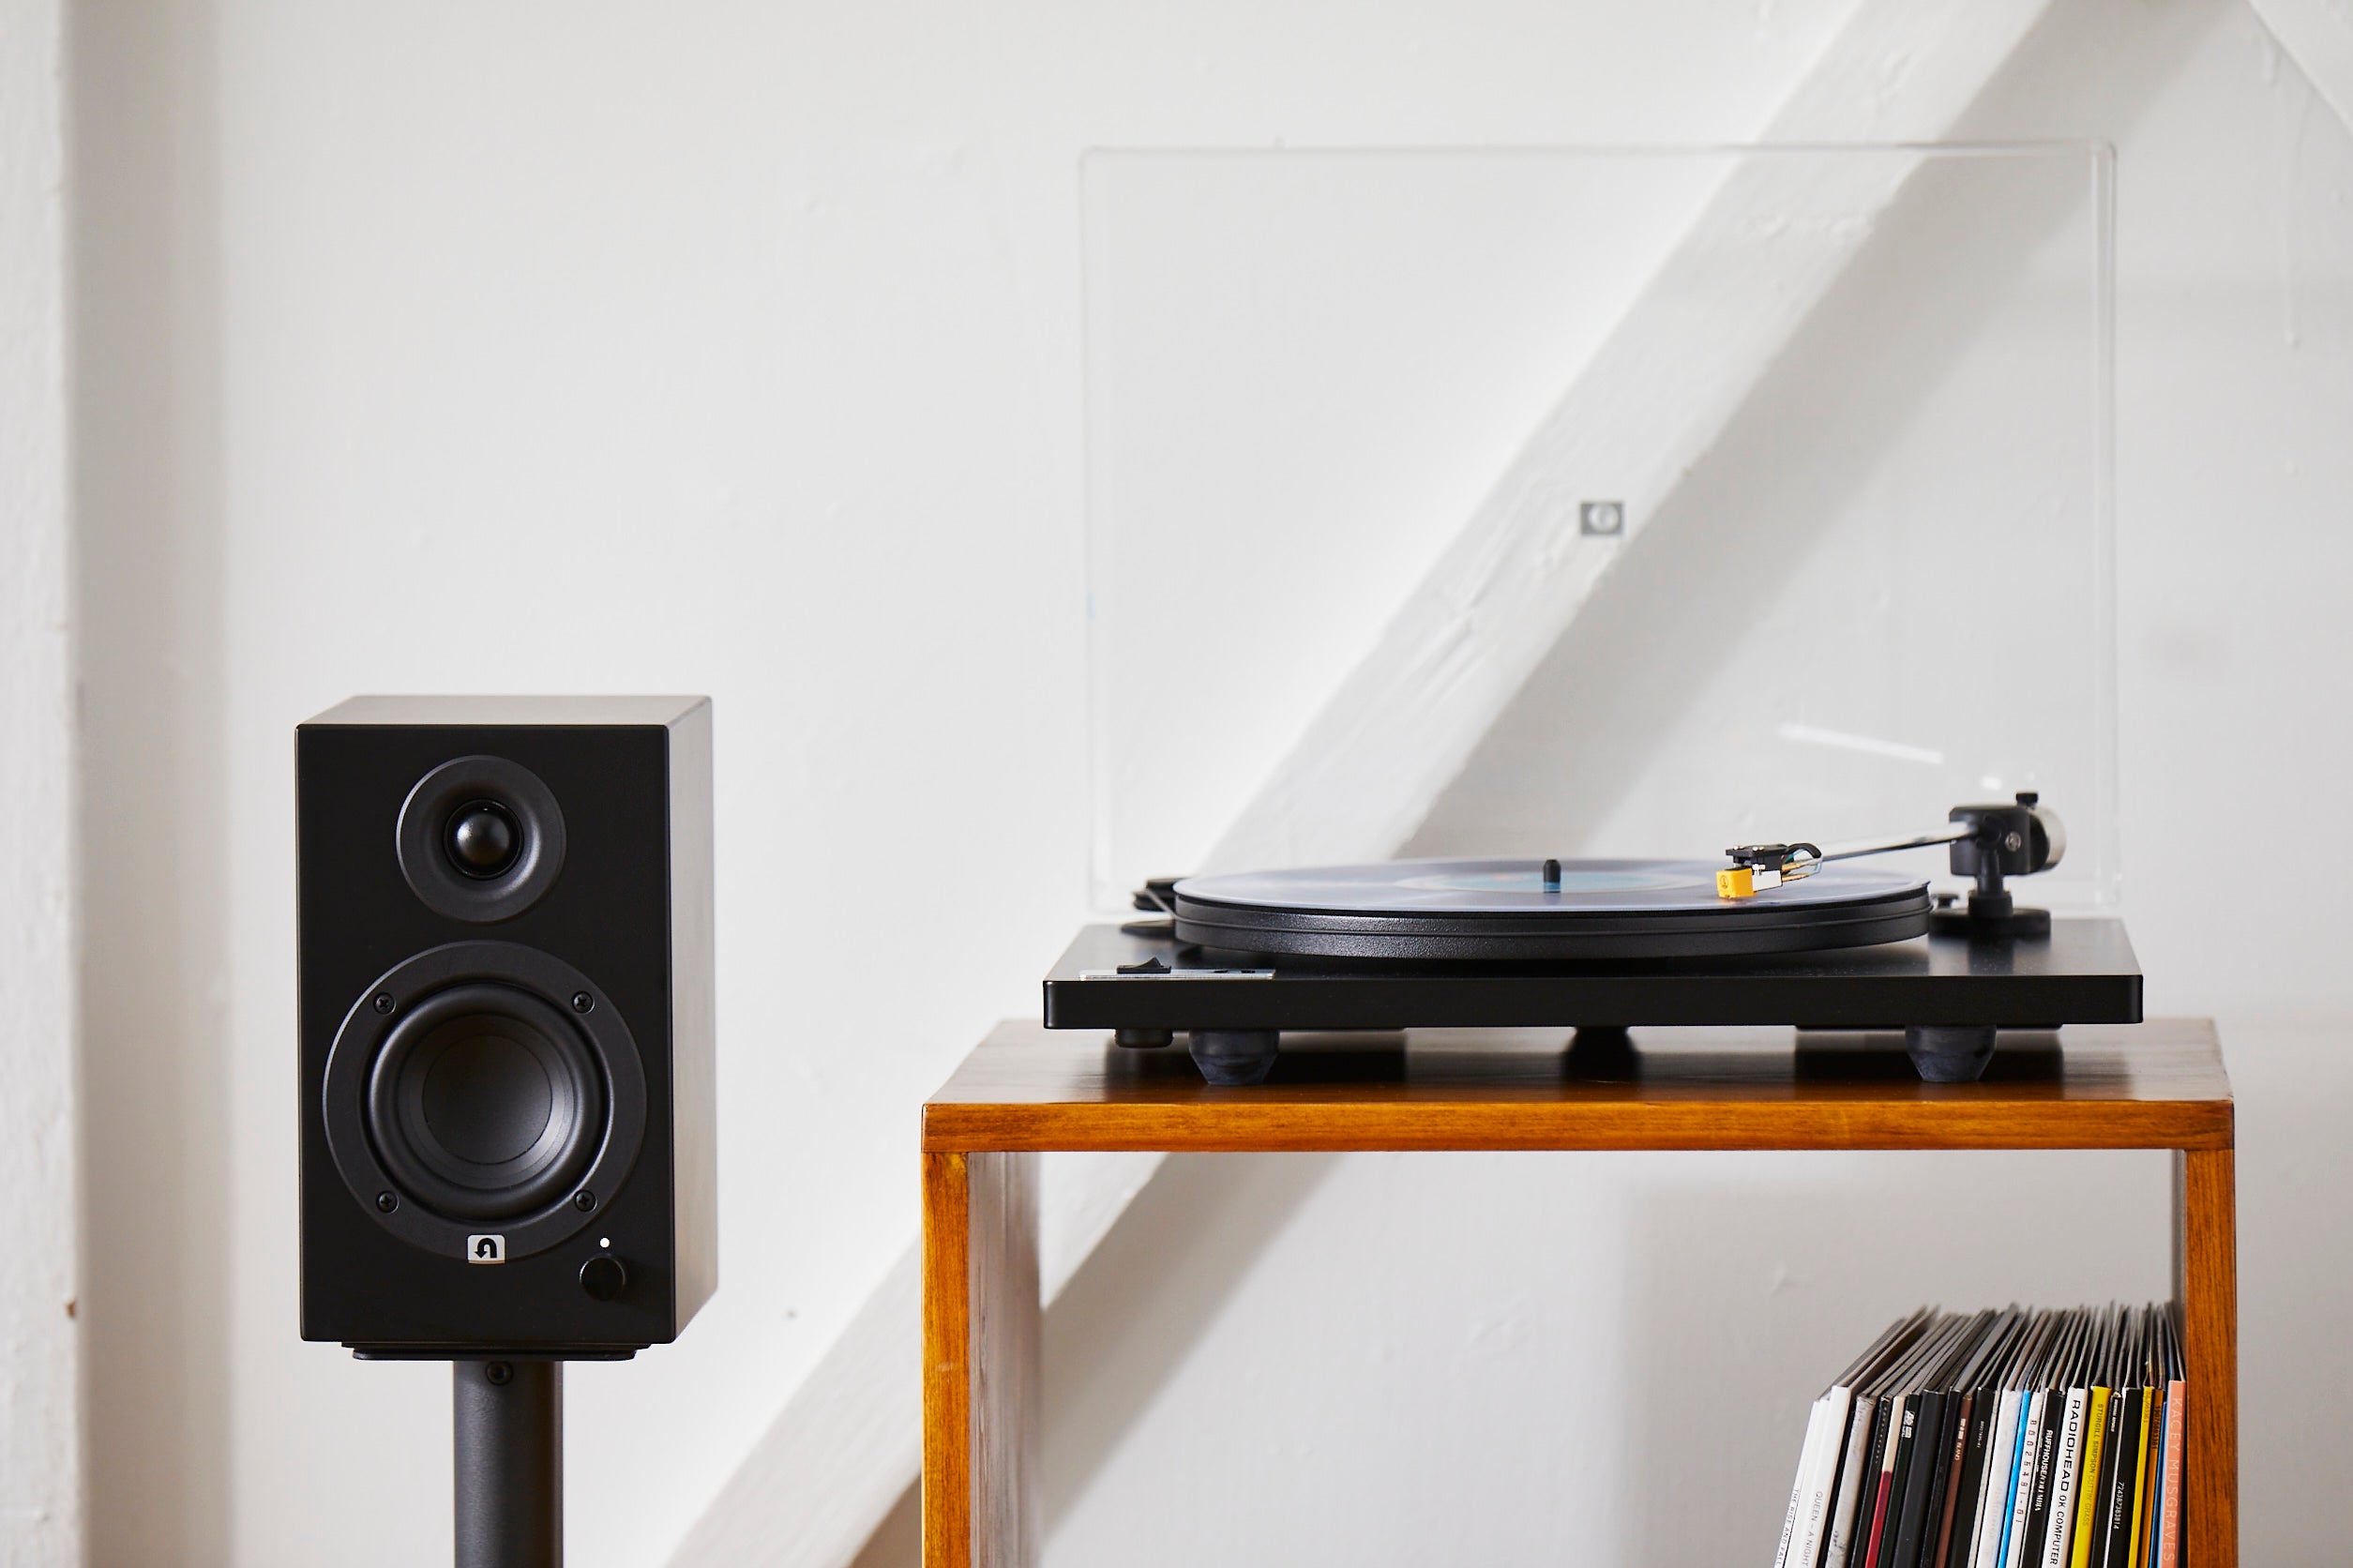
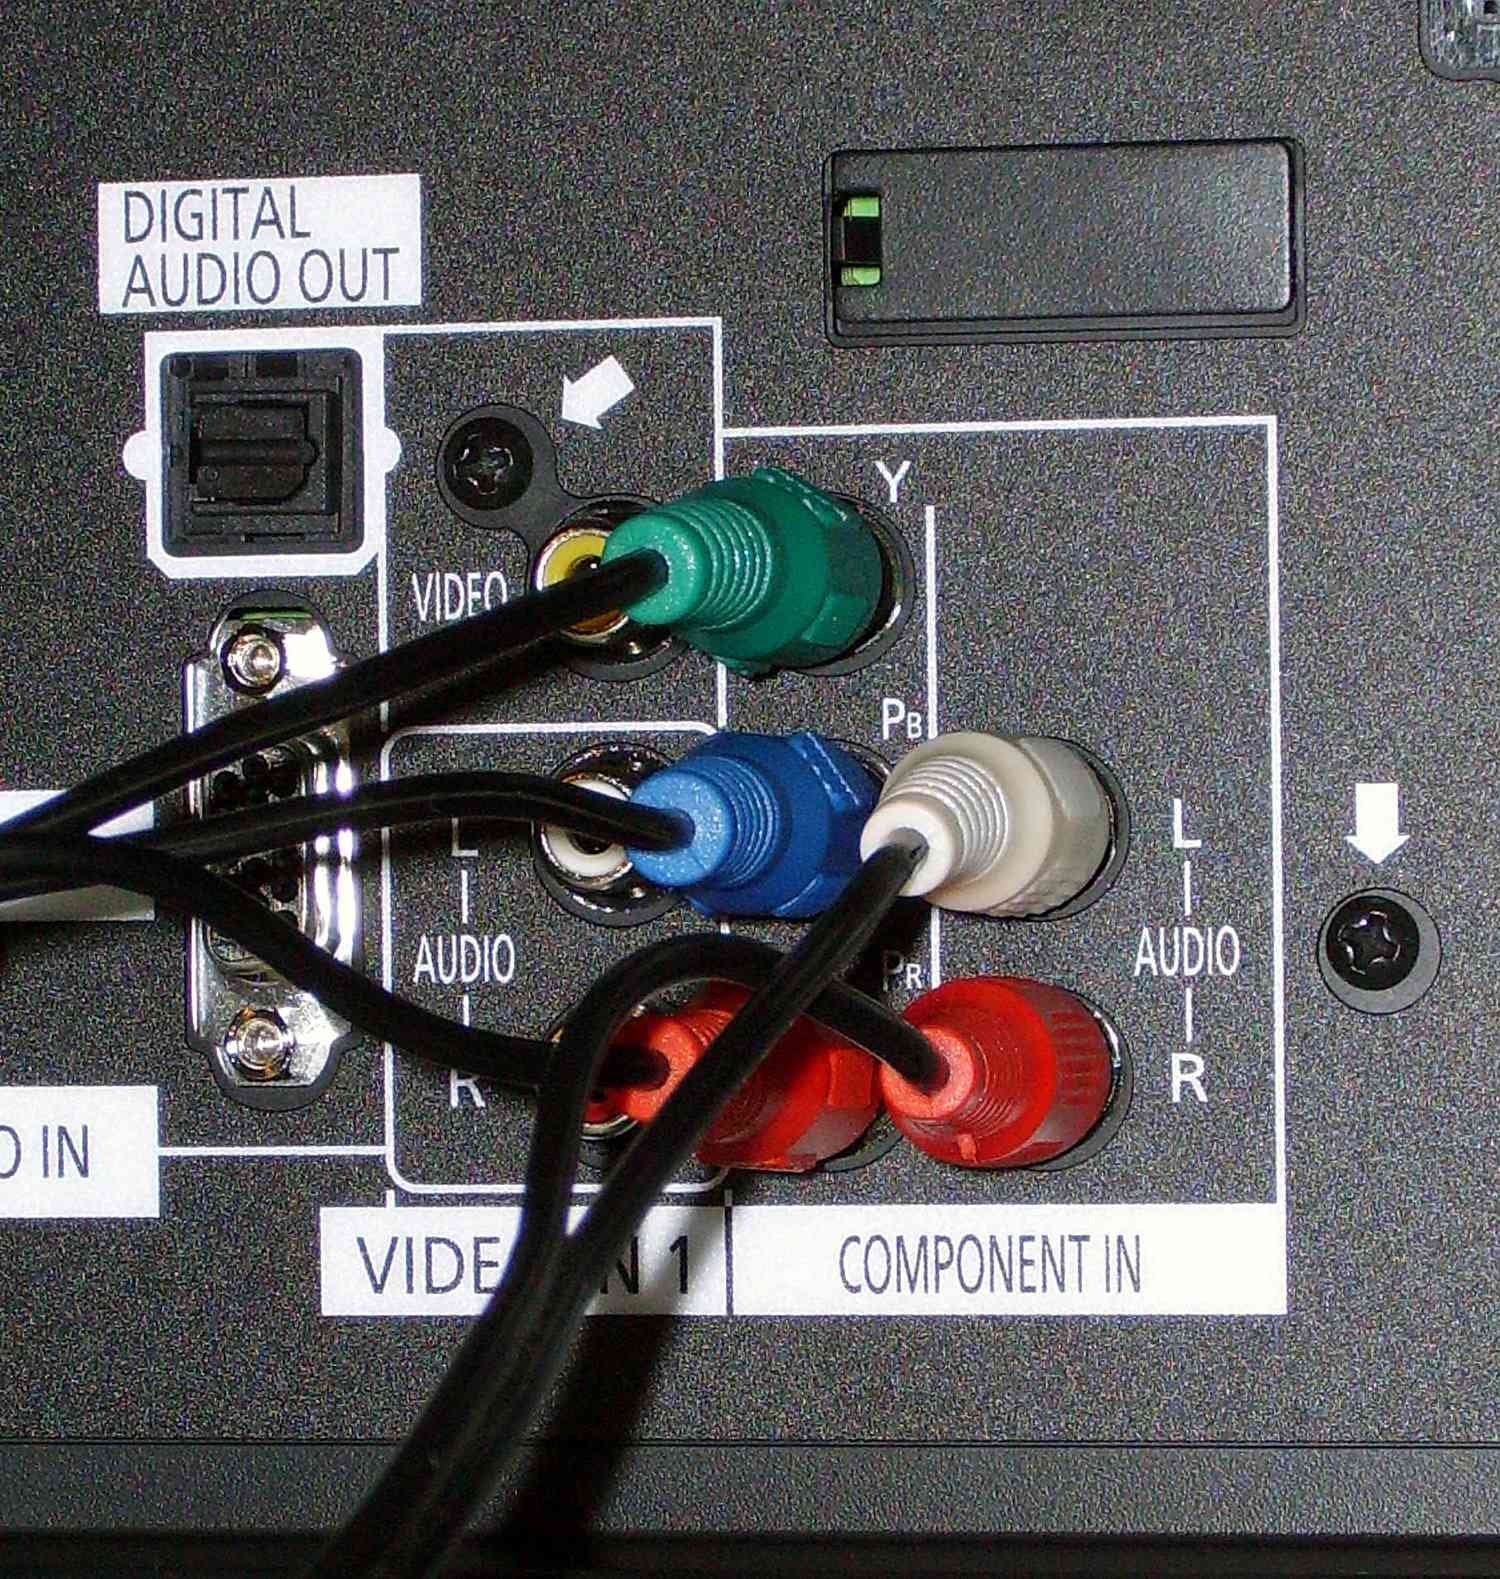
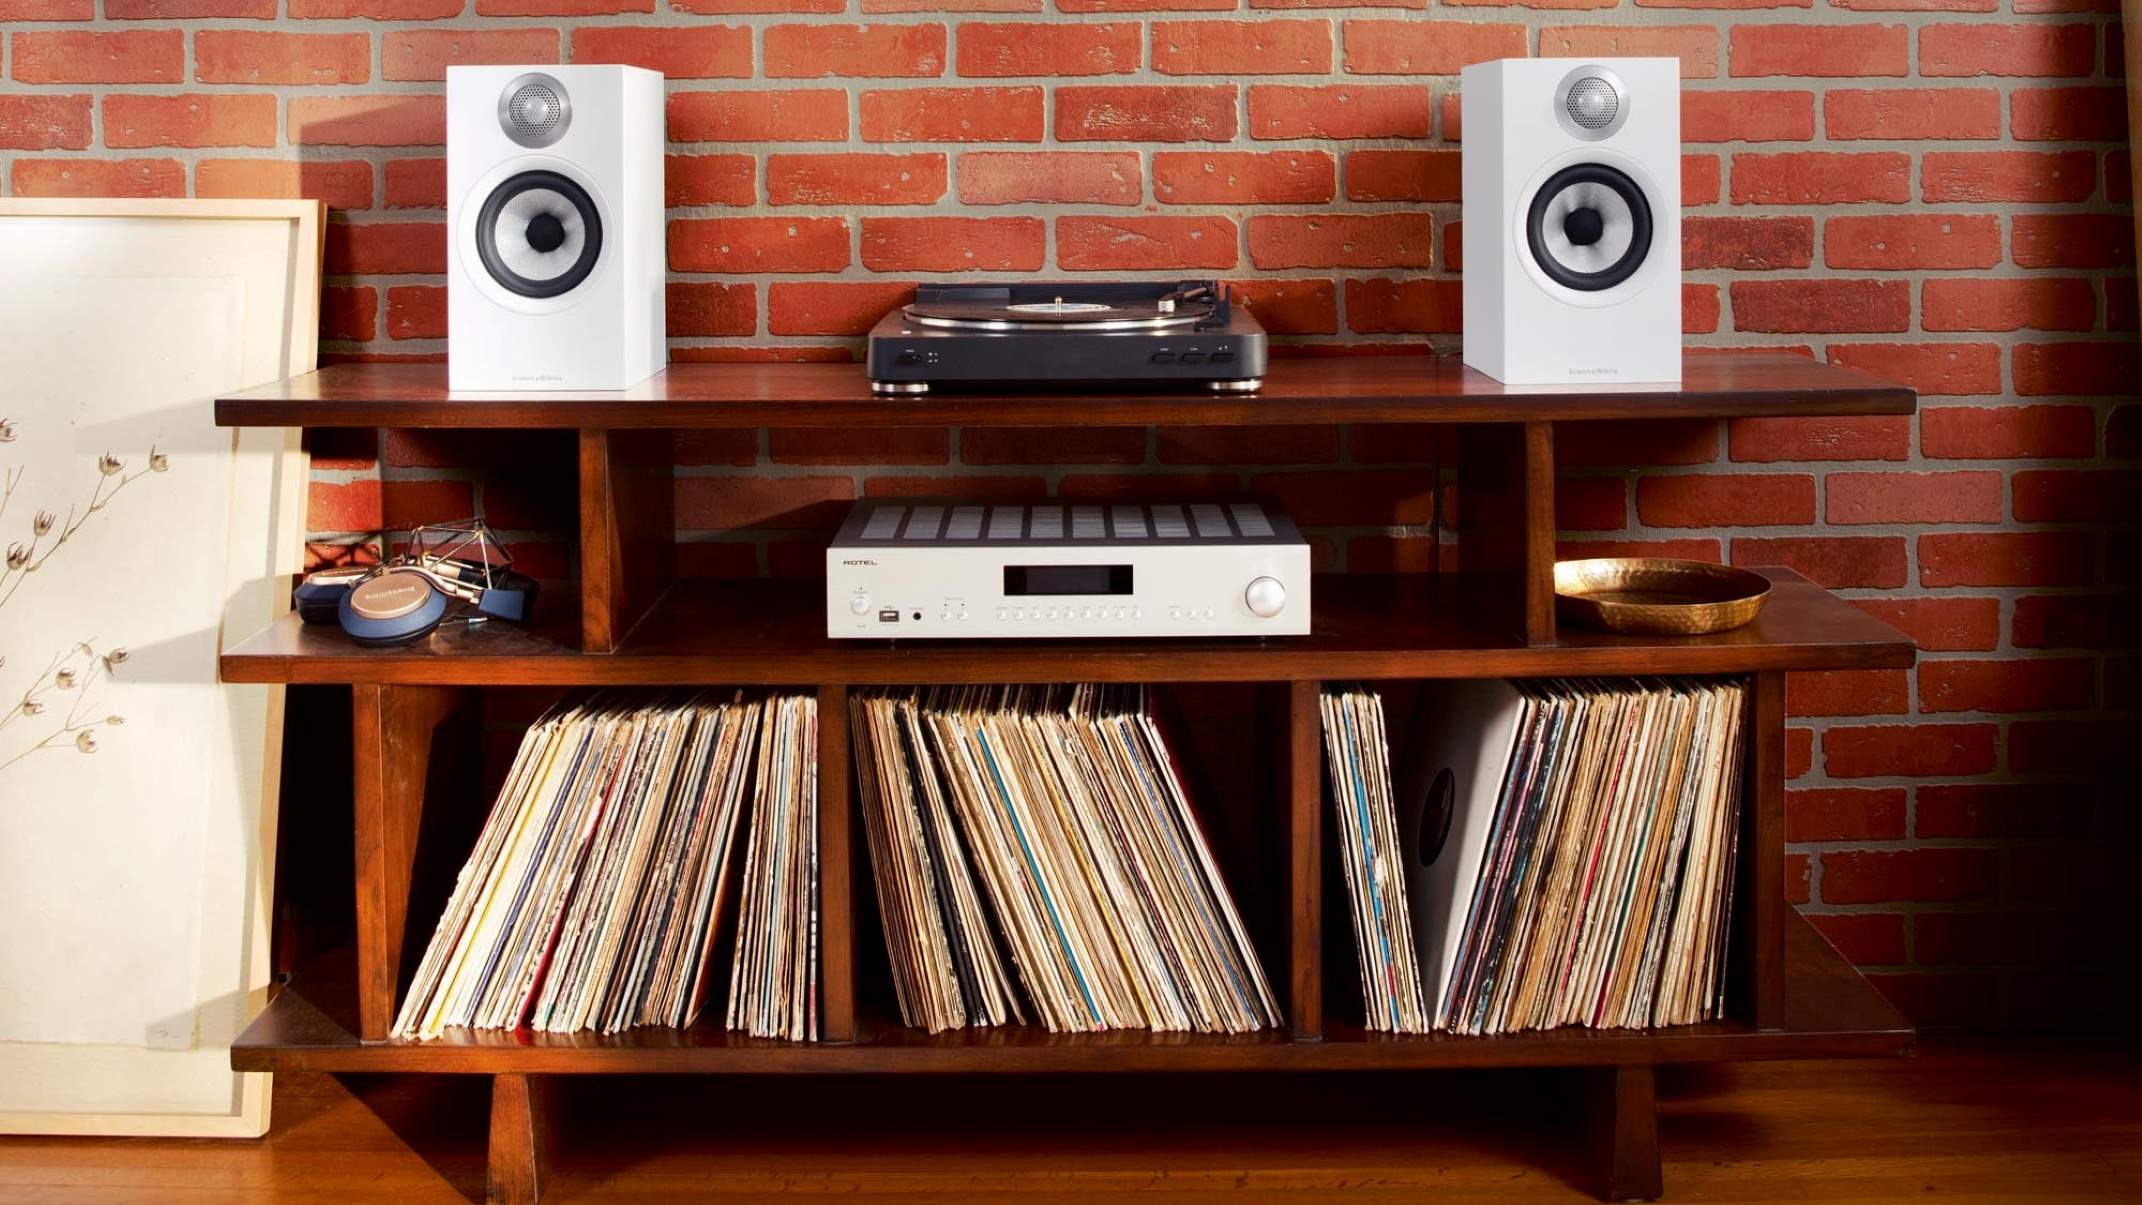
If you’re connecting your speaker to a stereo system, you’ll likely need RCA cables. RCA cables are commonly used for audio connections and feature red and white connectors. The red connector is for the right audio channel, while the white connector is for the left audio channel. Simply match the colors on the cable with the corresponding audio output on your speaker and stereo system.
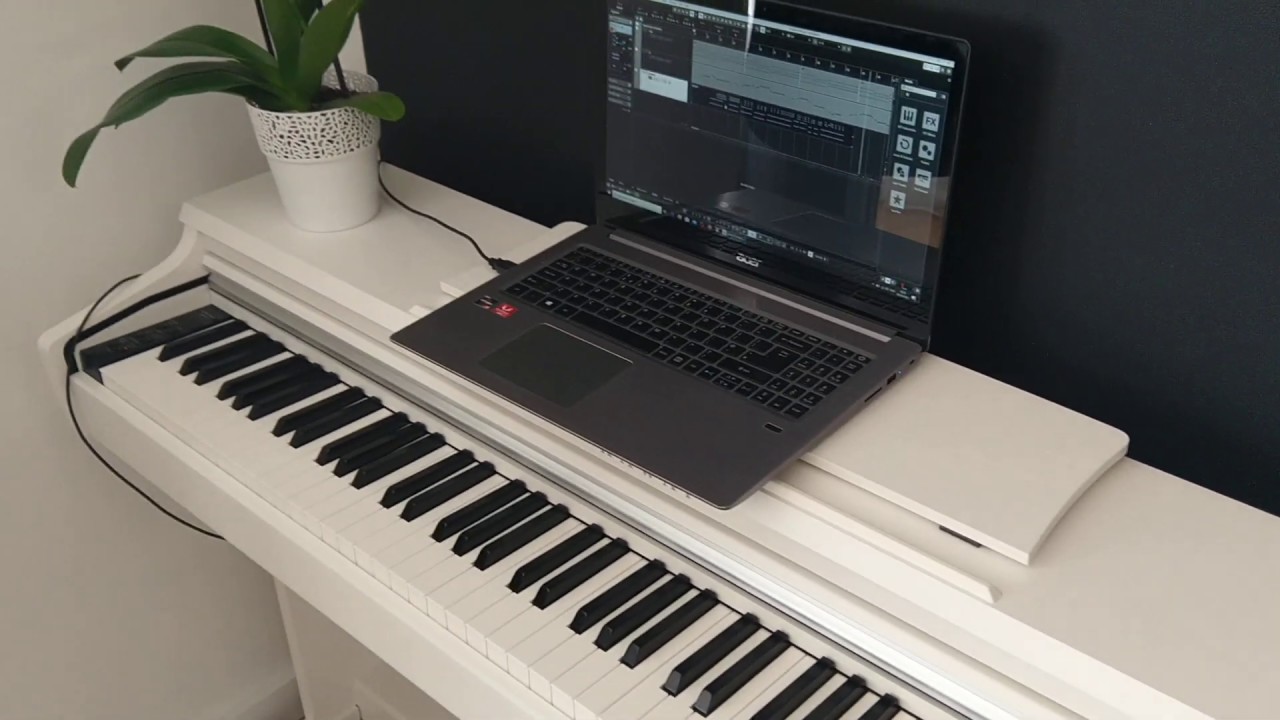
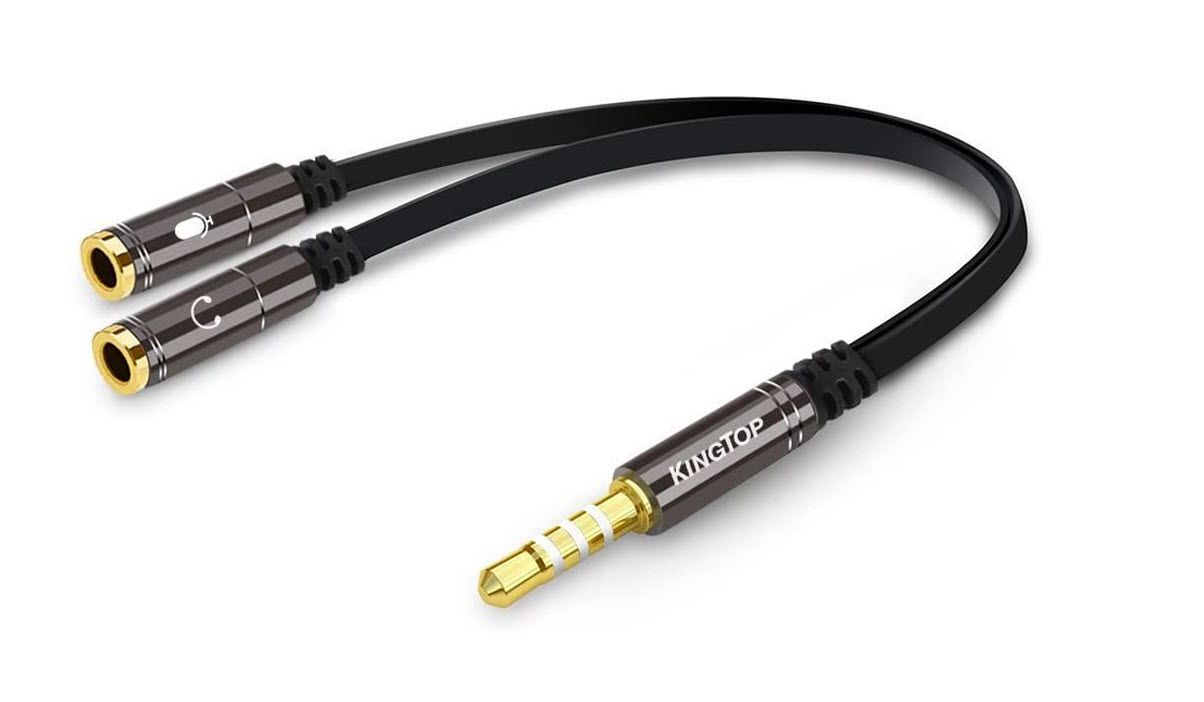
For portable devices like smartphones, tablets, or laptops, a 3.5mm aux cable is typically required. This type of cable features a small headphone-like jack on one end and either a 3.5mm male or stereo RCA connectors on the other end. The 3.5mm jack connects to the audio output of your device, while the other end plugs into the input of your speaker.
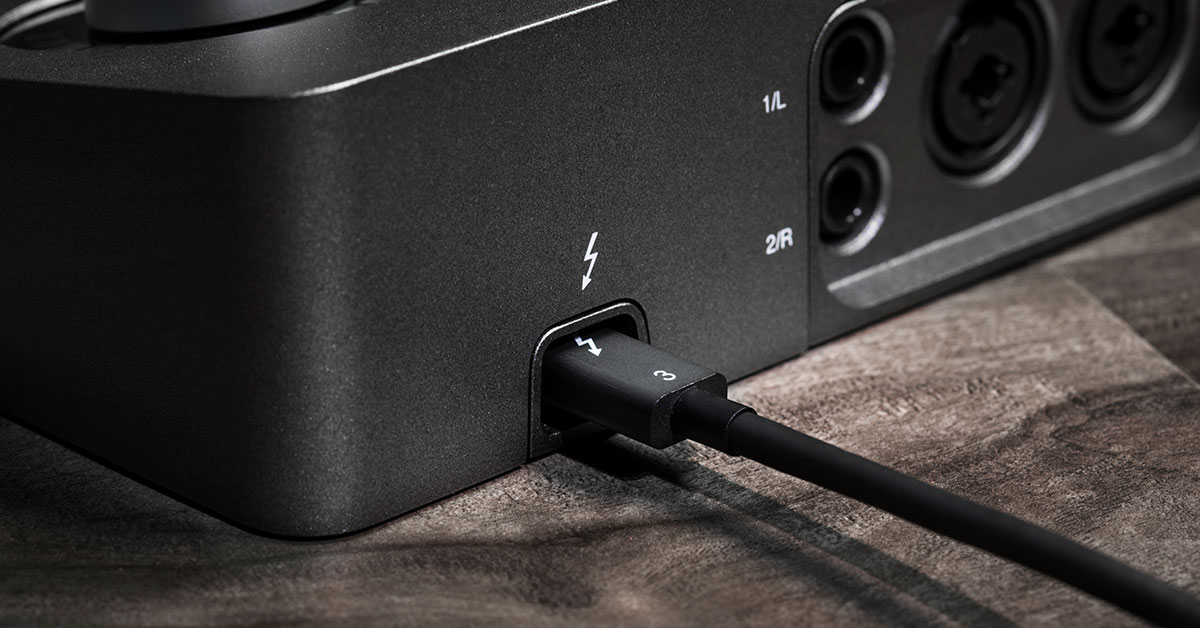
If you’re using professional audio equipment or studio monitors, quarter-inch cables are commonly used. These cables have a large cylindrical connector, also known as a TRS or TS connector, depending on whether it’s a balanced or unbalanced connection. Make sure to check the input/output specifications of your audio devices and choose the appropriate quarter-inch cable.
XLR cables are another type of audio cable commonly used in professional settings. They feature three pins and are primarily used for microphones or connecting audio equipment that requires a balanced signal. XLR cables provide noise reduction, making them ideal for capturing high-quality audio.
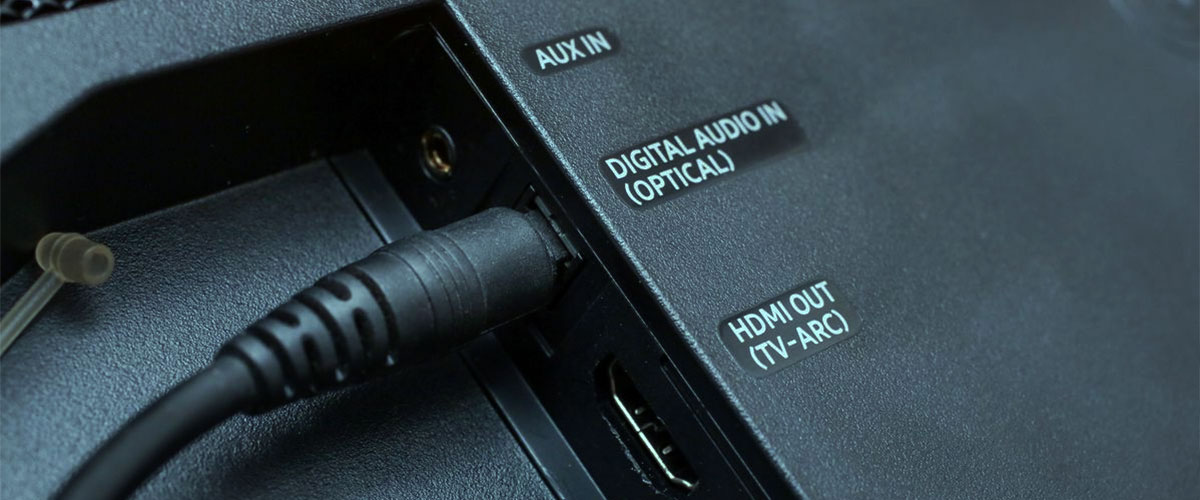
Lastly, if you’re connecting your speaker to a device that supports digital audio, such as a soundbar or AV receiver, you may need an optical cable, also known as a Toslink cable. Optical cables transmit audio signals using light, ensuring a clean and interference-free connection.
Once you’ve determined the type of audio cable needed for your specific setup, you’re ready to move on to the next step. Understanding the type of cable required will ensure that you have the correct tools on hand and will make the connection process much smoother.
Step 2: Examine the speaker and audio source
Before connecting the audio cable, it’s crucial to examine both the speaker and the audio source to ensure compatibility and identify the appropriate ports for connection.
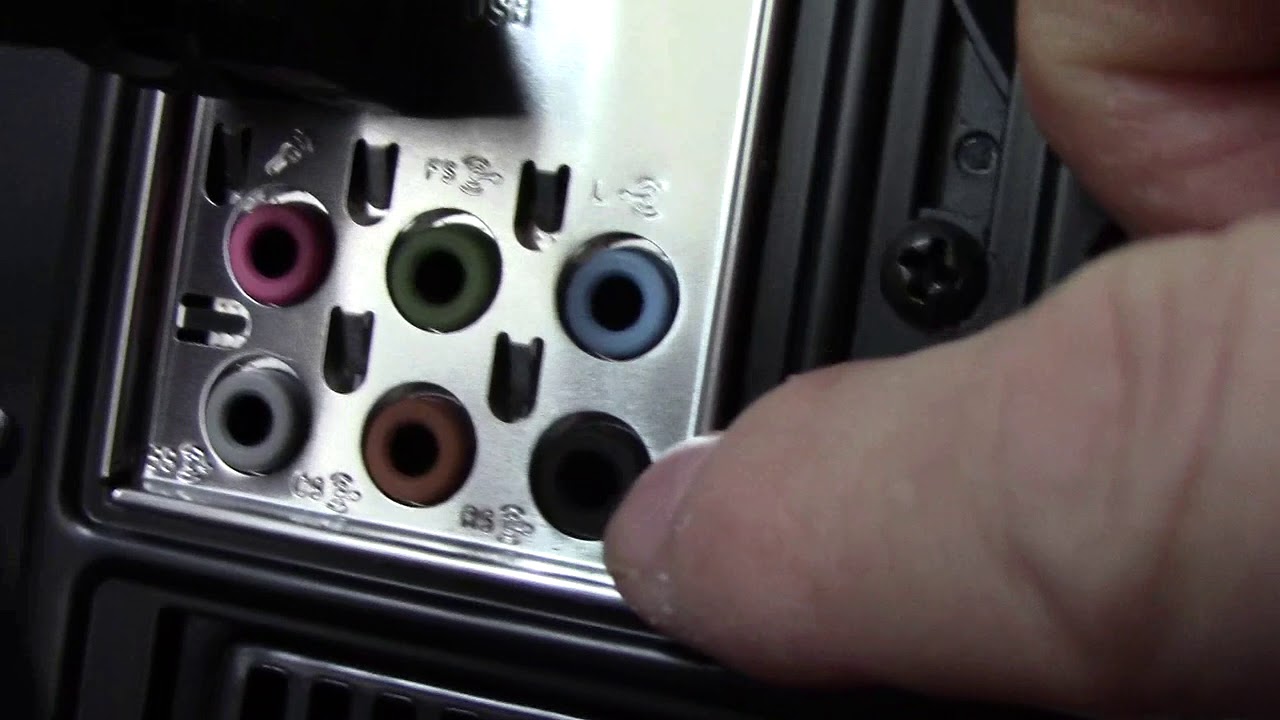
Start by examining the speaker. Look for the audio input ports, which are usually located on the back or side of the speaker. Common audio input ports include RCA inputs, 3.5mm aux inputs, quarter-inch inputs, XLR inputs, or optical inputs. Take note of the type of input port available on the speaker, as this will determine the type of audio cable you’ll need.
Next, inspect the audio source device that will provide the audio signal. This could be your smartphone, laptop, stereo system, or any other device that you want to connect to the speaker. Look for the audio output port on the device, which can be a headphone jack, RCA outputs, quarter-inch outputs, XLR outputs, or optical outputs. Ensure the audio output port on your device matches with the input port on the speaker.
If your audio source only has a headphone jack, it’s important to check if it supports audio output and not just audio input. Some devices, particularly smartphones, laptops, or tablets, may have a combined audio jack that serves both as an audio input and output. If this is the case, you’ll need to verify if your device supports audio output through the headphone jack by consulting the device’s manual or doing a quick online search.
Additionally, it’s worth checking the user manual or the manufacturer’s website of both the speaker and the audio source device for any specific instructions, recommendations, or limitations regarding audio connections. This will ensure that you have a thorough understanding of what is required for a successful connection.
By examining both the speaker and the audio source, you’ll have a clear understanding of the available input and output ports, making it easier to select the appropriate audio cable and proceed with the connection process in the next step.
Step 3: Connect the audio cable to the speaker
Now that you have determined the type of audio cable needed and examined the speaker and audio source, it’s time to connect the audio cable to the speaker. The process may vary slightly depending on the type of cable and the specific speaker, but the general steps remain the same.
First, ensure that both the speaker and the audio source are powered off. This will prevent any accidental audio feedback or damage to the devices during the connection process.
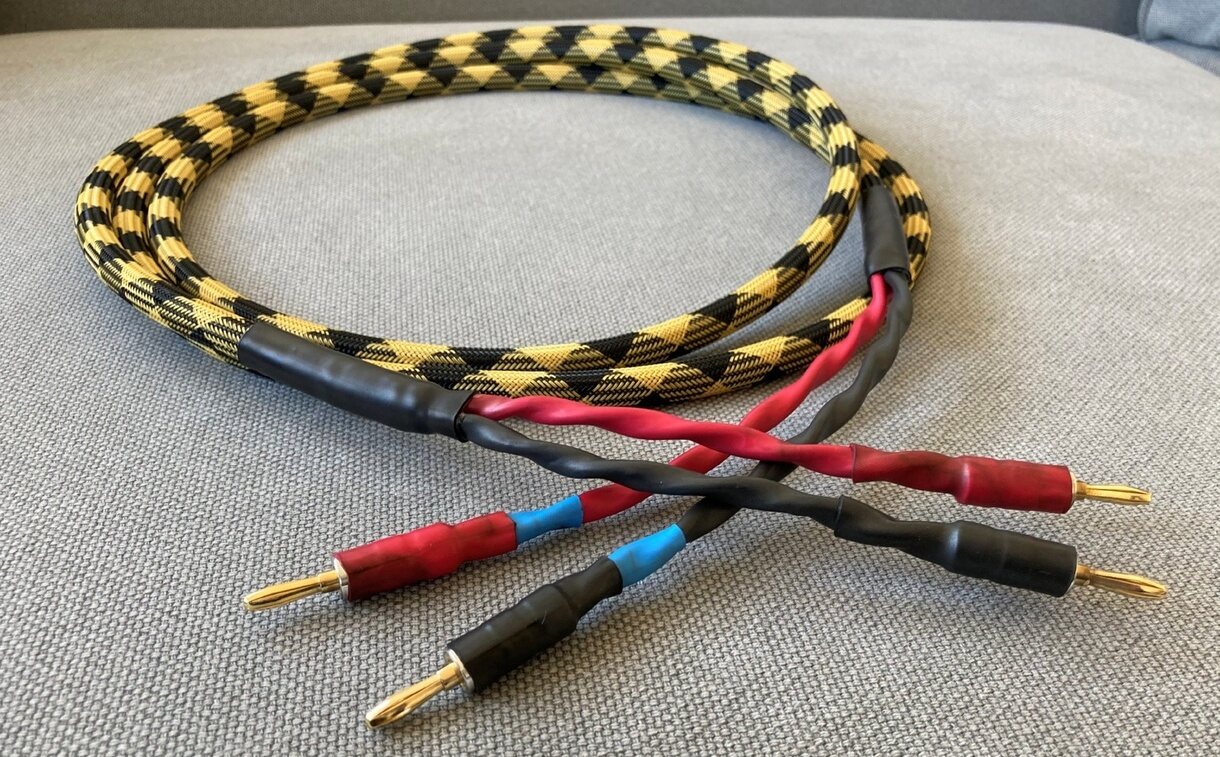
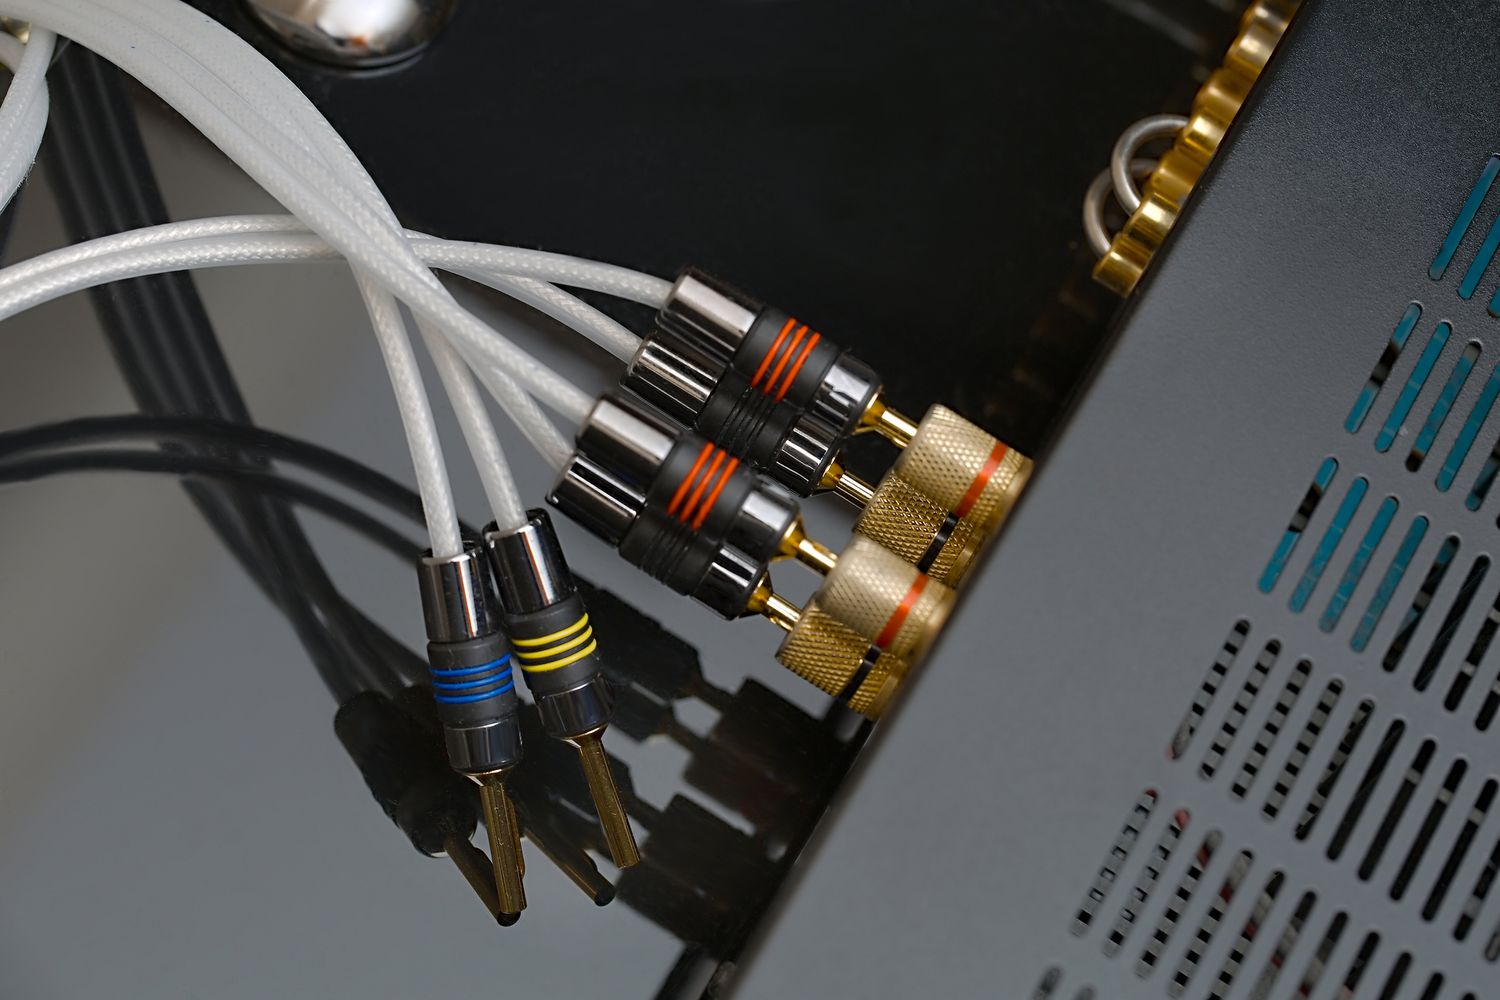
If you’re using an RCA cable, locate the RCA input ports on the speaker. The ports are usually color-coded, with the red port representing the right channel and the white (or black) port representing the left channel. Take your RCA cable and insert the red connector into the red input port on the speaker, and then insert the white (or black) connector into the white (or black) input port on the speaker. Ensure a secure connection by gently pushing the connectors into the ports until they are firmly seated.
For a 3.5mm aux cable, locate the 3.5mm aux input port on the speaker. This port is often labeled as “AUX” or “Line-In.” Take one end of the 3.5mm aux cable and insert it into the corresponding input port on the speaker. Ensure a snug fit by gently pushing the connector into the port.
If you’re working with a quarter-inch cable, find the quarter-inch input port on the speaker. This port may be labeled as “Line-In” or “Input.” Take one end of the quarter-inch cable and insert it into the input port on the speaker. Give it a slight twist to secure the connection.
For XLR cables, locate the XLR input port on the speaker. These ports usually have three pins. Align the pins with the corresponding holes on the connector and insert the connector into the port. Once inserted, give it a twist to lock it in place.
If you’re using an optical cable, find the optical input port on the speaker. This port is usually square-shaped and has a protective cover. Remove the cover and align the square-shaped connector on one end of the optical cable with the input port on the speaker. Insert the connector straight into the port without applying excessive force.
Once the audio cable is securely connected to the speaker, you can proceed to the next step of connecting the other end of the audio cable to the audio source.
Note: If you’re using an AV receiver or soundbar as your audio source, make sure to check the device’s manual for any specific instructions on connecting the audio cable to these devices, as the ports and setup process may differ.
Step 4: Connect the other end of the audio cable to the audio source
Now that you have successfully connected the audio cable to the speaker, it’s time to connect the other end of the cable to the audio source device. The process will depend on the type of audio cable and the audio source, but the general steps remain relatively consistent.
First, ensure that both the audio source device and the speaker are powered off. This will prevent any potential audio feedback or damage during the connection process.
If you’re using an RCA cable, locate the RCA output ports on the audio source device. These are usually colored red and white, similar to the input ports on the speaker. Connect the corresponding red and white connectors of the RCA cable to the respective output ports on the audio source. Make sure to match the colors correctly to ensure proper channel alignment.
For a 3.5mm aux cable, simply take the other end of the cable and connect it to the audio output port on the device. If the device has a dedicated headphone jack, use that jack as the audio output. Alternatively, if the device has RCA or quarter-inch output ports, you may need to use appropriate adapters to connect the 3.5mm connector.
If you’re using a quarter-inch cable, locate the quarter-inch output port on the audio source device. Connect one end of the cable to the output port, ensuring a secure fit. If the device has a different type of output port, such as RCA or XLR, you may need to use appropriate adapters or cables to make the connection.
For XLR cables, find the XLR output ports on the audio source device. Align the pins on the connector with the corresponding holes on the output port and insert the connector. Give it a gentle twist to secure the connection.
If you’re using an optical cable, locate the optical output port on the audio source device. Insert the square-shaped connector on the other end of the optical cable into the output port. Ensure a straight and secure connection, but avoid applying excessive force.
Once the audio cable is securely connected to the audio source device, double-check all connections to ensure they are firmly seated and properly aligned.
With the cable connected to both the speaker and audio source, you’re now ready to move on to the final step of testing the connection and adjusting any necessary settings.
Step 5: Test the connection and adjust settings if necessary
With the audio cable connected to both the speaker and the audio source, it’s time to test the connection and make any necessary adjustments to ensure optimal sound quality. Follow these steps to complete the final stage of the setup process:
1. Power on both the speaker and the audio source device. Make sure the volume of the audio source is set to an appropriate level.
2. Play a test audio file or choose a music track to verify the connection. You should now hear sound playing through the speaker.
3. Listen for any crackling noises, distortions, or inconsistencies in the sound. If you encounter any issues, double-check all the connections to ensure they are secure. Also, inspect the cables for any signs of damage or wear and replace them if necessary.
4. If the sound is playing but not at the desired volume level, adjust the volume controls on both the audio source device and the speaker until you achieve the desired sound level.
5. If you’re using a stereo system or AV receiver, explore the audio settings on the device to adjust the sound equalization, surround sound effects, or any other audio enhancement features. Experiment with these settings to customize the audio output according to your preferences.
6. Take note of any additional settings or adjustments that may be specific to your speaker or audio source. Some speakers may have built-in controls for bass, treble, or other audio parameters that you can fine-tune. Consult the user manual or the manufacturer’s website for guidance on these settings.
7. Continue to test the audio output by playing different types of audio content, such as music, movies, or podcasts. Pay attention to the clarity, balance, and overall quality of the sound to ensure a satisfying listening experience.
By thoroughly testing the connection and adjusting the settings as necessary, you’ll be able to optimize the sound quality and fine-tune the audio experience according to your preferences. Enjoy your newly connected audio system!
Conclusion
Connecting an audio cable to a speaker may seem daunting at first, but with the right knowledge and guidance, it becomes a straightforward process. By following the steps outlined in this comprehensive guide, you can successfully connect your audio cable to your speaker and start enjoying crisp and immersive sound.
Remember, the first step is to determine the type of audio cable needed for your specific setup. Whether it’s RCA, 3.5mm aux, quarter-inch, XLR, or optical, understanding the appropriate cable will ensure compatibility and optimal audio transmission.
Next, examine both the speaker and the audio source device to identify the correct input/output ports. This step ensures that you choose the right connectors and make the necessary connections securely.
Once you’ve examined the devices, connect the audio cable to the speaker, ensuring a snug and secure fit. Whether it’s RCA, 3.5mm aux, quarter-inch, XLR, or optical, follow the specific instructions for each cable type to ensure a proper connection.
After connecting the cable to the speaker, it’s time to connect the other end to the audio source device. Again, identify the appropriate output port on the audio source and make the connection accordingly.
With the cable connected to both the speaker and audio source, proceed to the last step: testing the connection and adjusting settings if necessary. Power on the devices, play an audio file, and listen for any issues or adjust the volume and settings for optimal sound quality.
In conclusion, connecting an audio cable to a speaker is a vital step in creating an immersive audio experience. With a clear understanding of the cable type, device ports, and proper connection techniques, you can easily set up your audio system and enjoy your favorite music, movies, and podcasts with exceptional sound quality.
So, go ahead, grab your audio cables, follow the steps outlined in this guide, and elevate your audio experience to new heights!