Home>Production & Technology>Stereo>How To Connect Stereo Speakers
Stereo
How To Connect Stereo Speakers
Modified: January 22, 2024
Learn how to connect stereo speakers to your audio system with our easy-to-follow guide. Upgrade your sound quality and enjoy a immersive listening experience with your favorite music and movies.
(Many of the links in this article redirect to a specific reviewed product. Your purchase of these products through affiliate links helps to generate commission for AudioLover.com, at no extra cost. Learn more)
Table of Contents
Introduction
Welcome to the world of stereo speakers! If you’re looking to take your audio experience to the next level, connecting stereo speakers is an essential step. Whether you’re setting up a home theater system, creating a music listening space, or simply wanting to improve your sound quality, this article will guide you through the process.
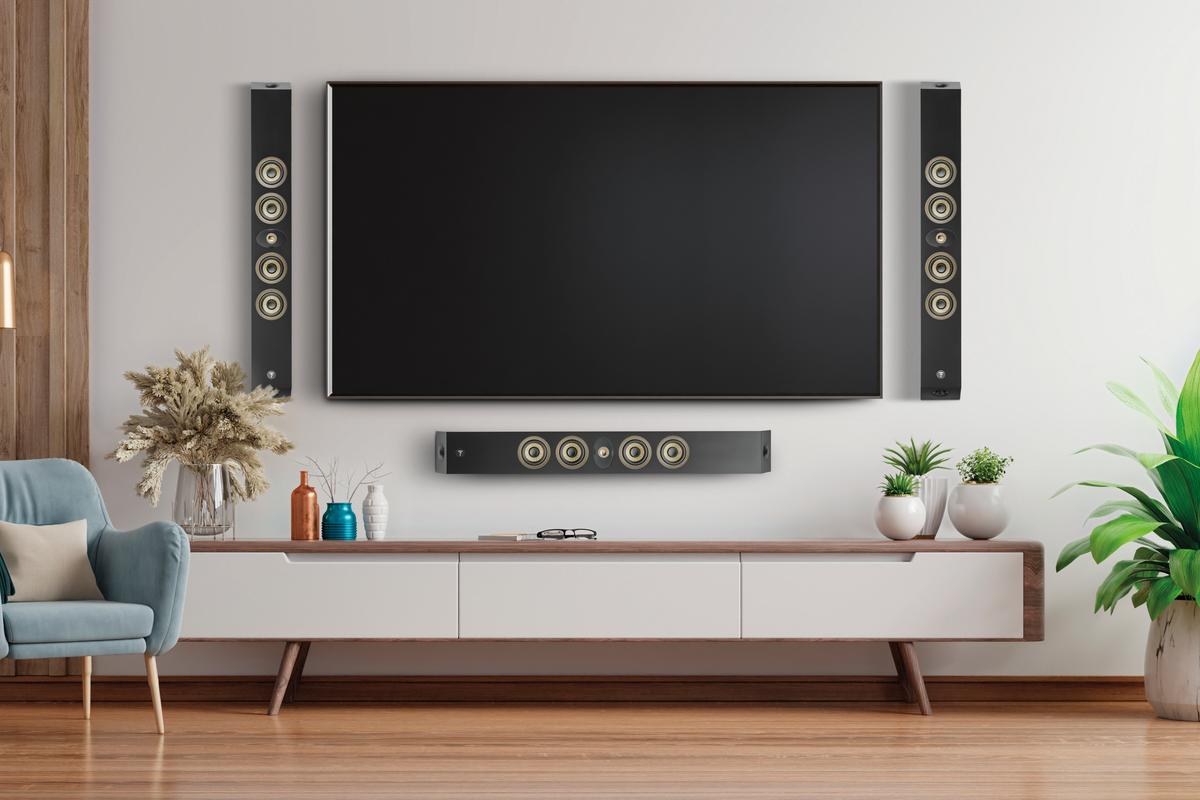
Stereo speakers provide a dynamic and immersive audio experience by producing sound from two separate channels. They are designed to deliver a more spacious and realistic soundstage, creating a sense of depth and dimensionality in your audio playback. However, to fully reap the benefits of stereo sound, you need to correctly connect your speakers to your amplifier or receiver.
In this article, we will walk you through the step-by-step process of connecting your stereo speakers. Don’t worry if you have little technical knowledge; we’ll explain everything in a beginner-friendly manner. By the end of this guide, you’ll be able to set up and enjoy the rich, high-quality sound that stereo speakers offer.
Before we begin, it’s important to note that the specific connection method may vary depending on the equipment you have. We will provide general guidelines that can be applied to most setups, but you should refer to the user manuals or manufacturer’s instructions for your specific components for detailed information.
Now, let’s dive into the exciting world of stereo speakers and get ready to elevate your audio experience!
Step 1: Gather the necessary equipment
Before you begin connecting your stereo speakers, it’s essential to gather all the necessary equipment. Here’s a list of items you’ll need:
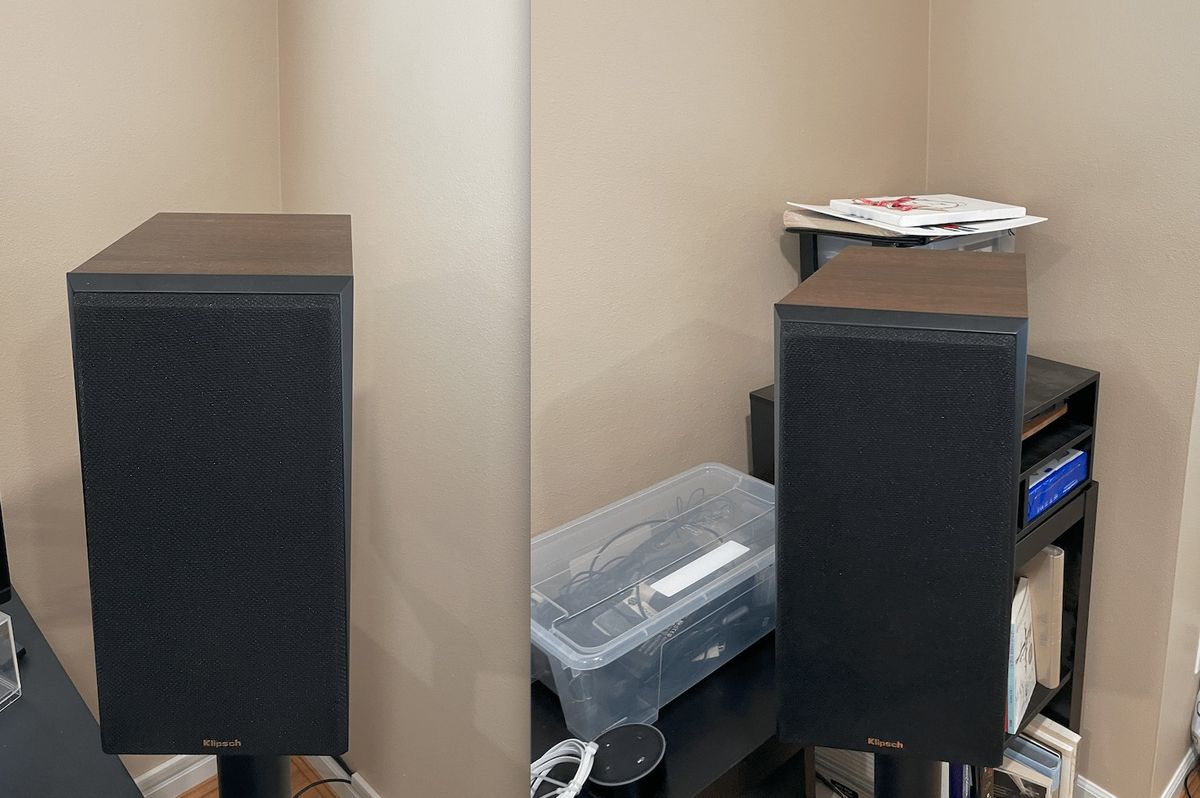
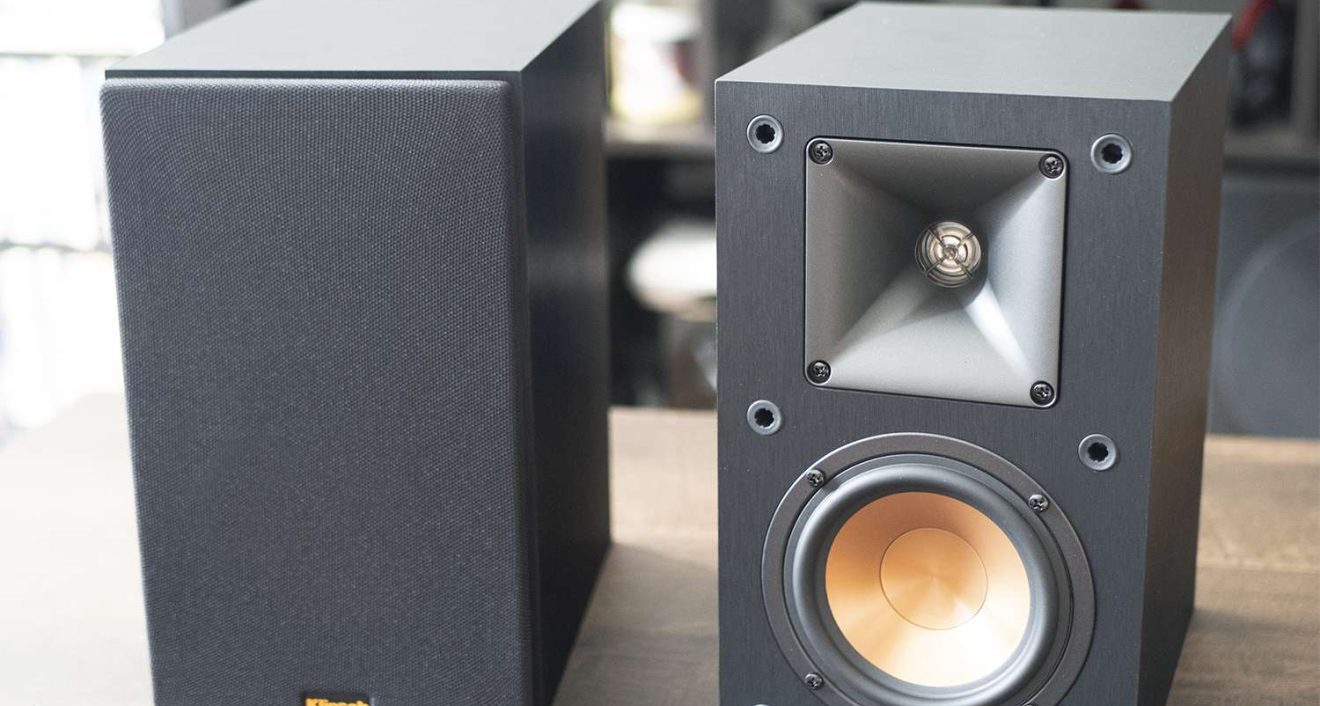
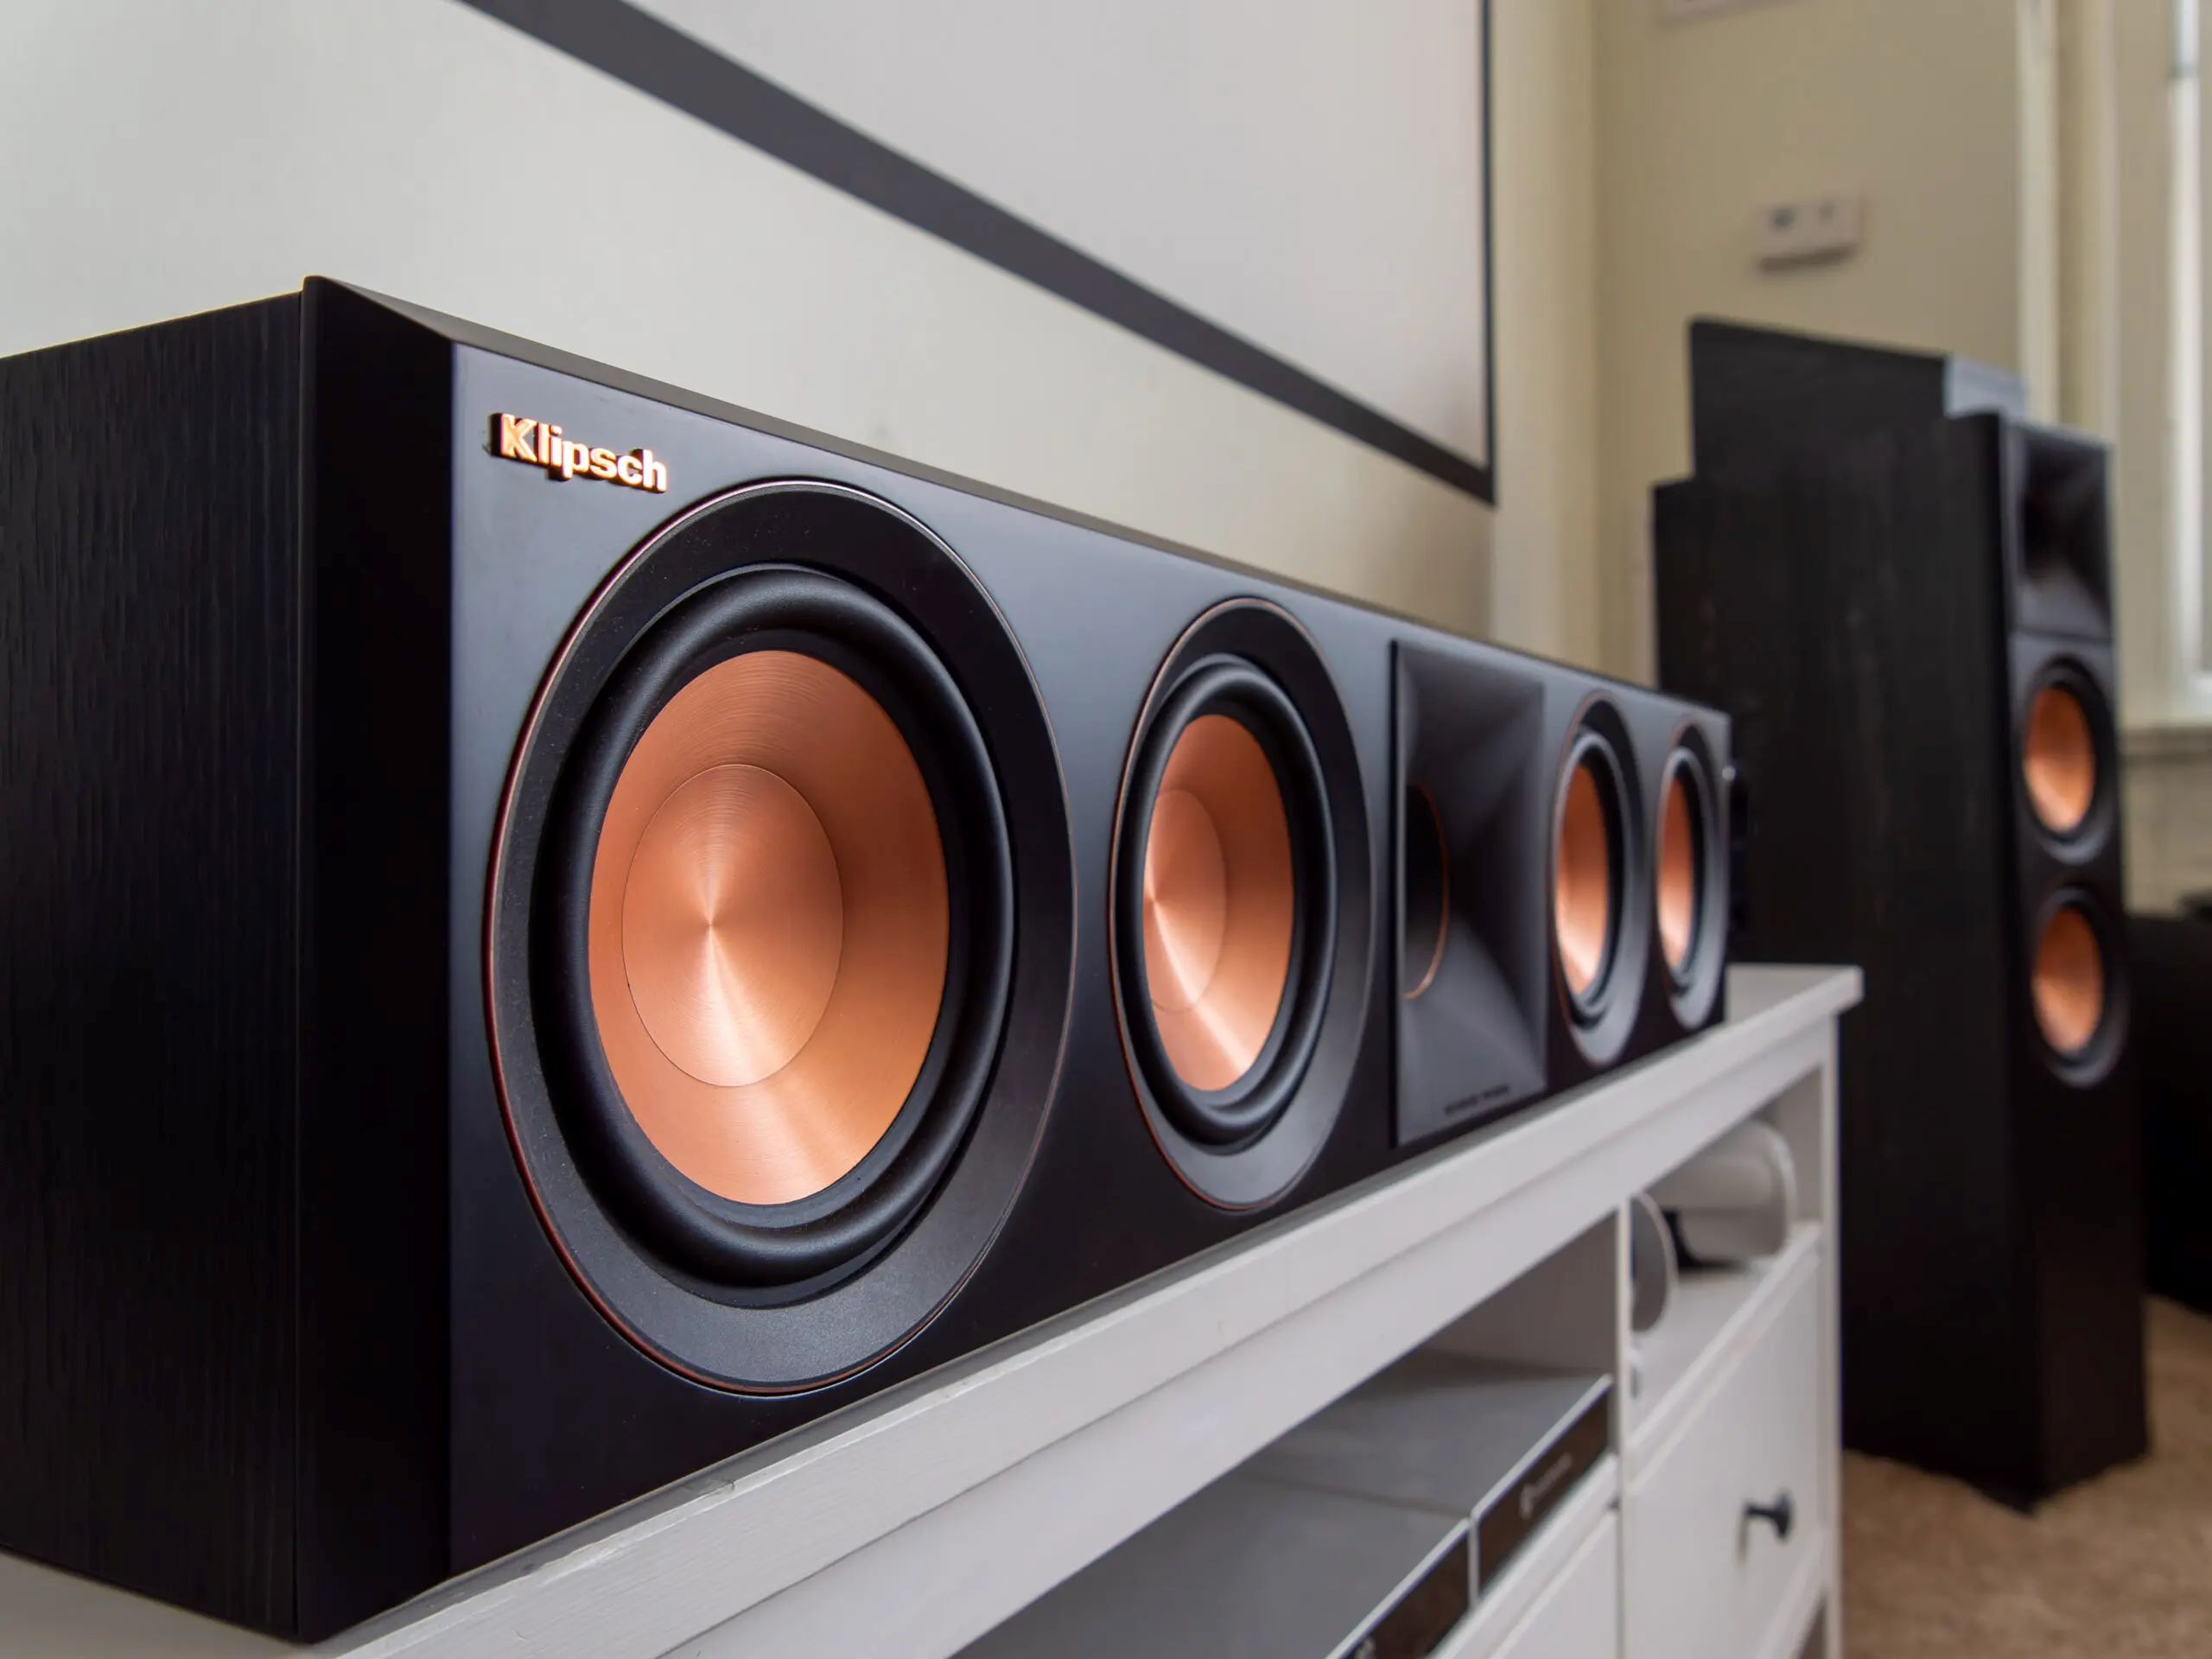
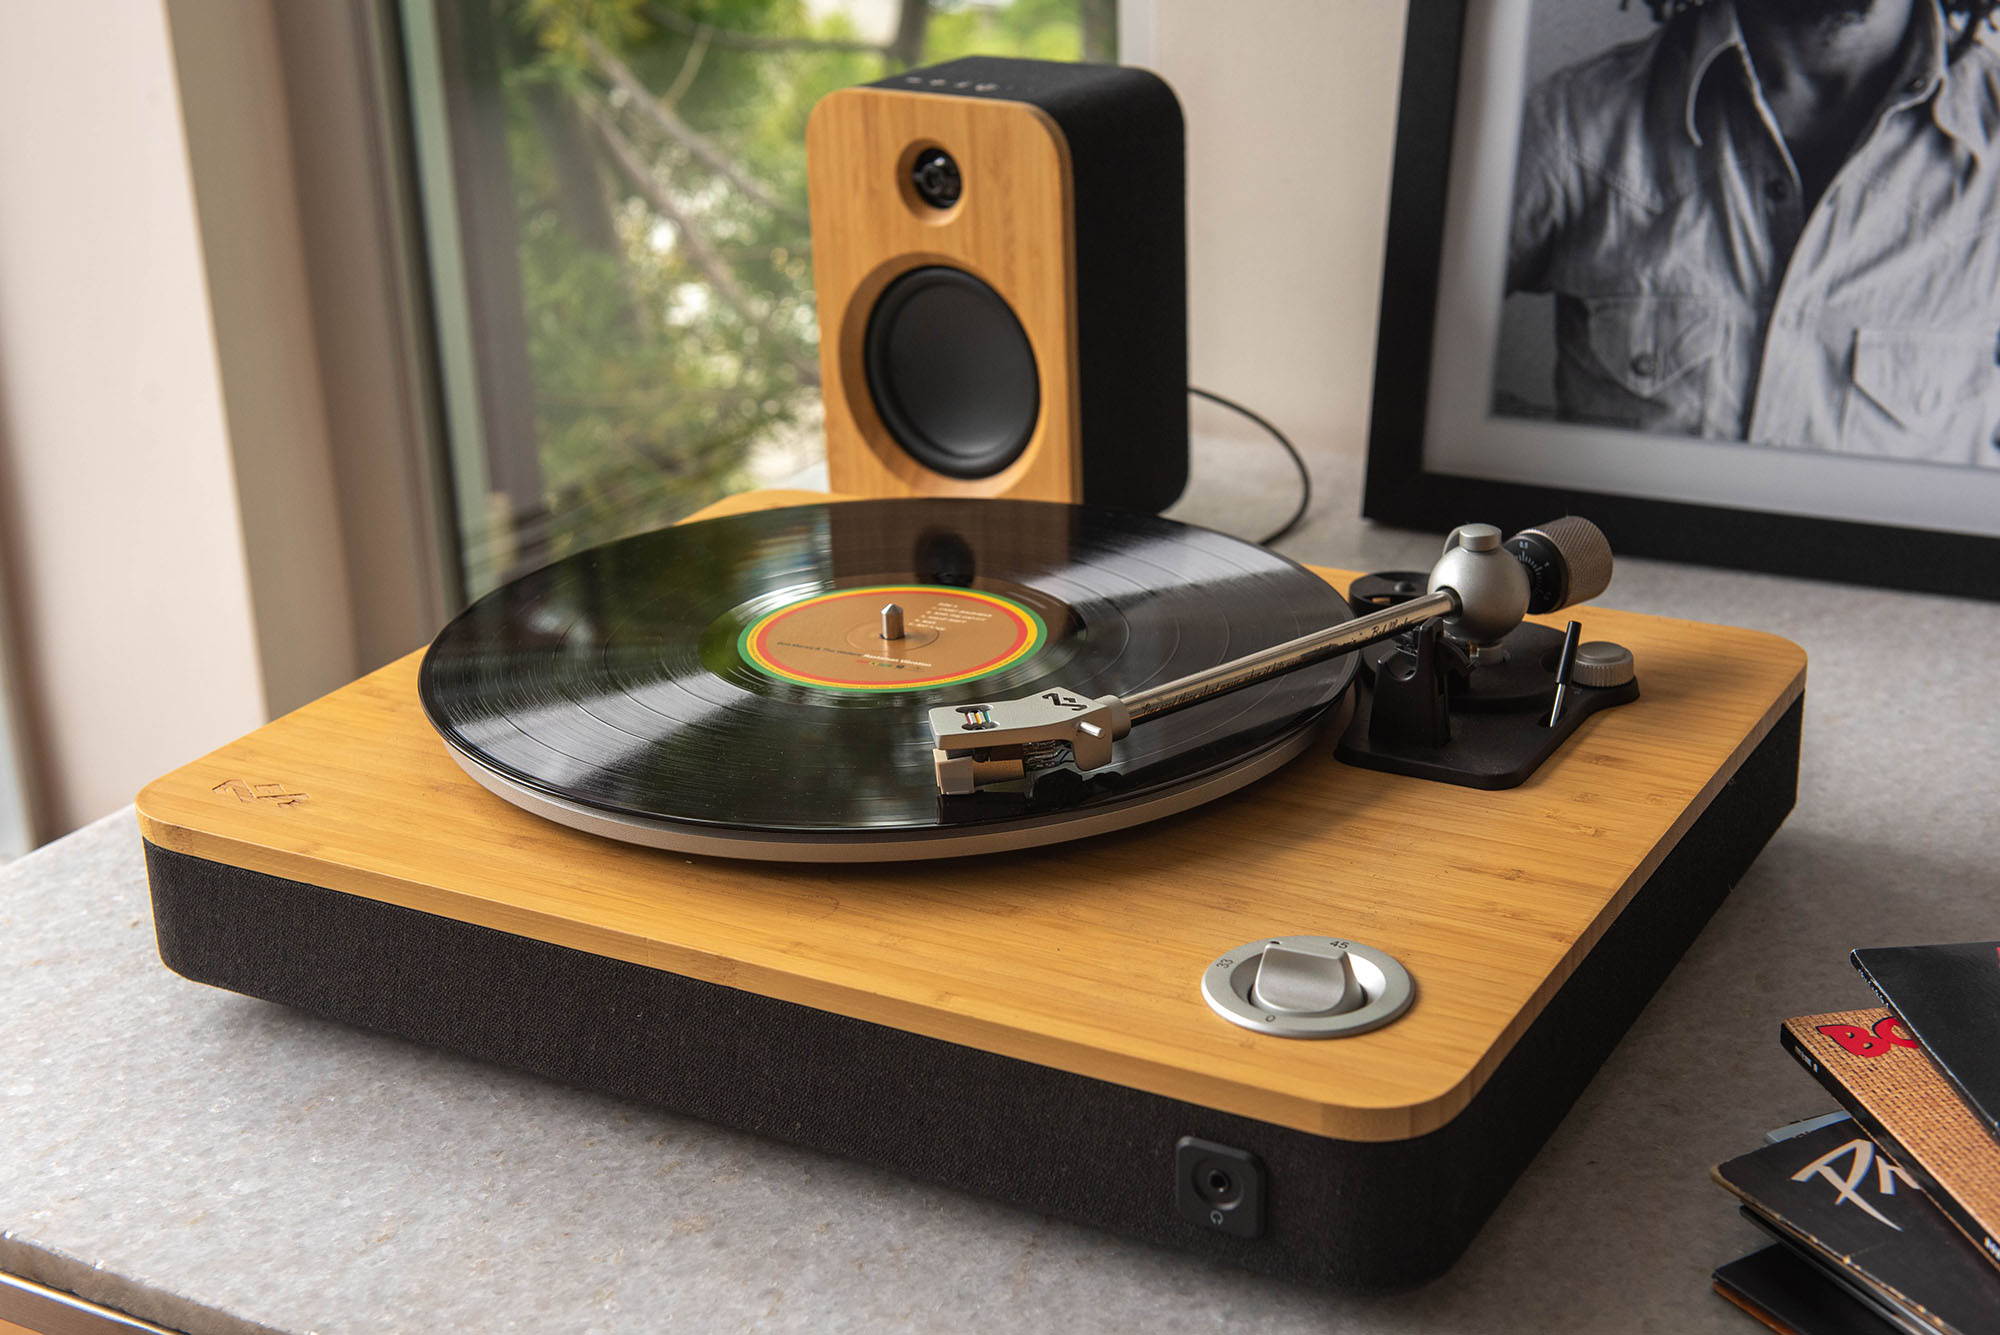
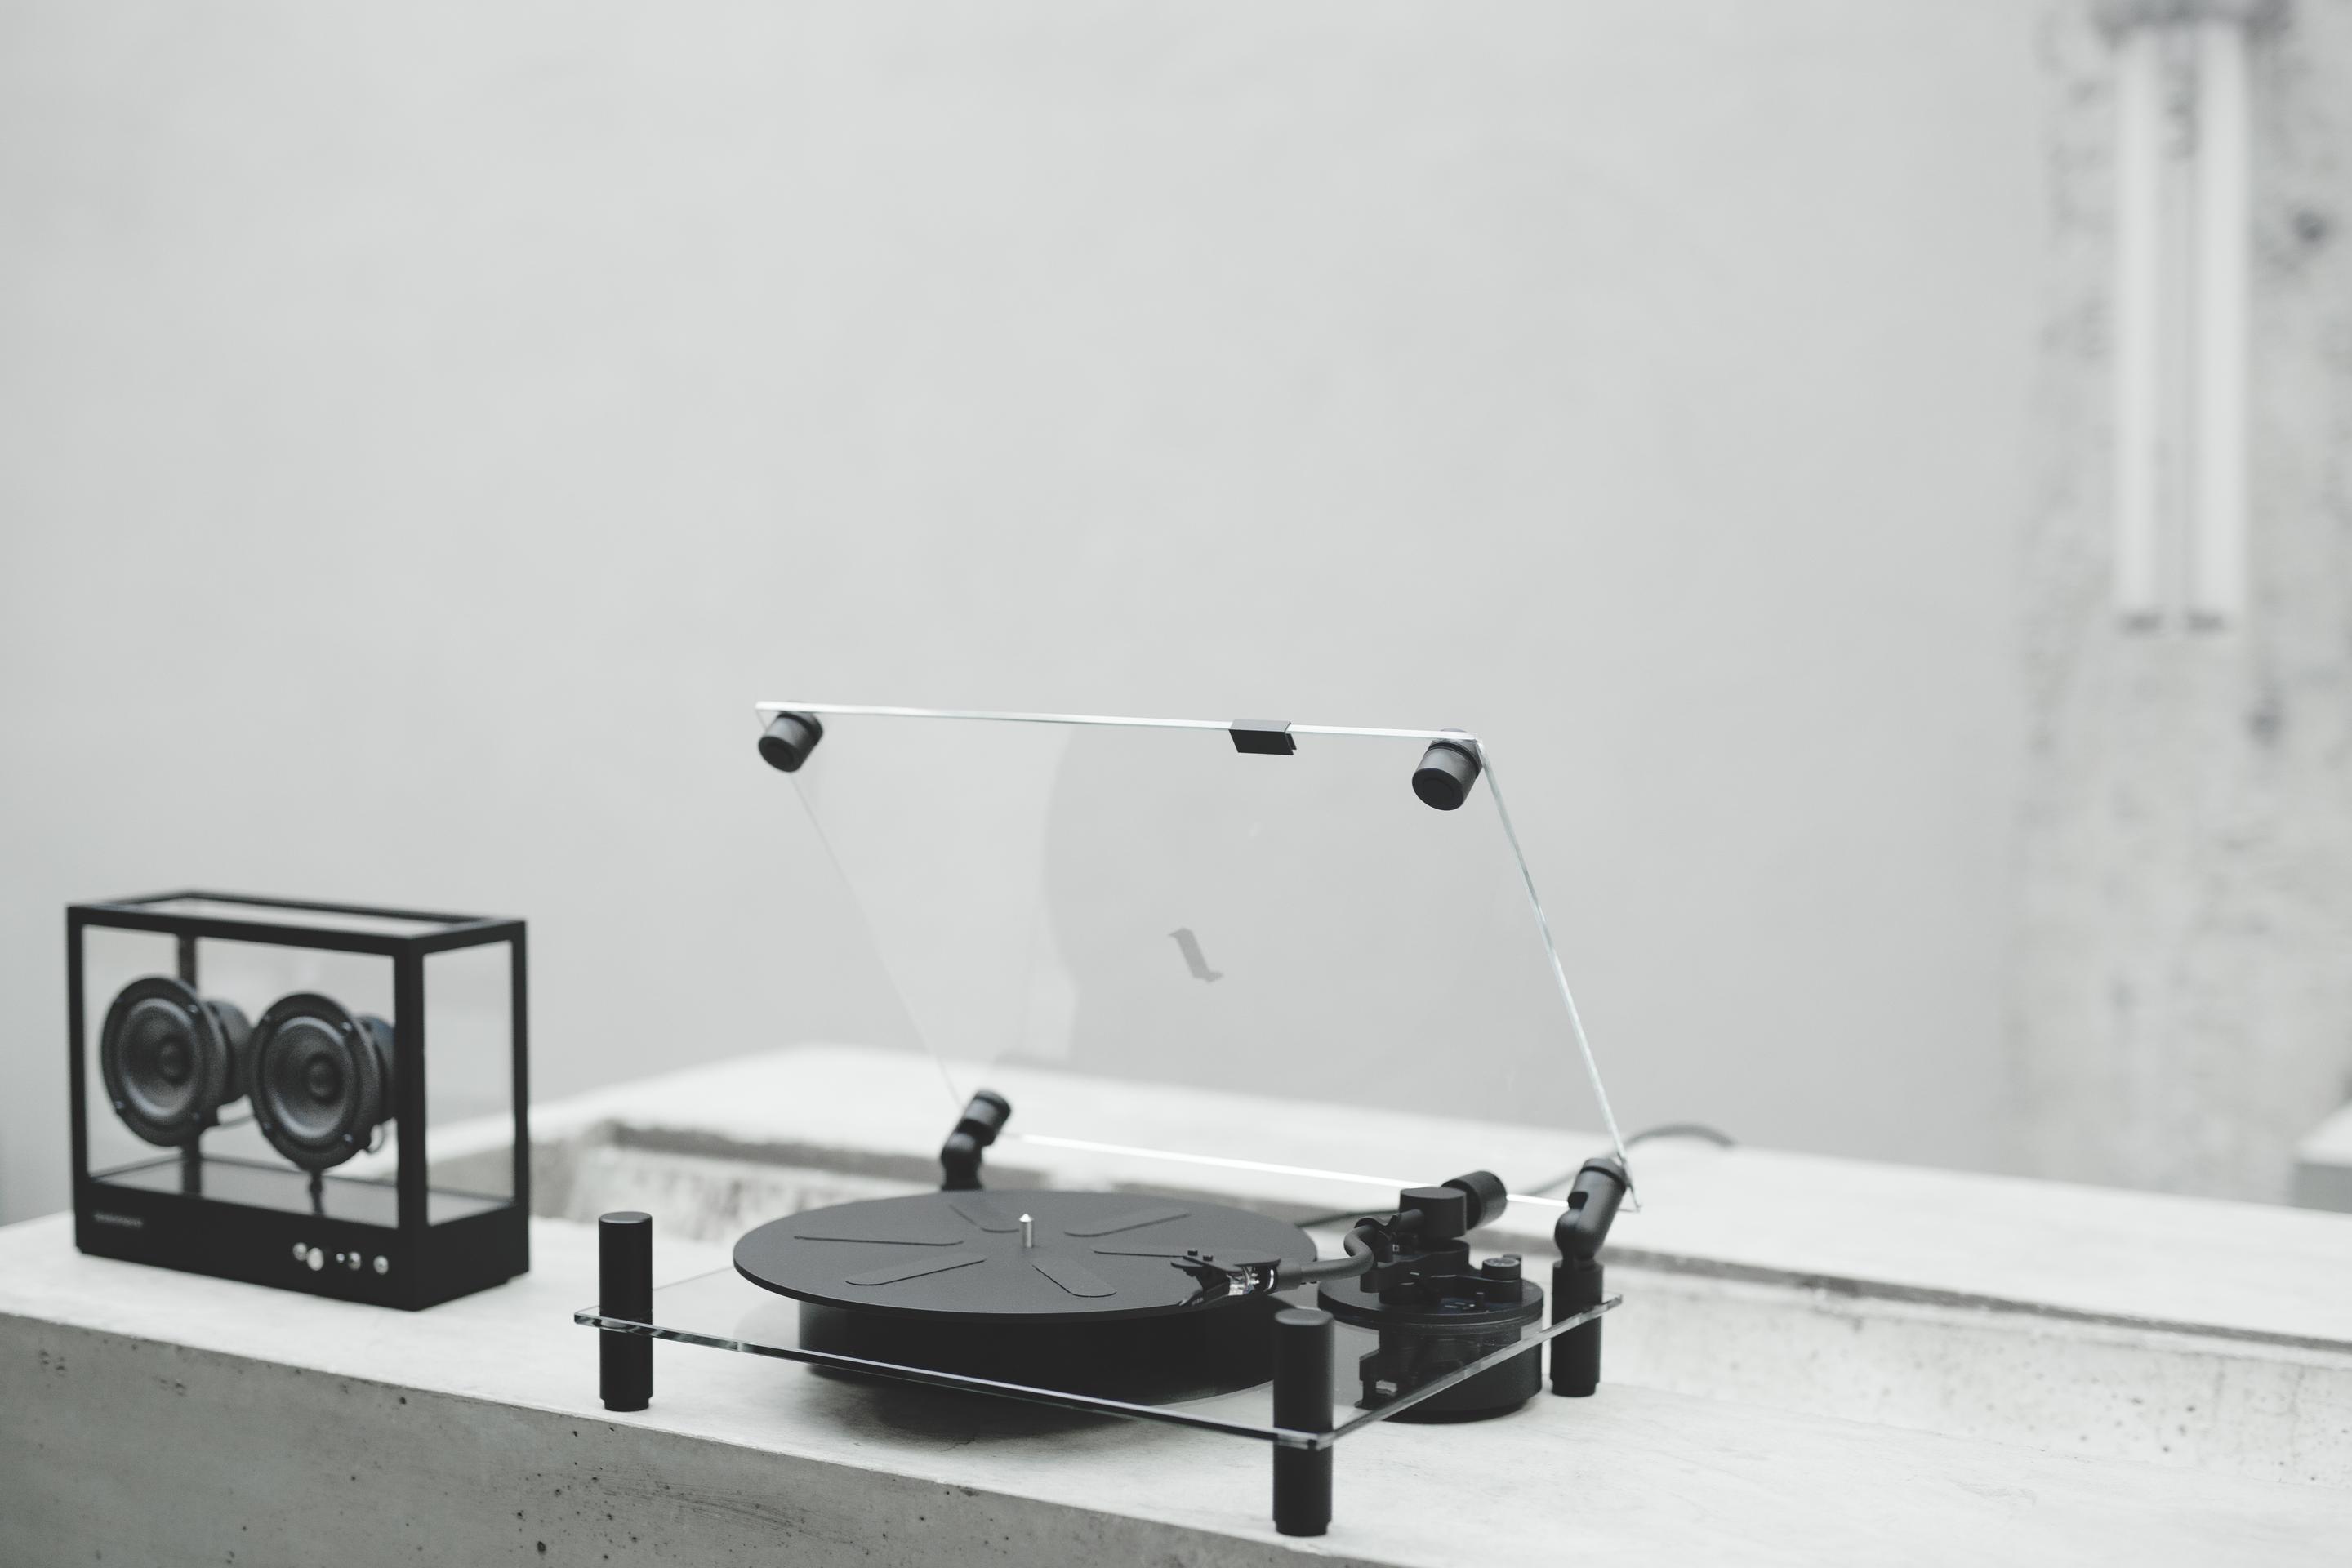
- Stereo speakers: Choose a pair of high-quality stereo speakers that suit your audio needs and preferences. Consider factors such as size, power handling, and speaker type (bookshelf, floor-standing, etc.).
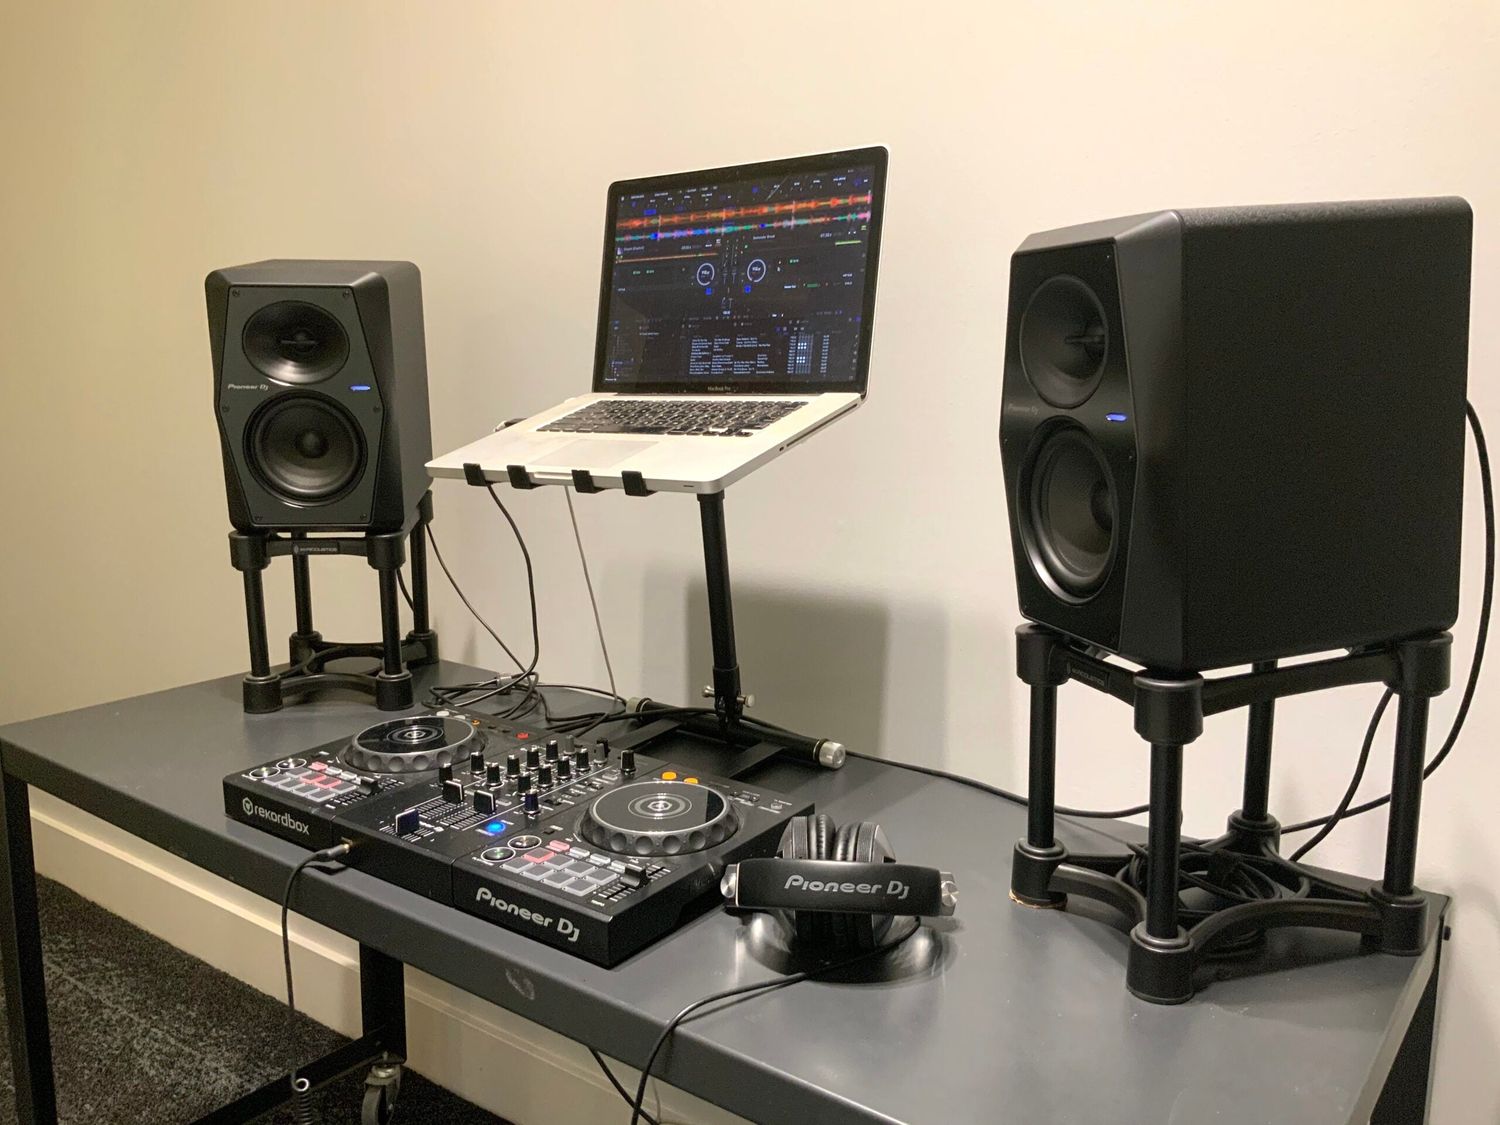
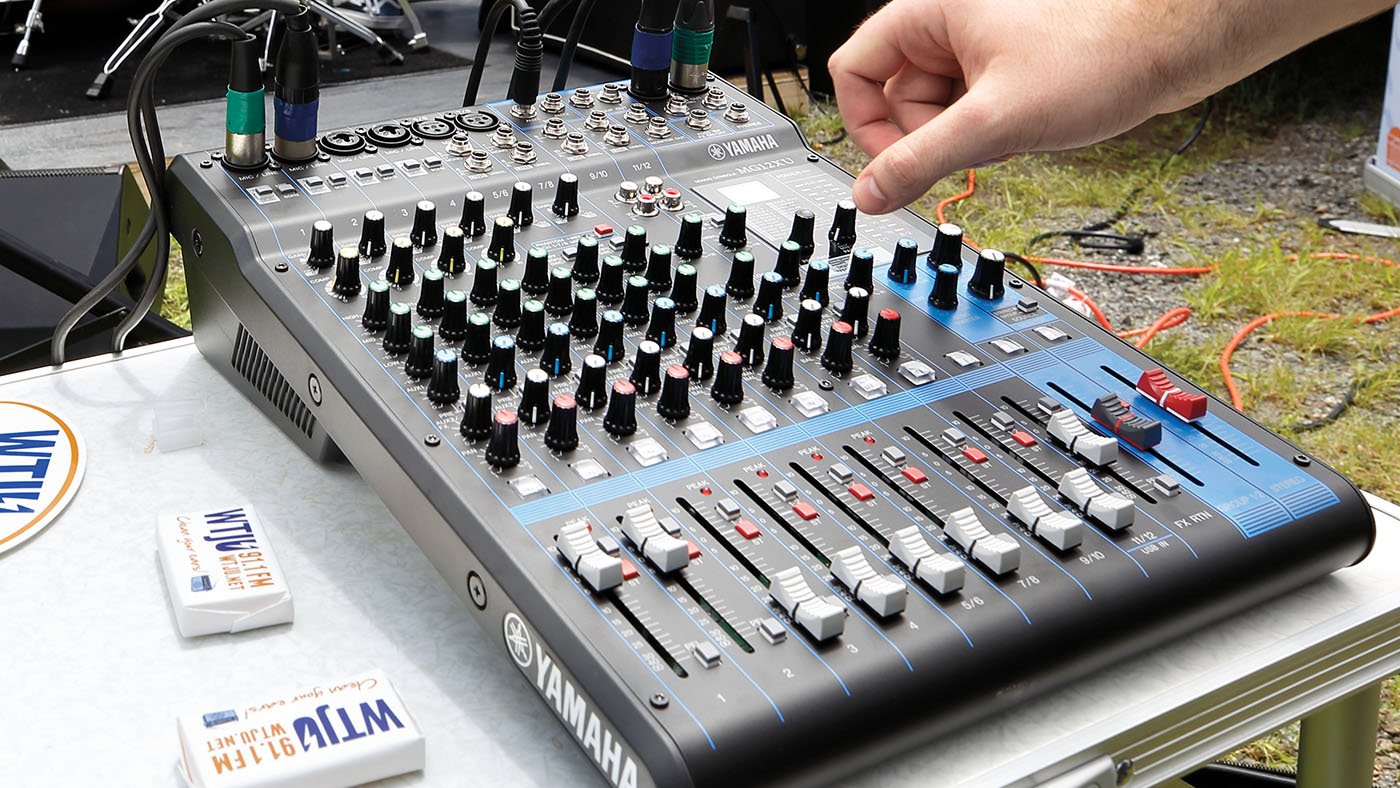
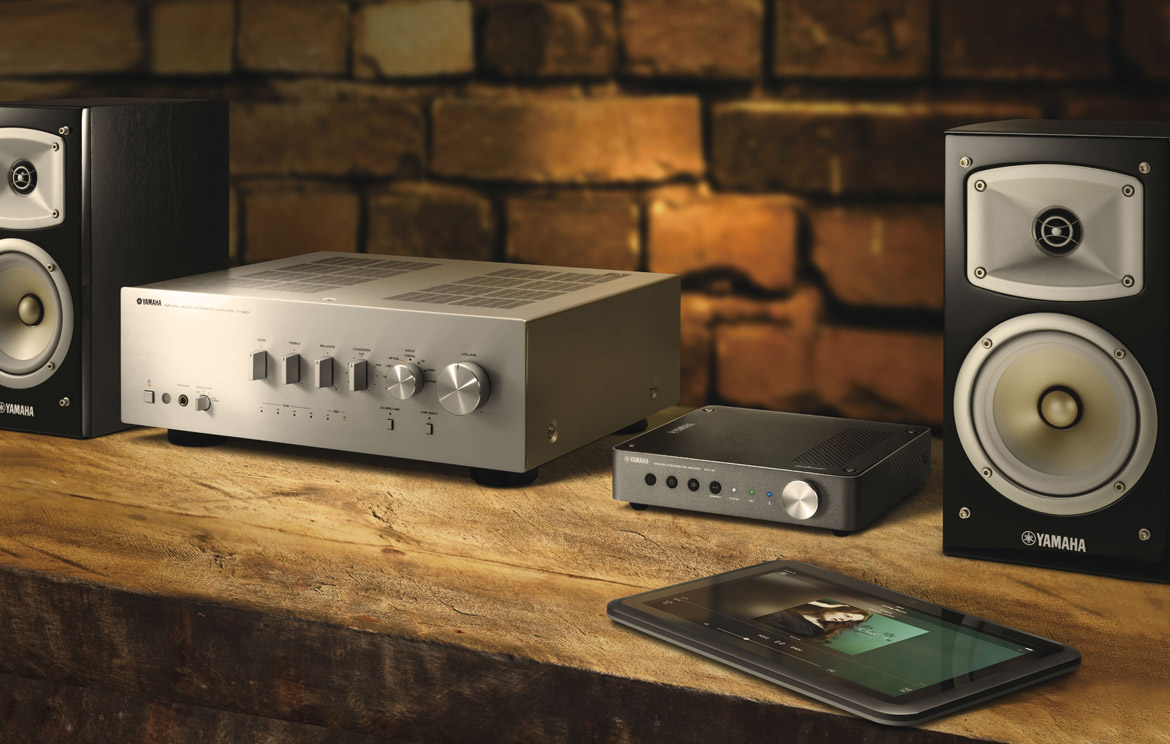
- Amplifier or receiver: You’ll need an amplifier or receiver to power and control the audio signals sent to your speakers. Make sure your amplifier has enough power to match the specifications of your speakers.
- Speaker cables: High-quality speaker cables are crucial for transmitting the audio signal from the amplifier to the speakers. Use cables that are thick enough to minimize resistance and signal loss.
- Audio source: Decide on the audio source you’ll be connecting to your amplifier, such as a CD player, turntable, media streamer, or smartphone. Ensure that your amplifier has the necessary inputs for your chosen audio source.
- Optional: Subwoofer: If you want to add some deep, low-frequency bass to your audio setup, consider incorporating a subwoofer. This is not mandatory but can enhance your listening experience, especially for music genres that emphasize bass.
Take your time to research and choose high-quality equipment that suits your budget and audio preferences. Remember that investing in good equipment will have a significant impact on the overall sound quality and enjoyment.
Once you have gathered all the necessary equipment, make sure to read the user manuals and familiarize yourself with the setup instructions for each component. Understanding the features and connections of your specific equipment will help you make the most of your stereo speaker setup.
With your equipment ready, you’re now prepared to move on to the next step: determining the speaker placement. Proper placement plays a crucial role in maximizing the performance and sound quality of your stereo speakers.
Step 2: Determine the speaker placement
Now that you have gathered the necessary equipment, it’s time to determine the optimal placement for your stereo speakers. Proper placement is key to achieving the best possible audio experience. Here are some factors to consider:
1. Room size and layout: Take into account the size and shape of your room. Consider the available space and any furniture or objects that may affect speaker placement. Ideally, you want to create a symmetrical setup where both speakers are equidistant from the listening area.
2. Listening position: Identify the primary listening area where you’ll be spending most of your time. This could be a couch, armchair, or dedicated seating arrangement. Position the speakers in a way that creates a focused soundstage towards the listening area.
3. Speaker distance from walls: Place your stereo speakers away from walls, if possible. This helps to minimize unwanted reflections and improve sound clarity. Experiment with different distances to find what sounds best in your specific environment.
4. Speaker height: For optimal sound dispersion, position your speakers at ear level when you’re seated in the listening area. If your speakers are placed on bookshelves or stands, ensure they are sturdy and positioned securely.
5. Toe-in angle: Experiment with the toe-in angle of your speakers. Slightly angling them towards the listening area can help improve stereo imaging and soundstage. Start with a slight toe-in angle and adjust according to your preference.
It’s important to remember that speaker placement can significantly affect the sound quality. Spend time experimenting with different positions and angles to find the arrangement that suits your listening preferences. Don’t be afraid to make adjustments and trust your ears in determining the best placement.
Once you have determined the ideal speaker placement, it’s time to move on to the next step: connecting the speakers to the amplifier or receiver. This step will ensure that the audio signals are properly transmitted from the amplifier to the speakers for an immersive sound experience.
Step 3: Connect the speakers to the amplifier or receiver
Now that you have determined the optimal placement for your speakers, it’s time to connect them to the amplifier or receiver. Follow these steps to ensure a proper and secure connection:
- Turn off the amplifier or receiver: Before connecting any cables, make sure to turn off the power to the amplifier or receiver. This prevents any accidental shorts or damage to the equipment.
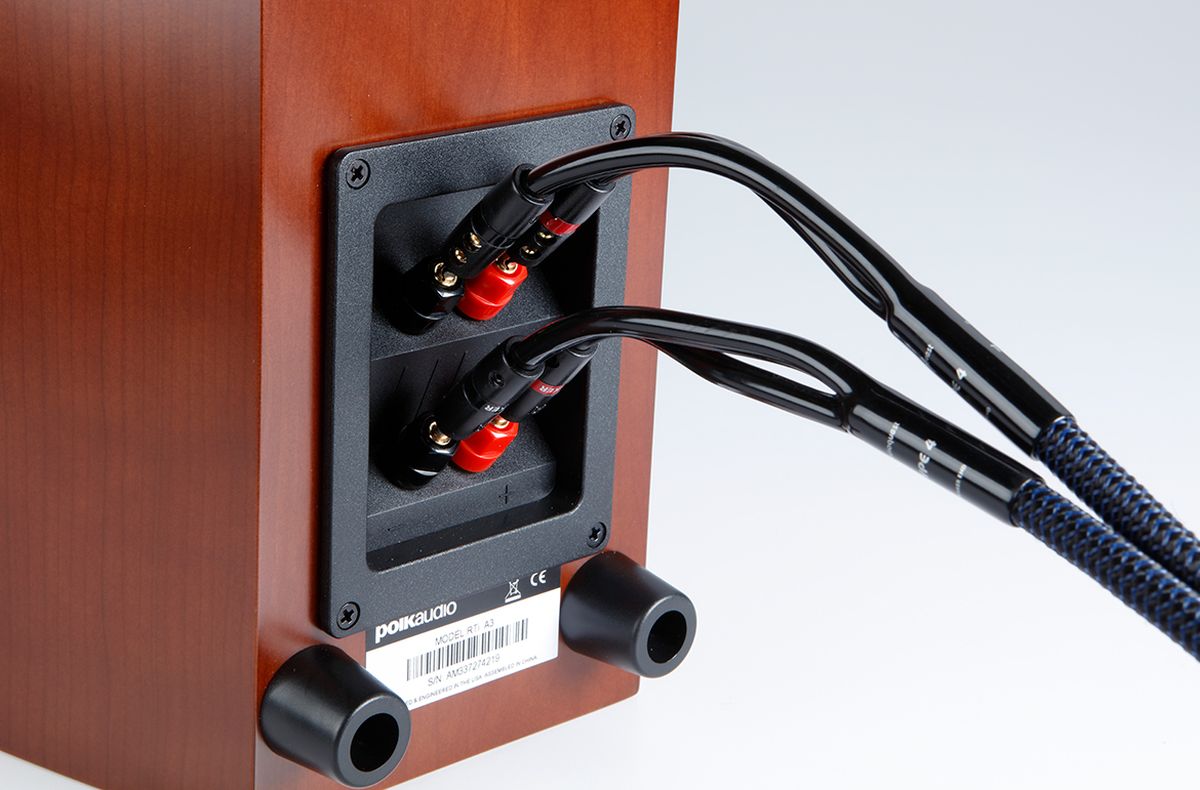
- Identify the speaker outputs: Locate the speaker outputs on the back of your amplifier or receiver. These are usually labeled as “Speaker Out” or identified with a “+” and “-” symbol.
- Choose the appropriate speaker cables: Measure the distance between your amplifier and speakers, allowing for some extra length. Cut the speaker cables to the desired length, ensuring they are long enough to comfortably reach the speakers without being stretched or strained.
- Strip the speaker cable ends: Strip off a small portion of the insulation at the ends of the speaker cables to expose the bare wire. Twist the wire strands to prevent any fraying.
- Connect the speaker cables to the amplifier or receiver: Insert the exposed wire ends into the appropriate speaker outputs on the amplifier or receiver. Make sure to match the polarity correctly, connecting the positive (+) wire to the positive terminal and the negative (-) wire to the negative terminal. This is usually color-coded, with red indicating positive and black indicating negative.
- Connect the speaker cables to the speakers: Similarly, connect the other end of the speaker cables to the corresponding terminals on your speakers. Again, ensure that you match the polarity correctly for each speaker.
- Secure the connections: Once the cables are connected, tighten any binding posts or screws on the amplifier, receiver, and speakers to ensure a secure and reliable connection.
Please refer to the user manuals of your specific amplifier, receiver, and speakers for any additional instructions or specifics regarding the connections.
With the speakers now connected to the amplifier or receiver, you’re ready to move on to the next step: testing the speaker connections. This will ensure that the speakers are properly set up and ready to deliver audio bliss.
Step 4: Test the speaker connections
After connecting the speakers to the amplifier or receiver, it’s important to test the speaker connections to ensure that everything is set up correctly. Here’s how you can do it:
- Turn on the amplifier or receiver: Start by turning on the power to the amplifier or receiver.
- Set the volume to a low level: Before playing any audio, set the volume to a low level to avoid any sudden loud noises or potential damage to your speakers.
- Play a test tone or music: Choose a test tone or play some music through your audio source to check if audio is coming out of the speakers. You can use a test tone generator or play a known piece of audio that covers a wide range of frequencies.
- Verify sound from each speaker: Make sure that sound is coming from each speaker in your stereo setup. Walk around the room and listen for any imbalances or inconsistencies in the sound reproduction.
- Check phase and channel balance: Verify that both speakers are in phase, meaning that the positive and negative terminals are connected correctly. Additionally, check the channel balance to ensure that the sound from each speaker is balanced and centered.
- Adjust the sound settings: Use the controls on your amplifier or receiver to adjust the sound settings, such as volume, tone, and equalization, to your preference. Pay attention to any dedicated settings for stereo playback to optimize your listening experience.
If you encounter any issues during the testing phase, double-check the speaker connections, ensuring that the positive and negative terminals are correctly connected. Make sure that the amplifier or receiver is set to the appropriate input source and that the volume is properly adjusted.
It’s a good practice to listen to different types of music or audio content to get a sense of the capabilities of your stereo speakers. Make note of any adjustments that need to be made to further fine-tune the sound quality.
With the speaker connections tested and verified, you’re now ready for the final step: fine-tuning the sound settings to maximize your audio experience.
Step 5: Fine-tune the sound settings
Once you have successfully connected and tested your stereo speakers, it’s time to fine-tune the sound settings to optimize your audio experience. Here are some tips to help you achieve the best possible sound:
- Balance the soundstage: Adjust the positioning and toe-in angle of your speakers to achieve a balanced soundstage. Experiment with small adjustments until you find the sweet spot where the sound feels immersive and centered.
- Adjust the equalization (EQ): Many amplifiers or receivers have built-in equalizers that allow you to adjust the frequency response. Use the EQ settings to fine-tune the bass, midrange, and treble levels according to your preferences and the acoustic characteristics of your room.
- Experiment with room acoustics: Consider the acoustic properties of your listening room and experiment with room treatments such as acoustic panels or sound diffusers. These can help minimize echo and reverberation, resulting in a clearer and more detailed sound.
- Consider room correction systems: Some amplifiers or receivers offer room correction systems that analyze your room’s acoustic properties and automatically adjust the audio settings to compensate for any room-related issues. Explore these features to further enhance your listening experience.
- Optimize speaker positioning: Even after initially setting up your speakers, you may find that small adjustments in their placement can make a significant difference in the sound quality. Experiment with subtle positioning changes to find the spot that offers the best sound reproduction.
- Listen to a variety of audio: Don’t hesitate to test your stereo speakers with a wide range of audio content, including different genres of music, movie soundtracks, and audio recordings. This will help you gauge the performance of your speakers across different frequencies and dynamics.
Don’t be afraid to take your time and make incremental adjustments to the sound settings. Fine-tuning is a personal process, and it’s all about finding the balance and sound signature that you enjoy the most.
Remember to periodically revisit the sound settings as you continue to explore different audio sources and listening preferences. It’s not uncommon to make slight adjustments over time to accommodate your evolving audio needs.
By paying attention to these fine-tuning steps, you can fully optimize the performance of your stereo speakers and enjoy an immersive and captivating audio experience.
Congratulations! You have successfully completed the steps to connect and fine-tune your stereo speakers. Now, sit back, relax, and enjoy the incredible sound that your speakers are capable of producing!
Conclusion
Congratulations on successfully connecting your stereo speakers! By following the steps outlined in this guide, you have taken a significant step towards enhancing your audio experience. Whether you’re enjoying your favorite music, immersing yourself in a movie, or exploring the world of gaming, your stereo speakers will now provide a dynamic and immersive soundstage.
Remember that choosing high-quality equipment, determining the optimal placement, and properly connecting your speakers are essential steps in maximizing the performance of your stereo audio setup. Take the time to fine-tune the sound settings and experiment with different audio sources to find the perfect balance for your listening pleasure.
As you continue to enjoy your stereo speakers, don’t forget to keep them clean and well-maintained. Dust and debris can impact the audio quality, so periodically wipe down the speakers and ensure they are free from any obstructions that could affect their performance.
Lastly, stay curious and open to learning. The world of stereo speakers is vast, and there’s always something new to explore. Keep up with the latest advancements in audio technology, and don’t hesitate to delve deeper into understanding the intricacies of sound reproduction.
Now, sit back, relax, and let your stereo speakers transport you to a world of captivating and immersive sound. Let the music, movies, and games come to life, enveloping you in a rich sonic experience like never before.
Thank you for joining us on this journey into the world of stereo speakers. We hope that this guide has provided you with the necessary knowledge and insights to confidently connect and enjoy your stereo speakers to their fullest potential.
Happy listening!