Home>Devices & Equipment>Yamaha>How To Connect Yamaha Mixer To Speakers
Yamaha
How To Connect Yamaha Mixer To Speakers
Published: October 26, 2023
Learn how to easily connect your Yamaha mixer to speakers and enjoy high-quality audio. Our step-by-step guide will help you set up your Yamaha equipment effortlessly.
(Many of the links in this article redirect to a specific reviewed product. Your purchase of these products through affiliate links helps to generate commission for AudioLover.com, at no extra cost. Learn more)
Table of Contents
Introduction
Welcome to our comprehensive guide on how to connect a Yamaha mixer to speakers! Whether you’re a musician, DJ, or sound engineer, understanding the process of connecting your Yamaha mixer to speakers is crucial for a seamless audio experience.
Yamaha mixers are renowned for their excellent sound quality and reliability, making them a popular choice in various professional audio applications. Connecting the mixer to speakers correctly ensures that you can take full advantage of its capabilities and deliver top-notch sound to your audience.
In this article, we will walk you through the step-by-step process of connecting your Yamaha mixer to speakers, highlighting essential tips along the way. So, let’s dive in and get your audio setup ready for action!
Note: Before we proceed, please refer to the user manual of your specific Yamaha mixer model for any model-specific instructions or guidelines. It’s also crucial to ensure that you have the necessary cables and accessories for the connection.
Step 1: Understanding the Yamaha Mixer
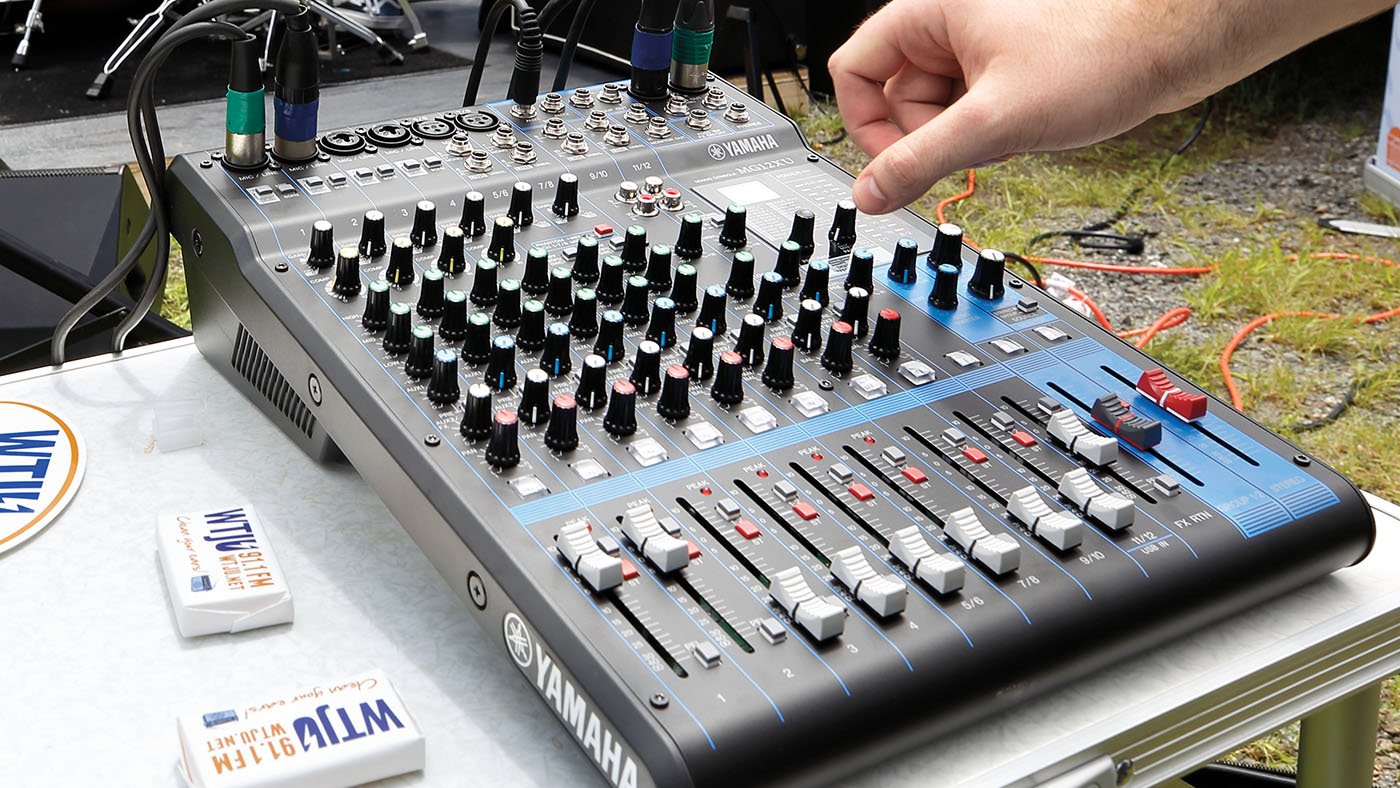
Before we begin connecting the Yamaha mixer to speakers, it’s essential to familiarize yourself with the different components and features of the mixer. This will help you understand the specific inputs and outputs and how to set them up correctly.
The Yamaha mixer typically consists of several channels, each with its own input and control options. These channels allow you to connect various audio sources, such as microphones, instruments, or playback devices, and control their individual levels and effects.
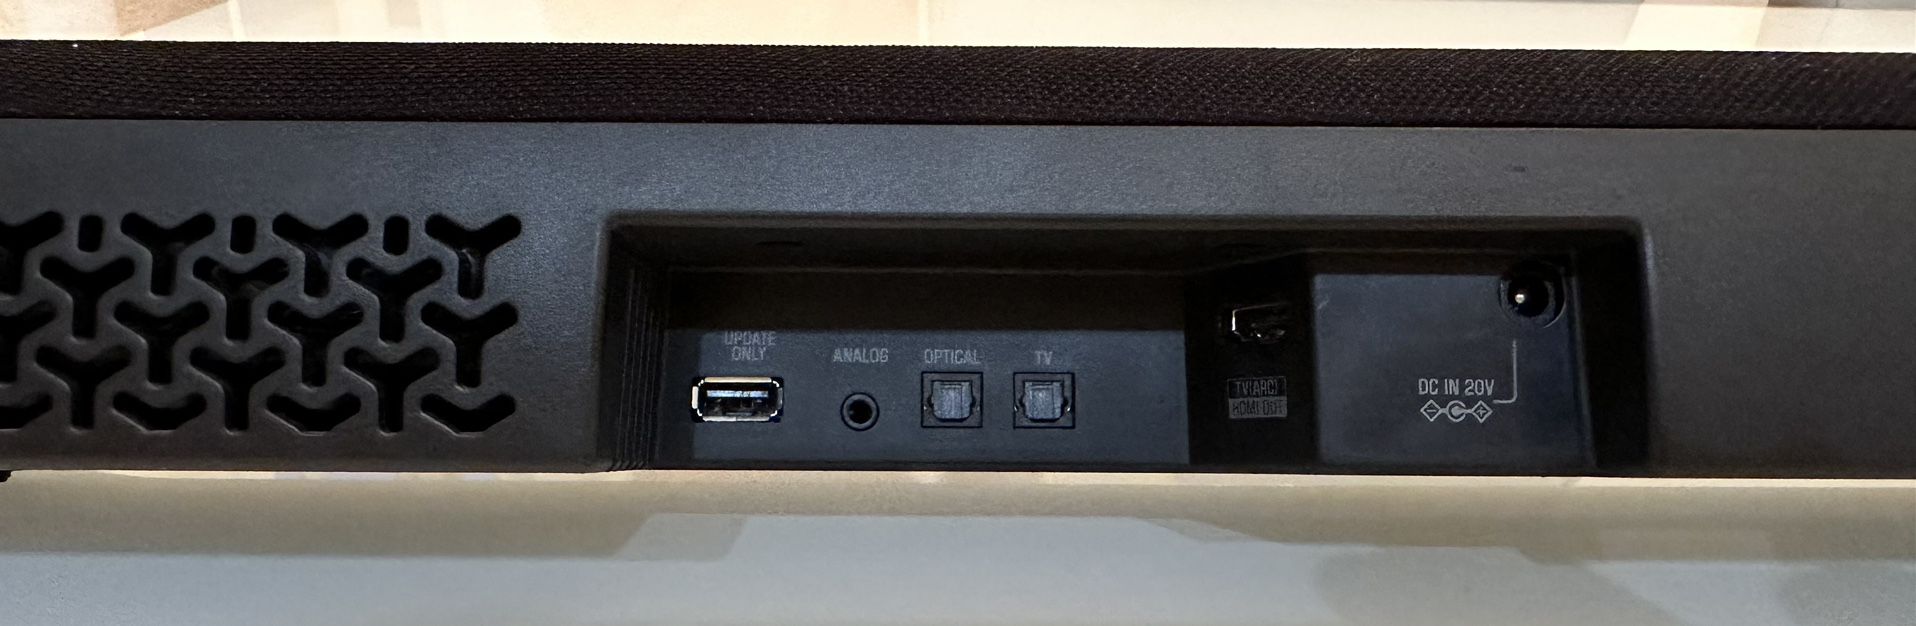
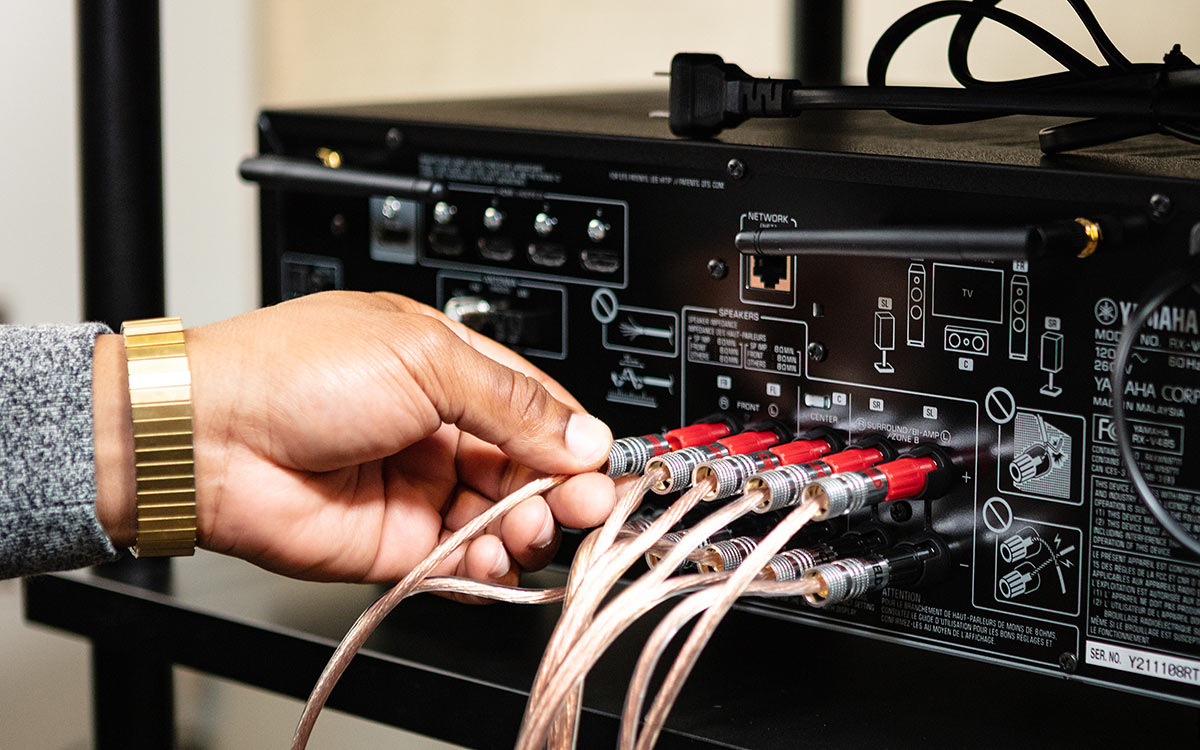
Additionally, most Yamaha mixers include main outputs, which are responsible for sending the mixed audio signal to the speakers. These outputs are usually located on the rear panel of the mixer and are labeled as “Main Out” or “Master Out.”
Furthermore, Yamaha mixers often come equipped with auxiliary sends and returns, also known as “aux” or “fx” channels. These allow you to send specific signals to external effects processors or monitor mixes.
It’s crucial to determine the specific inputs and outputs of your Yamaha mixer, as this will dictate the type of cables and connections you need for the setup. Common input connectors include XLR, TRS (1/4-inch), and RCA, while output connectors can include XLR, 1/4-inch, and even digital options like AES/EBU.
Take some time to study the layout and features of your Yamaha mixer, referring to the user manual if needed. Understanding the different channels, controls, and connections will make the setup process much smoother.
Step 2: Preparing the Mixer for Connection
Now that you have a good understanding of the Yamaha mixer and its various components, it’s time to prepare the mixer for connection with the speakers. This step involves setting the appropriate levels, adjusting the controls, and ensuring that everything is ready for a successful audio setup.
Here are some important steps to follow when preparing the mixer:
- Power off the mixer: Before making any connections, ensure that the Yamaha mixer is powered off. This helps prevent any potential audio pops or damage to the equipment.
- Check the gain levels: The gain controls on each channel determine the input sensitivity. Make sure the gain levels are set appropriately for each input source. It’s essential to aim for a strong, clean signal without any distortion.
- Adjust the EQ and other controls: Yamaha mixers often come with EQ knobs or sliders, allowing you to shape the tone of each input channel. Take some time to adjust the equalization settings to your preference or the requirements of the audio source.
- Set the level and pan: Ensure that the individual channel faders are set to an appropriate level and pan position. This helps balance the audio levels and distribute the signals in the stereo field if needed.
- Test the solo and mute buttons: If your Yamaha mixer features solo and mute buttons, test them to ensure they are functioning correctly. These buttons can be handy for isolating specific channels or muting unwanted signals during live performances.
- Verify the output settings: Double-check the output settings of the Yamaha mixer. Ensure that the main output or master fader is set to an appropriate level and there are no routing issues that could affect the audio signal.
By following these preliminary steps, you’ll ensure that the Yamaha mixer is properly prepared for connecting to the speakers. Doing so will help optimize the audio signal path and ensure a high-quality sound throughout your setup.
Step 3: Connecting the Mixer to the Speakers
Now that the Yamaha mixer is prepared, it’s time to establish the physical connections between the mixer and the speakers. The proper connection ensures that the audio signal is effectively transmitted from the mixer to the speakers, resulting in clear and crisp sound reproduction.
Follow these steps to connect the Yamaha mixer to the speakers:
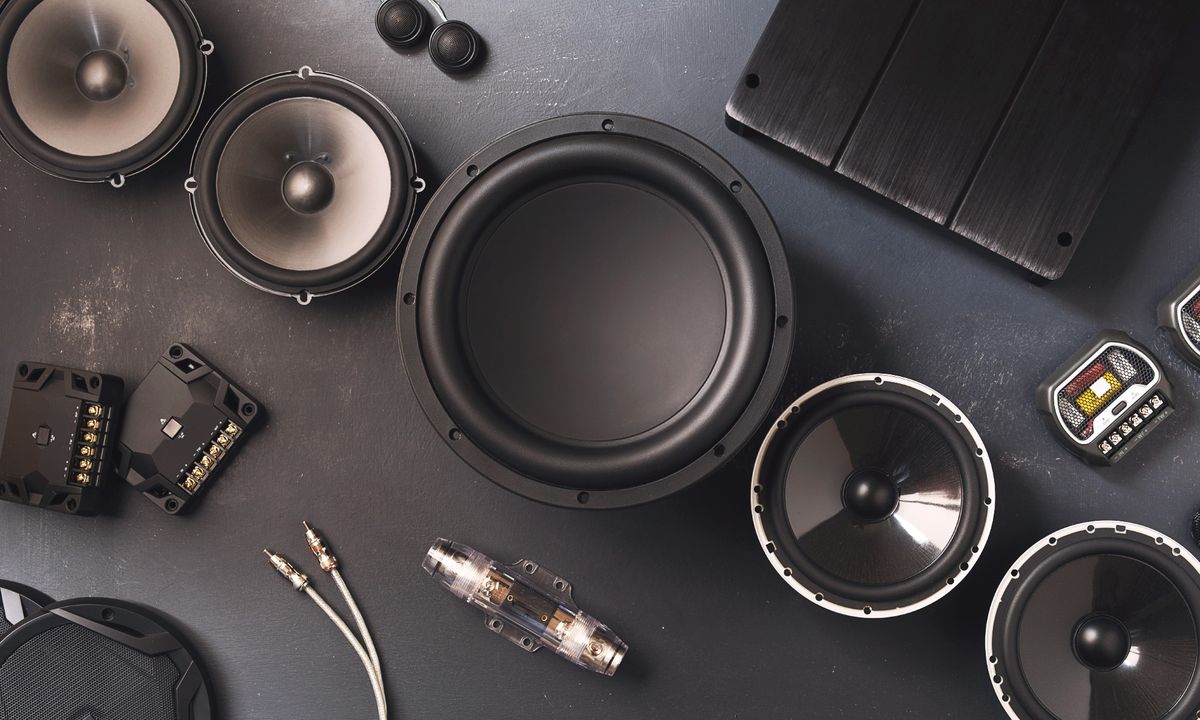
- Gather the necessary cables: Depending on the input and output connectors of your Yamaha mixer and speakers, you’ll need the appropriate cables. Common cable types include XLR, TRS (1/4-inch), RCA, and speaker cables.
- Identify the main output: Locate the main output connectors on the rear panel of your Yamaha mixer. These are typically labeled as “Main Out” or “Master Out.” Usually, they use XLR or 1/4-inch connectors.
- Connect the main output to the speakers: Use the appropriate cables to connect the main output of the mixer to the corresponding input connectors on the speakers. Ensure a secure and snug connection to prevent any signal loss or interference.
- Power on the speakers: Once the connections are in place, power on your speakers and adjust the volume controls to a moderate level. This will allow you to monitor the audio during the subsequent steps without any potential sudden loud noises.
- Verify the connections: Double-check all the connections to ensure they are properly secured. Take a moment to inspect the cables and connectors, ensuring that there are no loose connections or damage that could affect the sound quality.
- Prepare for additional connections: If your setup includes additional audio equipment, such as amplifiers, subwoofers, or monitors, you can proceed to connect them following similar steps as mentioned above. Ensure you have the appropriate cables and refer to the user manuals of the equipment if needed.
Once the Yamaha mixer is correctly connected to the speakers and any additional equipment, you should now have a solid audio chain ready for use. The physical connections play a crucial role in delivering the audio signal accurately and efficiently from the mixer to the speakers, ensuring an optimal listening experience.
Step 4: Adjusting the Mixer Settings
With the Yamaha mixer connected to the speakers, it’s time to fine-tune the mixer settings to achieve the desired audio balance and clarity. Adjusting the mixer settings ensures that each audio source is properly mixed and optimized for an exceptional sound experience.
Follow these steps to adjust the mixer settings:
- Balance the channel levels: Start by adjusting the individual channel faders to balance the audio levels. Listen to each source and adjust the faders accordingly to create a harmonious mix. Keep in mind that some channels may require a higher or lower level than others.
- Apply EQ and effects (if necessary): Use the EQ controls available on each input channel to shape the tone of individual sources. Adjust the frequencies to enhance the desired characteristics or compensate for any audio deficiencies. Additionally, if your Yamaha mixer has built-in effects, experiment with them to add depth or ambience to the sound.
- Utilize auxiliary sends (if available): If your Yamaha mixer has auxiliary sends, you can use them to create monitor mixes or send signals to external effects processors. Adjust the auxiliary send levels for specific channels to control the amount of signal being sent to these destinations.
- Set the main fader level: Adjust the main fader or master output level to achieve the desired overall volume. Keep in mind that excessive levels may result in distortion, while low levels may not provide enough volume. Aim for a balanced and clear sound in accordance with the requirements of your listening environment.
- Check the pan settings: If you want to create a stereo image in your audio mix, adjust the pan settings for each channel. This allows you to position the audio sources within the stereo field, providing a more immersive sound experience.
- Monitor the levels: Keep an eye on the level meters or LED indicators on the mixer to ensure that the audio signals stay within a healthy range. Avoid excessive clipping or distortion, as this can degrade the sound quality.
Take your time to experiment with the mixer settings and listen to the audio output. Make small adjustments as necessary to achieve the perfect balance and sonic quality. It’s also worth noting that different venues and performances may require specific adjustments, so be prepared to adapt the settings accordingly.
By properly adjusting the mixer settings, you’ll optimize the audio output and ensure that the sound is delivered accurately and professionally to your listeners.
Step 5: Testing the Connection
After preparing and adjusting the Yamaha mixer and speakers, it’s crucial to test the connection to ensure everything is functioning properly. Testing allows you to identify any potential issues early on and make any necessary adjustments before a performance or event.
Here are the steps to effectively test the connection between the Yamaha mixer and speakers:
- Play audio sources: Start by playing different audio sources through the connected Yamaha mixer. This can include music tracks, vocal recordings, or live instruments. Test each channel and ensure that sound is being outputted successfully through the speakers.
- Check for balanced sound: Pay attention to the balance and clarity of the audio. Ensure that each channel is audible and well-balanced in the overall mix.
- Listen for any issues: Monitor for any potential issues like distortion, crackling, or dropouts. These could indicate a problem with the connection or settings. If you encounter any issues, double-check the cables, connectors, and mixer settings to troubleshoot the problem.
- Adjust levels if necessary: If certain audio sources are too loud or too soft, adjust the channel faders or main volume accordingly. Strive for an even sound level that is pleasant to the ears.
- Test different audio scenarios: Put the connection to the test by playing audio at different volumes. Test low volume settings as well as higher volumes to ensure that the speakers can handle the desired audio levels without any distortion or unintended artifacts.
- Consider room acoustics: Take into account the acoustics of the room or venue where you’ll be using the Yamaha mixer and speakers. Room size, shape, and materials can affect the sound quality. Make adjustments to the mixer settings as necessary to compensate for any room-related audio issues.
- Get feedback: If possible, seek feedback from others who can listen to the audio output. Ask for their input on the balance, clarity, and overall sound quality. Their observations can provide valuable insights and help identify any areas that may require further improvement.
By thoroughly testing the connection between the Yamaha mixer and speakers, you can ensure that the audio system is functioning optimally and that the sound quality meets your expectations. Spend time refining the settings and making any necessary adjustments until you are satisfied with the overall sound performance.
Remember, testing and fine-tuning may be an ongoing process, especially in different venues or event setups. Regularly check and test the connection to maintain the best possible audio experience for your audience.
Conclusion
Connecting a Yamaha mixer to speakers is a fundamental step in ensuring exceptional sound quality for musicians, DJs, and sound engineers alike. By following the step-by-step process outlined in this guide, you can confidently set up your audio system and enjoy crystal-clear audio reproduction.
We started by understanding the Yamaha mixer, familiarizing ourselves with its various components and features. This knowledge enables us to make informed decisions when it comes to connecting and utilizing the mixer.
Next, we prepared the mixer for connection by adjusting the gain levels, EQ settings, and other controls. This preparation ensures that the audio signals are optimized and ready for the best possible sound reproduction.
With the mixer prepared, we proceeded to connect it to the speakers, making sure to use the appropriate cables and secure connections. Proper physical connections are crucial for delivering the audio signal accurately and reliably.
After that, we discussed the importance of adjusting the mixer settings. By balancing channel levels, applying EQ and effects, and utilizing auxiliary sends, we can fine-tune the audio mix and achieve the desired sound quality.
Once all the connections and settings are in place, we tested the connection to ensure proper functionality. This step allows us to identify and address any issues, ensuring a seamless audio experience during performances or events.
In conclusion, connecting a Yamaha mixer to speakers requires careful attention to detail, but with the knowledge and guidance provided in this article, you’ll be well-equipped to set up your audio system like a pro. Enjoy the outstanding sound quality and deliver unforgettable performances with your Yamaha mixer and speakers combo!